Tag: homemade cat toys

  • DIY Cat Kicker Toy: A Tougher, Safer Sewing Pattern

    DIY Cat Kicker Toy: A Tougher, Safer Sewing Pattern

    You can make a DIY cat kicker toy from one 13-by-10-inch rectangle of sturdy fabric, polyester thread, and washable stuffing. Fold the fabric into a long tube, sew two reinforced seams, fill it so it is firm but still bendable, and close the opening with two rows of stitching. The finished toy is about 12 inches long and 4 inches wide—large enough for many adult cats to hug with the front legs and kick with the back feet.

    This version is deliberately plain. A cat does not need ribbon tails, plastic eyes, bells, glued trim, or a zipper to enjoy a kicker. Those details create extra places for a rough player to pull, chew, or expose the filling. No homemade toy is risk-free or indestructible, so supervise the first sessions and inspect the toy after hard play.

    What a Cat Kicker Toy Is—and Why the Shape Matters

    A kicker is a long, soft capture toy. A cat can wrap the front legs around it, bite or mouth the upper section, and strike the lower section with rapid alternating back-foot kicks. That sequence gives the cat an appropriate target for the grab-and-kick part of play while keeping your forearm out of the job.

    The best size is based on the cat, not a magic measurement. The toy should span much of the distance from the cat’s chest toward the hips when held lengthwise. It must be wide enough to stay outside the mouth rather than behave like a small prey item, yet soft enough for the front paws to compress and hold. For an average adult, a finished 10-to-12-inch length and 3½-to-4½-inch width is a useful starting range.

    Cat and play style Suggested cut rectangle Approximate finished size
    Kitten or small adult 11 × 8 in 10 × 3 in
    Average adult 13 × 10 in 12 × 4 in
    Large adult or long-bodied rough player 15 × 11 in 14 × 4½ in

    These are practical starting dimensions, not safety guarantees. Watch the first play session. If the cat cannot hold the toy while the back feet reach it, adjust the length. If the whole toy can be shoved far into the mouth, make the next one wider. If you have a very small kitten, a cat who eats fabric, or a cat with dental or mobility problems, ask your veterinarian about an appropriate play setup.
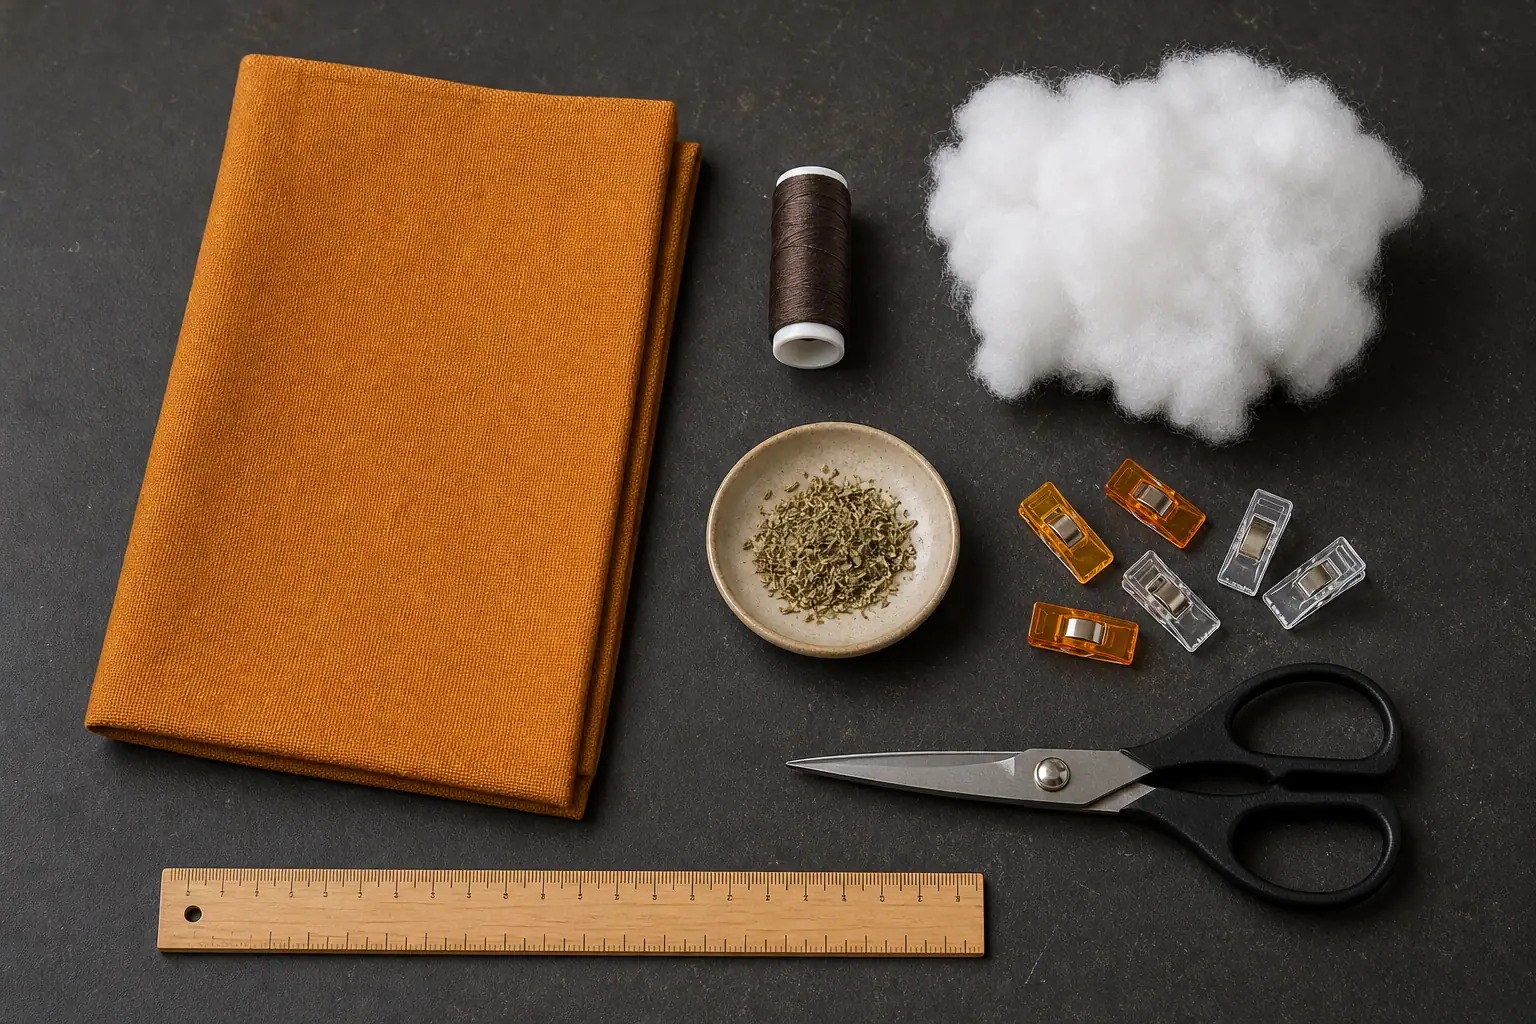
    Canvas, polyester thread, fiberfill, ruler, scissors, and catnip for a DIY kicker toy
    Keep the build simple: tightly woven fabric, strong thread, plain filling, and optional dried catnip.

    Materials for a Tougher DIY Cat Kicker Toy

    Choose simple, known materials that remain easy to inspect. Upcycling is useful only when you know what the fabric is, can wash it first, and can remove every fastener and decoration.

    • Outer fabric: one rectangle of tightly woven cotton canvas, midweight denim, or sturdy cotton twill. Avoid loose knits, stretchy fabric, lace, faux fur that sheds, and fabric already weakened by holes or worn patches.
    • Thread: all-purpose polyester thread. It tolerates repeated flexing better than old, brittle thread from an unknown sewing kit.
    • Filling: new polyester fiberfill or clean strips of tightly woven fabric. Use pieces large enough to retrieve if a seam opens; do not use foam beads, plastic pellets, dried beans, rice, loose cotton wool, or shredded plastic.
    • Optional scent: one or two teaspoons of dried catnip as a modest starting amount. Skip it for cats who become agitated around catnip or who try to eat the fabric.
    • Tools: ruler, fabric scissors, clips or pins, and either a sewing machine or a sturdy hand-sewing needle.

    Do not add yarn, tassels, ribbon, elastic, feathers, buttons, beads, bells, safety eyes, wire, pipe cleaners, hook-and-loop tape, or a zipper. Even a cute attachment is a new failure point. Veterinary guidance on foreign-body ingestion in cats identifies thread, string, wool, rubber bands, and small toys among objects cats may swallow; string-like material can be especially dangerous.

    If you want more detail on fabric strength, seam placement, and inspectable construction, see the Titan Claws guide to materials for durable cat toys. “Durable” still means maintained and replaced when damaged—not indestructible.

    DIY Cat Kicker Toy Pattern: Step by Step

    The directions below make the average-adult size. Use a ½-inch seam allowance throughout. Read all seven steps before cutting, and keep pins, needles, thread clippings, and the unfinished toy away from your cat.

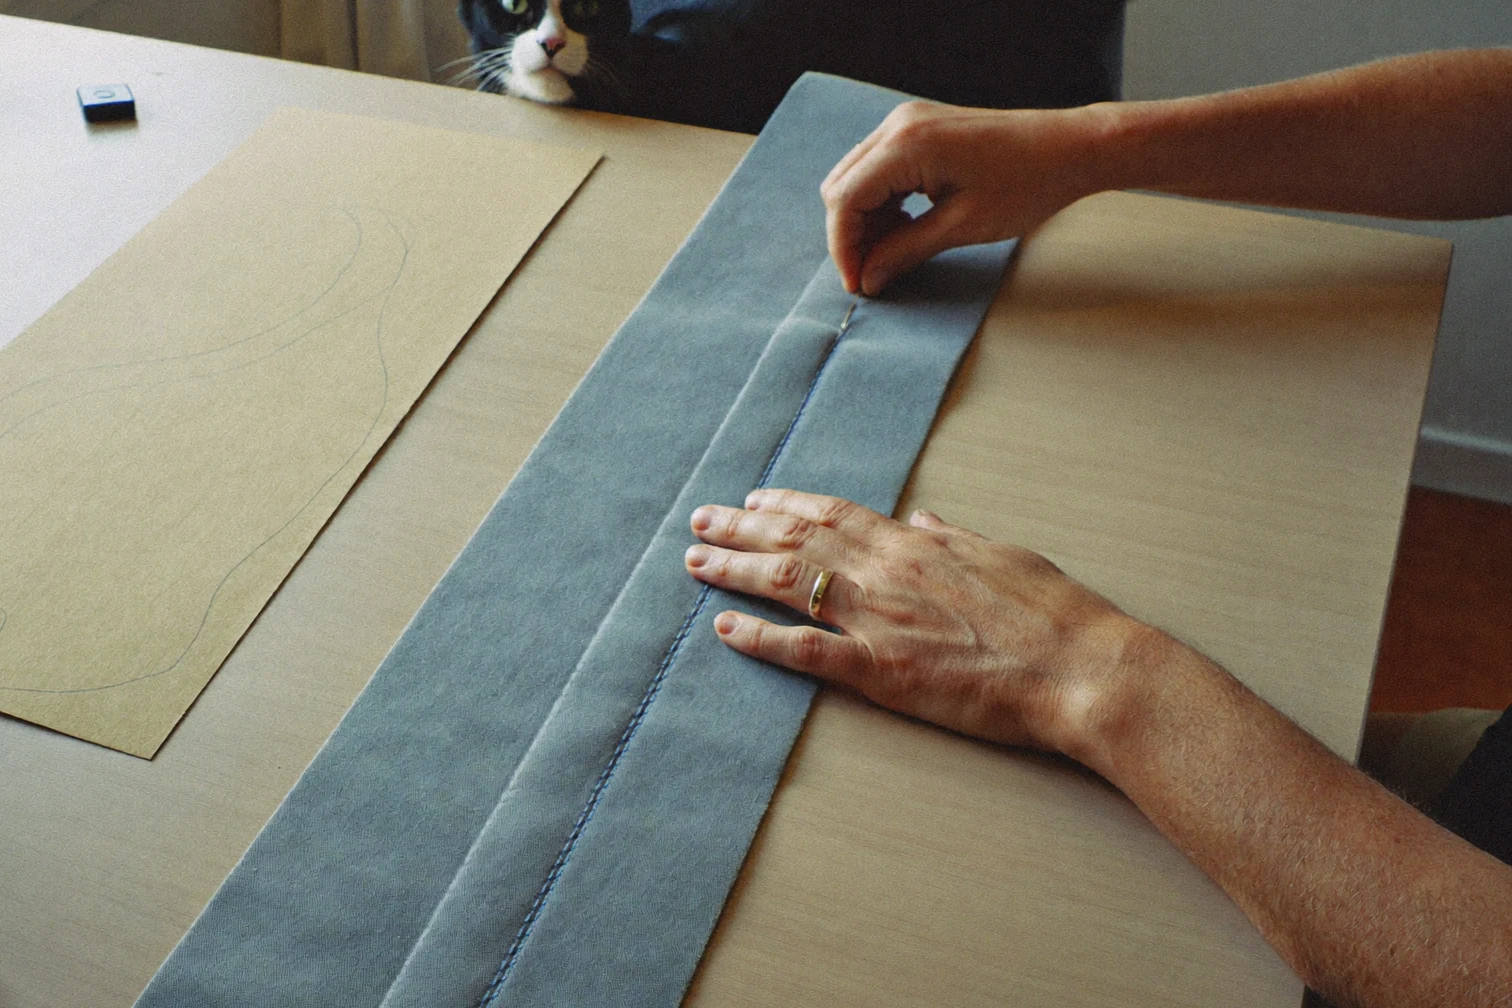
    1. Prepare and inspect the fabric. Wash and dry it with an unscented routine, press it flat, and hold it up to light. Reject pieces with thin spots, snags, glued decoration, metallic print, or holes. Cut one 13-by-10-inch rectangle on the straight grain.
    2. Fold the tube. Fold the rectangle lengthwise with the right sides together so the two 13-inch raw edges meet. The folded piece will measure 13 by 5 inches. Clip or pin the open long edge and one short end.
    3. Sew the main seam. Starting at the folded corner, sew across the clipped short end and then down the open long edge with a ½-inch seam allowance. Backstitch at both ends. Leave the other short end fully open for turning and filling.
    4. Add a backup seam. Sew a second straight line ⅛ inch inside the first line, toward the body of the toy. Finish the raw edges together with a compact zigzag if your fabric frays. Clip the two sewn corners without cutting either stitch line.
    5. Turn and check. Turn the tube right-side out and push the corners out with a blunt tool. Do not use open scissors. Run a finger along both sewn seams, tug gently in several places, and restitch any spot that spreads.
    6. Fill without overpacking. Add small handfuls of fiberfill, distributing them from the closed end toward the opening. The tube should feel evenly full but still bend into a shallow curve. If using catnip, scatter a small amount between layers of filling rather than leaving one dense pocket.
    7. Close the high-stress end. Turn the open raw edges ½ inch to the inside. Machine-stitch across the opening, then sew a second parallel row ⅛ inch behind it. For a neater finish, first hand-close with a small ladder stitch and then add a second secured line. Backstitch or knot securely and trim every thread tail flush.
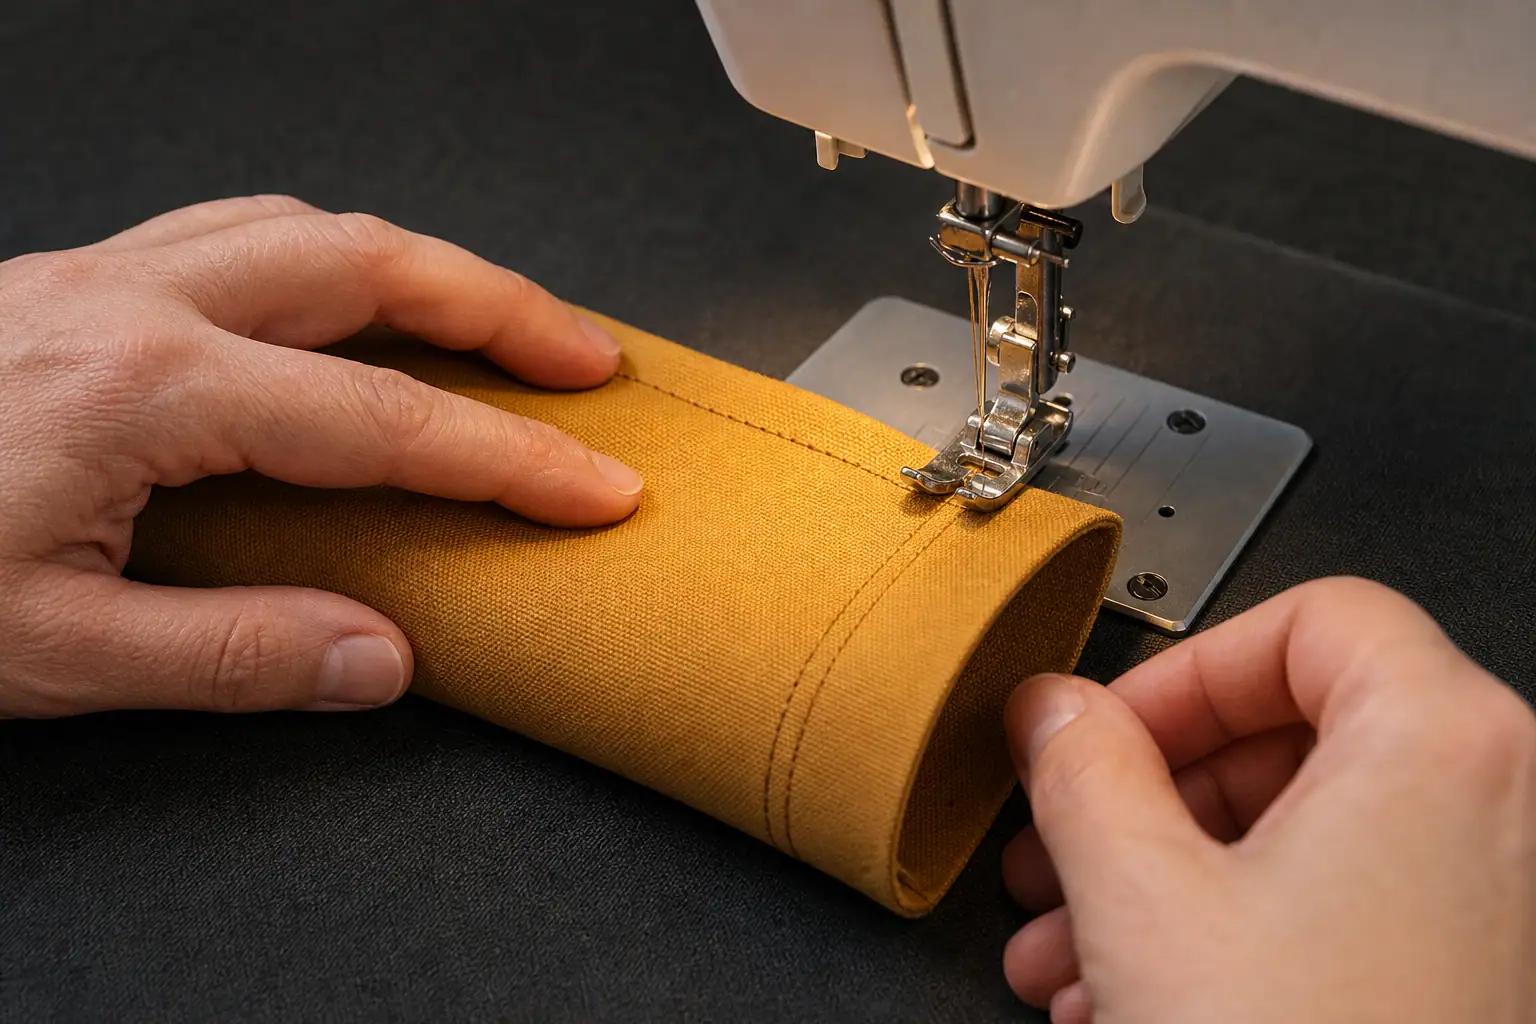
    Two parallel rows of stitching reinforcing a canvas cat kicker toy seam
    A second parallel stitch line provides backup at the long seam and closure.

    Hand-sewing option: use the same pattern and a short backstitch rather than a loose running stitch. Backstitch forms a more continuous seam because each new stitch overlaps the previous one. Sew the second line as described above, make small knots buried inside the seam allowance, and account for the needle and every pin before the toy reaches the cat.

    The two-minute post-build test

    • Squeeze the entire toy and listen or feel for hidden hard or sharp objects.
    • Bend it several times; the seams should remain flat without gaps.
    • Pull firmly—but not violently—across each seam and at both corners.
    • Rub the surface with a dry white cloth; stop if color or surface coating transfers.
    • Check that no thread tail, pin, needle, decoration, or loose filling remains.
    • Count and put away all sewing tools before inviting the cat into the room.

    If the toy fails your hands, it is not ready for teeth and claws. Open the closure, correct the problem, and repeat the test.

    Catnip, No Catnip, and a Washable Version

    Catnip is optional. Some cats ignore it, and a cat’s response can range from relaxation to intense excitement. VCA’s kitten behavior guidance notes that sensitivity varies and young kittens may not respond yet. If catnip makes your cat frantic, defensive, or more likely to rip at the toy, make the kicker without it.

    For a frequently washed kicker, leave herbs out and use washable fiberfill. Wash the finished toy separately on a gentle cycle only if the fabric and filling are washable, then air-dry it completely. Damp stuffing can stay wet long after the surface feels dry. Check for shrinkage, twisted filling, and opened stitches before reuse. Our cat-toy cleaning guide explains when spot cleaning, hand washing, machine washing, or replacement makes more sense.

    A refillable pocket sounds convenient, but zippers and exposed hook-and-loop closures give a determined chewer more edges to work on. A safer refresh is to rub a little dried catnip on the intact outside immediately before supervised play, shake off the excess, and store the toy dry afterward.

    How to Introduce the Kicker Without Teaching Hand Biting

    1. Place the toy on the floor and let the cat investigate. Do not press it into the cat’s face.
    2. Use a separate wand or toss toy to begin a stalk-and-chase sequence while keeping hands at a distance.
    3. After a few successful catches, slide or gently toss the kicker away from your body as the final capture target.
    4. Let the cat grip, bite, and kick the toy. Do not hold the other end during biting; your moving fingers can become part of the target.
    5. End while the cat is still controlled, then offer a small food reward or calm foraging activity if it fits the cat’s diet.

    This is a capture toy, not a complete play routine. Cats benefit from opportunities to stalk, chase, pounce, catch, and disengage. The Titan Claws hunt-catch-cool-down routine shows how to combine a moving lure with a satisfying finish. For more low-cost projects, compare the material and supervision levels in our guide to homemade cat toys.

    Cats Protection advises checking toys regularly, replacing worn ones, and not leaving cats alone with toys that could be shredded, eaten, or cause entanglement. Treat your first few sessions as a field test: stay close enough to stop play, but keep your hands out of the kicking zone.
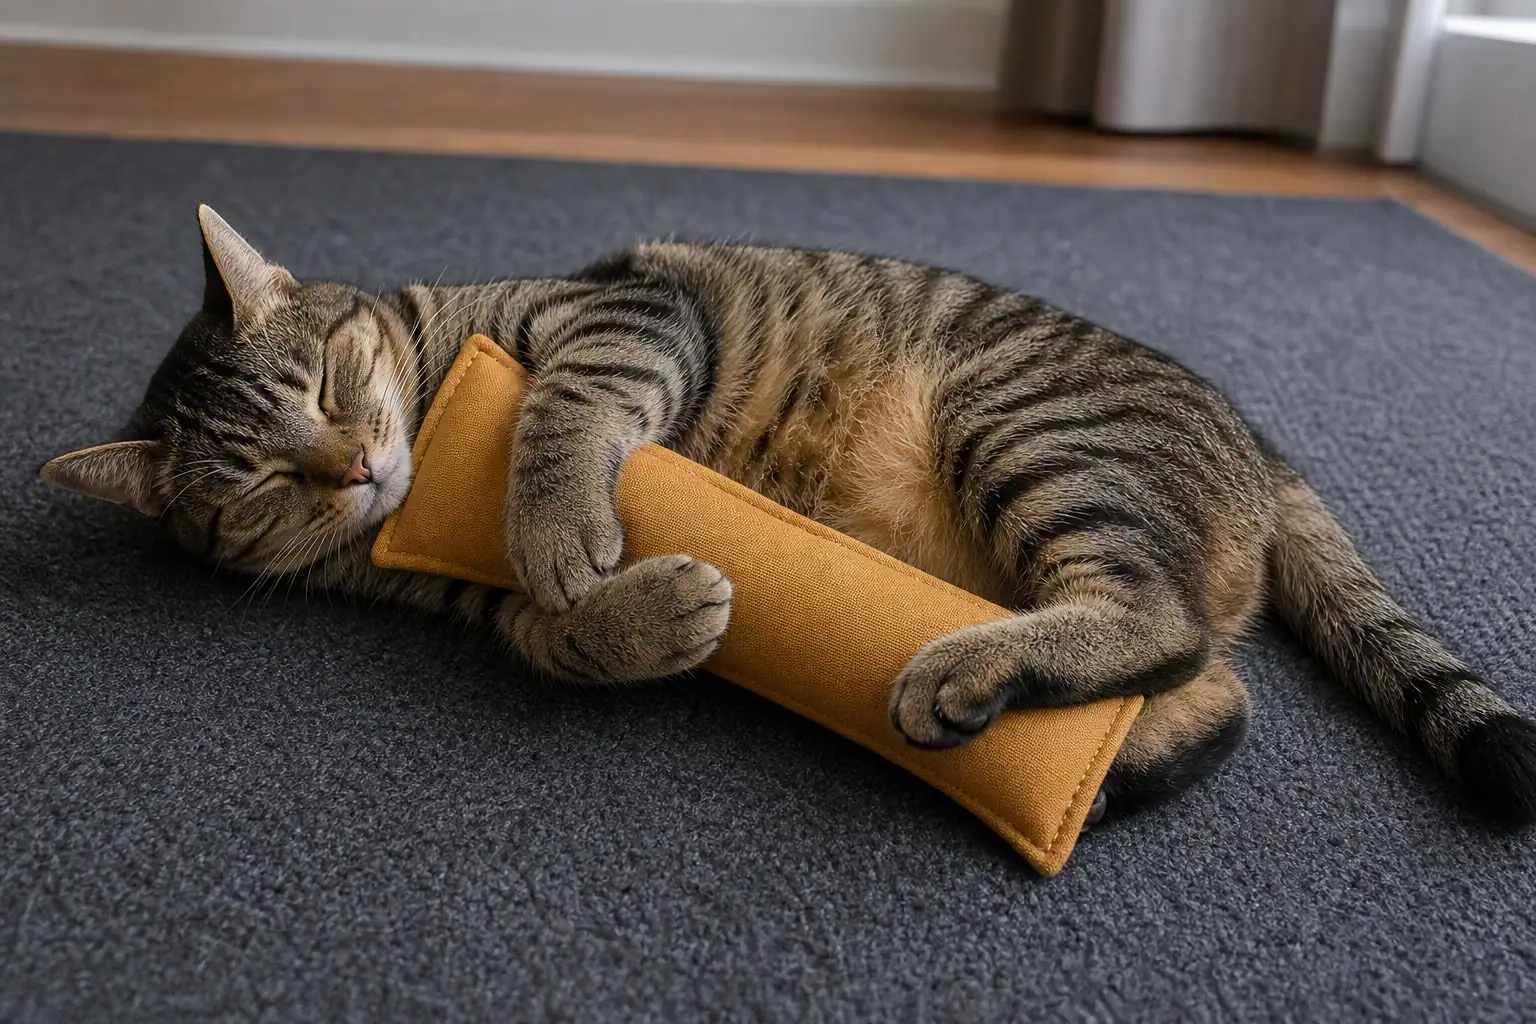
    Cat holding a homemade kicker toy that reaches from chest toward the back legs
    The right fit lets the front legs hold the toy while the back feet contact its lower half.

    Inspect, Repair, or Retire? Use This Decision Guide

    Inspect the kicker before and after every rough session. Roll it between both hands, flex the ends, and spread each seam slightly under good light. A quick glance from across the room will miss small tooth holes and broken stitches.

    What you find What to do
    Light surface fuzz, no thinning, all seams closed Trim fuzz flush, recheck, and keep for supervised play.
    One loose exterior stitch, fabric around it fully intact Remove the toy. Reinforce both seam lines before the next use.
    Small puncture or worn/thin fabric Retire it. A patch adds edges and may hide spreading damage.
    Open seam or visible filling Stop play immediately, collect loose material, and retire the toy.
    Missing fabric, thread, or filling Confine the remains, check the play area, and contact your veterinarian for advice.
    Wetness, odor, or filling that will not dry fully Retire it rather than sealing moisture inside.

    Vomiting, reduced appetite, abdominal pain, lethargy, straining to defecate, or pawing at the mouth after suspected ingestion needs prompt veterinary attention. Do not pull visible string from a cat’s mouth or anus; call a veterinarian or emergency clinic because anchored string can injure internal tissue.
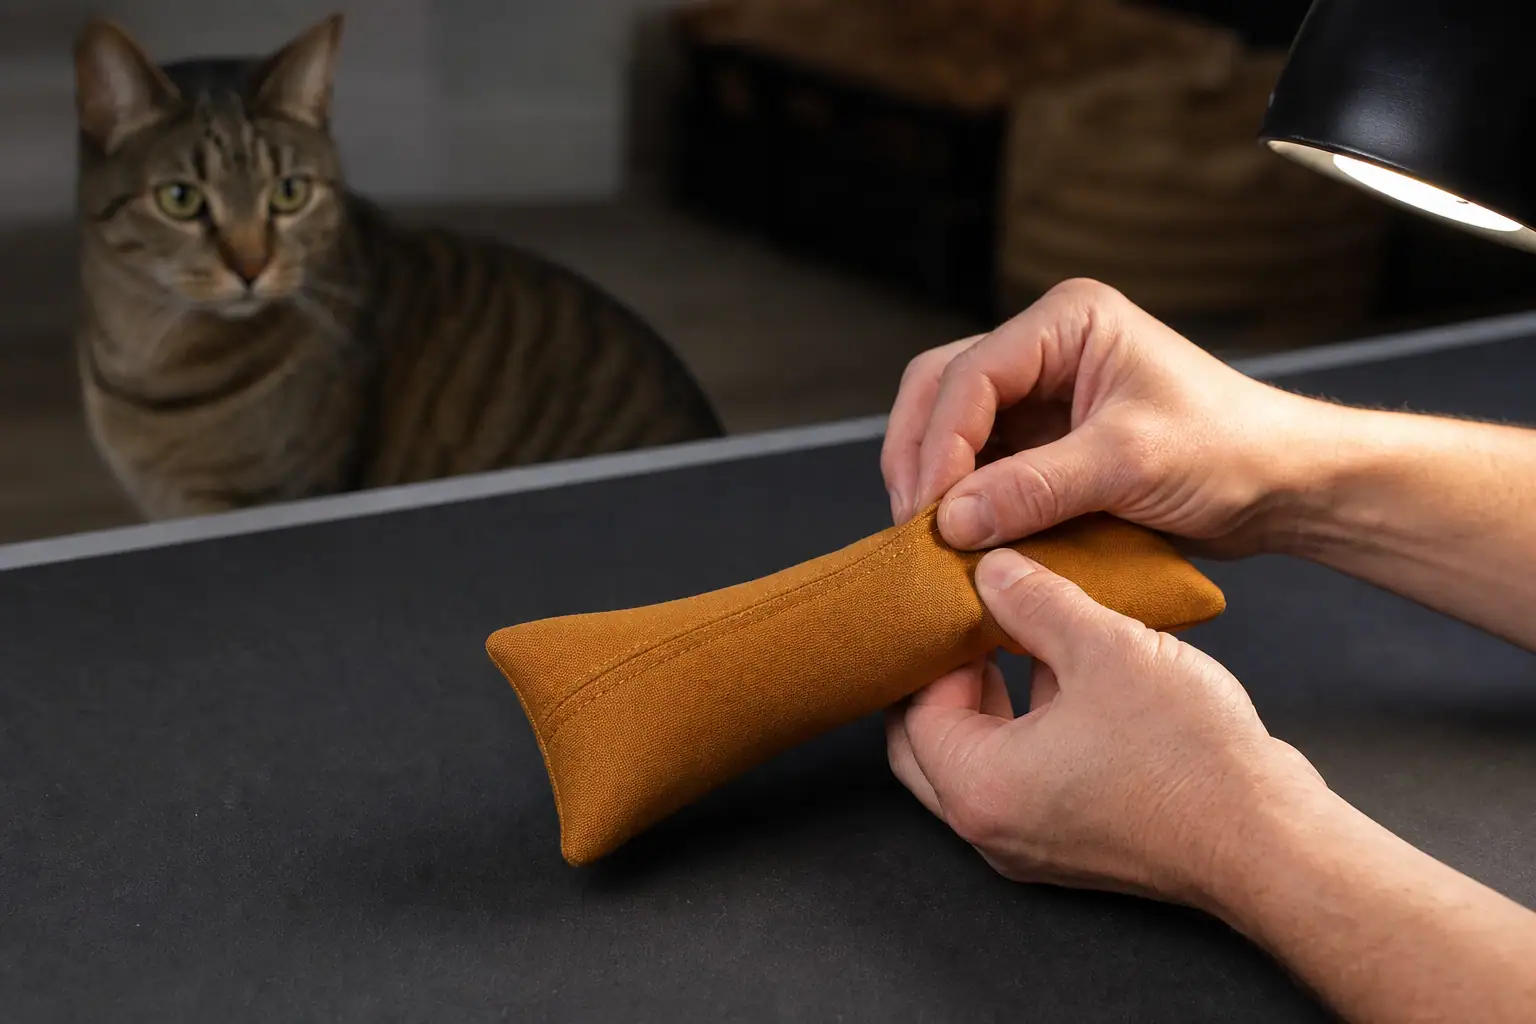
    Hands bending and checking every seam of a homemade canvas cat kicker toy
    Flex the toy and spread each seam under good light before and after rough play.

    DIY Cat Kicker Toy Quick Checklist

    • Size the toy so the cat can hug it and reach it with the back feet.
    • Use intact, tightly woven canvas, denim, or twill with known contents.
    • Use simple fiberfill or large fabric strips—not beads, pellets, rice, beans, or loose cotton.
    • Sew two lines along structural seams and across the closure.
    • Trim all thread tails and account for every pin and needle.
    • Skip ribbons, yarn, tassels, elastic, bells, plastic eyes, zippers, and glued trim.
    • Keep filling firm enough to hold shape but soft enough to grip.
    • Introduce the kicker on the floor, away from hands and feet.
    • Supervise early and rough sessions.
    • Inspect before and after play; retire punctured, opened, thinning, or incomplete toys.

    Bottom line: the safest useful DIY cat kicker toy is not the fanciest one. Make it large enough for the cat, simple enough to inspect, and strong enough to pass a firm seam test. Then supervise, maintain it, and retire it before a small defect becomes an exposed-filling problem.
    Sources

  • Homemade Cat Toys: Safe DIY Ideas for Cats Who Play Rough

    Homemade Cat Toys: Safe DIY Ideas for Cats Who Play Rough

    Homemade cat toys can be excellent for indoor cats when they are simple, supervised, and easy to inspect. The safest DIY options are usually cardboard puzzles, paper games, box mazes, fabric kickers, and wand-style games that you put away after play. The risky ones are toys with loose string, yarn, ribbon, rubber bands, beads, bells, glued eyes, staples, small plastic pieces, or stuffing your cat might eat.

    If your cat plays rough, treat homemade toys as temporary enrichment rather than permanent equipment. Build them cheaply, use them intentionally, inspect them hard, and retire them early. A homemade toy does not need to survive forever. It needs to give your cat a safer outlet for stalking, chasing, pouncing, biting, kicking, and problem-solving without leaving swallowable parts behind.

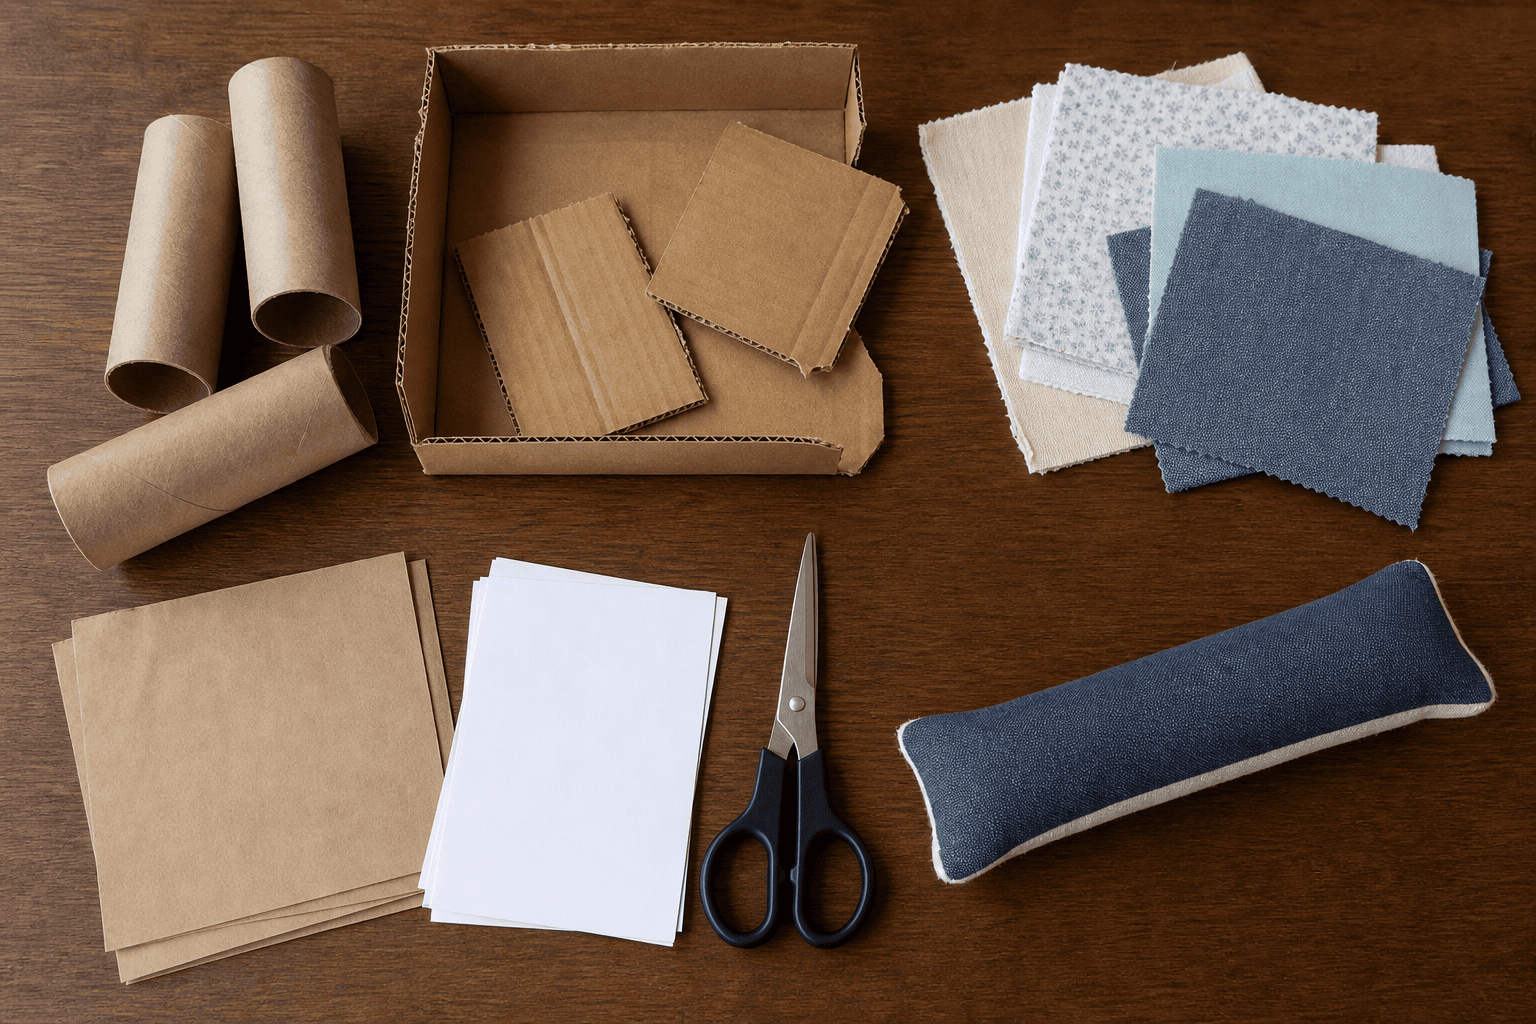
    Safe homemade cat toy materials arranged on a table
    Good homemade cat toys start with boring, inspectable materials: plain cardboard, clean fabric, paper, and secure knots.

    What Homemade Cat Toys Are Best For

    Homemade cat toys are best for variety. They let you test textures, sounds, hiding spots, food puzzles, and hunting games before buying a full toy setup. They are especially useful for cats that get bored with the same toy bin or ignore expensive gadgets but go wild for boxes, crinkly paper, and moving targets.

    The strongest DIY toys usually solve one job at a time. A cardboard tube puzzle makes food harder to grab. A box tunnel creates ambush cover. A paper ball gives a lightweight chase target. A fabric kicker gives the back feet something to rake. A wand game lets you mimic prey movement. Trying to make one homemade toy do everything usually adds weak points.

    The AAFP and ISFM feline environmental needs guidelines recommend giving cats opportunities for play and predatory behavior, including toys, owner-led play, and feeding devices that make the cat work for food. Homemade toys fit that well when they let the cat search, chase, catch, manipulate, and then settle down.

    For a broader rotation, pair this guide with Titan Claws articles on DIY cat toys, best cat toys for bored indoor cats, and cat toys for enrichment.

    The Safety Rule: Build for How Your Cat Breaks Things

    Most homemade cat toy lists assume the cat will bat, chase, and walk away. Titan Claws readers often have a different cat: the one that bites seams, pulls feathers out, eats fuzz, shreds cardboard, or tries to carry the whole toy under the couch. For that cat, the right question is not, “Can I make this?” It is, “What happens when my cat damages it?”

    • If your cat chews fabric: avoid loose stuffing, weak felt, thin yarn pom-poms, and glued decorations.
    • If your cat eats string-like objects: skip yarn, ribbon, elastic, long tassels, dental floss, thread, and dangling cords.
    • If your cat shreds cardboard: use cardboard only during supervised sessions and recycle it before pieces become snack-sized.
    • If your cat cracks plastic: avoid plastic eggs, bottle caps, brittle containers, and small lids.
    • If your cat carries toys away: make the toy larger than the cat can swallow and keep supervised-only toys in a closed drawer.

    Cornell Feline Health Center warns that many household items can be hazardous to cats and advises prompt veterinary consultation when a cat may have ingested something toxic or dangerous. For homemade toys, use that same caution with non-food items. If you think your cat swallowed string, ribbon, stuffing, plastic, rubber, wire, a bell, or any toy part, call your veterinarian or an emergency clinic instead of waiting to see what happens.

    Five Safer Homemade Cat Toys to Try

    These ideas are intentionally plain. Plain is good. It means fewer tiny parts, fewer mystery materials, and fewer failure points.

    1. Cardboard Tube Treat Puzzle

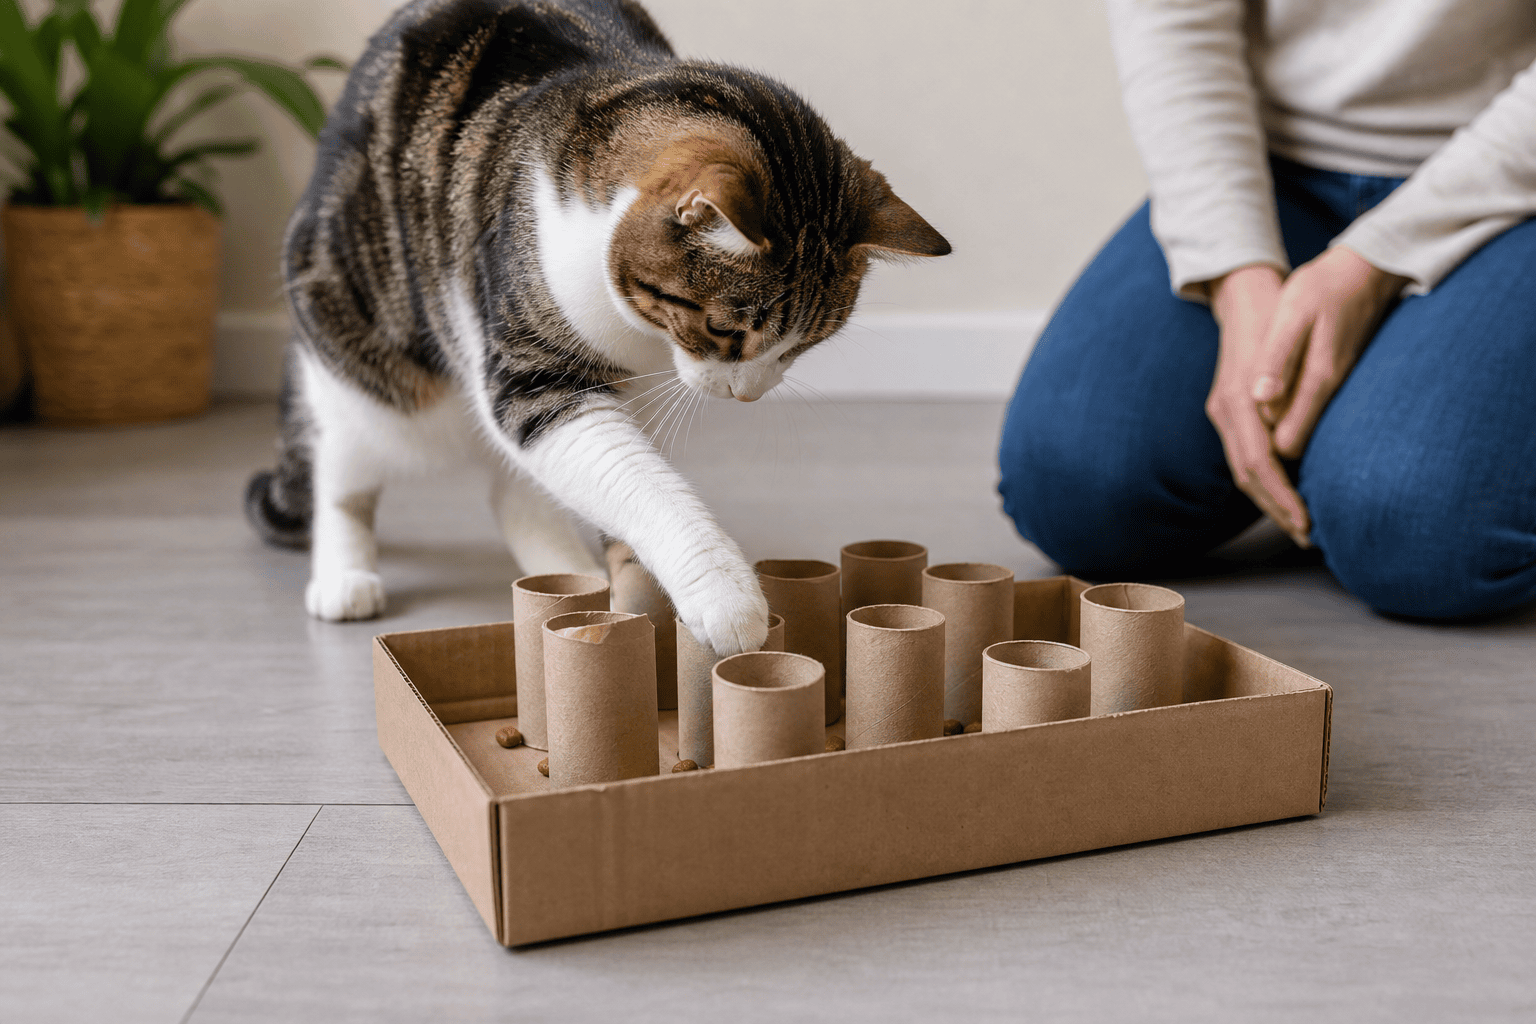
    Set several empty toilet paper rolls upright inside a shallow cardboard box. Add a few pieces of kibble or treats into some of the tubes. Let your cat fish the food out with paws. Keep the puzzle shallow enough that the cat cannot get trapped, and remove tape, staples, plastic coating, and loose labels first.

    This is a strong first homemade toy because it is cheap, easy to inspect, and close to the food-puzzle examples recommended by veterinary enrichment sources such as the ASPCA feline DIY enrichment guide and AAHA’s DIY enrichment toy guidance.

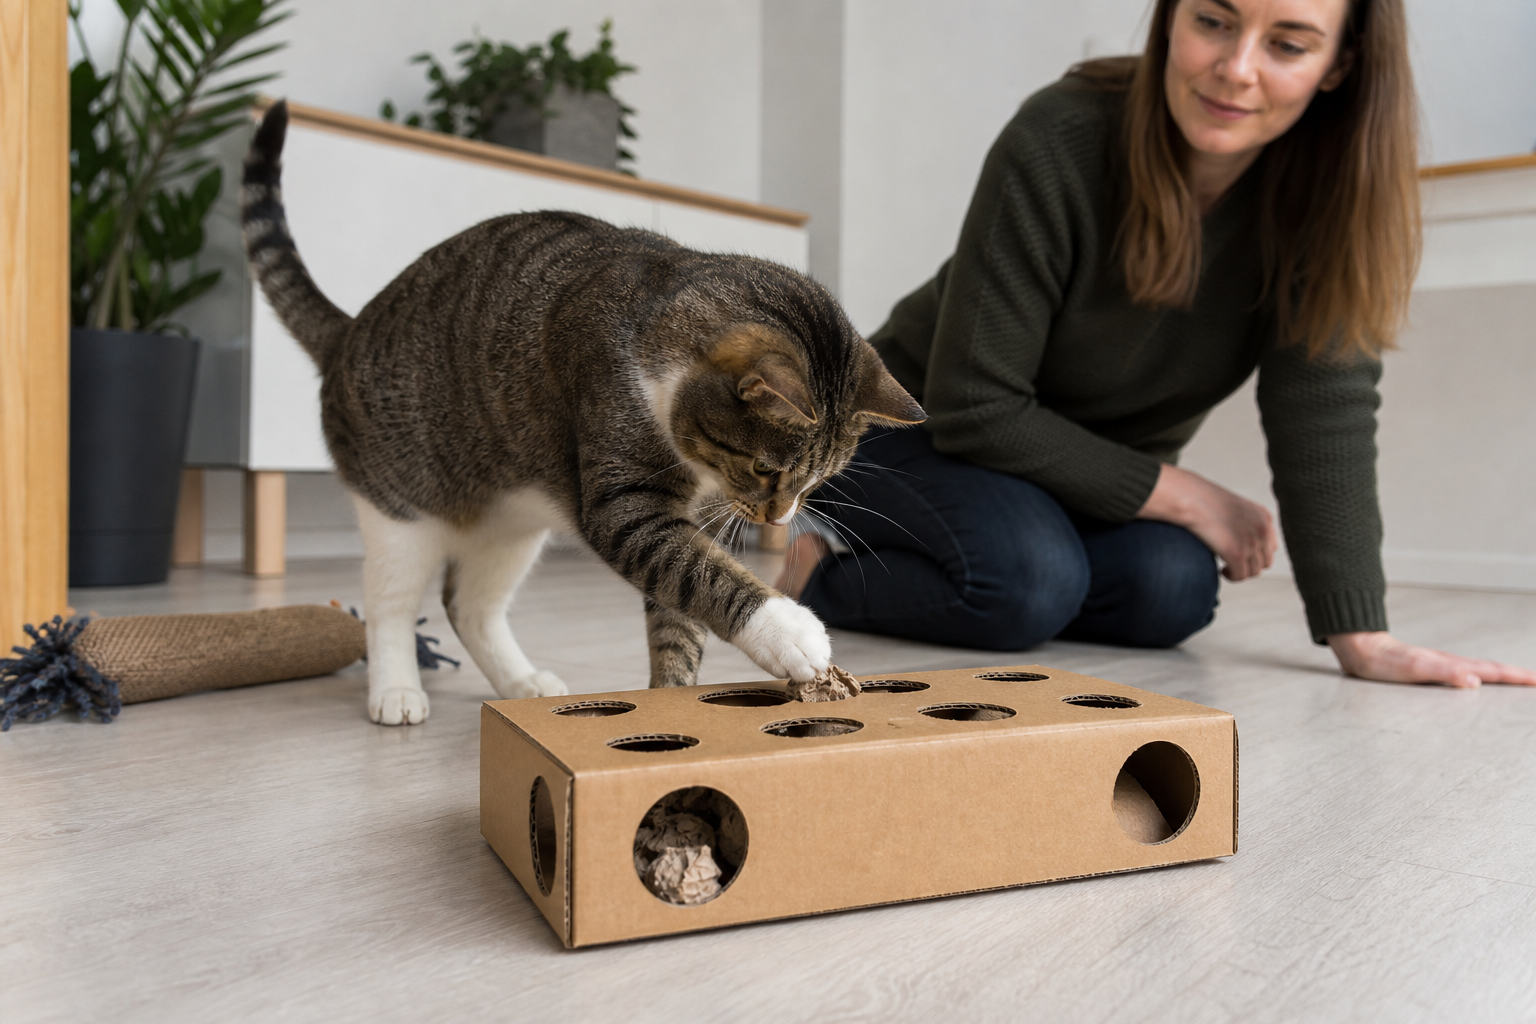
    Cat using a cardboard treat puzzle made from toilet paper rolls
    Cardboard puzzles are cheap, useful, and easy to retire before they become soggy or bite-sized.

    2. Paper Chase Ball

    Crumple plain packing paper into a loose ball about golf-ball to tennis-ball size, depending on your cat. Toss it down a hallway or slide it behind a box so the cat can stalk and chase. Avoid foil, cellophane, gift ribbon, twist ties, and paper with heavy ink or glitter. Retire the ball when it gets wet, torn into small pieces, or chewed flat.

    3. Box Ambush Tunnel

    Cut two large doorways into a plain cardboard box so your cat can enter and exit without squeezing. Add a second box nearby or drape a towel over one edge to create a hiding spot. Use a wand toy outside the openings so the cat can pounce from cover. Do not use plastic bags, handled shopping bags, staples, or tight holes that could catch a collar or paw.

    4. No-Frills Fabric Kicker

    Roll clean, sturdy cotton fabric into a long shape and secure it with tight stitching if you sew, or with large, firm knots if you do not. Keep it long enough for your cat to hug and kick without reaching your hand. Skip buttons, beads, bells, glued eyes, loose yarn hair, and weak seams. If you add catnip or silvervine, seal it inside a durable inner layer and retire the toy when the closure loosens.

    A homemade kicker is not automatically a durable toy. It is a test. If your cat opens seams quickly or eats fabric, move that cat to supervised-only play and read Titan Claws’ guides to cat kicker toys, toys for cats that chew, and safe cat chew toys.

    5. Supervised Wand Game

    You can make a simple wand game with a sturdy dowel and a short fabric strip, but this is supervised-only. Move the lure like prey: away from the cat, around corners, behind boxes, and across the floor. Let the cat catch it sometimes. When the session ends, put the entire wand away where the cat cannot chew the fabric or cord.

    If your cat loves feather-style movement, Titan Claws has separate safety guidance on cat feather toys and the Da Bird cat toy, including why feather and string lures should not be left out for unsupervised chewing.

    Homemade Toys to Skip for Rough Players

    Some DIY toys look cute in photos but are poor matches for cats that chew, shred, or swallow non-food material. Skip these unless your veterinarian has given specific advice and you can supervise closely.

    • Yarn pom-poms: loose strands can separate, and some cats chew or swallow them.
    • Ribbon teasers: ribbon is exciting but risky if swallowed, especially for cats that eat linear objects.
    • Rubber-band toys: rubber bands can snap, be swallowed, or encourage chewing elastic.
    • Plastic egg rattles: many guides suggest filling plastic eggs with rice or beans, but hard plastic can crack and small contents can spill.
    • Small bottle caps: they skid nicely, but they are too small for some cats and can be chewed.
    • Decorated plush mice: glued eyes, bells, tails, and thin felt often fail before the body of the toy does.
    • Anything with staples or pins: they do not belong in cat toys, even as hidden construction shortcuts.

    Use a simple rule: if a part would worry you on a toddler’s toy, it should worry you on a cat toy. Cats do not need decorative details. They need movement, texture, scent, hiding, food puzzles, and safe capture.

    How to Make Homemade Toys More Durable

    Durability is not about making a homemade toy indestructible. That is the wrong promise. Durability means the toy fails slowly, visibly, and in a way you can catch before your cat eats pieces.

    1. Use larger pieces: make toys big enough that your cat cannot swallow them whole.
    2. Choose one main material: cardboard, paper, or fabric is easier to monitor than a mixed toy full of attachments.
    3. Avoid glue when possible: stitching, folding, and simple box construction are easier to inspect.
    4. Keep seams exposed: if you sew, make inspection easy rather than hiding weak seams under trim.
    5. Build replacement into the plan: cardboard puzzles and paper balls are meant to be replaced often.
    6. Test under supervision: the first few sessions tell you whether the toy is safe enough for your specific cat.
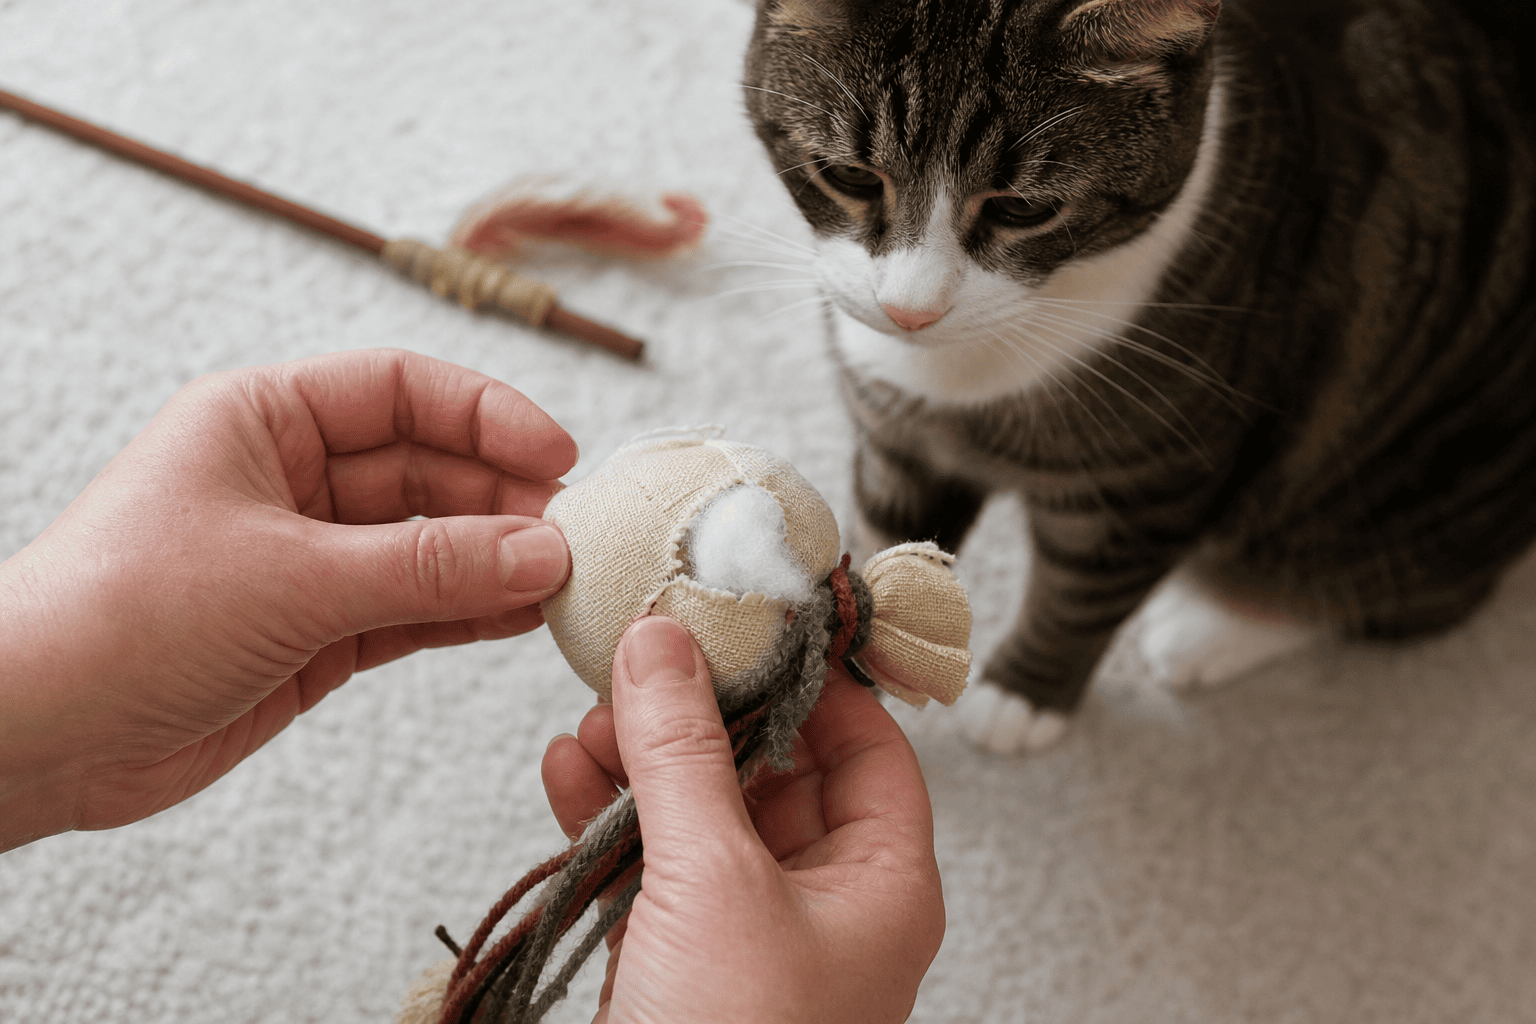
    Hands inspecting a homemade fabric cat toy for loose seams
    Homemade toys need the same rule as store-bought toys: inspect before play, inspect after play, and retire early.

    For cats that destroy homemade toys in minutes, durability may mean changing the role of DIY. Use homemade boxes and puzzles for searching and pouncing, then hand off to a tougher store-bought capture toy for the biting and kicking phase. That gives the cat variety without asking cardboard or paper to absorb the hardest part of play.

    A 20-Minute Homemade Play Routine

    A toy by itself is less useful than a routine. This structure works well for many indoor cats and is easy to adjust for age, fitness, and confidence.

    1. Set the room: remove cords, plants, breakables, food wrappers, and small objects from the play area.
    2. Start with search: put a few kibble pieces in a cardboard tube puzzle or under crumpled paper.
    3. Add stalking: move a wand lure around a box opening or behind a towel edge.
    4. Offer chase: toss a paper ball or move the lure away from the cat in short bursts.
    5. Give capture: let the cat grab a fabric kicker, soft toy, or safe lure instead of your hand.
    6. Cool down: finish with a small food puzzle, meal portion, or calm grooming if your cat enjoys it.
    7. Inspect and store: throw away damaged cardboard, put wand toys away, and check fabric toys for seams or missing pieces.

    Short sessions are usually better than one long chaotic session. Stop before your cat gets frantic, panting, irritated, or so wound up that they redirect onto your hands or another pet. For higher-energy cats, repeat shorter sessions through the day.

    When Store-Bought Is the Safer Choice

    Homemade toys are not always the frugal or safer option. If your cat has a history of swallowing fabric, string, plastic, or rubber, you may need fewer toys, stricter storage, and more purpose-built options that can survive the way your cat actually plays. If your cat obsessively chews non-food objects, discuss it with your veterinarian because pain, stress, diet, compulsive behavior, or gastrointestinal issues can all change the safety picture.

    Store-bought can also be better for specific jobs: battery-safe automatic toys, washable puzzle feeders, heavier kickers, stable scratchers, and products with fewer detachable pieces. The buying standard stays the same. Avoid impossible claims, inspect before and after play, and replace toys before damage turns into ingestion risk.

    Quick Homemade Cat Toy Checklist

    • Is every part too large for my cat to swallow?
    • Did I remove staples, tape, handles, plastic film, labels, and loose coating?
    • Are there any strings, ribbons, yarn strands, rubber bands, bells, beads, feathers, or glued decorations?
    • Can I inspect the whole toy in under a minute?
    • Do I know whether this is supervised-only or safe to leave out for this specific cat?
    • Will the toy fail visibly, or could hidden pieces come loose?
    • Have I watched how my cat bites, kicks, carries, and damages it?
    • Do I have a replacement plan before the toy becomes soggy, torn, sharp, or bite-sized?

    The best homemade cat toys are not elaborate craft projects. They are simple enrichment tools that match your cat’s prey drive, mouth, claws, and habits. Start with cardboard, paper, fabric, and food puzzles. Supervise the first sessions. Retire early. For cats who hit hard, let homemade toys create the hunt, then use tougher, inspectable toys for the catch.

    Sources

  • DIY Cat Toys: Safer Homemade Ideas for Indoor Cats and Rough Players

    DIY Cat Toys: Safer Homemade Ideas for Indoor Cats and Rough Players

    DIY cat toys can be simple, cheap, and genuinely useful: cardboard boxes, toilet paper rolls, paper bags with handles removed, washable fabric kickers, and food puzzles can all give indoor cats something to stalk, paw, chase, and solve. The catch is safety. A homemade toy is only a good toy if it matches how your cat actually plays and if you inspect it before small parts, string, stuffing, tape, or shredded cardboard become a swallowing risk.

    For gentle cats, DIY toys are a great way to add variety without buying a new toy every week. For cats that chew, rabbit-kick, rip seams, or destroy ordinary toys, DIY projects need stricter rules: bigger pieces, fewer dangling parts, supervised sessions, and a clear retirement point.

    What Makes a Good DIY Cat Toy?

    A good homemade cat toy does one clear job. It may make food more interesting, give your cat something to pounce on, create a hiding-and-ambush setup, or provide a safe target for kicking. The best DIY toys are also easy to inspect. If you cannot tell whether a seam is opening, a knot is loosening, or a glued part is coming off, it is not a good unsupervised toy.

    Useful DIY toys usually share a few traits:

    • They are sized for your cat. Pieces should not be small enough to swallow or wedge in the mouth.
    • They avoid loose decorations. Skip plastic eyes, bells, beads, sequins, staples, and fragile glued-on parts.
    • They use simple materials. Cardboard, paper, clean cotton fabric, fleece, and washable socks are easier to judge than mystery plastics or brittle craft pieces.
    • They support a real play sequence. Cats want to stalk, chase, pounce, grab, bite, kick, and finish the game.
    • They can be retired quickly. If the toy starts shedding, tearing, or exposing stuffing, it should leave the rotation.

    If your cat destroys store-bought toys, start with Titan Claws’ guide to chewy cat toys and the safety notes in safe cat chew toys. DIY toys can add enrichment, but rough players need materials and supervision chosen with chewing in mind.

    The Safety Rules Before You Start

    Most DIY cat toy articles list ideas. Fewer explain when those ideas should not be used. That is the important difference for cats that play hard.

    Cornell Feline Health Center notes that toys encourage exercise and cognitive enrichment, but it also cautions owners to avoid small pieces and strand-like parts such as feathers or string that can separate and be ingested. VCA Animal Hospitals also warns that cats may swallow thread, yarn, rubber bands, paper, plant material, and small toys, and that string-like foreign bodies can become dangerous if they anchor in the mouth, stomach, or intestines.

    • Use string only when you are holding the toy. Put wand toys and string toys away after play.
    • Remove bag handles. Paper bags are fun, but handles can trap a head, leg, or body.
    • Avoid rubber bands and hair ties. They are easy to chew and swallow.
    • Skip staples and pins. Use folded cardboard, tight knots, or stitching instead.
    • Be careful with tape. Tape can peel, collect hair, and become chewable. If tape is needed, keep it outside the chewing area and inspect it closely.
    • Do not use essential oils. Cats groom themselves and are sensitive to many compounds people use for scent.
    • Retire anything wet, dirty, frayed, sharp, or shredded. Homemade toys are supposed to be replaceable.
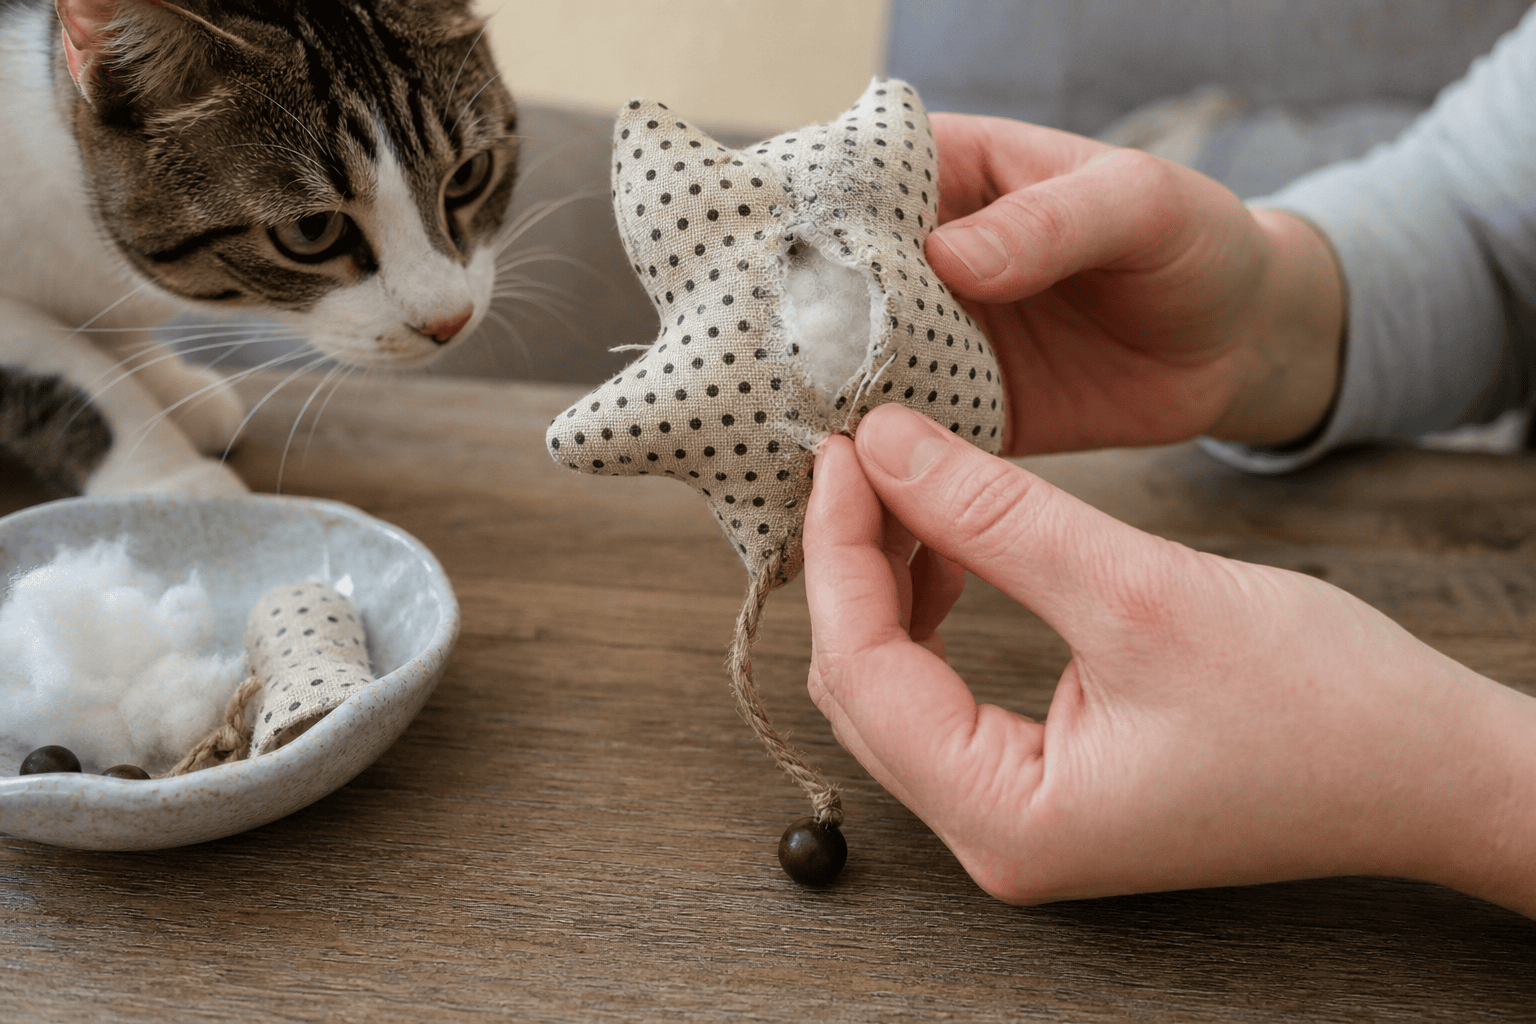
    Hands inspecting a homemade cat toy for loose seams and small parts
    Inspect homemade toys before and after play, especially if your cat chews, shreds, or tries to swallow pieces.

    Easy DIY Cat Toys That Are Worth Making

    These projects use common household materials and can be adjusted for gentle cats or rough players.

    1. Toilet Paper Roll Treat Puzzle

    Put a few pieces of kibble or dry treats inside an empty toilet paper roll, fold the ends loosely, and cut one or two holes large enough for food to fall out. Let your cat bat it around and work for the reward.

    Best for: indoor cats that need slower feeding, puzzle enrichment, or solo pawing practice. Watch for: chewing the tube into small wet pieces. If your cat eats cardboard, use this only under supervision or skip it.

    2. Cardboard Foraging Box

    Place several toilet paper rolls upright in a shallow box, drop a few treats among the tubes, and let your cat reach, paw, and sniff. You can also crumple plain packing paper into loose balls and hide kibble between them.

    Best for: cats that like searching more than sprinting. Watch for: tape, staples, sharp cut edges, or a cat that tries to chew and swallow the cardboard instead of pawing through it.

    3. Paper Bag Ambush Tunnel

    Use a plain paper grocery bag with the handles removed. Open it on its side and drop a toy just outside the entrance so your cat can stalk from cover. For extra stability, fold the opening once to keep it from collapsing.

    Best for: stalkers and pouncers. Watch for: handles, glossy coatings, food residue, and cats that rip bags into chewable strips.

    4. Fleece Kicker Roll

    Roll a rectangle of fleece or sturdy cotton around a smaller fabric core, then stitch the long edge and both ends closed. Make it long enough for your cat to hug with the front paws and kick with the back feet. Catnip can be added if your cat responds well to it, but keep the fill modest and contained.

    Best for: grabbers, kickers, and cats that need a better target than your hands. Watch for: loose seams, exposed filling, or fabric that pills and sheds under chewing.

    5. Sock Crinkle Toy

    Put a small amount of clean packing paper inside a washed sock, knot the open end tightly, and trim excess fabric if it creates a dangling strip. Keep it large enough that your cat cannot swallow it and simple enough to inspect.

    Best for: cats that like sound and batting. Watch for: plastic bags, loose threads, and socks thin enough for teeth to puncture quickly. Avoid plastic grocery bag pieces inside the toy.

    6. Wand-and-Catch Game

    Tie a wide strip of fleece to a dowel or wand and use it only while you are actively playing. Drag it away from the cat, pause behind furniture, then end the chase by letting your cat catch a separate kicker toy or treat.

    Best for: high-energy cats that need movement. Watch for: string chewing, elastic, feathers, and leaving the wand out after play. For more structured prey-play ideas, see cat toys for hunting and cat toys that move.

    DIY Toys for Cats That Get Bored Indoors

    Indoor cats often need variety more than complexity. The ASPCA’s feline DIY enrichment guidance emphasizes food enrichment, environmental enrichment, boxes, tubes, and active supervision. AAHA also frames DIY toys as a way to support mental and physical well-being by encouraging curiosity, exercise, and natural hunting behavior.

    A simple weekly DIY rotation can work better than leaving a pile of homemade toys on the floor:

    • Monday and Tuesday: toilet paper roll puzzle at mealtime, then remove it.
    • Wednesday: paper bag ambush setup during supervised evening play.
    • Thursday: fleece kicker after wand play so your cat has a safe catch target.
    • Friday: cardboard foraging box with a few treats or part of dinner.
    • Weekend: box tunnel, hallway tosses, and inspection of all toys before anything goes back into storage.

    This kind of rotation pairs well with the broader routines in cat enrichment activities, cat toys for enrichment, and cat toys for bored cats. DIY toys should be part of a full environment that includes scratching, climbing, hiding, food puzzles, and daily human play.

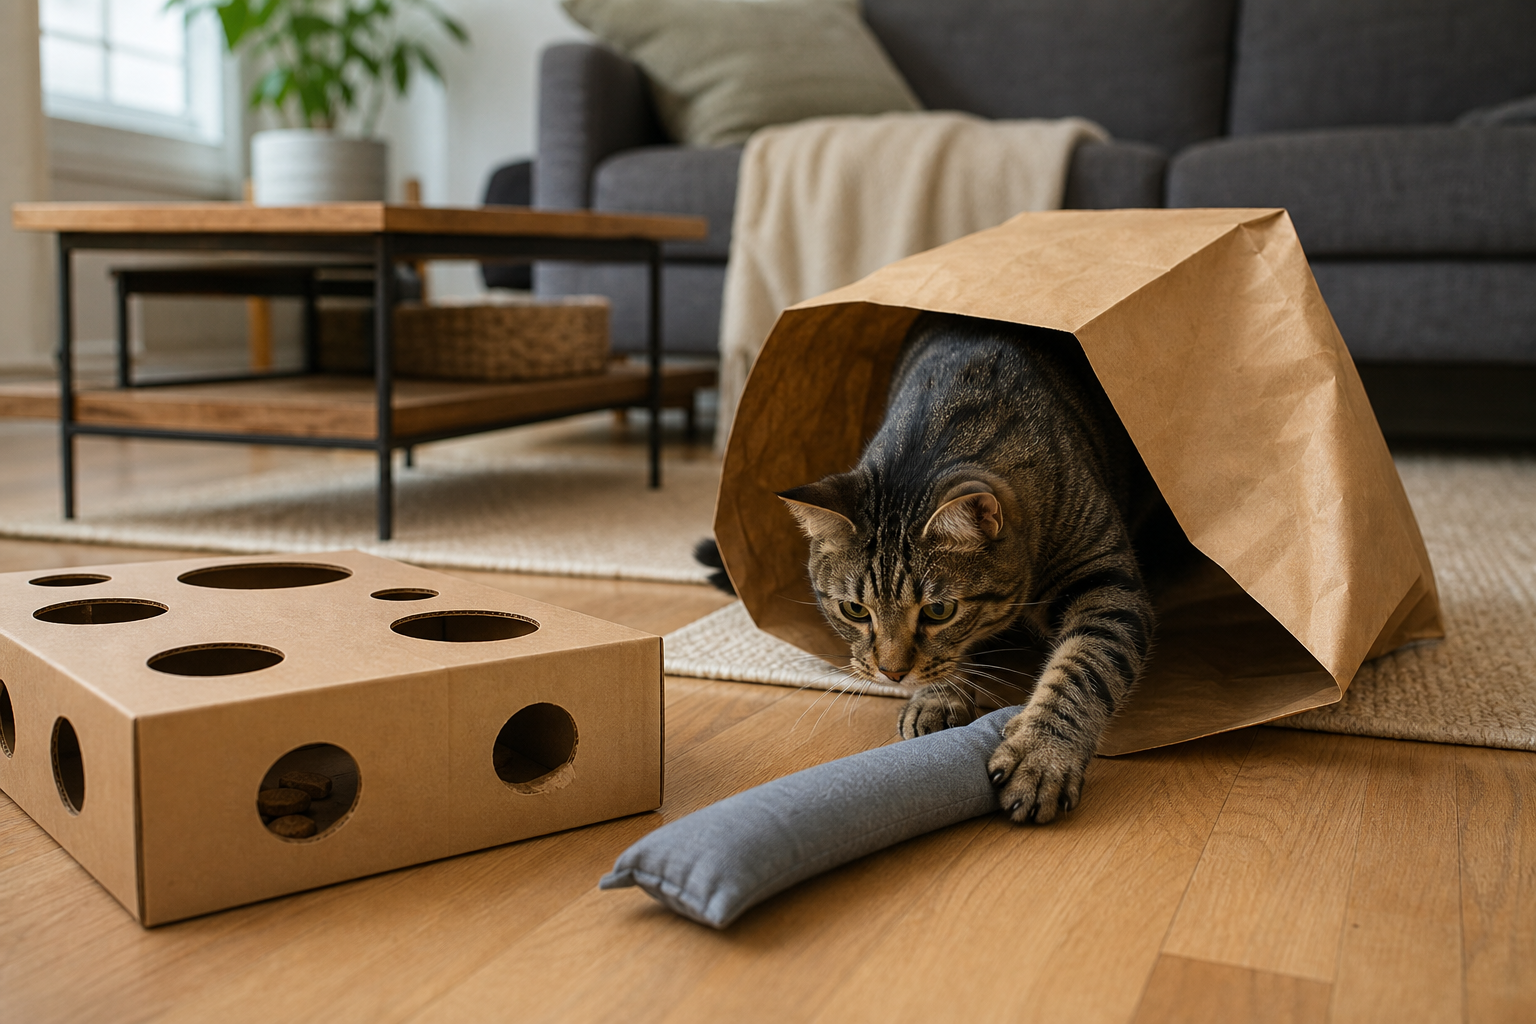
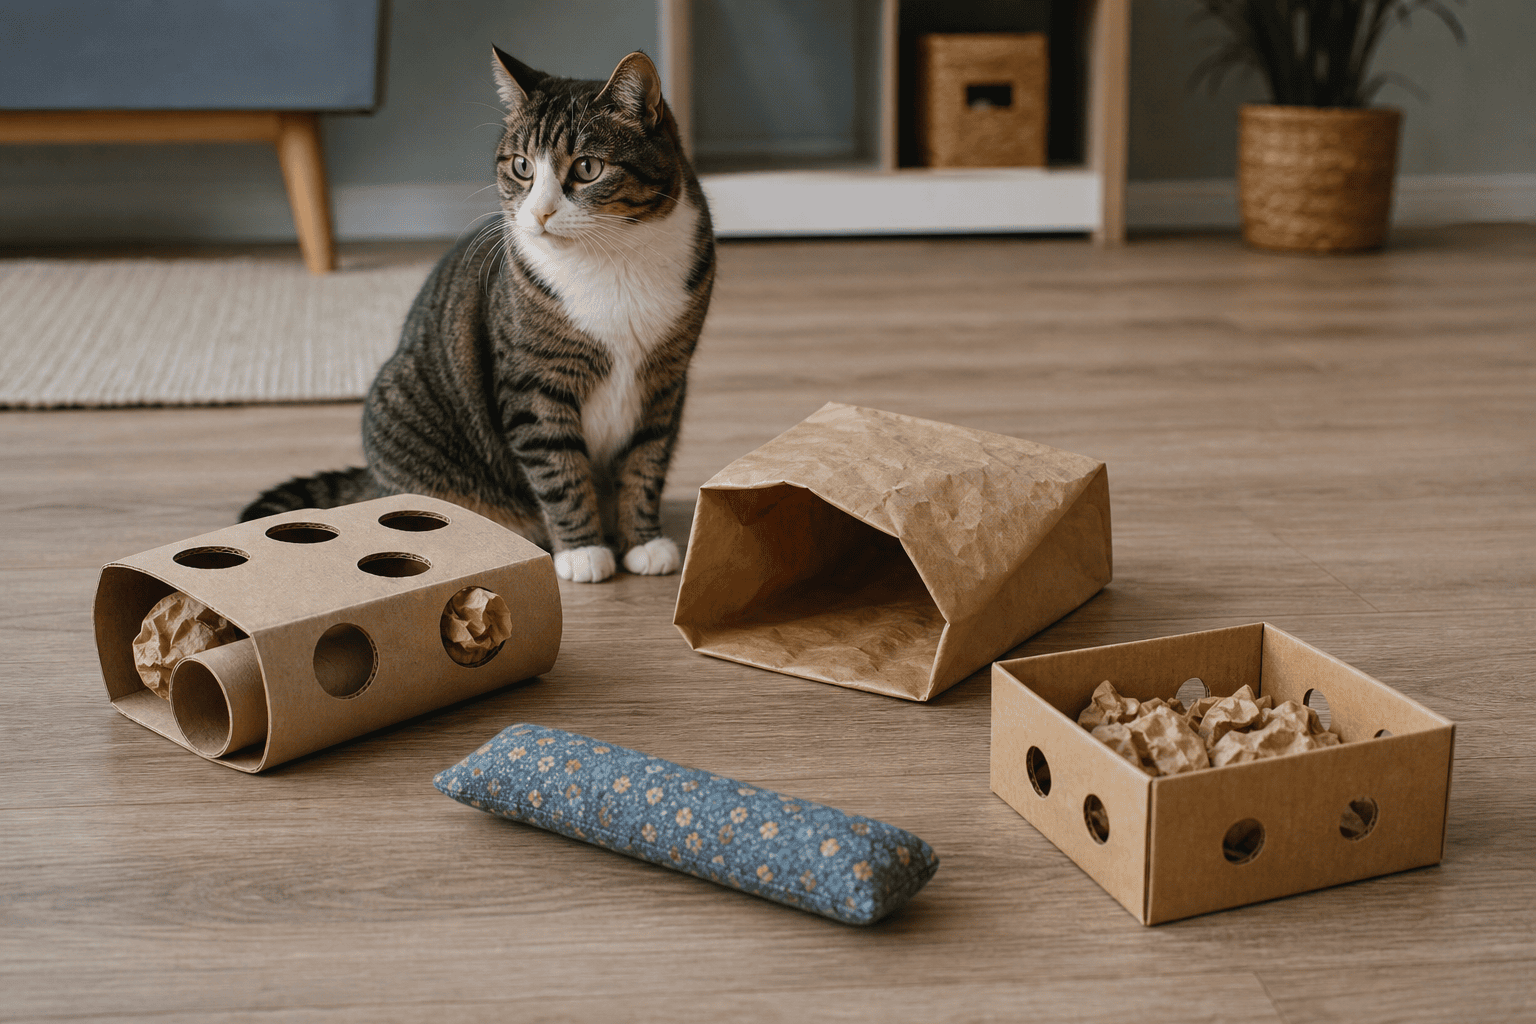
    DIY cat toy rotation with cardboard rolls paper bag fabric kicker and puzzle box
    A small DIY rotation keeps enrichment fresh and makes damaged toys easier to spot.

    What Current DIY Toy Lists Often Miss

    Many ranking DIY cat toy articles are useful for inspiration, but they often treat all cats as gentle players. That leaves out the owner whose cat bites through plush, pulls feathers off wands, eats string, shreds cardboard, or opens weak seams. For those cats, the question is not just “can I make this?” It is “what happens when my cat wins the toy?” A homemade toy does not have to last forever. It does need to fail visibly, retire easily, and avoid parts that become hidden hazards.

    When to Choose a Store-Bought Toy Instead

    DIY toys are excellent for rotation and enrichment, but choose a well-made store-bought toy when the toy needs consistent stitching, washable construction, enclosed moving parts, or a shape that stands up better to kicking and biting. Store-bought is often the better call for cats who swallow cardboard, rip seams in one session, chew elastic, or need a puzzle feeder that is washable and harder to dismantle.

    For food puzzles specifically, compare homemade foraging boxes with the setup advice in puzzle cat toys. A cardboard puzzle is fine for a cat that paws delicately. A washable puzzle may be safer for a cat that chews the puzzle itself.

    How to Inspect Homemade Cat Toys

    Inspection should be fast enough that you actually do it. Use a simple pass-fail check.

    1. Before play, tug on seams and knots. If anything loosens, fix it or retire it.
    2. Check for swallowable pieces. Look for torn cardboard tabs, loose knots, small fabric scraps, and detached paper bits.
    3. Feel for sharp edges. Cut cardboard can become rough after chewing.
    4. Look for moisture. Wet cardboard, drool-soaked fabric, or dirty paper should be discarded.
    5. Watch the first minute. If your cat tries to eat the toy instead of playing with it, take it away.
    6. Inspect again after play. This catches new damage.

    If your cat vomits, stops eating, strains to defecate, becomes lethargic, paws at the mouth, or you suspect a swallowed string or toy piece, contact a veterinarian promptly. Do not pull a string from your cat’s mouth or rectum.

    Quick DIY Cat Toy Checklist

    • The toy has one clear purpose: chase, pounce, kick, forage, hide, or solve.
    • No staples, pins, beads, plastic eyes, rubber bands, or loose bells are used.
    • String, ribbon, yarn, feathers, and elastic are only used during supervised play.
    • Paper bags have handles removed.
    • Cardboard toys are removed if your cat chews and swallows pieces.
    • Fabric toys are retired when seams open.
    • The toy is large enough that your cat cannot swallow it.
    • You inspect before and after play.

    The Bottom Line

    DIY cat toys are worth making because they give cats novelty, problem-solving, and hunting-style play without much cost. The safest options are simple, inspectable, and matched to your cat’s habits: cardboard puzzles for pawers, paper bag ambush setups for stalkers, fleece kickers for grabbers, and supervised wand games for chasers.

    For rough players, the standard is higher. Avoid small and stringy parts, supervise harder play, retire damaged toys quickly, and use durable store-bought options when homemade materials are not holding up. The goal is not a perfect homemade toy. The goal is a steady rotation of safe challenges that keeps your indoor hunter busy without turning playtime into a swallowing hazard.