Tag: diy cat toys

  • Are 3D Printed Cat Toys Safe? A Maker’s Checklist

    Are 3D Printed Cat Toys Safe? A Maker’s Checklist

    3D printed cat toys can be suitable for supervised play when the design is large, simple, smooth, and strong—but no filament is automatically cat-safe. The finished object matters as much as the material. Layer separation, sharp support scars, small articulated links, trapped debris, coatings, and a cat’s chewing style can turn an appealing print into a swallowing or injury hazard.

    For a cat that mainly bats objects, a carefully made rolling toy, track, or broad puzzle may be reasonable. For a cat that clamps down, gnaws plastic, or destroys ordinary toys, skip rigid printed mouth toys. Use the printer for a stable base, holder, mold, or storage accessory instead, and give the cat a larger purpose-built capture toy for biting and bunny-kicking.

    This guide gives makers and buyers a practical way to judge 3D printed cat toys without pretending that PLA, PETG, or TPU is universally safe. It covers design, filament documentation, print quality, cleaning, supervised testing, and the exact damage that means a toy is finished.

    The short answer: match the print to the cat

    Start with behavior, not the STL file. A toy that survives gentle paw taps from one cat may fail in seconds when another cat pins it, bites an edge, and rabbit-kicks it across tile. “My cat has used it for months” is useful experience, but it is not a safety test for every print, printer, filament batch, or cat.

    Your cat’s likely use 3D printed option Practical verdict
    Bats and chases without mouthing Oversized one-piece roller or captive-ball track Potentially reasonable for supervised trials if it cannot enter the mouth or break apart
    Paws food from a puzzle Broad, stable puzzle with large rounded openings Possible with documented material, a clean print process, short contact, and careful washing
    Grabs, bites, and bunny-kicks Rigid printed fish, mouse, or articulated figure Poor fit; hard edges and layer failure can become hazards
    Chews plastic or eats non-food items Any direct-contact printed toy Avoid; choose a different material and discuss repeated non-food eating with a veterinarian
    Needs a wand or kicker Printed handle, wall mount, or storage hook kept away from the mouth Use printing for the human-side hardware, not the cat’s bite target

    If you need a non-printed alternative for a forceful player, start with our guide to durable cat toys. It explains why size, construction, and failure mode matter more than a toughness label.

    What model galleries get right—and what they miss

    Current search results are full of clever rolling shapes, treat eggs, springs, articulated fish, and motorized projects. That is excellent for inspiration. Printables’ cat-toy contest even tells entrants to avoid choking hazards and sharp parts. The gap is that a downloadable model is usually a geometry file, not a validated pet product.

    The same STL can produce very different objects. Nozzle size, wall count, layer height, print orientation, temperature, moisture in the filament, under-extrusion, supports, colorants, and post-processing all change the result. A five-star model rating may reflect printability or appearance rather than resistance to canine teeth and repeated impact.

    Articulated “print-in-place” toys deserve extra caution. Their appeal comes from many small joints and gaps—the same features that create thin links, pinch areas, break-off pieces, and surfaces that are difficult to inspect or clean. A decorative 3D printed cat, flexi dragon, keychain, or fidget is not a cat toy just because a cat notices it.

    Never hand these to a cat

    • Failed prints, purge lines, brims, rafts, support fragments, calibration shapes, or loose filament
    • Miniatures, keychains, articulated figures, narrow springs, thin lattice shapes, or anything that can fit deeply into the mouth
    • Objects with magnets, bearings, bells, batteries, metal hardware, glued decorations, or accessible fasteners
    • Prints with sharp corners, stringing, rough support scars, cracks, gaps, or pieces rattling inside
    • Uncured, tacky, strongly odorous, or incompletely post-processed resin prints
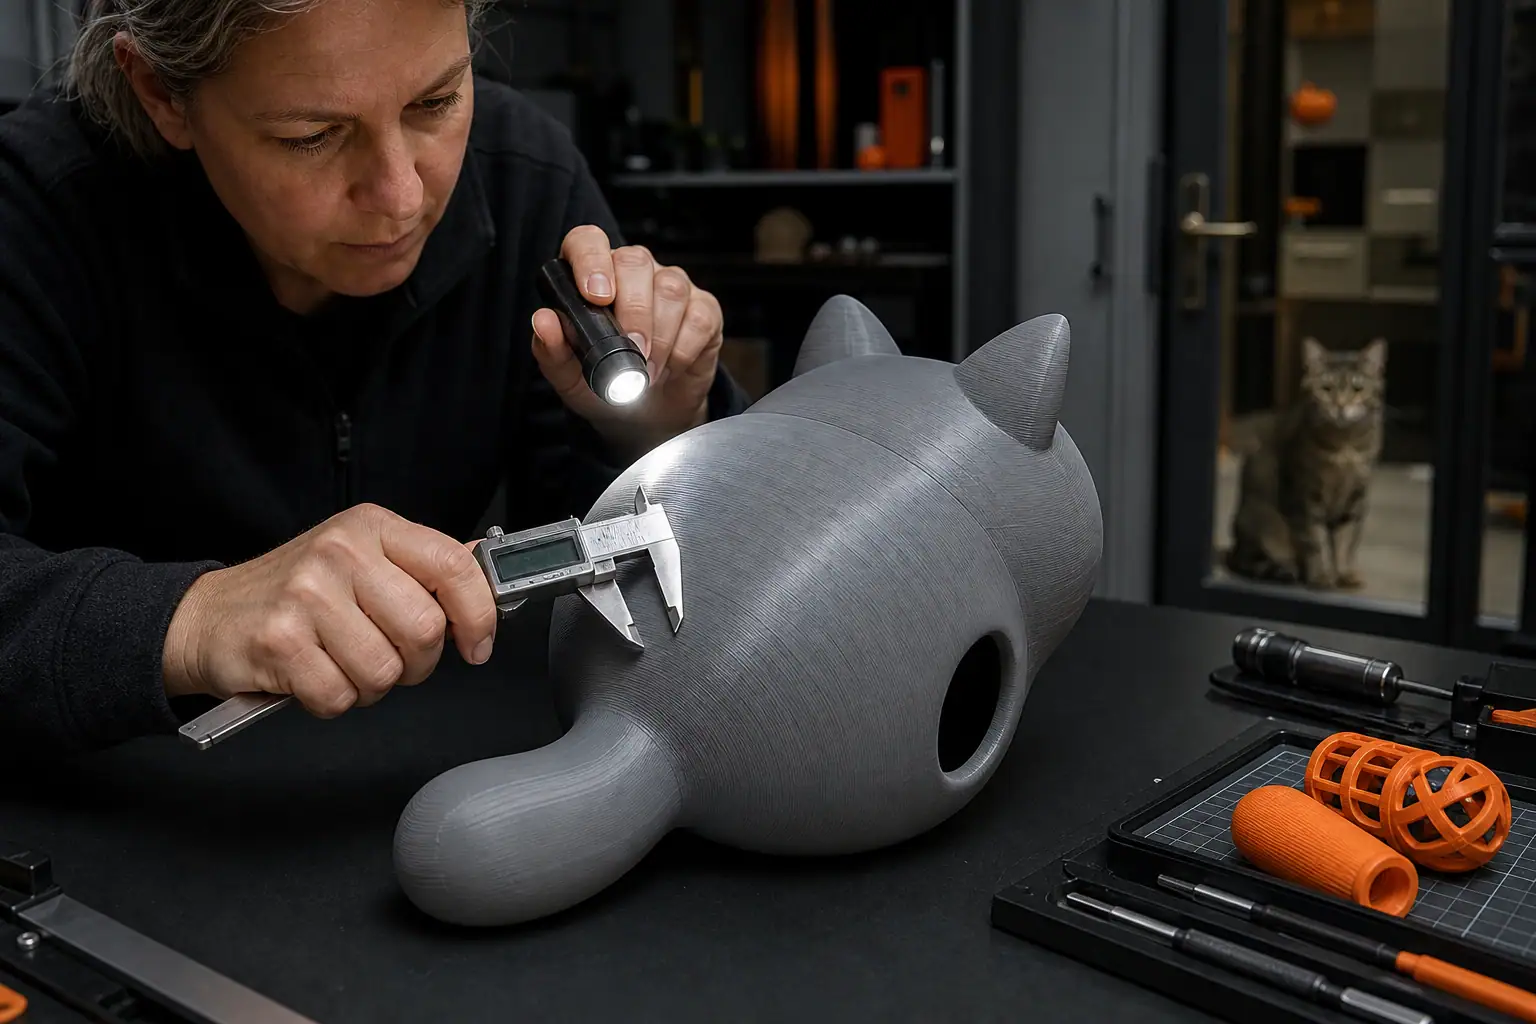
    Maker checking a rounded 3D printed cat toy with calipers and a bright inspection light
    Inspect the finished object, not just the STL preview: size, openings, layer adhesion, edges, and trapped support material all matter.

    Use a finished-print checklist, not a filament shortcut

    A label such as PLA or PETG names a polymer family; it does not disclose every pigment, modifier, processing aid, recycled component, or contamination path. Ask the filament manufacturer for the current technical data sheet and safety data sheet for the exact product and color. If a seller cannot identify the filament, printer process, and finishing method, treat that uncertainty as a reason to pass.

    Claims such as “natural,” “biodegradable,” “food safe,” and “non-toxic” do not mean bite-proof, swallow-safe, or tested for feline use. Even documentation for food contact addresses a different use case. It does not evaluate claws, tooth pressure, impact on a hard floor, small-parts release, or what happens after weeks of wear.

    Material Why makers consider it Cat-toy concerns Titan Claws take
    PLA Easy to print; crisp shapes; widely available Usually rigid; thin sections or poor layer bonds can crack; formulations and pigments vary Consider only for large, simple supervised batting or puzzle designs—not a chew target
    PETG Often tougher and less brittle than basic PLA Can string, deform, split at weak layers, and still release pieces; additives vary Better impact behavior does not make it automatically pet-safe
    TPU or flexible filament Flexible and resilient A determined cat may slice, stretch, or swallow flexible pieces; hardness and additives vary widely Do not assume “rubbery” means chew-safe; verify the exact grade and supervise
    ABS, ASA, nylon, or specialty blends Useful engineering properties More process variables and less reason to experiment in a mouth-contact toy without specific documentation Use for non-contact hardware when appropriate, not as a casual pet-toy upgrade
    Wood-, metal-, carbon-, glow-, or sparkle-filled filament Distinctive appearance or stiffness Extra particles, roughness, abrasives, and opaque formulations add uncertainty Avoid for direct cat contact
    Photopolymer resin Fine detail and smoother-looking surfaces Uncured resin and incomplete post-processing are hazards; thin detailed parts may be brittle Not our choice for a cat toy

    Prusa’s food-contact printing guidance highlights layer grooves, unknown pigments and additives, nozzle wear, and incomplete resin curing as reasons material choice alone is not enough. Food contact is not the same as cat play, but those manufacturing questions are directly relevant when saliva or treats touch a print.

    Design a lower-risk 3D printed cat toy

    If the cat’s behavior and your material documentation support a trial, favor boring engineering over intricate novelty. The strongest candidate is oversized, one piece, easy to see under furniture, and simple enough to inspect from every angle.

    1. Scale against the cat, not the screen. Make the whole object too large to swallow and eliminate detachable elements. Size every opening so the lower jaw, paw, claw, or toe cannot become trapped.
    2. Round every transition. Remove points, thin ears, whiskers, hooks, narrow handles, and decorative projections. Generous radii reduce stress concentrations as well as sharp contact.
    3. Build thick, continuous walls. Avoid delicate shells, sparse exposed lattices, and geometry that places the main bite or impact force across weak layer lines.
    4. Keep the mechanism captive. If movement is essential, contain it inside a structure that cannot open during play. Do not add a small loose rattle after printing.
    5. Make all surfaces reachable. Blind cavities can hold support fragments, moisture, old food, or cleaning residue. If you cannot inspect and dry the inside, do not use it for treats.
    6. Reject rather than repair. Do not patch a cat-contact print with household glue, tape, staples, or an unverified coating. A repair adds a new failure point and new chemistry.

    For a food puzzle, use a small portion of the cat’s normal diet, keep contact brief, and wash and dry the object promptly. Layered prints can be difficult to sanitize completely; if odor, film, staining, swelling, or grime remains in the grooves, retire the puzzle. Our material-by-material cat toy cleaning guide can help you build a consistent cleaning routine.

    Print and finish it away from your cat

    Cat safety starts before play. Keep cats away from the printer, hot end, moving gantry, resin, alcohol, tools, waste bin, loose filament, and tiny clipped fragments. Store spools and scraps in closed containers; a filament strand can act like any other dangerous linear foreign object if swallowed.

    The U.S. National Institute for Occupational Safety and Health notes that plastic 3D printing can release ultrafine particles and gases, with emissions varying by printer and material. Its safe 3D printing guide recommends exposure controls such as appropriate ventilation and following printer and material instructions. A closed, ventilated work area also prevents a curious cat from reaching the machine and its waste.

    After printing, remove supports and strings completely, but do not carve the walls thin. Wash according to the material maker’s directions, rinse if appropriate, and dry fully. Then use bright side lighting and your fingers to check the entire object. Flex or press it only within its intended use; any ticking sound, whitening, layer movement, crack, or shifting insert is a rejection.

    Pre-play maker check

    • Exact filament brand, type, color, and batch are documented
    • Print completed without under-extrusion, layer gaps, warping, or loose internal debris
    • All surfaces and openings are visible, smooth, washable, and fully dry
    • No part fits deeply into the cat’s mouth or can detach under hand pressure
    • No string, wire, battery, magnet, bell, adhesive, paint, or unverified coating is present
    • A safer non-printed toy is ready if the cat tries to chew the object
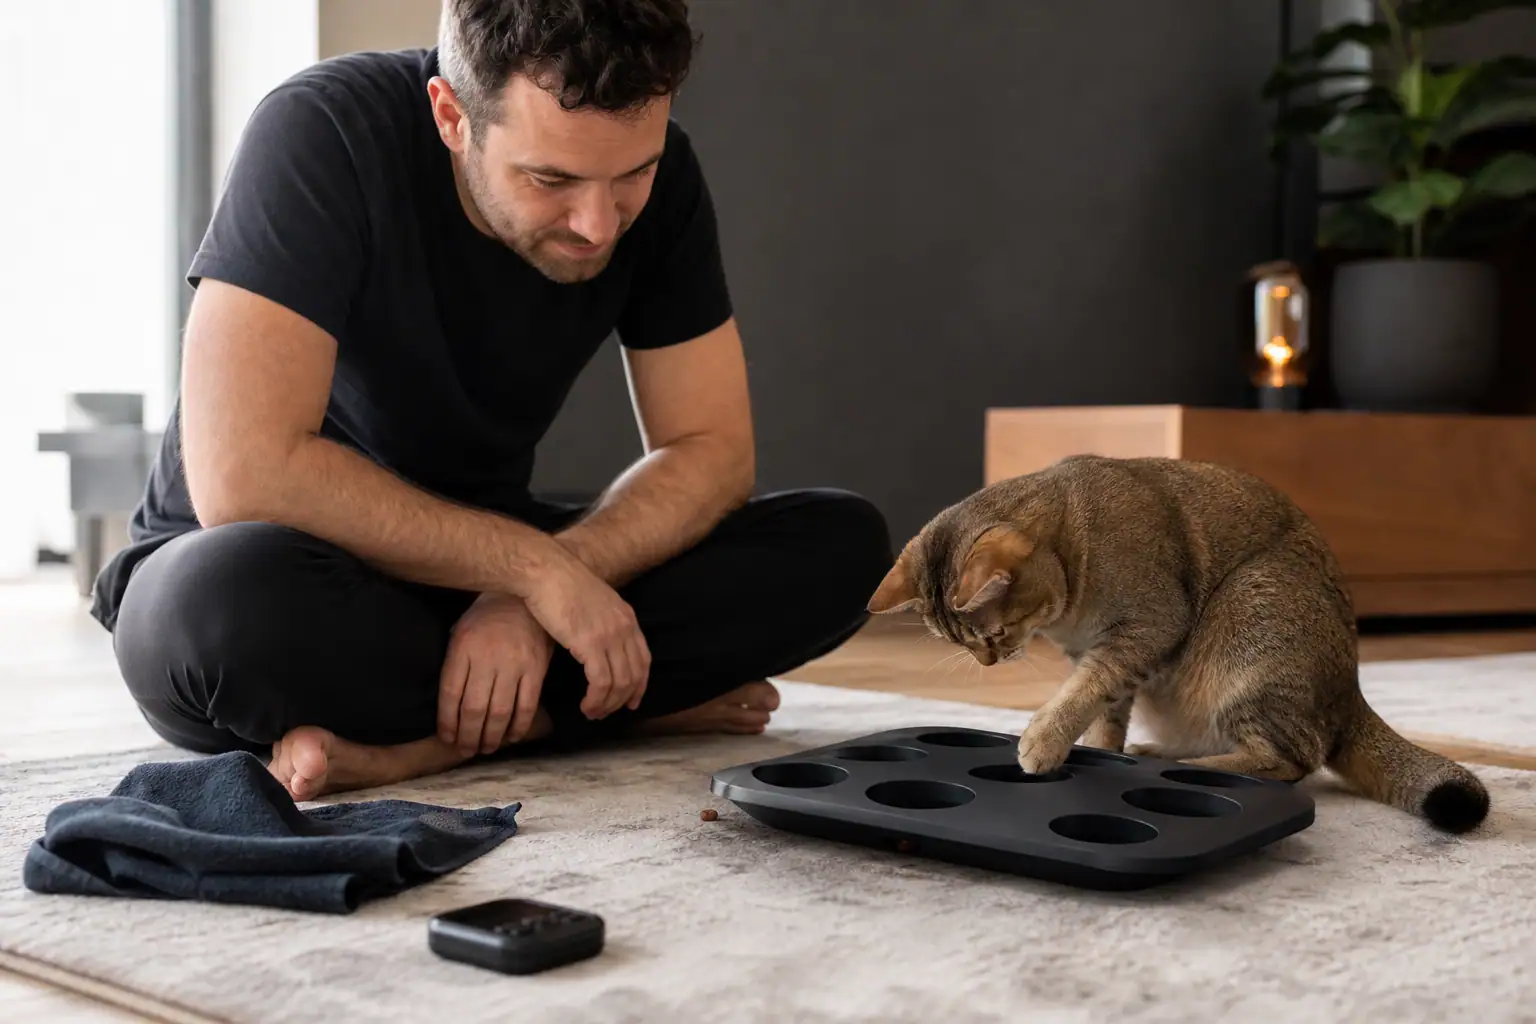
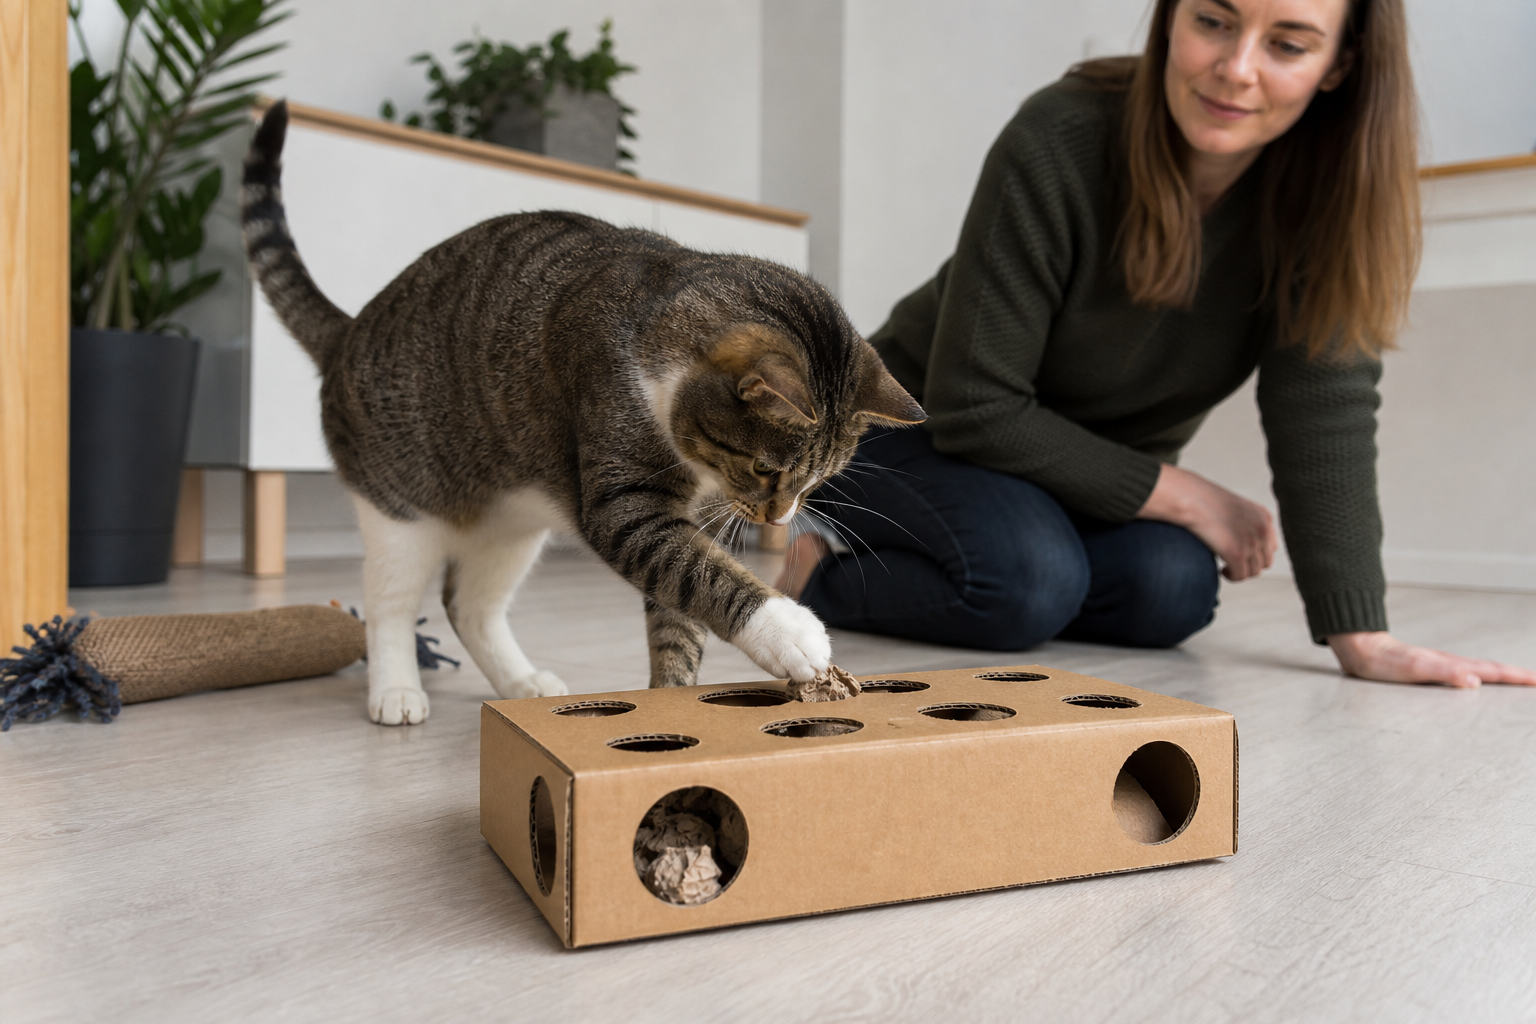
    Owner observing a cat during a short first play test with a 3D printed puzzle toy
    The first session is a test: watch how your cat uses the object, then inspect it again before deciding whether it belongs in the rotation.

    Run a five-minute first-session test

    The first play session is product testing, not proof that the toy can be left out. Choose a clear floor, remove other distractions, and keep the session to about five minutes. Let the cat approach; do not rub catnip on the print or push it toward the face just to create interest.

    1. Watch the first contact: paw tap, sniff, lick, carry, bite, or full-body grab.
    2. Stop immediately if the cat puts an edge behind the canine teeth, gnaws repeatedly, traps a jaw or claw, or tries to carry a small component away.
    3. Notice sound and movement. A hard, fast roller can collide with teeth, furniture, stairs, another animal, or a person even when the object stays intact.
    4. End while play is still controlled, then compare the print with clear “before” photos under bright light.
    5. Check for tooth dents, raised layers, stress whitening, fuzz, chips, sharp scuffs, cracks, and new movement between sections.

    If the print passes, keep using it only under the level of supervision its design and your cat require. Do not promote it to unattended play because it survived once. For independent-play decisions, use our leave-out test for self-play cat toys; many printed designs should remain session-only items.

    Rotate the printed item with prey-like wand play, a large kicker, and other textures rather than asking one hard object to meet every hunting need. The AAFP/ISFM environmental needs guidelines support opportunities for play and predatory behavior, including chances to capture the “prey.” A varied routine is more useful than a shelf full of novel prints.

    When to replace the print—or call a veterinarian

    Retire a 3D printed cat toy at the first structural change. Do not wait until a chip comes off. Raised layer lines, a spreading crack, a sharp scrape, tooth penetration, stress whitening, delamination, trapped odor, or an opening that has changed shape all mean the object is no longer the one you evaluated.

    Cornell’s feline toy guidance advises avoiding small parts and strand-like pieces that may separate and be ingested. If any fragment, filament strand, magnet, battery, or hardware is missing, remove the toy and call your veterinarian for advice. Bring the remaining object, packaging or filament information, and photos.

    Seek urgent veterinary care for trouble breathing, repeated gagging or vomiting, heavy drooling, obvious mouth pain, a swollen or painful abdomen, loss of appetite, unusual lethargy, straining to pass stool, or known swallowing of a sharp or linear piece. Do not induce vomiting or pull material hanging from the mouth or anus unless a veterinarian instructs you to do so.

    3D printed cat toy FAQ

    Is PLA okay for cats?

    “PLA” alone is not enough information to approve a cat toy. The exact formulation, colorants, print process, geometry, layer adhesion, finish, size, and your cat’s behavior all matter. A large, simple PLA object may be considered for supervised paw play after careful checks; it is not a suitable chew toy merely because the base polymer is PLA.

    What are the best 3D printed cat toys?

    The better candidates are simple, oversized, one-piece objects used for supervised batting or paw-based puzzles. Avoid articulated animals, small balls, springs, thin mice, keychains, complex treat chambers, and anything designed to flex into many tiny joints. “Best” means easy to inspect and a good behavioral match, not the most elaborate model.

    Can I download a cat toy from Thingiverse, Printables, or MakerWorld and use it as-is?

    You can use a model as a starting point, but you are responsible for the finished object. Review the license, comments, updates, dimensions, openings, wall thickness, print orientation, and failure points. Then apply the same material, finishing, and supervised-session checks described here. Popularity is not pet-safety certification.

    Can I seal a print to make it cat-safe?

    Do not assume a coating solves the problem. It can add coverage gaps, curing errors, scratches, chips, and another substance for the cat to contact or swallow. Unless the complete finished system has reliable documentation for the intended use and you can inspect it throughout its life, choose an uncoated, non-printed alternative.

    Can I sell 3D printed cat toys?

    Selling raises responsibilities beyond a home experiment, including product design, repeatable manufacturing, traceability, warnings, testing, insurance, and the laws of the markets where you sell. A downloaded STL and a filament safety sheet are not a complete consumer-product safety program. Obtain qualified testing and legal guidance before marketing a print for pet use.

    Editorial note: This article provides general educational information, not veterinary, toxicology, engineering, or legal advice. No cat toy is indestructible. Supervise new toys, inspect them before and after rough play, and ask your veterinarian about risks specific to your cat.
  • Homemade Cat Enrichment Toys: Safe Ideas for Indoor Cats and Rough Players

    Homemade Cat Enrichment Toys: Safe Ideas for Indoor Cats and Rough Players

    Homemade cat enrichment toys are simple DIY setups that give a cat something useful to do: hunt, forage, paw, climb, hide, sniff, chase, grab, or kick. The safest homemade toys are not elaborate crafts. They are plain, inspectable objects that match your cat’s actual play style and can be thrown away before they become swallowing hazards.

    If your cat is gentle, a cardboard tube puzzle or paper foraging box may last several sessions. If your cat destroys ordinary toys, treat homemade enrichment as supervised play first. Rough players can chew through cardboard, pull tape loose, swallow string, or turn a food puzzle into a shredding project. The goal is not to make a homemade toy that lasts forever. The goal is to create a better outlet, watch the first use, and retire weak materials early.

    Start with one clear job for the toy, use clean materials, skip risky add-ons, and pair fragile DIY puzzles with sturdier supervised toys when your cat needs to bite and bunny-kick hard.

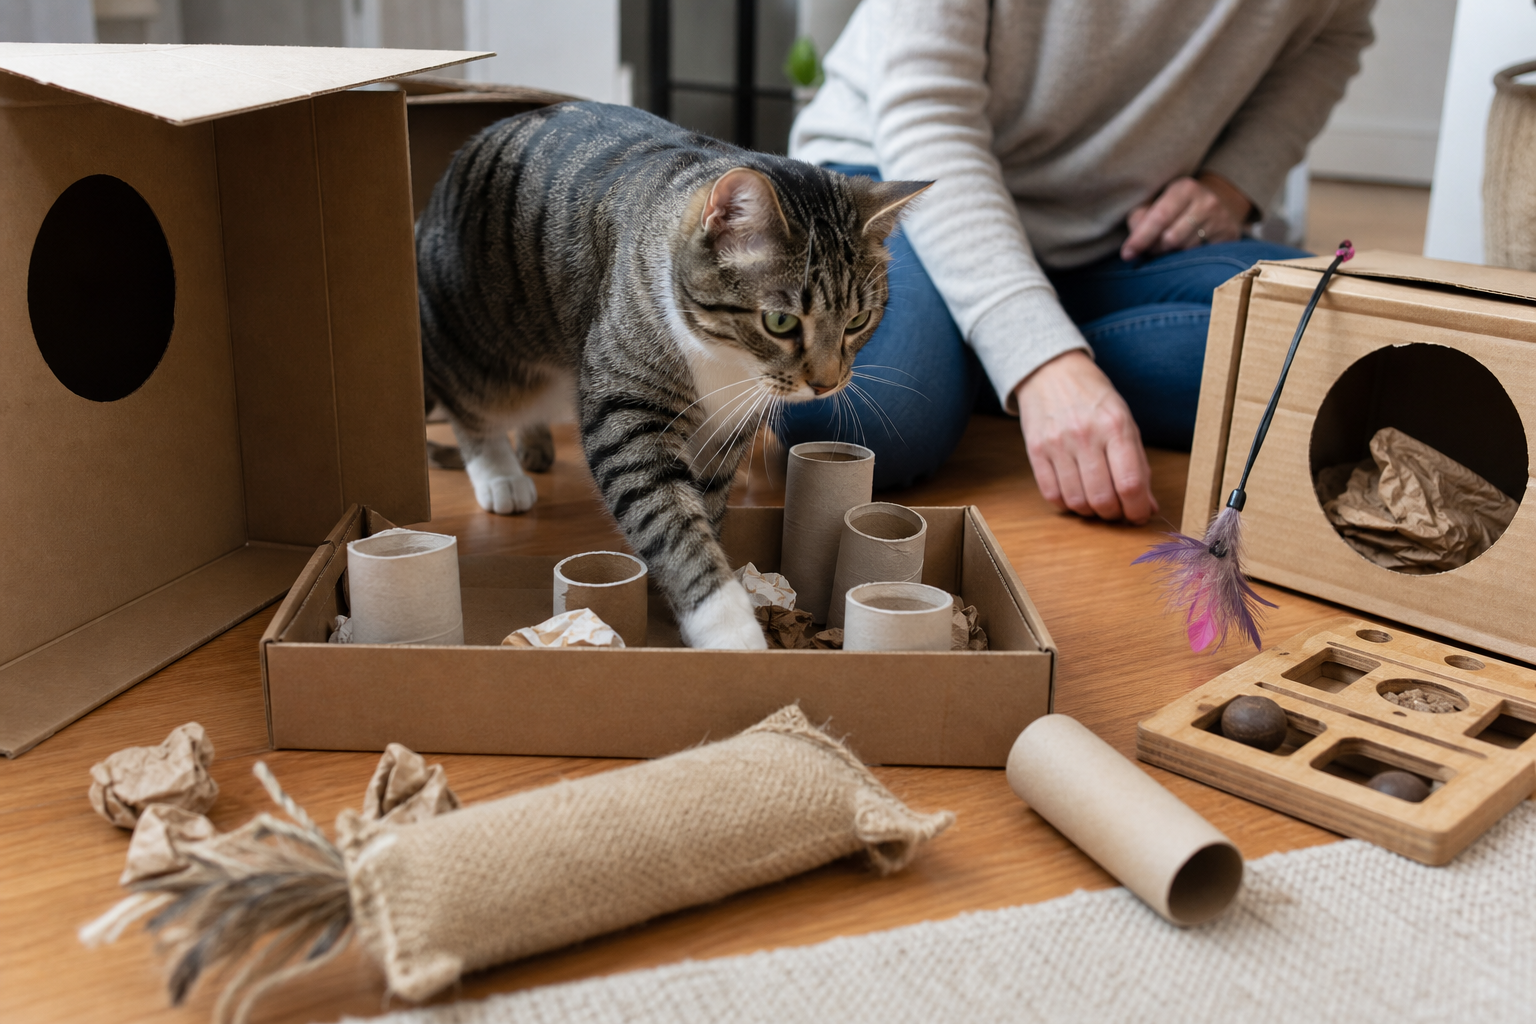
    Safe homemade cat enrichment materials arranged for inspection
    The best homemade enrichment materials are plain, easy to inspect, and simple to replace before they fail.

    What Current Homemade Enrichment Guides Get Right

    The top results for homemade cat enrichment toys usually get one big thing right: enrichment does not have to be expensive. The ASPCA shows food enrichment and cardboard projects such as reach feeders, slow feeders, houses, tunnels, and mazes. Humane shelter resources commonly recommend puzzle feeders, treat dispensers, cardboard hideouts, sensory games, and simple hide-and-seek. Those are useful ideas because they turn normal household materials into hunting and problem-solving opportunities.

    The gap is safety for forceful cats. Many lists tell you what to make, but they spend less time on what happens when a cat bites the tube flat, eats paper, pulls apart glued seams, or attacks a string attachment after the person leaves the room. Titan Claws readers often need that second layer: how to choose the right homemade idea for a rough player, how to supervise the risky parts, and when to switch from DIY cardboard to a tougher toy built for wrestling.

    Use the One-Job Rule

    Before building anything, decide what job the enrichment toy should perform. A vague toy that is supposed to “keep the cat busy” is harder to judge and easier to overcomplicate. A one-job toy is easier to make safely and easier to inspect afterward.

    • Foraging: the cat sniffs, paws, rolls, or searches for part of a meal.
    • Chasing: the cat stalks and pursues a moving target under supervision.
    • Catching and kicking: the cat grabs a legal target and rakes with the back feet.
    • Hiding and ambushing: the cat uses cover, boxes, tunnels, or furniture edges.
    • Scratching and shredding: the cat works claws against an appropriate surface.
    • Climbing and perching: the cat moves vertically and surveys the room.
    • Sniffing and investigating: the cat explores safe novelty, texture, or scent.

    The AAFP and ISFM environmental needs guidelines describe play and predatory behavior as part of a healthy feline environment. That includes toys, owner interaction, and feeding practices that require a cat to actively acquire food. Homemade enrichment works best when it supports those natural behaviors instead of dumping random objects on the floor.

    Five Homemade Cat Enrichment Toys to Try

    1. Cardboard reach feeder

    Use a shallow shoe box or drink box, several clean toilet paper tubes, and a small amount of kibble or treats. Cut snug holes in the lid, place the tubes upright, and drop food into the tubes so your cat has to reach and scoop. Start with just a few loaded tubes so the cat succeeds quickly.

    Safety notes: cut smooth openings, avoid staples, and do not use heavy tape where your cat can chew it loose. If your cat pulls out the tubes and eats cardboard, stop using this as a puzzle and try a washable commercial puzzle feeder or simple scatter feeding instead.

    2. Shallow foraging box

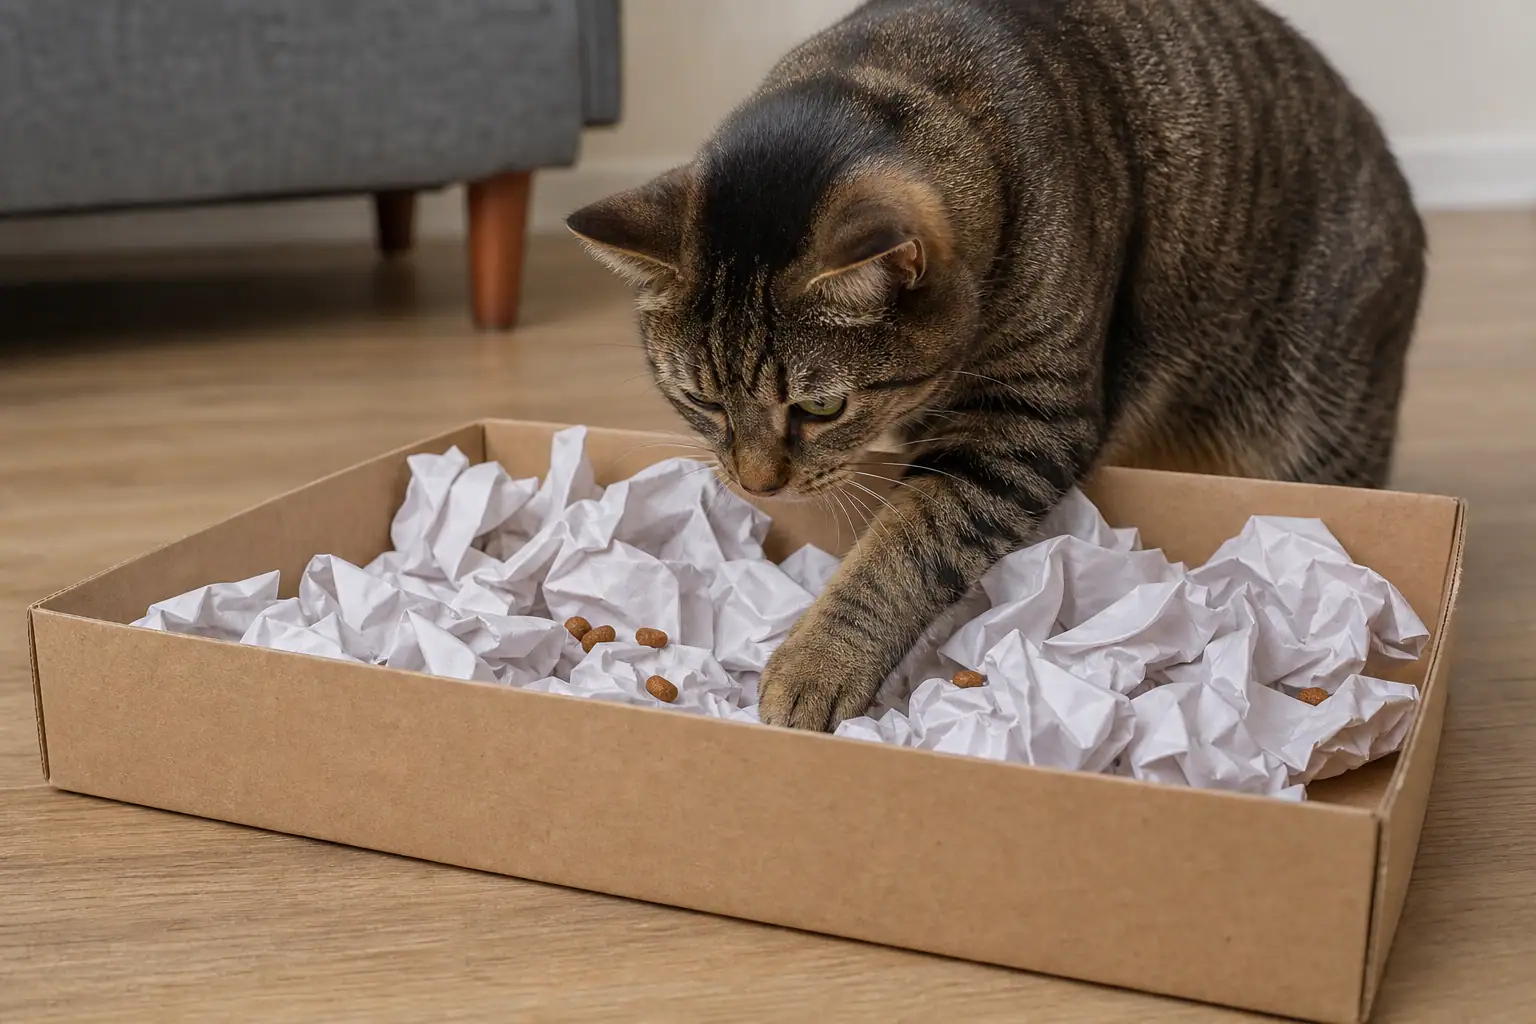
    Take a low cardboard box, remove handles, tape loops, staples, plastic windows, and loose labels, then fill it loosely with crumpled plain paper. Scatter a small portion of dry food or treats inside. The cat has to sniff, paw, and search, which turns food into work without much construction.

    Use a shallow box so you can see what your cat is doing. Avoid glossy mailers, plastic packing material, rubber bands, twist ties, scented packaging, dryer sheets, and anything that carried cleaners or chemicals.

    Cat pawing through a homemade foraging box with paper and kibble
    A shallow foraging box can turn part of a meal into sniffing, pawing, and searching.

    3. Paper tube treat roller

    Cut several kibble-sized holes into a paper towel tube, fold the ends inward, and add a few pieces of dry food. The tube should release food when your cat bats or rolls it. Make the first version easy. A cat that gets frustrated may chew the tube instead of solving it.

    This is a supervised toy for many rough players. Retire it when it becomes crushed, soggy, torn, or flattened by teeth. If your cat tries to eat the tube, skip this category entirely.

    4. Box-and-wand ambush course

    Place two or three boxes, a tunnel, or a paper bag with handles removed around the room. Move a wand lure around the edges so it disappears, pauses, and reappears. Cover makes the game feel more like a hunt and less like frantic swatting.

    Store the wand after play. String, elastic, feathers, clips, and detachable lures should not become unattended floor toys. For a deeper look at supervised chase toys, use Titan Claws guides to wand cat toys and cat toys for hunting.

    5. Towel wrinkle hunt

    Lay a towel flat, hide a few treats or pieces of kibble inside loose folds, and let your cat search. This is quieter than an electronic toy and easier than a hard puzzle. It can be useful for shy cats, older cats, or food-motivated cats that need a low-impact job.

    Use a towel without loose fringe. Wash it regularly. Stop if your cat chews fabric, pulls threads, or tries to swallow fibers.

    How to Build for Rough Players

    Cats that destroy toys need a different homemade enrichment plan. Do not ask cardboard to be the main bite-and-kick target. Use DIY items for foraging, hiding, stalking, and novelty, then offer a sturdier supervised toy for the hard catch.

    A practical rough-play sequence looks like this: set up a box ambush course, use a wand toy for a short chase, let the cat land on a longer kicker toy, then finish with a small foraging puzzle. The cat gets the full predatory pattern without turning every homemade object into something to shred.

    For cats that chew through soft toys or attack seams, compare homemade ideas with Titan Claws guides to durable cat toys, cat kicker toys, and toys for cats that chew. Durable does not mean indestructible. It means the toy is better matched to the force your cat puts into play and is easier to inspect before failure becomes dangerous.

    Materials to Avoid

    Homemade does not automatically mean safe. Many household materials are fine for one cat and risky for another. Use the strictest version of this list for kittens, known chewers, and cats that swallow non-food objects.

    • Avoid string-like materials: yarn, ribbon, thread, tinsel, dental floss, elastic, and loose cord.
    • Skip small hard parts: bells, beads, buttons, googly eyes, clips, sequins, and small plastic pieces.
    • Do not use sharp fasteners: staples, pins, needles, exposed wire, twist ties, or broken plastic.
    • Use tape carefully: loose tape can become a chew target, and heavy tape can hide torn cardboard.
    • Keep chemicals out: avoid scented packaging, food wrappers, treated outdoor wood, cleaner containers, dryer sheets, and anything greasy.
    • Watch edible incentives: treats, catnip, and silver vine can increase excitement. Use small amounts and stop if your cat gets frantic or aggressive.

    Cornell Feline Health Center warns against toys with small pieces or strand-like parts that can separate and be ingested, especially when chewed. Oregon Humane Society gives similar practical advice for cat-proofing and toy safety. For homemade toys, apply those warnings before you build, not after the toy breaks.

    Hands checking a homemade cat toy for loose tape and torn cardboard
    Inspect homemade toys after play. Retire anything with loose tape, bite-sized pieces, open seams, or string-like parts.

    A 15-Minute Homemade Enrichment Routine

    A routine usually beats a pile of DIY toys. Use this once a day for an active indoor cat, or shorten it for kittens, seniors, and cats that get overstimulated.

    1. Two minutes: prepare the room. Pick up fragile objects, remove loose cords, and place one box or tunnel for cover.
    2. Four minutes: chase. Move a wand lure around box edges, away from your cat, with pauses for stalking.
    3. Three minutes: catch. Let the cat grab a sturdy kicker or safe catch toy. Keep hands away from teeth and back claws.
    4. Four minutes: forage. Offer a reach feeder, tube roller, towel wrinkle hunt, or shallow foraging box with part of a meal.
    5. Two minutes: inspect and reset. Store the wand, throw away torn cardboard, and leave out only toys that are safe for your specific cat.

    If your cat turns play into biting people, pair this routine with the Titan Claws guide to cat toys for play aggression. If boredom is the main issue, build a wider rotation with cat enrichment activities, cat toys for enrichment, and free cat enrichment ideas.

    When to Replace or Stop

    Replace a homemade toy when cardboard gets soggy, paper tears into bite-sized pieces, a tube collapses, tape loosens, fabric threads appear, or your cat changes from playing with the object to eating it. Stop immediately if your cat tries to swallow pieces, pants during ordinary play, limps afterward, vomits after chewing toy material, guards the toy aggressively, or redirects hard bites onto people or pets.

    Ask a veterinarian if your cat repeatedly eats non-food material, suddenly loses interest in play, seems painful, changes appetite, or vomits after toy sessions. Ask a qualified feline behavior professional if play routinely escalates into serious aggression. Enrichment can support normal behavior, but it should not be used to explain away pain, fear, illness, or dangerous ingestion habits.

    Quick Safety Checklist

    Before giving your cat a homemade enrichment toy, run this checklist:

    • Does the toy have one clear job?
    • Can my cat succeed without getting frustrated?
    • Have I removed handles, staples, string, loose tape, sharp edges, and small parts?
    • Is this supervised-only for my cat?
    • What will my cat bite and kick when excitement rises?
    • Can I inspect the toy in under 30 seconds?
    • Will I throw it away as soon as it starts to fail?

    Homemade cat enrichment toys work best when they are simple, safe for your cat’s real habits, and part of a thoughtful rotation. Build for one behavior at a time, supervise the first sessions, give rough players a tougher legal target for biting and kicking, and retire homemade materials early. That is how DIY enrichment stays useful instead of becoming another avoidable risk.

    Sources

  • Cardboard Cat Toy Guide: Safe Ideas, Smart Picks, and When to Upgrade

    Cardboard Cat Toy Guide: Safe Ideas, Smart Picks, and When to Upgrade

    A cardboard cat toy can be a great low-cost enrichment tool when it is clean, simple, stable, and matched to the way your cat plays. Boxes, paper tubes, corrugated scratch pads, cardboard tunnels, and treat puzzles can encourage stalking, pouncing, scratching, hiding, and foraging. The catch is that cardboard is not a durable chew material. If your cat eats paper, rips off tape, swallows loose pieces, or shreds every toy into confetti, cardboard should be a supervised play material rather than a leave-out toy.

    For most cats, the best cardboard toy is not the most elaborate one. It is the one with the fewest risky extras: no staples, no long string, no rubber bands, no loose tape, no hot-glue blobs where a cat can chew them, no tiny bells, and no small parts that can come free. Use cardboard for enrichment, inspect it often, and upgrade to tougher toys when your cat’s play style turns cardboard into a swallowing risk.

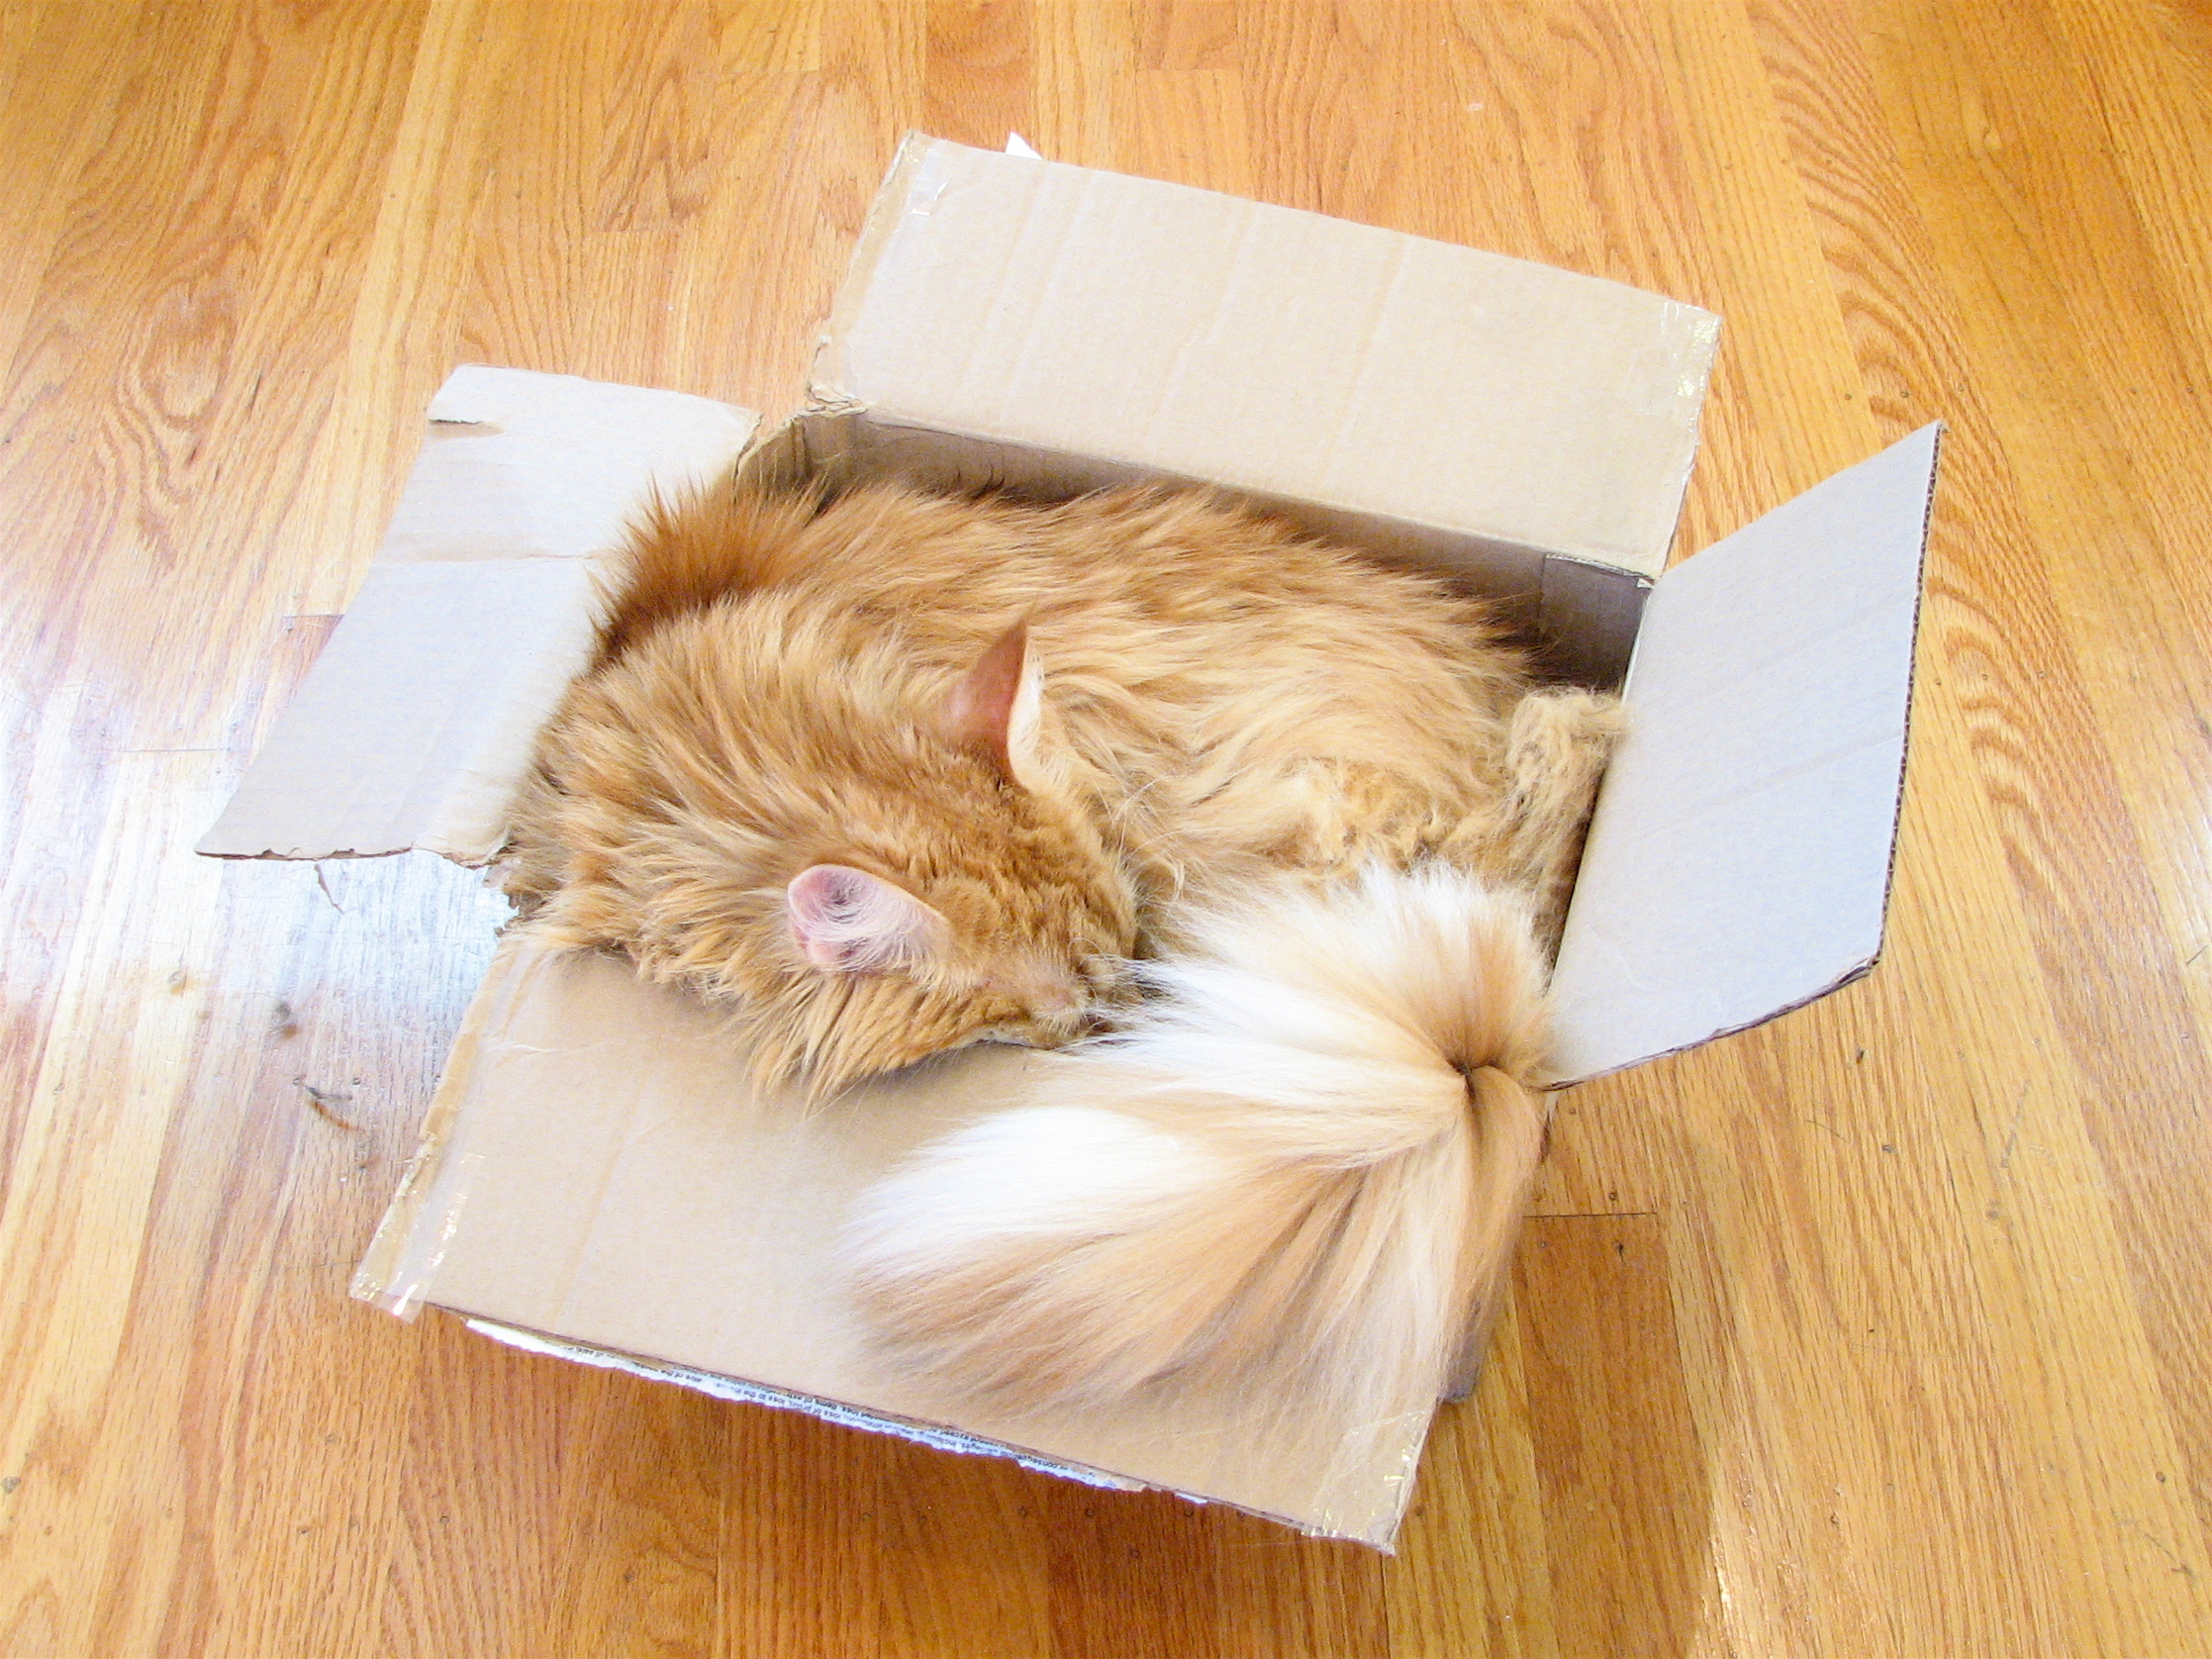
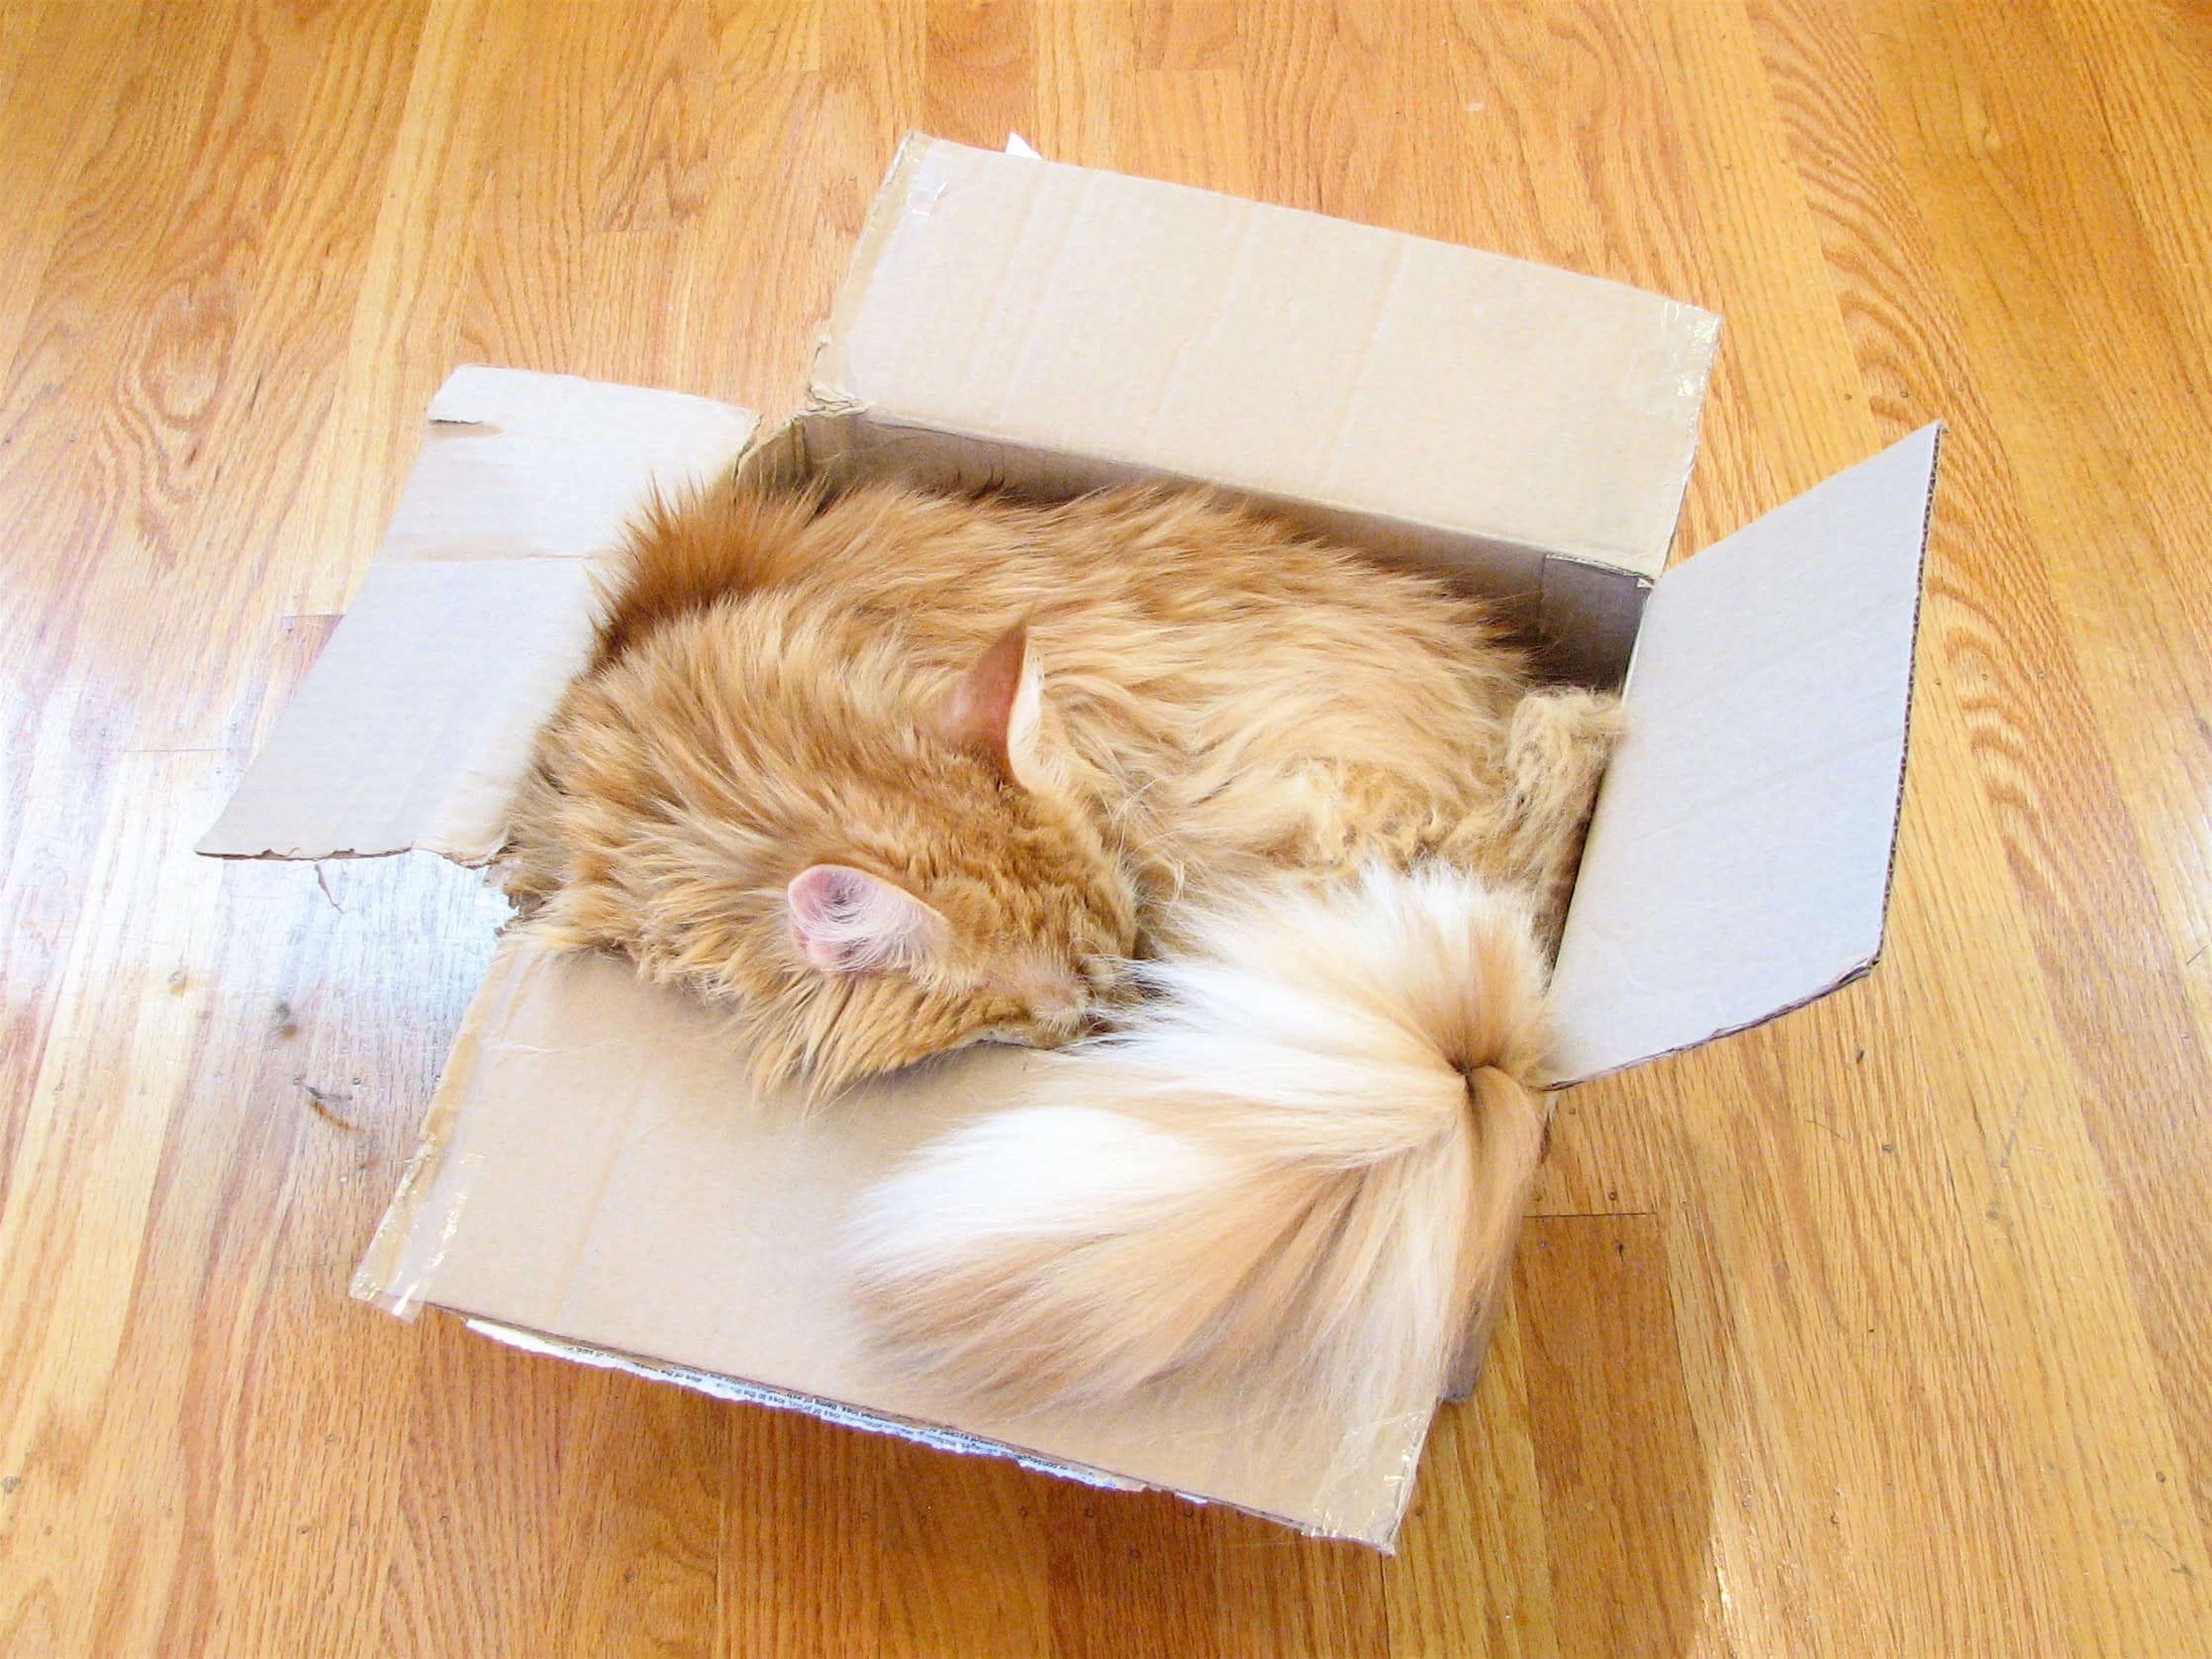
    Long-haired cat resting inside a cardboard box
    A simple cardboard box can be excellent enrichment when it is clean, stable, and inspected. Photo: Windell Oskay, CC BY 2.0, via Wikimedia Commons.

    Why Cats Like Cardboard Toys

    Cardboard works because it supports several normal cat behaviors at once. A box can be a hiding spot, ambush point, scratch surface, and scent-marking object. A toilet paper tube can become a bat-and-chase toy or a simple food puzzle. Corrugated cardboard gives many cats a satisfying texture for clawing and cheek rubbing.

    That fits the broader veterinary view of feline enrichment. The AAFP and ISFM environmental needs guidelines describe play and predatory behavior as a core part of a healthy cat environment, including toys, owner interaction, and feeding practices that make the cat work for food. Cardboard is useful because it can support those behaviors without requiring expensive gear.

    It also solves a common boredom problem. The ASPCA’s DIY enrichment guidance points owners toward cardboard boxes, paper rolls, cat houses, tunnels, and mazes as ways to make a cat’s environment more stimulating. The important part is the safety instruction that often gets skipped in quick DIY lists: supervise homemade items and remove them if the cat tries to ingest the material.

    Best Cardboard Cat Toy Ideas

    Start with simple designs. The more complex the project, the more failure points you need to inspect.

    Clean cardboard box

    A plain box is often the best cardboard cat toy. Remove packing tape where possible, cut off handles from paper shopping bags or box inserts, and avoid boxes with food residue, chemical smells, heavy ink, or loose labels. Cut one or two entry holes if the box is large enough for your cat to enter and turn around comfortably. Keep the edges broad rather than sharp and narrow.

    Corrugated scratch pad

    Corrugated cardboard scratchers are good for cats that want to rake rather than chew. Choose a stable shape that does not flip easily. Retire it when the surface collapses, sheds heavily, smells bad, or becomes damp. If your cat eats the shredded flakes, switch to a different scratch surface such as sisal, carpet-style material, or a heavier supervised scratcher.

    Paper tube treat puzzle

    A paper towel or toilet paper tube can become a beginner puzzle. Put a few pieces of kibble inside, fold the ends loosely, and make holes large enough for food to fall out when the cat bats the tube. Use part of the cat’s normal meal, not an unlimited treat pile. If the cat chews and swallows the tube instead of working for the food, remove it.

    Cardboard hide-and-seek tray

    Place several paper tubes upright in a shallow box and drop kibble or toys between them. This creates a simple pawing puzzle. Do not glue loose tubes if your cat is a chewer; a non-glued version is easier to break down and inspect. If you do glue a project, use a minimal amount of non-toxic glue and keep the toy out of reach until it is fully dry.

    Cardboard tunnel or fort

    Two or three boxes can become a tunnel system. Keep the structure low, wide, and stable. Avoid tall towers unless you can make them genuinely load-bearing, because cardboard bends and tears under repeated jumping. For rough cats, a low maze is safer than a wobbly castle.

    What Current Cardboard Toy Guides Often Miss

    Many ranking pages do a useful job showing DIY project ideas or product examples. The weakness is that they often treat cardboard as universally safe because it is cheap and familiar. For Titan Claws readers, that is not enough. Cats that destroy ordinary toys need a decision system, not just a craft list.

    Ask these questions before you build or buy:

    • Will my cat bat it, scratch it, hide in it, or chew it? Chewing and ingestion change the risk level.
    • Does it contain string, rubber bands, staples, metal, tape, glued decorations, or tiny parts? Remove or redesign those pieces.
    • Can I inspect every surface after play? If not, the toy is too complex for rough unsupervised use.
    • Will the toy collapse, trap a paw, or tip over? Bigger is not better if the structure is unstable.
    • Is this a solo toy or a supervised session toy? Decide before your cat gets attached to it.

    That last question is the most important. A plain box may be fine to leave out for one cat and a bad idea for another cat that eats cardboard. Your cat’s behavior decides the rule.

    Cardboard Cat Toy Safety Rules

    Cardboard is not automatically dangerous, but it is easy to make dangerous by adding the wrong parts. The University of Wisconsin School of Veterinary Medicine advises avoiding feathers, strings, and sparkly parts for cats that chew aggressively, because those cats may ingest them. It also recommends sturdy construction, no loose decorations, cutting off loops or tags, and removing any pieces that get chewed off.

    The ASPCA Animal Poison Control Center also warns that yarn and thread can be dangerous when swallowed because string-like material can damage the intestines. That applies directly to cardboard projects that use string, shoelaces, yarn, elastic, ribbon, or rubber bands as moving parts.

    Use these rules for every cardboard toy:

    • Use clean, dry cardboard with no chemical odor, grease, mold, or heavy residue.
    • Remove staples, tape, labels, plastic windows, twist ties, packing straps, handles, and loose adhesive.
    • Avoid long string, yarn, ribbon, rubber bands, elastic, pipe cleaners, bells, beads, and loose feathers.
    • Make holes large enough that your cat cannot get stuck and smooth enough that edges do not scrape.
    • Supervise the first sessions, especially with kittens, heavy chewers, and cats that eat non-food material.
    • Throw away cardboard that becomes damp, heavily shredded, sharp-edged, unstable, or dirty.
    • Stop using the toy if your cat swallows pieces, gags, vomits, coughs, hides, refuses food, strains, or acts painful.

    If you know your cat swallowed string, rubber, plastic, or a substantial amount of cardboard, call your veterinarian. Do not wait for an article checklist to make the decision for you.

    When Cardboard Is Not Enough

    Cardboard is enrichment, not armor. It can be perfect for a cat that likes scratching, sitting, hiding, or gentle batting. It is a poor main toy for a cat that bites through material, eats shredded pieces, or needs a toy to grip and kick hard.

    Upgrade away from cardboard when you see these patterns:

    • Your cat eats the cardboard instead of just tearing or scratching it.
    • The toy is destroyed in one short session.
    • Your cat targets tape, glue, string, labels, or attachments.
    • Shredded bits spread across the room every time you leave the toy out.
    • Your cat needs a larger object to hug and bunny-kick.
    • Your cat becomes frustrated by puzzle toys and starts chewing the structure.

    For those cats, cardboard can still be useful as a supervised box, tunnel, or food puzzle, but it should not be the only enrichment plan. Pair it with sturdier toy categories: large kicker toys, ball tracks, wand play that gets stored after use, puzzle feeders made from washable materials, and scratchers that fit your cat’s preferred angle.

    Titan Claws has deeper guides on durable cat toys, chewy cat toys, and cat enrichment activities if your cat needs more than a box. For brand safety principles, the Titan Claws safety page is also worth bookmarking.

    How to Choose a Store-Bought Cardboard Cat Toy

    Store-bought cardboard toys are usually scratchers, lounger-scratchers, accordion toys, pop-up houses, or ball-and-track hybrids. Do not choose only by cuteness. Choose by structure.

    Look for:

    • Stable base: the toy should not fold, tip, or pinch when the cat jumps on it.
    • Plain materials: corrugated cardboard, paper, and minimal non-toxic adhesive are easier to evaluate than mixed mystery parts.
    • Appropriate size: the cat should be able to scratch, sit, or enter without squeezing into a risky opening.
    • Replaceable design: cardboard wears out, so easy replacement is a strength, not a flaw.
    • Few detachable parts: skip toys with tiny bells, beads, loose balls that can be swallowed, thin strings, or glued decorations.
    • Clear cleaning and disposal guidance: cardboard cannot be sanitized like hard plastic or washable fabric.

    Read reviews for failure patterns. Search review text for words such as chewed, ate, swallowed, tape, glue, staples, collapsed, sharp, flimsy, and shredded. A toy with great photos can still be wrong for a destructive cat if multiple owners report the same weak point.

    How to Make Cardboard Toys Last Longer

    Cardboard wears out quickly when it is available all day. Rotation makes it safer and more interesting.

    • Keep one cardboard item out at a time instead of filling the room with shreddable material.
    • Use cardboard puzzles for short food sessions, then put them away.
    • Rotate boxes every few days so novelty stays high.
    • Keep cardboard away from water bowls, litter boxes, damp floors, and messy food areas.
    • Pair cardboard with active wand play, a kicker toy, or a scratch post so one object does not carry the whole enrichment job.
    • Inspect after every intense session and throw away questionable pieces immediately.

    For a high-drive cat, a cardboard box can be the stage, not the whole performance. Hide a toy behind it, drag a wand lure around it, place a puzzle beside it, or use it as a break spot after chase play. Then store the higher-risk toys when the session ends.

    Quick Cardboard Cat Toy Checklist

    • Is the cardboard clean, dry, and free of chemical smells?
    • Have you removed tape, staples, handles, labels, plastic, and loose adhesive?
    • Are there no strings, rubber bands, ribbons, bells, beads, or tiny parts?
    • Are holes wide and smooth enough for your cat’s body and paws?
    • Is the toy stable under your cat’s weight and play style?
    • Does your cat scratch or bat cardboard rather than eat it?
    • Can you inspect all surfaces after play?
    • Do you know whether this is a supervised-only toy or a safe leave-out item for your specific cat?
    • Will you throw it away as soon as it becomes damp, dirty, sharp, unstable, or heavily shredded?

    A cardboard cat toy is worth using when it creates safe novelty without pretending to be indestructible. Keep the design simple, supervise chewers, avoid string-like parts, retire damage early, and use tougher toys when your cat’s play style demands them. Cardboard can be one of the best enrichment tools in the house, but only when the owner’s inspection habit is part of the toy.

    Sources

  • Homemade Cat Toys: Safe DIY Ideas for Cats Who Play Rough

    Homemade Cat Toys: Safe DIY Ideas for Cats Who Play Rough

    Homemade cat toys can be excellent for indoor cats when they are simple, supervised, and easy to inspect. The safest DIY options are usually cardboard puzzles, paper games, box mazes, fabric kickers, and wand-style games that you put away after play. The risky ones are toys with loose string, yarn, ribbon, rubber bands, beads, bells, glued eyes, staples, small plastic pieces, or stuffing your cat might eat.

    If your cat plays rough, treat homemade toys as temporary enrichment rather than permanent equipment. Build them cheaply, use them intentionally, inspect them hard, and retire them early. A homemade toy does not need to survive forever. It needs to give your cat a safer outlet for stalking, chasing, pouncing, biting, kicking, and problem-solving without leaving swallowable parts behind.

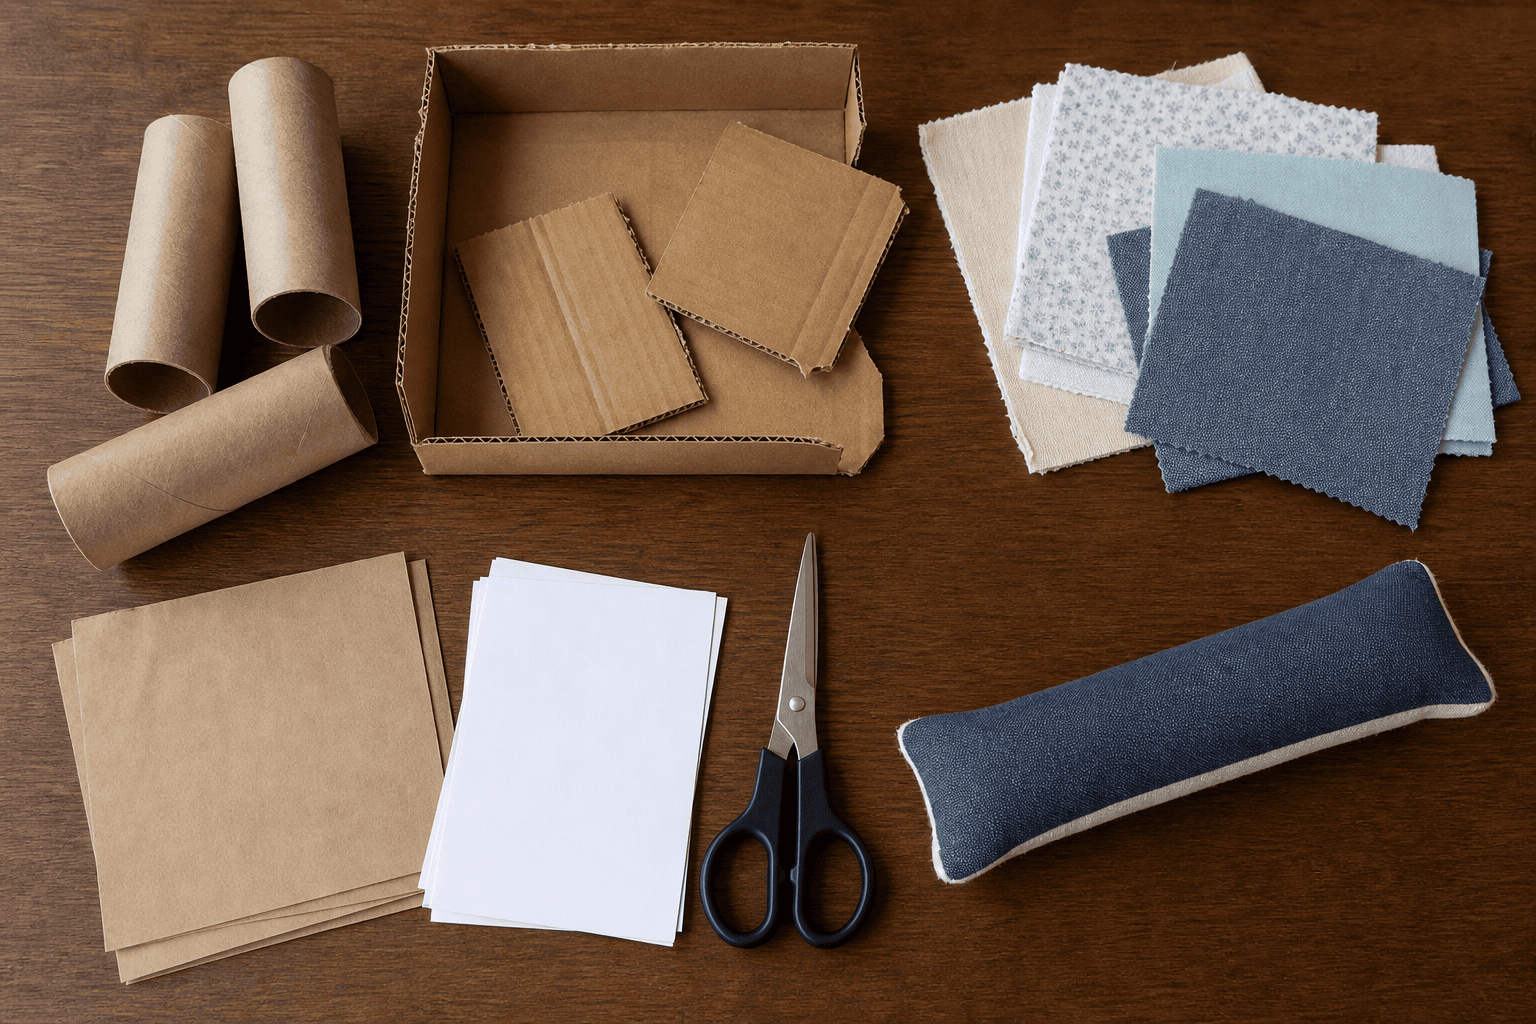
    Safe homemade cat toy materials arranged on a table
    Good homemade cat toys start with boring, inspectable materials: plain cardboard, clean fabric, paper, and secure knots.

    What Homemade Cat Toys Are Best For

    Homemade cat toys are best for variety. They let you test textures, sounds, hiding spots, food puzzles, and hunting games before buying a full toy setup. They are especially useful for cats that get bored with the same toy bin or ignore expensive gadgets but go wild for boxes, crinkly paper, and moving targets.

    The strongest DIY toys usually solve one job at a time. A cardboard tube puzzle makes food harder to grab. A box tunnel creates ambush cover. A paper ball gives a lightweight chase target. A fabric kicker gives the back feet something to rake. A wand game lets you mimic prey movement. Trying to make one homemade toy do everything usually adds weak points.

    The AAFP and ISFM feline environmental needs guidelines recommend giving cats opportunities for play and predatory behavior, including toys, owner-led play, and feeding devices that make the cat work for food. Homemade toys fit that well when they let the cat search, chase, catch, manipulate, and then settle down.

    For a broader rotation, pair this guide with Titan Claws articles on DIY cat toys, best cat toys for bored indoor cats, and cat toys for enrichment.

    The Safety Rule: Build for How Your Cat Breaks Things

    Most homemade cat toy lists assume the cat will bat, chase, and walk away. Titan Claws readers often have a different cat: the one that bites seams, pulls feathers out, eats fuzz, shreds cardboard, or tries to carry the whole toy under the couch. For that cat, the right question is not, “Can I make this?” It is, “What happens when my cat damages it?”

    • If your cat chews fabric: avoid loose stuffing, weak felt, thin yarn pom-poms, and glued decorations.
    • If your cat eats string-like objects: skip yarn, ribbon, elastic, long tassels, dental floss, thread, and dangling cords.
    • If your cat shreds cardboard: use cardboard only during supervised sessions and recycle it before pieces become snack-sized.
    • If your cat cracks plastic: avoid plastic eggs, bottle caps, brittle containers, and small lids.
    • If your cat carries toys away: make the toy larger than the cat can swallow and keep supervised-only toys in a closed drawer.

    Cornell Feline Health Center warns that many household items can be hazardous to cats and advises prompt veterinary consultation when a cat may have ingested something toxic or dangerous. For homemade toys, use that same caution with non-food items. If you think your cat swallowed string, ribbon, stuffing, plastic, rubber, wire, a bell, or any toy part, call your veterinarian or an emergency clinic instead of waiting to see what happens.

    Five Safer Homemade Cat Toys to Try

    These ideas are intentionally plain. Plain is good. It means fewer tiny parts, fewer mystery materials, and fewer failure points.

    1. Cardboard Tube Treat Puzzle

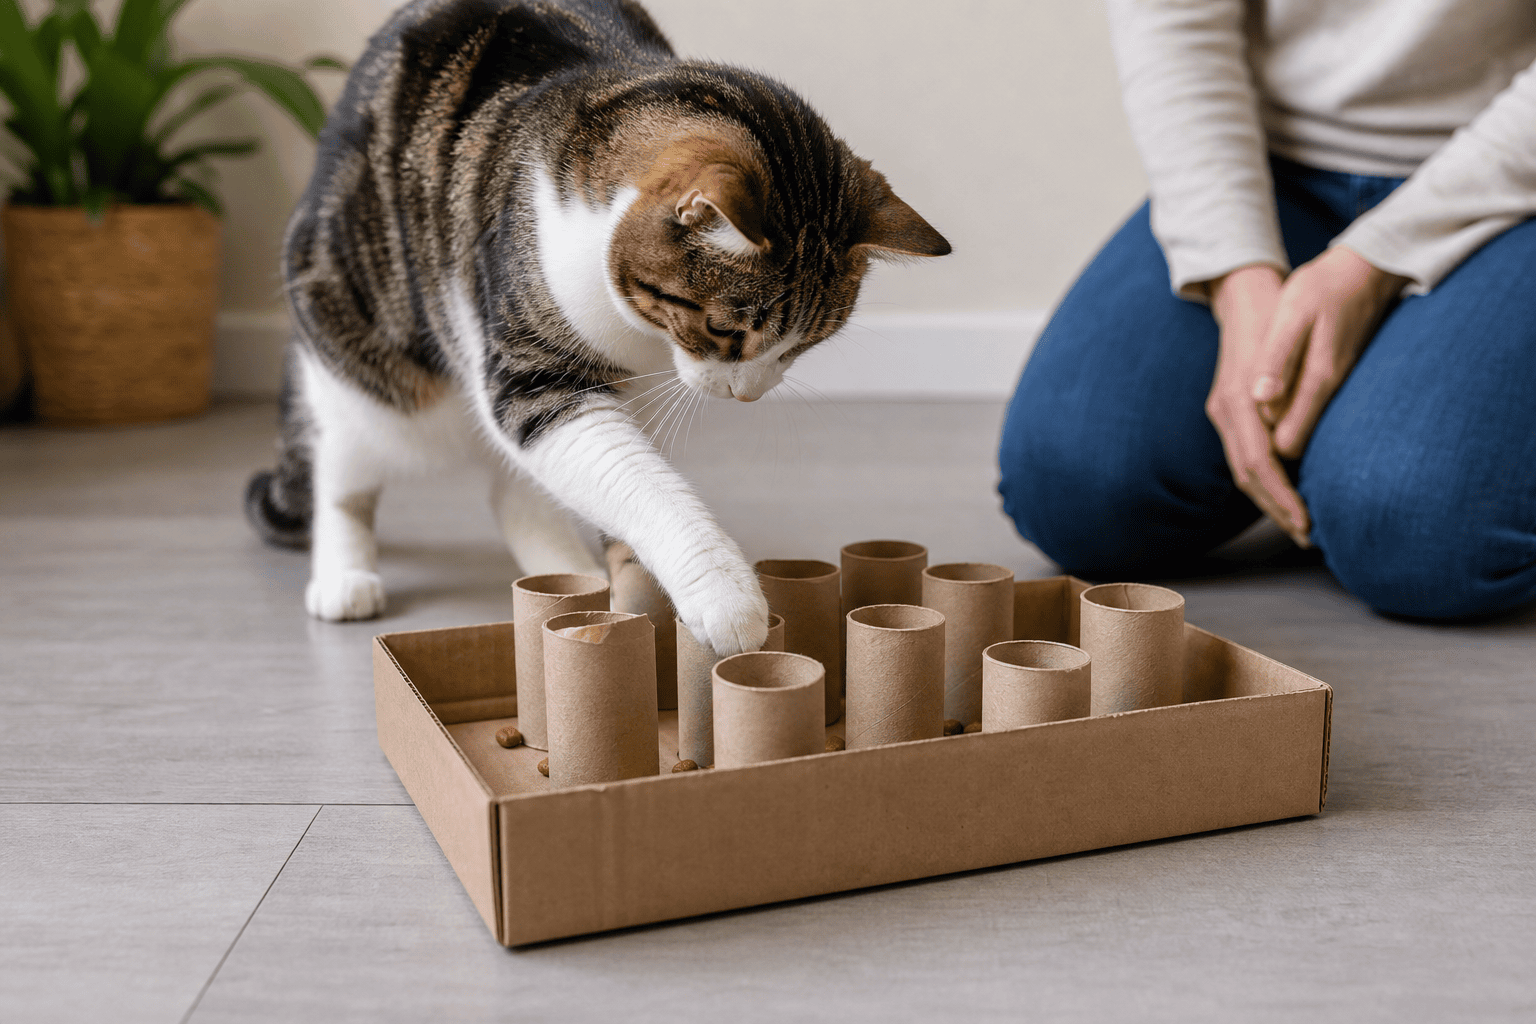
    Set several empty toilet paper rolls upright inside a shallow cardboard box. Add a few pieces of kibble or treats into some of the tubes. Let your cat fish the food out with paws. Keep the puzzle shallow enough that the cat cannot get trapped, and remove tape, staples, plastic coating, and loose labels first.

    This is a strong first homemade toy because it is cheap, easy to inspect, and close to the food-puzzle examples recommended by veterinary enrichment sources such as the ASPCA feline DIY enrichment guide and AAHA’s DIY enrichment toy guidance.

    Cat using a cardboard treat puzzle made from toilet paper rolls
    Cardboard puzzles are cheap, useful, and easy to retire before they become soggy or bite-sized.

    2. Paper Chase Ball

    Crumple plain packing paper into a loose ball about golf-ball to tennis-ball size, depending on your cat. Toss it down a hallway or slide it behind a box so the cat can stalk and chase. Avoid foil, cellophane, gift ribbon, twist ties, and paper with heavy ink or glitter. Retire the ball when it gets wet, torn into small pieces, or chewed flat.

    3. Box Ambush Tunnel

    Cut two large doorways into a plain cardboard box so your cat can enter and exit without squeezing. Add a second box nearby or drape a towel over one edge to create a hiding spot. Use a wand toy outside the openings so the cat can pounce from cover. Do not use plastic bags, handled shopping bags, staples, or tight holes that could catch a collar or paw.

    4. No-Frills Fabric Kicker

    Roll clean, sturdy cotton fabric into a long shape and secure it with tight stitching if you sew, or with large, firm knots if you do not. Keep it long enough for your cat to hug and kick without reaching your hand. Skip buttons, beads, bells, glued eyes, loose yarn hair, and weak seams. If you add catnip or silvervine, seal it inside a durable inner layer and retire the toy when the closure loosens.

    A homemade kicker is not automatically a durable toy. It is a test. If your cat opens seams quickly or eats fabric, move that cat to supervised-only play and read Titan Claws’ guides to cat kicker toys, toys for cats that chew, and safe cat chew toys.

    5. Supervised Wand Game

    You can make a simple wand game with a sturdy dowel and a short fabric strip, but this is supervised-only. Move the lure like prey: away from the cat, around corners, behind boxes, and across the floor. Let the cat catch it sometimes. When the session ends, put the entire wand away where the cat cannot chew the fabric or cord.

    If your cat loves feather-style movement, Titan Claws has separate safety guidance on cat feather toys and the Da Bird cat toy, including why feather and string lures should not be left out for unsupervised chewing.

    Homemade Toys to Skip for Rough Players

    Some DIY toys look cute in photos but are poor matches for cats that chew, shred, or swallow non-food material. Skip these unless your veterinarian has given specific advice and you can supervise closely.

    • Yarn pom-poms: loose strands can separate, and some cats chew or swallow them.
    • Ribbon teasers: ribbon is exciting but risky if swallowed, especially for cats that eat linear objects.
    • Rubber-band toys: rubber bands can snap, be swallowed, or encourage chewing elastic.
    • Plastic egg rattles: many guides suggest filling plastic eggs with rice or beans, but hard plastic can crack and small contents can spill.
    • Small bottle caps: they skid nicely, but they are too small for some cats and can be chewed.
    • Decorated plush mice: glued eyes, bells, tails, and thin felt often fail before the body of the toy does.
    • Anything with staples or pins: they do not belong in cat toys, even as hidden construction shortcuts.

    Use a simple rule: if a part would worry you on a toddler’s toy, it should worry you on a cat toy. Cats do not need decorative details. They need movement, texture, scent, hiding, food puzzles, and safe capture.

    How to Make Homemade Toys More Durable

    Durability is not about making a homemade toy indestructible. That is the wrong promise. Durability means the toy fails slowly, visibly, and in a way you can catch before your cat eats pieces.

    1. Use larger pieces: make toys big enough that your cat cannot swallow them whole.
    2. Choose one main material: cardboard, paper, or fabric is easier to monitor than a mixed toy full of attachments.
    3. Avoid glue when possible: stitching, folding, and simple box construction are easier to inspect.
    4. Keep seams exposed: if you sew, make inspection easy rather than hiding weak seams under trim.
    5. Build replacement into the plan: cardboard puzzles and paper balls are meant to be replaced often.
    6. Test under supervision: the first few sessions tell you whether the toy is safe enough for your specific cat.
    Hands inspecting a homemade fabric cat toy for loose seams
    Homemade toys need the same rule as store-bought toys: inspect before play, inspect after play, and retire early.

    For cats that destroy homemade toys in minutes, durability may mean changing the role of DIY. Use homemade boxes and puzzles for searching and pouncing, then hand off to a tougher store-bought capture toy for the biting and kicking phase. That gives the cat variety without asking cardboard or paper to absorb the hardest part of play.

    A 20-Minute Homemade Play Routine

    A toy by itself is less useful than a routine. This structure works well for many indoor cats and is easy to adjust for age, fitness, and confidence.

    1. Set the room: remove cords, plants, breakables, food wrappers, and small objects from the play area.
    2. Start with search: put a few kibble pieces in a cardboard tube puzzle or under crumpled paper.
    3. Add stalking: move a wand lure around a box opening or behind a towel edge.
    4. Offer chase: toss a paper ball or move the lure away from the cat in short bursts.
    5. Give capture: let the cat grab a fabric kicker, soft toy, or safe lure instead of your hand.
    6. Cool down: finish with a small food puzzle, meal portion, or calm grooming if your cat enjoys it.
    7. Inspect and store: throw away damaged cardboard, put wand toys away, and check fabric toys for seams or missing pieces.

    Short sessions are usually better than one long chaotic session. Stop before your cat gets frantic, panting, irritated, or so wound up that they redirect onto your hands or another pet. For higher-energy cats, repeat shorter sessions through the day.

    When Store-Bought Is the Safer Choice

    Homemade toys are not always the frugal or safer option. If your cat has a history of swallowing fabric, string, plastic, or rubber, you may need fewer toys, stricter storage, and more purpose-built options that can survive the way your cat actually plays. If your cat obsessively chews non-food objects, discuss it with your veterinarian because pain, stress, diet, compulsive behavior, or gastrointestinal issues can all change the safety picture.

    Store-bought can also be better for specific jobs: battery-safe automatic toys, washable puzzle feeders, heavier kickers, stable scratchers, and products with fewer detachable pieces. The buying standard stays the same. Avoid impossible claims, inspect before and after play, and replace toys before damage turns into ingestion risk.

    Quick Homemade Cat Toy Checklist

    • Is every part too large for my cat to swallow?
    • Did I remove staples, tape, handles, plastic film, labels, and loose coating?
    • Are there any strings, ribbons, yarn strands, rubber bands, bells, beads, feathers, or glued decorations?
    • Can I inspect the whole toy in under a minute?
    • Do I know whether this is supervised-only or safe to leave out for this specific cat?
    • Will the toy fail visibly, or could hidden pieces come loose?
    • Have I watched how my cat bites, kicks, carries, and damages it?
    • Do I have a replacement plan before the toy becomes soggy, torn, sharp, or bite-sized?

    The best homemade cat toys are not elaborate craft projects. They are simple enrichment tools that match your cat’s prey drive, mouth, claws, and habits. Start with cardboard, paper, fabric, and food puzzles. Supervise the first sessions. Retire early. For cats who hit hard, let homemade toys create the hunt, then use tougher, inspectable toys for the catch.

    Sources

  • DIY Cat Toys: Safer Homemade Ideas for Indoor Cats and Rough Players

    DIY Cat Toys: Safer Homemade Ideas for Indoor Cats and Rough Players

    DIY cat toys can be simple, cheap, and genuinely useful: cardboard boxes, toilet paper rolls, paper bags with handles removed, washable fabric kickers, and food puzzles can all give indoor cats something to stalk, paw, chase, and solve. The catch is safety. A homemade toy is only a good toy if it matches how your cat actually plays and if you inspect it before small parts, string, stuffing, tape, or shredded cardboard become a swallowing risk.

    For gentle cats, DIY toys are a great way to add variety without buying a new toy every week. For cats that chew, rabbit-kick, rip seams, or destroy ordinary toys, DIY projects need stricter rules: bigger pieces, fewer dangling parts, supervised sessions, and a clear retirement point.

    What Makes a Good DIY Cat Toy?

    A good homemade cat toy does one clear job. It may make food more interesting, give your cat something to pounce on, create a hiding-and-ambush setup, or provide a safe target for kicking. The best DIY toys are also easy to inspect. If you cannot tell whether a seam is opening, a knot is loosening, or a glued part is coming off, it is not a good unsupervised toy.

    Useful DIY toys usually share a few traits:

    • They are sized for your cat. Pieces should not be small enough to swallow or wedge in the mouth.
    • They avoid loose decorations. Skip plastic eyes, bells, beads, sequins, staples, and fragile glued-on parts.
    • They use simple materials. Cardboard, paper, clean cotton fabric, fleece, and washable socks are easier to judge than mystery plastics or brittle craft pieces.
    • They support a real play sequence. Cats want to stalk, chase, pounce, grab, bite, kick, and finish the game.
    • They can be retired quickly. If the toy starts shedding, tearing, or exposing stuffing, it should leave the rotation.

    If your cat destroys store-bought toys, start with Titan Claws’ guide to chewy cat toys and the safety notes in safe cat chew toys. DIY toys can add enrichment, but rough players need materials and supervision chosen with chewing in mind.

    The Safety Rules Before You Start

    Most DIY cat toy articles list ideas. Fewer explain when those ideas should not be used. That is the important difference for cats that play hard.

    Cornell Feline Health Center notes that toys encourage exercise and cognitive enrichment, but it also cautions owners to avoid small pieces and strand-like parts such as feathers or string that can separate and be ingested. VCA Animal Hospitals also warns that cats may swallow thread, yarn, rubber bands, paper, plant material, and small toys, and that string-like foreign bodies can become dangerous if they anchor in the mouth, stomach, or intestines.

    • Use string only when you are holding the toy. Put wand toys and string toys away after play.
    • Remove bag handles. Paper bags are fun, but handles can trap a head, leg, or body.
    • Avoid rubber bands and hair ties. They are easy to chew and swallow.
    • Skip staples and pins. Use folded cardboard, tight knots, or stitching instead.
    • Be careful with tape. Tape can peel, collect hair, and become chewable. If tape is needed, keep it outside the chewing area and inspect it closely.
    • Do not use essential oils. Cats groom themselves and are sensitive to many compounds people use for scent.
    • Retire anything wet, dirty, frayed, sharp, or shredded. Homemade toys are supposed to be replaceable.
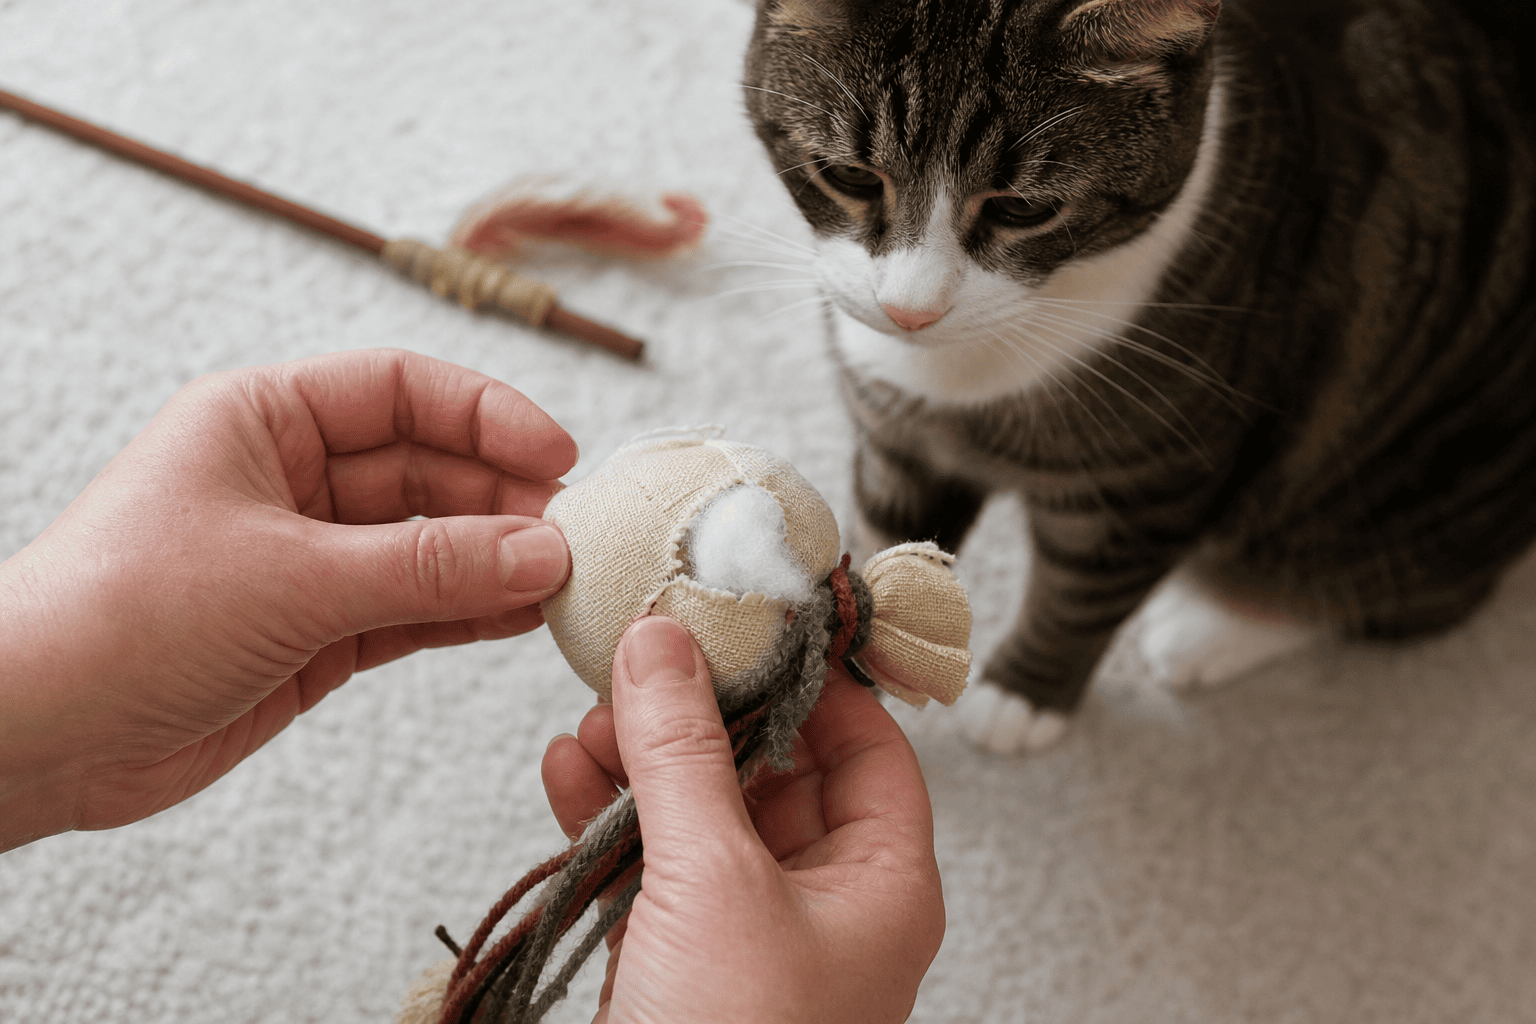
    Hands inspecting a homemade cat toy for loose seams and small parts
    Inspect homemade toys before and after play, especially if your cat chews, shreds, or tries to swallow pieces.

    Easy DIY Cat Toys That Are Worth Making

    These projects use common household materials and can be adjusted for gentle cats or rough players.

    1. Toilet Paper Roll Treat Puzzle

    Put a few pieces of kibble or dry treats inside an empty toilet paper roll, fold the ends loosely, and cut one or two holes large enough for food to fall out. Let your cat bat it around and work for the reward.

    Best for: indoor cats that need slower feeding, puzzle enrichment, or solo pawing practice. Watch for: chewing the tube into small wet pieces. If your cat eats cardboard, use this only under supervision or skip it.

    2. Cardboard Foraging Box

    Place several toilet paper rolls upright in a shallow box, drop a few treats among the tubes, and let your cat reach, paw, and sniff. You can also crumple plain packing paper into loose balls and hide kibble between them.

    Best for: cats that like searching more than sprinting. Watch for: tape, staples, sharp cut edges, or a cat that tries to chew and swallow the cardboard instead of pawing through it.

    3. Paper Bag Ambush Tunnel

    Use a plain paper grocery bag with the handles removed. Open it on its side and drop a toy just outside the entrance so your cat can stalk from cover. For extra stability, fold the opening once to keep it from collapsing.

    Best for: stalkers and pouncers. Watch for: handles, glossy coatings, food residue, and cats that rip bags into chewable strips.

    4. Fleece Kicker Roll

    Roll a rectangle of fleece or sturdy cotton around a smaller fabric core, then stitch the long edge and both ends closed. Make it long enough for your cat to hug with the front paws and kick with the back feet. Catnip can be added if your cat responds well to it, but keep the fill modest and contained.

    Best for: grabbers, kickers, and cats that need a better target than your hands. Watch for: loose seams, exposed filling, or fabric that pills and sheds under chewing.

    5. Sock Crinkle Toy

    Put a small amount of clean packing paper inside a washed sock, knot the open end tightly, and trim excess fabric if it creates a dangling strip. Keep it large enough that your cat cannot swallow it and simple enough to inspect.

    Best for: cats that like sound and batting. Watch for: plastic bags, loose threads, and socks thin enough for teeth to puncture quickly. Avoid plastic grocery bag pieces inside the toy.

    6. Wand-and-Catch Game

    Tie a wide strip of fleece to a dowel or wand and use it only while you are actively playing. Drag it away from the cat, pause behind furniture, then end the chase by letting your cat catch a separate kicker toy or treat.

    Best for: high-energy cats that need movement. Watch for: string chewing, elastic, feathers, and leaving the wand out after play. For more structured prey-play ideas, see cat toys for hunting and cat toys that move.

    DIY Toys for Cats That Get Bored Indoors

    Indoor cats often need variety more than complexity. The ASPCA’s feline DIY enrichment guidance emphasizes food enrichment, environmental enrichment, boxes, tubes, and active supervision. AAHA also frames DIY toys as a way to support mental and physical well-being by encouraging curiosity, exercise, and natural hunting behavior.

    A simple weekly DIY rotation can work better than leaving a pile of homemade toys on the floor:

    • Monday and Tuesday: toilet paper roll puzzle at mealtime, then remove it.
    • Wednesday: paper bag ambush setup during supervised evening play.
    • Thursday: fleece kicker after wand play so your cat has a safe catch target.
    • Friday: cardboard foraging box with a few treats or part of dinner.
    • Weekend: box tunnel, hallway tosses, and inspection of all toys before anything goes back into storage.

    This kind of rotation pairs well with the broader routines in cat enrichment activities, cat toys for enrichment, and cat toys for bored cats. DIY toys should be part of a full environment that includes scratching, climbing, hiding, food puzzles, and daily human play.

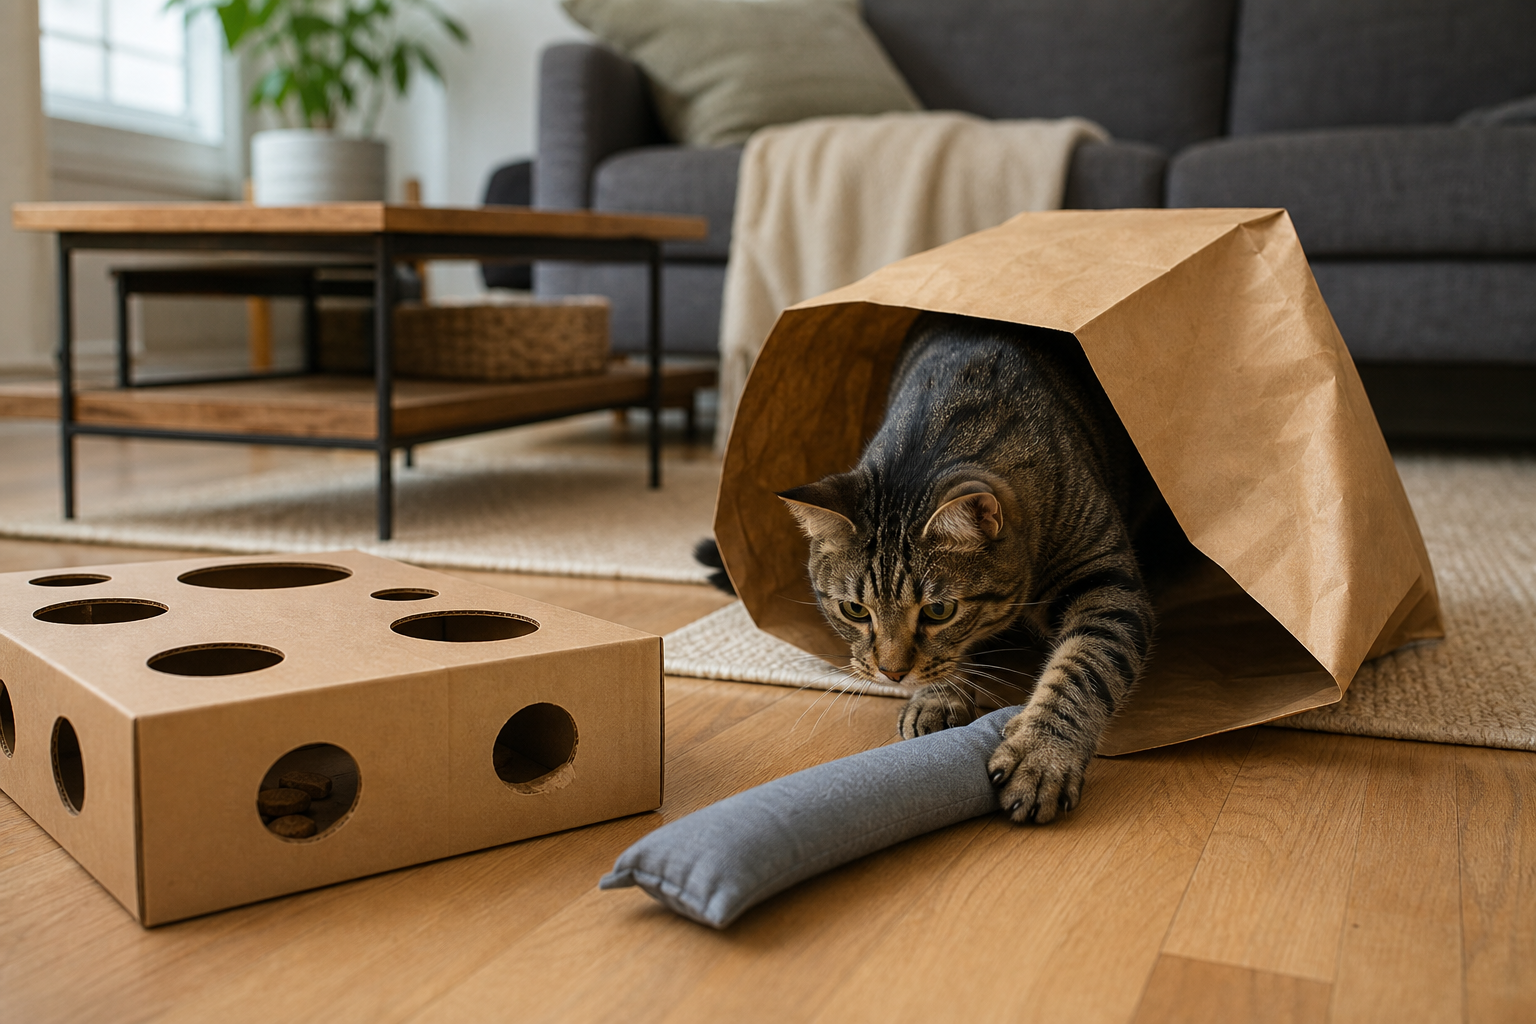
    DIY cat toy rotation with cardboard rolls paper bag fabric kicker and puzzle box
    A small DIY rotation keeps enrichment fresh and makes damaged toys easier to spot.

    What Current DIY Toy Lists Often Miss

    Many ranking DIY cat toy articles are useful for inspiration, but they often treat all cats as gentle players. That leaves out the owner whose cat bites through plush, pulls feathers off wands, eats string, shreds cardboard, or opens weak seams. For those cats, the question is not just “can I make this?” It is “what happens when my cat wins the toy?” A homemade toy does not have to last forever. It does need to fail visibly, retire easily, and avoid parts that become hidden hazards.

    When to Choose a Store-Bought Toy Instead

    DIY toys are excellent for rotation and enrichment, but choose a well-made store-bought toy when the toy needs consistent stitching, washable construction, enclosed moving parts, or a shape that stands up better to kicking and biting. Store-bought is often the better call for cats who swallow cardboard, rip seams in one session, chew elastic, or need a puzzle feeder that is washable and harder to dismantle.

    For food puzzles specifically, compare homemade foraging boxes with the setup advice in puzzle cat toys. A cardboard puzzle is fine for a cat that paws delicately. A washable puzzle may be safer for a cat that chews the puzzle itself.

    How to Inspect Homemade Cat Toys

    Inspection should be fast enough that you actually do it. Use a simple pass-fail check.

    1. Before play, tug on seams and knots. If anything loosens, fix it or retire it.
    2. Check for swallowable pieces. Look for torn cardboard tabs, loose knots, small fabric scraps, and detached paper bits.
    3. Feel for sharp edges. Cut cardboard can become rough after chewing.
    4. Look for moisture. Wet cardboard, drool-soaked fabric, or dirty paper should be discarded.
    5. Watch the first minute. If your cat tries to eat the toy instead of playing with it, take it away.
    6. Inspect again after play. This catches new damage.

    If your cat vomits, stops eating, strains to defecate, becomes lethargic, paws at the mouth, or you suspect a swallowed string or toy piece, contact a veterinarian promptly. Do not pull a string from your cat’s mouth or rectum.

    Quick DIY Cat Toy Checklist

    • The toy has one clear purpose: chase, pounce, kick, forage, hide, or solve.
    • No staples, pins, beads, plastic eyes, rubber bands, or loose bells are used.
    • String, ribbon, yarn, feathers, and elastic are only used during supervised play.
    • Paper bags have handles removed.
    • Cardboard toys are removed if your cat chews and swallows pieces.
    • Fabric toys are retired when seams open.
    • The toy is large enough that your cat cannot swallow it.
    • You inspect before and after play.

    The Bottom Line

    DIY cat toys are worth making because they give cats novelty, problem-solving, and hunting-style play without much cost. The safest options are simple, inspectable, and matched to your cat’s habits: cardboard puzzles for pawers, paper bag ambush setups for stalkers, fleece kickers for grabbers, and supervised wand games for chasers.

    For rough players, the standard is higher. Avoid small and stringy parts, supervise harder play, retire damaged toys quickly, and use durable store-bought options when homemade materials are not holding up. The goal is not a perfect homemade toy. The goal is a steady rotation of safe challenges that keeps your indoor hunter busy without turning playtime into a swallowing hazard.