Author: hans

  • how long do cats vaccine side effects last

    how long do cats vaccine side effects last

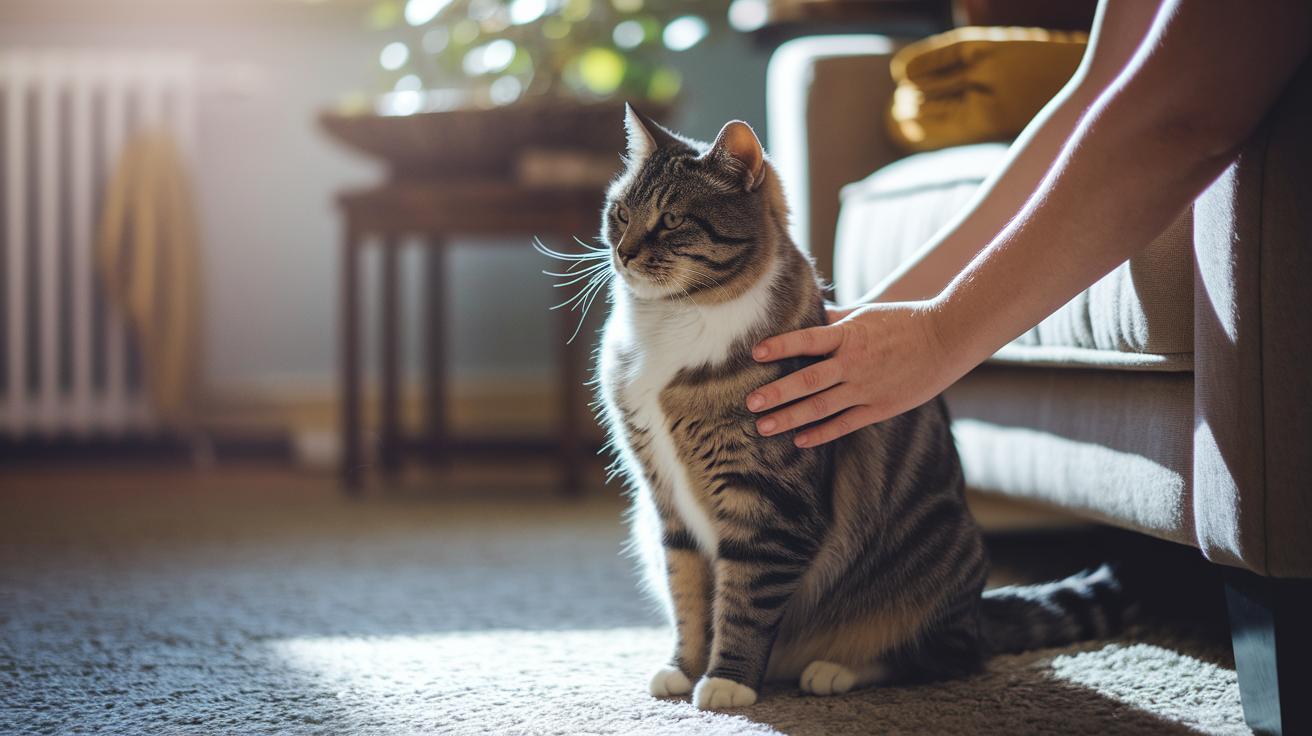
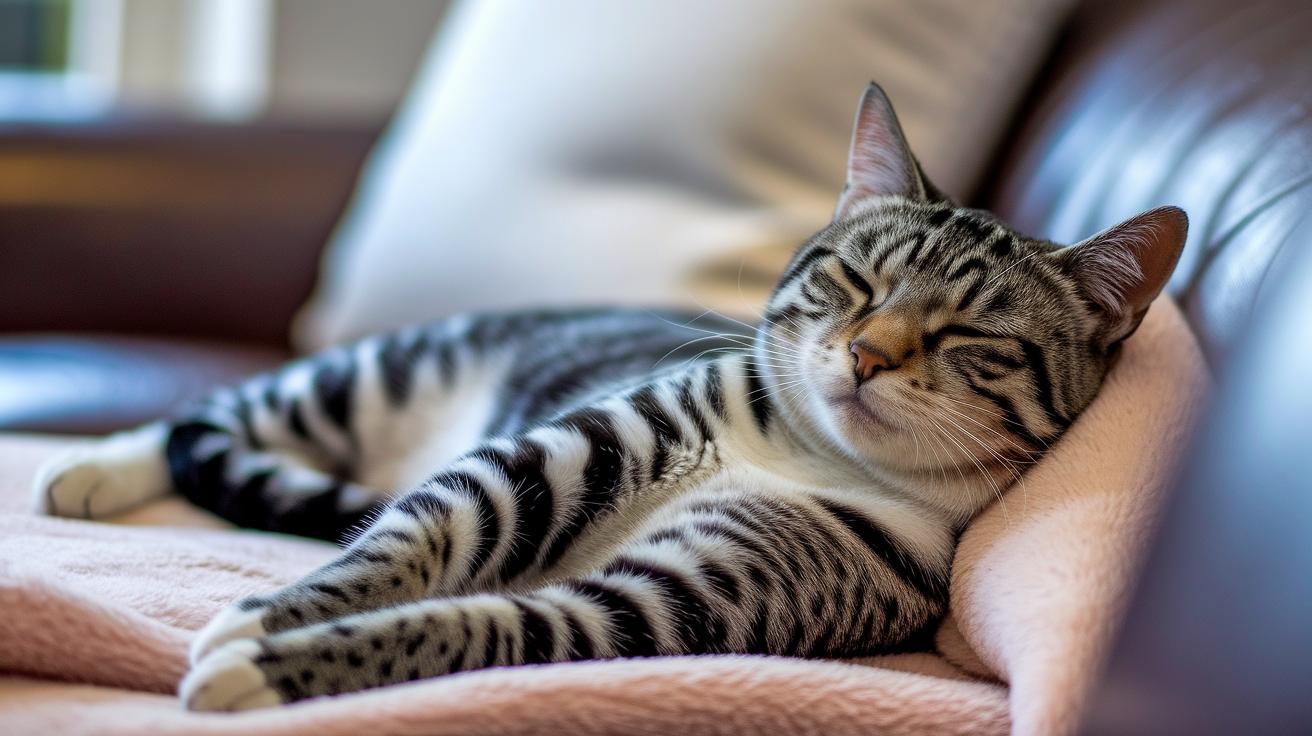
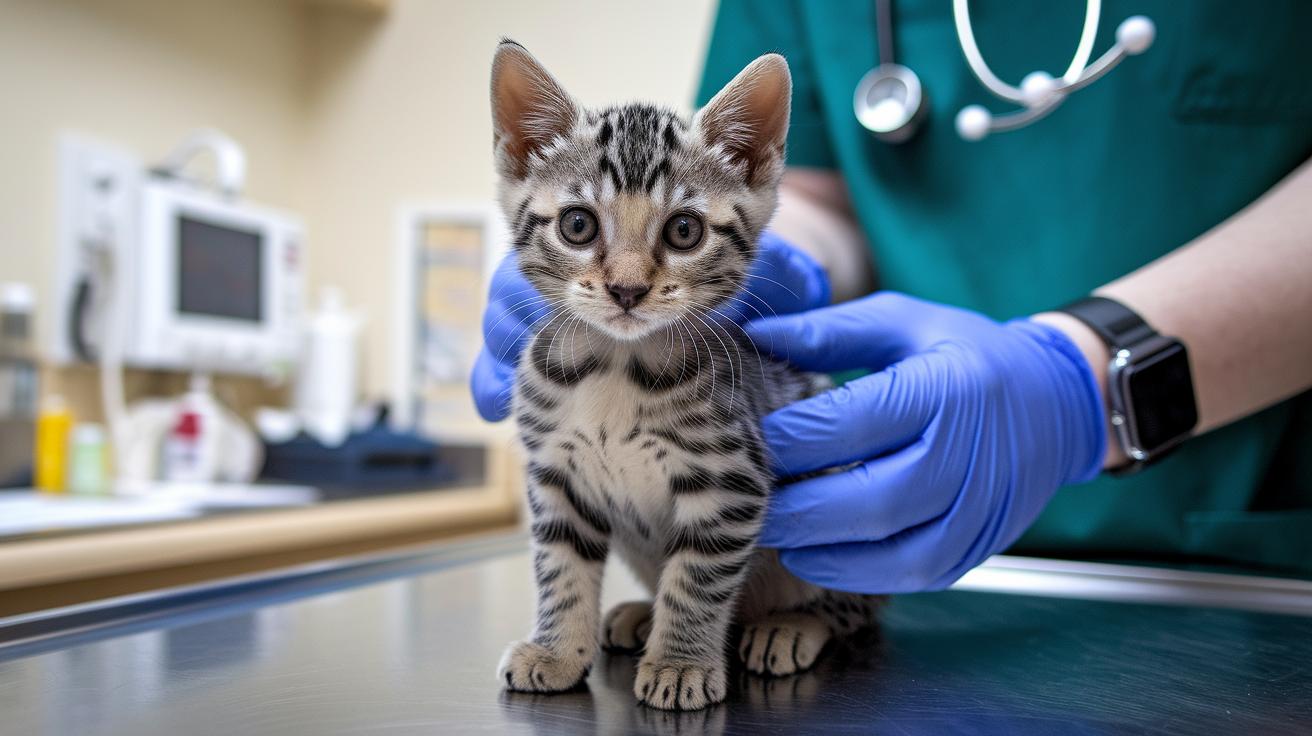
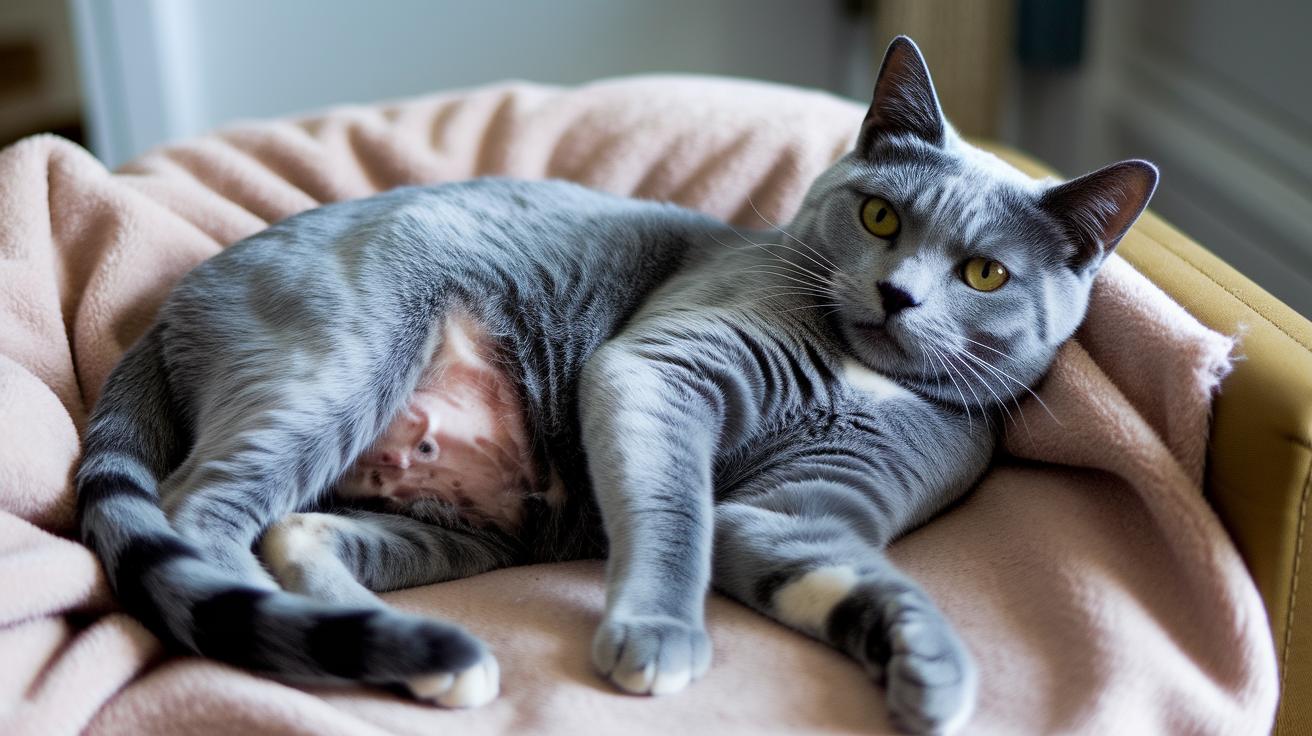
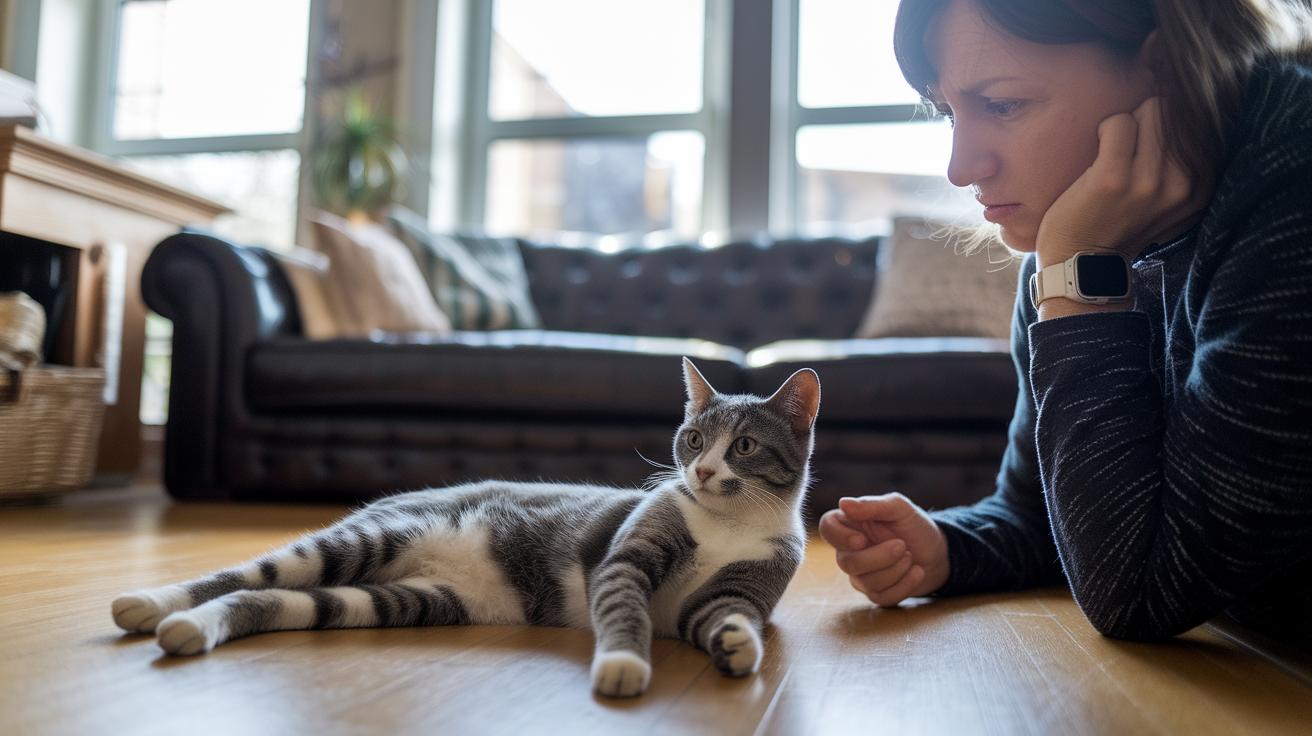
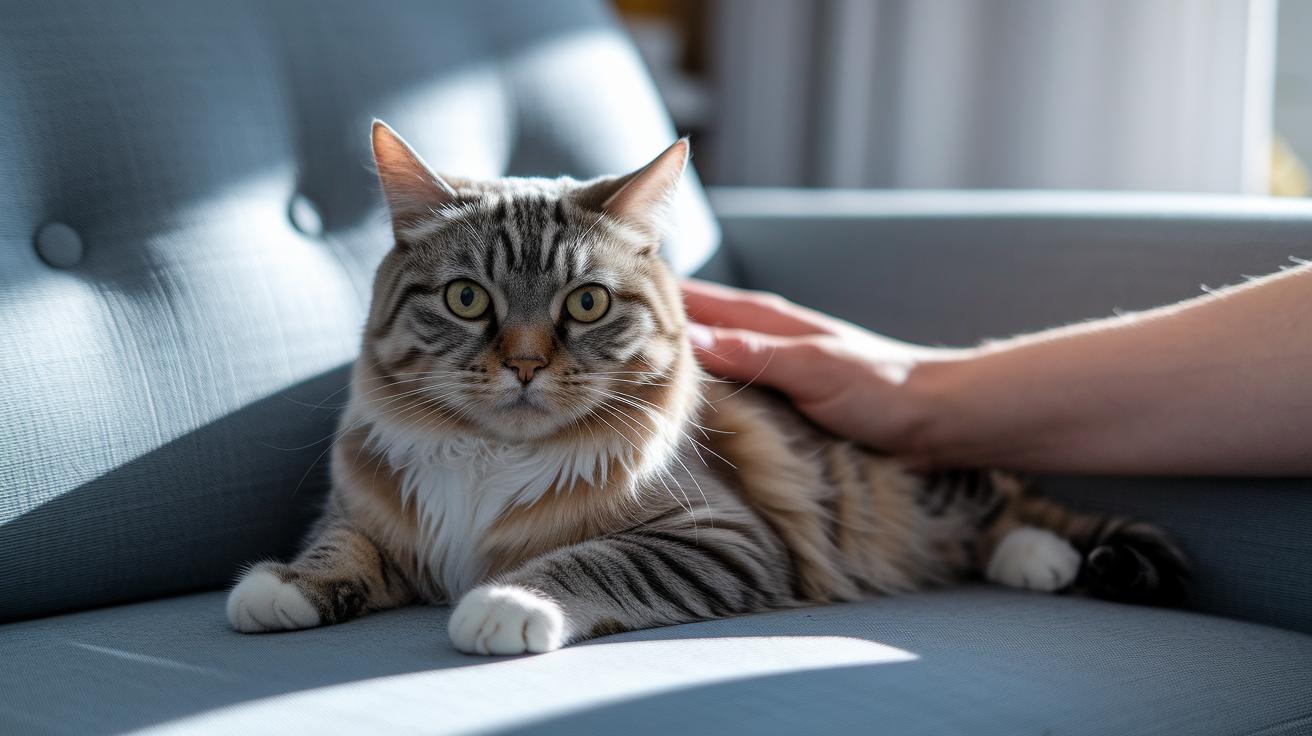
    Is your kitty acting like a grumpy ninja after her shots? You might spot a tiny red bump at the injection site or feel a warm spot under her fur. And maybe she’s sneaking extra catnaps, her whiskers barely twitching! Yep, the sniffles and snoozing are her immune system (the body’s defense troops) on patrol.

    Think of vaccines like a practice drill at kitty boot camp. They train her body to fight real threats later and most mild reactions pack up and leave in one to five days. That satisfying purr will be back before you know it. Really.

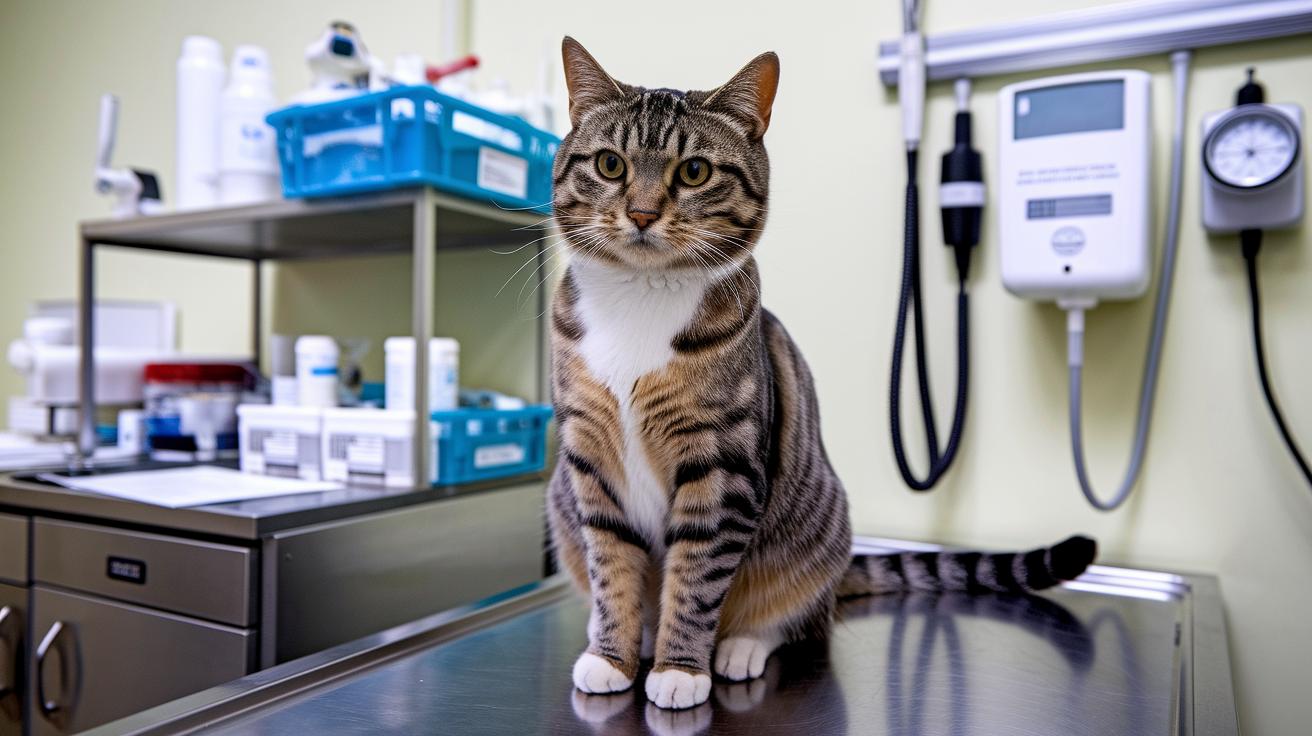
    Serious alarms are super rare (under 0.5 percent of cats). But it’s good to know what to expect and when to ring your vet, you know. In this post, we’ll walk you through each side effect from the first yawns to the final purr so you can relax and keep your cat feeling fine.

    Worth every paw-print.

    how long do cat vaccine side effects last

    Duration and Severity of Cat Vaccine Side Effects.jpg

    After your kitty’s shots, most side effects pack up and go within one to five days. You might notice a bit of soreness, some sniffles, or extra snoozing, totally normal. Serious allergic reactions are super rare (around 0.5%), so don’t stress. Here’s a quick snapshot to help you spot mild vs. “better call the vet” signs at a glance.

    Side Effect When It Starts How Long It Lasts
    Soreness at injection spot (tender red bump) 2–4 hours after shot About 24 hours
    Slight fever (body temp up to ~102°F) 2–6 hours after shot Back to normal by next day
    Lethargy (extra naps, low energy) 2–4 hours after shot Usually gone within 24 hours
    Sniffles or coughing 4–8 hours after shot 2–5 days
    Injection-site lump (firm, pea-sized bump) Within a day Up to 3 weeks
    Severe reaction (hives, facial swelling, trouble breathing) Minutes to 48 hours Immediate vet care

    Expected Mild Reactions

    These are your cat’s immune system doing a happy dance. Most whisker-twitching signs vanish by tomorrow.

    • Injection-site soreness (little red bump): pops up in 2–4 hours, usually gone in a day
    • Slight fever (warm to the touch): starts 2–6 hours later, back to normal in 24 hours
    • Lethargy (extra catnaps): begins 2–4 hours after the shot, fades by bedtime
    • Skipped meals (lost appetite): kicks in around 2–4 hours post-vax, eats again by tomorrow

    Warning-Level Severe Reactions

    If you see any of these, call your vet right away, no kittening around.

    • Hives or nonstop itching (raised red welts): within minutes to 2 hours, urgent care
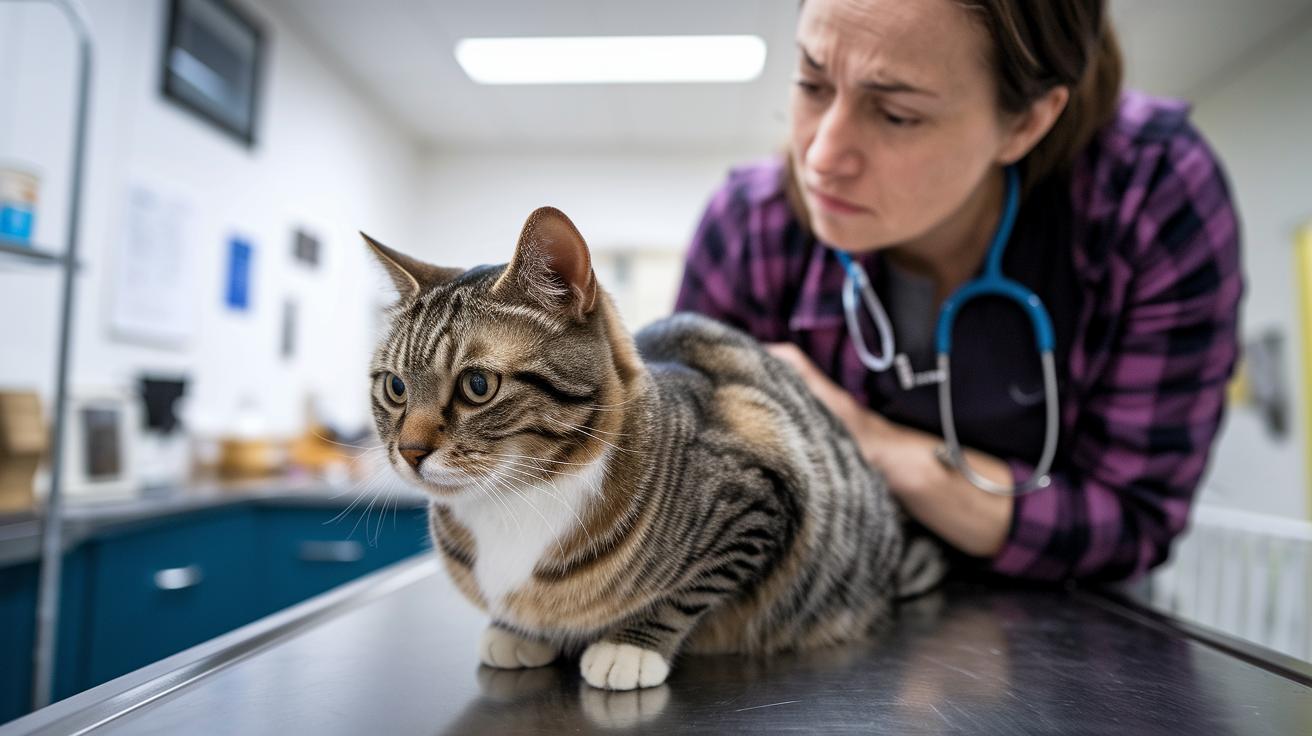
    • Puffy face around eyes or muzzle: 30–60 minutes after the shot, head to the clinic
    • Struggling to breathe or severe coughing: immediate action, off to the vet
    • Collapse or fainting: seconds to minutes later, rush your cat in
    • Crazy vomiting or diarrhea (more than two episodes): 1–48 hours post-vax, seek help now

    Worth every paw-print to keep your fluffball healthy!

    Symptom-Specific Duration of Cat Vaccine Reactions

    Symptom-Specific Duration of Cat Vaccine Reactions.jpg

    Symptom Starts Lasts Home Soothing
    Lethargy (tiredness) 2–4 hours Up to 24 hours Quiet rest in a comfy spot
    Fever (higher body heat) 2–6 hours Up to 24 hours Cool damp cloth
    Injection-site swelling (where shot went in) Right away Up to 3 weeks Warm compress
    Appetite loss (less hunger) 2–4 hours 24–48 hours Offer favorite food
    Respiratory signs (sneezing, coughing) 4–8 hours 2–5 days Monitor breathing. how long do cat upper respiratory infections last
    GI upset (vomiting, diarrhea) 4–12 hours 24–48 hours Bland diet, hydration. what to do cat diarrhea

    Easy Home-Soothing Tips

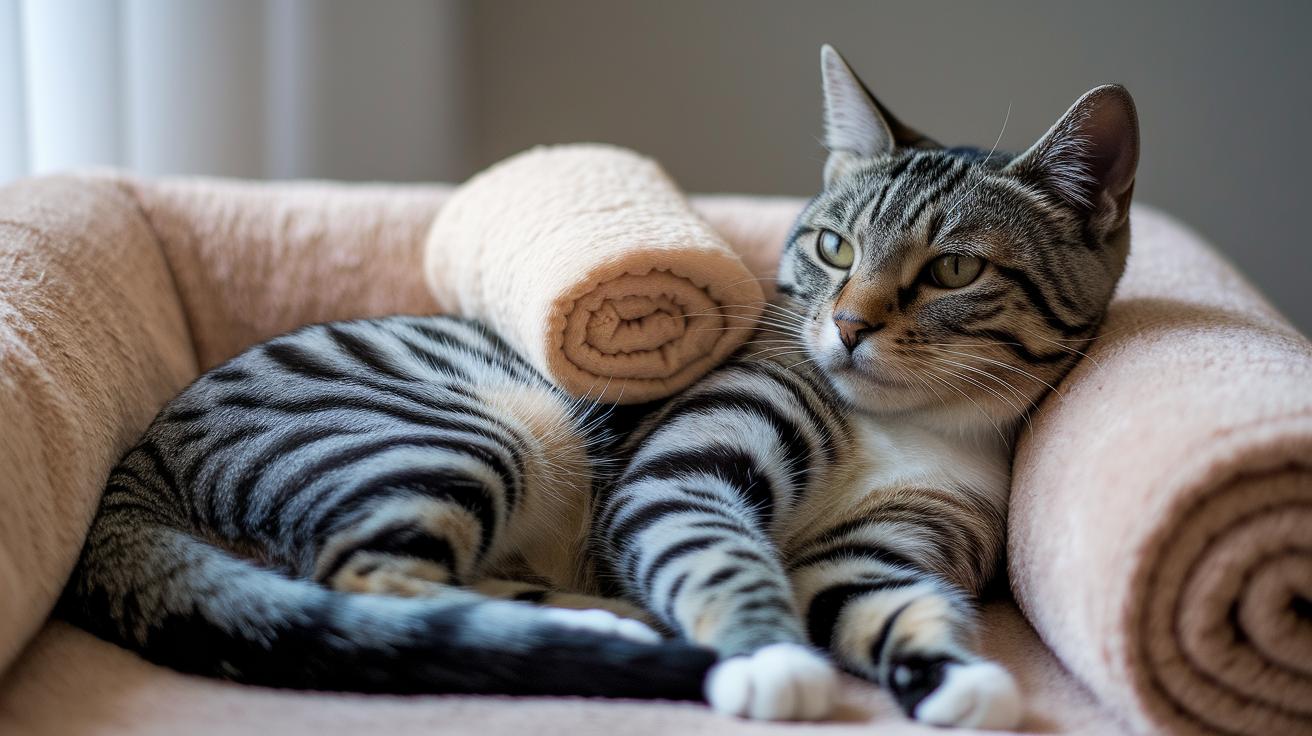
    • Lethargy (tiredness): Your cat might flop onto a soft blanket and snooze. Just let them rest in a calm corner away from noise.
    • Fever (higher body heat): You might feel a warm forehead under your hand. Gently dab a cool, damp cloth on their head and paws, you know, to help them chill out.
    • Injection-site swelling (where shot went in): That spot can feel tender. A warm compress (like a damp washcloth heated with warm water) for a few minutes eases puffiness.
    • Appetite loss (less hunger): Sometimes your kitty skips meals. Warm up some wet food or dangle a favorite treat under their nose, it usually does the trick.
    • Respiratory signs (sneezing, coughing): If they start to sneeze or hack, give them some fresh air or sit near a fan but not right in the draft. Keep an eye on their breathing. how long do cat upper respiratory infections last
    • GI upset (vomiting, diarrhea): Offer small portions of bland food and plenty of water. Stay close and make sure they stay hydrated. what to do cat diarrhea

    Side Effect Duration by Vaccine Type in Cats

    Side Effect Duration by Vaccine Type in Cats.jpg

    Ever watched your kitty snooze after a vet visit? Here’s the scoop on how long those mild side effects hang around:

    • FVRCP (combo vaccine for feline viral rhinotracheitis, calicivirus, and panleukopenia) and rabies shots: Your cat might feel a tad warm (mild fever) and grab a few extra catnaps about 2-6 hours after the poke. These traits usually vanish within 1-2 days. Worth every paw-print.
    • Intranasal FVRCP (nose spray version): Expect some sneezes, light sniffles (nasal discharge), or a tiny cough starting 4-8 hours in. It all wraps up in 24-48 hours.
    • FeLV (feline leukemia virus) shots¹: Around 3-4 hours after the jab, your furball might skip a meal or run a low-grade fever. But um, don’t worry. It’s usually gone after about a day.
    • Boosters²: Think of boosters as the encore of the first dose: same signs, but quicker and gentler.

    ¹ FeLV stands for feline leukemia virus (a blood-borne kitty disease).
    ² Booster reactions often wrap up faster than the initial dose.

    Who is the ABC Platform for?

    When to Call the Vet for Cat Vaccine Side Effects.jpg

    Ever sat staring at a to-do list a mile long? The ABC Platform was made for busy small and mid-sized businesses (SMBs) and agencies that already know their way around tech but just can’t spare the hours to build automations from scratch. Agencies get an extra perk, a built-in client and multi-site management system that delivers a crazy ROI (return on investment).

    What is the ABC Platform?

    At its heart, the ABC Platform is a subscription bundle that combines two user-friendly tools: a visual database (an online layout that shows your data like building blocks) and an automation platform (software that connects tasks on its own). Plus, you unlock Scale By Tech’s automation vault, packed with pre-built, production-grade automations (ready-to-run workflows).

    Why should you care?

    Because when you bring your data hub and automation engine together, with a stash of ready-made automations, you’re live in no time and barely lift a finger. You’d normally need separate apps just to kick off serious workflows. We thought, why not bundle them all into one neat package?

    Deploy & Enjoy.

    Tiger Spirit Animal

    Ever felt a fierce burst of emotion you couldn’t quite name? That’s the tiger spirit animal prowling into your world. Tigers live for raw feelings and pure instinct (your gut reactions). They teach us to trust ourselves and leap into action when life roars our name.

    In spirit animal lore, seeing a tiger can mean these things:

    • Willpower and personal strength
    • Shadow side (the parts of you you usually hide)
    • Aggression or anger, at yourself or others
    • Unpredictability in actions or feelings

    To really get what the tiger is saying, watch how it behaves in your dreams or meditations and notice how you feel around it. That emotional feedback is your guide to tapping into its message.

    Elephant Symbolism & Spiritual Meaning

    Imagine standing beside a gentle giant whose slow, steady steps shake the ground, it’s a perfect picture of elephant energy. In so many cultures, elephants stand for power, wisdom, and a deep sense of respect. Their legendary might and long memory (like a mind that never forgets) make them ideal spirit guides when you want to take charge of your life.

    Generally, elephants symbolize:

    • Strength and physical might
    • Power and invincibility
    • Wisdom and deep intuition
    • Longevity and endurance
    • Maternal instinct and caring presence
    • Stability when life feels wobbly

    Think about an elephant lifting 16,000 pounds (about four small cars) or charging at up to 40 miles per hour, despite that hefty size. It reminds us we all have hidden power we can use for good. Through quiet meditation (focus practice) or simply tuning in to your gut, you can tap into your own elephant energy.

    Worth the gentle rumble, right?

    If you ever feel powerless, pause, breathe, and ask for help when you need it. Remember, real strength often grows when we lean on others. When the elephant shows up in your spirit world, it’s nudging you to stand firm in your might and make the world a kinder place.

    Home Care and Monitoring After Cat Vaccination

    Home Care and Monitoring After Cat Vaccination.jpg

    Set a timer so Luna never skips a snack break. Check her food bowl and water dish every 4 to 6 hours so she gets tiny bites and sips to stay comfy. I pop an alert on my phone. Luna’s meows remind me her snack schedule is sacred.

    Keep play mellow for two days. No zoomies or wrestling matches for 48 hours so her tender spots heal. Sorry, Tigger. Gentle chin scratches win over full-on pounce sessions right now. Your cat will thank you with soft purrs.

    Grab a small notebook and jot down any odd bumps or sneezes plus when they start and stop. I write stuff like “lump under shoulder: 2 PM to 3 PM.” It’s super handy for vet chats. Think of it as a diary for your kitty’s recovery.

    Keep an eye out beyond the usual snoozing or tiny sniffles. If sneezing or sleepiness lasts over two days or new signs pop up call your vet right away.

    When to Use Medications

    So here’s the scoop on meds. Only give them if your vet prescribes them and follow the instructions exactly. That means any NSAIDs (nonsteroidal anti-inflammatory drugs) or antihistamines (allergy meds) go in at the time and dose your vet wrote down. My vet told me to give Bella her allergy pill at breakfast to keep things simple.

    Final Words

    You’ve jumped right into the timeline covering mild fevers, sneezes, lumps and serious reactions.

    You’ve seen the symptom table for home care and how injectable versus intranasal shots compare.

    You know what signs, hives, breathing trouble, mean it’s time to call the vet.

    Set up a cozy spot, jot down onset and duration, and pause rough play for a day.

    Now you’re ready with real talk on how long do cat vaccine side effects last and can support your kitty with confidence.

    FAQ

    How long do cat vaccine side effects last and is prolonged lethargy normal?

    Cat vaccine side effects usually clear within one to five days. Mild signs like lethargy or fever fade in 24–48 hours. Lumps can last up to three weeks. Lethargy beyond five days needs vet attention.

    How can I help my cat feel better after vaccination?

    Offer a quiet spot for rest, fresh water, favorite treats, gentle play breaks, and follow your vet’s pain relief or antihistamine directions.

    What side effects occur from the 4-in-1 cat vaccine?

    The 4-in-1 cat vaccine can cause mild fever, reduced appetite, injection-site swelling, and low energy for 24–48 hours. Some cats sniffle or sneeze if it’s an intranasal version.

    What behavior changes are normal after vaccination?

    Normal changes include mild lethargy, increased sleep, less interest in play, slight fever, and maybe a mild loss of appetite for one to two days.

    What is a delayed vaccine reaction in cats?

    A delayed reaction often shows as a firm, pea-sized lump at the injection site days later. It can last up to three weeks but should shrink over time.

    What side effects follow the FVRCP vaccine?

    FVRCP vaccine side effects may include mild fever, reduced appetite, lethargy for 24–48 hours, occasional sneezing or nasal discharge if given intranasally, and a small, temporary lump at the injection site.

    What is the 3:2:1 rule for injection site lumps in cats?

    The 3:2:1 rule warns that any injection-site mass still present after three months, larger than two centimeters, or growing one month post-vaccine needs prompt veterinary evaluation.

    Related Articles

  • do cats calming collars work Effective Anxiety Aid

    do cats calming collars work Effective Anxiety Aid

    Ever watched your kitty bolt from the vacuum cleaner’s thunder?
    You’re not alone. Many cats shiver at that loud whirr.

    Enter the calming collar. It slowly releases a safe, synthetic CAP pheromone (Cat Appeasing Pheromone, think of a mama cat’s cuddly hug). It’s like a soft whisper that says, “You’re okay.”

    Some fur-parents swear by it. Others call it a fad. But small studies show it can cut stress by about 30%. That’s real peace for anxious fluffballs.

    So, how do these collars work? And do they really help your jittery fluffball unwind? Let’s find out.

    do cat calming collars work Effective Anxiety Aid

    Quick Answer Calming Collars and Cat Anxiety.jpg

    Ever wondered if those calming collars actually help with kitty nerves? They use a synthetic CAP pheromone (Cat Appeasing Pheromone) that mimics the cozy smell of a mama cat. It’s like giving your cat a soft hug when things get noisy or new. In one small study, stressed cats wearing the collar saw their stress dip by about 30%.

    Vets often recommend pairing the collar with fun toys or a pheromone diffuser (a plug-in that spreads a calming scent) for extra chill time. Think puzzle feeders or interactive wands for a double dose of calm and play. Uh, every cat is different so you might need to try a few options. But once you find the combo that works, your furball will be purr-ready for any busy day.

    • Synthetic CAP pheromone can lower situational stress by as much as 30%
    • Best when used with toys, puzzles, or pheromone diffusers
    • Results vary from cat to cat so a bit of experimenting is key

    Feline Pheromone Technology in Cat Calming Collars

    Feline Pheromone Technology in Cat Calming Collars.jpg

    Your kitty doing zoomies or hiding under the bed? Pheromone collars tuck in a scent-infused polymer (a plastic-like strip that slowly gives off a calming scent) right next to your cat’s fur. Two synthetic pheromones (scent signals cats naturally make) mimic those friendly facial cheek rubs and gentle mama-cat vibes. As your furball wanders, it gets tiny sniffable puffs for about 30 days, so you get a chilled-out cat without lifting a finger.

    Pheromone Type Intended Use Typical Duration
    Facial Helps solo cats feel safe ~30 days
    Maternal Encourages harmony in multi-cat homes ~30 days

    Some collars come scented with lavender (flowery calm) or chamomile (soft herbal hug) if your kitty enjoys a little extra aroma. But there’s also a fragrance-free option for noses that hate smells. This way even the sniffiest cat can join in on the chill-out session without a scrunched-up whisker.

    Worth every paw-print.

    Clinical Research and Owner Feedback on Cat Calming Collars

    Clinical Research and Owner Feedback on Cat Calming Collars.jpg

    Peer-reviewed studies (small scale and not blinded) found cats wearing synthetic pheromone collars had about an 18% drop in cortisol (stress hormone). And guess what? They hid less and started rubbing the couch like they were greeting an old friend. Ever watched your kitty do a happy rub?

    Vets say collars work even better when you pair them with a plug-in diffuser during thunderstorms or vet visits. One veterinarian told me her shy patient popped out of hiding twice as fast with both pheromone tools in place during a surprise storm. You could almost hear the purr of relief.

    Owners notice whisker twitching at the first thunder rumble usually stops once the collar’s on. Some cats roll into a cozy donut shape and drift off, while others barely flinch, proof that every feline nose is one of a kind. Um, isn’t that cool?

    Worth every paw print.

    Fitting, Sizing, and Safety Features of Cat Calming Collars

    Fitting, Sizing, and Safety Features of Cat Calming Collars.jpg

    Getting the fit right is the secret to comfort and safety. Use a soft measuring tape behind your cat’s ears to find the right length. Then slip two fingers under the collar, snug but not tight. Uh, if it slides off or feels like a noose, pick a different hole so your kitty can breathe easy and the pheromone (calming scent strip) hugs the fur.

    And kittens need a gentler fit. The collar should move easily as they wiggle and grow.

    Ever watch your cat scale a tree? Breakaway clasps are your best friend for preventing collar injuries. These little fasteners pop open when your collar catches on a chair leg or cat tree so your kitty won’t get stuck. Give it a gentle tug before each use to make sure it opens under light pressure but won’t come undone during play.

    Soft fiber or woven collars feel much friendlier than hard plastic.

    Avoiding skin irritations is a bit of detective work. Check your cat’s neck every few hours for redness, swelling, or flaky spots. Slide the collar off at night so your kitty gets a skin break.

    Watch for extra scratching or sudden head shakes as clues that something’s off. If you spot sore skin, remove the collar right away. You want calm, not ouch.

    Cat Calming Collars versus Other Anxiety Relief Tools

    Cat Calming Collars versus Other Anxiety Relief Tools.jpg

    Cat calming collars travel with your furry pal. They don’t need a plug and release a gentle scent for about a month. You’ll notice a soft, rolling calm wafting around your kitty wherever they roam. If your cat loves to explore every nook, collars purr-form better than stationary gadgets.

    But plug-in diffusers need a wall socket and can cover roughly 700 square feet. They work wonders in living rooms or shelter hallways, offering a constant low hum of comfort. Just remember they stay put, you can’t slip one into a carrier for vet trips or car rides. If your kitty hangs out in one spot all day, swapping refills each month is no big deal.

    Pheromone sprays let you target trouble zones like litter boxes or carriers in a snap. A quick spritz sends a breeze of calm right where you need it, perfect for a tense ride or frantic scratching in the laundry room. Sprays fade fast, so you’ll want to reapply before the next stress wave hits. Collars, by contrast, drip out soothing signals all day long until the strip runs dry.

    Thundershirt vests (a snug fabric wrap) hug your cat like a cozy burrito. Some kitties melt into a relaxed pancake, while others stiffen up and wriggle free. Collars leave paws and bodies completely free, so your cat can leap onto cat trees or dash down the hall without missing a beat. And on hot days, collars feel like a breeze compared to a snug vest.

    Anti-anxiety diets and chews use tryptophan (an amino acid that helps serotonin, the feel-good brain chemical) or alpha-casozepine (a milk protein fragment that soothes nerves). You’ll need to stick to feeding schedules or treat times to see results. Collars start working the moment you clip them on, no waiting required. And hey, don’t forget simple enrichment: puzzle feeders, toy mice, window perches, or even a quick laser-dot chase can make a huge difference in your kitty’s stress levels.

    Leading Cat Calming Collar Brands and Price Comparison

    Leading Cat Calming Collar Brands and Price Comparison.jpg

    The Nurture Calm Collar releases gentle lavender and chamomile scents for about 30 days (like sending your cat to a mini spa). You can buy a single collar or a twin pack, so testing is easy. Some cat parents rave about the soft scent and snug fit. Others find it a bit loose or too strong for picky noses.

    The vet-recommended Sentry HC Collar soothes marking, stress, and aggressive tendencies for about 30 days. You can snag a three-pack at Amazon or Chewy without emptying your wallet. Many users report calmer cats during car rides or thunderstorms. A few mention the fastener loosens too easily, but overall it’s a solid starter collar for new users.

    The Comfort Zone Breakaway Collar offers about 30 days of scent-free calming (perfect for kitties with sensitive noses). Its breakaway clasp (a safety clasp that pops open if it snags) helps prevent accidents on cat towers or furniture. Some say the premium price stings, but many love the no-scent option for nervous felines. It’s often a top pick for cats who cringe at perfumes.

    Pzlagia’s four-pack of adjustable breakaway collars gives you fresh collars every month without emptying your wallet. Each collar lasts around 30 days and has a pheromone strip (a strip that releases calming scents) to help ease scratching and marking. Some cats seem totally chill while others hardly notice the pheromones, um, I guess it depends on the kitty. Still, that low price per collar makes Pzlagia the cost champ for multi-cat homes.

    Best Practices for Using Cat Calming Collars with Your Cat

    Best Practices for Using Cat Calming Collars with Your Cat.jpg

    Ever wish your kitty could stay calm when things get noisy? A calming collar (a nylon band that slowly releases soothing pheromones) might do the trick. But before you clip it on, peek for any snags or fraying. You don’t want a loose thread tickling their neck.

    Fasten the collar so you can slip in two fingers without a struggle, comfy but not too tight. Every few days, give the fit a once-over. As fur poofs out, move to the next hole to keep things just right. It’s all about that perfect, peaceful fit.

    Bonus tip: pair the collar with a plug-in diffuser (it fills the air with a gentle herbal scent) in your cat’s top snooze spot. Then toss in a puzzle feeder or feather wand for extra fun. Your kitty will be feline fine in no time.

    If you notice red spots, extra scratching, or head shaking, take the collar off right away. Your cat’s skin should feel smooth and happy. Give them a break and try another chill-out method later.

    Maintenance, Longevity, and Cost of Cat Calming Collars

    Maintenance, Longevity, and Cost of Cat Calming Collars.jpg

    Ever watched your kitty sniff a new collar and then flop right down? That’s the magic of pheromones (cat scent signals). Each calming collar typically stays active for 30 to 60 days before the scent runs low. They come in hard plastic, stretchy rubber, and soft woven fibers (breathable threads). Some even have fabric covers you can wash by hand. Just rinse gently and let air dry. In our tests, plastic collars keep their shape best. Rubber ones bend when your cat plays. And woven collars feel extra cozy against fur. A quick rinse shakes off dust and dander, keeping that chill-out scent fresh.

    So, worried about refills? Some brands offer monthly subscription services for collars or refill strips. You’ll get a fresh collar without lifting a finger. When a new batch arrives, tuck extras into sealed bags or airtight containers (no air, no scent fade). Keep them out of direct sun and away from heat, maybe stash them in a dark drawer. These little storage tricks turn every day into a mini spa for your whiskered pal.

    One collar runs about $10 to $20. Multi-packs lower the price per collar, which is paw-sitively purr-fect if you plan to use them long term. But um, be careful: collars stored too long can lose potency. Check how long each pack stays fresh and rotate extras into use before the scent fades. If you’re on a budget, start with one collar to see if your cat digs it. Then grab a pack once you know it works. When the scent starts to vanish, or you hit that 60-day mark, pop on a fresh collar so Fluffy never skips a day of chill.

    Final Words

    In the action, we summed up pheromone science, study stats, safety tips, and real-owner feedback.

    We saw how collars emit feline pheromones (like a cozy whisker hug), what vets suggest, and how to size and fit them for comfort.

    We compared collars to sprays, vests, and diffusers, shared top brand picks, and offered care and pairing tips.

    Now you know do cat calming collars work and can keep your fur family calm, playful, and purr-fectly happy.

    FAQ

    Are cat calming collars effective and recommended by veterinarians?

    Calming collars can lower mild situational stress by up to 30%, and many vets recommend pairing them with behavior-focused play, cozy hiding spots, and consistent routines for best results.

    Are calming collars safe for cats and what side effects occur?

    Calming collars are generally safe, but some cats experience mild skin irritation (redness or flakiness). Inspect your cat’s neck regularly and remove the collar at the first sign of discomfort.

    How long does it take for a calming collar to work on a cat?

    Calming collars begin releasing pheromones immediately, with many cats showing measurable relaxation within 24 to 48 hours and the strongest effects usually by day five.

    What is the best calming collar or aid for cats?

    The best calming aid often combines a pheromone collar (lasting about 30 days) with daily play activities and cozy resting areas. Top-rated collars include Sentry HC for marking issues and Comfort Zone Breakaway for scent-sensitive cats.

    What do reviews say about calming collars like Sentry HC?

    Reviews praise Sentry HC collars for reducing marking and situational stress over 30 days, though some owners report loose fasteners or mild scent strength issues and recommend checking fit before extended use.

    What is a breakaway calming cat collar?

    A breakaway calming cat collar is a safety-focused design that uses a quick-release clasp to prevent choking if snagged, while delivering slow-release pheromones to help soothe feline stress.

    Related Articles

  • How much do cats x rays cost Budget-Savvy

    How much do cats x rays cost Budget-Savvy

    Ever felt your wallet wince at a vet bill? A cat X-ray (a special bones picture) can run $150 to $350 for two views. Think of it like paying for two secret snaps of your kitty’s skeleton. Whoa!

    But wait, there’s more. Extra angles, sedation (calming medicine), or a late-night visit can tack on another $50 to $150. Um, you’ll hear that vet’s click-click echo in your head. Yikes.

    Knowing these numbers ahead can soften the ouch. Next, we’ll break down each cost so you’re wallet-ready and your furball gets the care it needs.

    Worth every paw-print.

    how much do cat x rays cost Budget-Savvy

    Cat X-Ray Cost Overview and Average Pricing.jpg

    Ever wondered what it costs to get your cat’s bones on film? On average, a basic two-view X-ray (side view and top view) runs between $150 and $350. You’ll hear that click-click of the machine and then have a clear picture, literally, of what’s going on inside your kitty.

    A few things can shift that price. The first X-ray usually costs about $100 and each extra angle adds about $50. If your cat needs sedation (calm-down meds), tack on another $50 to $100 for the drugs and monitoring. And city clinics tend to charge 10 to 30 percent more than vets in rural areas because rent and staff pay are higher.

    Don’t be surprised if your vet bundles an exam fee of $40 to $150 with the imaging. It pays to ask for an itemized estimate or a sample invoice before your appointment. That way you won’t get sticker shock when you pick up your purring pal.
    For after-hours or emergency visits, rates often climb higher, and digital X-rays (using an electronic sensor) may add another $20 to $50 over old-school film processing. So if you’re planning ahead, compare those figures with your budget.
    Worth every paw-print.

    Want a detailed cost breakdown for dental, abdominal, thoracic or contrast-enhanced studies? Check out the chart in Section 4 to see exactly where each X-ray fits your budget-savvy plan.

    Breakdown of Vet X-Ray Fees for Cats

    Breakdown of Vet X-Ray Fees for Cats.jpg

    Got a curious kitty who needs an x-ray? Here’s a cost guide to help you plan and keep you feline fine.

    First, just stepping into the clinic usually costs between $40-$150.

    Getting that first radiograph (x-ray image) of your cat is about $100. Need more angles? Each extra view runs around $50.

    If your furball needs to be relaxed for the photos, sedation (calming medicine) can add $50-$100. After the pictures, a radiologist’s look-over (expert vet who reads the images) is another $50-$150.

    Finally, if you ask for the film radiograph (printed x-ray), it’s usually $10-$30.

    Fee Type Cost Range
    Office visit fee $40-$150
    First radiograph (x-ray image) $100
    Additional view $50 each
    Sedation (calming medicine) $50-$100
    Radiologist interpretation (expert read) $50-$150
    Film radiograph (printed x-ray) $10-$30

    Factors Influencing Cat Radiography Pricing

    Factors Influencing Cat Radiography Pricing.jpg

    Ever hear that soft whirr of the x-ray machine and wonder why your kitty’s bill changes? If you’re footing the bill yourself, you’ll usually pay the clinic’s standard rate for radiography (that’s x-ray imaging). But if you have pet insurance or qualify for a subsidy, you might snag a lower, negotiated fee. So before you book, check if your vet offers special insurance deals or self-pay discounts, you could save a bundle of kibble cash.

    Worth every paw-print.

    Cost Differences by Type of Cat X-Ray

    Cost Differences by Type of Cat X-Ray.jpg

    Wondering how much an x-ray (think of it like a special camera beam) costs for your kitty? You’ll see each scan has its own price tag.

    • Dental x-ray (detailed tooth and root check): $75-$150. It’s perfect for spotting hidden infections in the teeth, jaw joints, or roots.
    • Abdominal x-ray (tummy snapshot): $100-$250. It helps you find bladder stones, swallowed toys, or organs that are too big or small.
    • Thoracic x-ray (chest scan): $100-$250. It’s great for checking heart size, lung fluid, or chest masses.
    • Fracture x-ray (bone-focused images): $100-$350. Ideal when your kitty tumbles and you need limb or full-body views.
    • Contrast-enhanced scan (gut map): $150-$300. Your cat sips a safe, edible dye so the digestive tract lights up like a map on film.

    Kitten x-rays usually cost less. Tiny bodies need less time under the beam.
    Senior cat scans can run a bit higher. Older kitties often need extra angles and gentler handling.
    Knowing which scan your purring pal needs helps you budget without surprises. Just ask for a detailed quote that spells out each service – then you can focus on belly rubs instead of sticker shock.

    Regional Price Comparison and Budget-Friendly Cat X-Ray Options

    Regional Price Comparison and Budget-Friendly Cat X-Ray Options.jpg

    Ever shopped around three different clinics and gotten three different prices for a cat X-ray (radiograph)? Clinic size, local living costs, even a nonprofit mission can shift that number.

    Here’s a quick look at typical rates:

    Clinic Type Price Range
    Low-income clinics $100 – $150 for a basic two-view radiograph (front and side)
    Rescue or nonprofit partners Under $80 with subsidies
    Mobile imaging home visits $100 – $200 with an on-wheels unit

    If you’re watching your wallet, those lower-cost spots can be lifesavers for your kitty. Picture a tiny mobile unit rolling up, your cat’s whiskers twitching as it steps off, and you just unfold a towel and a feather teaser (toy with light feathers on a stick) for distraction.

    Thinking about payments? Financing plans like CareCredit or ScratchPay let you spread the cost into easy monthly bites. You’ll see the full private-pay X-ray total up front, then slice it into smaller chunks, no skipping that abdominal or dental radiograph (mouth image) because the bill gave you heartburn.

    Want to compare every quote side by side? Grab a spreadsheet, or even a napkin, jot down each number, and watch those clinic estimates line up against your budget. Then pick the option that’s purr-fect for both your cat and your bank account.

    Worth every paw-print.

    Getting Accurate Cat X-Ray Quotes and Insurance Considerations

    Getting Accurate Cat X-Ray Quotes and Insurance Considerations.jpg

    Before you book, grab a [price estimate tool] or call your vet. Ask about the exam, radiograph (an X-ray image) cost, consultation fee, and any imaging fee. Jot down each line item so you know your out-of-pocket total before your furball even arrives. Keeps surprise bills at bay, purrfect, right?

    Pet insurance often kicks back 60–90% of imaging bills. First, check your deductible (the amount you pay before insurance helps) and your copay (your share of each bill). Then do a quick calc: subtract your deductible, multiply what’s left by your copay rate, and voilà, an estimate of the check you might get back. Ever had your kitty demand extra cuddles right after you see a bill? Yep, me too.

    Client communication tips:

    • Ask for an itemized cost breakdown chart by email or phone.
    • Find out if private-pay X-ray cost is different from insured rates.
    • Confirm how long claims take, sometimes two weeks, sometimes two months.

    A clear pricing guide lets you compare clinics side by side. With itemized quotes, there are no hidden fees, no surprise sedation surcharge (extra fee if sedation is used), and no mystery charges for extra views. You can plan a purr-fect budget and focus on snuggles instead of sticker shock.
    Worth every paw-print.

    Final Words

    Right in the action: we covered national pricing for pet X-rays, from basic views to sedation and radiologist fees.
    Then we dug into what changes the bill, digital vs film, weekend surcharges, clinic location.

    We even mapped costs by X-ray type (dental, abdominal, thoracic) and flagged budget-friendly options like low-income clinics or mobile units.
    Plus, we wrapped up with tips on getting clear quotes and using pet insurance to shrink your out-of-pocket.

    Now you’re all set to find out how much do cat x rays cost with confidence and ease.

    FAQ

    How much do cat X-rays cost without insurance and what low-cost options exist?

    Without insurance, two standard views run $150–$350. Low-income clinics or specials may offer $100–$150. Additional views or sedation add extra fees.

    How much do cat X-rays cost near me?

    Prices typically range $150–$350. Urban clinics often charge 10–30% more than rural ones. Use online estimate tools or call local vets for exact quotes.

    How much does a vet charge for a cat X-ray?

    Expect exam fees ($40–$150), two views ($100–$150), sedation ($50–$100) and interpretation ($50–$150), all itemized on the bill.

    What does a cat leg (fracture) X-ray cost?

    A fracture X-ray runs $100–$350 depending on views needed, sedation and any clinic imaging fees.

    What does a cat abdominal (stomach) X-ray cost?

    Abdominal X-rays cost about $100–$250 per session, based on view count, sedation and radiologist fees.

    How much are cat dental X-rays?

    Dental X-rays cost $75–$150, depending on number of teeth imaged and sedation or positioning services needed.

    How much is a dog abdominal (stomach) X-ray?

    Dog abdominal X-rays run $150–$350, similar to cats. Costs vary by location, views and sedation fees.

    Do cats need to be sedated for X-rays?

    Sedation depends on cat temperament and exam complexity. Mild sedation fees range $50–$100 to ensure clear, still images.

    Related Articles

  • How to do cat’s cradle: playful flair

    How to do cat’s cradle: playful flair

    Think cat’s cradle is just a dusty kids’ trick?
    Oops, let me rephrase that.
    This simple flick of yarn can calm you like a purring kitty and bring everyone together around one playful loop.

    You’ll learn each fun step – tying loops, hooking yarn, flipping (turning over with a quick wrist movement) loops.
    It’s like teaching your cat to bat at a feather (a light soft piece) toy.
    No stress. No frustration. Just paws-itive vibes.

    Soon you’ll weave tiny X shapes into a cozy cradle that mesmerizes friends and gives your fingers a playful workout.
    Feel the yarn slide under your thumbs like a whisper-soft feather.
    Um, doesn’t that sound claw-tastic?
    Ready to spark fun with every gentle tug?

    2 how to do cat cradle: playful flair

    Step-by-Step Cat Cradle Instructions.jpg

    1. Cut about 36 inches of string and tie the ends in a loop (a circle of string). Think of a yarn circle a playful kitten loves to chase.
    2. Slide your hands into the loop, thumbs outside, pinkies tucked in, palms facing each other.
    3. Hook your middle fingers under the loops on the opposite hand. Tiny catchers.
    4. Pull gently. Now you have two crisp X shapes and a little cradle in the middle.
    5. Pinch each horizontal X between your thumb and index finger.
    6. Lift those pinched Xs up and toward your partner. Watch the cradle shift like magic.
    7. Slip your hands out and let them hold the pattern. Easy.

    And there you go! The classic baby-in-a-cradle frame ties you and a friend into cat’s cradle fun. Feel the string slide under your thumbs and pinkies like a soft feather toy, not yanking a stubborn twig. Keep loops snug. Too floppy, and it turns into a lazy yarn blob. Too tight, and ouch, you might pinch yourself or break the loop.
    Watch for slack before each transfer and give a gentle tug to tidy things up. When you sense the right pull, the cradle will flip over smooth as a cat’s leap. Ever tried adding a little meow? It turns practice into a kitty carnival.

    If a loop sneaks off, rewind and revisit that step. A slow-mo video helps you spot when a loop slips away.

    Picture trading this loop like a secret handshake, only fuzzier. Start slow, then build a steady rhythm. It’s great for parties, family hangouts, or a quiet solo break. Kids love the tactile feel. Grown-ups can geek out over the geometry of Xs and loops.

    Bonus: mastering these patterns flexes fine motor muscles, handwriting, typing, even painting gets a boost. Soon you’ll spot tiny triangles appearing before each tug, a secret signal your fingers learn to read. Before long, you’ll weave cat cradle basics with a grin, feeling feline fine from the first loop to the final pass.

    Cat Cradle Setup and String Selection

    Cat Cradle Setup and String Selection.jpg

    Ready to weave your first cat cradle? Grab about 4 to 6 feet of 1/8-inch cord (about as slim as a swimsuit strap). I love smooth cotton or polyester cord (cord: a thin, rope-like string) because it glides through your fingers and won’t fray when your kitty pounces on it – smooth sailing all the way. You want it thin enough for silky loops but not so wispy it feels like fishing line.

    Too thick, and your fingers get stuck. Too thin, and a playful tug might snap it. The sweet spot gives you a smooth slide and crisp X shapes – purrfect for feline fun.

    Tie a secure double knot, pulling it snug so the loop lies flat against your skin. Trim the tail close to the knot – no loose ends to snag on those claws.

    Slip the loop over your hands (thumbs outside, pinkies inside) and look for any twists. Give it a gentle tug to smooth out kinks. And there you go – you’re all set to weave that pawesome first cradle.

    Mastering Finger Positions in Cat Cradle

    Mastering Finger Positions in Cat Cradle.jpg

    Ready to weave a finger spider-web that’s almost as fun as chasing a yarn ball?
    Start by laying a piece of string across your palms and slipping it over both thumbs.
    Keep your thumbs on the outside to anchor the outer loops.
    Tuck your pinkies inside those loops to create the cradle walls.

    Keep your palms flat and peek for little triangles in the center before you pull.
    Next, point your middle fingers, your tiny catchers, downward.
    Reach across and pull the opposite loop first over, then under.
    Then use your index fingers to guide and release loops, passing the pattern smoothly to your other hand.

    Pull with even tension.
    It’s snug enough for crisp X’s.
    And gentle enough to avoid pinching.
    No pinched paws here, right?

    Troubleshooting Common Cat Cradle Issues

    Troubleshooting Common Cat Cradle Issues.jpg

    Troubleshooting Tips

    Ever feel like your hands are chasing shadows in this string game? Try these quick fixes.

    • Spread the yarn strands flat in your palms. It makes the X shapes pop, kind of like whiskers on a playful kitten, and stops loops from sneaking on top of each other.
    • Rub the string (thin cord) between your fingers to unkink stubborn twists. Um, it’s almost like giving the yarn a gentle massage, so satisfying.
    • Before you lift any loop free, count “one-two” with your partner. That way no hand pounces away too soon – claw-some teamwork!
    • Peek for tiny triangles tucked under the loops. That little triangle is your perfect pinch point to keep things running smooth.

    Cat Cradle Variations and Advanced Moves

    Cat Cradle Variations and Advanced Moves.jpg

    Taking cat cradle play beyond the basics sharpens your finger skills and keeps things fresh. Ever watched your hands dance with string like your cat chasing its tail? And yes, scoring a perfect shape feels like a pounce-worthy catch.

    Diamond Formation

    Pinch the two crisscross spots (the X shapes in the middle) between your thumb and forefinger. Now pull each side out and watch the loop stretch into a sparkling diamond. Keep it tight so it doesn’t flop. Pinch a hair firmer and tug until it snaps softly, like a springy toy bouncing.

    Manger and Cat’s Eye Formation

    Next, let’s flip to a Manger, which is just an upside-down cradle: turn your palms up and lift the same X shapes through the top loops. Boom. An upside-down bed. For Cat’s Eye, grab the small loops on each side of your Manger and pull them forward. You’ll see a slim diamond with a tiny string gap in the middle, like a curious kitty peeking out.

    Sailboat and Butterfly Patterns

    Ready for more fun? To make a Sailboat, hook your pinky under one side of your Diamond and pull up, making a mast at the top. The bottom stays wide, like smooth ocean waves.

    Uh, for the Butterfly, twist your wrist so one loop crosses over, slide your finger through both layers, then tug. You’ll have two delicate wings and a slender body.

    Keep playing, mix fingers, add extra twists or team up with a friend for multi-loop shapes. It’s claw-tastic wrist exercise and a fun way to pass the time. Worth every paw-step.

    Practice Tips and Skill Progression for Cat Cradle

    Practice Tips and Skill Progression for Cat Cradle.jpg

    Ever felt the soft tug of your loops? First, let’s warm up by pacing through the basic figures. Spend about a minute on each move, loop placement (where your string lands on your fingers), the X shape, and cradle transfer (sliding one loop neatly into another). It’s like stretching before a playful pounce.

    Ready for a quick challenge? Set a timer for 60 seconds and repeat one transfer move four times without a slip. Feel that satisfying snap when it clicks into place. Really.

    Next, grab a partner and call out every pinch and pull as you hand off loops. Narrating each step sharpens your focus and makes practice feel like a fun team game, purr-fect for staying in the groove.

    Want extra help with those tricky transitions? Check out the Troubleshooting section for labeled images and slow-motion clips.

    Final Words

    We covered step-by-step moves, string tips, finger placements, and common fixes for a smooth pass.

    We even explored fun shape swaps, set-up tricks, and practice drills to boost your speed and skill.

    Give it a go. Keep that loop flat and tension gentle.

    Soon you’ll wow friends (or a curious cat) with a perfect baby-in-the-cradle fold.

    Your string fun is just a twist away.

    Time to flex those fingers, grab your string, and master how to do cat cradle, happy twisting and passing ahead!

    FAQ

    What is the Cat’s Cradle game and what are its rules?

    The Cat’s Cradle game is a hand-loop string figure activity passed between two players. You start with a loop of string around both thumbs and pinkies, create shapes like the cradle and diamond, then hand the figure to your partner until no more moves remain.

    How do you play Cat’s Cradle step by step for beginners?

    Use a 36-inch loop of string over your thumbs and pinkies. Hook your middle fingers under the opposite loops, pull tight to form two X shapes with a central cradle, then pass the loop to your partner to continue.

    Can you play Cat’s Cradle by yourself (Cat’s Cradle Solo)?

    Yes. Practice alone by cycling through figures yourself. Begin with the basic cradle and then use your fingers to pick up loops and form shapes like the diamond and cat’s eye without a partner.

    What kind of string should I use for Cat’s Cradle?

    Choose 1.5 to 2 yards of 1/8-inch cord or smooth yarn. Tie a flat loop that fits comfortably around your thumbs and pinkies and trim any excess so it lies evenly.

    Are there Cat’s Cradle instructions available as a PDF?

    Yes. Many craft and educational sites offer free PDF downloads with illustrated steps. You can also scan printed guides into a document to create your own PDF.

    What tricks or variations can I try with Cat’s Cradle?

    After mastering the basic cradle, explore variations like the diamond, manger (upside-down cradle), cat’s eye, sailboat, and butterfly by pinching and pulling specific loops for each shape.

    Related Articles

  • How to do CPR on a cat

    How to do CPR on a cat

    Ever held your kitty and watched them go totally limp?
    Whoa. Your own heartbeat feels loud as you wait for a breath.
    It’s wild how every second stretches out when the air just stops on their soft fur.

    When your furball quits breathing, time feels like it’s racing ahead. But you can help, you know.
    Gentle chest presses (tiny squeezes on the ribcage) and soft rescue breaths (small puffs of air) can keep that little heart beating until the vet swoops in.

    This quick guide shows you five easy steps.
    It’s like learning a simple hand dance. Each move is clear, so you’ll know exactly how to jump in and give your feline friend a fighting chance.

    Plus, you don’t need fancy gear. Just your hands, a bit of courage, and a sprinkle of hope.

    Ready to step up and be your cat’s hero?

    Immediate Cat CPR Steps

    Immediate Cat CPR Steps.jpg

    When your kitty’s not breathing, every second is precious. Grab a flat spot – like the floor or a sturdy table – and throw on disposable gloves and a barrier device (a simple face mask works). These keep you and your furball safe while you play lifesaver. Ready to be your cat’s hero? Let’s roll.

    This quick guide walks you through what to do when your cat goes limp. Fast action can keep blood pumping and oxygen (the air your cat needs) flowing to the brain before help arrives.

    Checking Responsiveness & Airway

    Before you do chest squeezes or rescue breaths, make sure your cat really needs help. No movement and no breathing? You likely won’t feel a pulse.

    1. Gently roll your cat onto its side. Softly shake its shoulder or call its name.
    2. Lift the chin to straighten the neck and tilt the head back. This opens the airway.
    3. Pull the tongue forward and peek inside the mouth. Use gloved fingers or a cloth to clear any bits of debris.
    4. Watch for chest movement and feel for breath at the nose.

    Compression Technique

    Next up: chest compressions (pushing on the chest to pump blood). Lay your cat on its right side, chest facing you. Bend the left front leg at the elbow – that’s your landmark for the heart.

    Keep your arms straight and shoulders above your hands. Then push at the right pace:

    Cat Size Hand Placement Compression Depth Compression Rate
    Small Cat Thumb and fingers on opposite sides About 1 inch 100 to 120 per min
    Large Cat Interlocked fingers, straight arms 1.5 to 3 inches 100 to 120 per min

    Rescue Breaths & Ventilation

    After every five compressions, give rescue breaths. Seal the muzzle with your hand so both nostrils are covered. Breathe in big and blow full lungfuls into the nose. Watch the chest rise.

    • Keep that seal tight.
    • Exhale fully into the nose.
    • Pause so the chest falls before the next breath.
    • Aim for one breath every five seconds – no rapid puffs, um, please.
    • If the chest stays flat, tilt the head back and try again.

    When to Continue or Stop CPR

    Alternate compressions and breaths, checking for a pulse or breath after each cycle. If you see no signs of life after 20 to 30 minutes, it may be time to stop. But if your cat starts breathing or shows a heartbeat, give yourself a high five and call the vet.

    Your purr pal still needs professional care, since brain damage can begin in just four to six minutes without oxygen. Dash to the clinic and let the pros take over, worth every paw-print.

    Troubleshooting Cat CPR Challenges

    Troubleshooting Cat CPR Challenges.jpg

    Mistakes happen when adrenalin’s high. Pushing in the wrong spot, squeezing too shallow or too deep, or leaning on the chest can stop blood flow. If your pace wobbles, too slow, too fast, it won’t match the heart’s rhythm. Blowing too hard during rescue breaths can even overinflate those tiny lungs.

    Kitten CPR adjustments matter because little bodies need gentler care. Aim for about half an inch of compression depth and slow to around 80–100 squeezes per minute (that’s one every 0.6–0.75 seconds). Your hands should feel light, like petting the fluffiest kitten. Pausing too long between squeezes steals precious seconds.

    Senior cat considerations call for even softer touch. Fragile bones can crack, so reduce depth and place a folded towel under the spine for extra support. If the chest seems too stiff, ease back on force and rely more on rescue breaths. Always scan for pain signals, ears flat, a soft groan, before trying another cycle.

    Hypothermic cat resuscitation needs warmth first. Wrap them in blankets to lock in heat between CPR sets and move fast to a warm surface. Watch for stress signals during CPR: hissing, wide pupils, frantic paws. If your cat panics, pause gently, clear the airway again, then resume, cold plus stress makes breathing worse.

    When to stop CPR cats is a tough call. Keep going until you see breathing, twitching, or a heartbeat return. If no change shows after 20–30 minutes, chances of recovery drop sharply. Trust your rhythm and your feel, if you hit that time mark with no pulse, it may be time to let go and focus on comfort.

    Post-CPR Care and Veterinary Referral for Cats

    Post-CPR Care and Veterinary Referral for Cats.jpg

    Once your kitty starts breathing or twitching again, gently roll her onto her side with her head a little higher than her chest. Watch her ribs rise and fall every few minutes so you know she’s still getting air. It’s like spotting tiny waves on a sandy beach. If you’ve got an oxygen mask or chamber (a clear box that gives extra oxygen), slip it on softly so she can breathe easier.

    Before you hit the road, grab your pet first aid kit. You’ll want:

    • gauze pads
    • antiseptic wipes
    • thermometer (for checking her temperature)
    • tweezers
    • an up-to-date vet contact list

    Toss it all into a little bag you can grab, um, in a flash. You don’t want to be digging around while racing to help your furball.

    Next, head straight to the nearest emergency clinic or call a mobile vet who can meet you on the way. CPR can hide bruises or stress inside those tiny bodies, and only a vet knows how to find internal injuries. Even if your cat seems calm, it can be a quiet sign of trouble. Don’t wait around – that extra minute could make all the difference.

    Worth every paw print.

    Final Words

    in the action we checked your cat’s breathing and pulse, cleared the airway, delivered chest compressions at the right pace and depth.

    Next we covered slip-ups, like wrong hand spots, too shallow pushes, or rushed breaths, and shared tips for tiny kittens and senior cats.

    Then post-CPR: keep your pal warm, watch for gasps, and have a first-aid kit ready before heading to a vet.

    Following these easy steps on how to do cat cpr can make a real difference. You’ll feel calmer, more prepared, and your furry friend will thank you with a happy head bump.

    FAQ

    How do I perform cat CPR step by step at home?

    Cat CPR starts by laying your cat on its right side with its neck extended. Check for response, clear the airway, confirm breathing or pulse, then perform 100–120 chest compressions per minute with rescue breaths in a 5:1 ratio.

    Which side do you CPR a cat on?

    You position a cat on its right side so the left chest faces you, making it easier to find landmarks for compressions and ensuring proper lung expansion during rescue breaths.

    What is the success rate of CPR on a cat?

    Cat CPR success rates vary, but studies show around 6–12% survival to discharge. Immediate action and correct technique improve chances, though risks remain high without veterinary support.

    What should I do if my cat is not responding?

    If your cat does not respond, continue five compressions to one breath cycles for up to 20–30 minutes. Call an emergency vet for guidance and prepare to transport your cat as soon as possible.

    How do I give CPR to a kitten or newborn?

    Kitten CPR uses gentle compressions (about 0.5 inch) at 80–100 per minute with rescue breaths every 5 seconds. Clear the airway first, wrap the kitten in a warm towel between cycles, and seek immediate vet care.

    How can I help a choking cat during CPR?

    When a cat is choking, open its mouth and gently sweep debris with gloved fingers. If it stays blocked, give firm back blows, then resume chest compressions and rescue breaths once the obstruction clears.

    Where can I find a reliable cat CPR video tutorial?

    You can find reliable cat CPR tutorials on YouTube channels hosted by veterinary professionals. Search for “cat CPR demonstration” from accredited vets to see correct hand placement, compression depth, and rescue-breath techniques.

    Related Articles