Cat chew toys for teething should give a kitten or young cat a legal place to bite without creating a choking, tooth, or swallowing hazard. Choose toys that are soft enough for tender gums, too large to swallow, simple enough to inspect, and sturdy enough to survive short supervised chew sessions.
The goal is not to find an indestructible teething toy. A teething cat has sharp baby teeth, adult teeth moving through the gums, and very little sense of what is safe to swallow. The better goal is controlled chewing: offer the right texture, watch how the toy fails, rotate options before boredom turns into shredding, and retire damaged toys early.
What Can Cats Chew On When Teething?
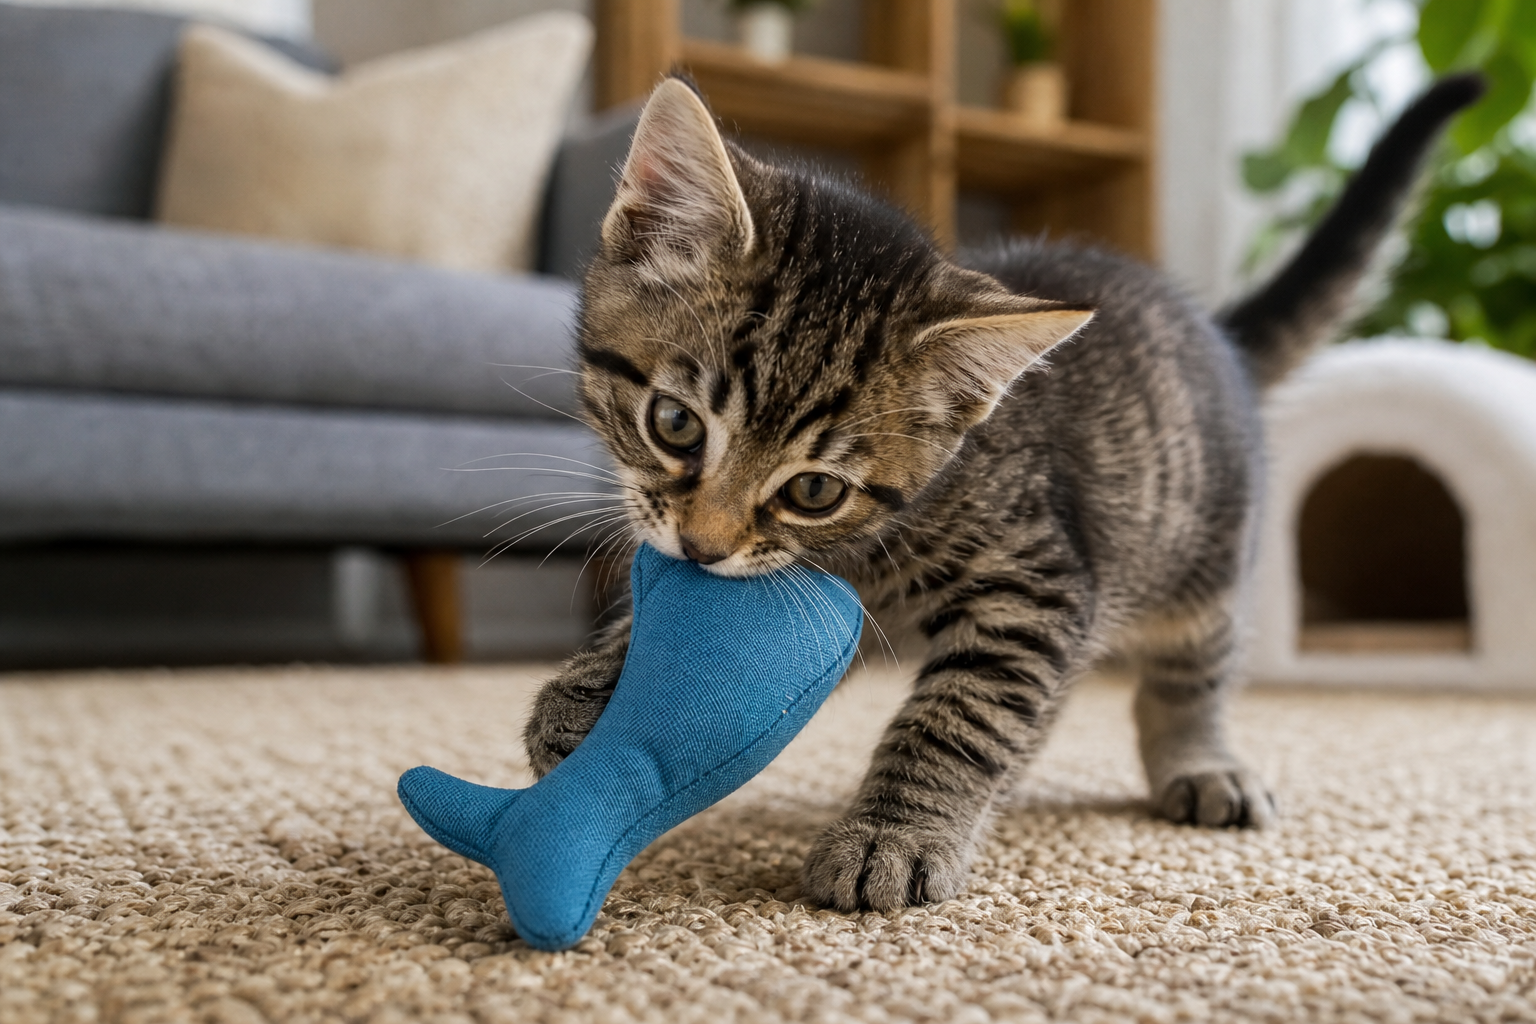
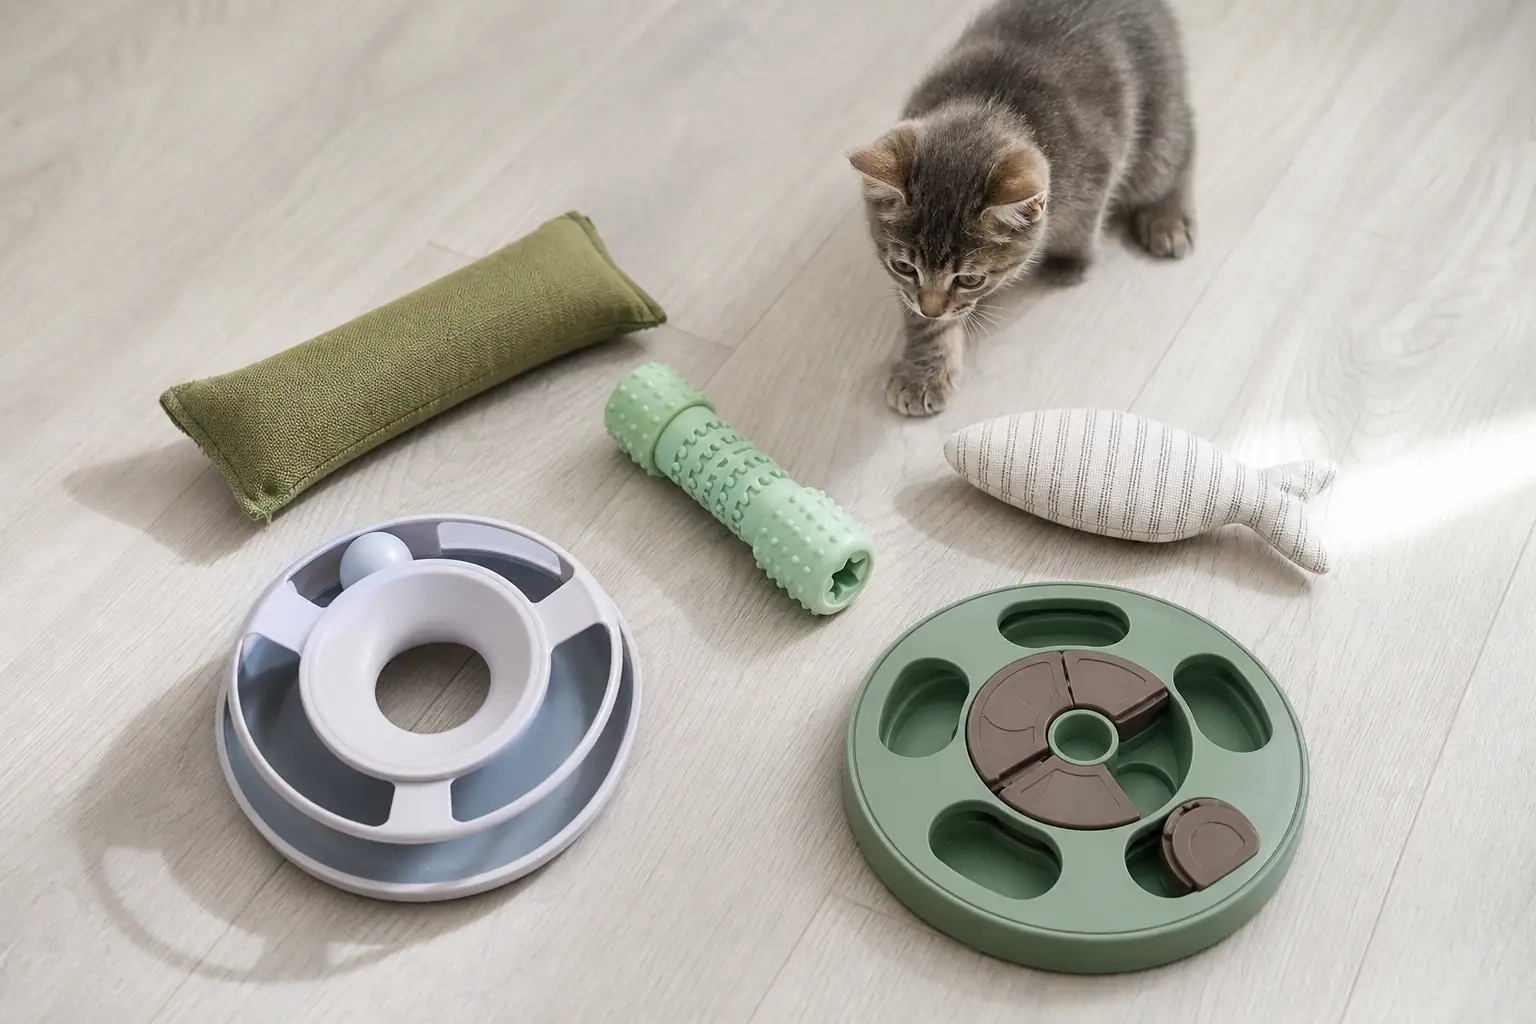
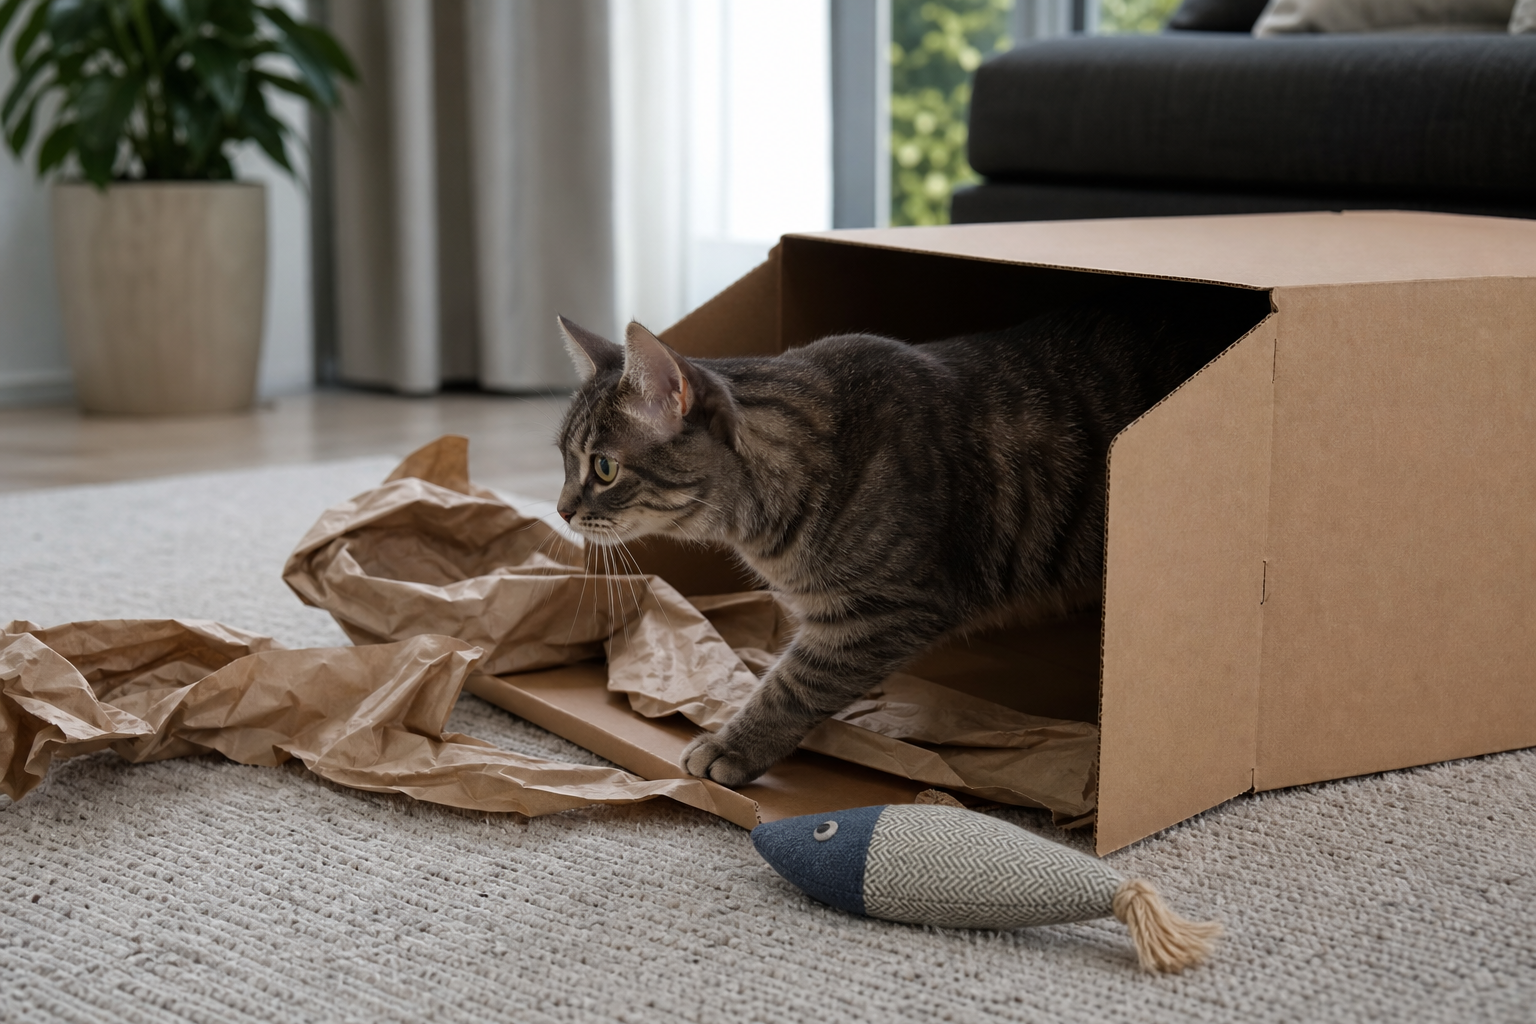
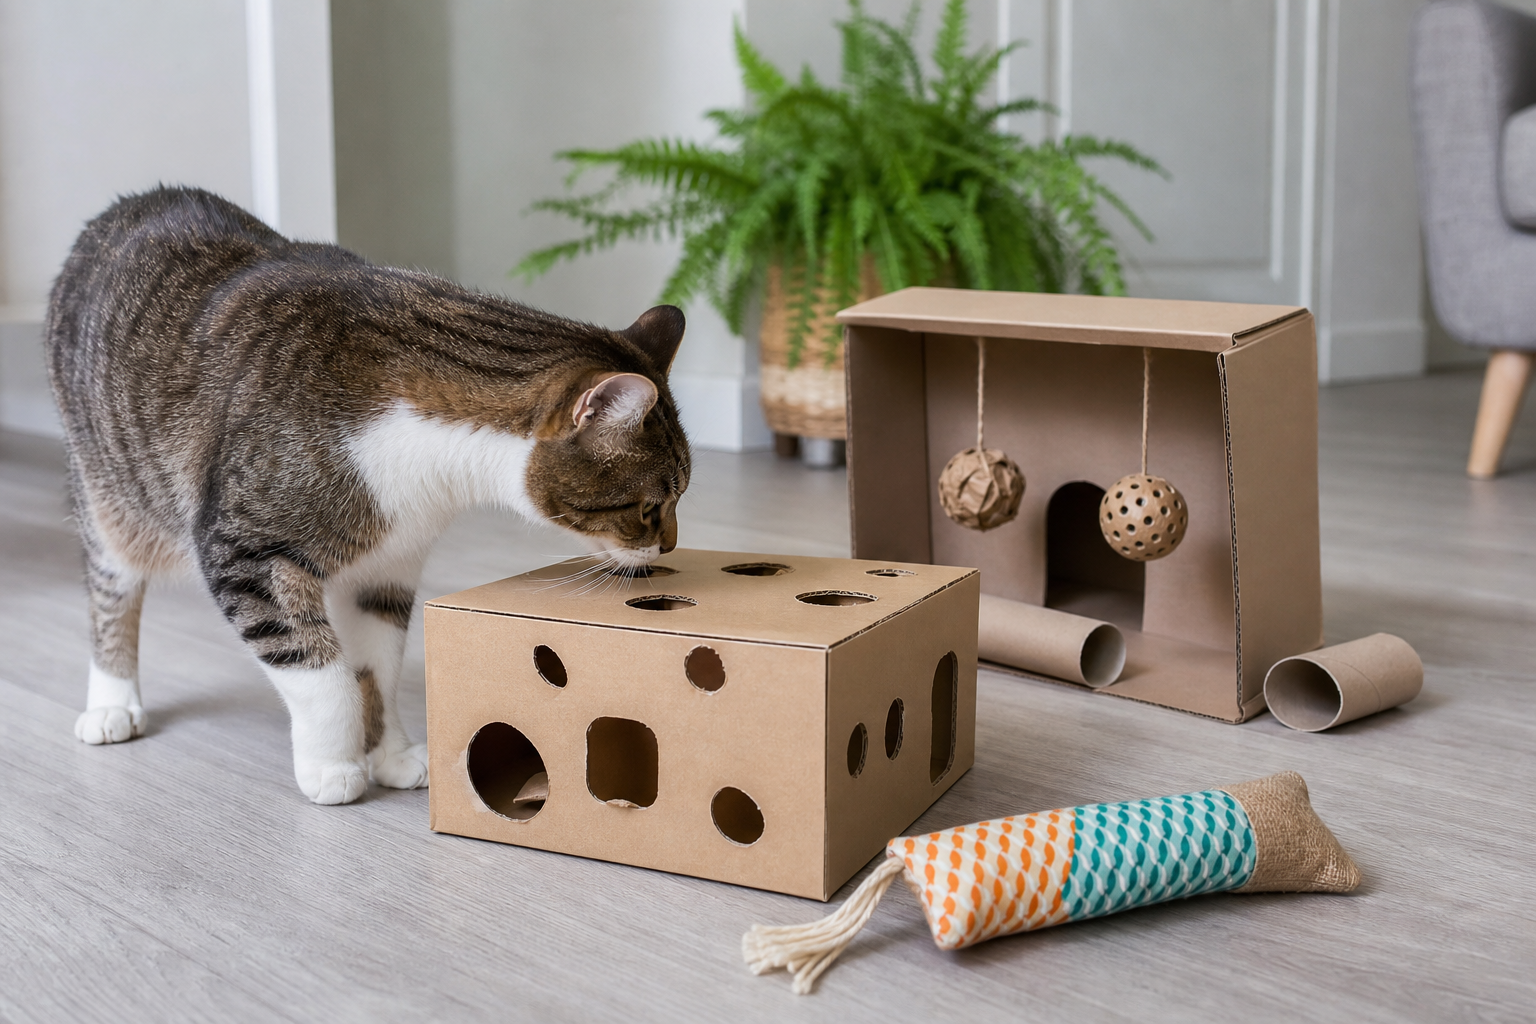
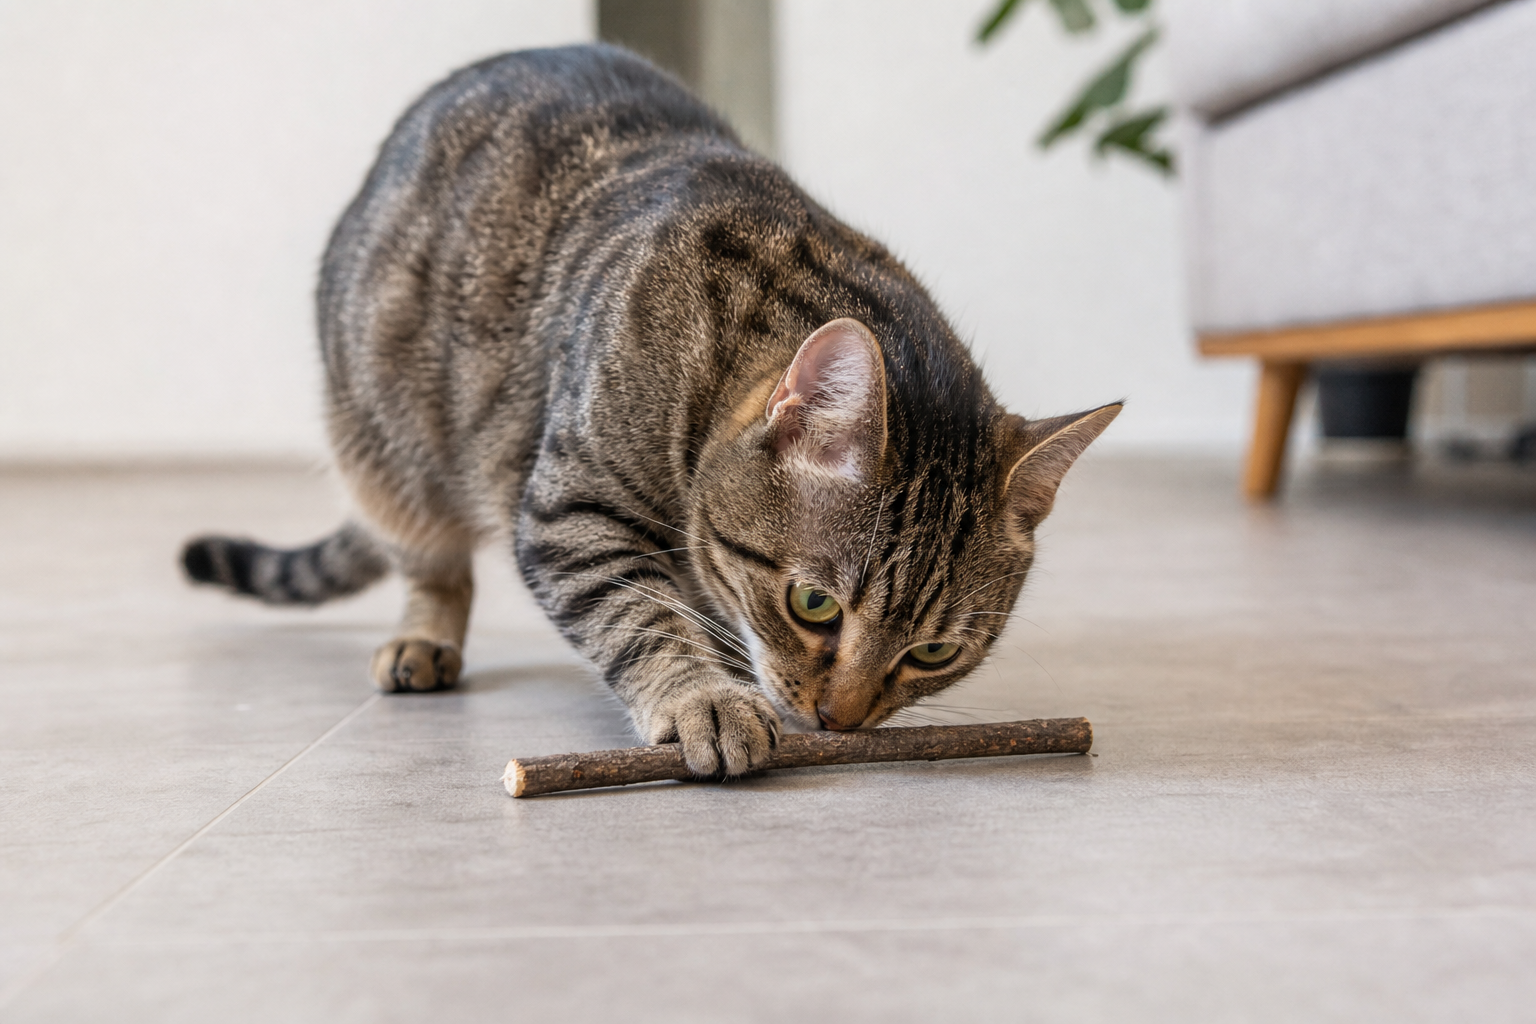
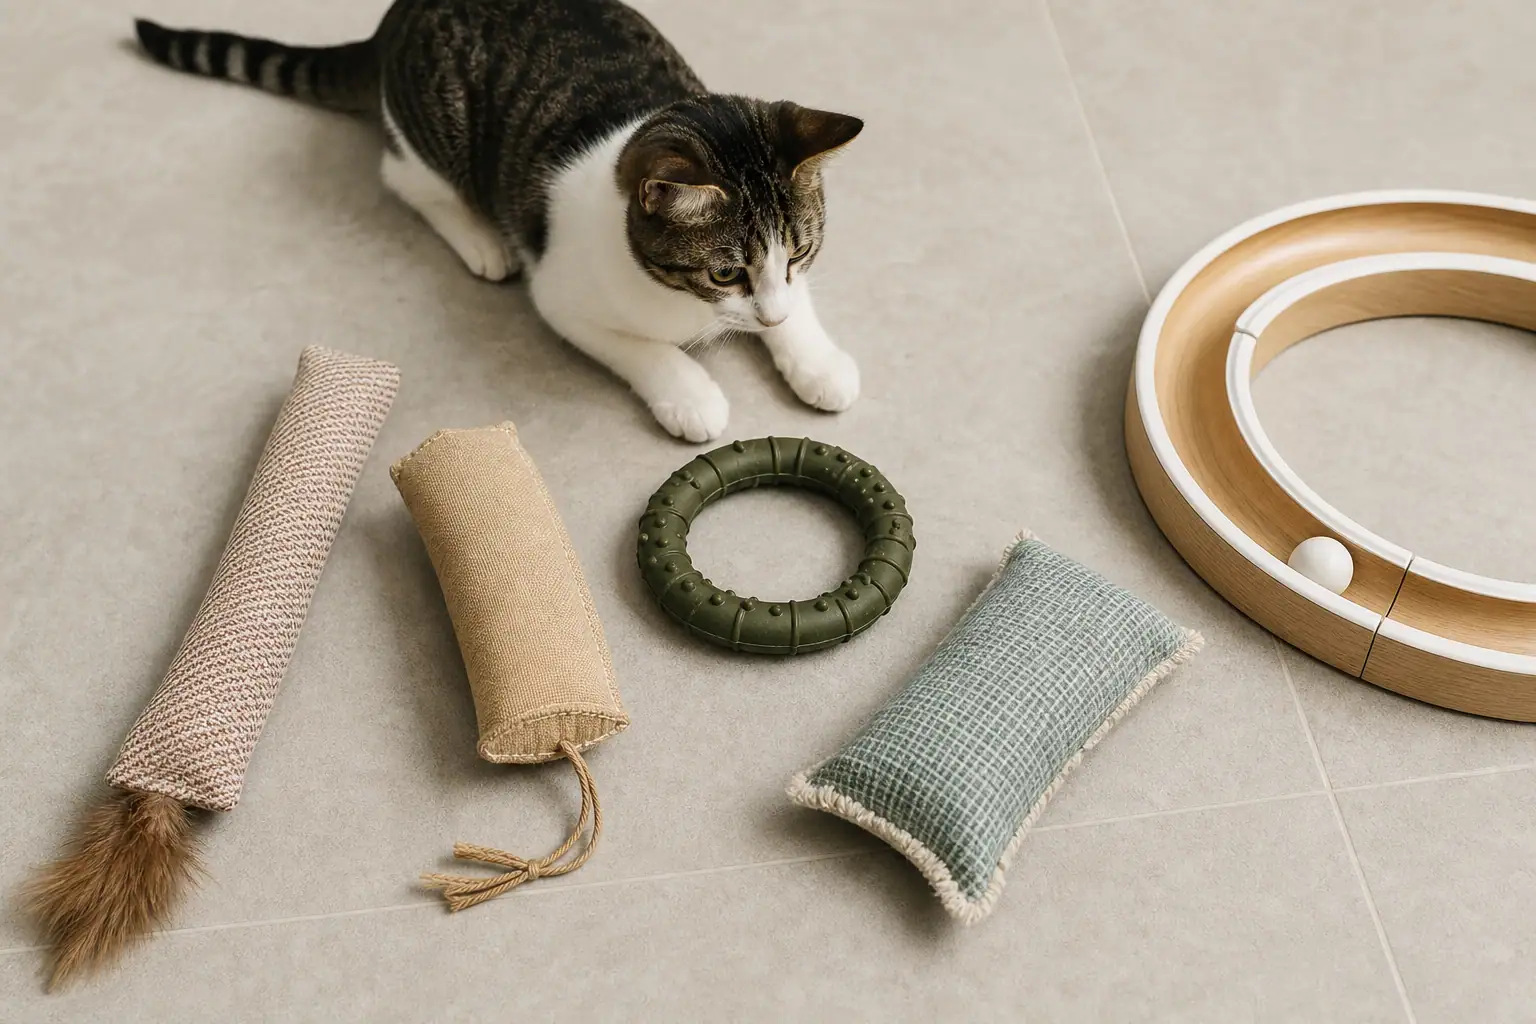
Most teething cats do best with a short list of legal chew targets: soft fabric toys, larger kicker toys, flexible rubber-like cat chews, washable cloth toys, closed ball-track toys for swatting breaks, and food puzzles that do not have removable caps or small pieces. A chilled damp washcloth can also help some kittens, but it should be offered only while you are watching and removed once it starts to fray.
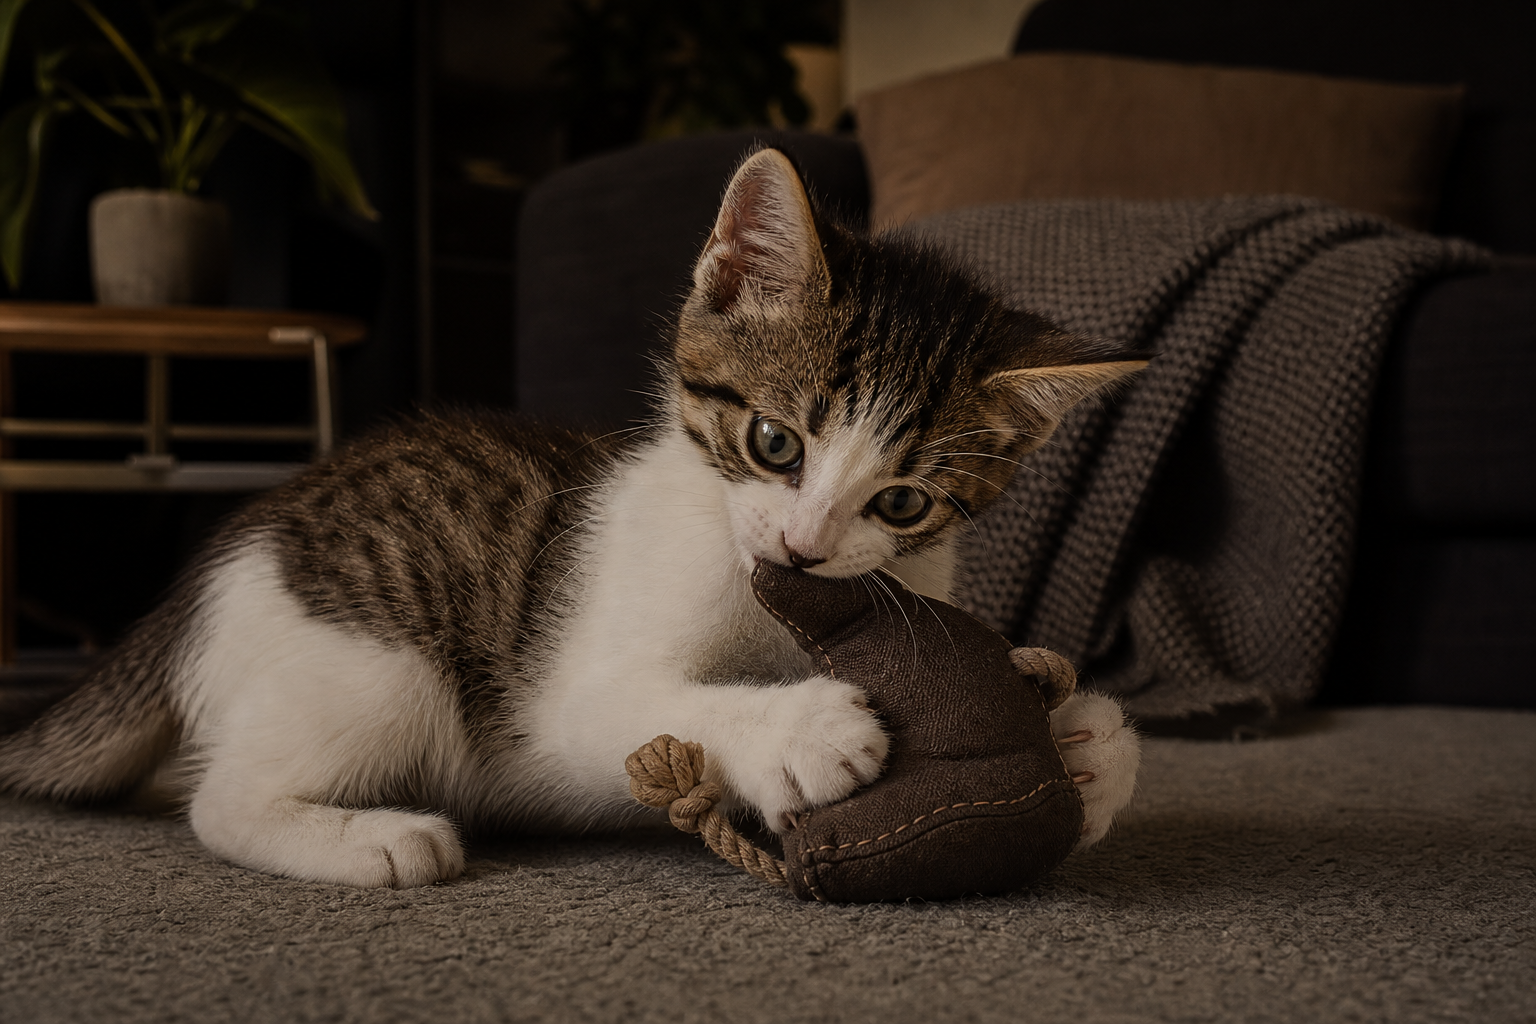
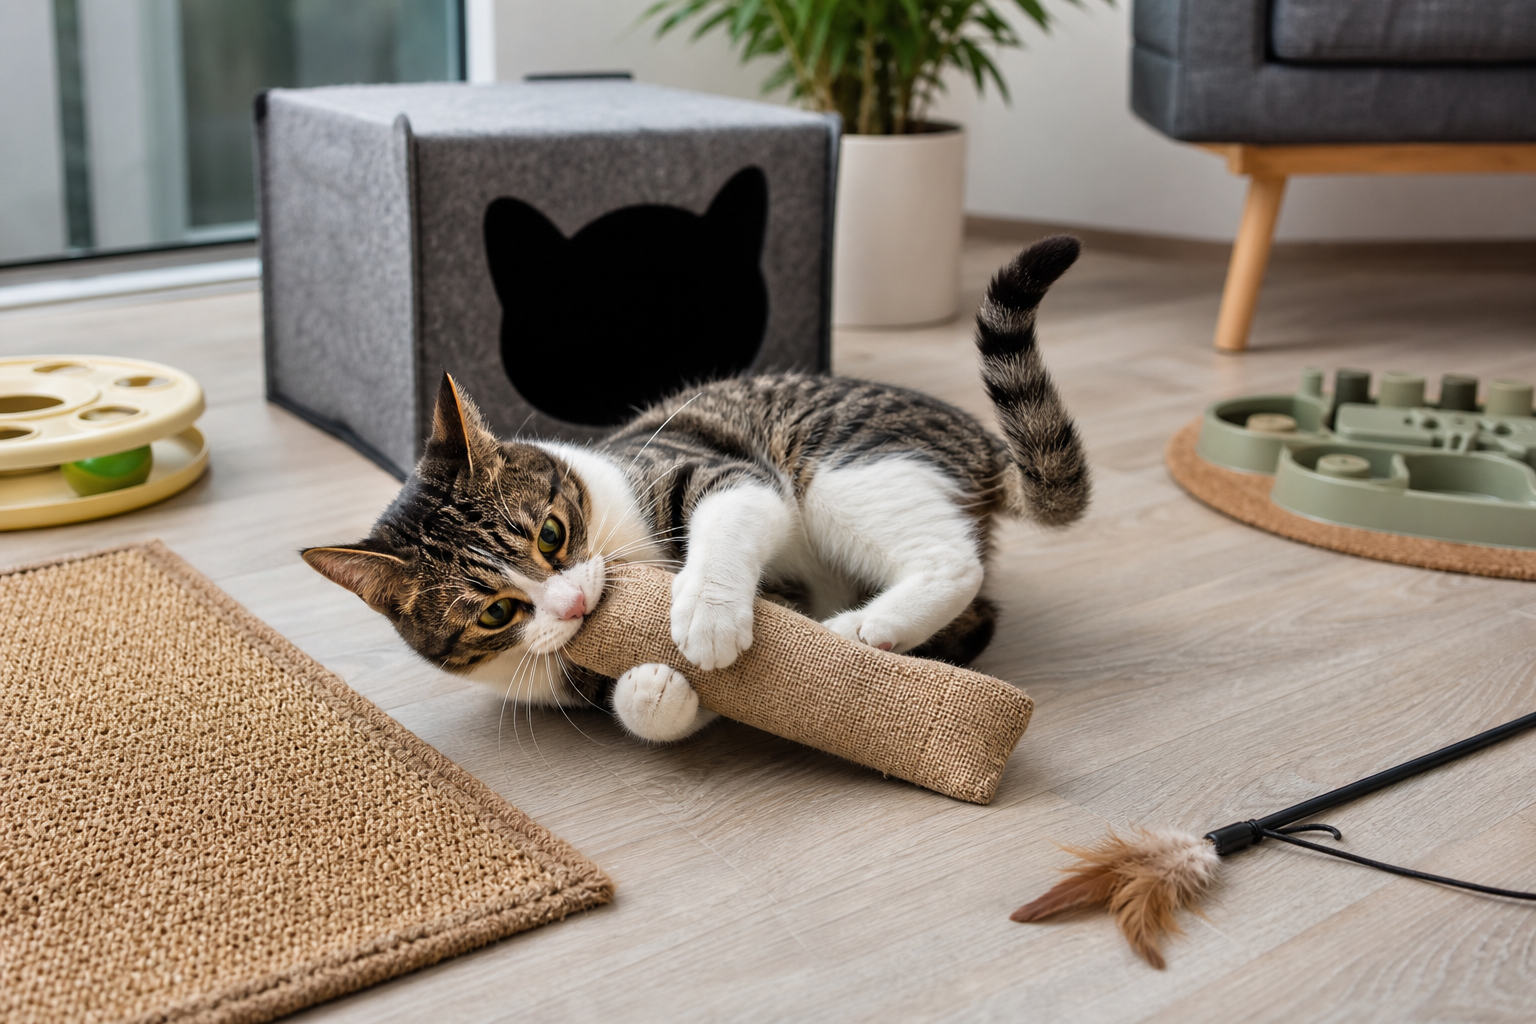
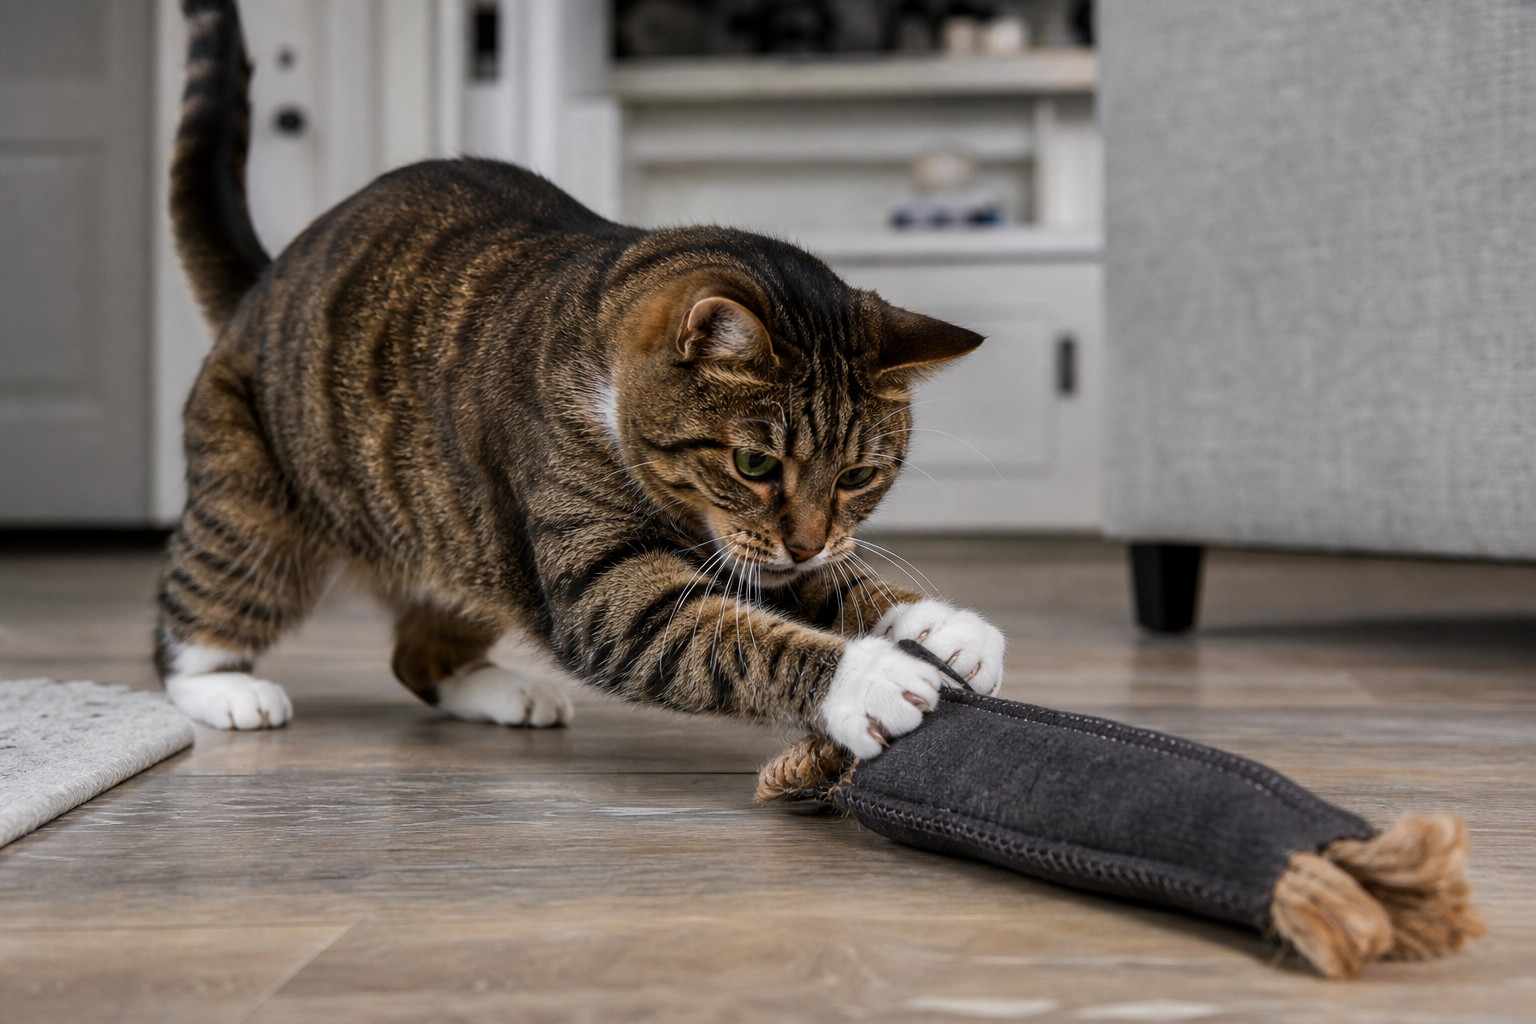
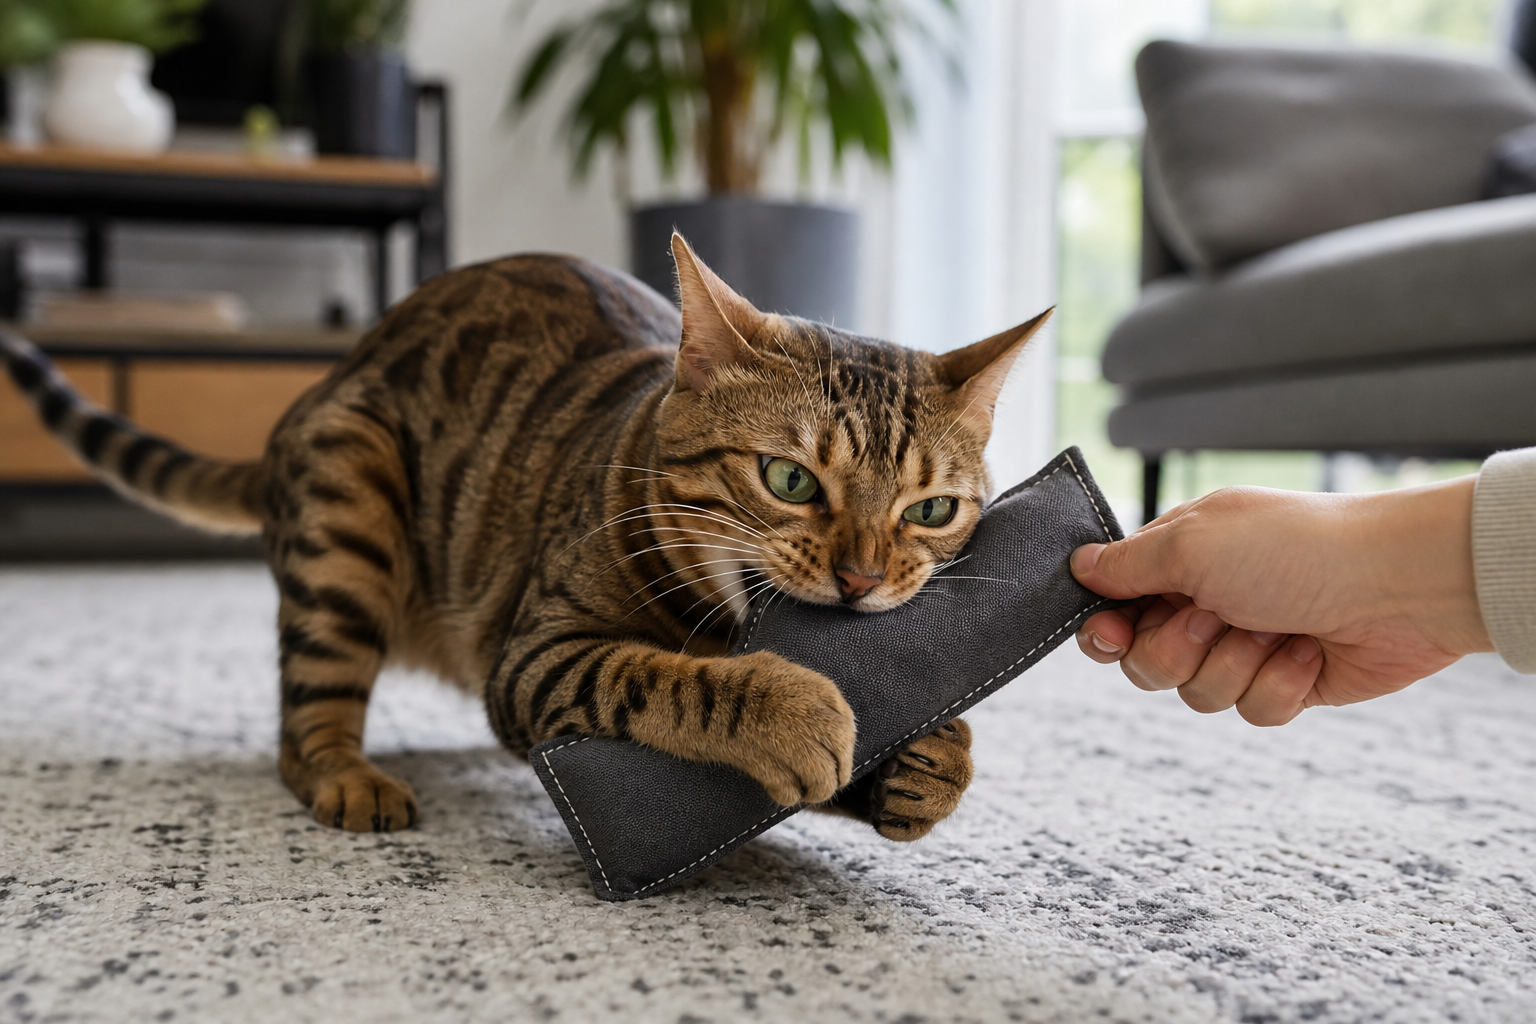
Match the toy to the cat’s real chewing style. A kitten who gently mouths a toy can use softer plush or cloth options. A kitten who clamps down and rakes should get a longer toy that keeps teeth and back feet away from your hands. A cat who removes pieces should move to fewer decorations, tougher covers, and supervised-only play until you know what survives.
- For sore gums: choose soft fabric, flexible rubber-like textures, or a chilled cloth option that is not stringy.
- For hard chewing: choose simple shapes, reinforced seams, no glued parts, and a size that cannot fit fully in the mouth.
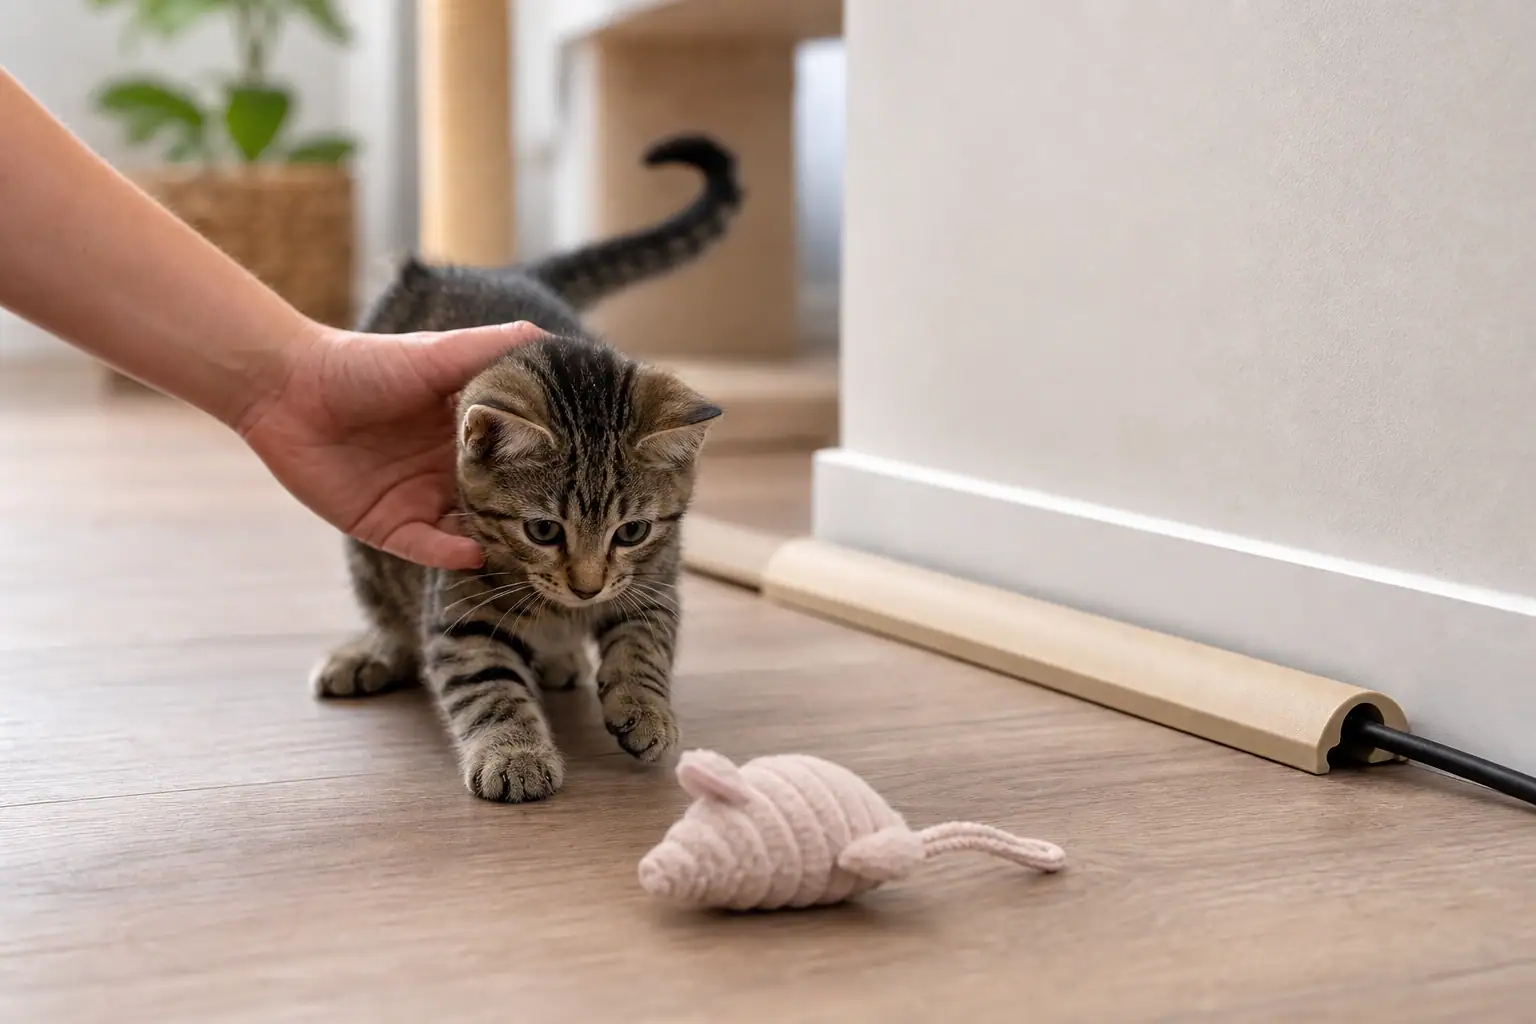
- For hand biting: use a wand toy or toss game first, then offer a kicker or chew toy as the legal bite target.
- For cord chewing: block access with cord covers or furniture placement before offering any toy.
- For chewing plus swallowing: remove destructible toys and ask your veterinarian for guidance.
When Teething Happens
Kittens have two sets of teeth. VCA Animal Hospitals explains that kittens have 26 deciduous, or baby, teeth and adult cats have 30 permanent teeth. Veterinary teething guides commonly place the main baby-to-adult transition around three to seven months, with some variation by individual cat.
That window is when many owners suddenly notice chewing on blankets, cardboard, cords, furniture corners, toy tags, and human hands. Mild chewing and occasional gum irritation can be normal. Heavy bleeding, foul breath, visible swelling, reluctance to eat, dropping food, pawing at the mouth, or a baby tooth sitting beside an adult tooth deserves a veterinary check.
Teething also overlaps with normal kitten development. Young cats explore with their mouths, practice predatory play, and test household objects. A chew toy helps, but it cannot replace kitten-proofing, daily play, and supervision.
Safer Materials for Teething Chew Toys
Material choice is a balance between comfort and failure control. A toy that is too hard may be uncomfortable for tender gums. A toy that is too flimsy may shed pieces. Start with materials that flex, compress, wash cleanly, and show damage before pieces disappear.
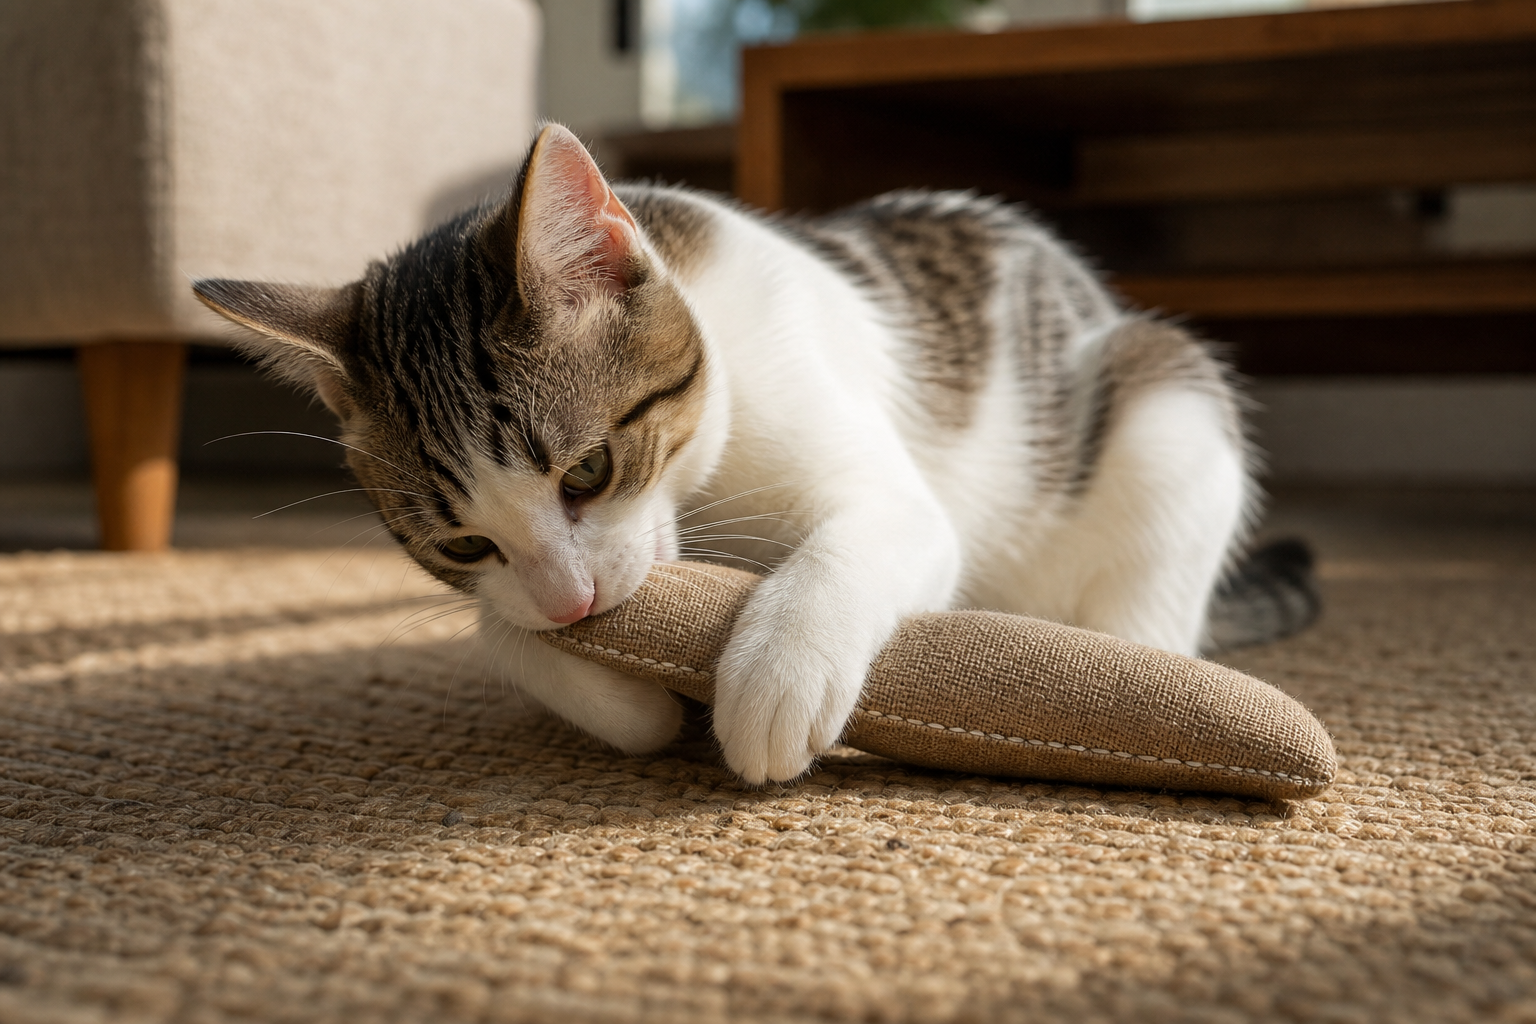
- Soft fabric: useful for gentle chewing and carrying. Pick tight stitching, plain shapes, and no beads, bells, glued eyes, ribbons, or yarn tails.
- Dense cloth or canvas-style covers: better for rougher cats when the toy is large enough to kick, bite, and inspect.
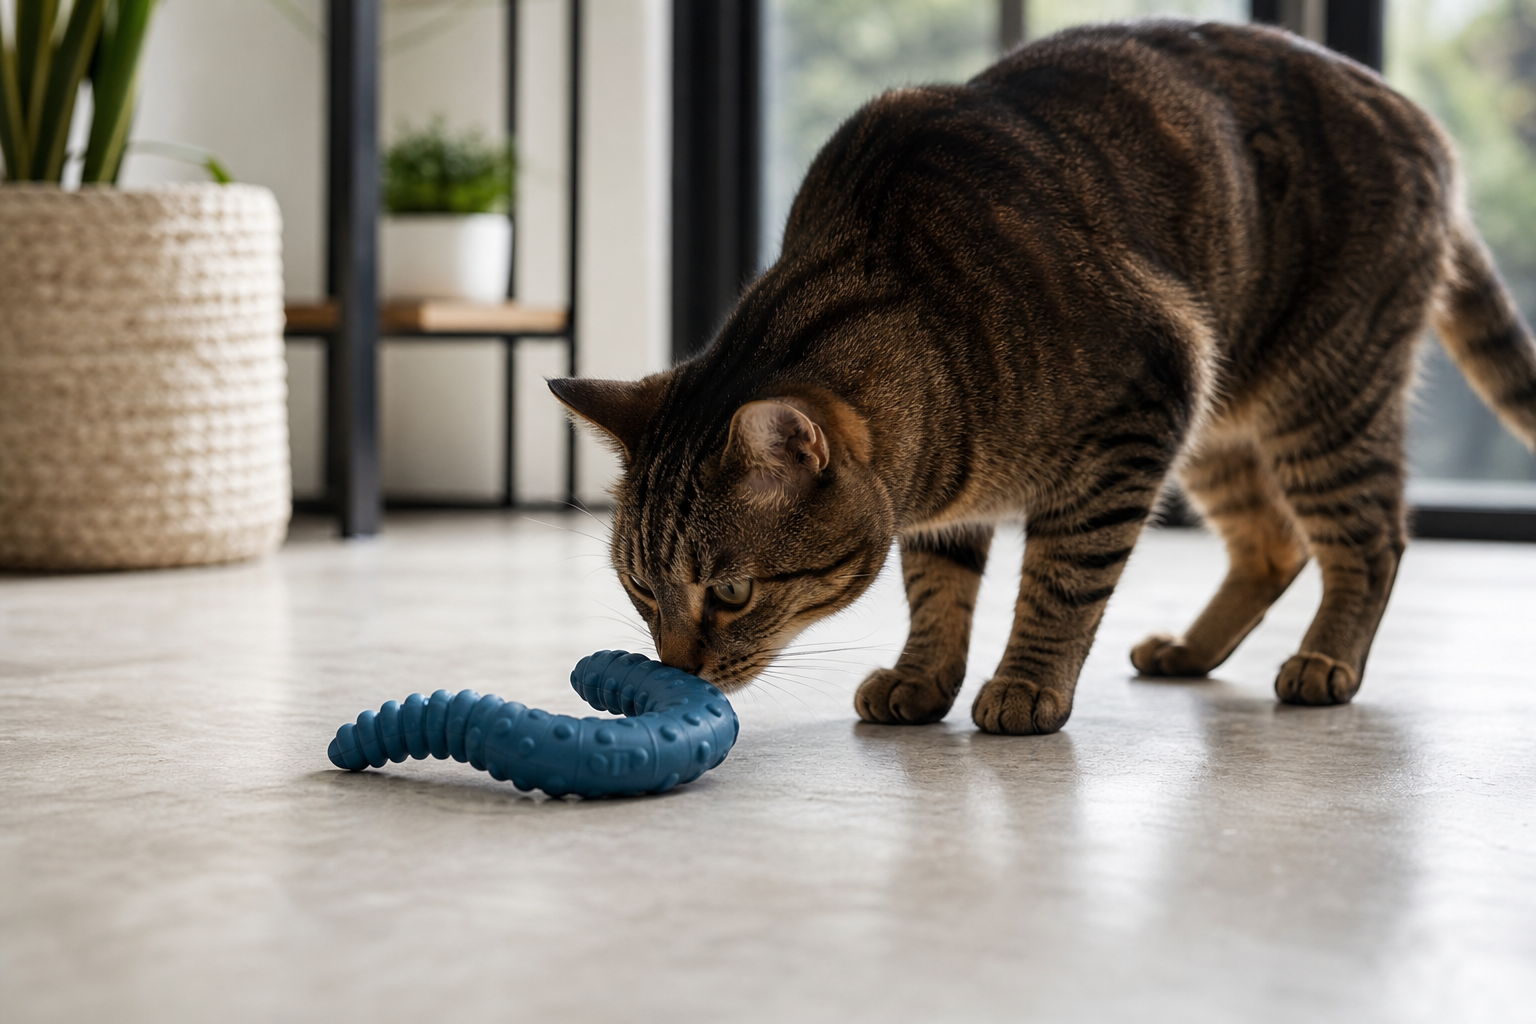
- Flexible rubber-like cat chews: useful when they bend under pressure and do not crack, peel, or shed chunks.
- Washable cloth chews: helpful because saliva, food dust, and floor grime can weaken toys and irritate the mouth.
- Closed ball tracks and food puzzles: not chew toys in the strict sense, but useful for redirecting restless mouthy energy into swatting and food work.
Avoid judging safety by toughness alone. A rigid object can look durable and still be a poor fit for a teething mouth. If the toy feels hard enough that you would worry about a tiny tooth striking it at full force, supervise closely or choose a softer option.
What to Avoid
Many search results for this keyword are store shelves. They are useful for seeing product types, but they often miss the owner question that matters most: what happens when a teething cat keeps biting the same weak point?
Avoid toys where the fun part is also the first thing your cat can swallow. That includes feathers, strings, yarn, ribbon, elastic, tinsel-like trim, bells, beads, glued eyes, tiny tails, loose stuffing, foam pieces, hard cracked plastic, and toys small enough to fit completely inside the mouth.
The University of Wisconsin School of Veterinary Medicine warns that aggressive chewers may ingest feathers, strings, and sparkly parts, and recommends sturdy construction, no loose decorations, removing loops or tags, and taking away pieces that get chewed off. VCA Animal Hospitals also warns that thread, string, yarn, and dental floss can become dangerous linear foreign bodies if swallowed.
Dog chews are not automatically safer. Some are too hard, too heavy, too large, flavored in ways that encourage obsessive chewing, or built for a different jaw shape. If you borrow from the dog aisle, choose only soft, simple, cat-appropriate options that are too large to swallow and easy to inspect.
How to Test a New Chew Toy
Every teething chew toy should begin as a supervised trial, not a leave-out item. Put the toy on the floor, give your cat five to ten minutes, and watch the difference between chewing the surface and removing material.
- Offer one new toy at a time. If a piece goes missing or your cat vomits later, you need to know which toy was involved.
- Start after chase play. A short wand or toss session burns off frantic bite energy before the cat settles into chewing.
- Keep hands out of the game. Do not wiggle the chew toy in your fingers if your cat is already mouthy.
- Trade instead of prying. If your cat grabs an unsafe item, offer a treat or better toy, then remove the unsafe item once the jaw relaxes.
- Stop before failure. The first session is a test. End while the toy is still intact.
- Inspect immediately. Decide whether the toy is safe for another supervised session, safe for short leave-out trials, washable, or done.
Supervised Toy or Leave-Out Toy?
A teething cat does not need one miracle toy. They need categories. Some toys are for active play, some are for chewing while you are nearby, and only a few earn short unsupervised access after they have survived inspection.
- Supervised-only: wand toys, feather toys, elastic lures, catnip sticks, string toys, toys with small attachments, and any toy your cat chews hard.
- Short leave-out trials: larger fabric kickers, proven flexible chew toys, sturdy ball tracks, and simple washable toys after several supervised sessions.
- Never leave out: damaged toys, loose stuffing, string-like toys, cracked plastic, tiny pieces, batteries, exposed electronics, and any toy your cat tries to eat.
For related choices, Titan Claws has deeper guides to cat teething toys, kitten chew toys, cat chew toys for aggressive chewers, and toys for cats that chew. If your cat needs a bigger legal target for biting and rabbit-kicking, see the guide to choosing a cat kicker toy.
A Teething Routine That Reduces Destructive Chewing
The AAFP and ISFM environmental needs guidelines emphasize that cats need opportunities for play and predatory behavior. For a teething cat, that means chew toys work best when they are part of a daily rhythm rather than a pile of objects left on the floor.
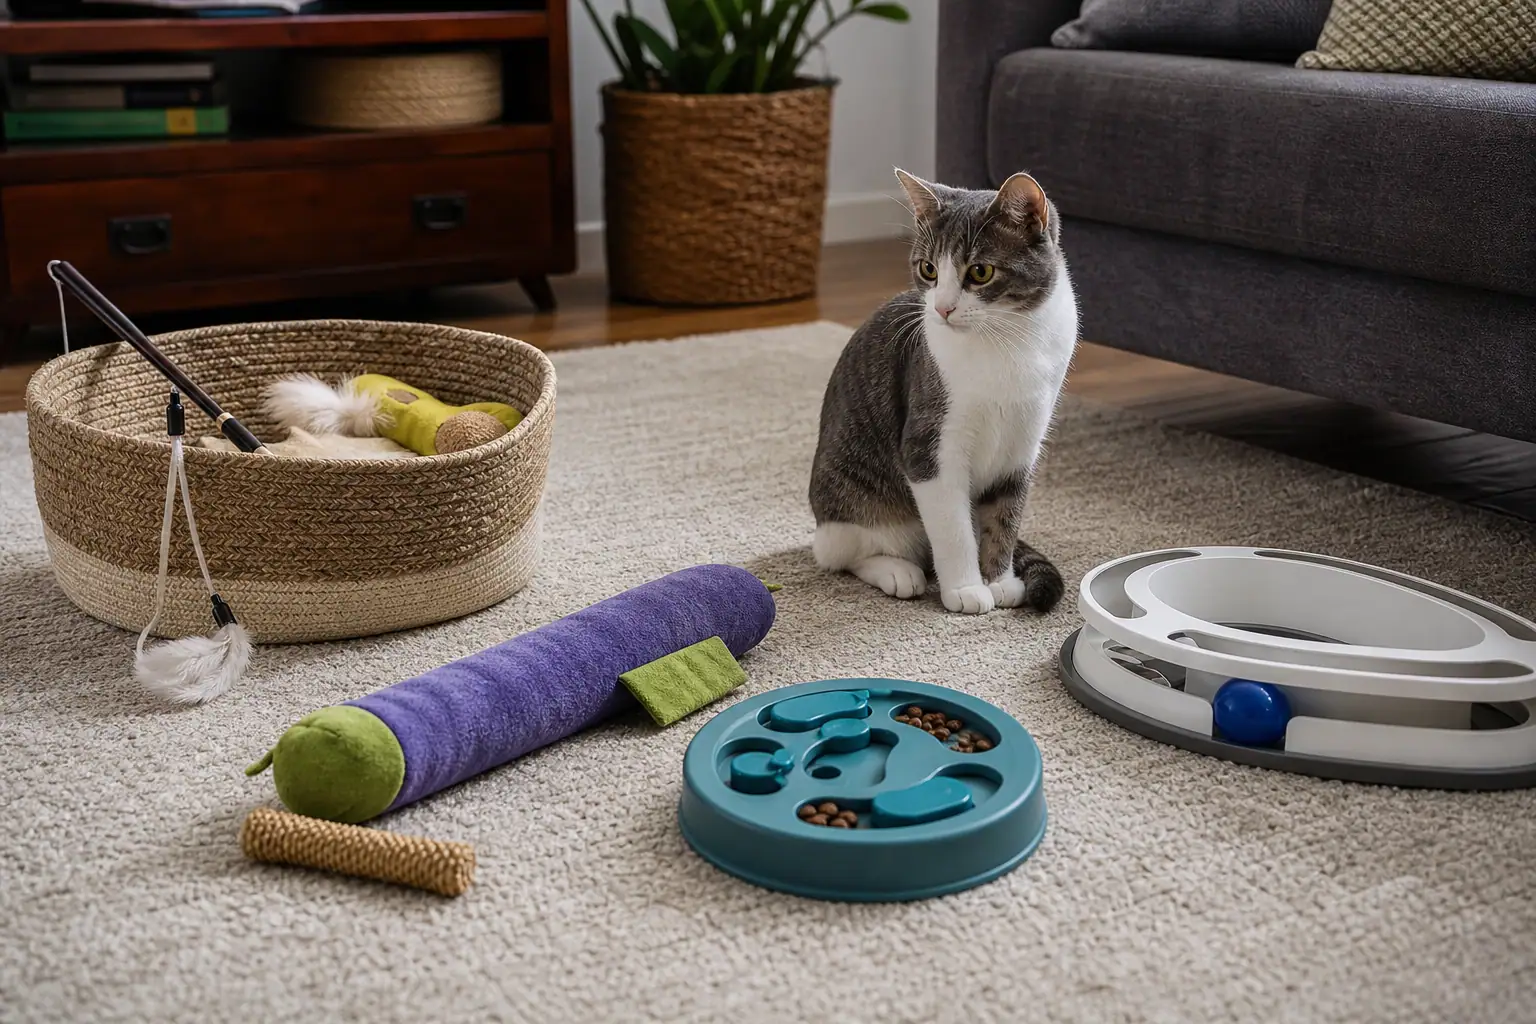
- Morning: five minutes of chase play, then breakfast or a small food puzzle.
- Midday: one proven safe chew toy while you are nearby, followed by inspection.
- Evening: wand play, a catch-and-bite moment with a larger kicker, then the chew toy your cat handles safely.
- Before bed: remove string, wand, feather, elastic, battery, and damaged toys.
- Weekly: wash washable toys, rotate stale toys out, and throw away anything with hidden or visible damage.
This routine also helps protect your hands. If a kitten learns that hands start wrestling games, teething can turn into a lasting bite habit. Make toys move, let the cat catch the toy, then let the chew toy take the bite.
The 60-Second Safety Check
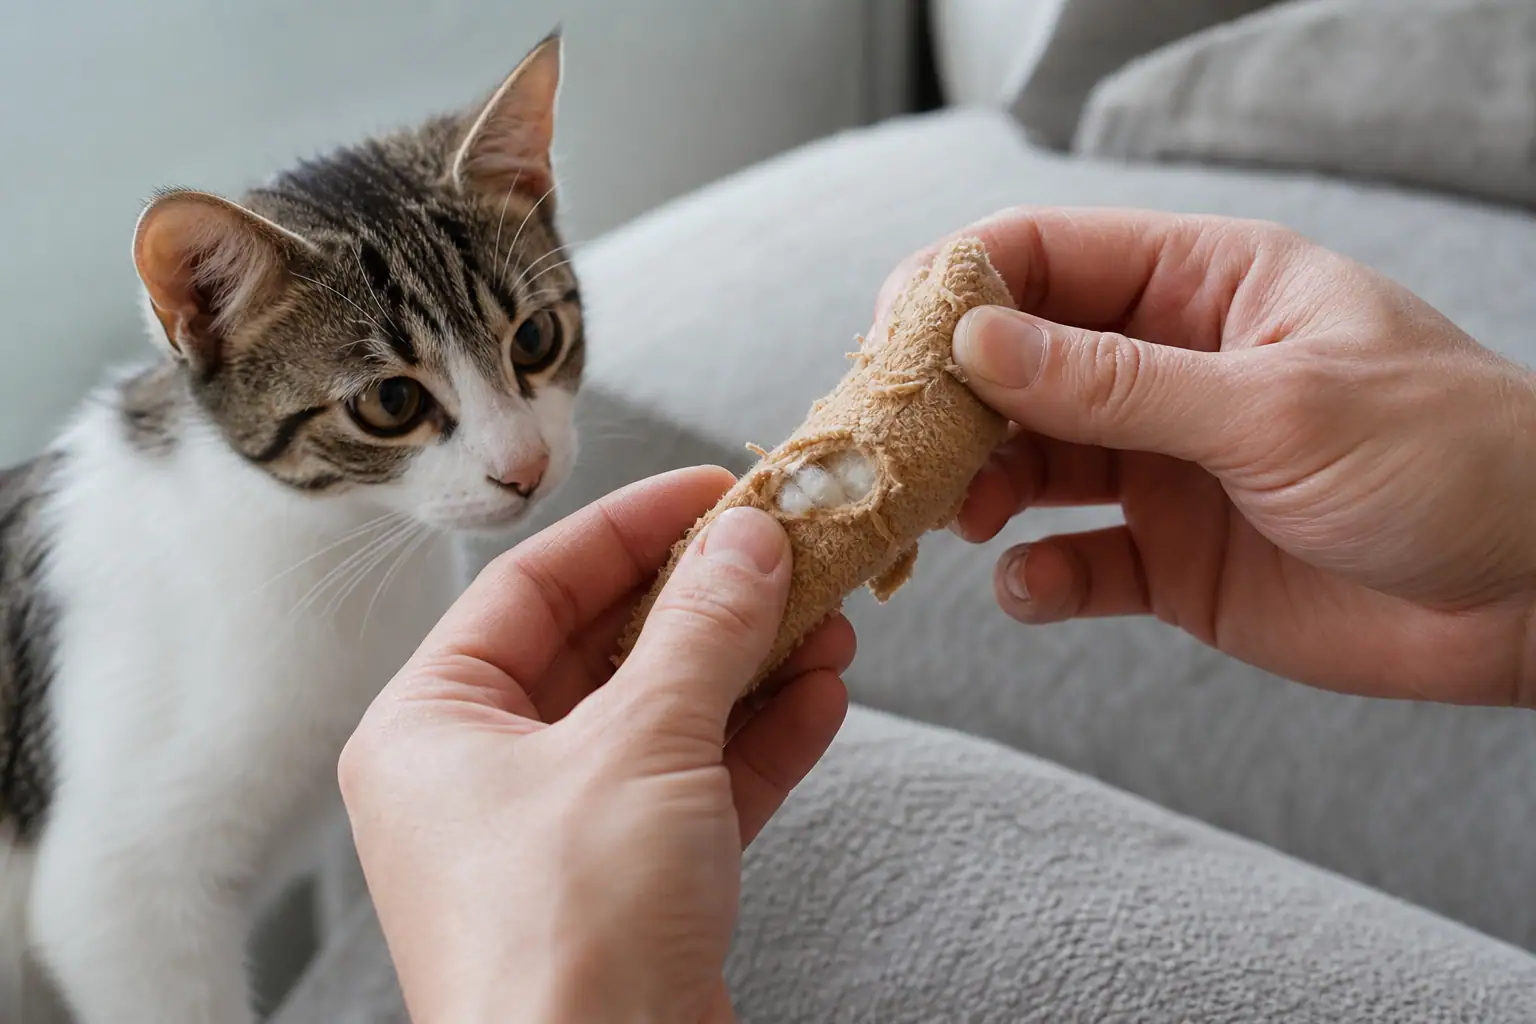
Inspection is the practical difference between a decent toy and a safer toy. Do this after rough chewing and before the toy goes back into a bin.
- Check size. Can the toy, or any loose part, fit fully in your cat’s mouth?
- Pull lightly on attachments. Tags, loops, knots, tails, feathers, bells, and ribbons do not belong on a chew toy.
- Press every seam. Retire the toy if stuffing, foam, pellets, or crinkle material is visible.
- Flex hard sections. Look for cracks, sharp edges, peeling, deep bite grooves, or lifted pieces.
- Compare to the last session. Missing material matters even when the toy still looks mostly whole.
- Smell and clean. Sour, sticky, dirty, or drool-soaked toys need washing or replacement.
Keep a small replacement stash so you are not tempted to give back a questionable toy. For cats that destroy ordinary toys, replacement is part of the safety plan, not a sign that you chose badly.
When to Call the Vet
Call your veterinarian if your cat swallows part of a toy, repeatedly eats fabric or plastic, chews electrical cords, vomits, stops eating, drools heavily, has bleeding gums, develops strong bad breath, paws at the mouth, drops food, hides, seems painful, strains in the litter box, or becomes lethargic.
If you see string, thread, yarn, ribbon, or dental floss hanging from your cat’s mouth or rear end, do not pull it. Treat it as urgent and contact a veterinarian. Linear objects can anchor internally and cause severe injury as the digestive tract moves.
Also ask about retained baby teeth if an adult tooth appears beside a baby tooth, especially around the canines. Crowding can trap debris and irritate the gums, and a chew toy will not solve a dental alignment problem.
Quick Buying Checklist
- Is it made for cats or kittens, not household decor or human babies?
- Does the chew surface flex or compress enough for tender gums?
- Is it too large to swallow whole?
- Does it avoid feathers, strings, ribbons, bells, beads, glued eyes, and tiny tails?
- Can you inspect every seam and likely bite point in under one minute?
- Will it still be safe if your cat chews the same spot for 30 seconds?
- Can it be washed after drool and floor contact?
- Do reviews mention cracking, fraying, stuffing leaks, or swallowed pieces?
- Is it a supervised toy, a short leave-out toy, or not safe for your cat?
- Are you willing to throw it away as soon as it becomes damaged?
The best cat chew toys for teething are boring in the right ways: soft enough, simple enough, large enough, inspectable, and easy to remove when they fail. Give your cat legal bite targets, pair them with daily chase-and-catch play, and treat inspection as part of owning a rough-playing cat.