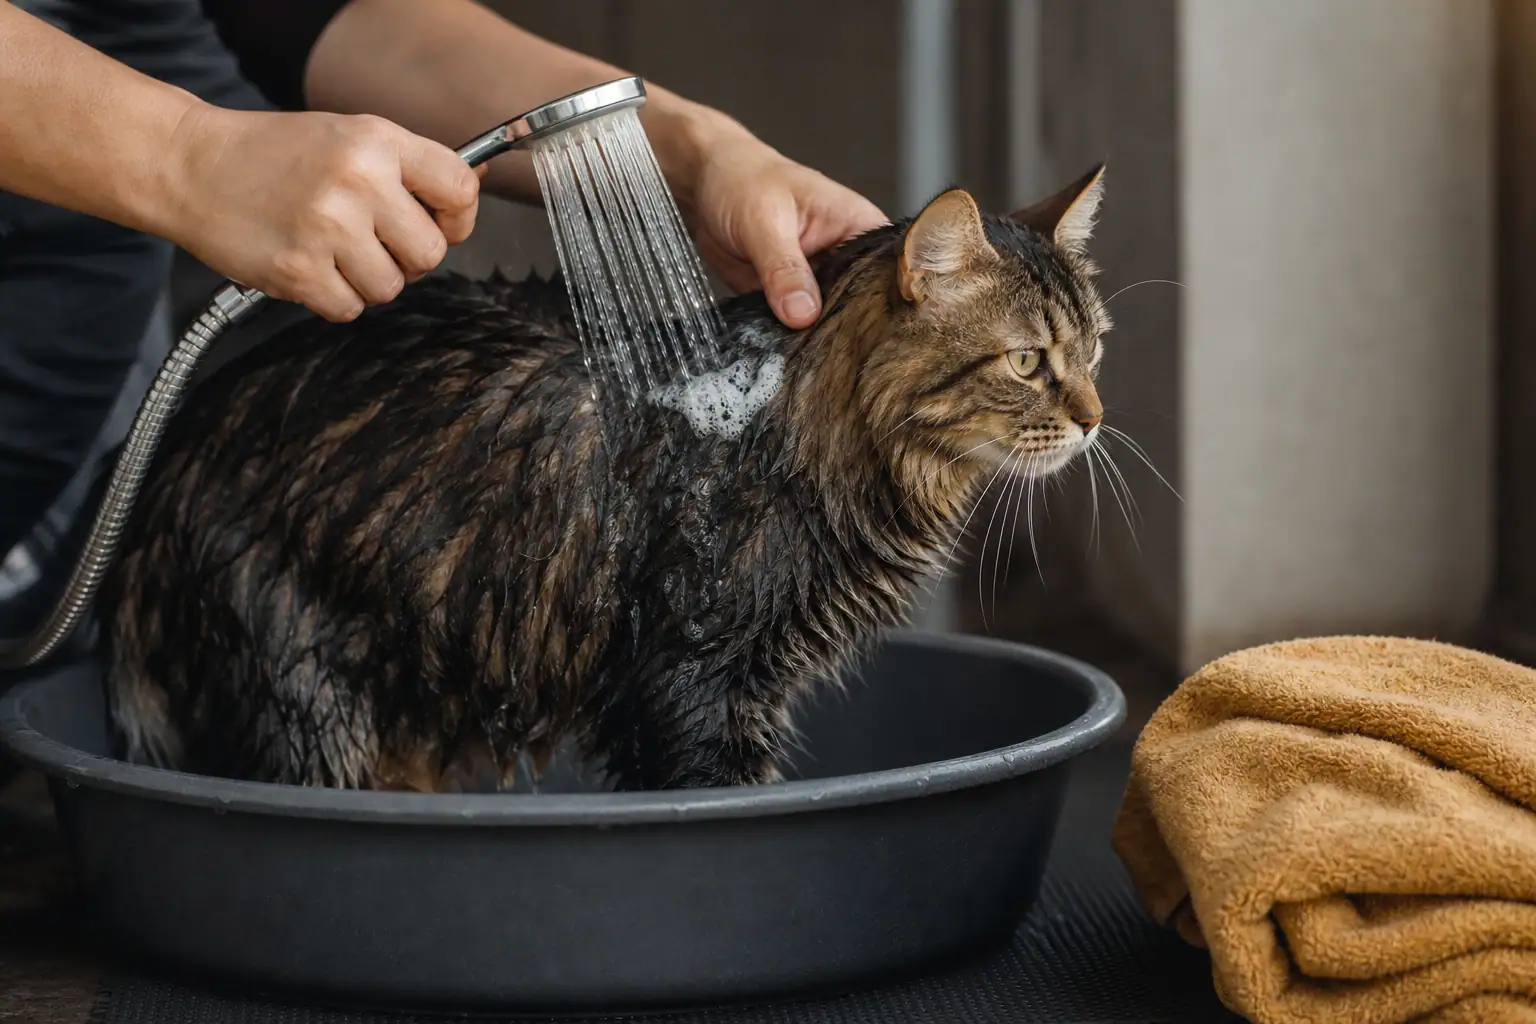
Household vinegar is not usually a poisoning emergency for cats in tiny accidental amounts, but it is not something to feed, spray on, or use as medicine. A diluted vinegar-and-water cleaner is generally low risk when you keep your cat away from the wet solution, rinse the treated item when appropriate, and let it dry completely. Undiluted vinegar can irritate the mouth, stomach, skin, and eyes, and stronger cleaning or horticultural acid products can cause much more serious injury.
That makes the honest answer to “is vinegar safe for cats?” conditional. Safe use depends on the product, concentration, amount, route of exposure, and whether your cat can walk through or lick the residue. White vinegar and apple cider vinegar are not proven flea treatments, ear cleaners, skin remedies, or daily supplements for cats.
Vinegar and Cats: The Quick Safety Guide
Use this table to sort an ordinary household-cleaning question from an exposure that needs professional help. It cannot determine the risk for an individual cat, especially when the product or amount is unknown.
| Situation | Likely concern | What to do |
|---|---|---|
| Cat briefly smells vinegar from across a ventilated room | The sharp odor may be unpleasant or stressful, but a brief smell is not the same as drinking it | Give the cat an exit, ventilate, and never spray toward the cat |
| Cat returns after a diluted cleaning solution was rinsed and fully dried | Low exposure when the product was used correctly | Check that no puddles, damp cloths, or open containers remain |
| One lick from a damp surface | Possible drooling, mouth irritation, vomiting, or diarrhea | Remove access, note the product and amount, and call your veterinarian if signs develop or the exposure is more than a trace |
| Vinegar spilled on paws or coat | Skin irritation plus ingestion during grooming | Prevent grooming, rinse with lukewarm water, and contact a veterinarian or animal poison service for case-specific advice |
| Product splashed into an eye | Painful irritation or chemical injury | Start a gentle water rinse if you can do so safely and contact a veterinarian immediately |
| Cat drinks undiluted vinegar or contacts a concentrated acid product | Greater risk of digestive or corrosive injury | Call a veterinarian or animal poison service now; do not induce vomiting or try to neutralize it |
Do not assume every bottle called vinegar is ordinary food vinegar. Cleaning concentrates, horticultural products, and other acetic-acid solutions may be substantially stronger. Keep the original label, follow its directions, and treat an unknown concentration as a reason to call rather than guess.
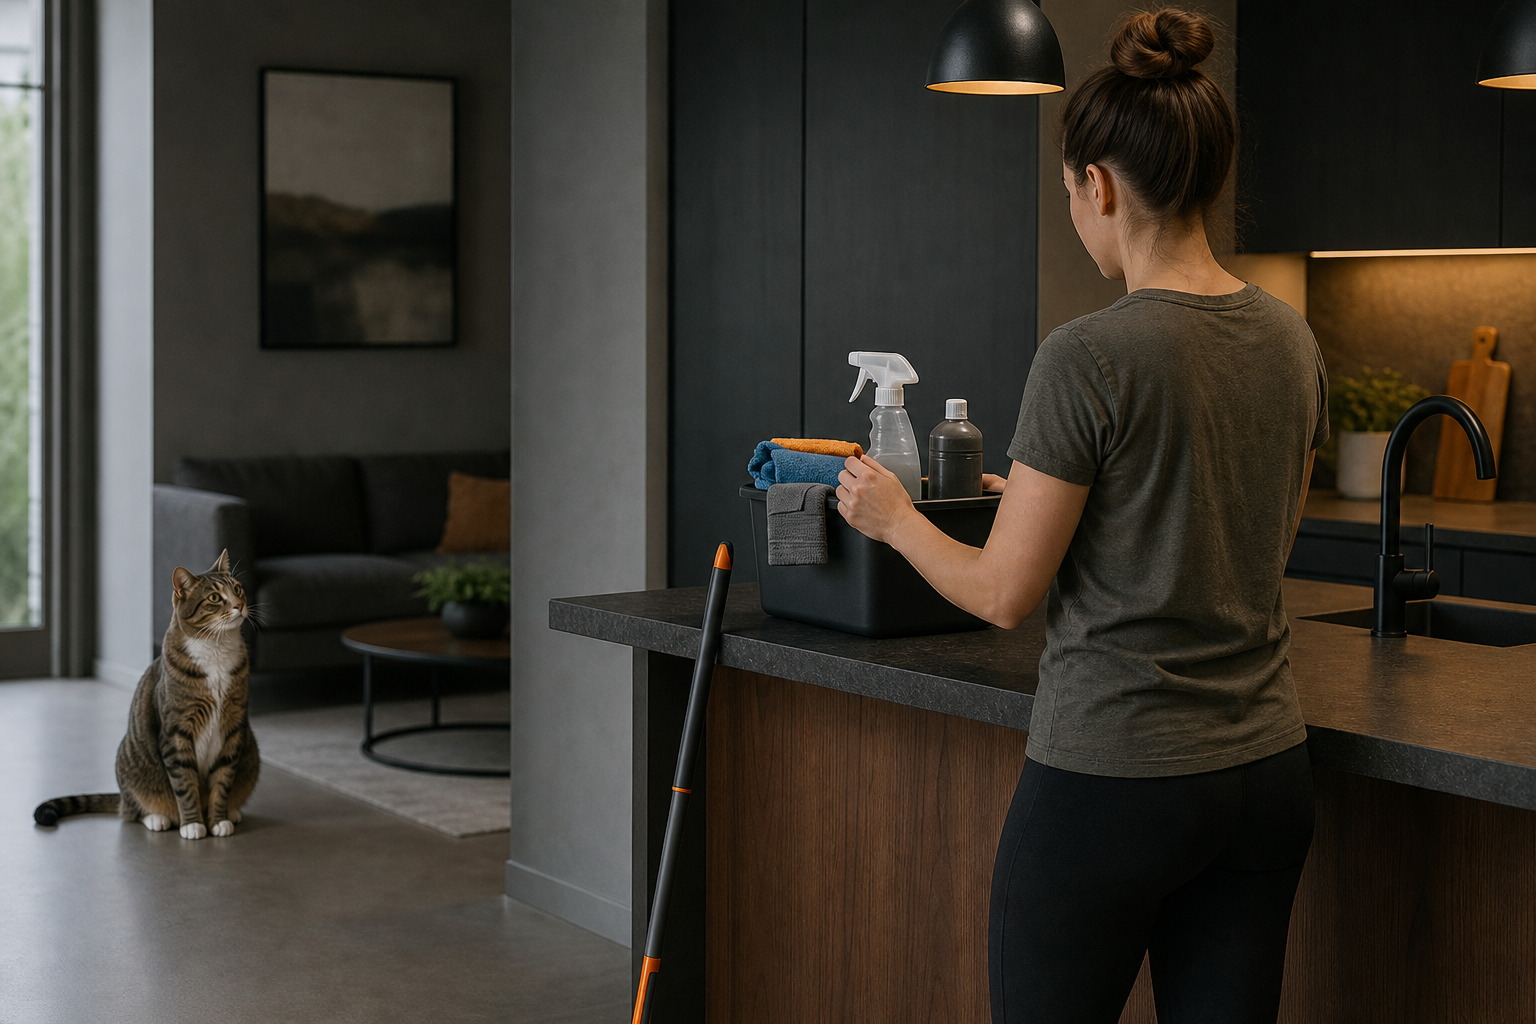
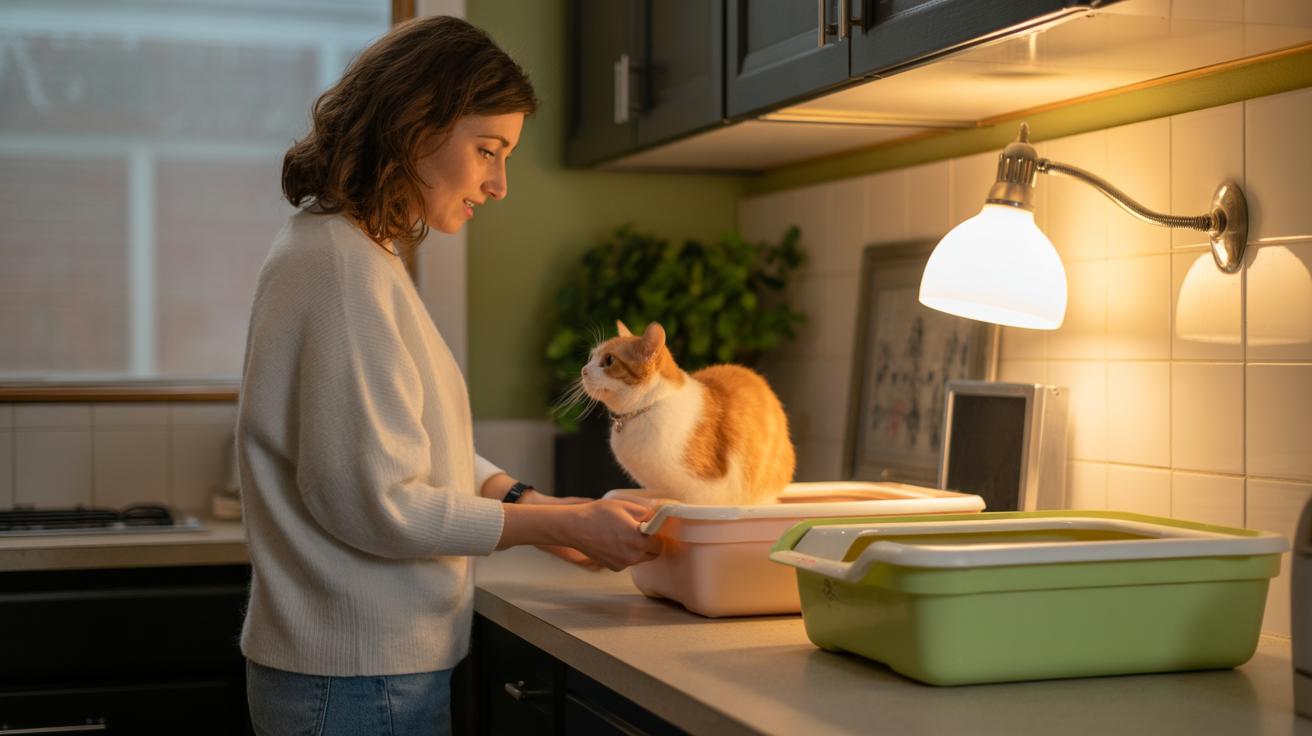
How to Clean With Vinegar Around Cats
The ASPCA Animal Poison Control Center says vinegar can cause stomach upset and irritation, but a diluted solution is generally not an issue when it is rinsed and allowed to dry. Those last three conditions—dilution, rinsing, and drying—are the useful part of the advice.
- Read the exact bottle and surface instructions. Confirm the product concentration and whether vinegar is compatible with the floor, seal, grout, stone, appliance, or fabric. Do not pour a stronger product into an unmarked spray bottle.
- Move your cat and cat gear first. Put your cat in another comfortable room. Remove bowls, bedding, loose toys, and anything the cat mouths from the cleaning area.
- Use one product. Never improvise by adding bleach, disinfectant, ammonia, peroxide, essential oil, or another cleaner. The CDC warns never to mix household bleach or disinfectants with other cleaners; mixing bleach with an acid such as vinegar can release dangerous chlorine gas.
- Control wet contact. Wipe rather than creating a cloud of spray, close the bottle, and keep the cat away from buckets, soaked cloths, and damp floors.
- Rinse where appropriate. Food-contact surfaces, bowls, toys, and items a cat may lick deserve special care. Follow the item’s directions and remove both residue and strong odor.
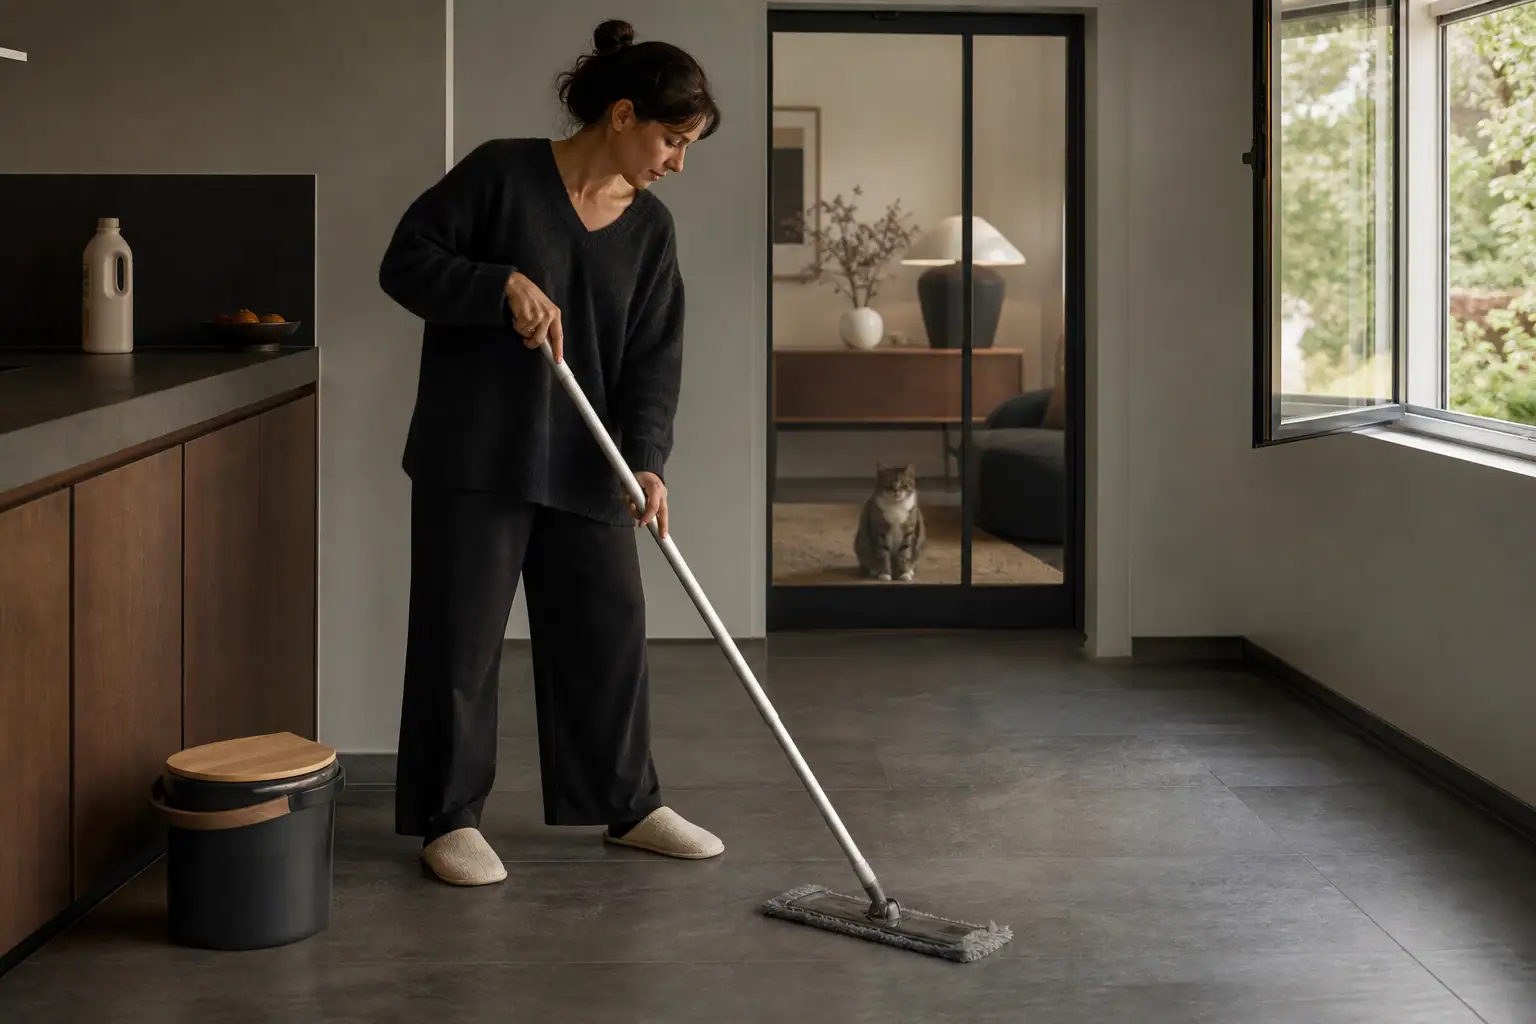
- Ventilate and dry completely. Open a window or run ventilation, then inspect low corners and the floor before the cat returns.

Vinegar is a cleaner for certain jobs, not a universal disinfectant. The Merck Veterinary Manual explains that acetic acid has antimicrobial action at some concentrations, but that does not tell you whether a homemade mixture will kill a particular pathogen on a particular surface. If you truly need disinfection after infectious illness, ask your veterinarian which labeled product, dilution, contact time, rinse, and re-entry routine to use.
For ordinary dirt, soap, water, and scrubbing are often enough. Our broader guide to pet-safe cleaners for cats explains how to compare products, clean floors, and handle enzyme cleaners without relying on a vague “natural” label.
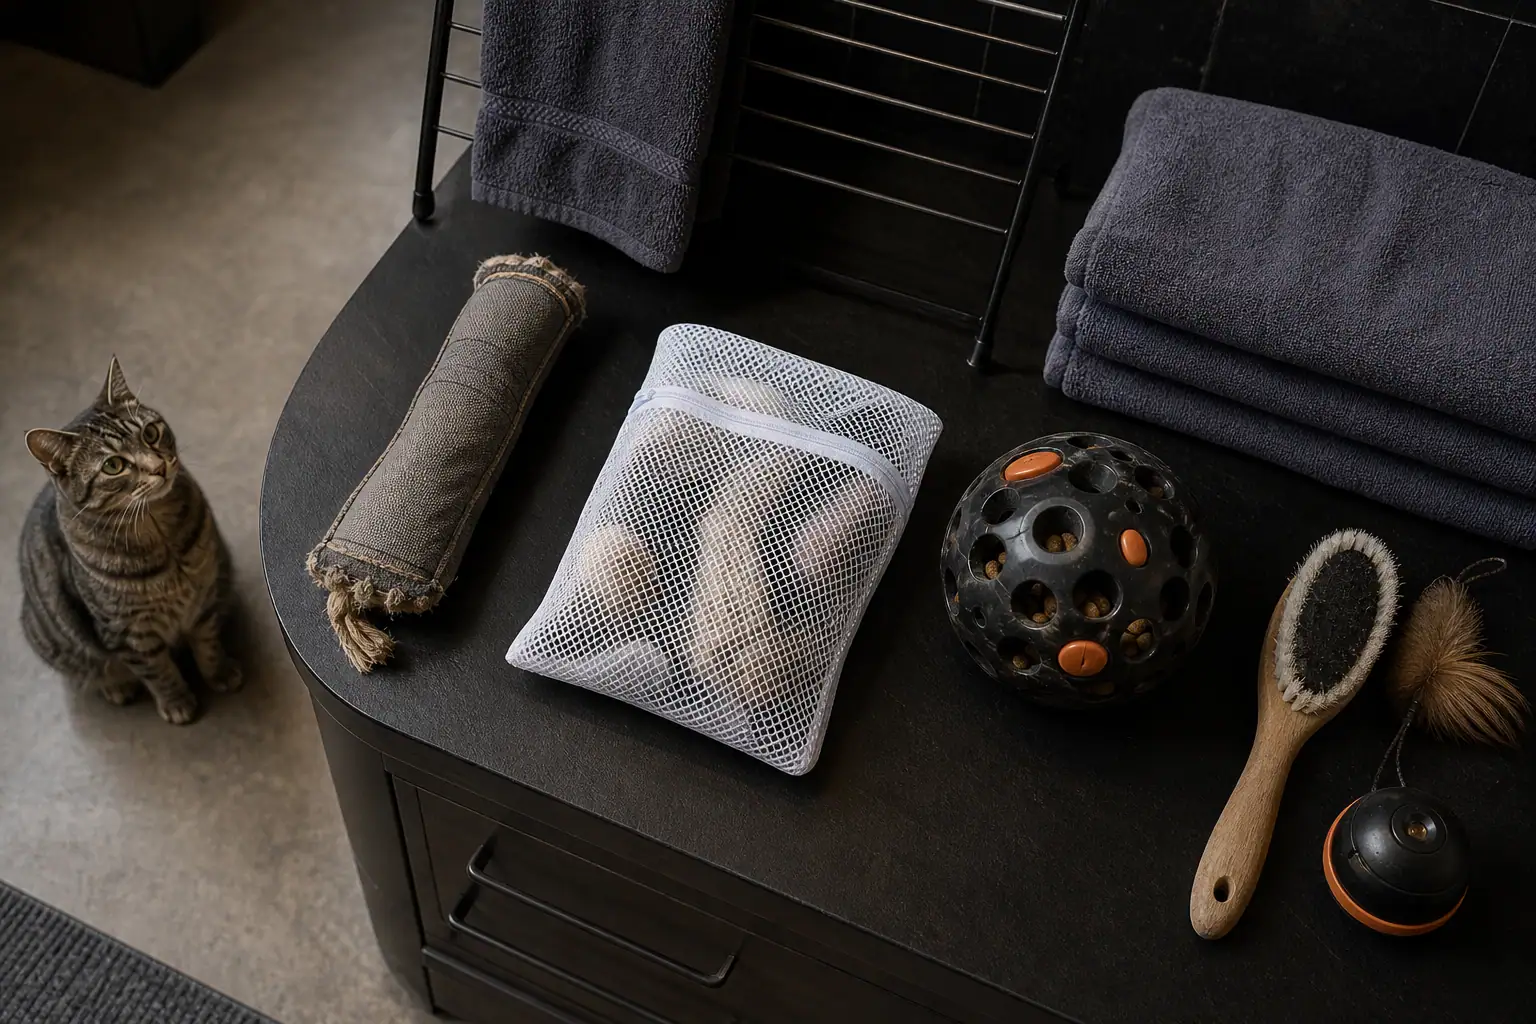
Should You Use Vinegar to Clean Cat Toys?
You usually do not need vinegar to clean a cat toy. The better method depends on the toy’s material and manufacturer instructions. A washable hard toy may need warm water and mild fragrance-free detergent; a machine-washable fabric kicker may need a mesh bag and a full dry; an electronic toy may allow only surface wiping.
- Hard plastic, rubber, and silicone: clean grooves and food residue using the maker’s method, rinse thoroughly, and retire anything cracked, sticky, swollen, or sharply chewed.
- Fabric toys: use the permitted wash cycle, skip scent boosters and fabric softener, dry through the center, then pull gently at every seam.
- Catnip or silvervine toys: follow the label. A toy that stays wet inside, smells musty, leaks filling, or cannot be cleaned should be replaced.
- Wands, feathers, rope, and glued parts: surface cleaning cannot repair a frayed cord, bent wire, loose feather, or failing attachment.
- Electronic toys: power off and follow the manual. Do not let liquid enter a motor, battery compartment, speaker, switch, or charging port.
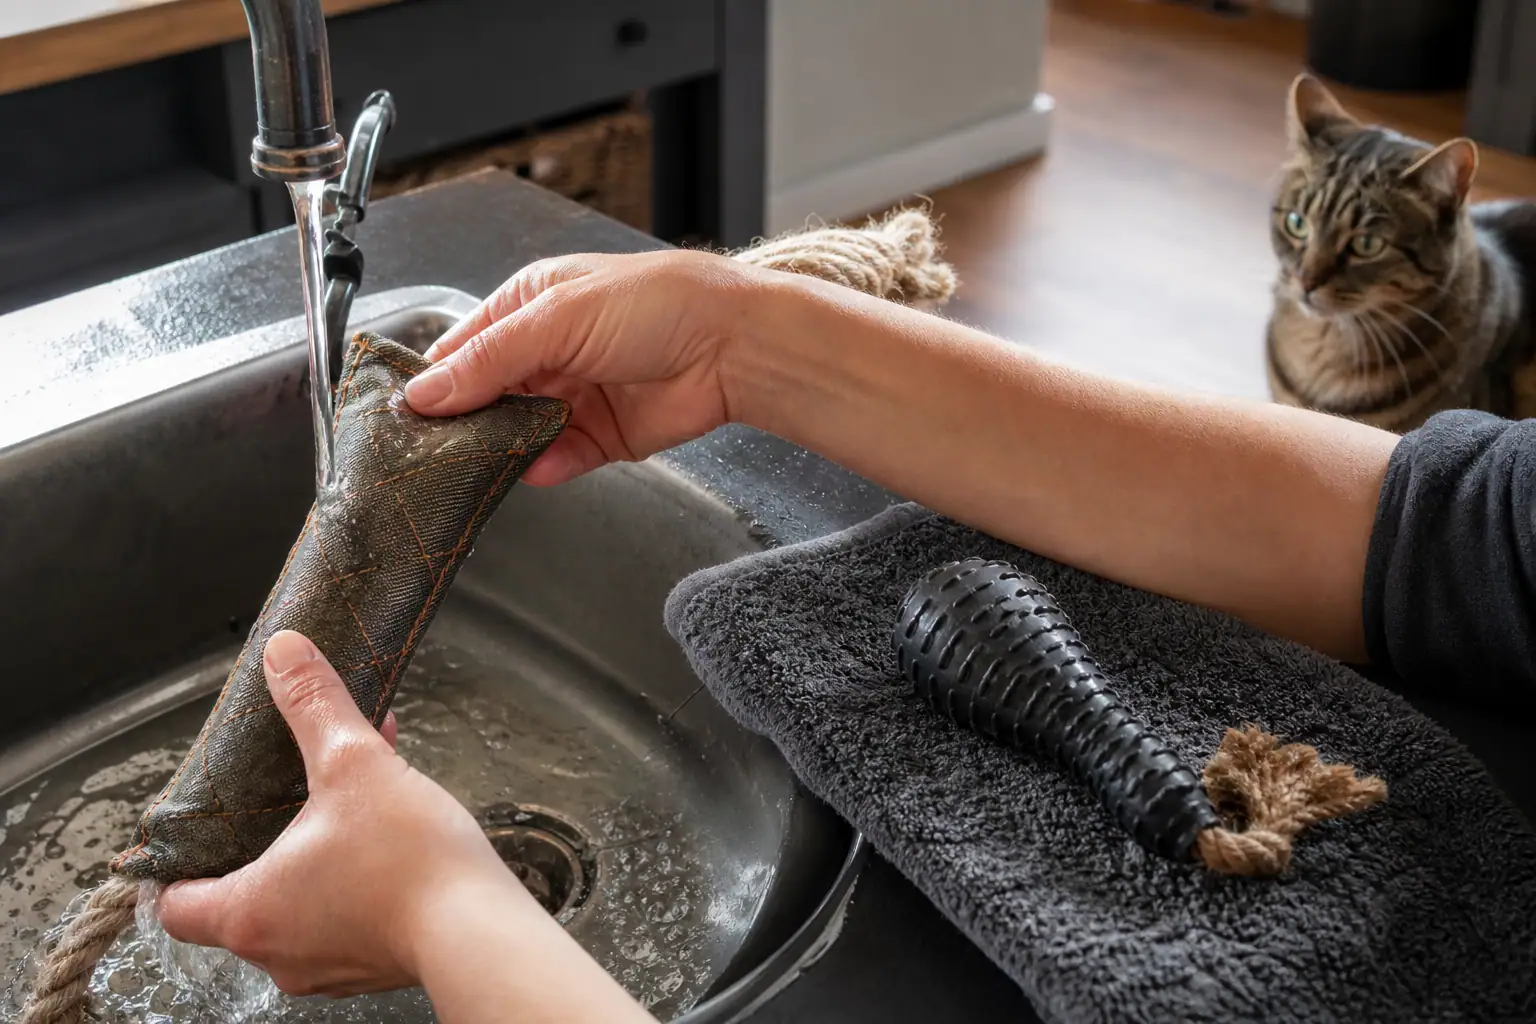
If a manufacturer permits diluted vinegar, keep the cat away during cleaning, rinse the toy, dry it fully, and smell it before returning it to play. A lingering sharp odor may make the toy aversive even when residue is small. Never soak a toy simply because an internet recipe recommends it.
For cats that bite, shake, and bunny-kick hard, cleaning time is inspection time. Press seams, check attachments, flex plastic, and account for every piece. Our durable cat toys guide shows the failure points rough players expose first. Cleaning cannot make an opened seam, exposed stuffing, sharp edge, or damaged battery door safe again.
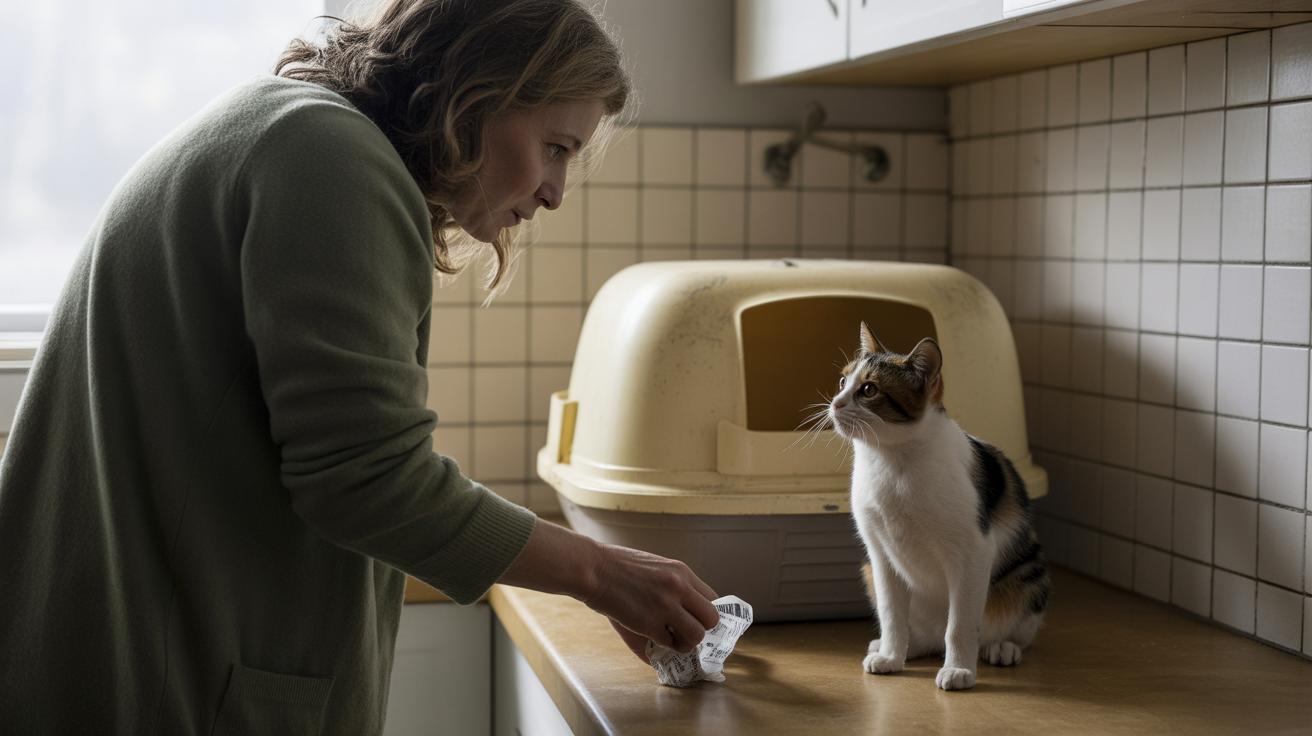
What to Do If Your Cat Licks or Spills Vinegar
First, identify exactly what happened. A lick from a dry counter is different from drinking from a bowl, and ordinary kitchen vinegar is different from a concentrated acid cleaner. Find the container, note the concentration and ingredients, estimate the time and amount, and check whether exposure involved the mouth, skin, eyes, or breathing.
- Stop further contact. Close the room, remove the container, and keep the cat from grooming wet paws or fur.
- Move away from fumes. If products were mixed or the air is irritating, take people and pets into fresh air without lingering to clean up.
- Rinse external exposure. For vinegar on the coat or paws, rinse with lukewarm water if you can do so safely. Eye exposure needs immediate veterinary advice and prompt gentle irrigation.
- Call with the label in hand. Contact your veterinarian, the ASPCA Animal Poison Control Center at 888-426-4435, or Pet Poison Helpline at 855-764-7661. Consultation fees may apply.
- Do not induce vomiting. Do not give baking soda, milk, oil, food, charcoal, or another home remedy unless a veterinary professional specifically directs it.
Pet Poison Helpline notes that acid injuries vary with strength and contact time. Warning signs can include repeated drooling, pawing at the mouth, vomiting, diarrhea, refusing food or water, red or painful skin, squinting, eye redness, coughing, noisy or difficult breathing, weakness, or collapse. Eye pain, breathing trouble, severe or persistent signs, and any concentrated-product exposure need urgent veterinary care.
If the exposure involved detergent rather than vinegar, use our separate guide on Dawn dish soap and cats; surfactants create different concerns, especially when foam is swallowed or left on fur.
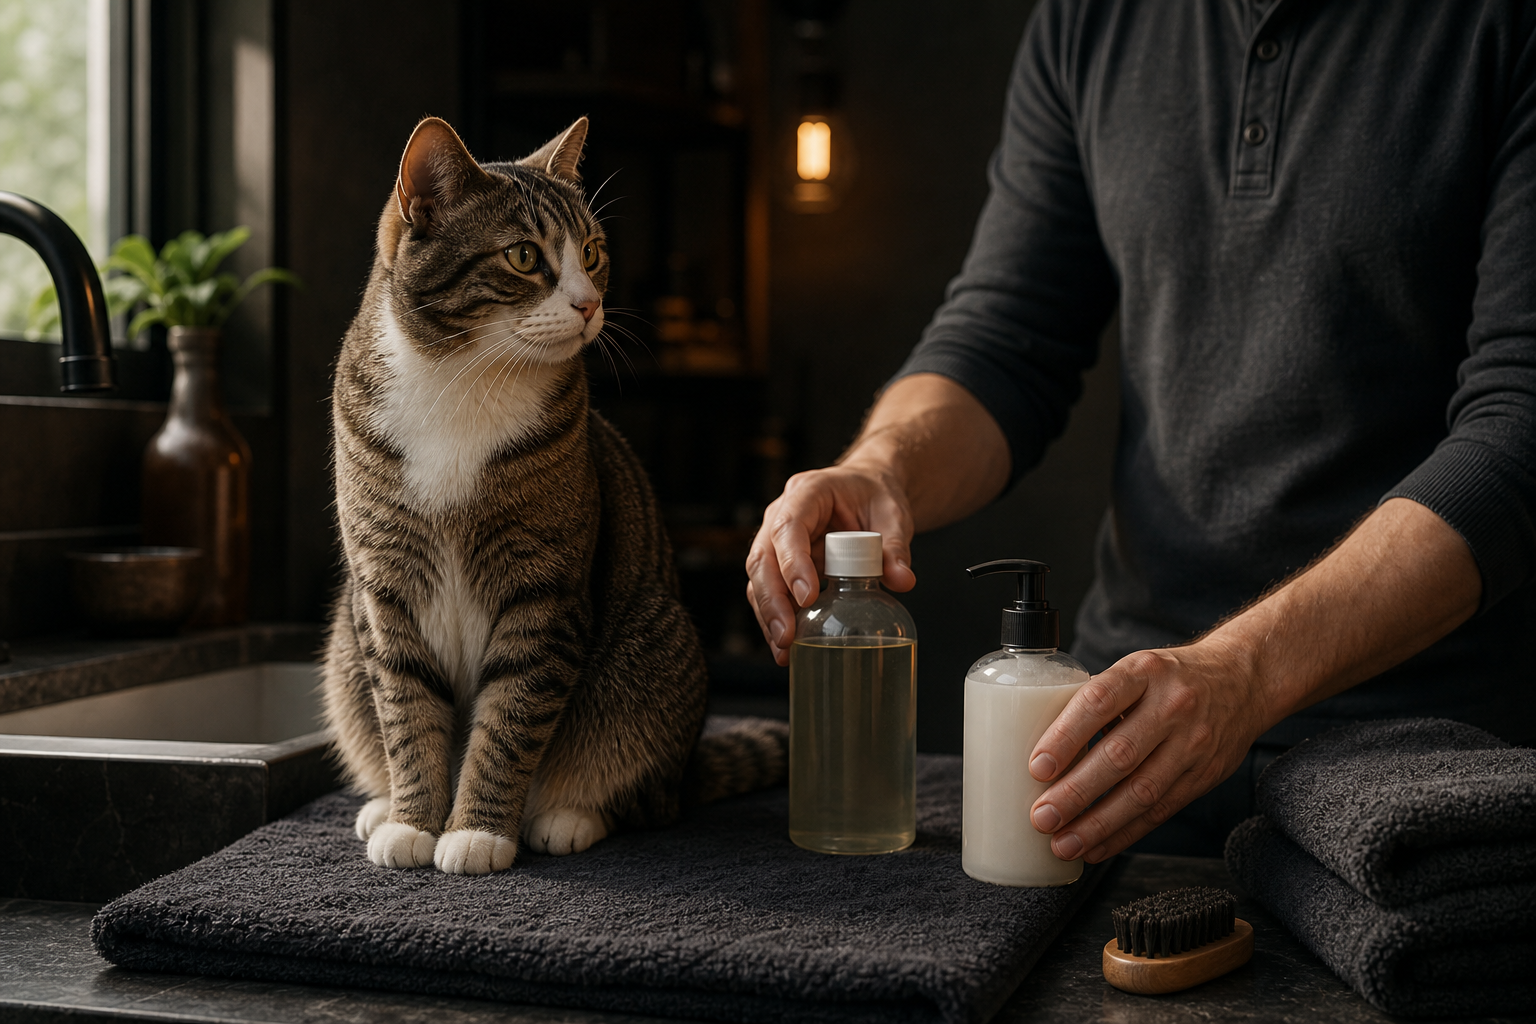
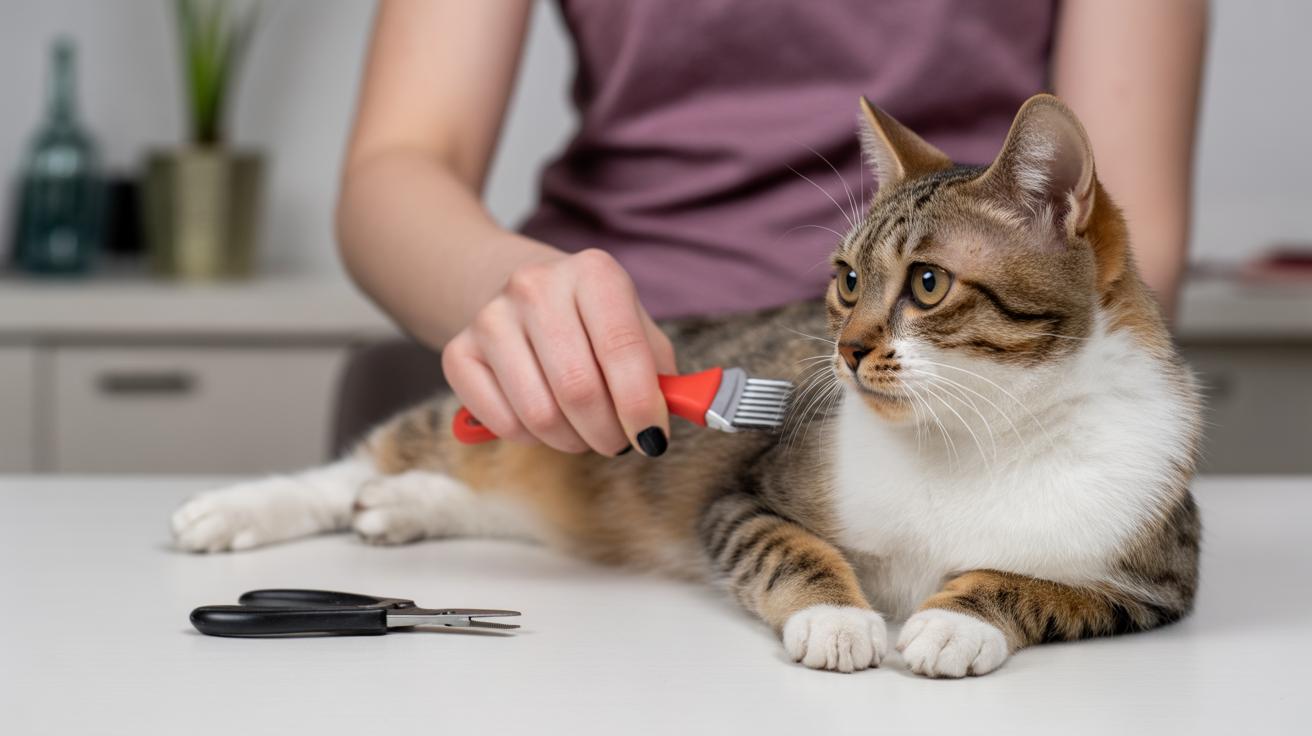
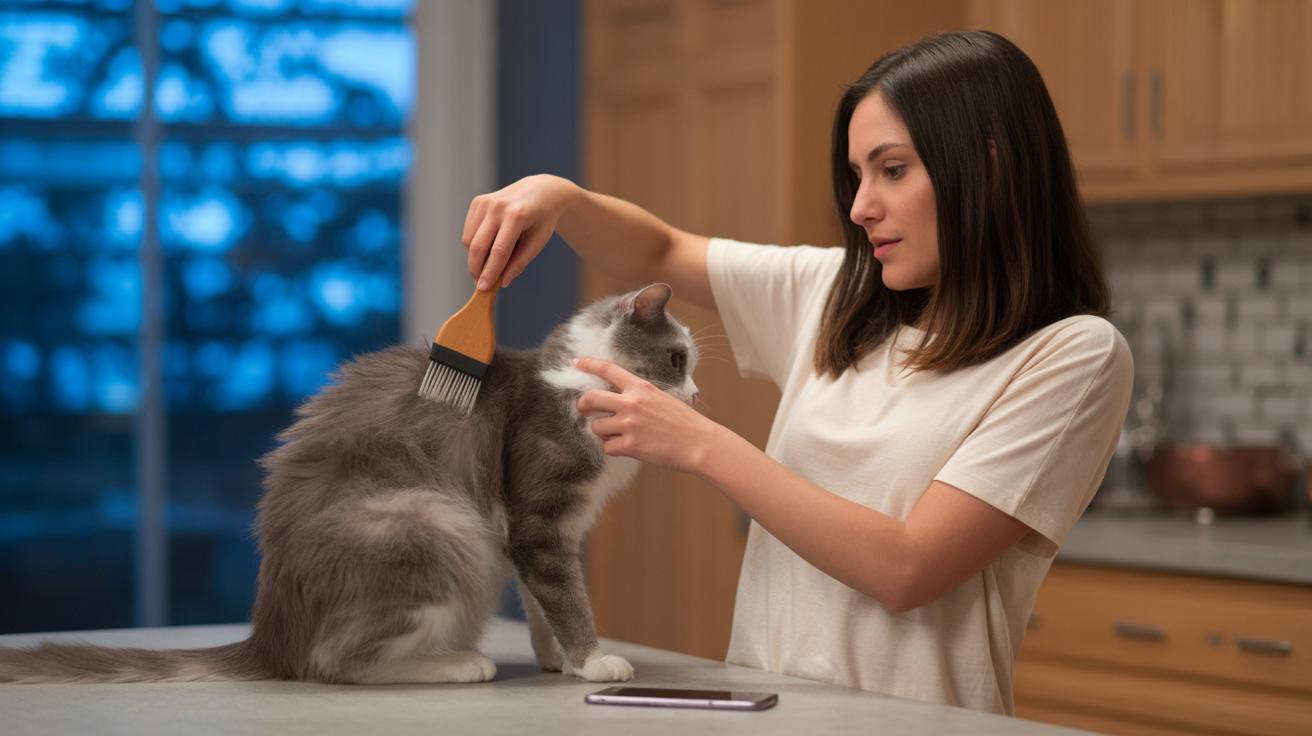
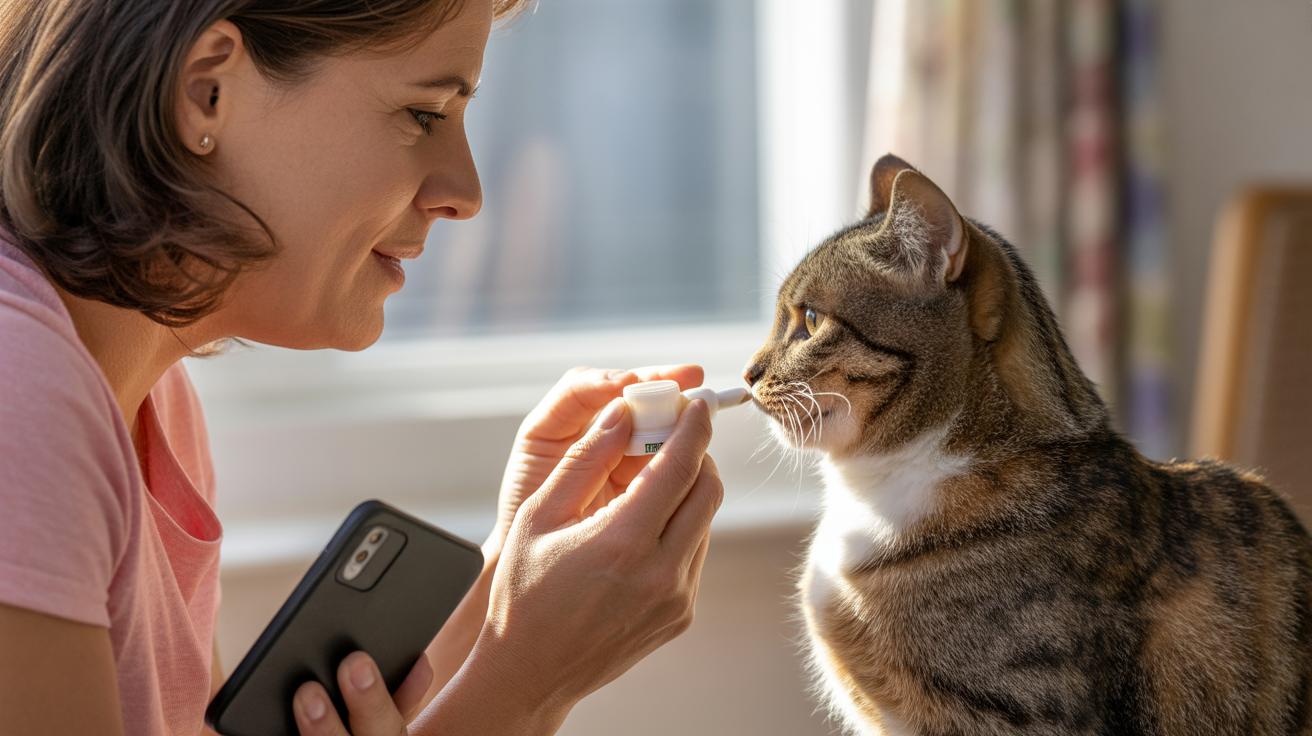
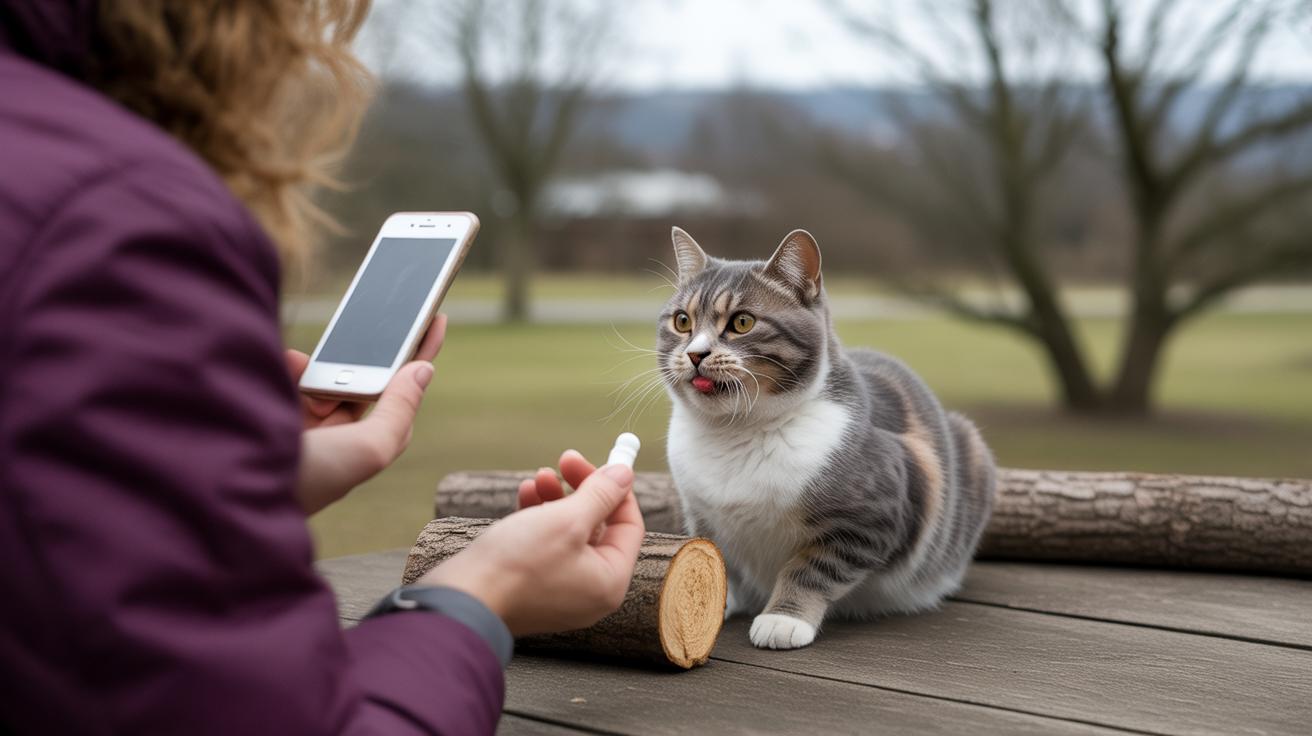
Do Not Use Vinegar for Fleas, Ears, Skin, or Supplements
Apple cider vinegar is heavily promoted as a natural cat remedy, but natural does not mean tested, effective, or comfortable. Do not add vinegar to a cat’s food or water, spray it onto the coat, pour it into an ear, or dab it on broken or inflamed skin unless your veterinarian has prescribed that exact use for that cat.
- Fleas: vinegar does not provide reliable flea control. The Companion Animal Parasite Council recommends effective cat-appropriate flea control for every pet in an affected home and notes that established infestations can take months to control.
- Skin: acid can sting irritated, scratched, or broken tissue, and a cat will ingest what remains while grooming.
- Ears: redness, debris, odor, scratching, and head shaking can have different causes. Putting an acidic liquid into an unexamined, painful ear can worsen irritation and delay the correct diagnosis.
- Urinary or digestive health: online anecdotes do not establish a safe feline dose or treat the underlying disease. Making water taste or smell unpleasant can also work against good hydration.
Use a veterinarian-recommended flea preventive that is labeled for cats—never a dog product unless your veterinarian explicitly directs it. For itching, ear trouble, vomiting, diarrhea, appetite loss, or urinary signs, treat the symptom as a reason for diagnosis rather than a reason to experiment with vinegar.
Is the Smell of Vinegar Safe, and Does It Deter Cats?
A brief vinegar smell in a ventilated room is unlikely to poison a cat, but that does not mean the cat is comfortable. Cats may avoid the sharp odor. Never hold a cat near an open bottle, spray the air around them, or saturate a sleeping, eating, drinking, or litter area to force avoidance.
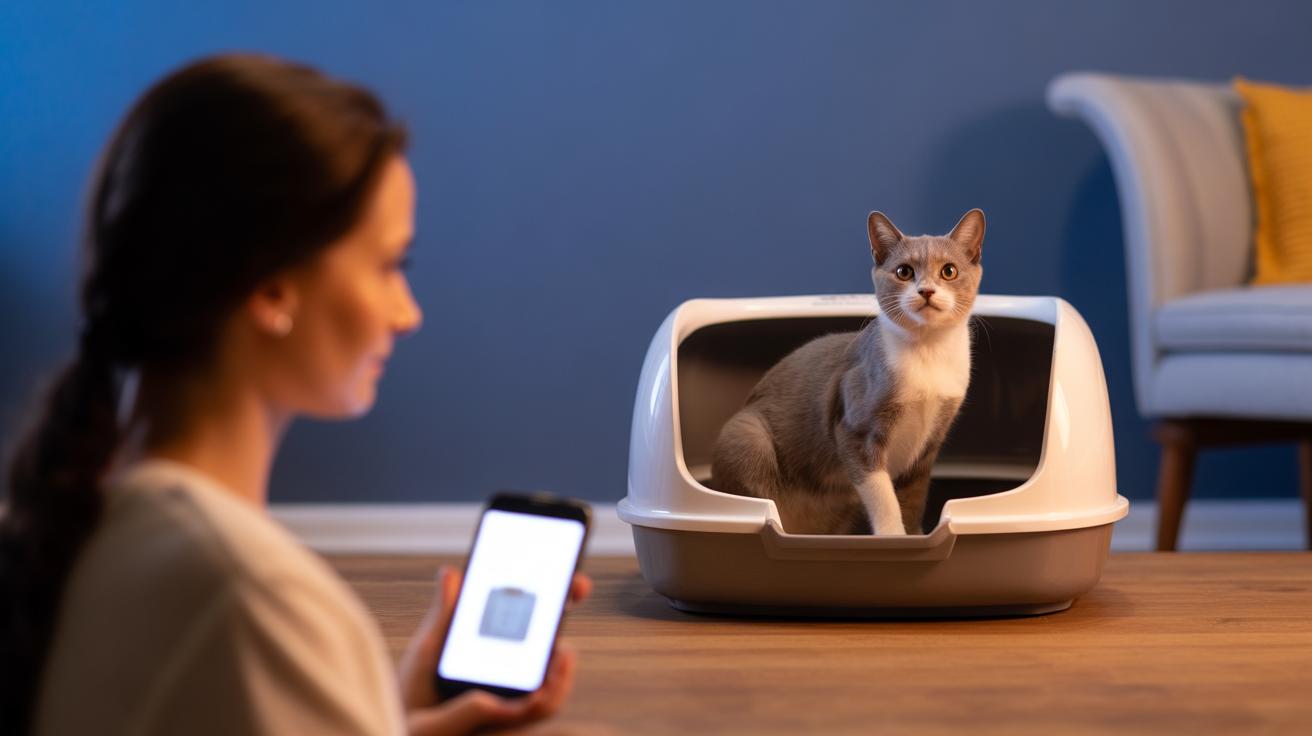
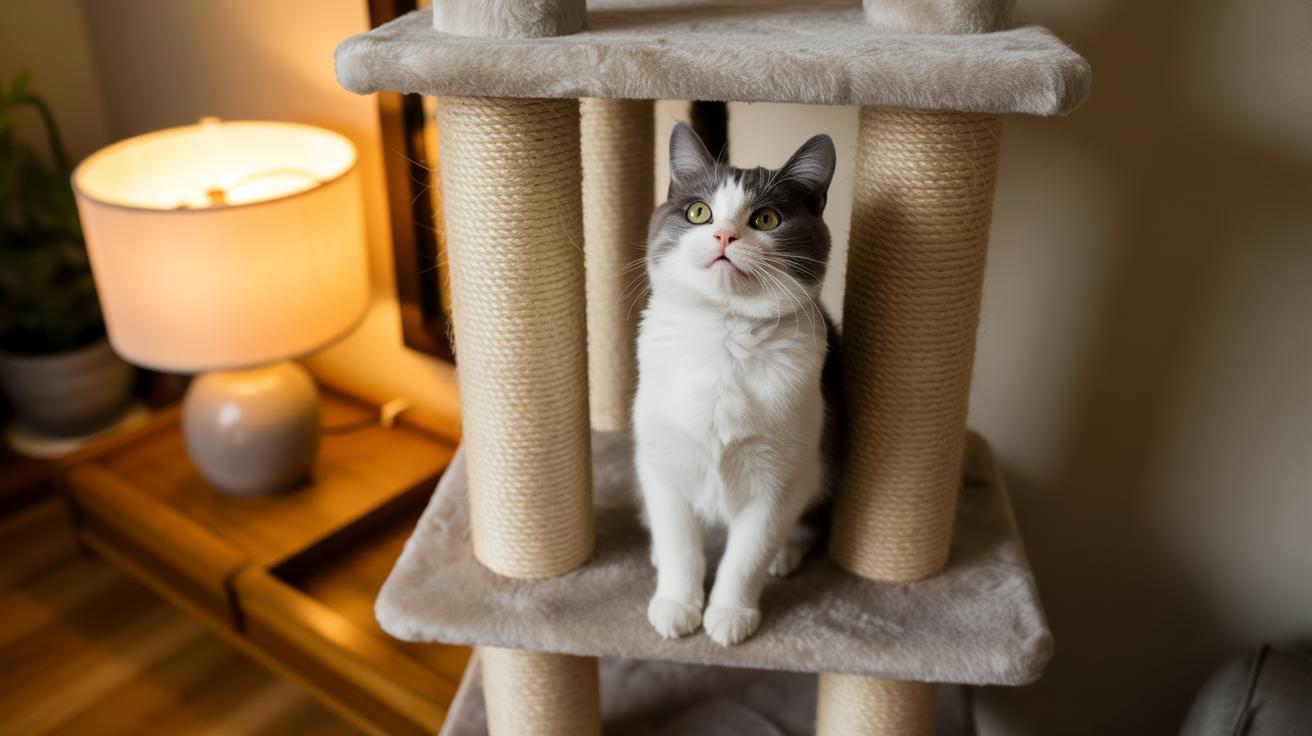
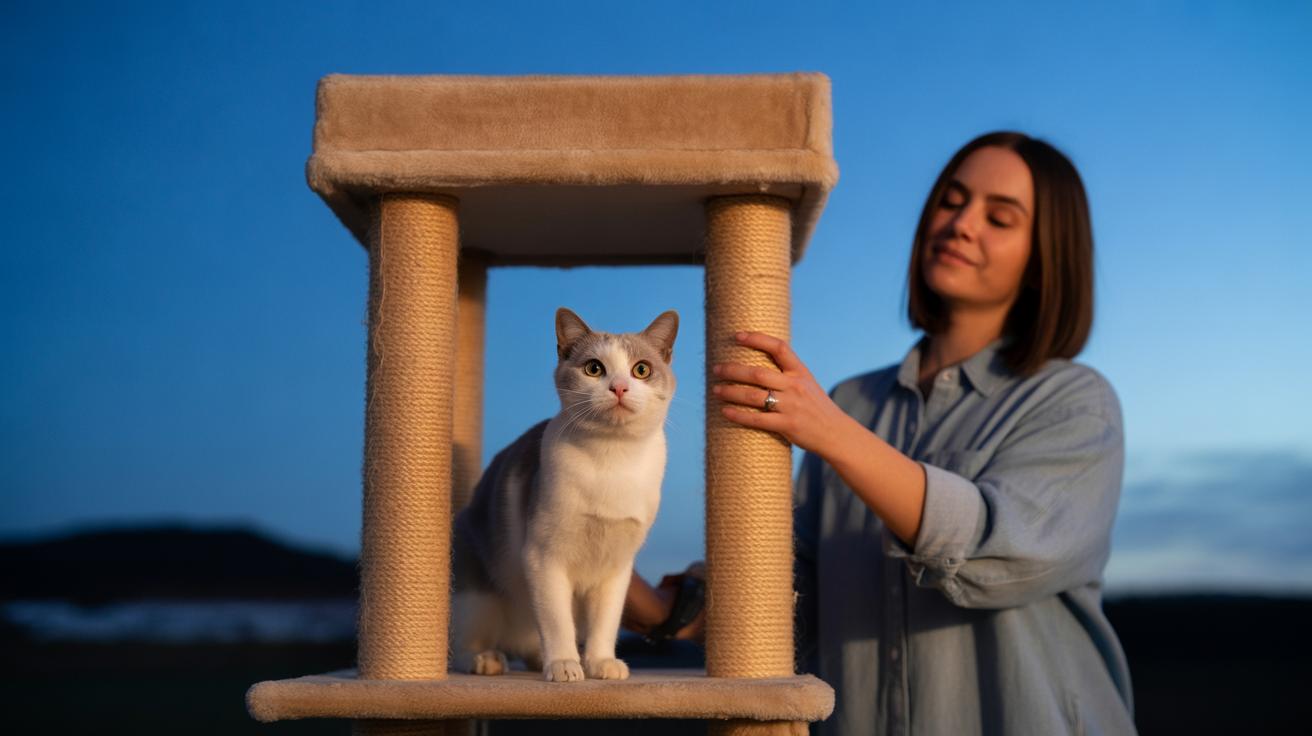
Vinegar is also a poor behavior plan. If your cat scratches a sofa, block access temporarily, place an appealing stable scratcher beside the target, reward its use, and protect the surface with a material your cat does not enjoy scratching. Our guide to choosing a cat scratching post covers height, stability, material, and placement. If a cat urinates outside the litter box, arrange a veterinary check and address litter-box setup; masking or repelling the cat from one spot does not solve pain, stress, or resource problems.
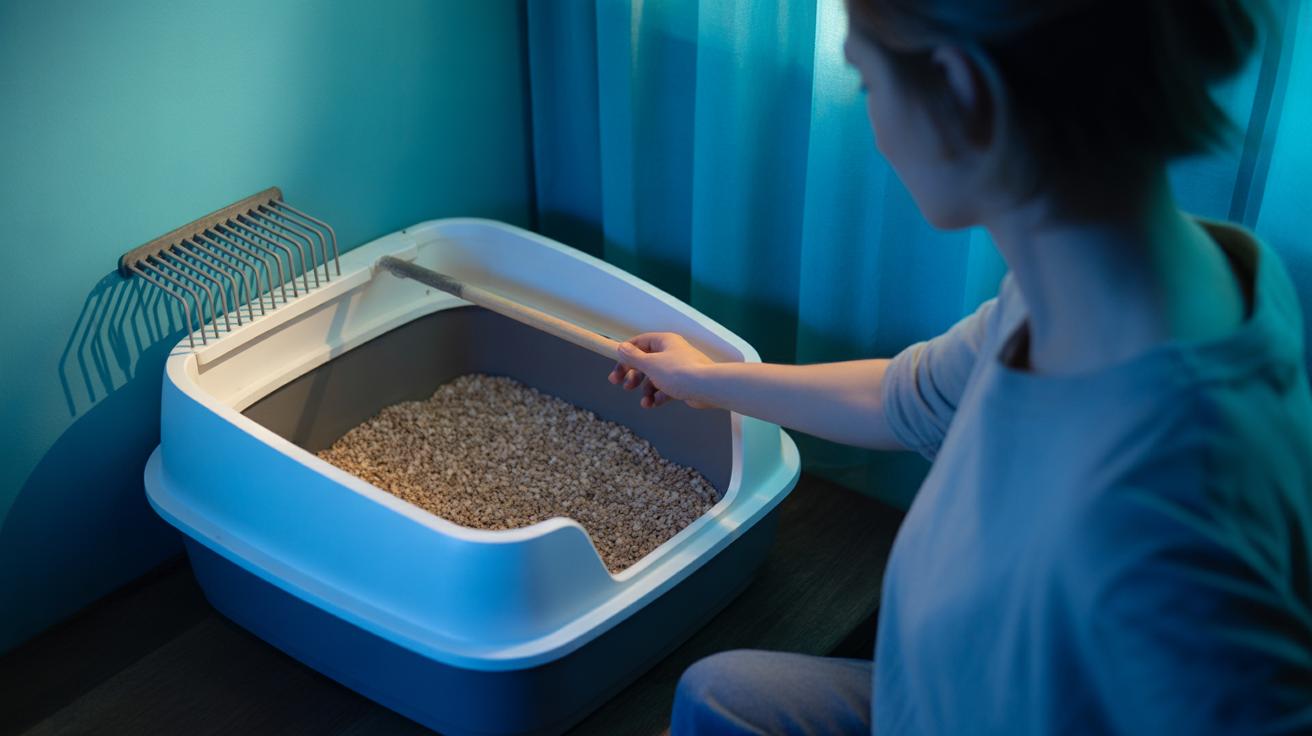
For urine residue, use a cleaner designed for that surface and organic stain, following its directions and blocking access until dry. Test any product—including vinegar—on a hidden area first because acids can damage some stone, grout, rubber, wood finishes, and appliance components.
Vinegar Safety Checklist and FAQs
- Use household vinegar only for a suitable cleaning job, not as cat medicine.
- Check the concentration and keep the original labeled container.
- Move cats, bowls, bedding, and toys before cleaning.
- Never mix vinegar with bleach, disinfectant, or another cleaner.
- Keep cats away from wet solution, buckets, cloths, and spills.
- Rinse food-contact items and cat toys when appropriate.
- Ventilate and wait for complete drying before re-entry.
- Do not put vinegar in food, water, ears, or on skin and fur.
- Call a veterinarian or animal poison service after a meaningful, symptomatic, eye, or concentrated-product exposure.
What if my cat licks a little vinegar?
One tiny lick of ordinary household vinegar may cause no signs or brief drooling or stomach upset. Remove access, offer normal fresh water, and observe. Call your veterinarian or animal poison control if the amount was more than a trace, the product was concentrated or mixed with other ingredients, or your cat develops symptoms. Do not induce vomiting.
Is white vinegar safer than apple cider vinegar for cats?
Neither should be given to a cat or applied as a routine remedy. For cleaning, the concentration, other ingredients, surface directions, rinsing, drying, and actual exposure matter more than whether the label says white or apple cider vinegar.
Can vinegar kill cats?
A trace encounter with ordinary household vinegar is not expected to kill a cat. A large ingestion, eye exposure, aspiration during vomiting, a stronger acid product, or fumes created by mixing cleaners can be much more serious. The product and circumstances determine the risk, so call promptly when either is unclear.
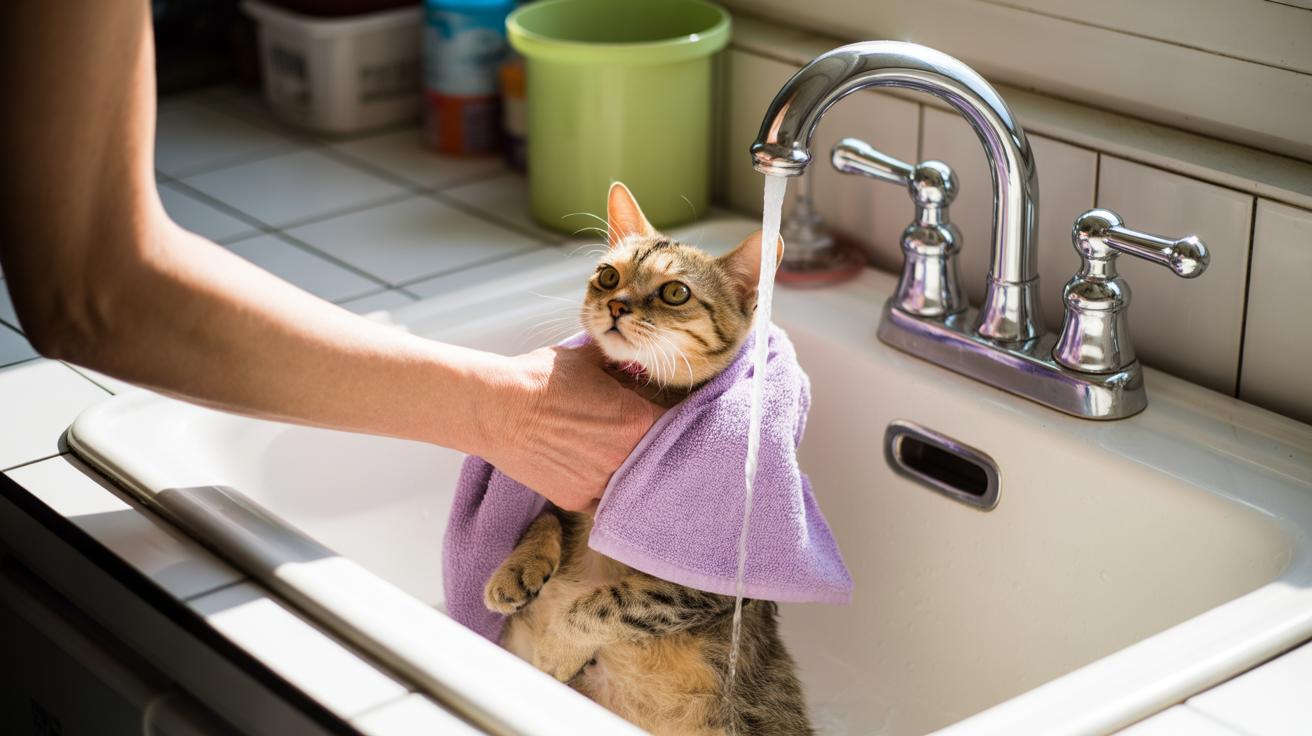
Can cats walk on a floor cleaned with vinegar?
Let the floor dry fully first, follow any rinsing directions, and inspect for puddles or residue. Cats groom their paws, so allowing access while a solution is wet turns floor contact into possible ingestion. Use a surface-compatible method and give the odor time to clear.
Bottom line: ordinary vinegar can be used cautiously for some household cleaning, but it is not harmless, universal, or a feline health treatment. Keep it off the cat, use it only where appropriate, never mix cleaners, rinse and dry, and let a veterinarian—not a viral recipe—handle fleas, skin, ears, or illness.