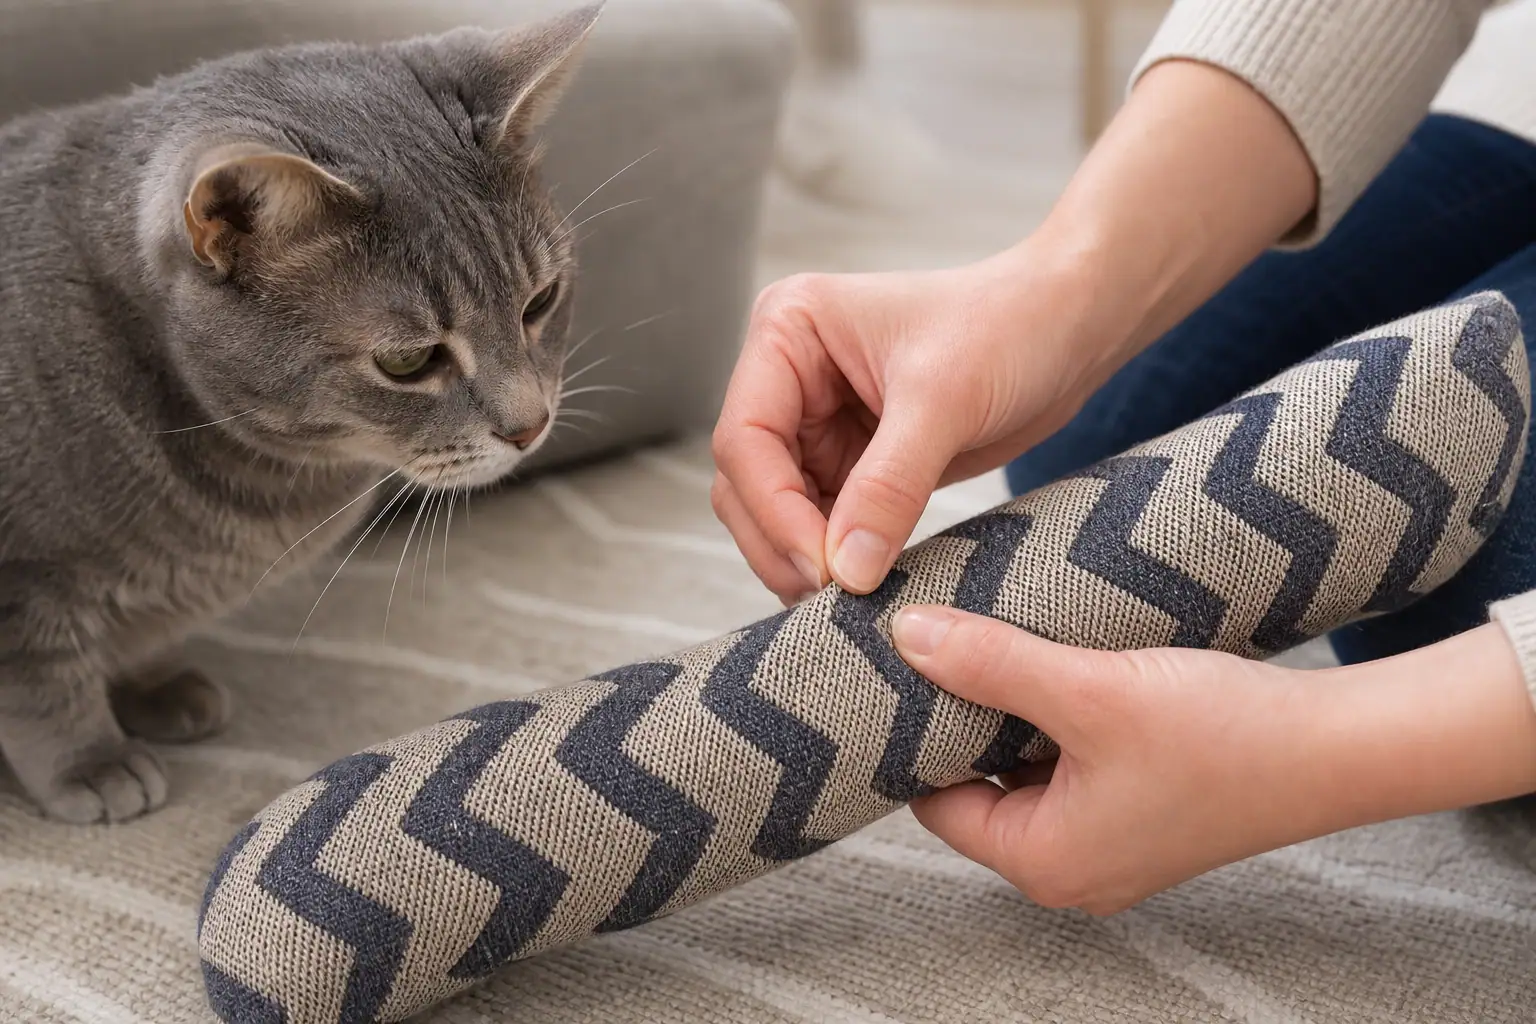
Homemade cat enrichment toys are simple DIY setups that give a cat something useful to do: hunt, forage, paw, climb, hide, sniff, chase, grab, or kick. The safest homemade toys are not elaborate crafts. They are plain, inspectable objects that match your cat’s actual play style and can be thrown away before they become swallowing hazards.
If your cat is gentle, a cardboard tube puzzle or paper foraging box may last several sessions. If your cat destroys ordinary toys, treat homemade enrichment as supervised play first. Rough players can chew through cardboard, pull tape loose, swallow string, or turn a food puzzle into a shredding project. The goal is not to make a homemade toy that lasts forever. The goal is to create a better outlet, watch the first use, and retire weak materials early.
Start with one clear job for the toy, use clean materials, skip risky add-ons, and pair fragile DIY puzzles with sturdier supervised toys when your cat needs to bite and bunny-kick hard.

What Current Homemade Enrichment Guides Get Right
The top results for homemade cat enrichment toys usually get one big thing right: enrichment does not have to be expensive. The ASPCA shows food enrichment and cardboard projects such as reach feeders, slow feeders, houses, tunnels, and mazes. Humane shelter resources commonly recommend puzzle feeders, treat dispensers, cardboard hideouts, sensory games, and simple hide-and-seek. Those are useful ideas because they turn normal household materials into hunting and problem-solving opportunities.
The gap is safety for forceful cats. Many lists tell you what to make, but they spend less time on what happens when a cat bites the tube flat, eats paper, pulls apart glued seams, or attacks a string attachment after the person leaves the room. Titan Claws readers often need that second layer: how to choose the right homemade idea for a rough player, how to supervise the risky parts, and when to switch from DIY cardboard to a tougher toy built for wrestling.
Use the One-Job Rule
Before building anything, decide what job the enrichment toy should perform. A vague toy that is supposed to “keep the cat busy” is harder to judge and easier to overcomplicate. A one-job toy is easier to make safely and easier to inspect afterward.
- Foraging: the cat sniffs, paws, rolls, or searches for part of a meal.
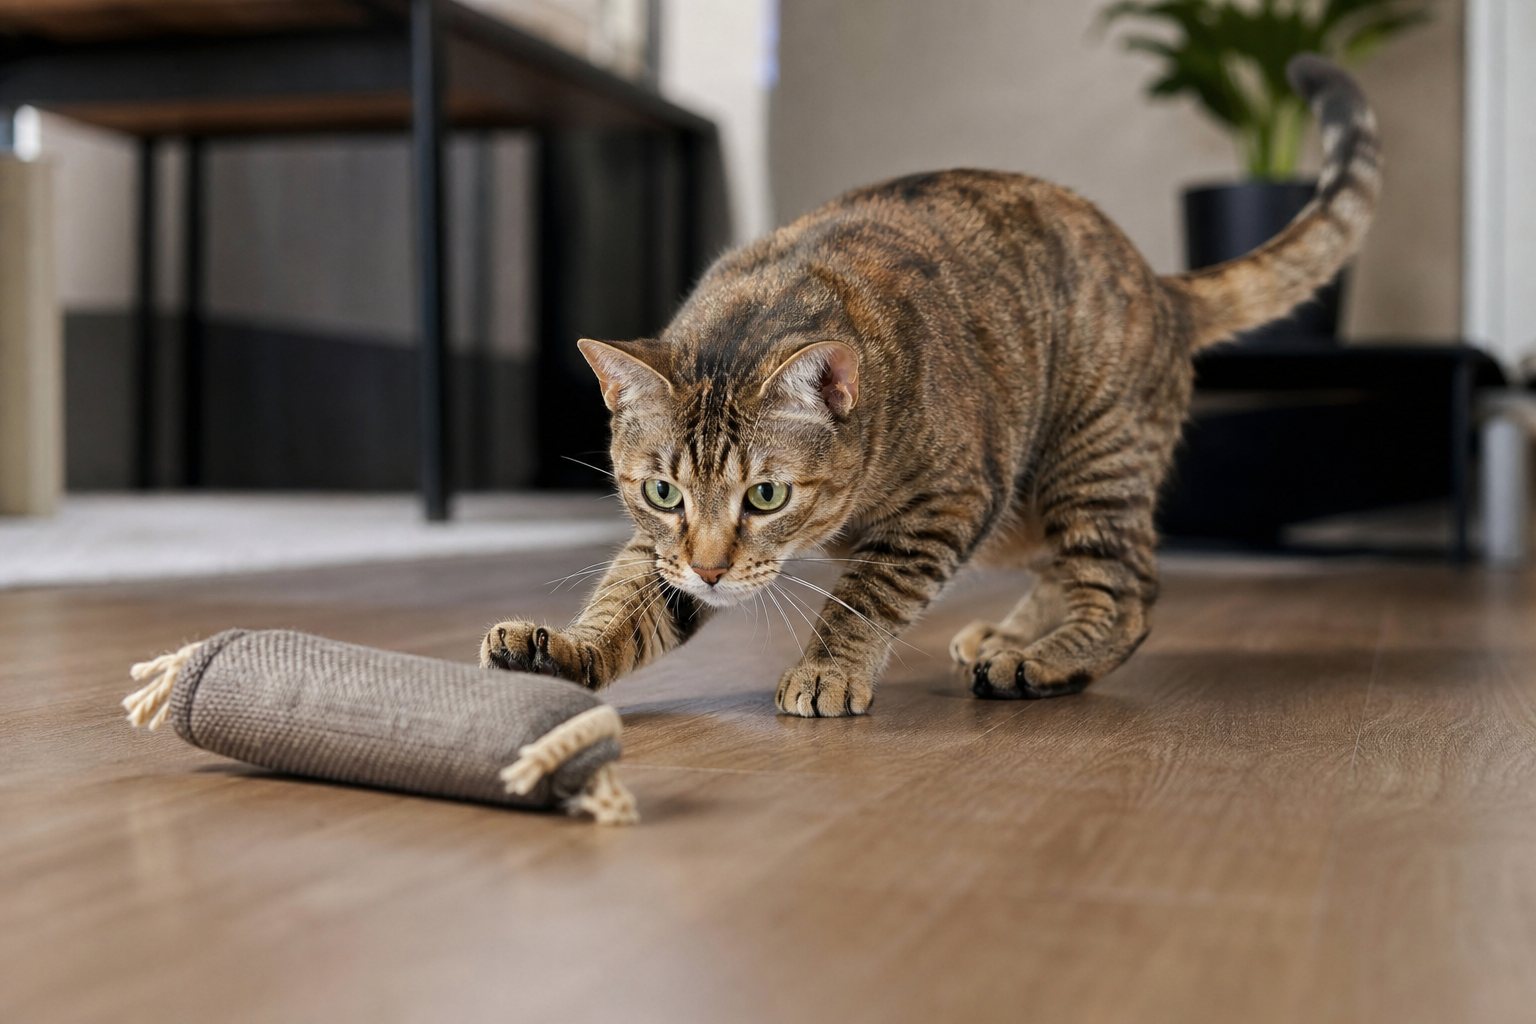
- Chasing: the cat stalks and pursues a moving target under supervision.
- Catching and kicking: the cat grabs a legal target and rakes with the back feet.
- Hiding and ambushing: the cat uses cover, boxes, tunnels, or furniture edges.
- Scratching and shredding: the cat works claws against an appropriate surface.
- Climbing and perching: the cat moves vertically and surveys the room.
- Sniffing and investigating: the cat explores safe novelty, texture, or scent.
The AAFP and ISFM environmental needs guidelines describe play and predatory behavior as part of a healthy feline environment. That includes toys, owner interaction, and feeding practices that require a cat to actively acquire food. Homemade enrichment works best when it supports those natural behaviors instead of dumping random objects on the floor.
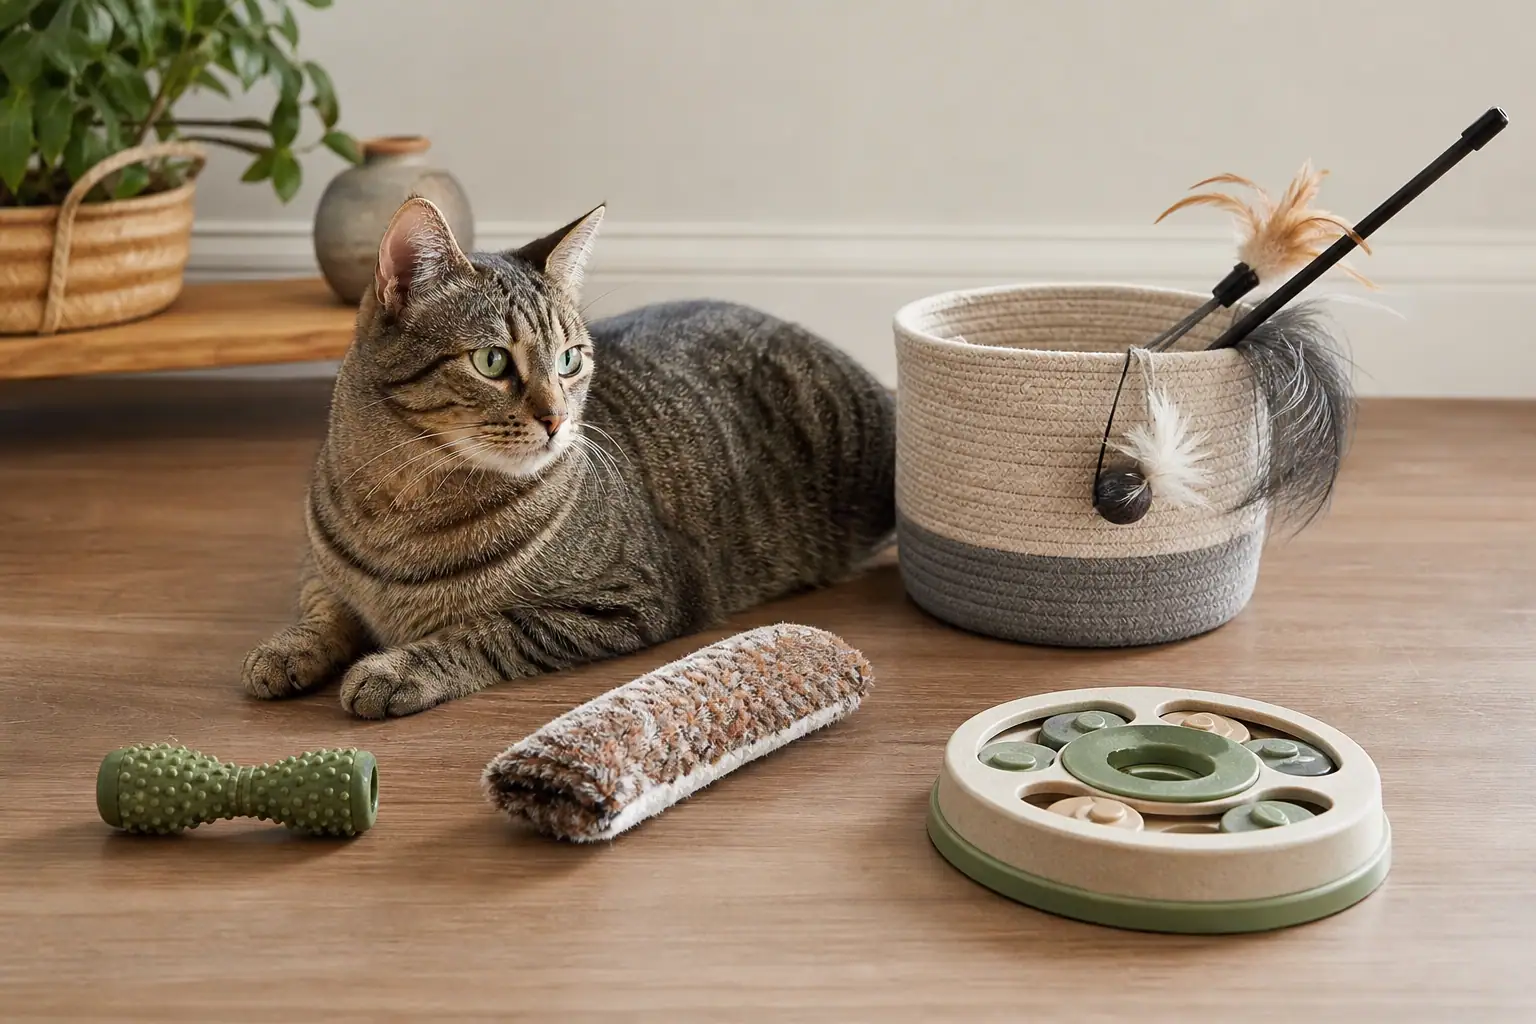
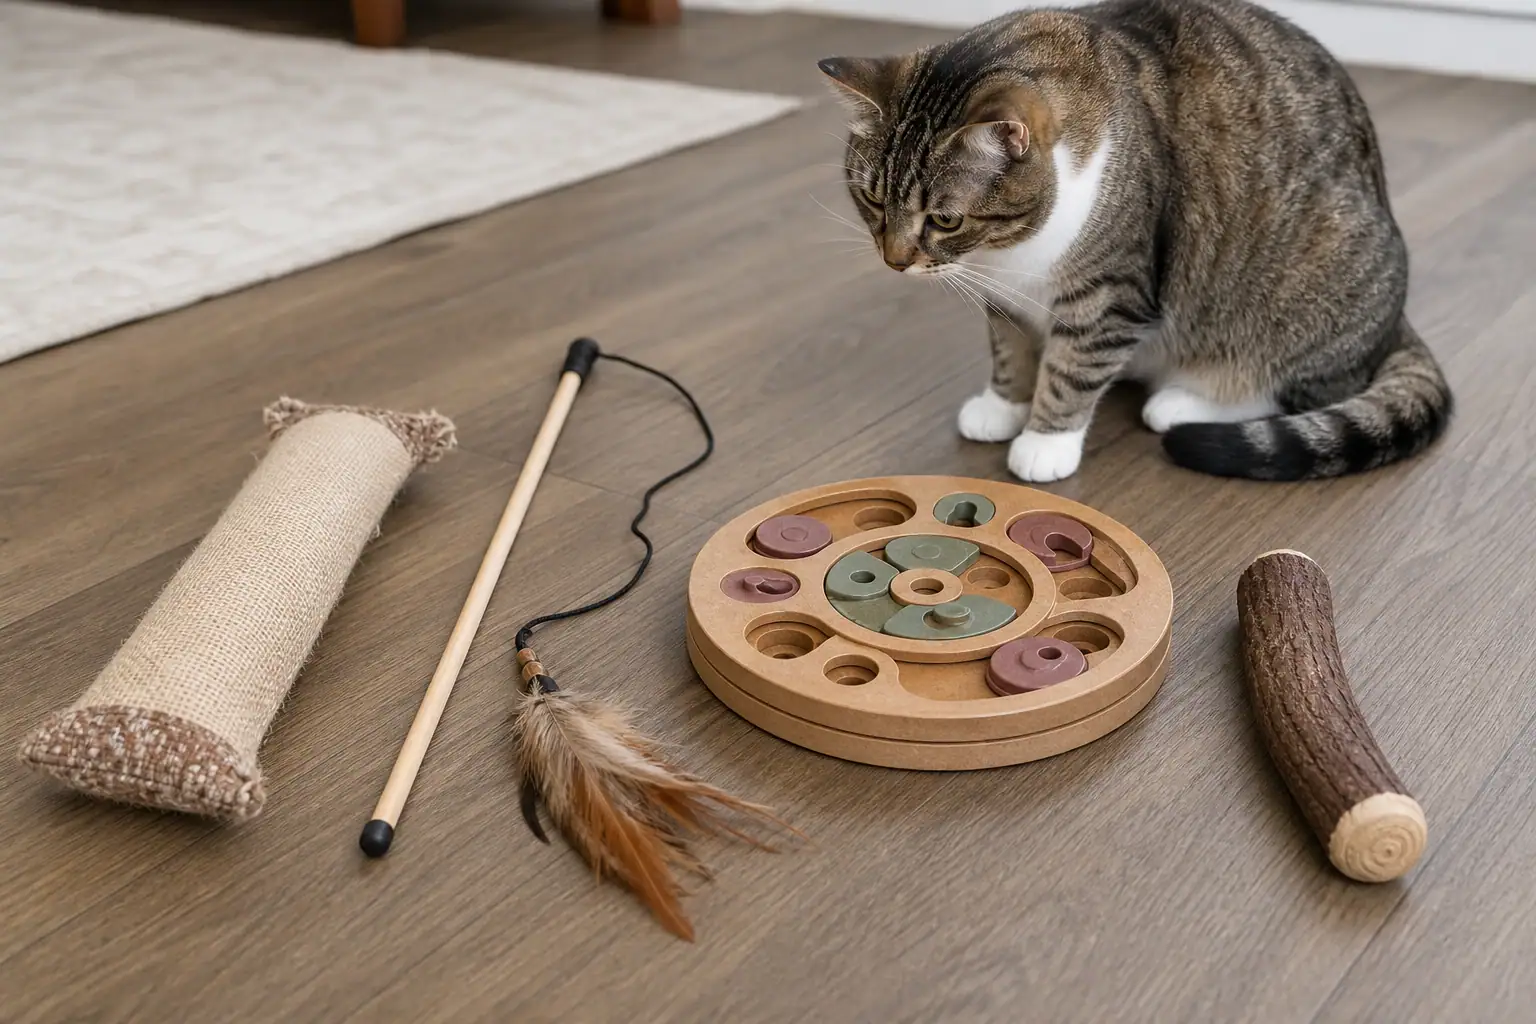
Five Homemade Cat Enrichment Toys to Try
1. Cardboard reach feeder
Use a shallow shoe box or drink box, several clean toilet paper tubes, and a small amount of kibble or treats. Cut snug holes in the lid, place the tubes upright, and drop food into the tubes so your cat has to reach and scoop. Start with just a few loaded tubes so the cat succeeds quickly.
Safety notes: cut smooth openings, avoid staples, and do not use heavy tape where your cat can chew it loose. If your cat pulls out the tubes and eats cardboard, stop using this as a puzzle and try a washable commercial puzzle feeder or simple scatter feeding instead.
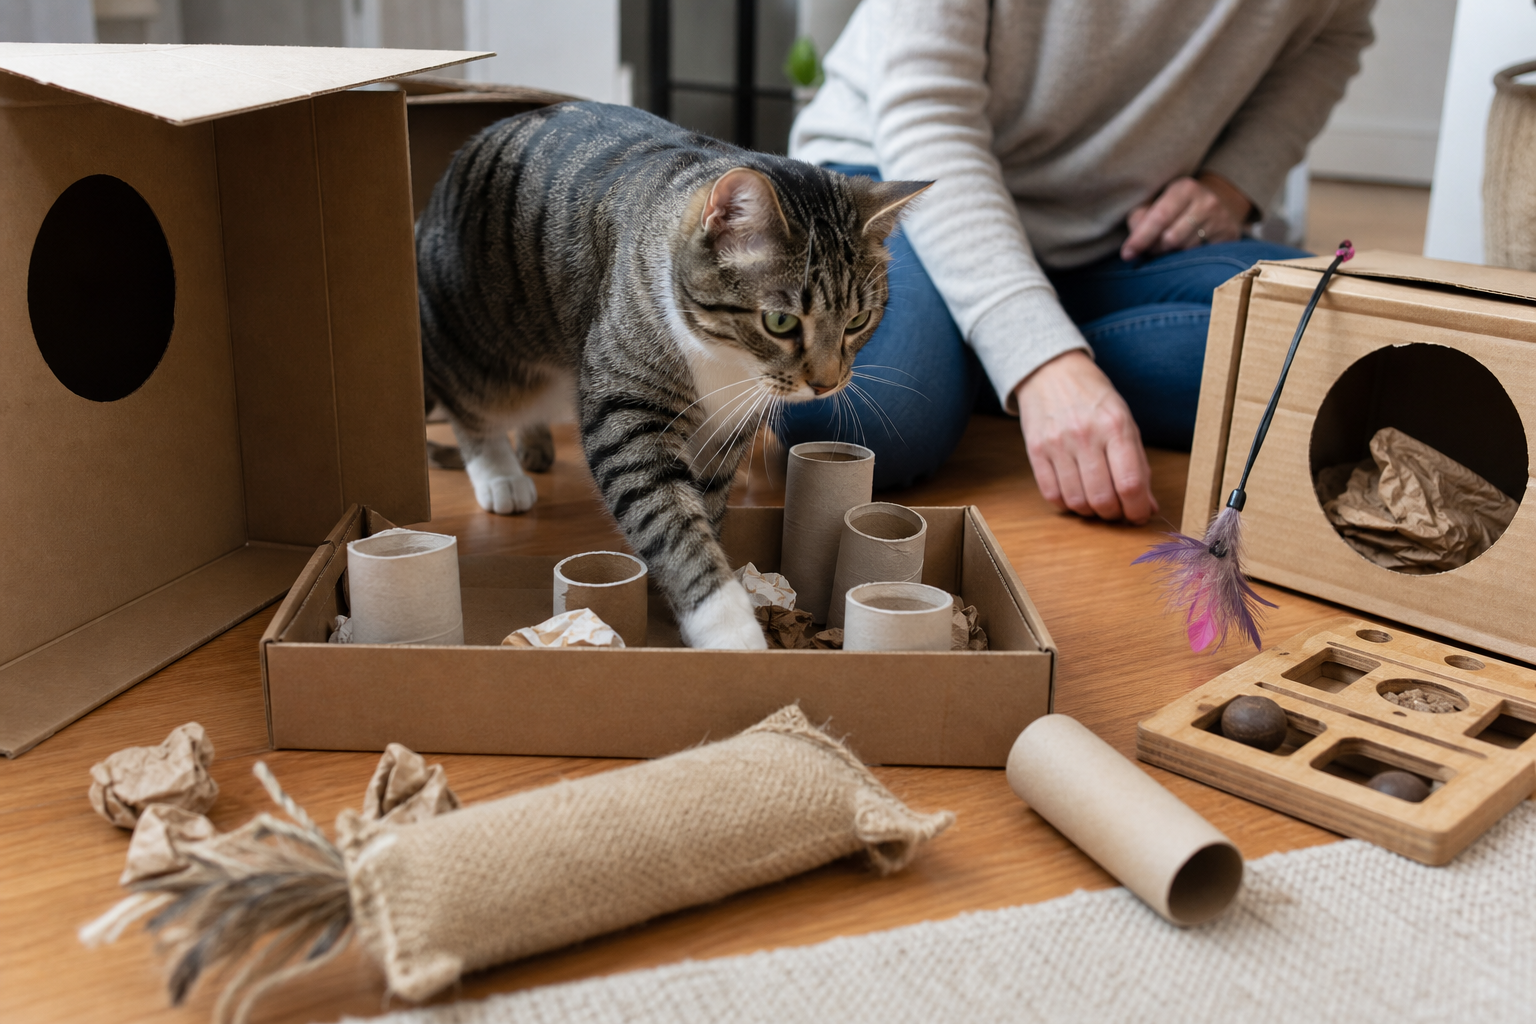
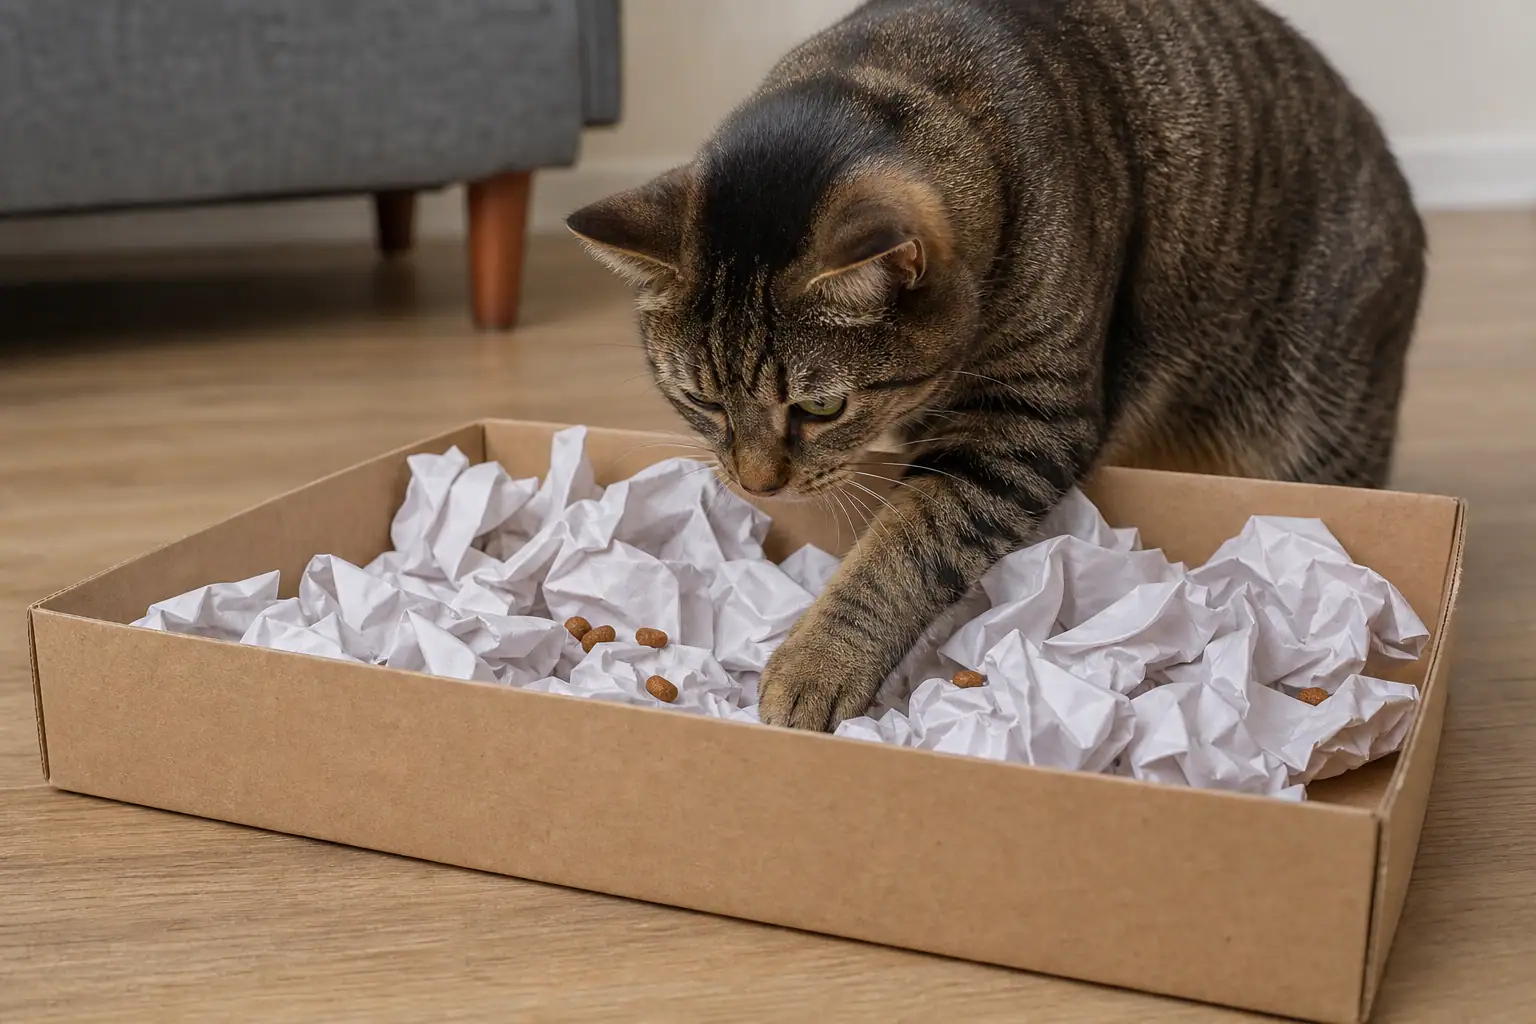
2. Shallow foraging box
Take a low cardboard box, remove handles, tape loops, staples, plastic windows, and loose labels, then fill it loosely with crumpled plain paper. Scatter a small portion of dry food or treats inside. The cat has to sniff, paw, and search, which turns food into work without much construction.
Use a shallow box so you can see what your cat is doing. Avoid glossy mailers, plastic packing material, rubber bands, twist ties, scented packaging, dryer sheets, and anything that carried cleaners or chemicals.
3. Paper tube treat roller
Cut several kibble-sized holes into a paper towel tube, fold the ends inward, and add a few pieces of dry food. The tube should release food when your cat bats or rolls it. Make the first version easy. A cat that gets frustrated may chew the tube instead of solving it.
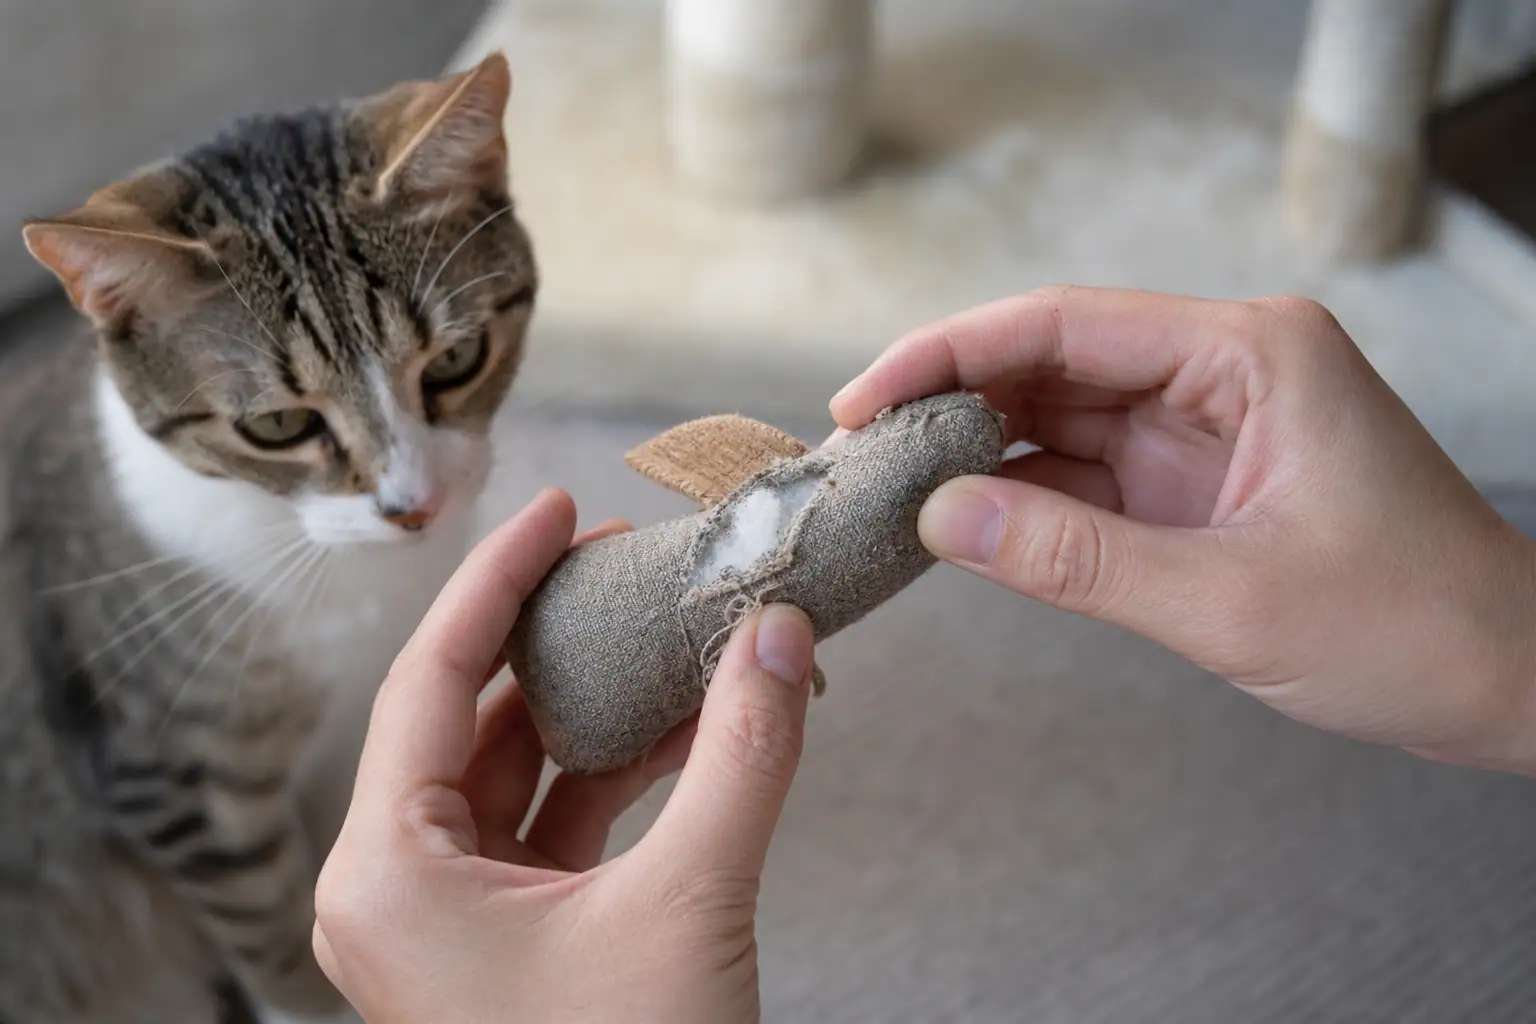
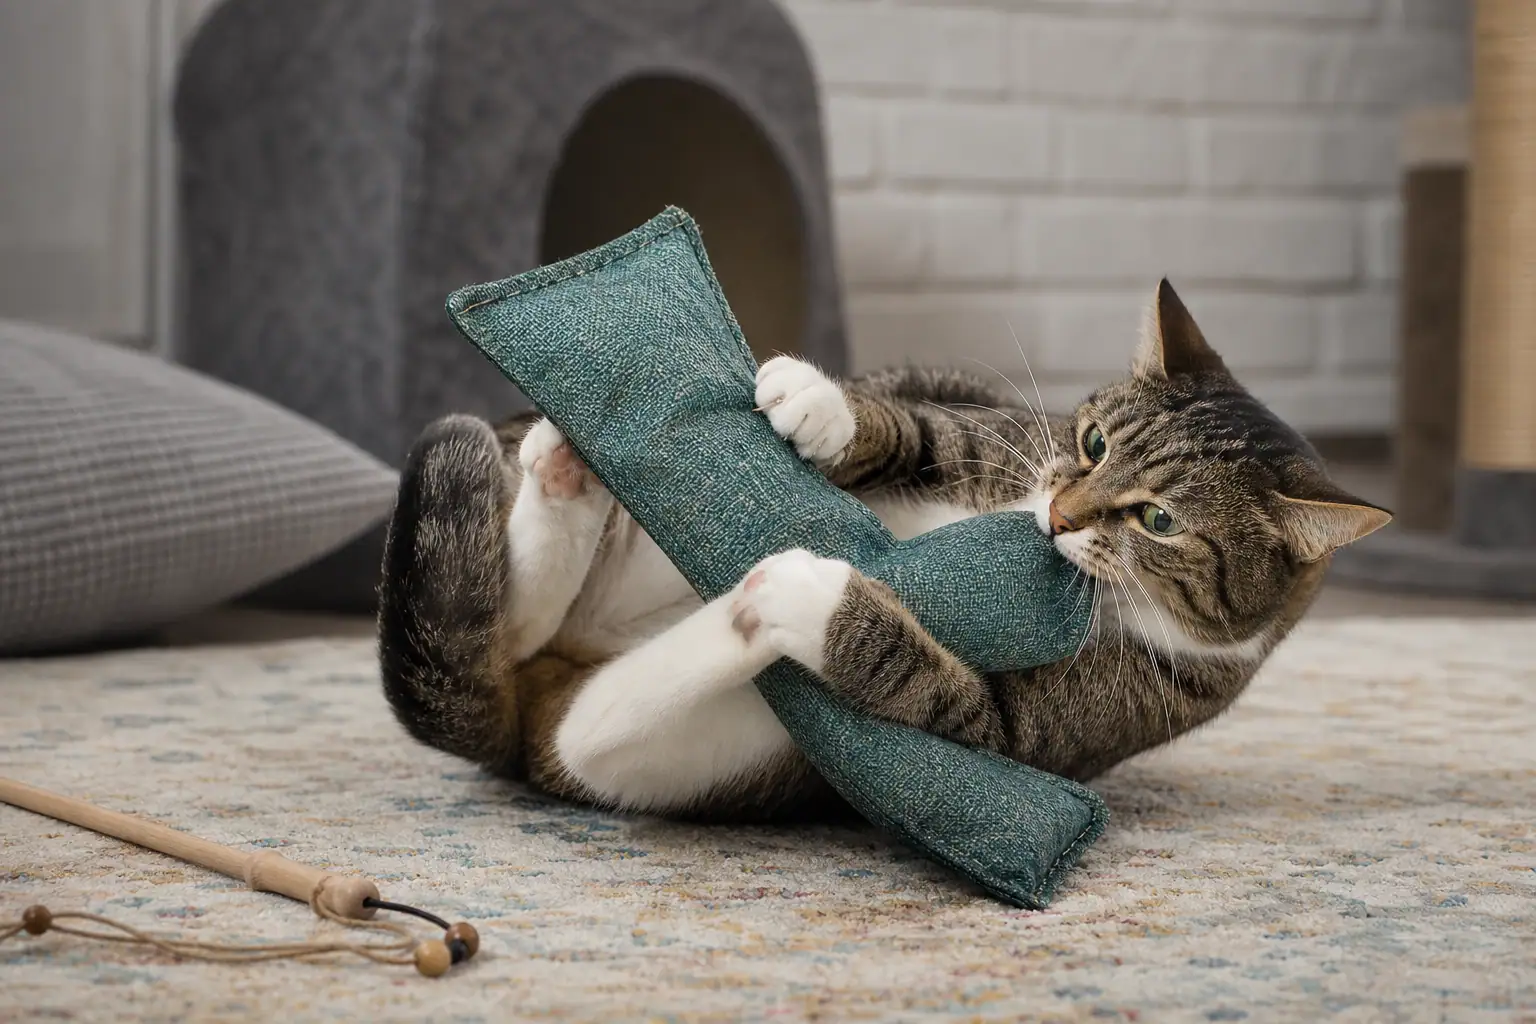
This is a supervised toy for many rough players. Retire it when it becomes crushed, soggy, torn, or flattened by teeth. If your cat tries to eat the tube, skip this category entirely.
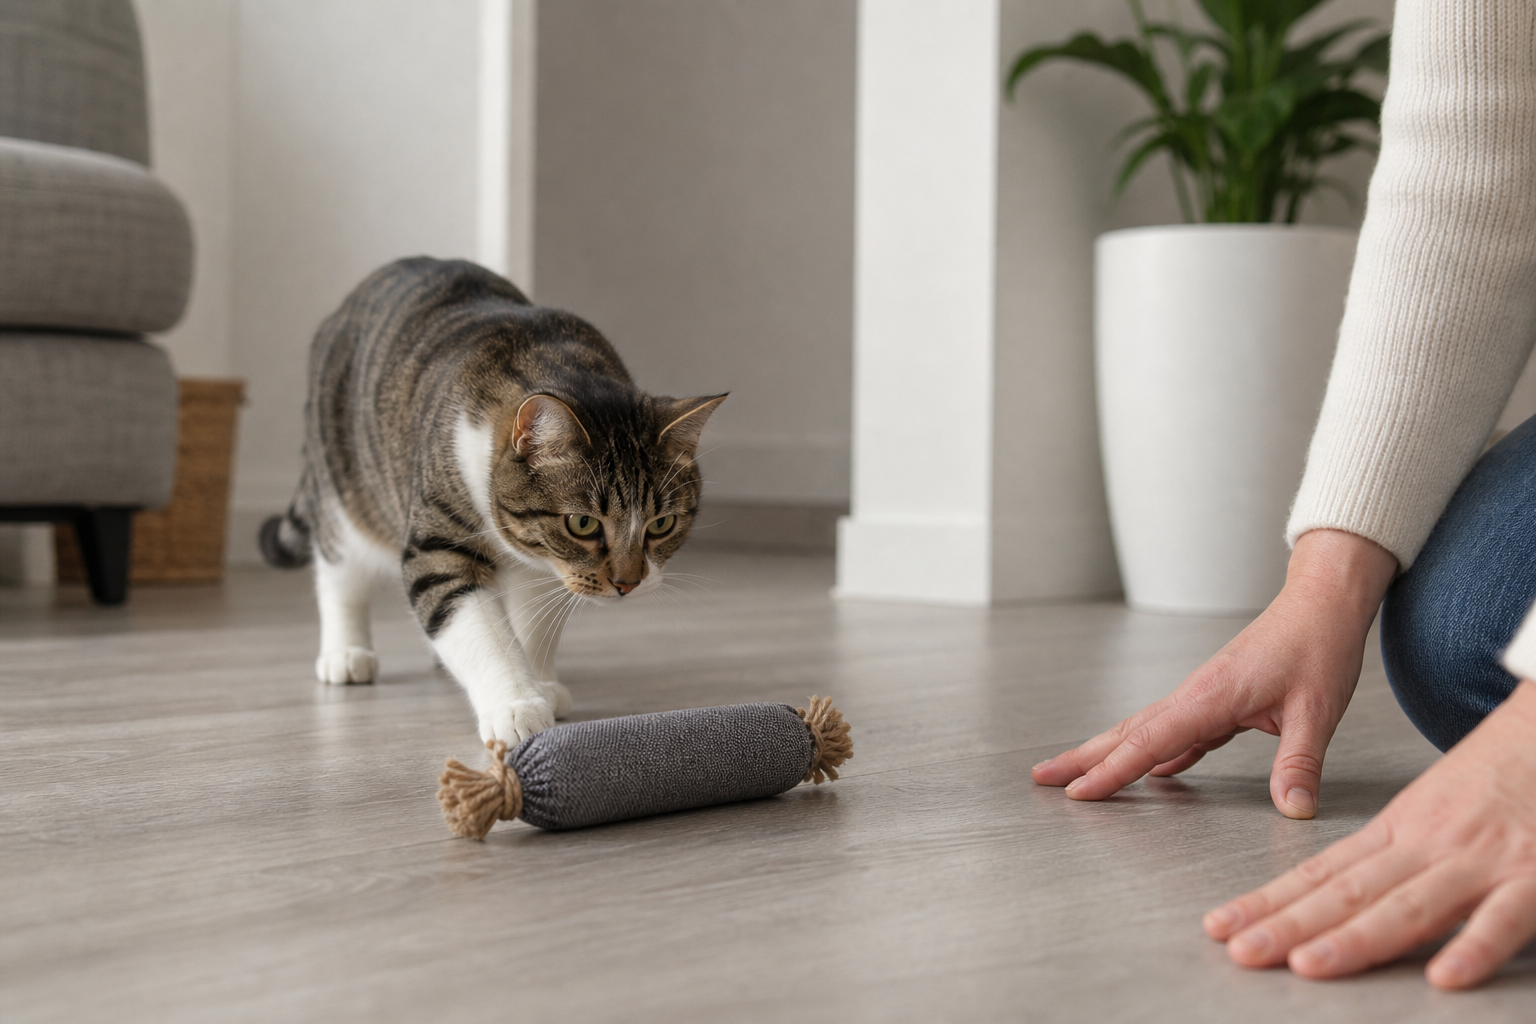
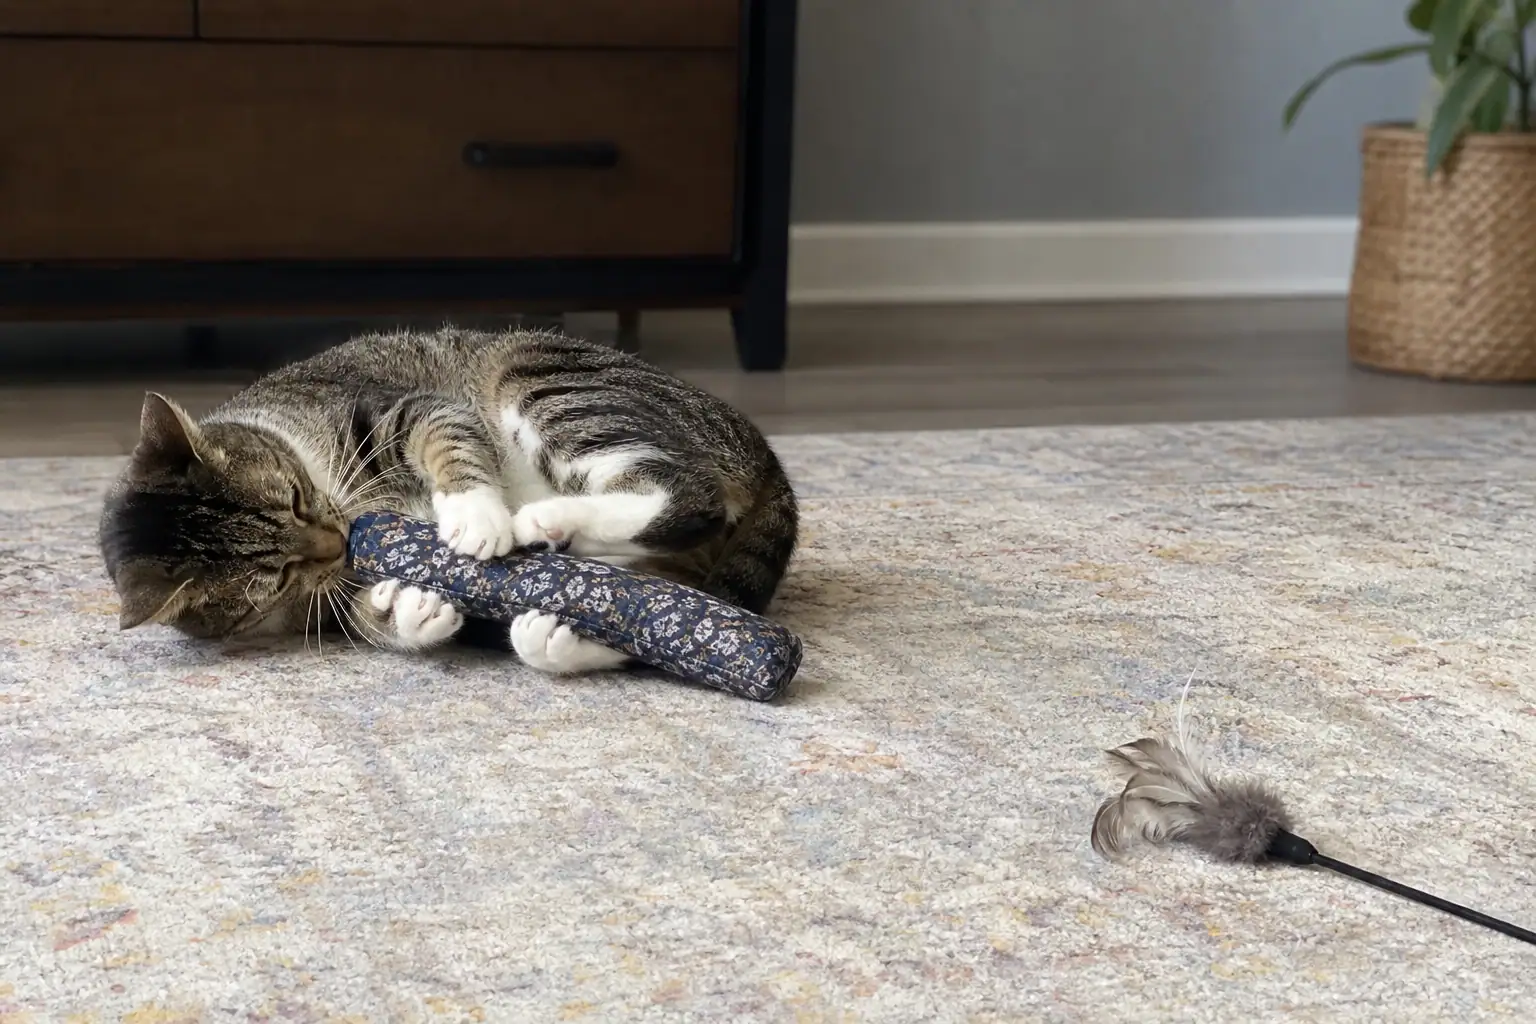
4. Box-and-wand ambush course
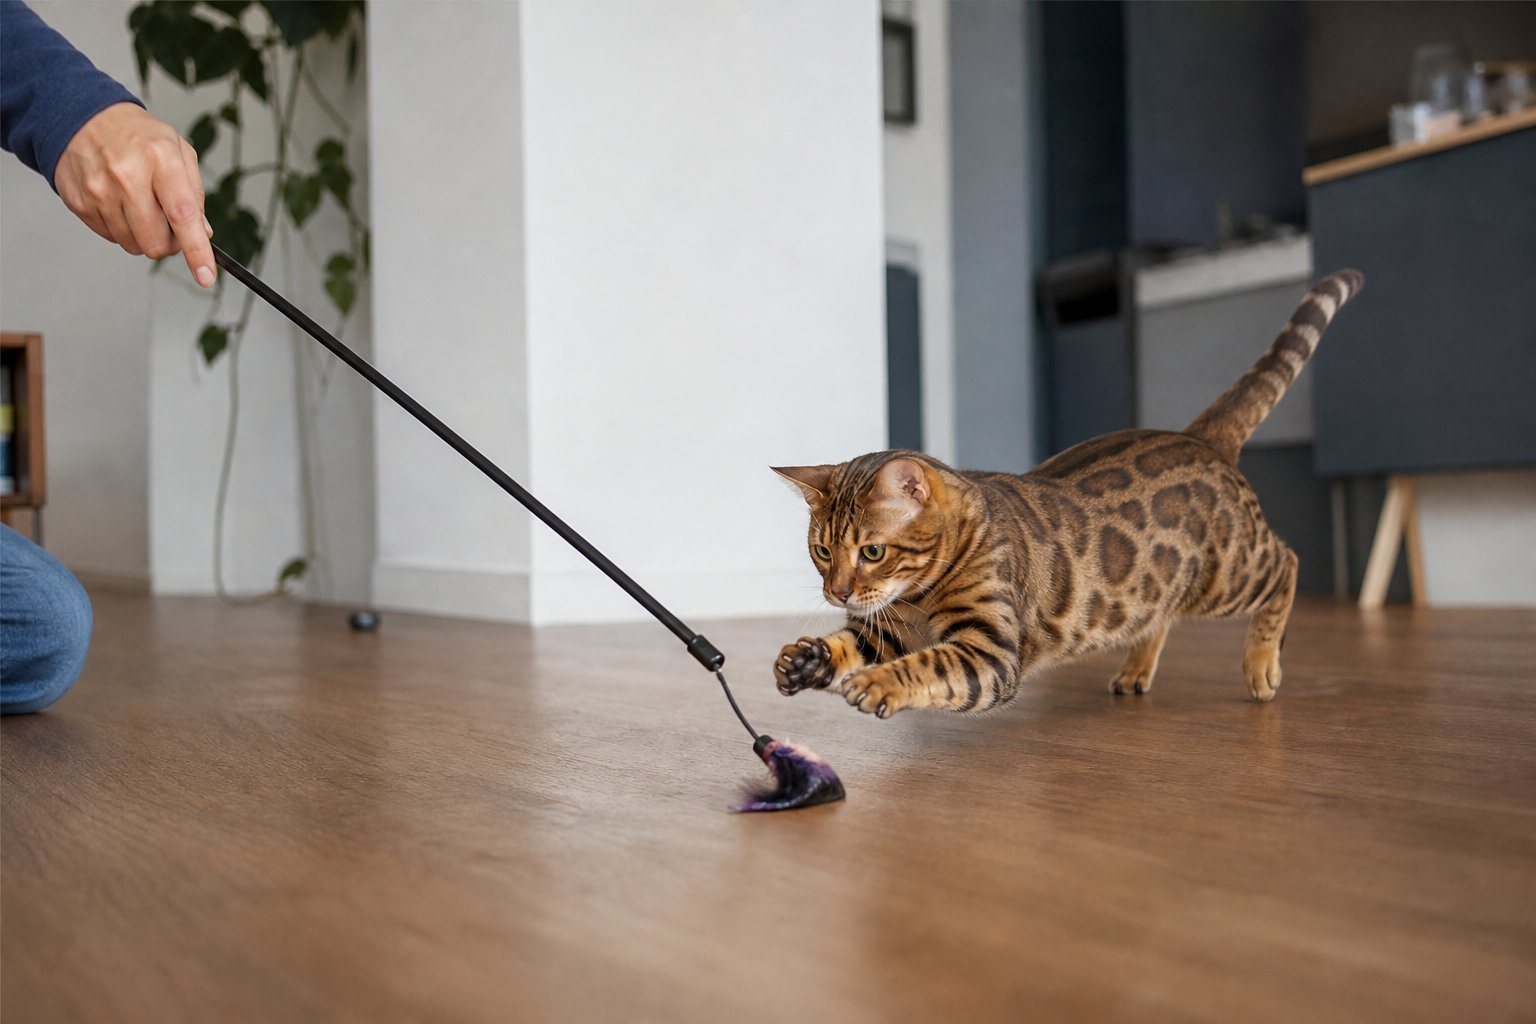
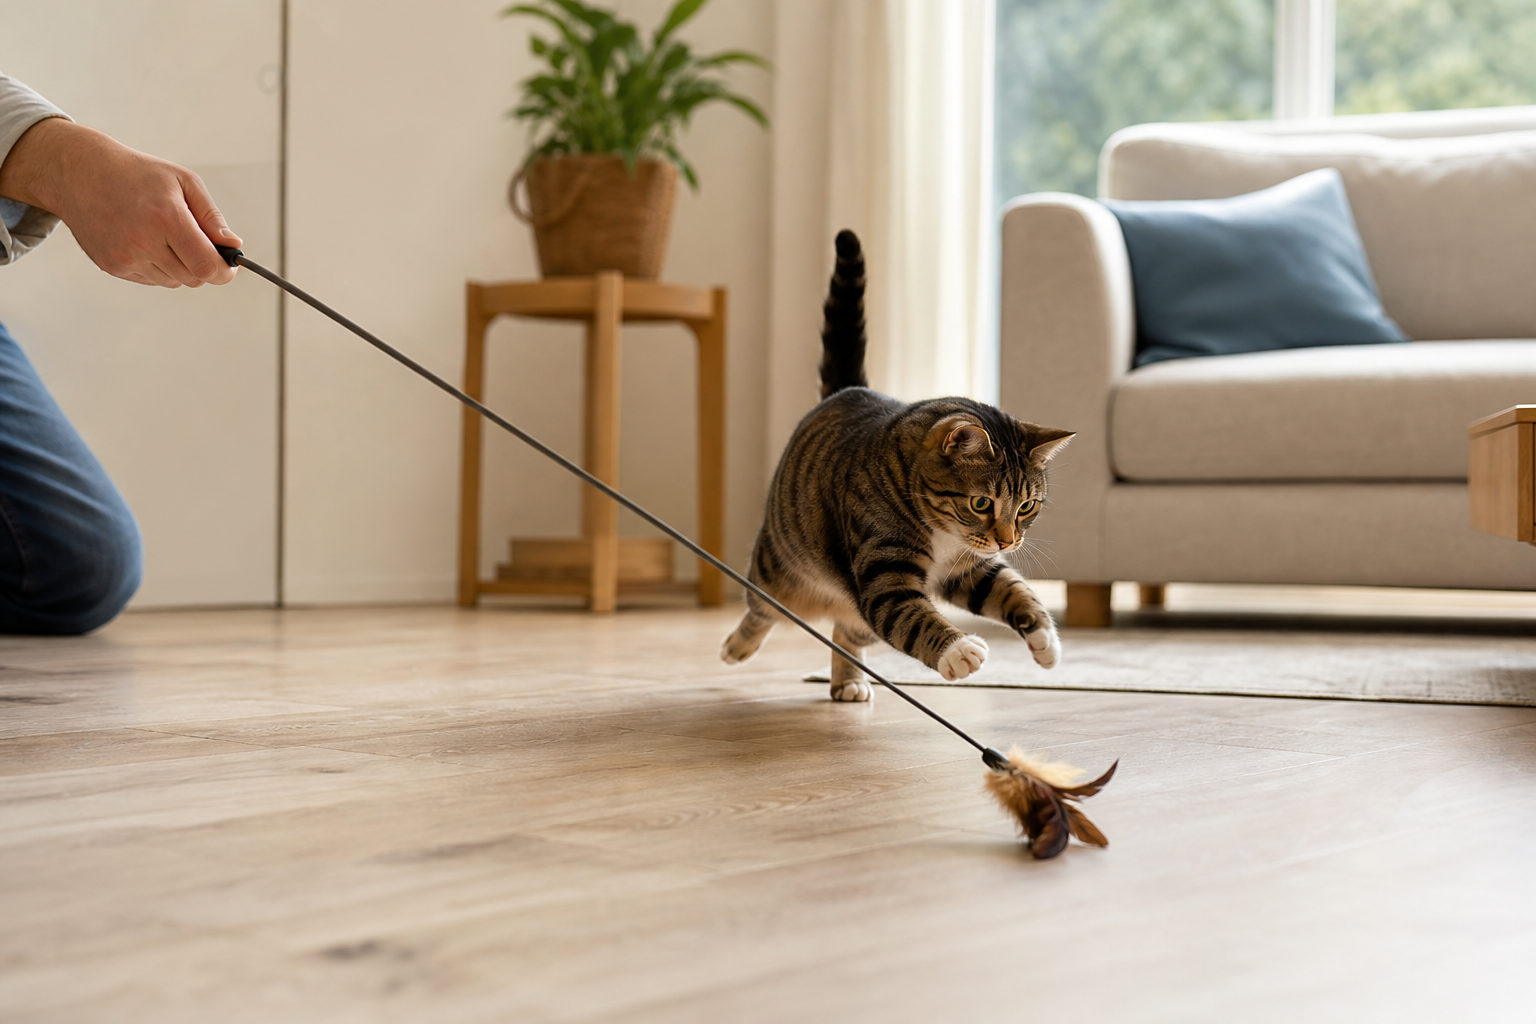
Place two or three boxes, a tunnel, or a paper bag with handles removed around the room. Move a wand lure around the edges so it disappears, pauses, and reappears. Cover makes the game feel more like a hunt and less like frantic swatting.
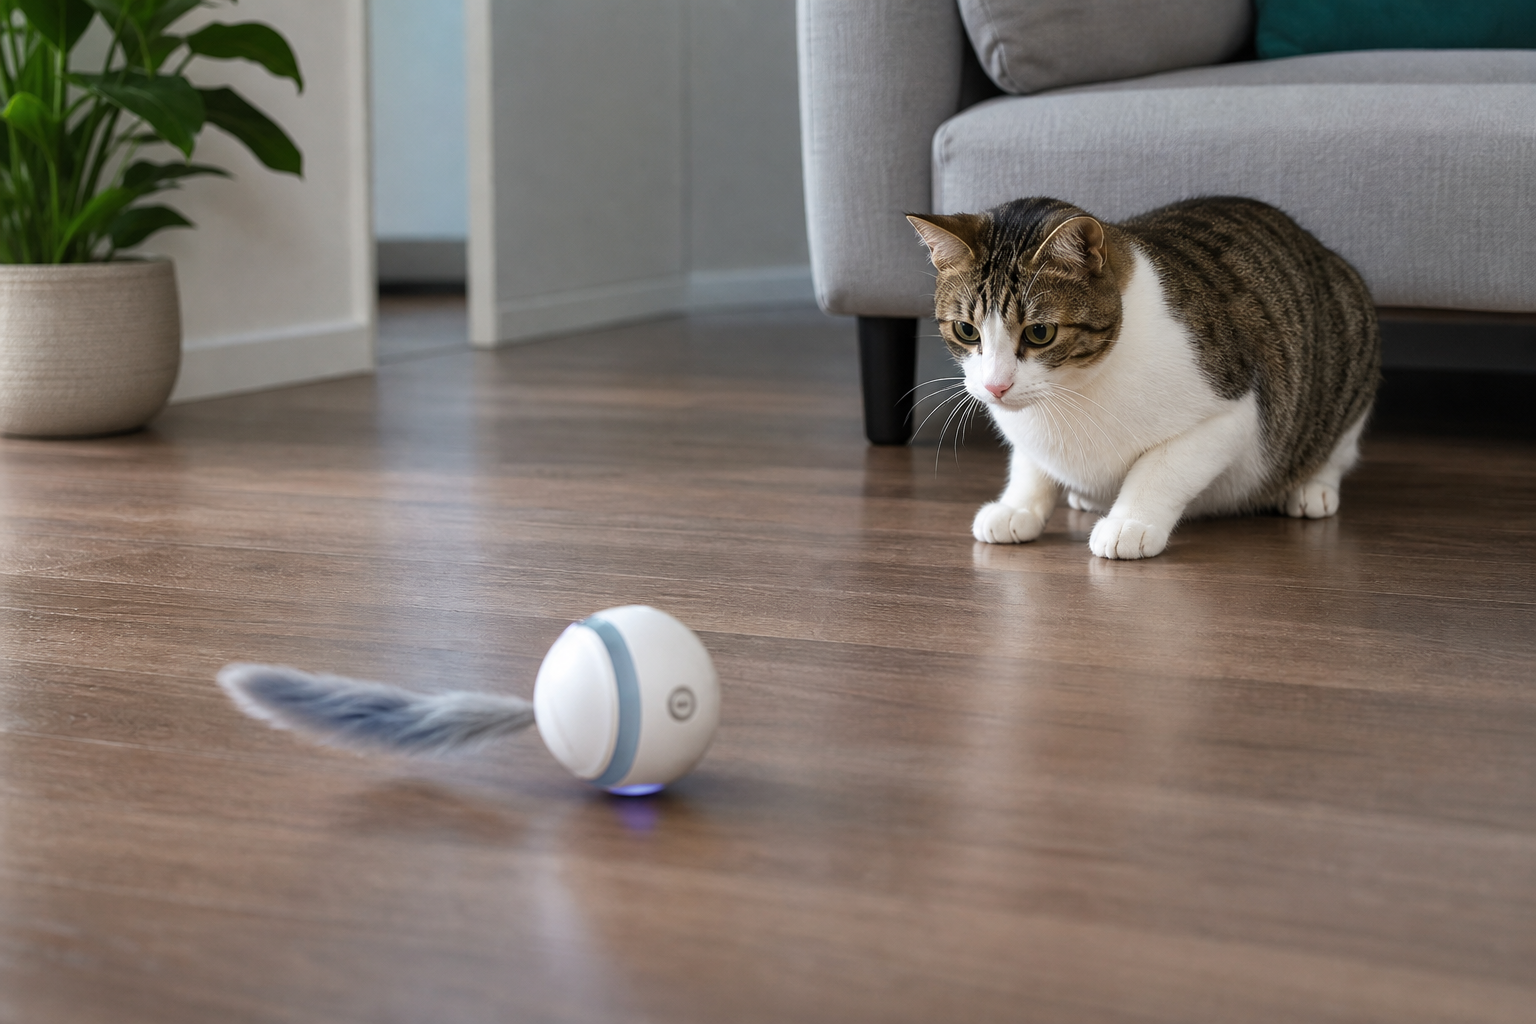
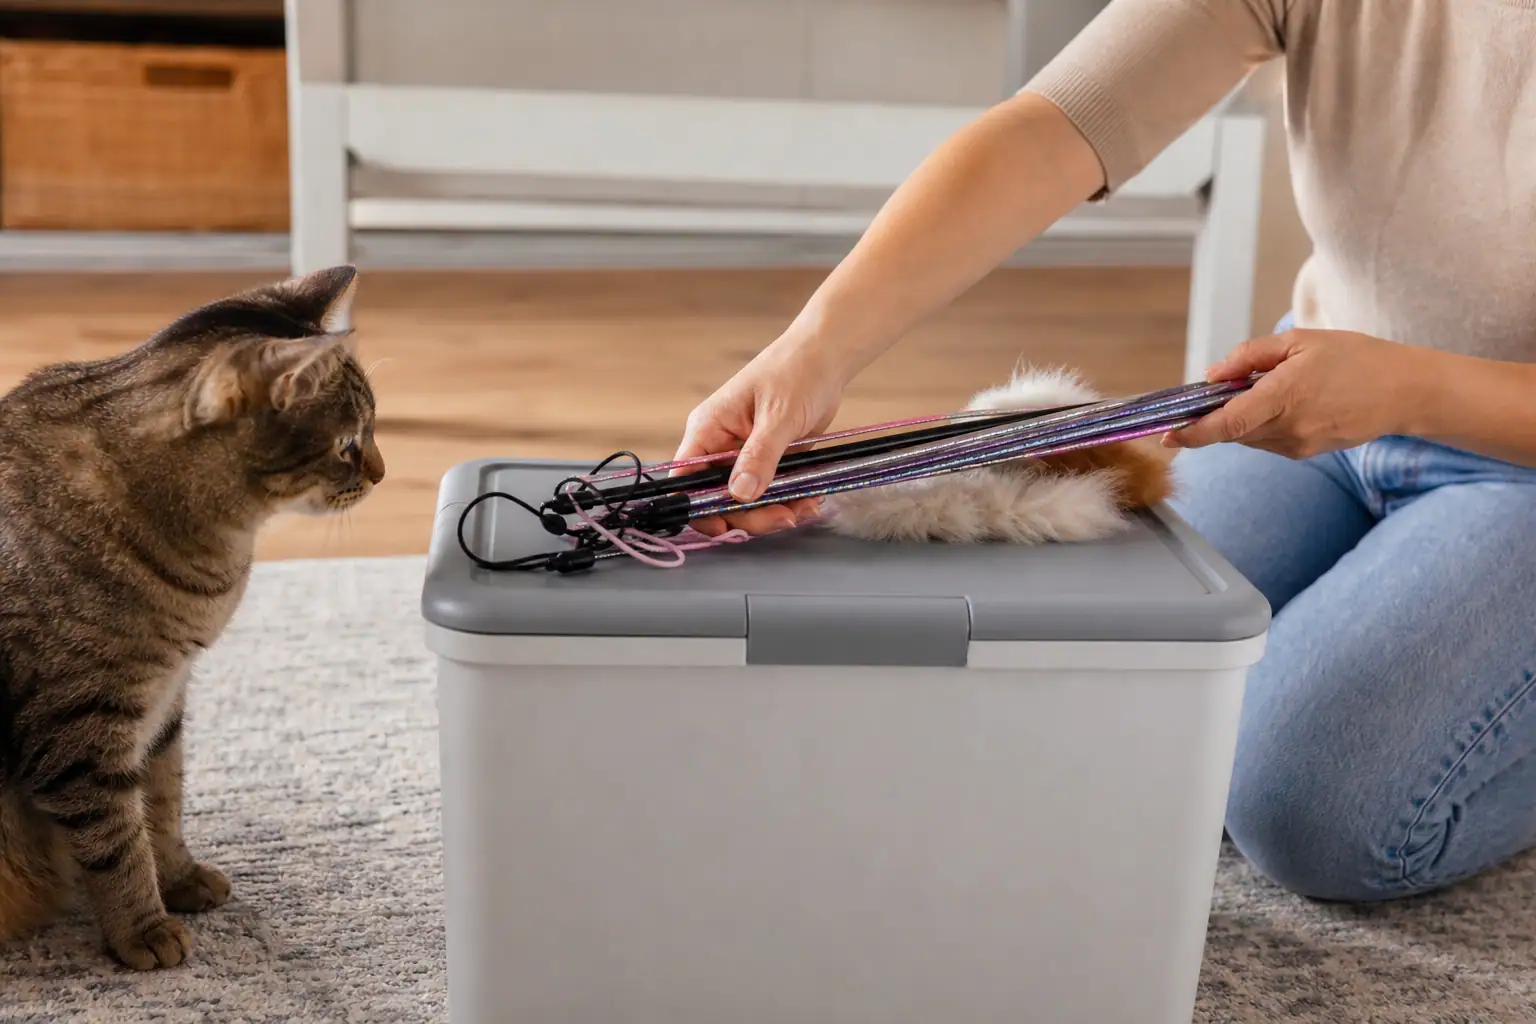
Store the wand after play. String, elastic, feathers, clips, and detachable lures should not become unattended floor toys. For a deeper look at supervised chase toys, use Titan Claws guides to wand cat toys and cat toys for hunting.
5. Towel wrinkle hunt
Lay a towel flat, hide a few treats or pieces of kibble inside loose folds, and let your cat search. This is quieter than an electronic toy and easier than a hard puzzle. It can be useful for shy cats, older cats, or food-motivated cats that need a low-impact job.
Use a towel without loose fringe. Wash it regularly. Stop if your cat chews fabric, pulls threads, or tries to swallow fibers.
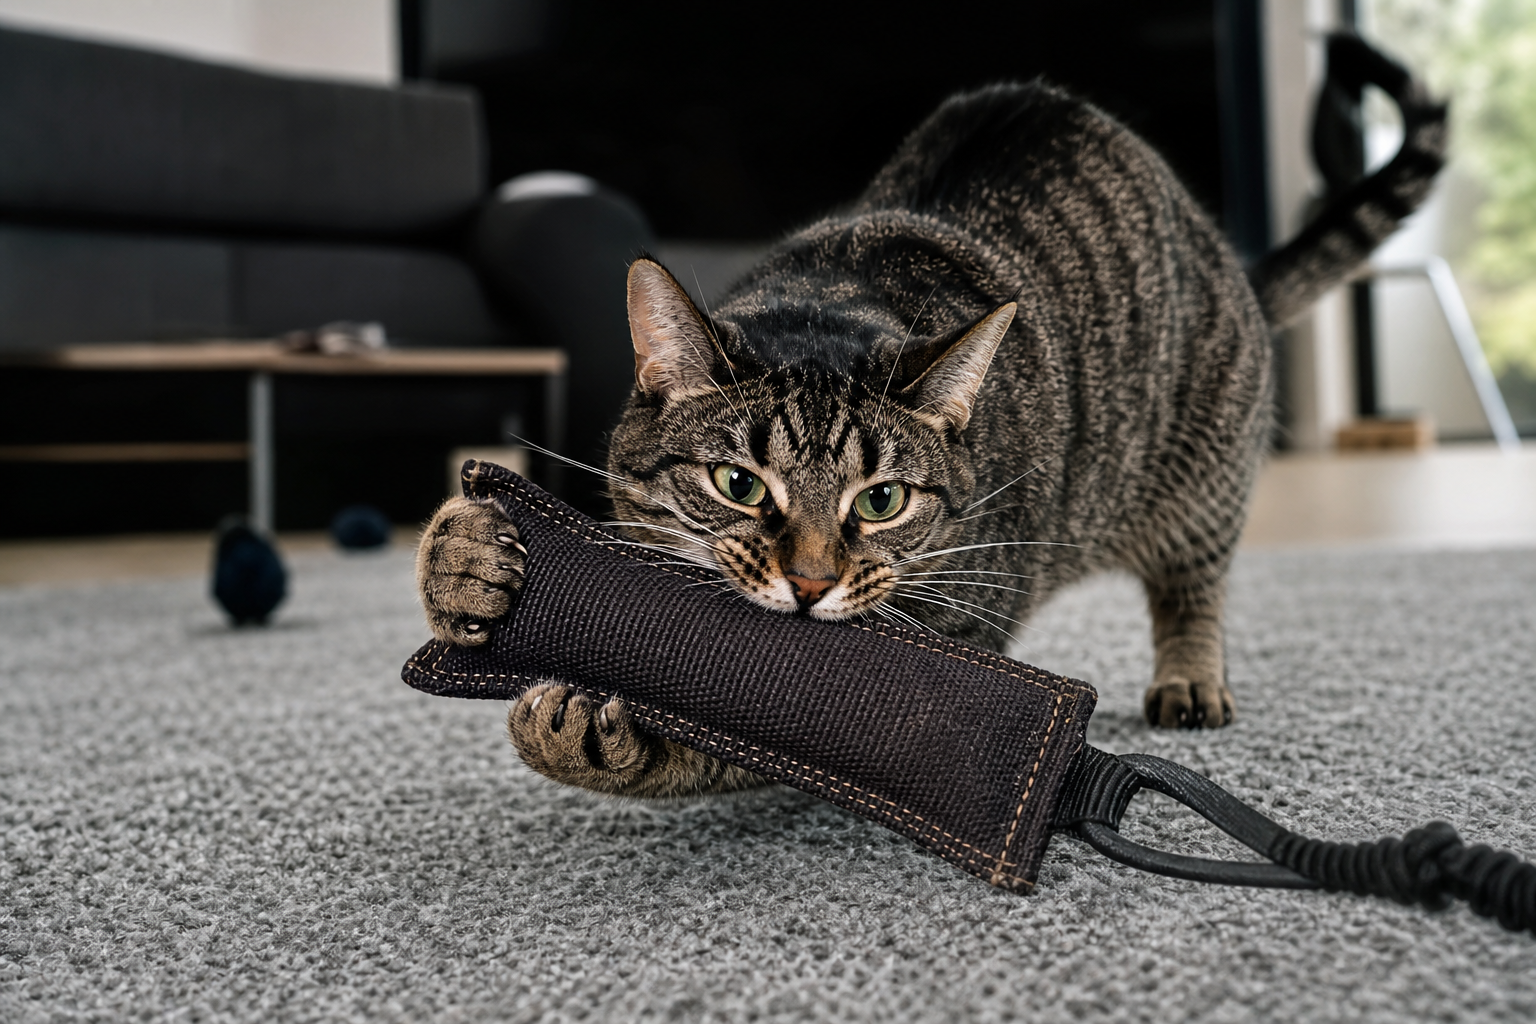
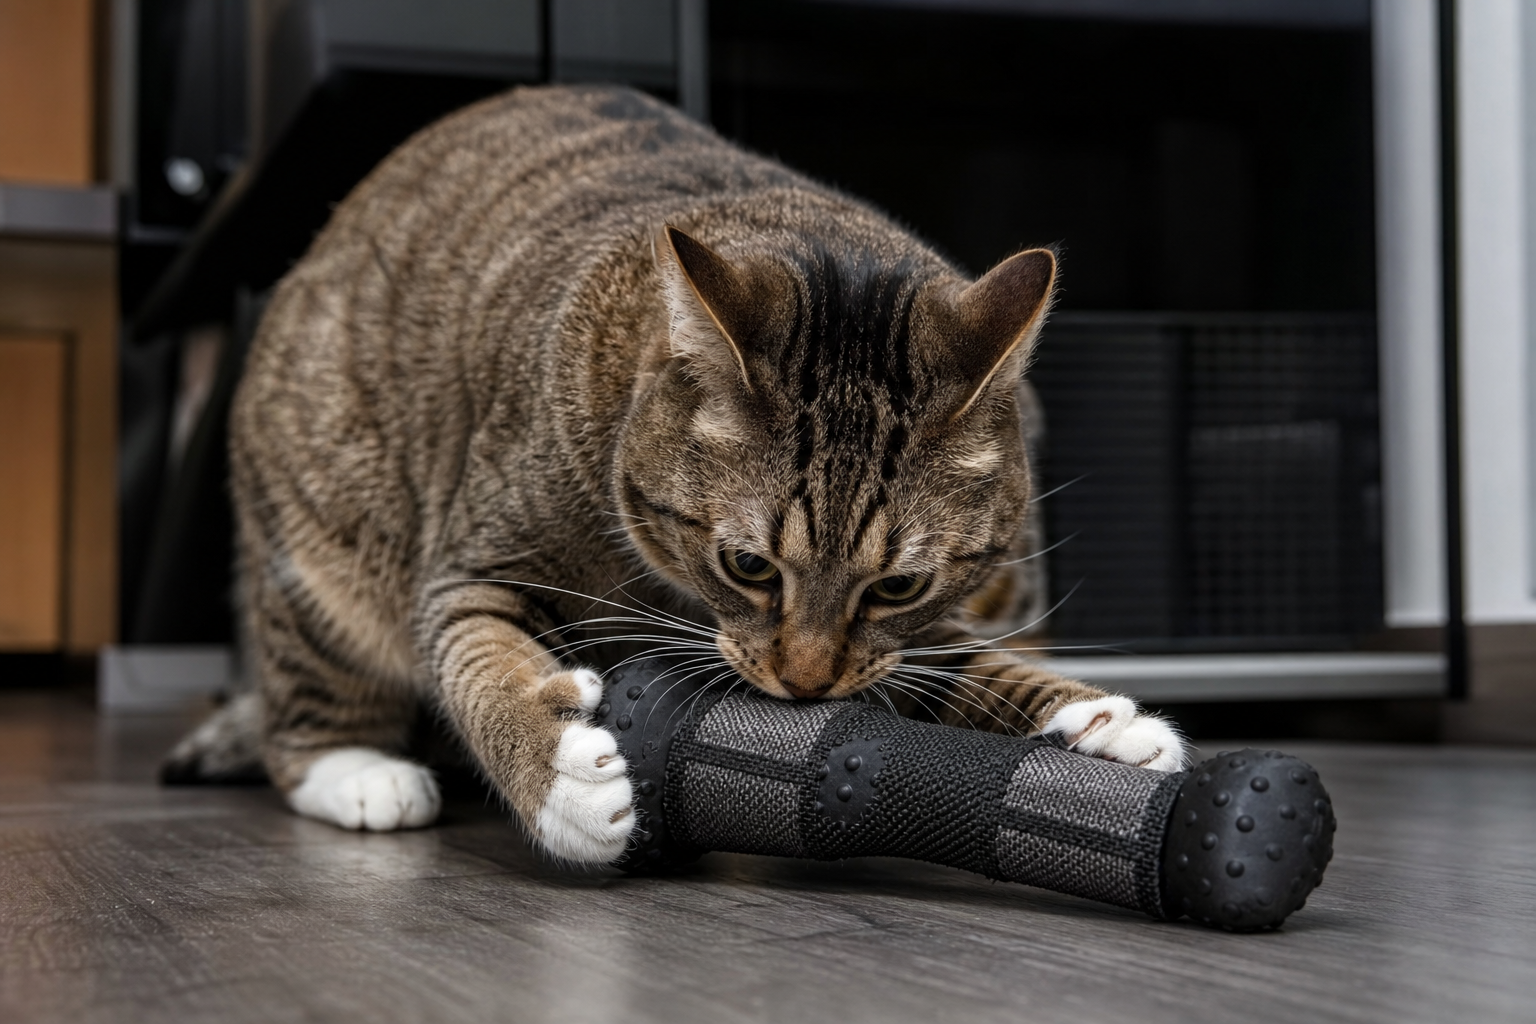
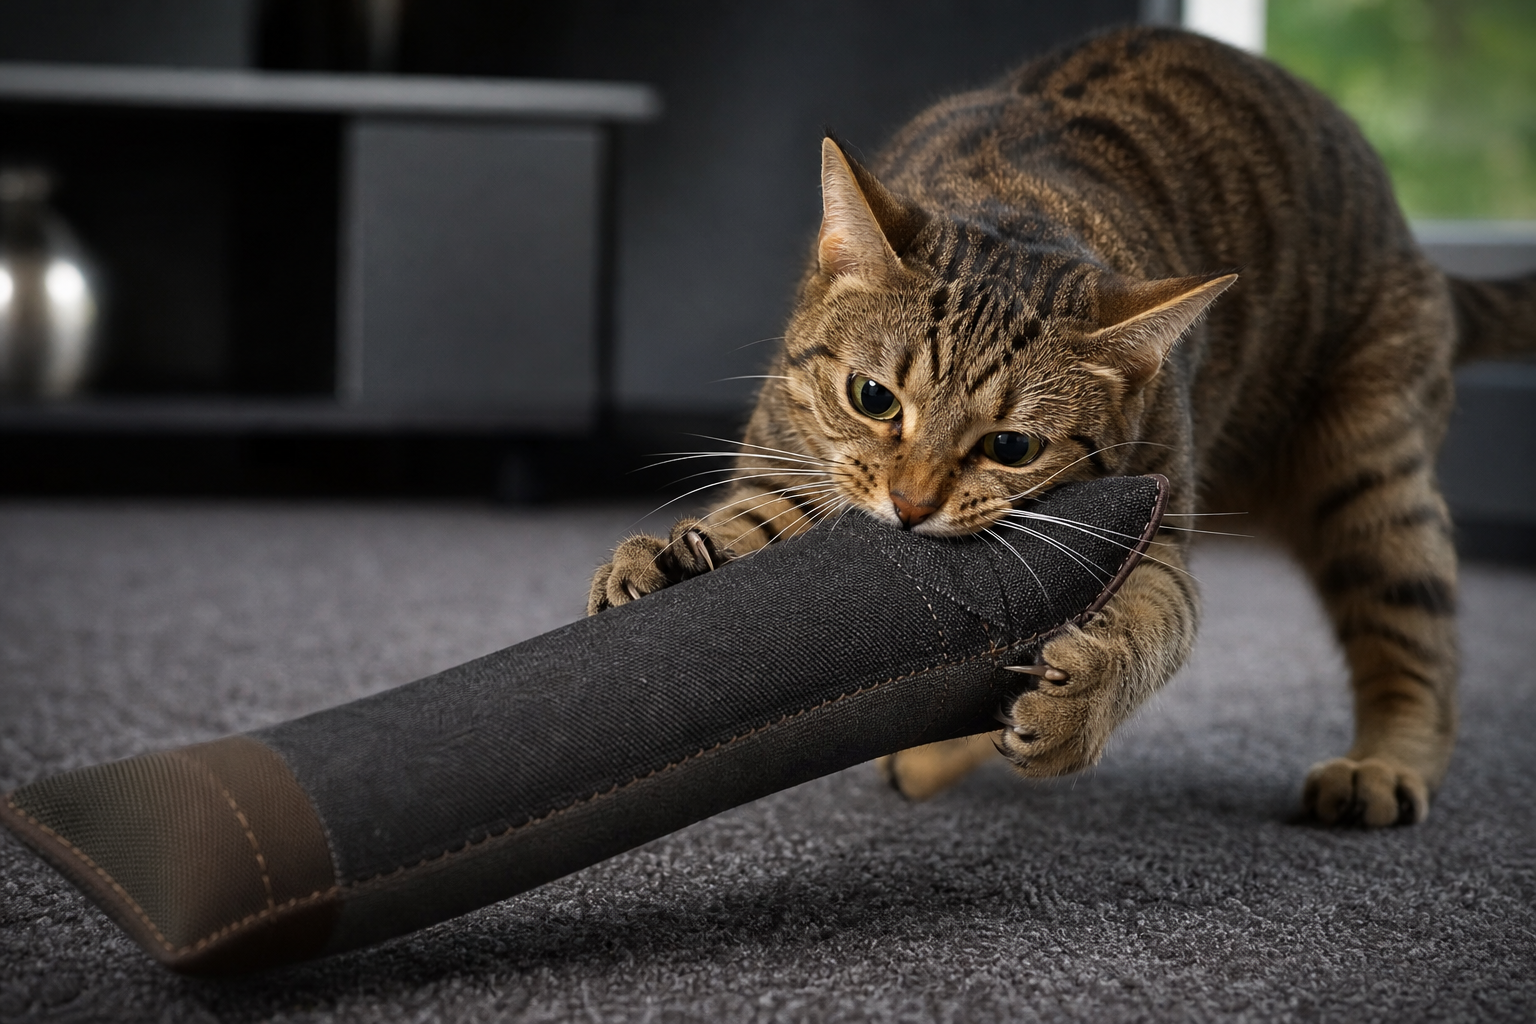
How to Build for Rough Players
Cats that destroy toys need a different homemade enrichment plan. Do not ask cardboard to be the main bite-and-kick target. Use DIY items for foraging, hiding, stalking, and novelty, then offer a sturdier supervised toy for the hard catch.
A practical rough-play sequence looks like this: set up a box ambush course, use a wand toy for a short chase, let the cat land on a longer kicker toy, then finish with a small foraging puzzle. The cat gets the full predatory pattern without turning every homemade object into something to shred.
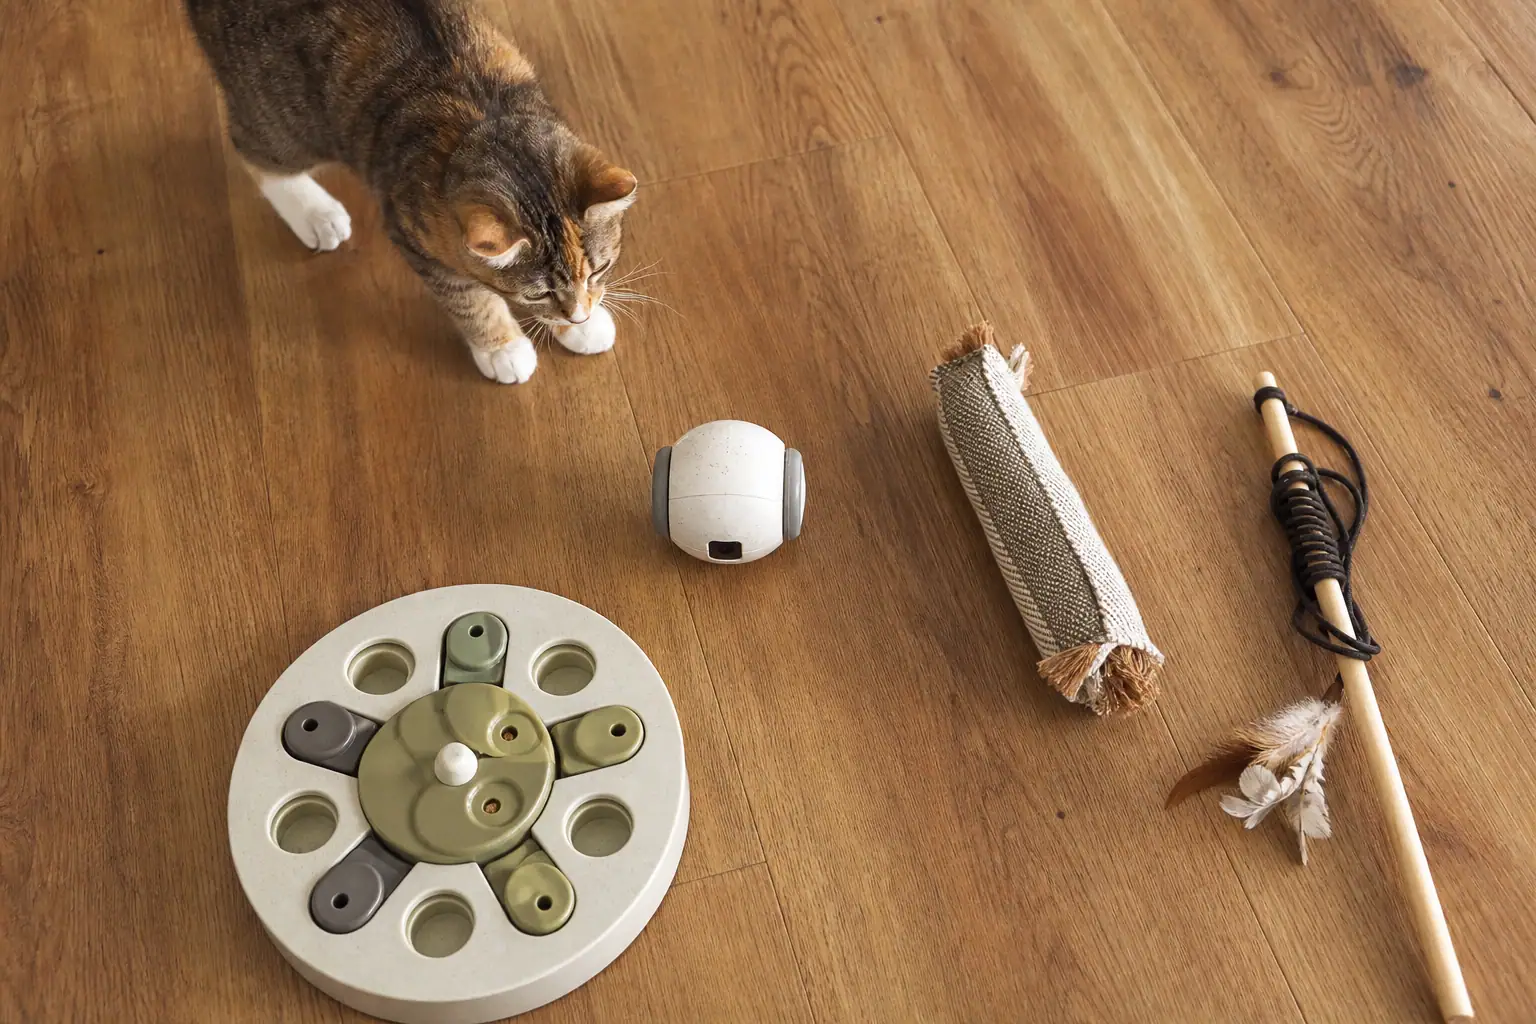
For cats that chew through soft toys or attack seams, compare homemade ideas with Titan Claws guides to durable cat toys, cat kicker toys, and toys for cats that chew. Durable does not mean indestructible. It means the toy is better matched to the force your cat puts into play and is easier to inspect before failure becomes dangerous.
Materials to Avoid
Homemade does not automatically mean safe. Many household materials are fine for one cat and risky for another. Use the strictest version of this list for kittens, known chewers, and cats that swallow non-food objects.
- Avoid string-like materials: yarn, ribbon, thread, tinsel, dental floss, elastic, and loose cord.
- Skip small hard parts: bells, beads, buttons, googly eyes, clips, sequins, and small plastic pieces.
- Do not use sharp fasteners: staples, pins, needles, exposed wire, twist ties, or broken plastic.
- Use tape carefully: loose tape can become a chew target, and heavy tape can hide torn cardboard.
- Keep chemicals out: avoid scented packaging, food wrappers, treated outdoor wood, cleaner containers, dryer sheets, and anything greasy.
- Watch edible incentives: treats, catnip, and silver vine can increase excitement. Use small amounts and stop if your cat gets frantic or aggressive.
Cornell Feline Health Center warns against toys with small pieces or strand-like parts that can separate and be ingested, especially when chewed. Oregon Humane Society gives similar practical advice for cat-proofing and toy safety. For homemade toys, apply those warnings before you build, not after the toy breaks.

A 15-Minute Homemade Enrichment Routine
A routine usually beats a pile of DIY toys. Use this once a day for an active indoor cat, or shorten it for kittens, seniors, and cats that get overstimulated.
- Two minutes: prepare the room. Pick up fragile objects, remove loose cords, and place one box or tunnel for cover.
- Four minutes: chase. Move a wand lure around box edges, away from your cat, with pauses for stalking.
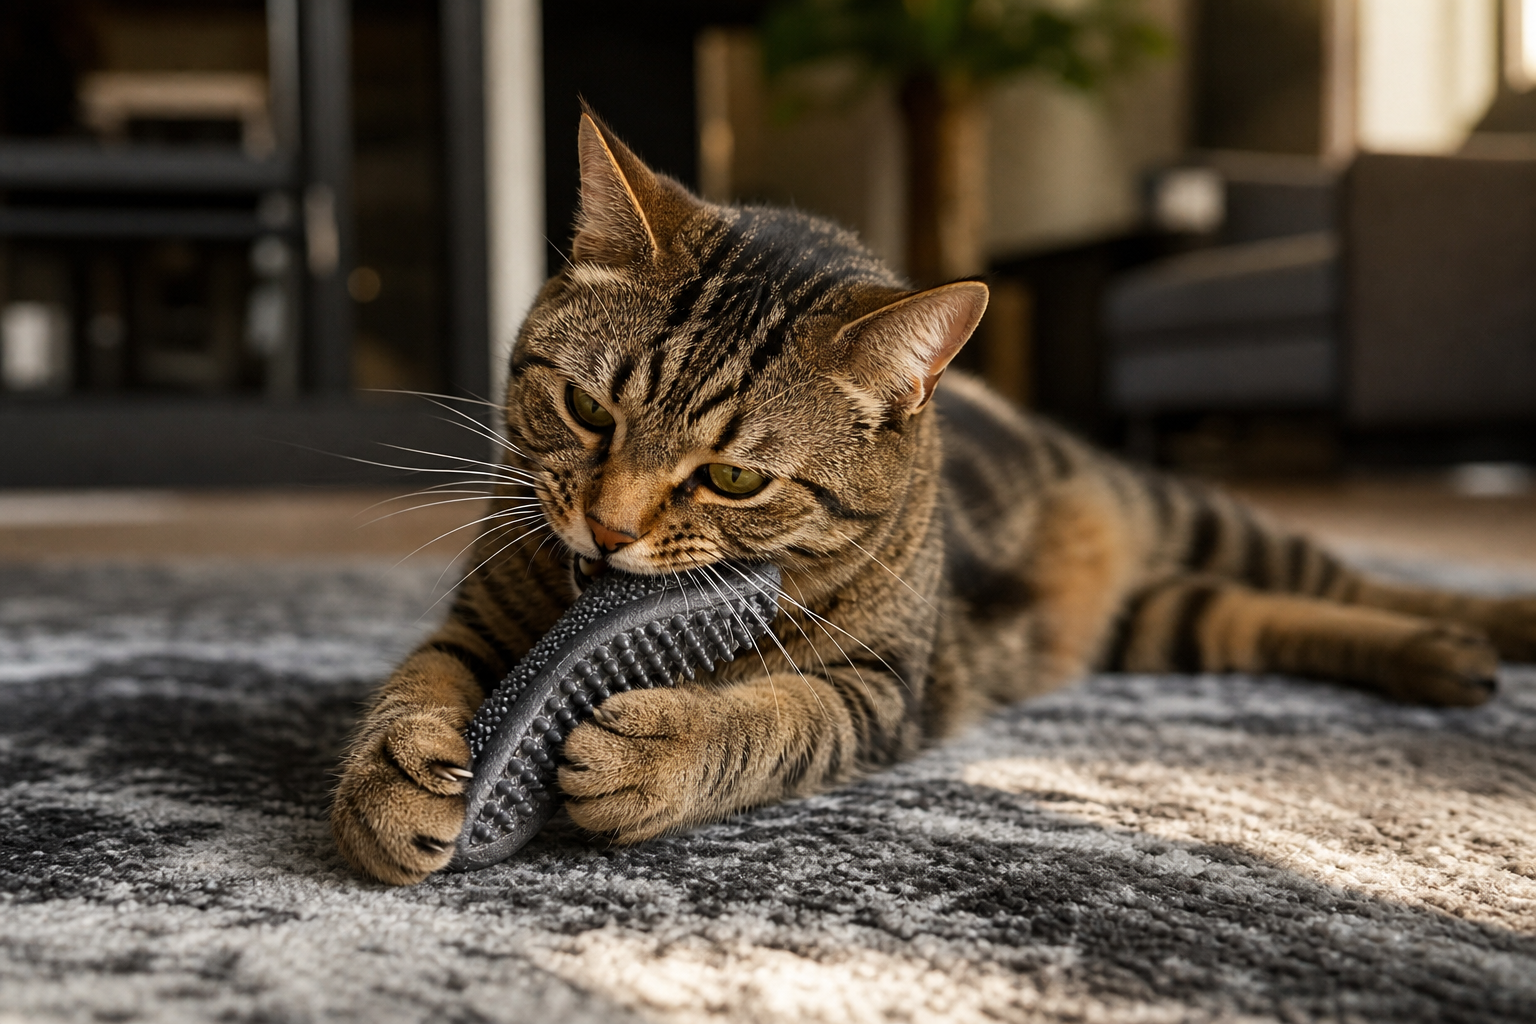
- Three minutes: catch. Let the cat grab a sturdy kicker or safe catch toy. Keep hands away from teeth and back claws.
- Four minutes: forage. Offer a reach feeder, tube roller, towel wrinkle hunt, or shallow foraging box with part of a meal.
- Two minutes: inspect and reset. Store the wand, throw away torn cardboard, and leave out only toys that are safe for your specific cat.
If your cat turns play into biting people, pair this routine with the Titan Claws guide to cat toys for play aggression. If boredom is the main issue, build a wider rotation with cat enrichment activities, cat toys for enrichment, and free cat enrichment ideas.
When to Replace or Stop
Replace a homemade toy when cardboard gets soggy, paper tears into bite-sized pieces, a tube collapses, tape loosens, fabric threads appear, or your cat changes from playing with the object to eating it. Stop immediately if your cat tries to swallow pieces, pants during ordinary play, limps afterward, vomits after chewing toy material, guards the toy aggressively, or redirects hard bites onto people or pets.
Ask a veterinarian if your cat repeatedly eats non-food material, suddenly loses interest in play, seems painful, changes appetite, or vomits after toy sessions. Ask a qualified feline behavior professional if play routinely escalates into serious aggression. Enrichment can support normal behavior, but it should not be used to explain away pain, fear, illness, or dangerous ingestion habits.
Quick Safety Checklist
Before giving your cat a homemade enrichment toy, run this checklist:
- Does the toy have one clear job?
- Can my cat succeed without getting frustrated?
- Have I removed handles, staples, string, loose tape, sharp edges, and small parts?
- Is this supervised-only for my cat?
- What will my cat bite and kick when excitement rises?
- Can I inspect the toy in under 30 seconds?
- Will I throw it away as soon as it starts to fail?
Homemade cat enrichment toys work best when they are simple, safe for your cat’s real habits, and part of a thoughtful rotation. Build for one behavior at a time, supervise the first sessions, give rough players a tougher legal target for biting and kicking, and retire homemade materials early. That is how DIY enrichment stays useful instead of becoming another avoidable risk.