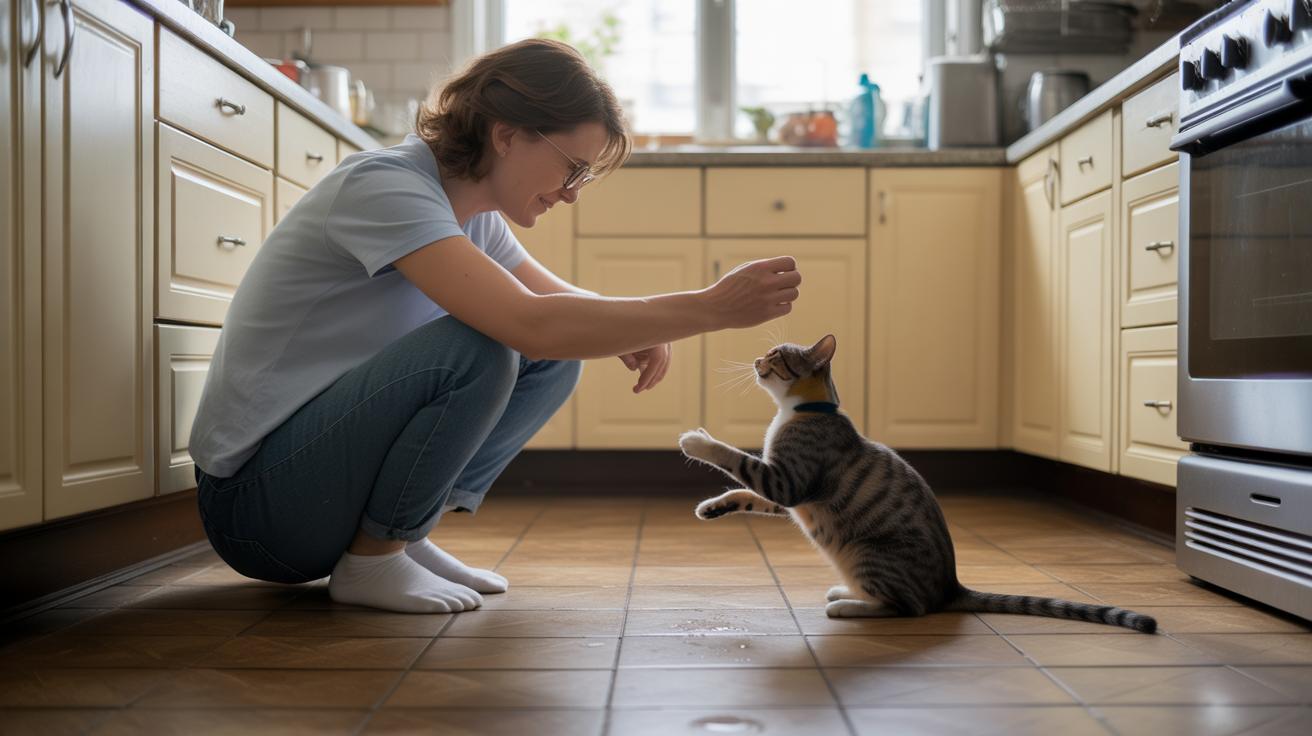
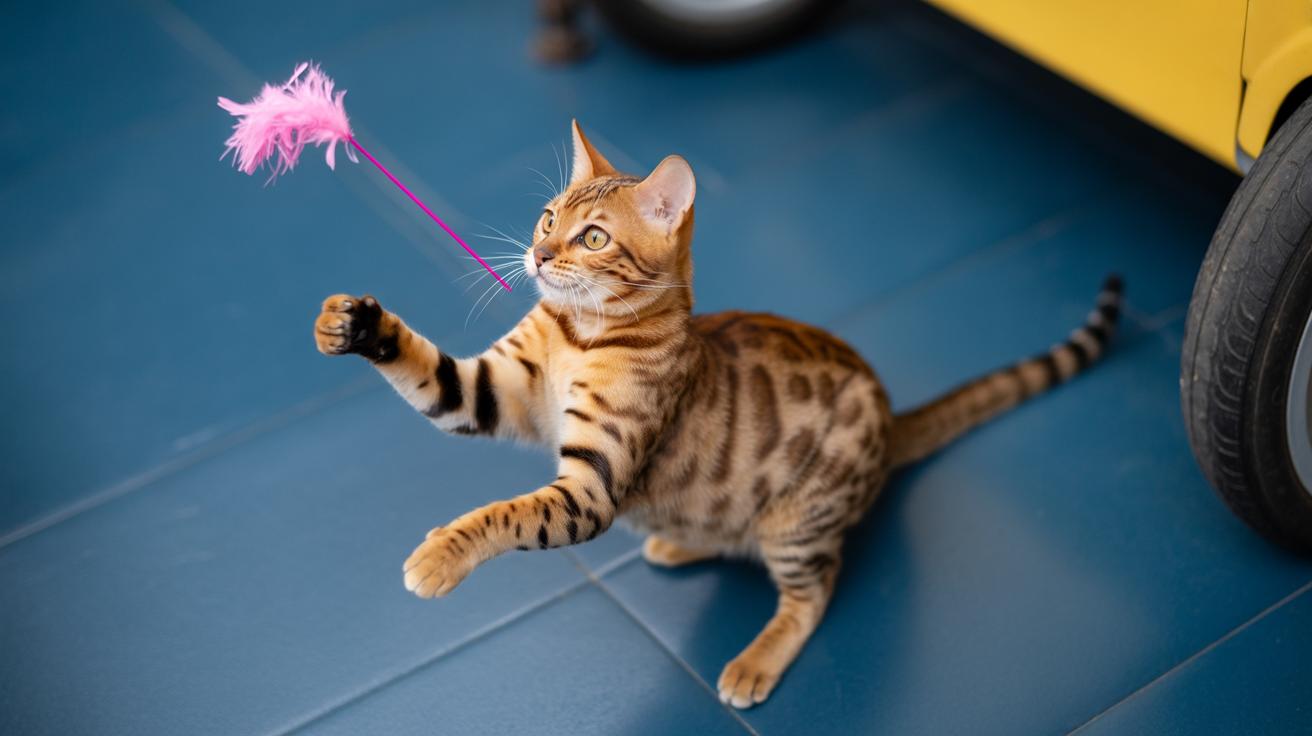
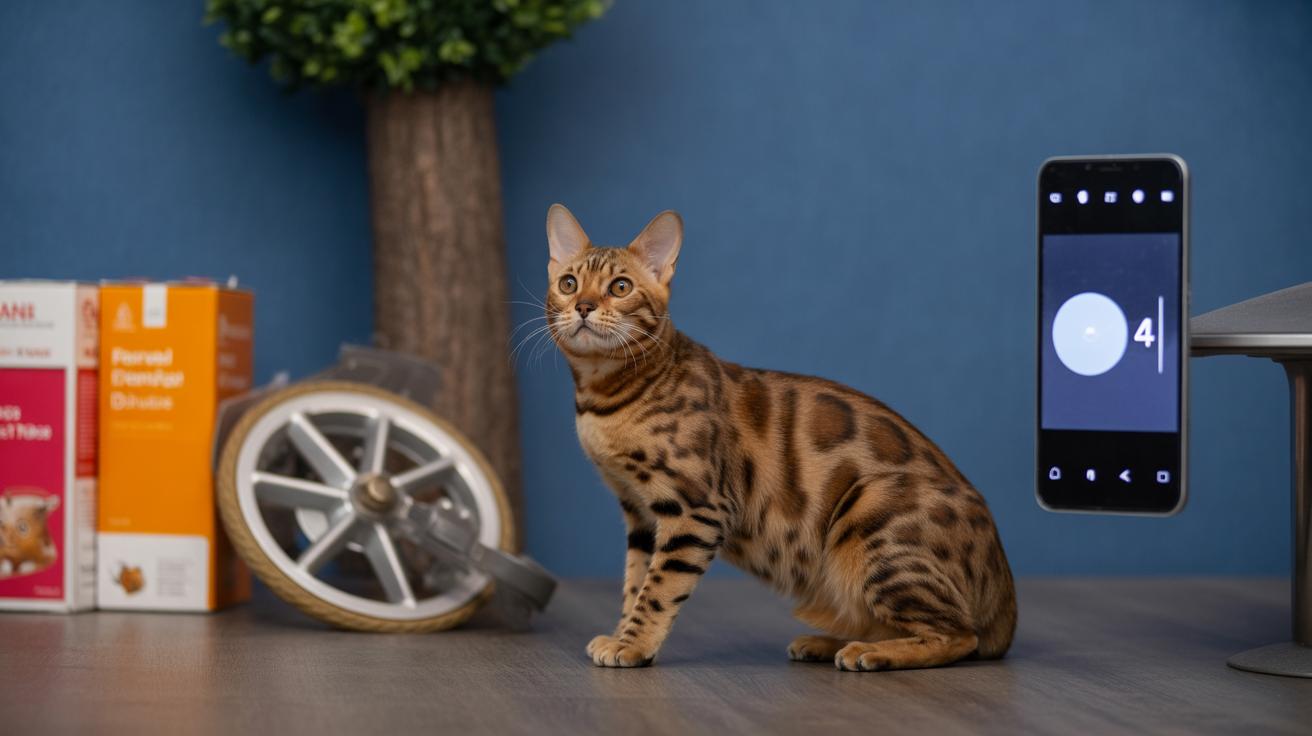
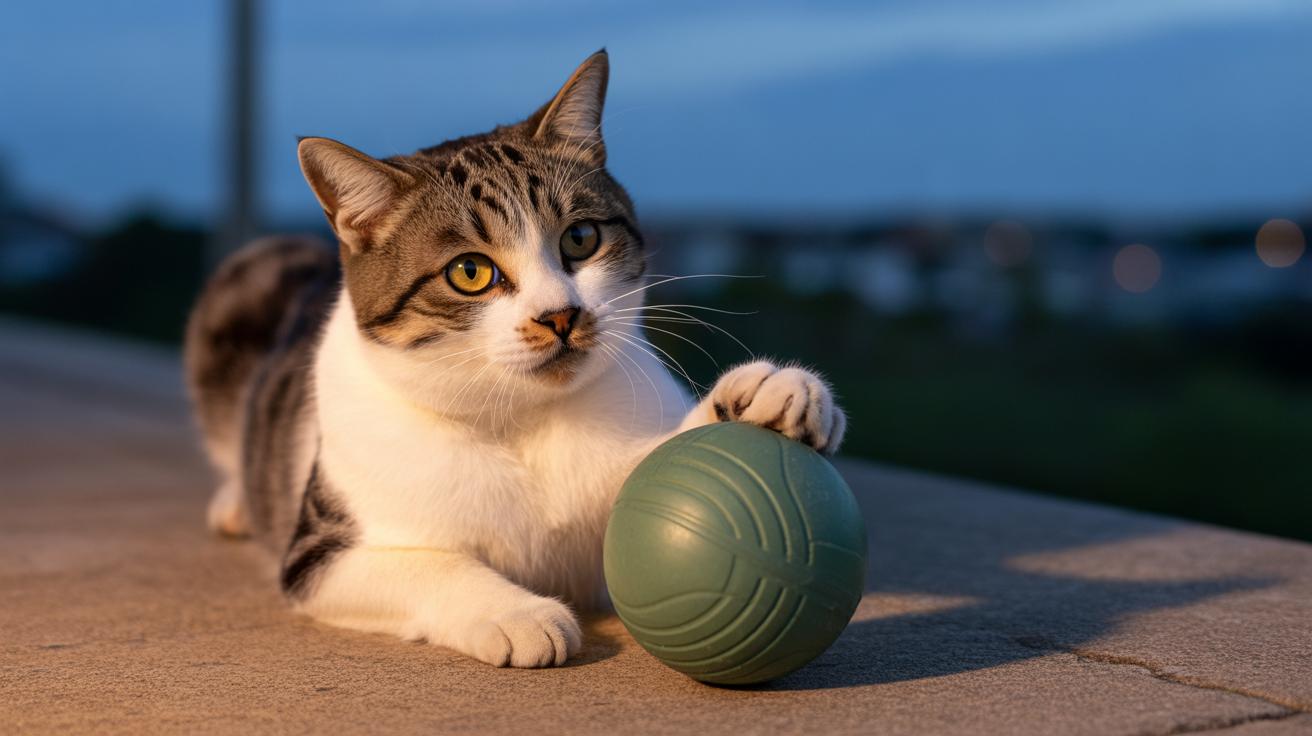
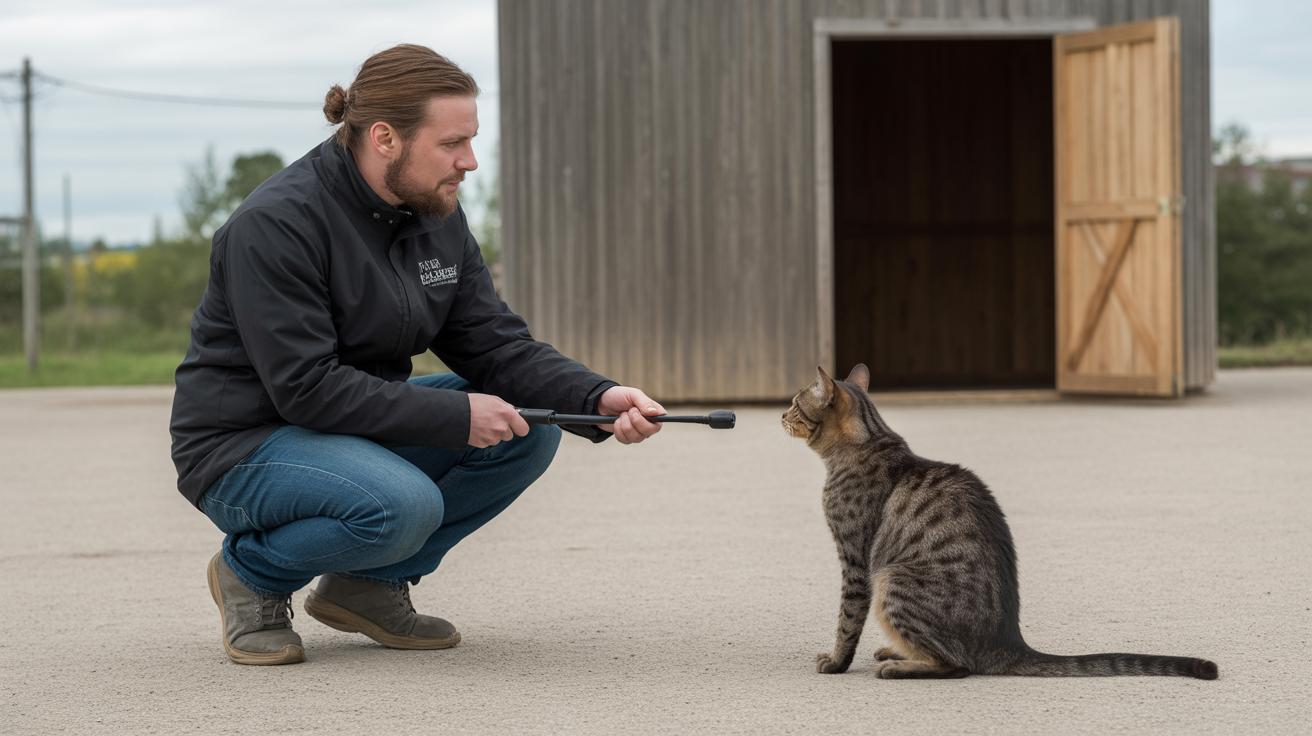
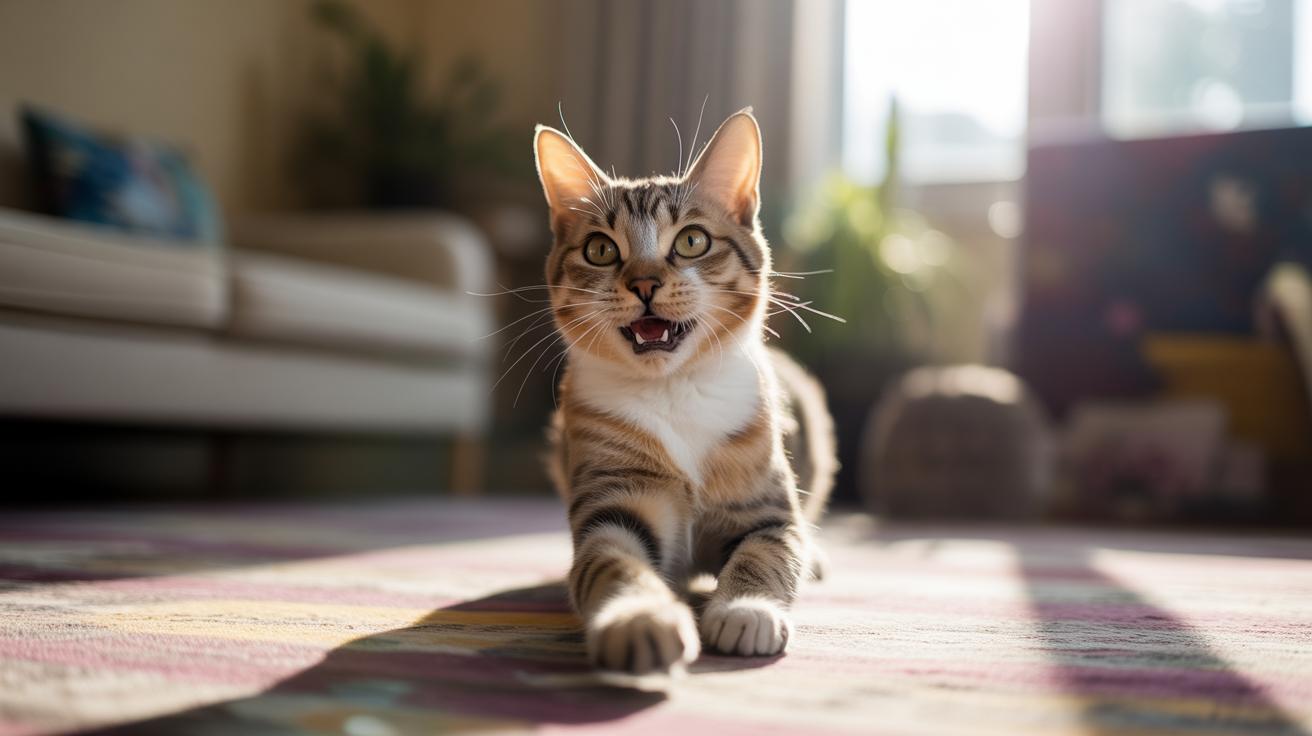
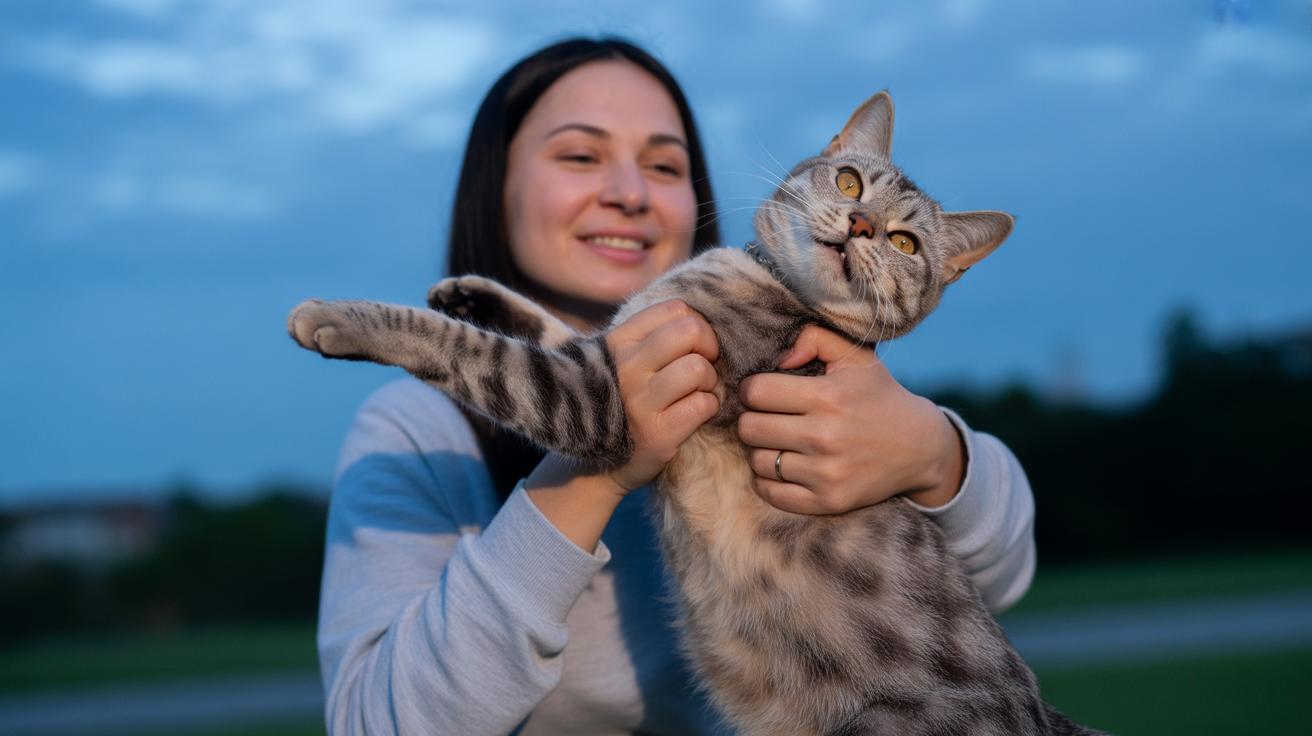
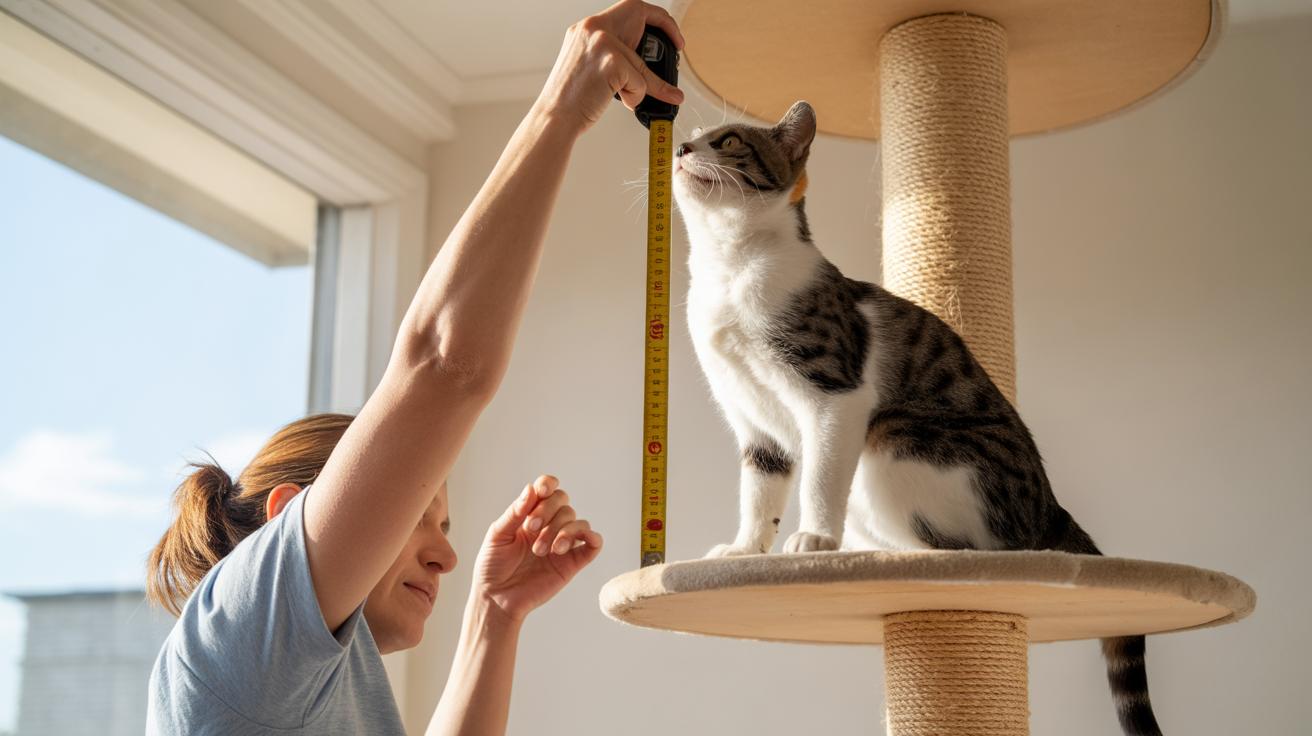
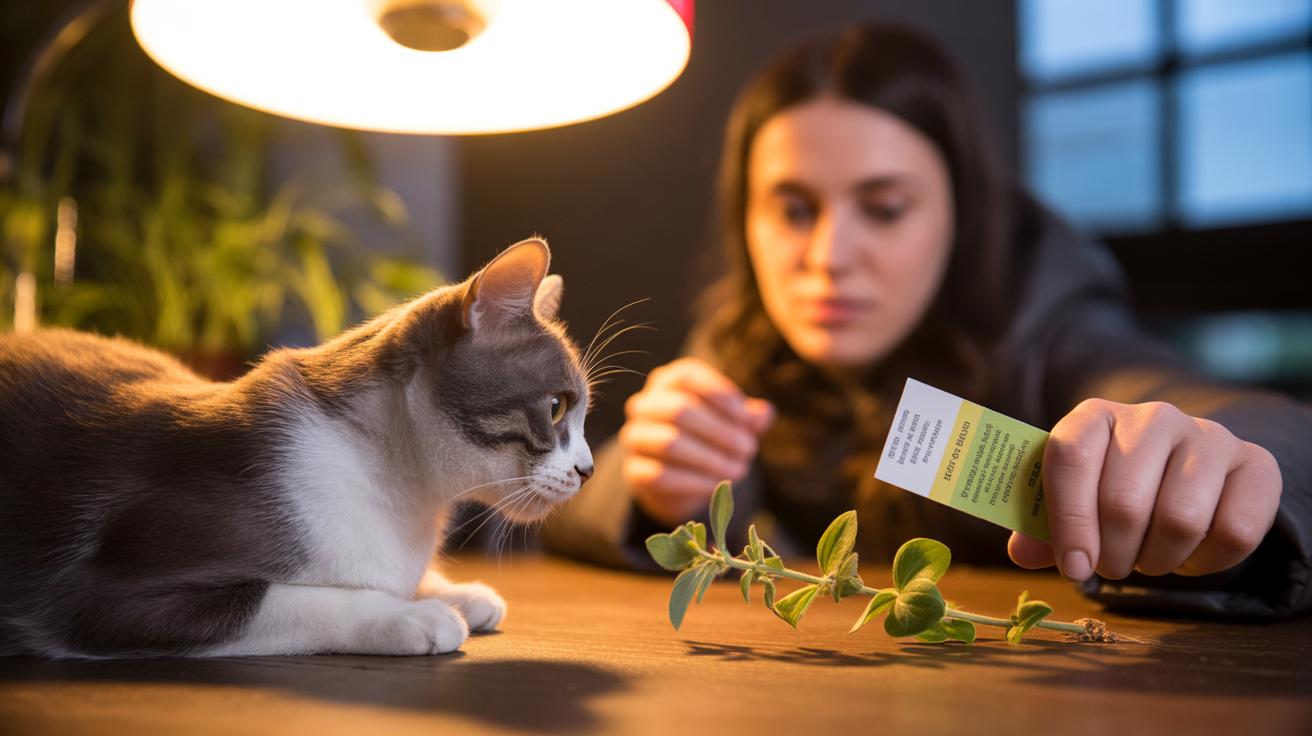
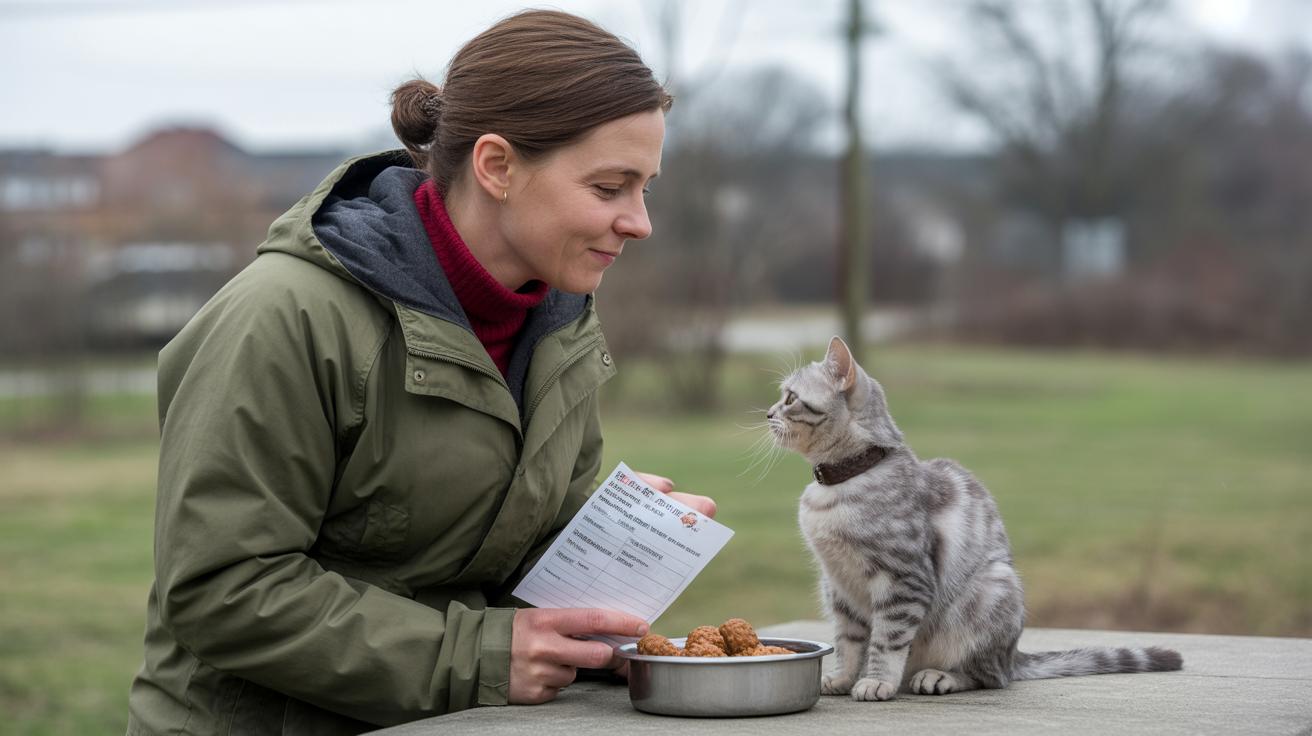
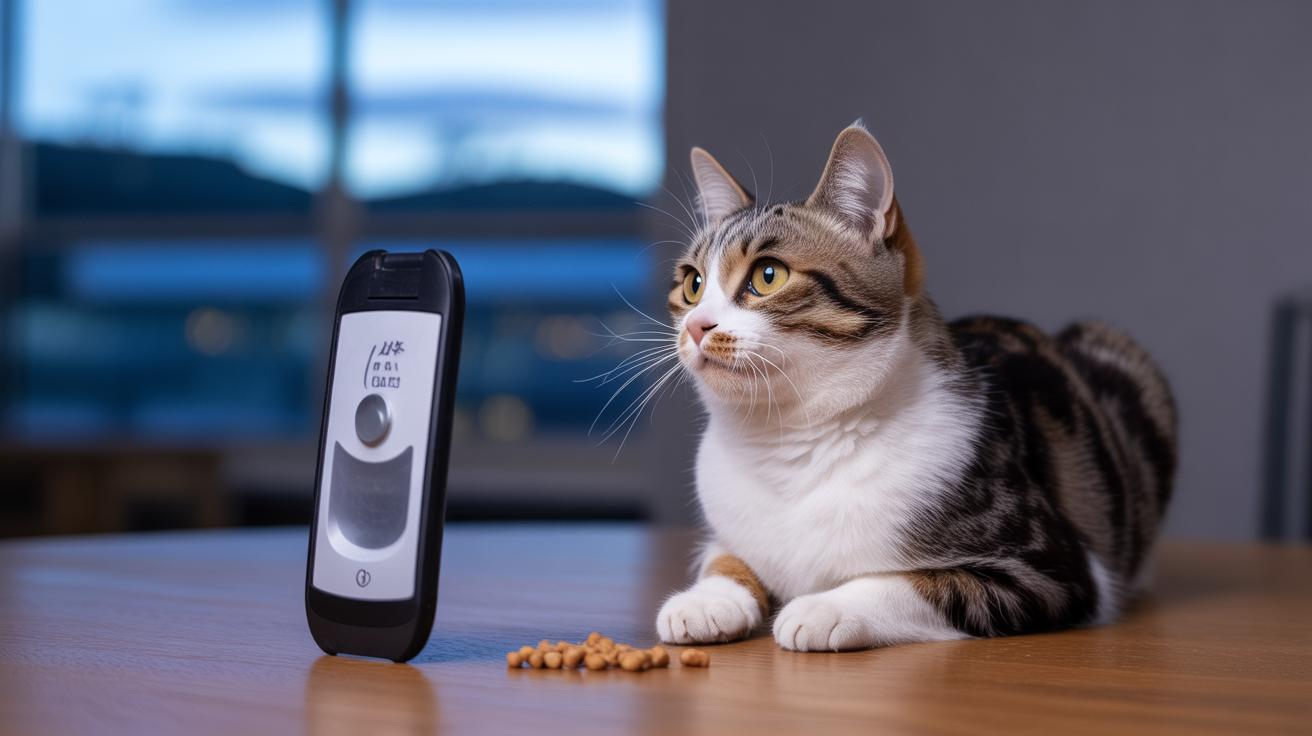
Are big, crunchy treats secretly sabotaging your cat's training?
Short answer: probably. Big, crunchy bites slow your cat down, make them chew, and cut the number of repeats you can do. For faster learning, use tiny, soft rewards that disappear in a blink, low kcal (calories), and let you deliver lots of quick successes. Check out our guide on Clicker Training for Cats.
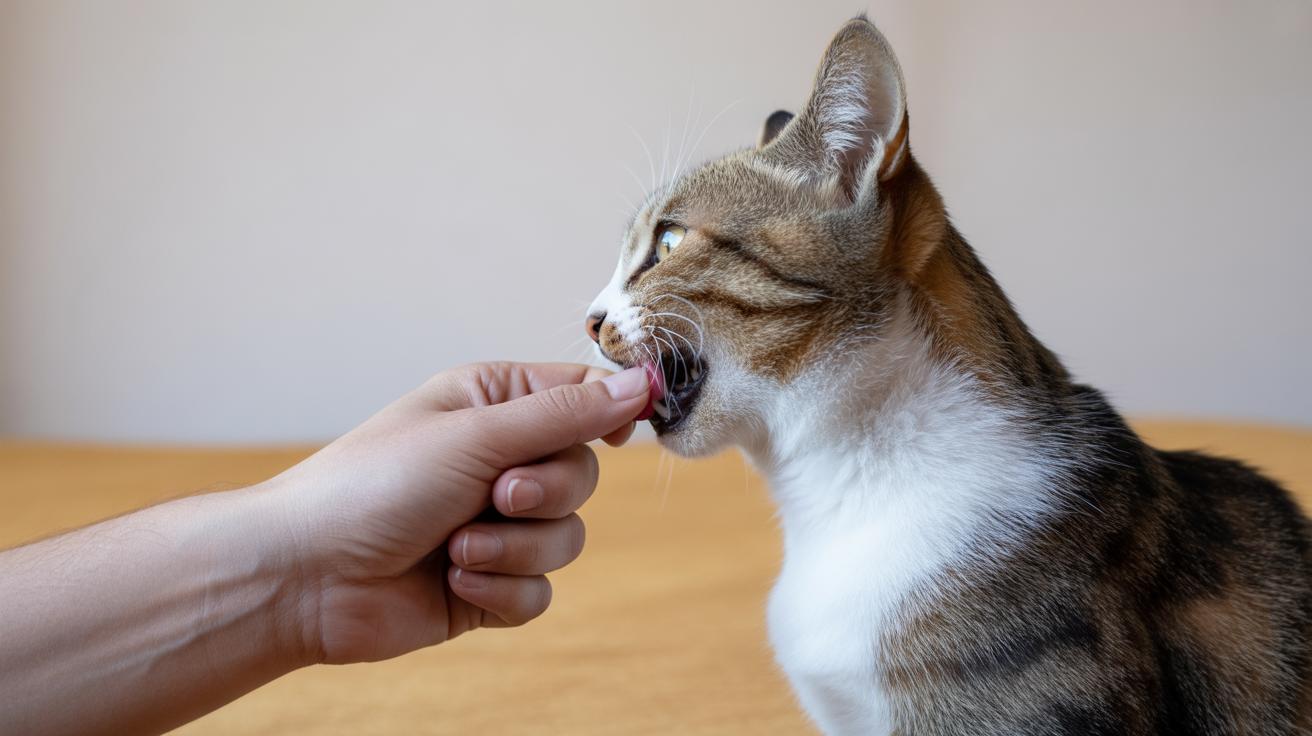
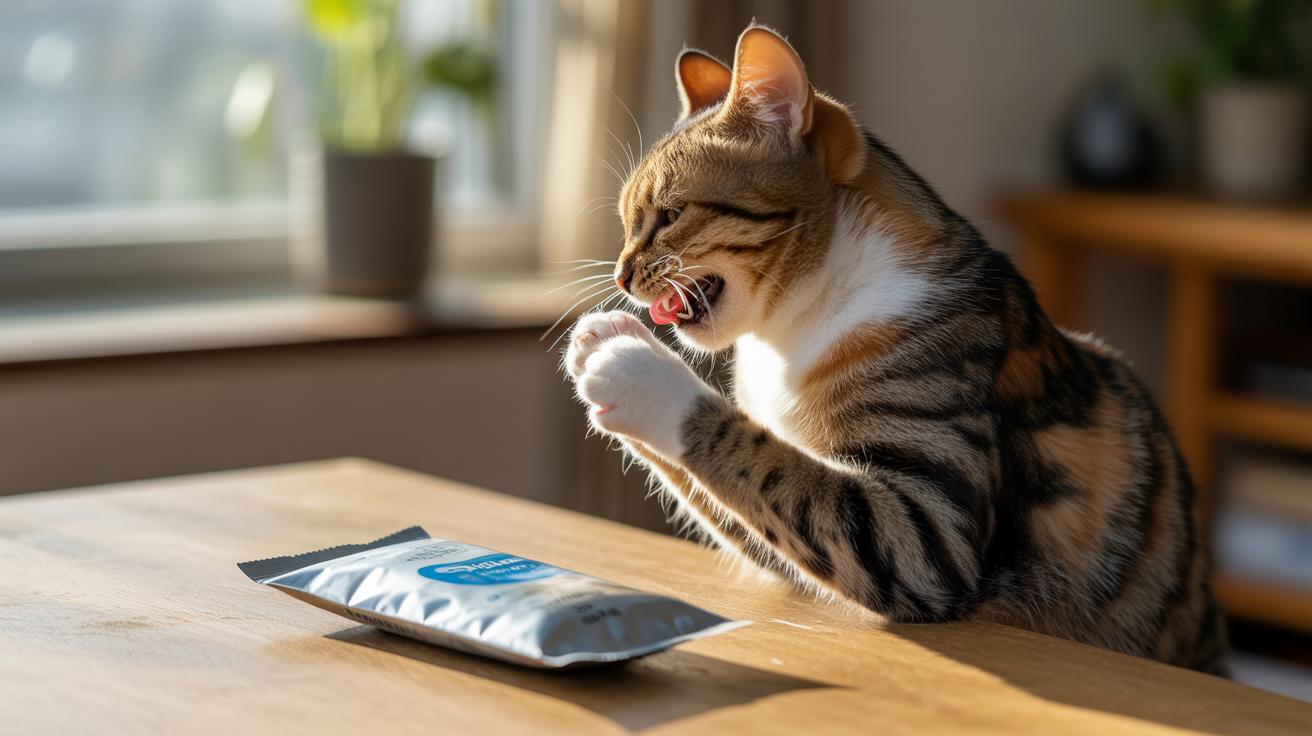
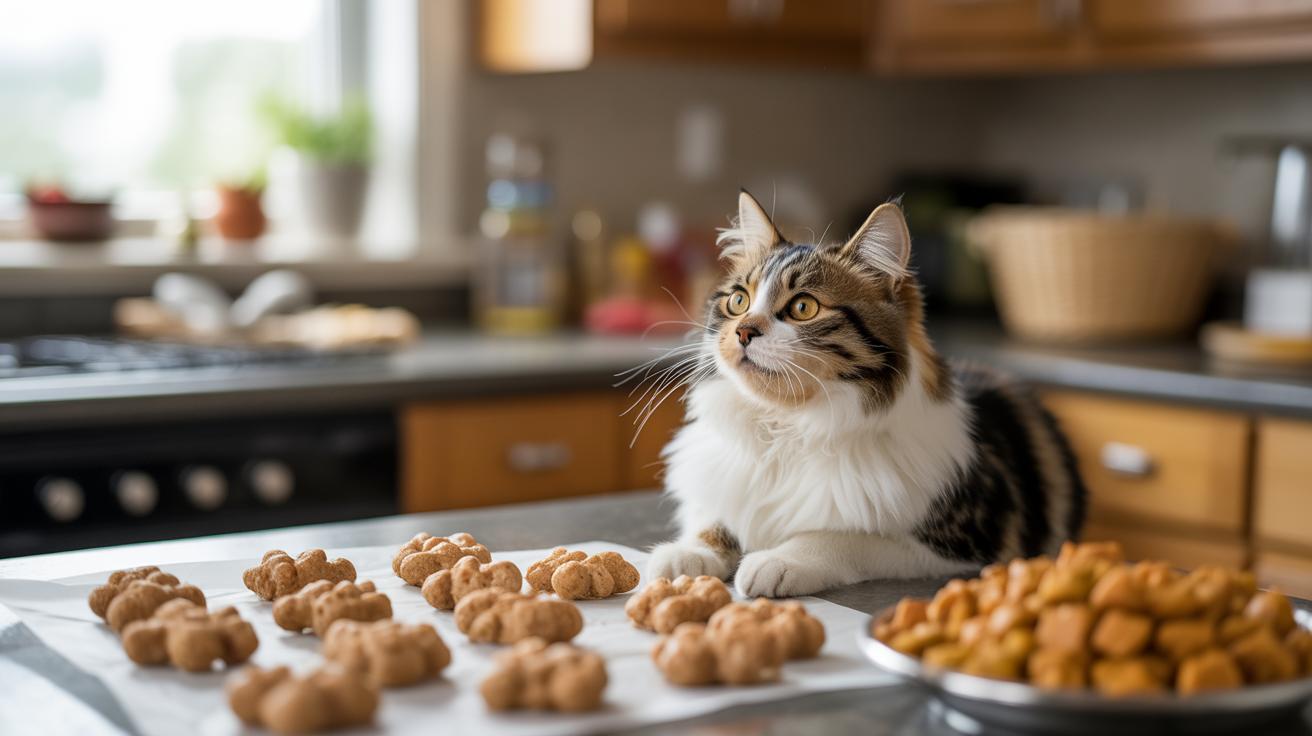
Look for these things: small size , think pea-sized or smaller so your cat eats it in one snap. Meat-first ingredients (meat listed first on the label) for real motivation. Easy-to-break texture (crumbles into tiny pieces without much chewing) so you can hand out repeats fast. The more reps per minute, the faster the skill sticks.
Freeze-dried versus lickable , when to pick which. Freeze-dried (dehydrated quickly so it’s lightweight and very smelly) is great when you need a high-value treat on the go; crumble it into flakes. Lickable (a soft, paste-like treat you can smear) works well for close-up training, hand-targeting, or with kittens and picky eaters who won’t crunch. Both have their moments, so match the format to the trick.
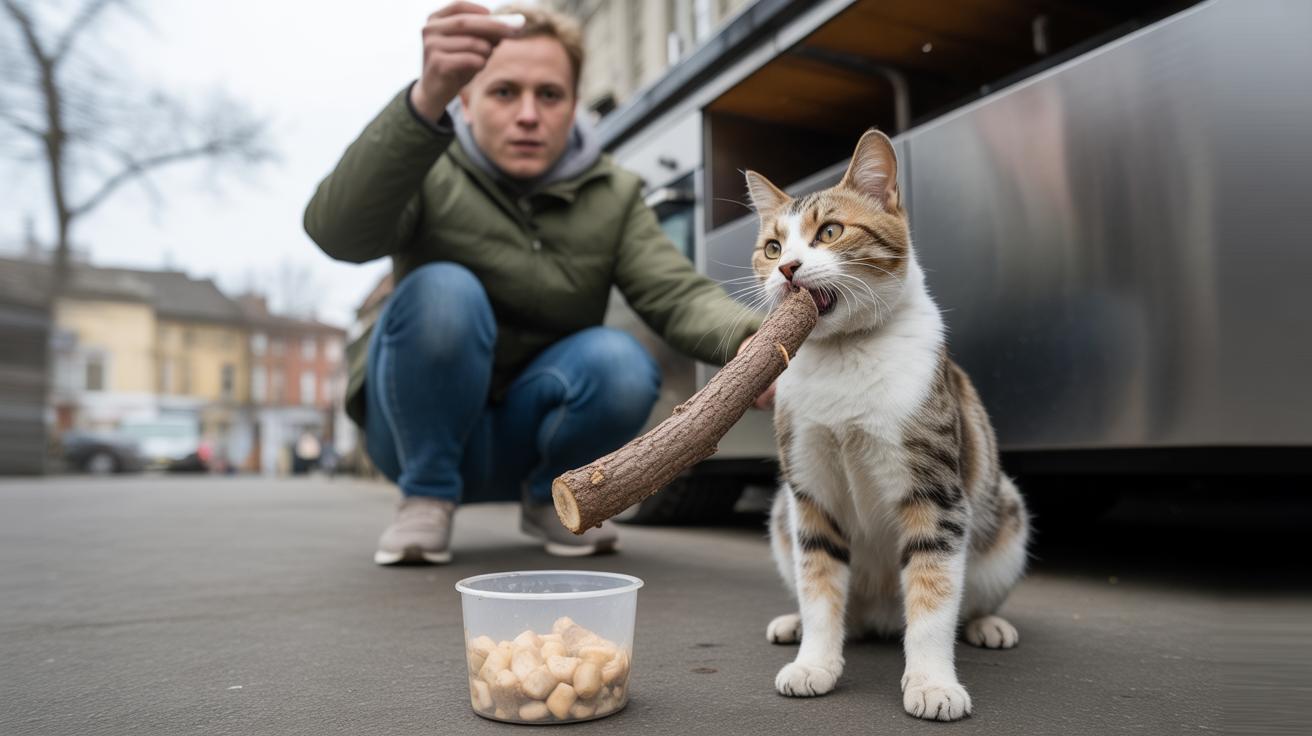
DIY swaps and portion tips: tear cooked chicken or turkey into tiny bits, or spoon a dab of wet food and let it set on a plate before pinching off pea-sized pieces. Aim for treats under about 2 kcal (calories) each so you can do lots of reps without packing on pounds. Keep sessions short , a few minutes with lots of tiny wins , and save the big crunchy stuff for behavior playtime, not training.
Think of this as your cheat-sheet for snack-powered training. Worth every paw-print.
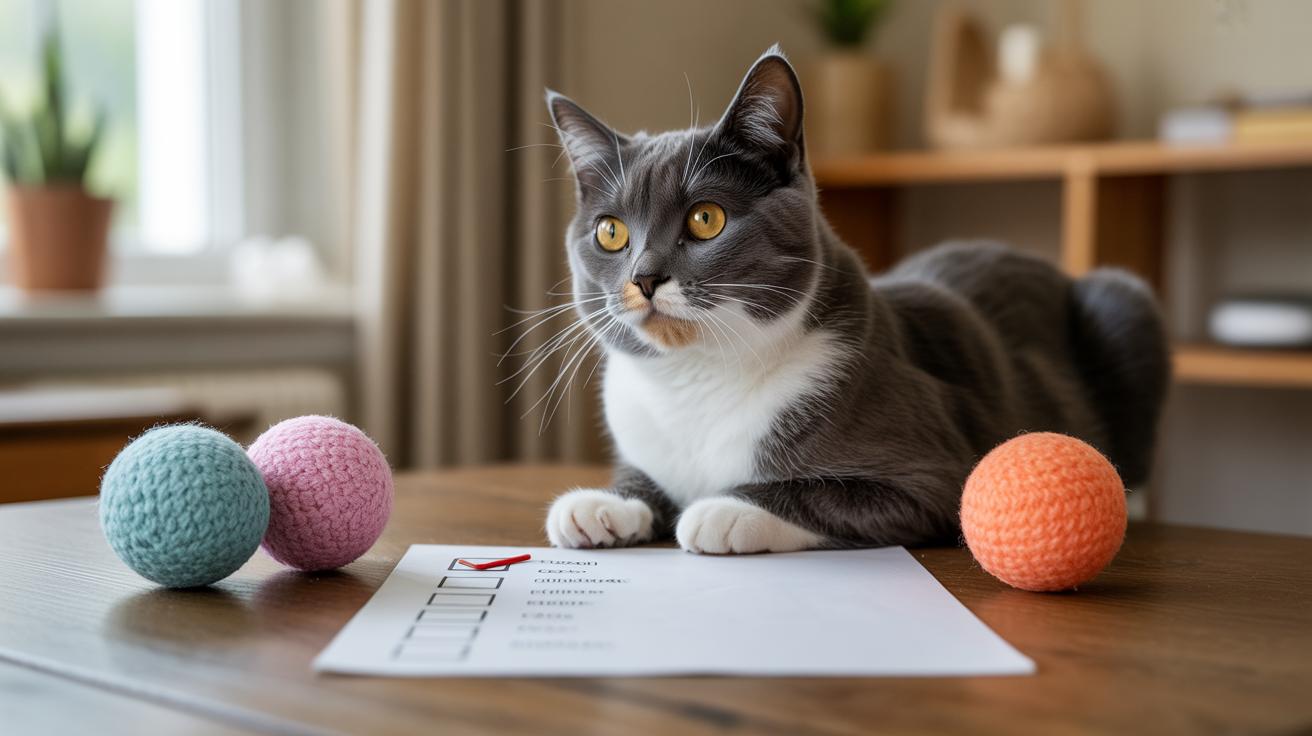
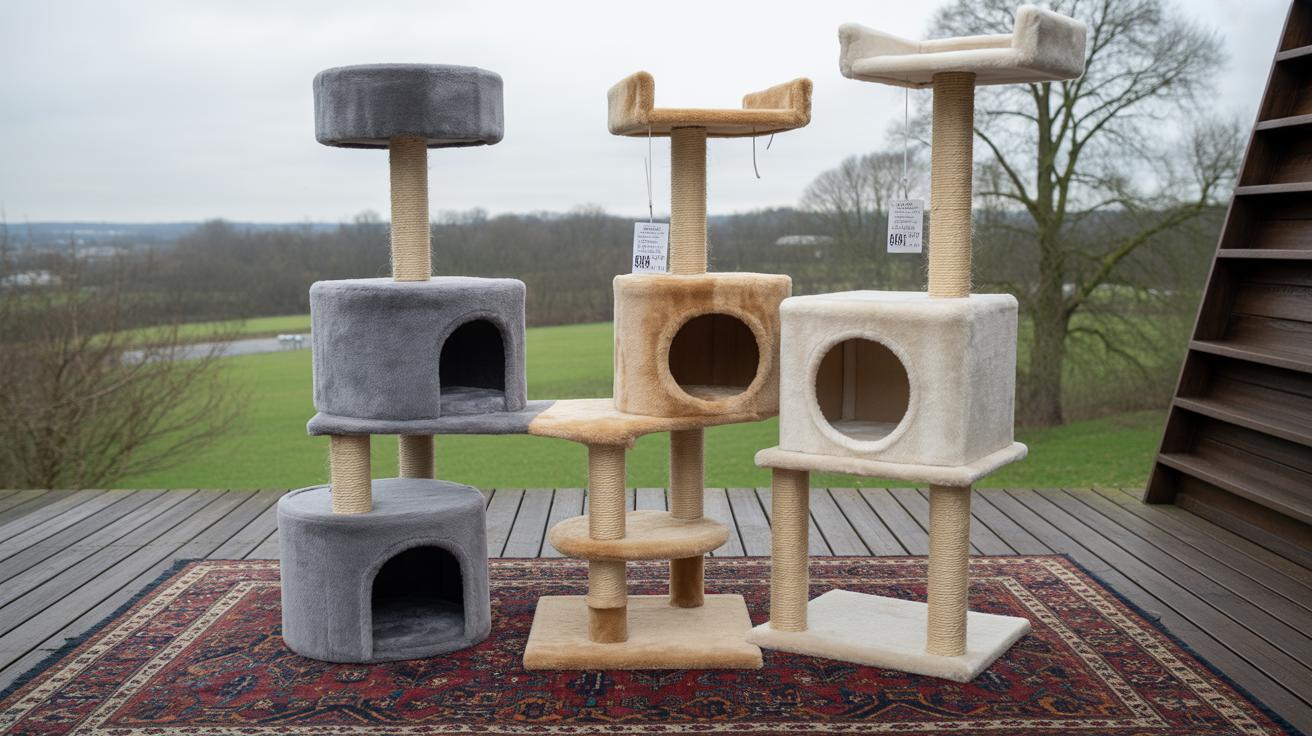
Buying checklist: what to look for in training treats
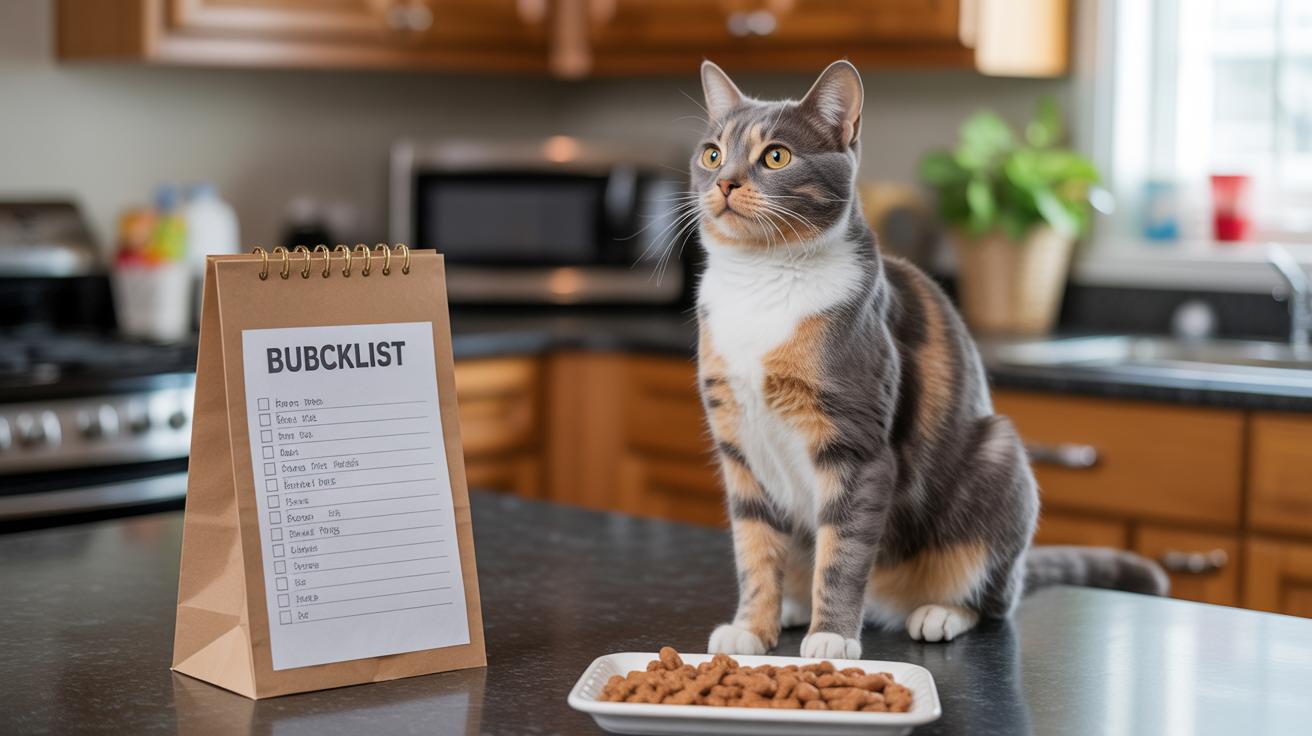
Pick small, low-kcal (calories), breakable, meat-based treats. They’re perfect for quick, repeat rewards and keeping your cat motivated, think tiny bites you can hand out fast.
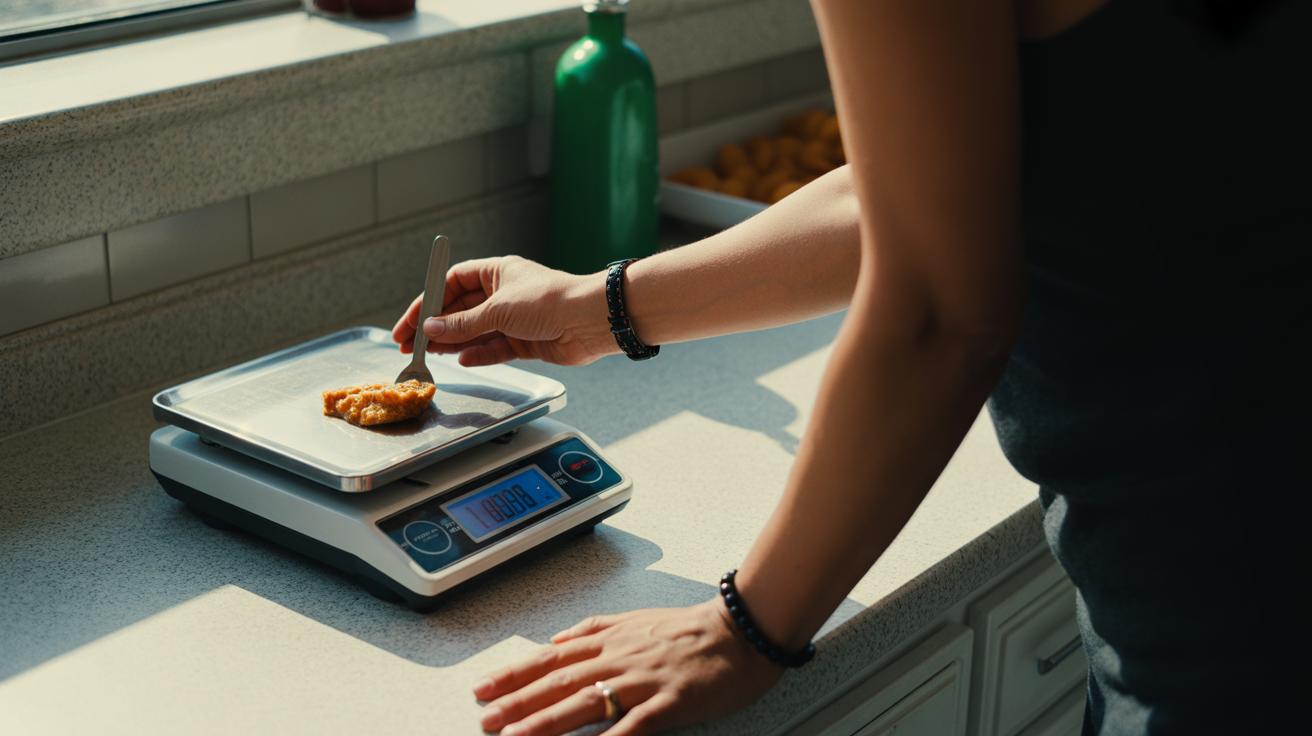
- Size and kcal per piece: check the package for kcal (calories) per treat and aim for about 2 kcal or less each. That way you can give lots of reps without blowing their daily calories.
- Protein source: choose single-protein treats (one animal source, like chicken or turkey) or meat-first-ingredient clicker options so the food matches a cat’s meat-focused needs.
- Breakability: pick treats that reliably break into micro pieces (tiny bits) so you can reward quickly and get back to training. Fast reward, fast learning.
- Texture suitability (one short phrase): "fast-to-eat micro dry" for high-rep work; "soft/lickable" saved for special, high-value tasks (see texture H2). Ever watch a cat savor a lickable treat? That’s high-value right there.
- Moisture and hydration: moisture-rich treats (soft, wet options) are great for hydration or hands-on handling work, but use them sparingly and skip other treats that day to balance calories.
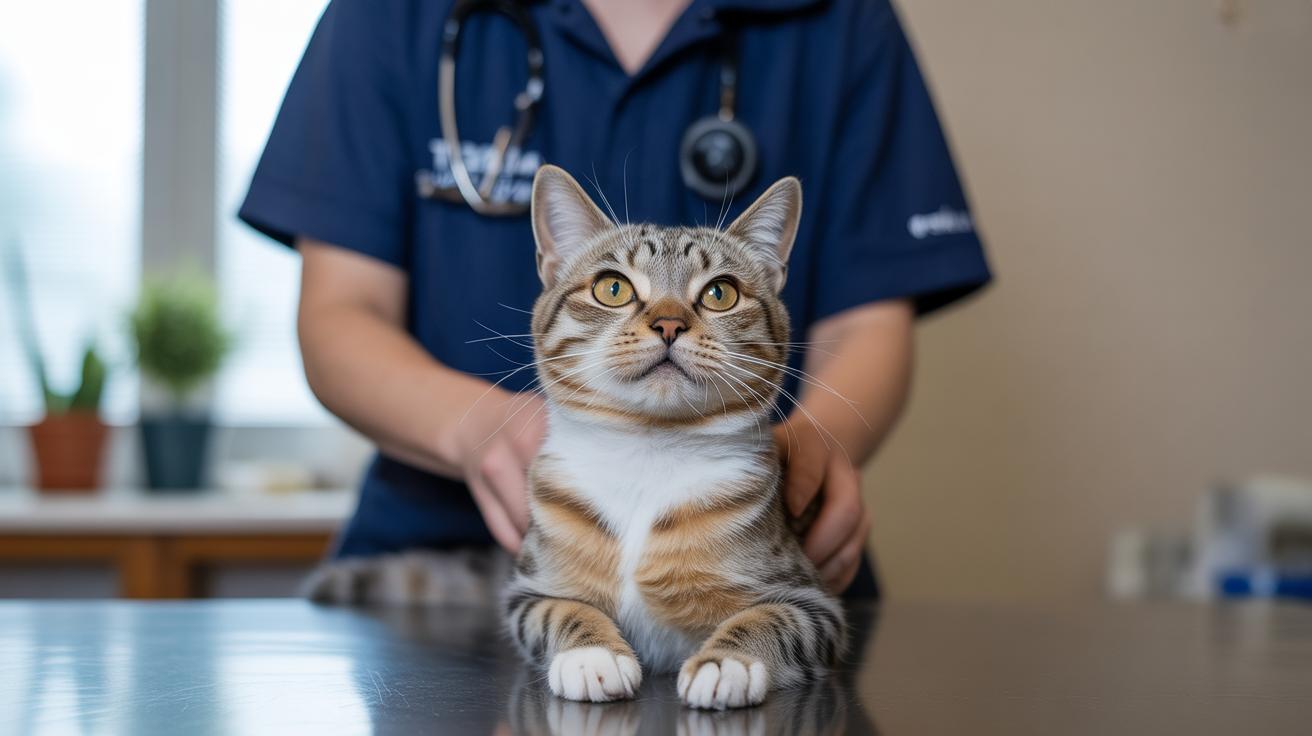
- Vet and diet flag: if your cat is on a prescription or restricted diet, avoid non-approved treats and check with your veterinarian first.
For texture and format advice, head to the Cat training treats by texture and format section, and for full calorie math and session planning, see Portion control and calories.
For quick DIY recipes and low-cost swaps, check Homemade and DIY cat training treats, and for timing and pacing, see Using cat training treats within clicker and marker training protocols.
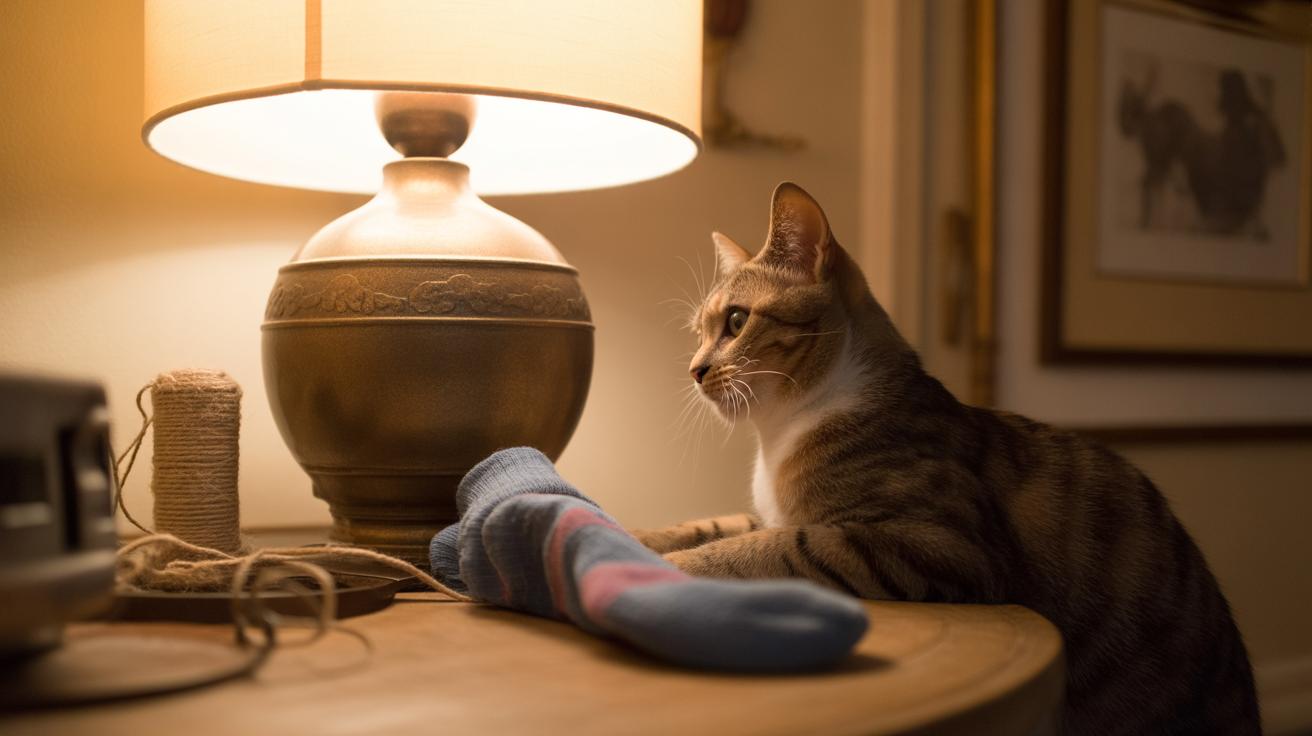
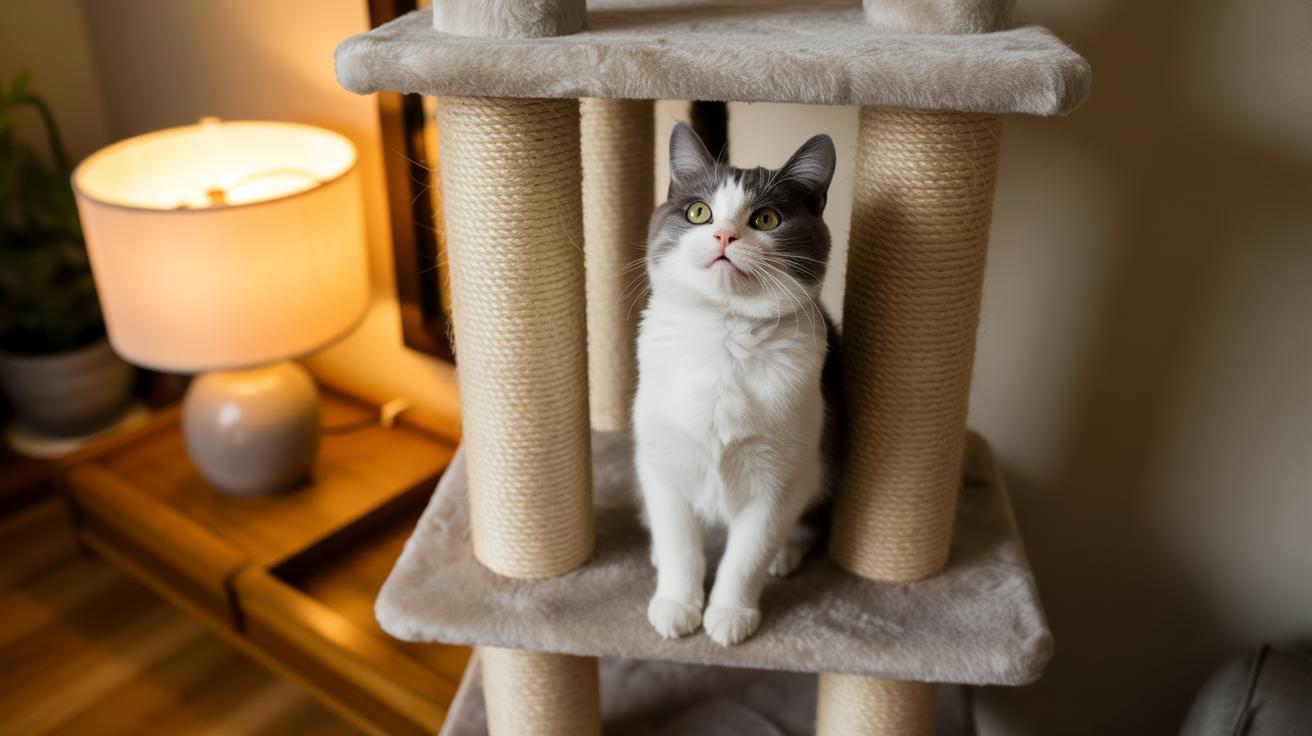
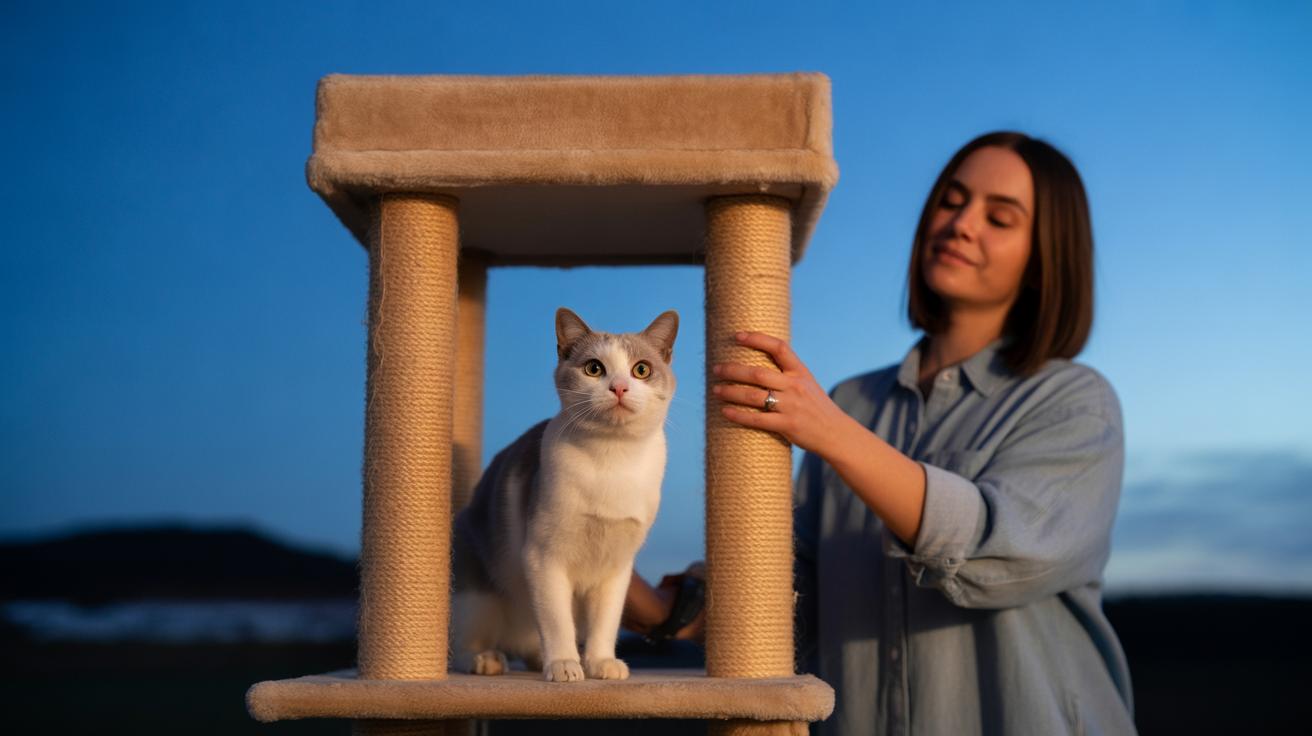
Cat training treats by texture and format: when to use freeze-dried, crunchy, and lickable rewards
Pick the treat texture for the job. Tiny, fast-to-eat pieces are perfect for lots of repeats. Whole freeze-dried morsels work for quick wins. And wet, lickable rewards are the go-to when you need calm, focused behavior.
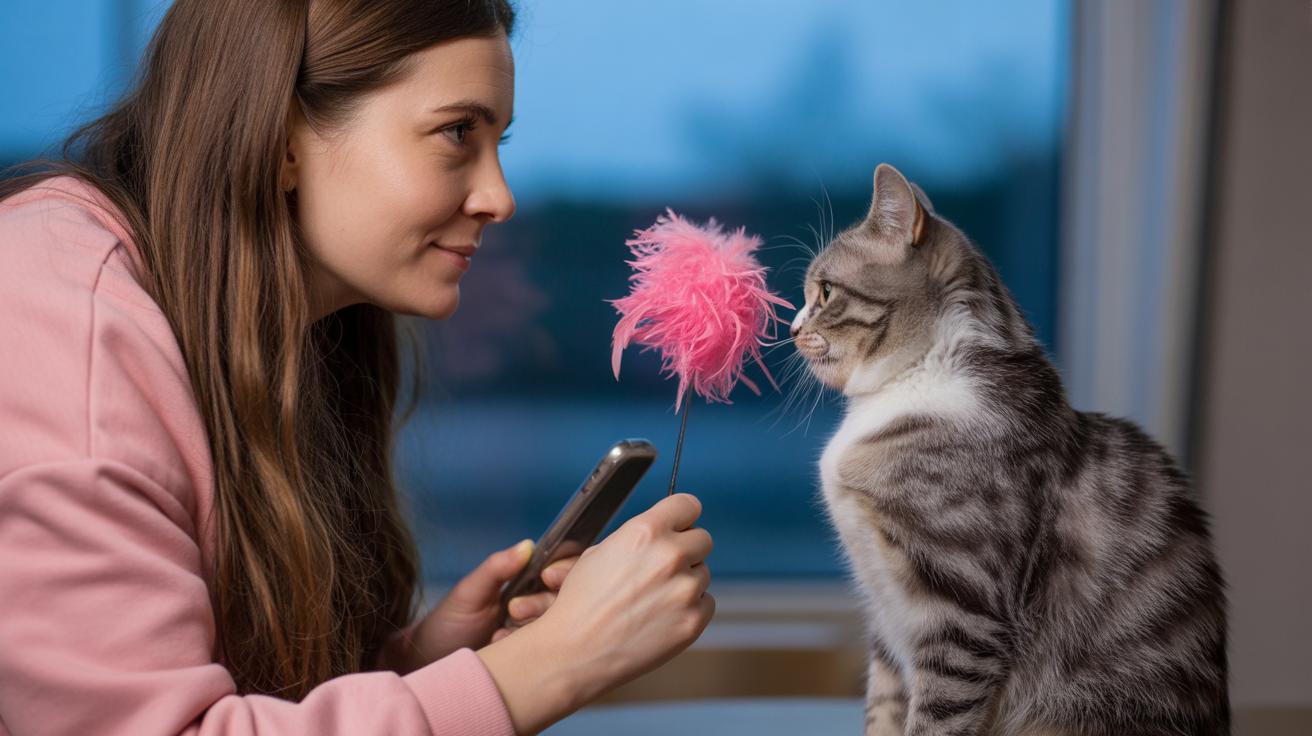
Freeze-dried treats (moisture removed quickly to lock flavor) are amazing when you want something small and super smelly. They break cleanly, so your cat gets the reward in one quick bite. Your kitty smells it, gets a hit of flavor, and goes right back to the task. Ever watched whiskers twitch at a tiny, fragrant crumb? Yeah, that.
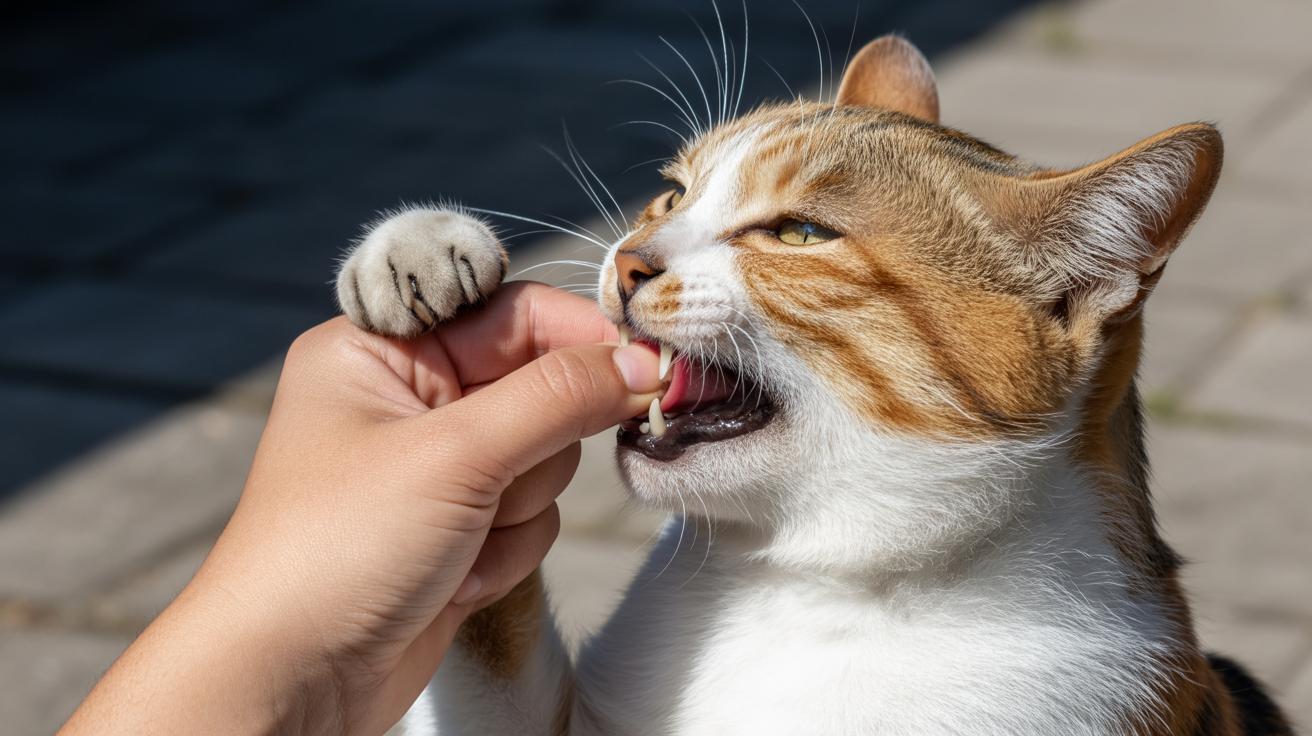
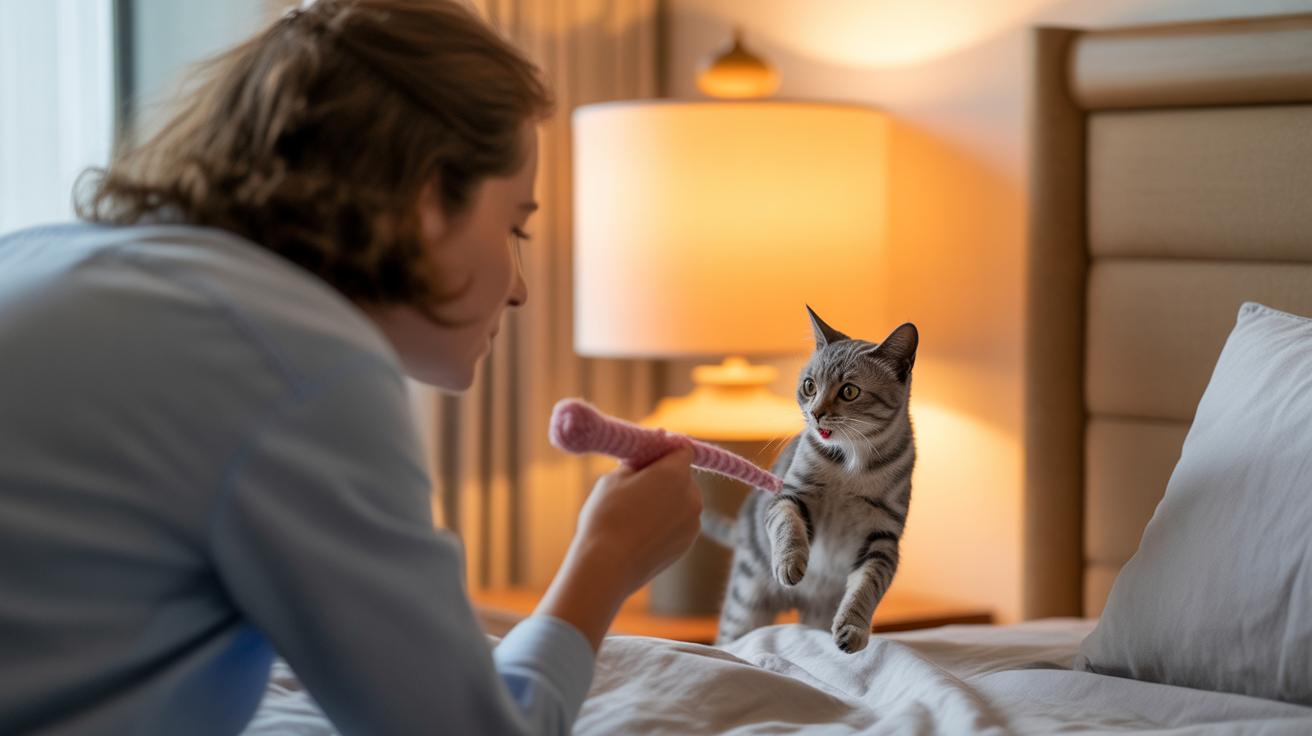
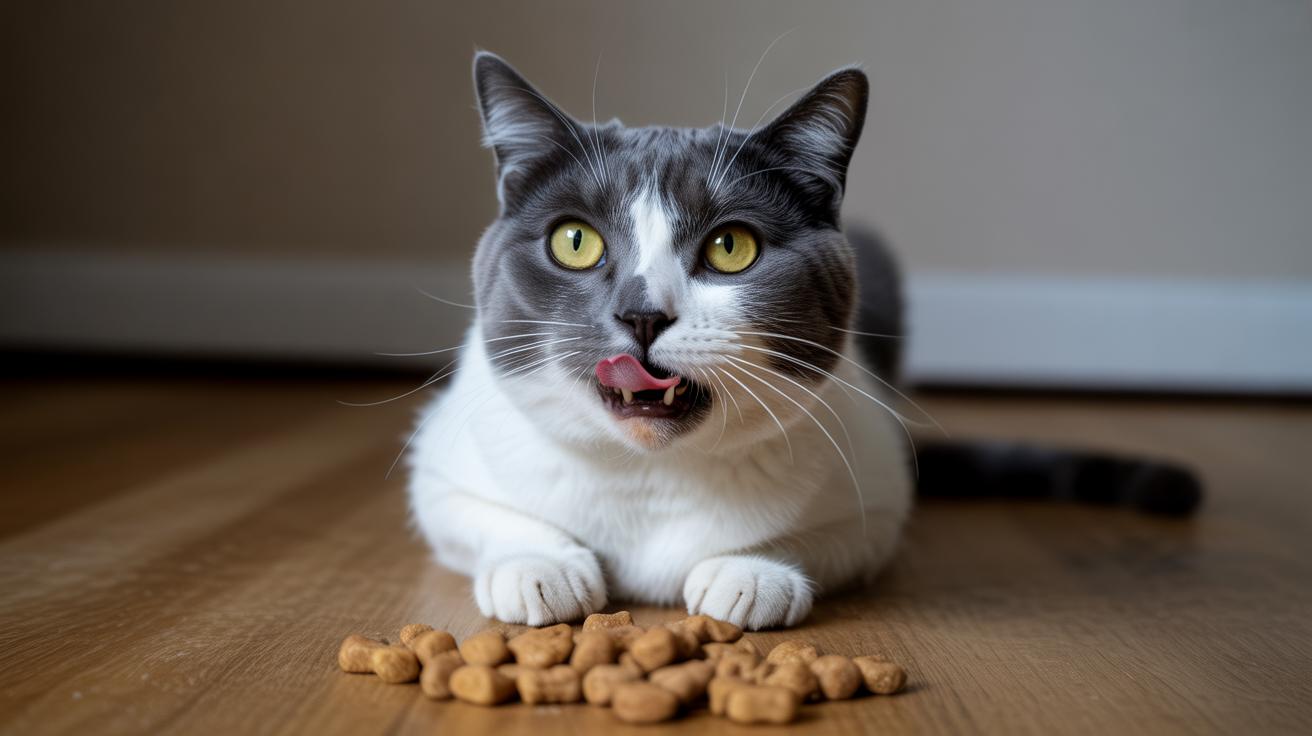
Crunchy, dry bites are the session workhorses. Bite-sized pieces (tiny nibbles that fit one mouthful) are easy to carry, easy to toss, and low mess. They give you endurance for lots of reps without sticky hands. The satisfying crunch helps too. Your cat learns, you don’t lose your treats, win-win.
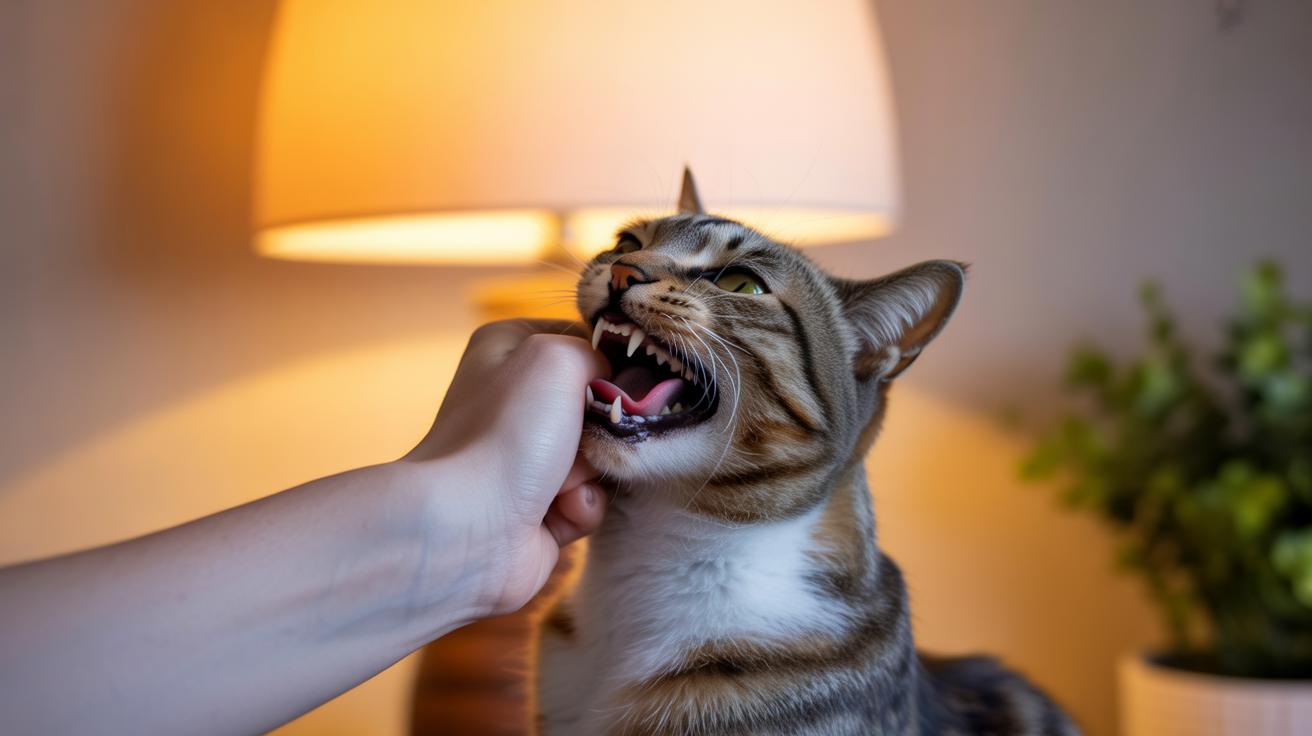
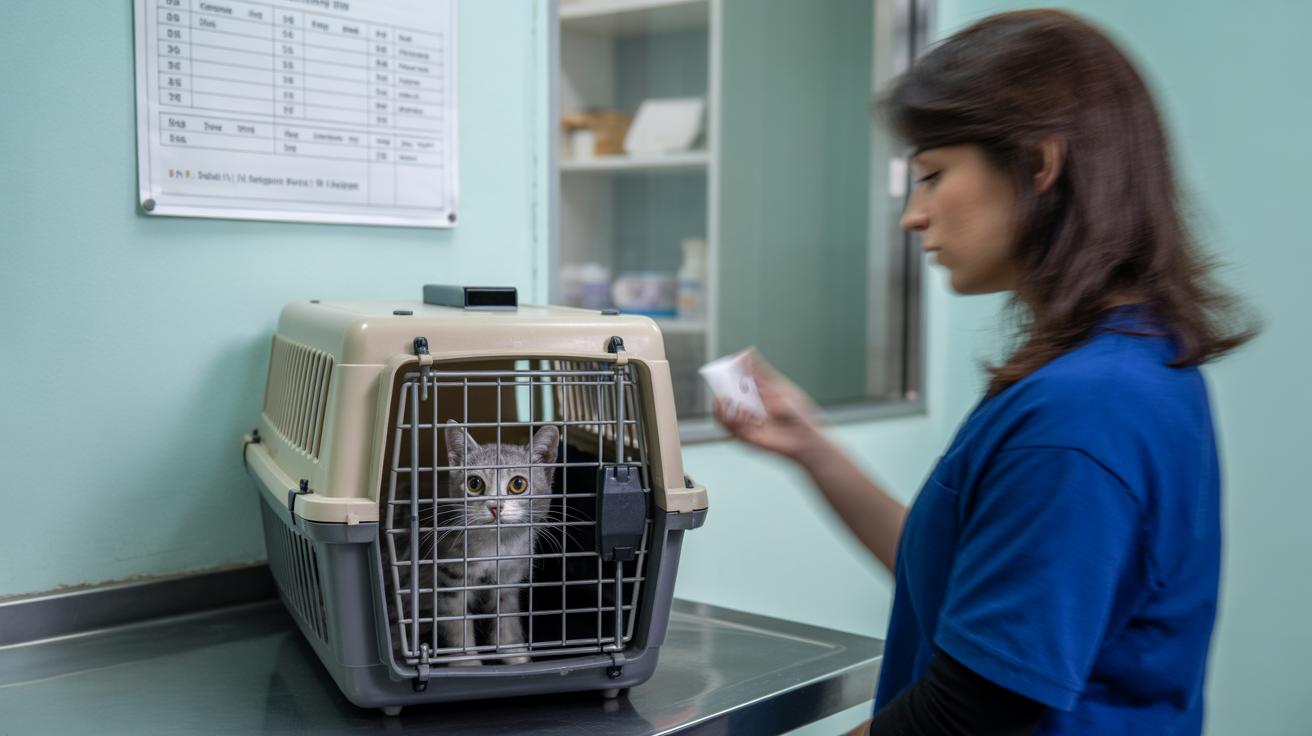
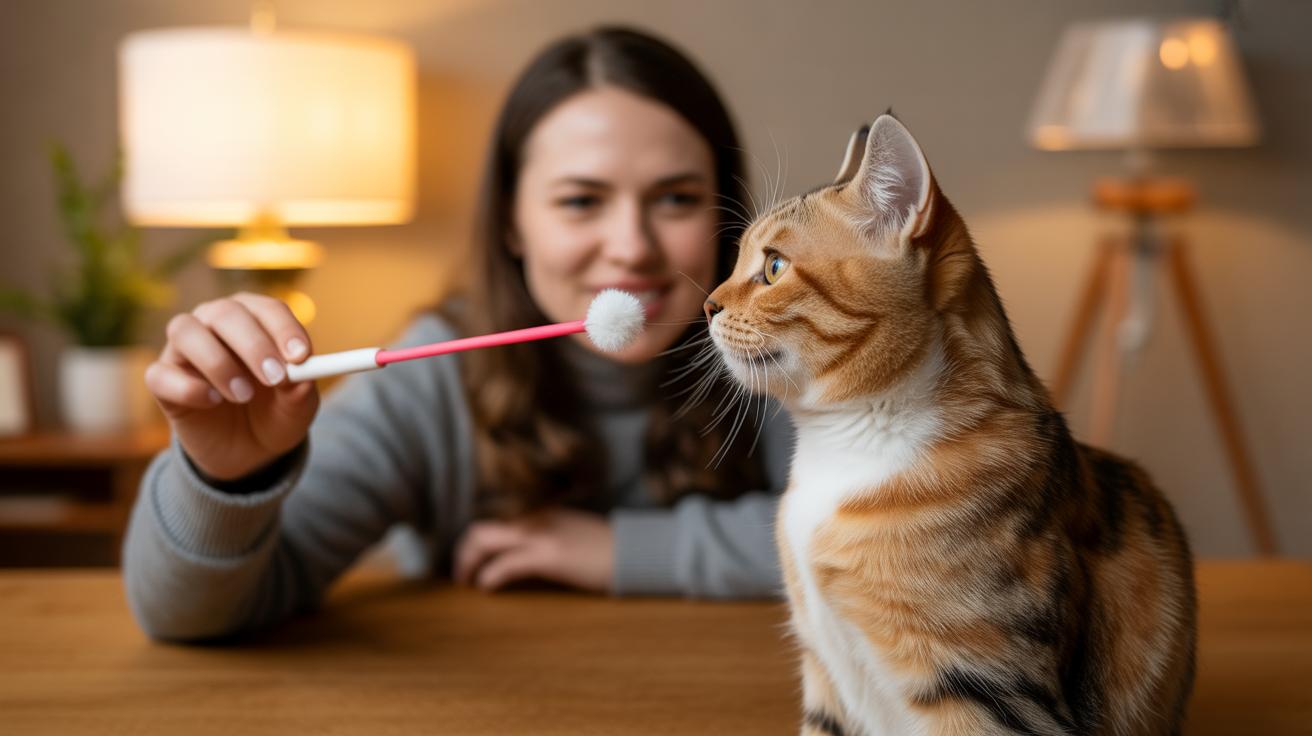
For hands-on stuff like grooming, nail trims, or vet-style handling, use lickable treats (a smooth purée, like a tasty paste). They’re moist, high value, and hold attention during slow, careful steps. I once held my cat for a nail trim by feeding tiny licks one at a time , calm the whole way through.
Quick tip: bring two formats to a session. A stash of micro dry pieces for rapid reps and a tube or packet of lickable treats for the tough moments. It keeps training snappy, saves the wet rewards for big progress, and makes practice feel like playtime for both of you. Worth every paw-print.
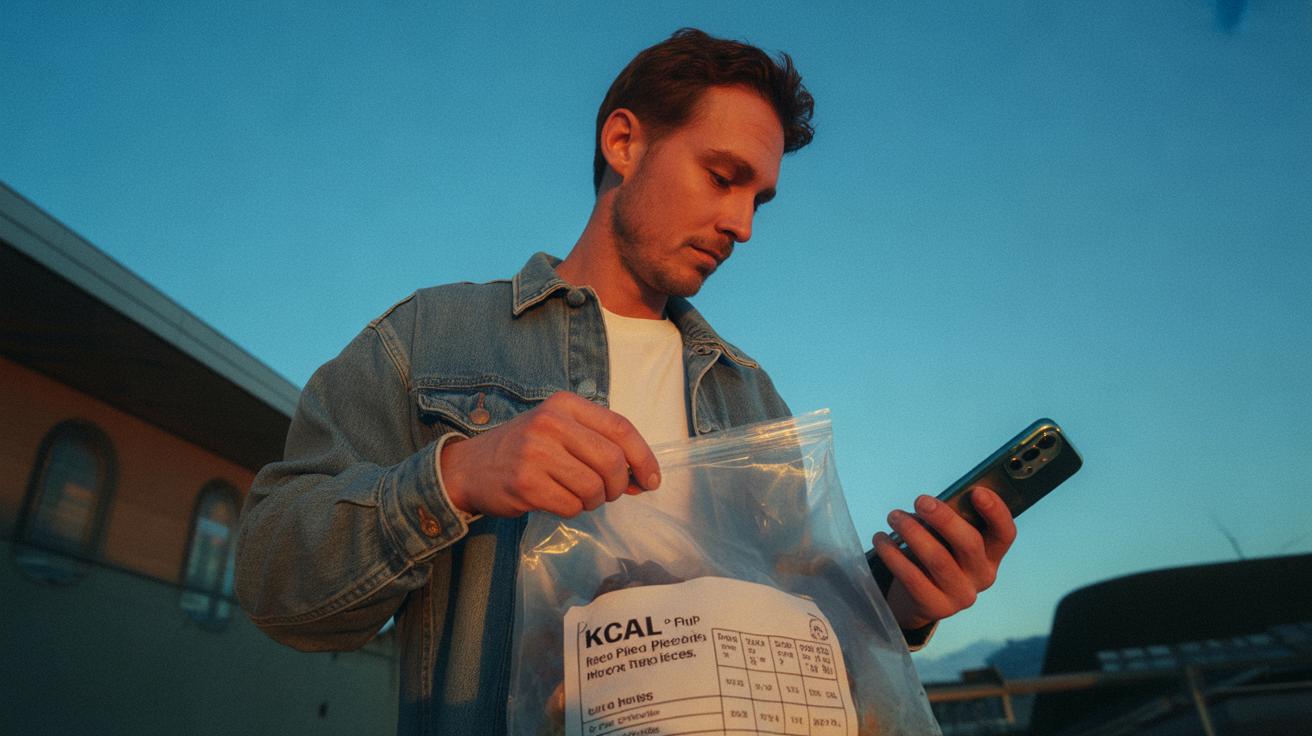
Portion control and calories for cat training treats (how many treats per session)
Keep treats tiny and count the calories. Aim for about 2 kcal or less per training treat, and keep all treats to roughly 10% of your cat’s daily calories. kcal (kilocalories, the "Calories" listed on food labels) is what we mean here. Small, breakable pieces let you run lots of reps without tipping the scale.
If your cat’s daily food target is 200 kcal, set aside about 20 kcal for treats , that’s roughly ten 2-kcal pieces. Micro treats (tiny crunchy bits, about 1–2 kcal each) let you do lots of quick repetitions. Freeze-dried morsels (meat quickly dried to lock in flavor) vary in size, so if you’re unsure use a single-ingredient benchmark like PureBites (~2 kcal each) for a safe guess.
| Treat Format | Approx kcal per unit | Suggested max per 100 kcal allowance |
|---|---|---|
| Micro dry treat (tiny crunchy bit) | ~1–2 kcal | 50–100 |
| Freeze-dried morsel (single-ingredient meat) | ~2 kcal | ~50 |
| Lickable 2-oz portion (syrupy or paste reward) | ~6 kcal | ~16 – use sparingly |
| Crunchy commercial treat | ~1.5 kcal | ~66 |
On training days, reduce the regular meal by the same calories you give as treats so daily intake stays steady. Use micro treats for fast clicker work and save lickable rewards for tough steps or vet-handling practice , that mix helps you train more without weight gain. Ever watched your cat pounce on a tiny morsel and feel like a proud coach? Worth every paw-print.
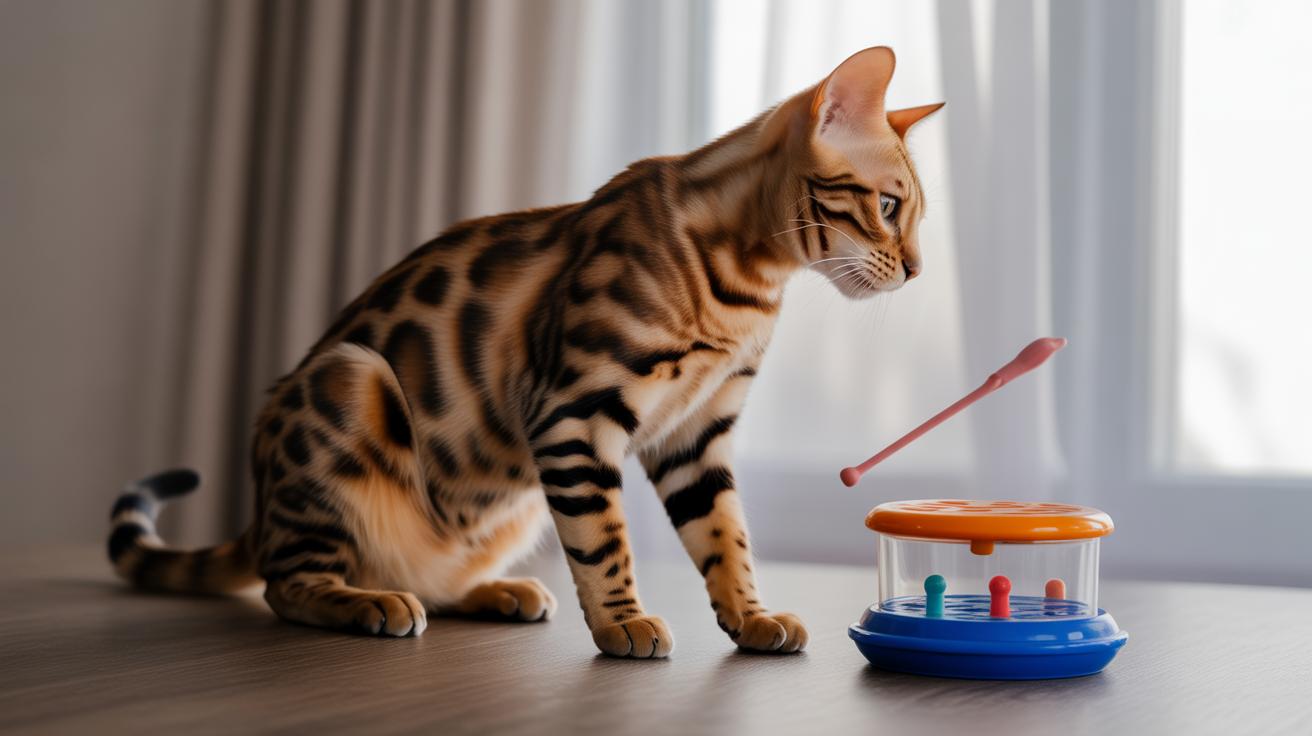
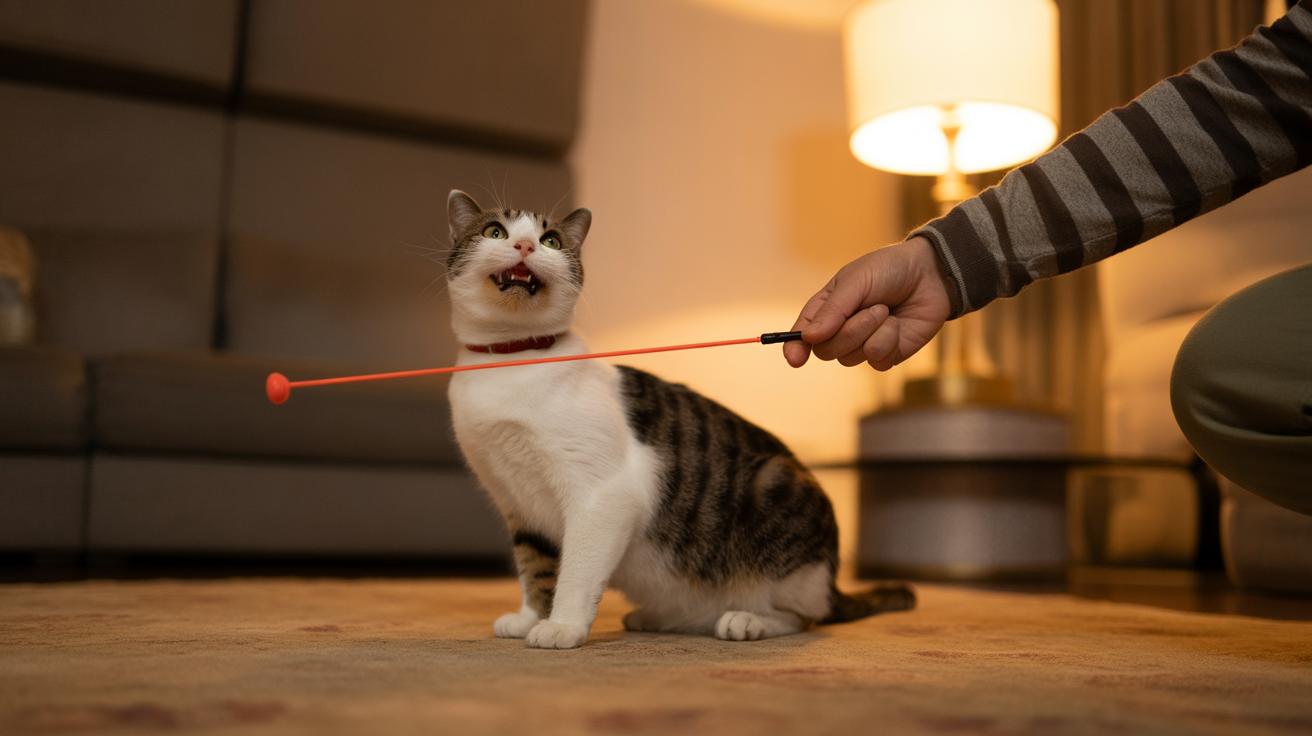
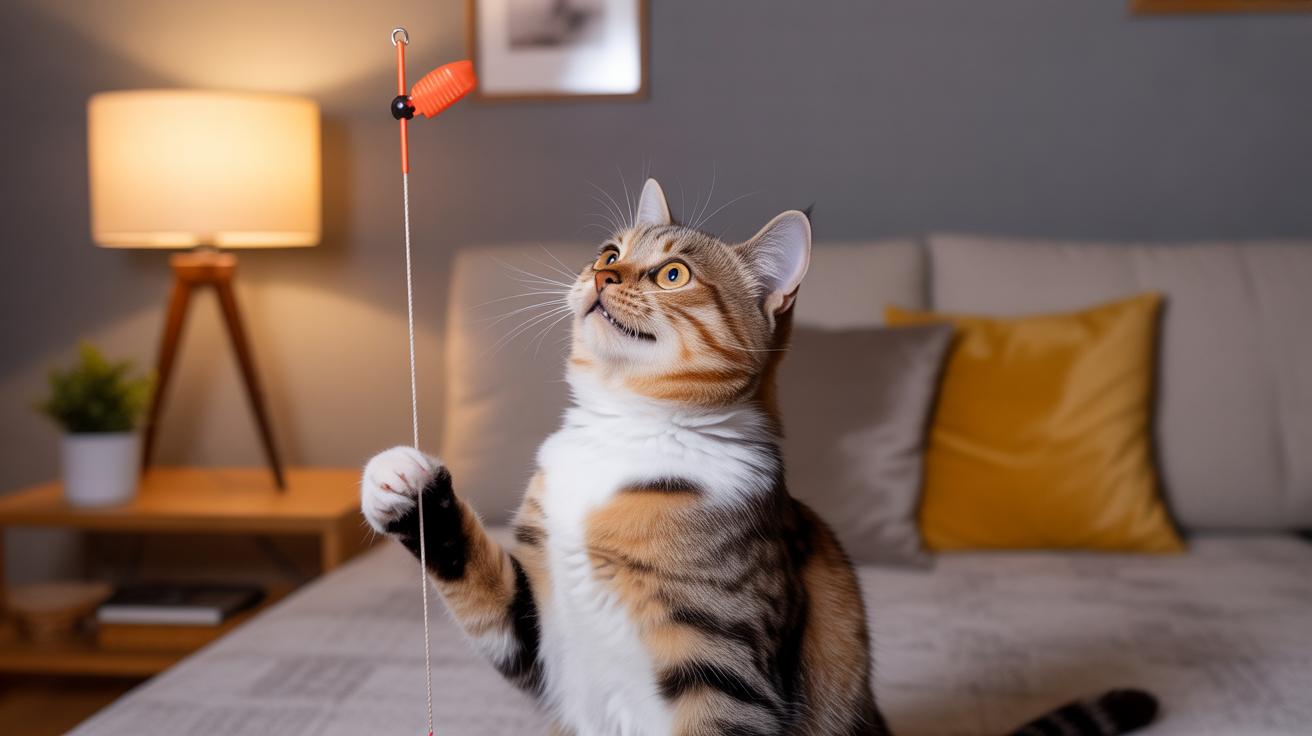
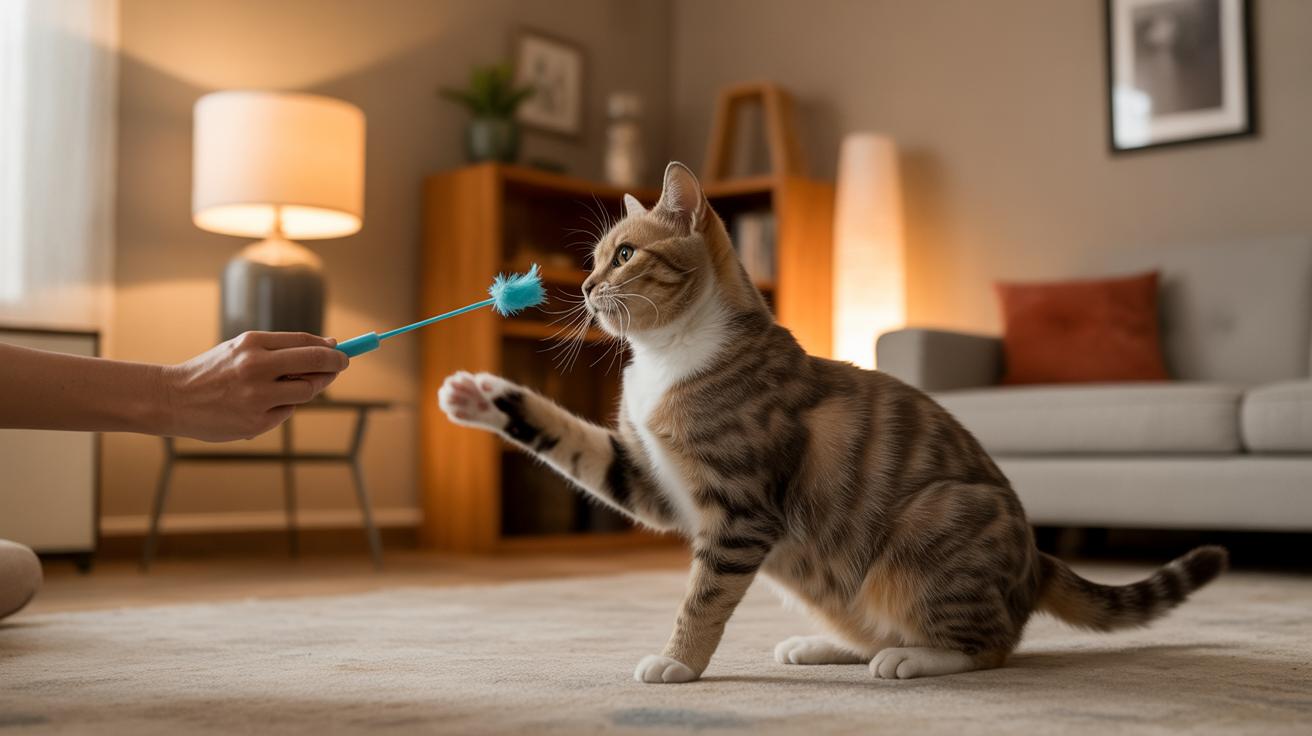
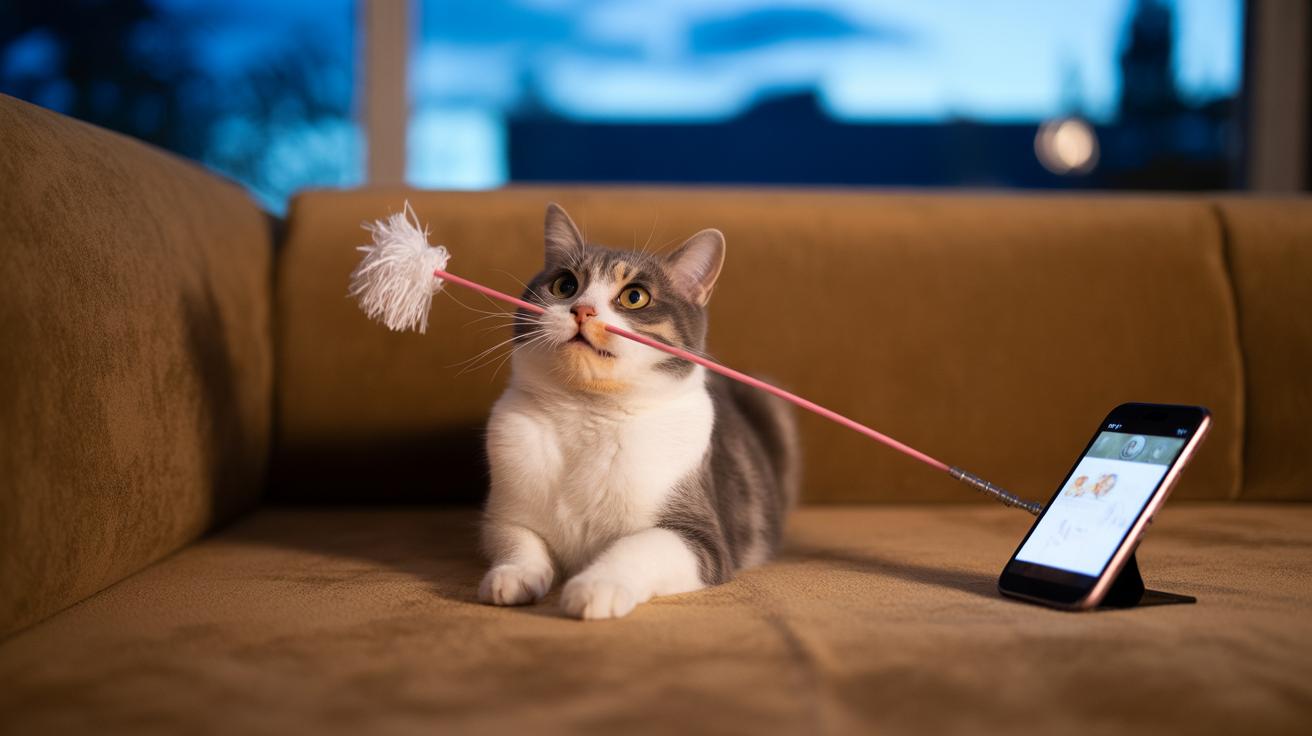
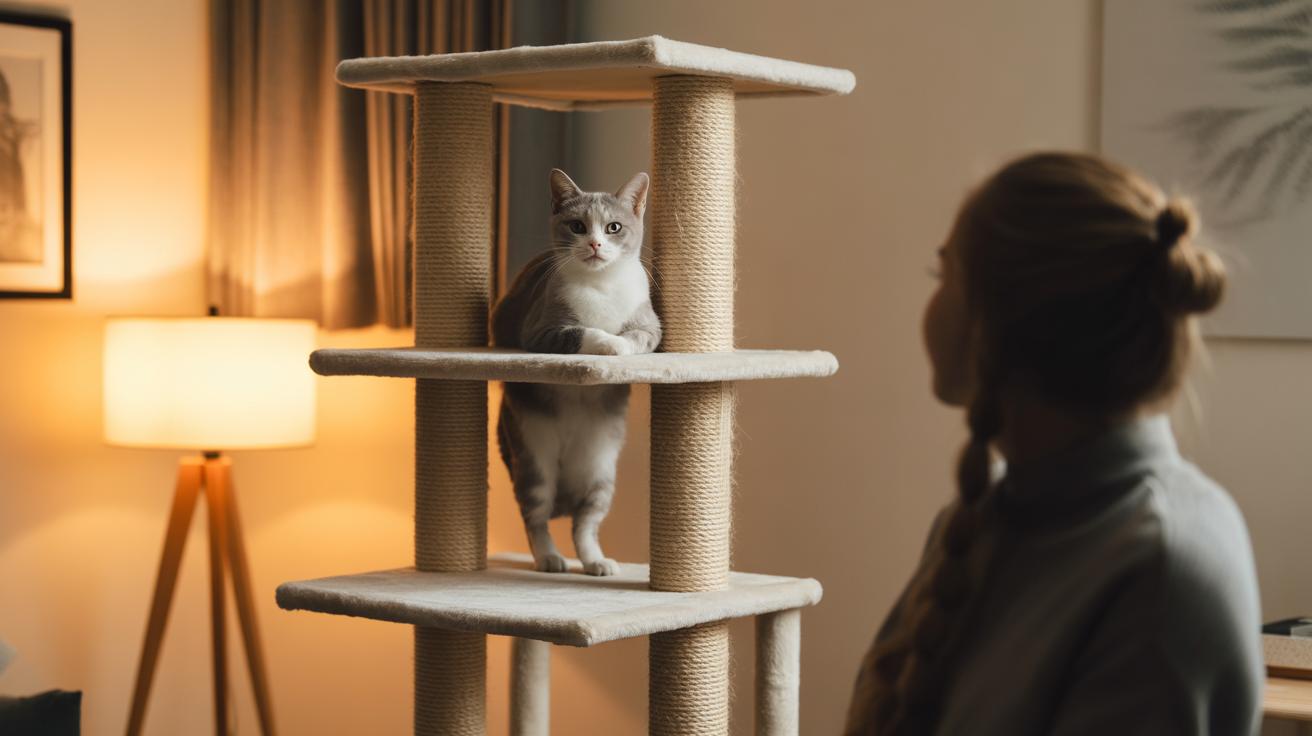
Using cat training treats within clicker and marker training protocols (timing, pacing, and transition plans)
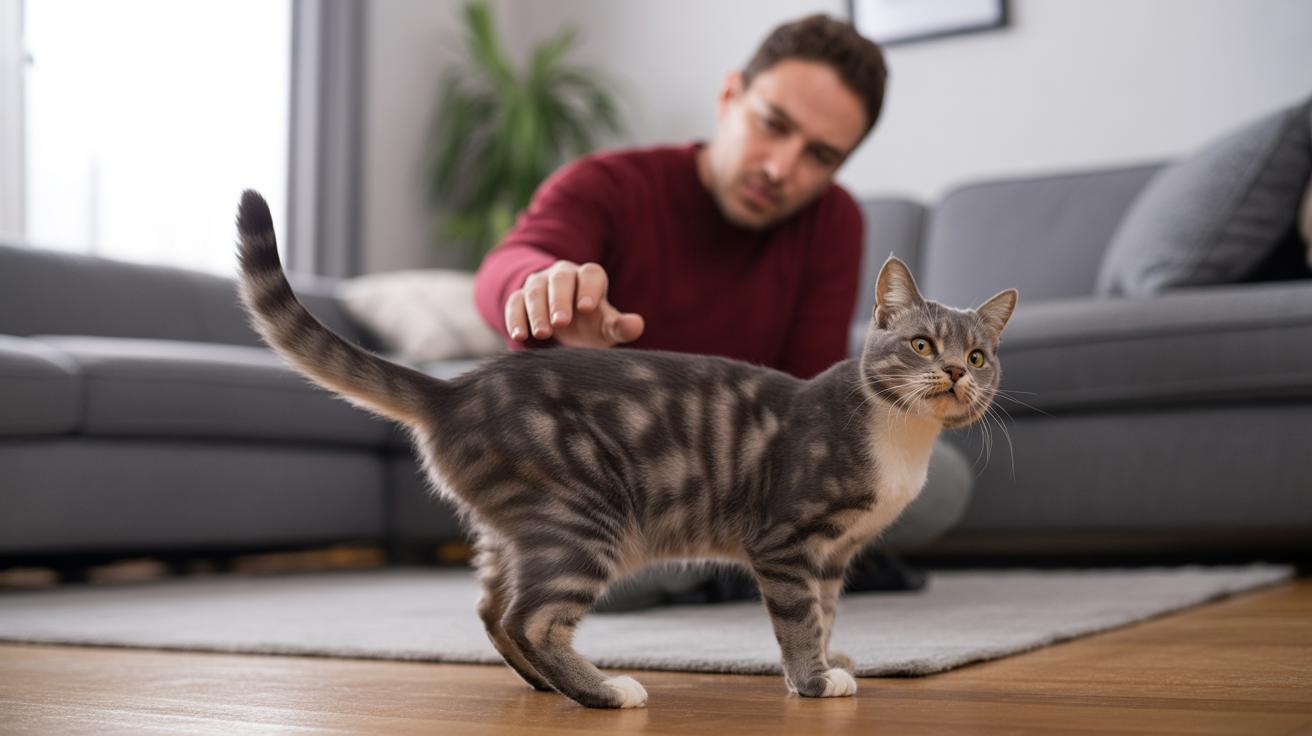
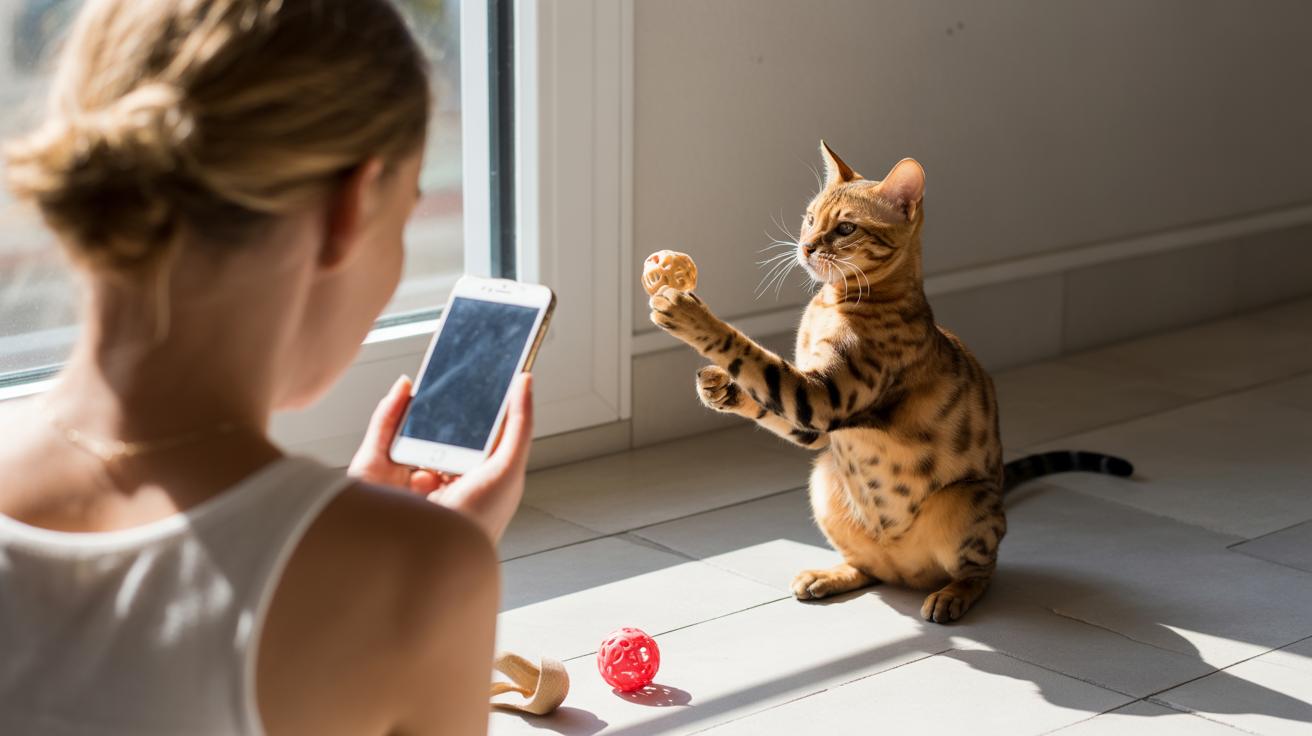
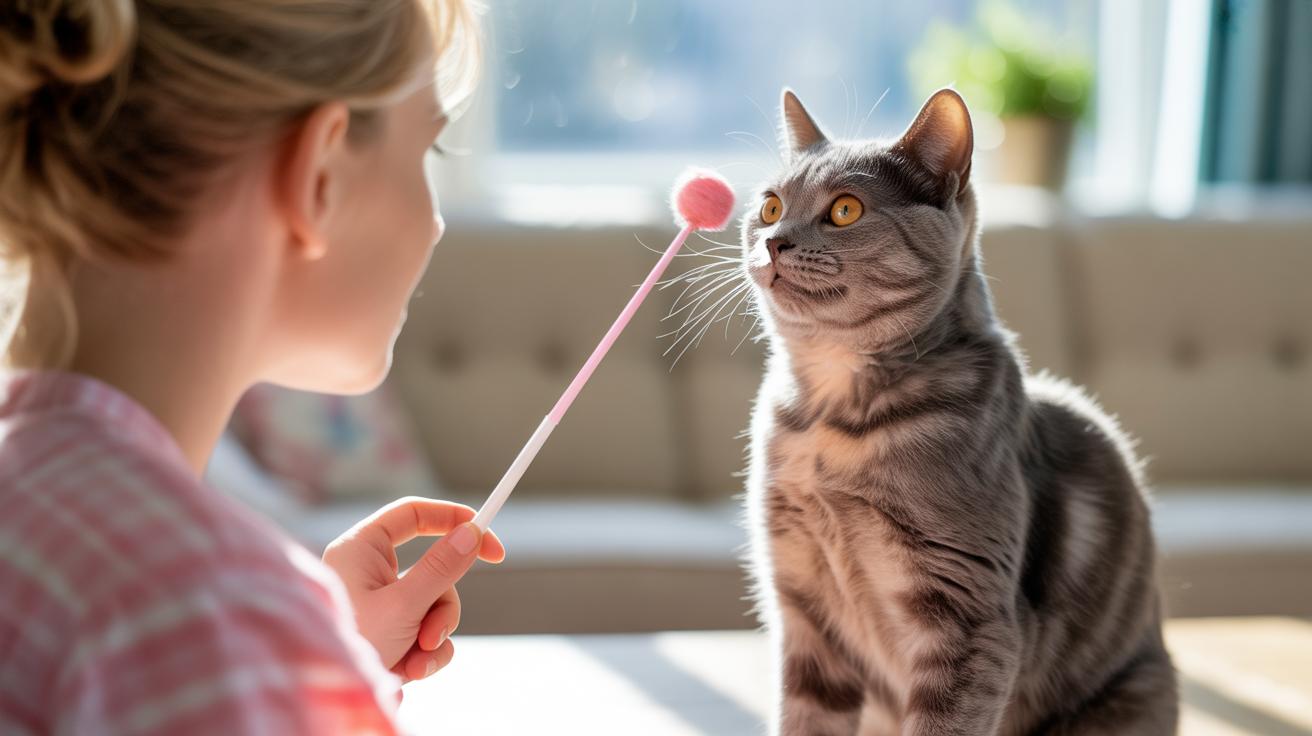
Marker training uses a short signal (a click) to mark the exact behavior, then you give a treat right away to make that action stronger. Think of the click as a tiny, precise high-five for your cat. Keep the click crisp. Give the treat faster than your cat can blink so the link stays clear in their head.
Timing and micro-rewards
Aim to click, then treat, in under one second. Fast timing ties the sound to the behavior, so your cat knows exactly what earned the reward. Use one-bite treats or broken freeze-dried pieces (freeze-dried means the water is removed to lock in flavor) that your cat can eat instantly and get back to work. Your cat’s whiskers will twitch as the treat disappears , cue the zoomies, maybe.
Sample session plan:
- Warm-up: 5 to 10 minutes of easy, fun play to get attention.
- Training block: 20 to 50 quick reps using micro-treats (small bites, rapid succession).
- Finish: one high-value reward for a shaped step or a little celebration.
Short sessions beat long ones for focus and learning. Hands-free clickers (like ring clickers) speed your response and help you avoid spooking skittish cats.
Moving from continuous to intermittent reinforcement
Start with continuous reinforcement (reward every correct response) while you’re shaping a new behavior. Once the behavior is reliable, slowly reduce how often you treat. Move to variable schedules , reward every 2nd, then every 3rd, then make it unpredictable , so the cue stays strong even when food isn’t offered.
Keep a mix: low-value micro-treats for routine reps, and save lickable purées or other high-value rewards for tough steps, vet handling, or outdoor distractions. If you plan a heavy training day, reduce mealtime food slightly so total calories stay steady and your cat stays motivated (don’t overfeed, but don’t starve them either).
I once watched Luna nail a tricky jump after three days of short, snappy sessions , worth every paw-print.
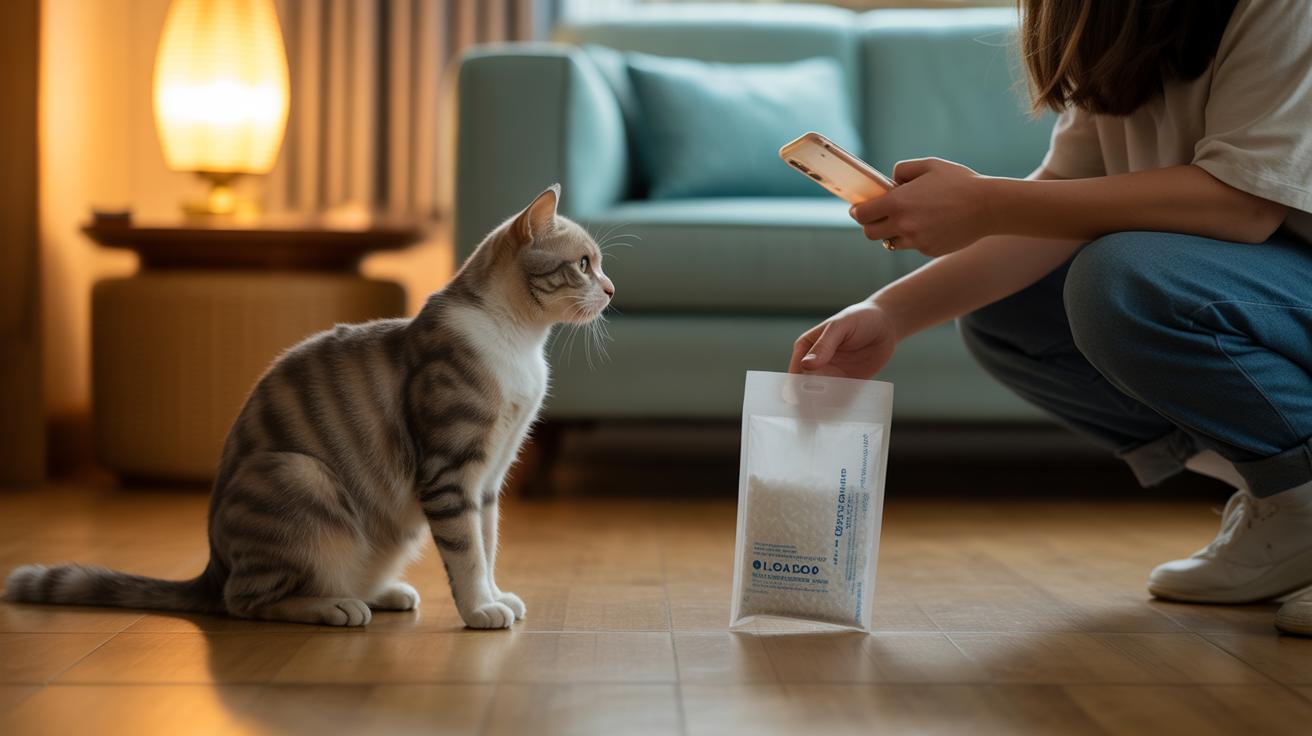
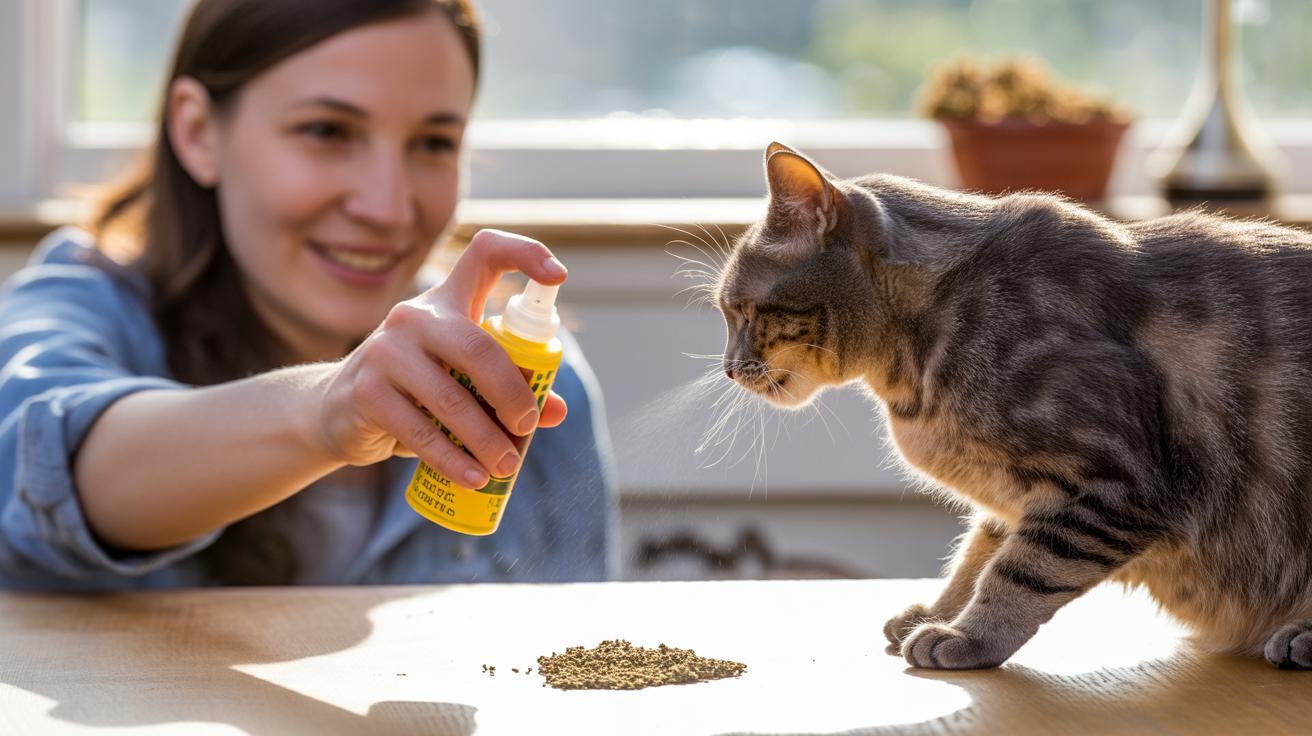
Homemade and DIY cat training treats and safe substitutions
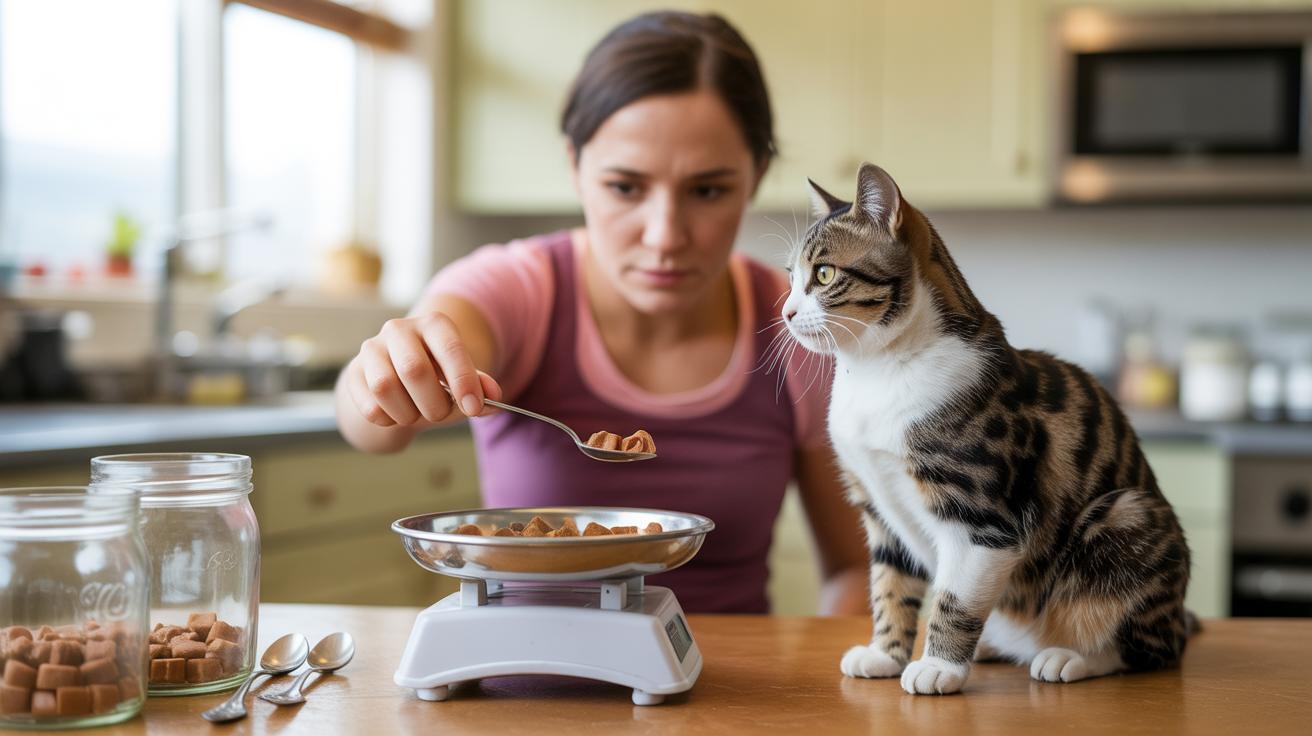
Pick tiny, soft, low-calorie, single-protein bites you can hand out fast, so you can keep reps high and your cat’s tail twitching. Small treats mean one-chomp rewards and lots of training wins. Easy to make, easy to portion, and usually cheaper than store micro-treats.
Micro baked chicken bites
Finely chop or pulse one cooked boneless, skinless chicken breast (chicken breast, cooked and trimmed of bone and skin) into a smooth paste. Add about 1 teaspoon of water if it’s too dry, then press the paste thinly onto parchment paper. Bake at 300°F (150°C) for 12–15 minutes, just until the sheet sets. Cool, then snap into pea-sized bits , about 1 gram each, roughly 1.5–2 kcal per piece. The texture is soft but holds together, perfect for one-chew training. Store in the fridge for 3–4 days or freeze in portioned zip bags for longer.
Pumpkin-salmon soft morsels
Stir 1/2 cup plain canned pumpkin (plain pumpkin, not pie filling) with 1/2 cup cooked or canned salmon (drained and flaked). Spoon dime-sized blobs onto a tray and bake 8–10 minutes at 300°F (150°C) to firm them up, or just chill in the fridge if you want a softer, lickable treat. Aim for about 1–2 grams per morsel , roughly 1–3 kcal depending on how much salmon you used. Keep refrigerated 3–4 days or freeze single-use portions for up to 3 months.
Quick substitutions and tips
- Single-ingredient freeze-dried fish or meat works brilliantly for low-effort micro treats (freeze-dried means the water’s removed fast to lock in flavor).
- Plain meat baby food (meat-only jars) makes an on-the-spot lickable reward for handling or grooming sessions , just spoon out tiny amounts.
- If your cat has a restricted diet, check with your vet before trying new proteins.
- For speed, use a small cookie scoop or the tip of a teaspoon to portion consistently.
Try a few kinds and see which one makes your cat go claw-tastic. I once watched a timid rescue pounce like a tiger for a salmon nub , worth every paw-print.
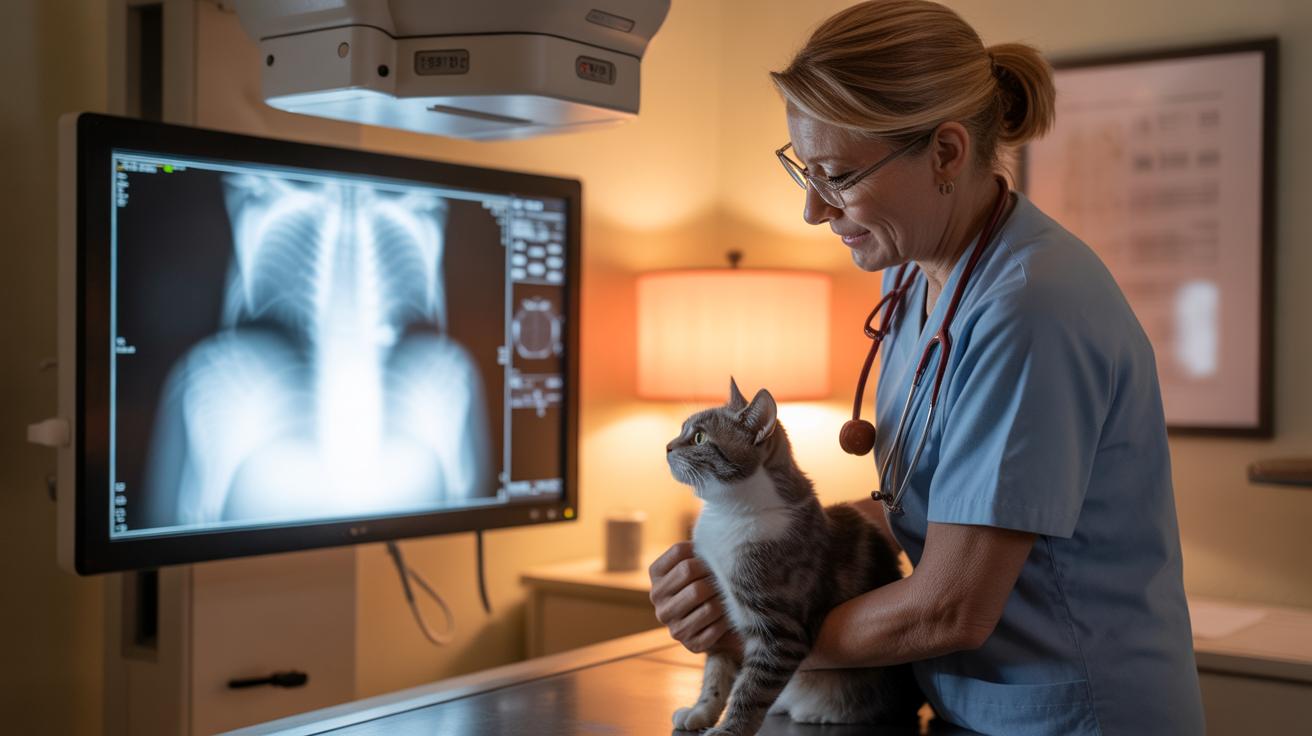
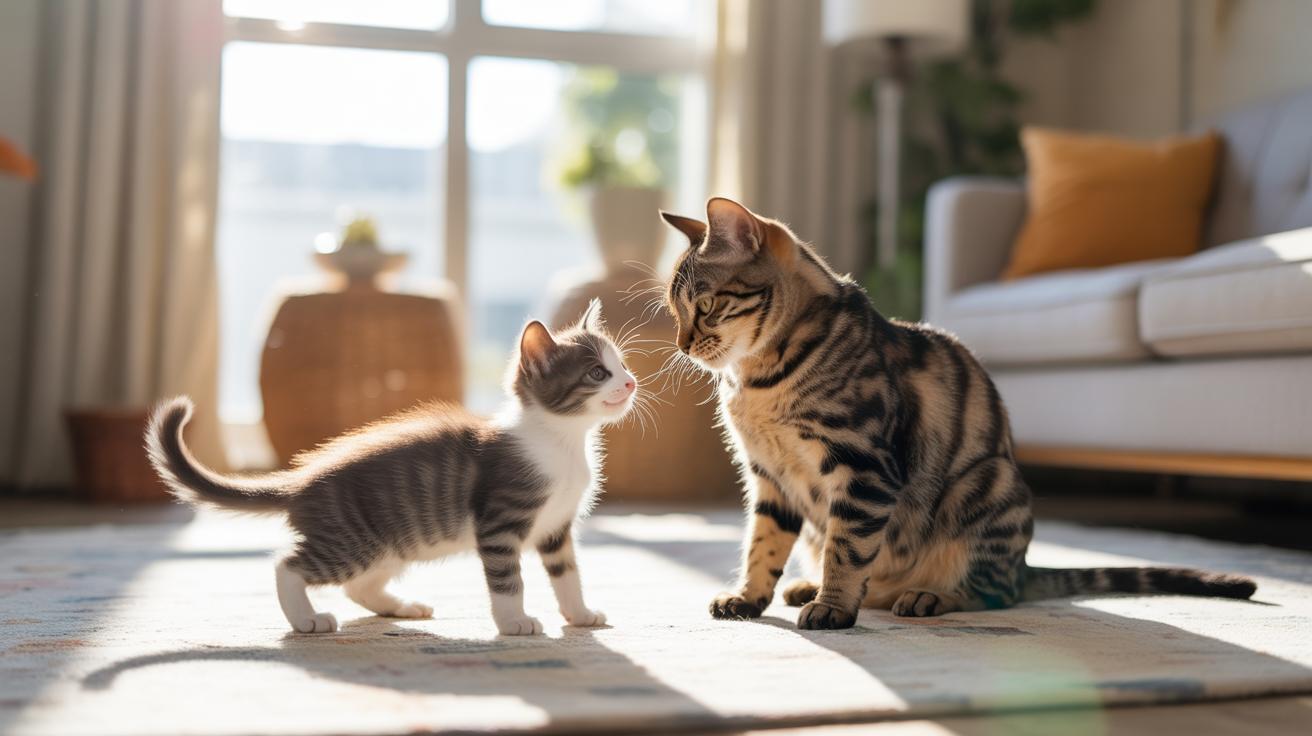
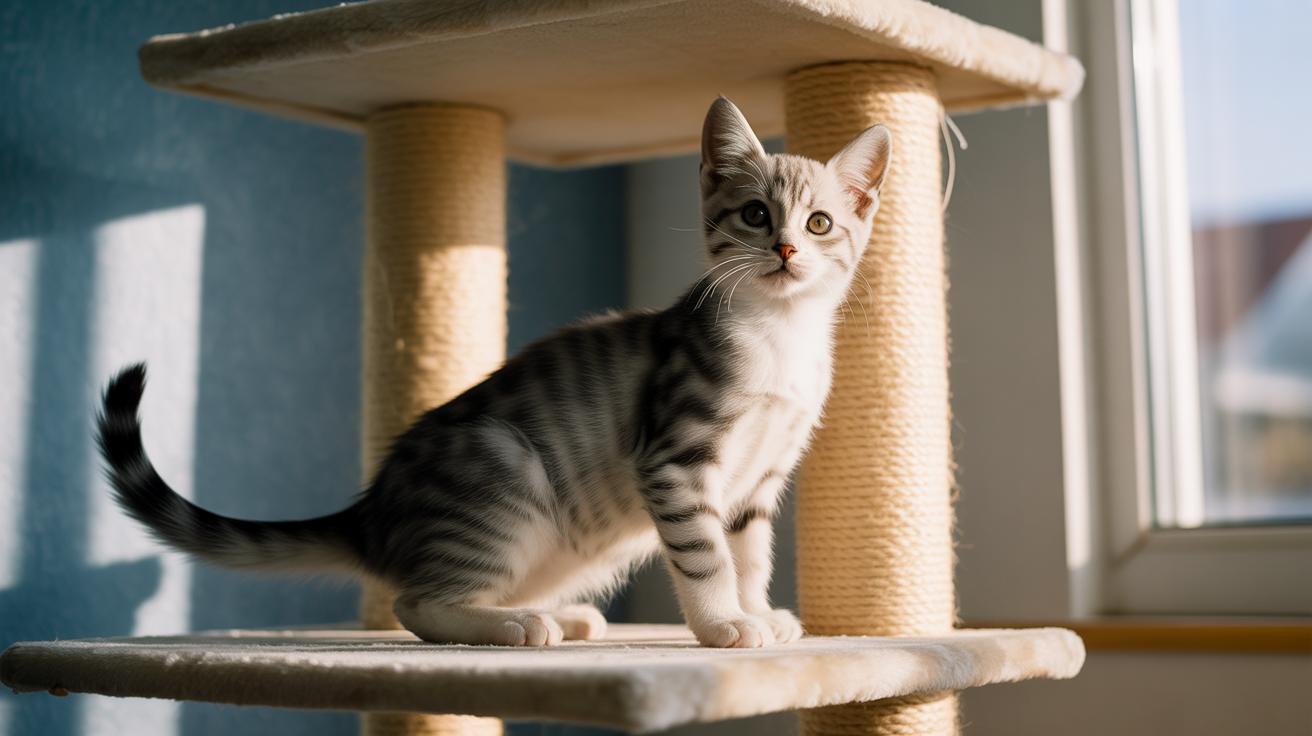
Choosing cat training treats for kittens, seniors, and sensitive cats (age, dental, and allergy guidance)
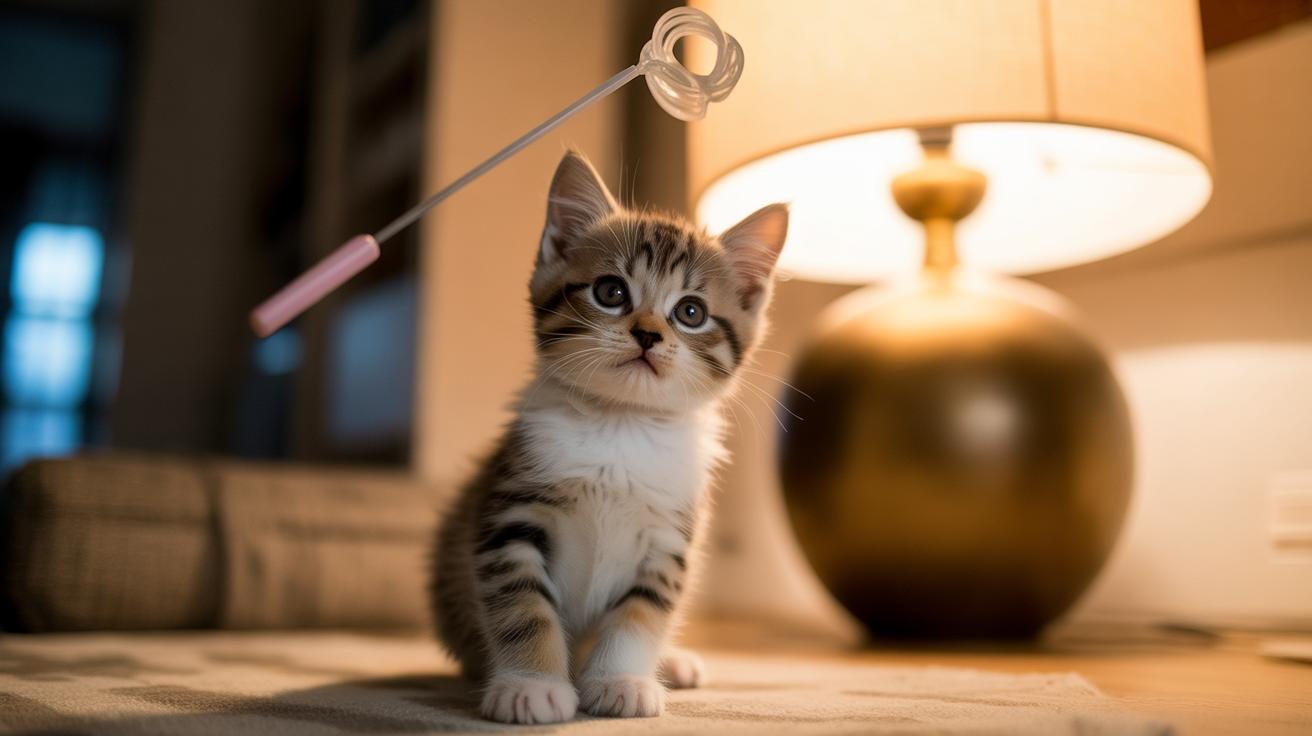
Kittens need tiny, soft rewards they can eat in one bite. Pick soft morsels, moist lickables (sauce-like soft treats), or very small freeze-dried pieces (freeze-dried – water quickly removed to lock in flavor) so a teething kitten can chew without effort. Keep portions smaller than you would for an adult, tie treats to their meal plan so calories stay balanced, and check the package age guidance before giving anything to kittens under 12 weeks.
Older cats often lose chewing power, so choose dental-safe soft chews (gentle on gums and easy to crumble) or freeze-dried bits that crumble with light pressure. A little moisture helps – dampen a crunchy bite with water or add a dab of wet food to soften it. Watch them closely the first few sessions; if they paw at their mouth or drop pieces, switch to softer textures right away.
If your cat has a sensitive stomach or you suspect a food allergy, keep it simple. Try single-ingredient freeze-dried meats (one animal protein only) or limited-ingredient commercial lines (only a few ingredients to lower risk). Start with tiny samples, then watch stool, appetite, and energy for a few days before making the treat part of routine.
Quick vet-check steps:
- Ask your veterinarian before giving treats to cats on prescription diets or with medical issues.
- Start new treats as tiny samples. Observe stool and appetite for 3 to 7 days.
- Stop and consult your vet if you see vomiting, diarrhea, or loss of appetite.
Ever watched a kitten try a new treat and suddenly turn into a tiny purring vacuum? It’s the best. Worth every paw-print.
Best brands and category picks for cat training treats (high-value, budget, and single-ingredient options)
Pick treats by the job you want them to do: fast repetitions, tough behaviors, or simple nutrition-first rewards. Match the treat type to your session style and your cat’s taste so you get motivation without sneaky extra carbs or calories. Sounds obvious, but it changes everything.
High-value rewards
For slow, careful work or scary vet practice, use lickable purées and toppers. Think Inaba Churu-style tubes , moisture-rich (high water content, easy to lick) and totally irresistible , a 2-oz tube is about 6 kcal (calories), so save those for grooming, handling practice, or the really hard steps where you need full attention. They calm cats and buy you focus one lick at a time. Seriously, the slick, meaty lick will get even a distracted kitty to tune in.
Budget and everyday reps
Want lots of cheap repetitions? Small crunchy bits are your friend. Temptations are cheap and everywhere, but they include corn and wheat and have more carbs than meat-first treats , so they’re great for play practice but not ideal if you’re watching protein or carbs. A mid-tier crunchy like Shameless Pets (salmon-first, about 1.5 kcal each) gives more protein and tossability for long sessions. Toss, click, repeat , your hands stay clean and the session can last longer.
Single-ingredient and freeze-dried picks
When scent and pure protein matter, go freeze-dried. Freeze-dried (water removed to lock in flavor and nutrients) treats like PureBites Freeze-Dried Chicken are single-ingredient and roughly 2 kcal per piece , high protein, low fat. The catch: pieces can crumble and vary in size, so you’ll want to break them into micro pieces for fast clicker work. Bonito flakes are another single-ingredient fave (high protein and omega-3s), but they’re messy and flaky, so plan for a little cleanup.
Shopping checklist (quick, useful stuff)
- Check kcal per piece (kcal means calories) so you can track session totals.
- Confirm the ingredient list shows a single animal protein or a meat-first formula.
- Make sure the treat reliably breaks into micro-pieces for quick reps.
- Note packaging and shelf-life so treats stay fresh between sessions.
A final tip: for busy days, stash a few high-value licks for the really important drills and use tossable crunchies for warm-ups. Worth every paw-print.
Treat-carrying gear, storage, and travel options for cat training treats
Grab a small treat pouch with a drawstring or zipper that clips to your belt. Pick one with a secure closure and a wipeable lining so crumbs don’t turn into a mystery science project. Add a hands-free clicker or ring clicker (a small device that makes a sharp sound to mark the behavior) so your timing stays spot on and you don’t spook a shy kitty. Ever had treats hide in your pocket right when your cat finally looks your way? Yeah, not cute.
For outings, portion your treats ahead of time. Pre-portion micro dry bits (very small crunchy kibble pieces) into resealable snack bags so you can snap one out, toss it, and keep moving. Bring a small travel spoon or a silicone cup (flexible, easy-to-clean cup) for lickable toppers , those soft, moist treats you spread or spoon , and toss in a tiny cooling pack (a small gel pack) if you’re carrying wet toppers. Measure portions before you go so you don’t accidentally overfeed during a session. Quick training, happy cat, less math.
At home, store treats in a cool, dry spot and reseal bags or use airtight jars (containers that keep air out and freshness in) for crunchies and freeze-dried treats (made by quickly removing water to lock in flavor). Check expiry dates now and then, and wash your pouch, spoon, or silicone cup between uses. Pre-portioning saves time, keeps calories predictable, and makes training on the road way less chaotic.
Worth every paw-print.
Final Words
In the action: choose small, low-kcal, breakable, meat-first treats for fast reps and steady weight – think micro dry or tiny freeze-dried (dehydrated to concentrate flavor) bites.
Check texture/format notes for when to use crunchy tossables versus lickable purées (moist, high-value reward) and see the portion-control section for the full calorie math and session planning.
For DIY recipes and clicker timing tips, try the homemade micro-bites and the timing plan in the clicker section – your cats get mental play, you save cash and furniture, and training with cat training treats feels fun and doable.