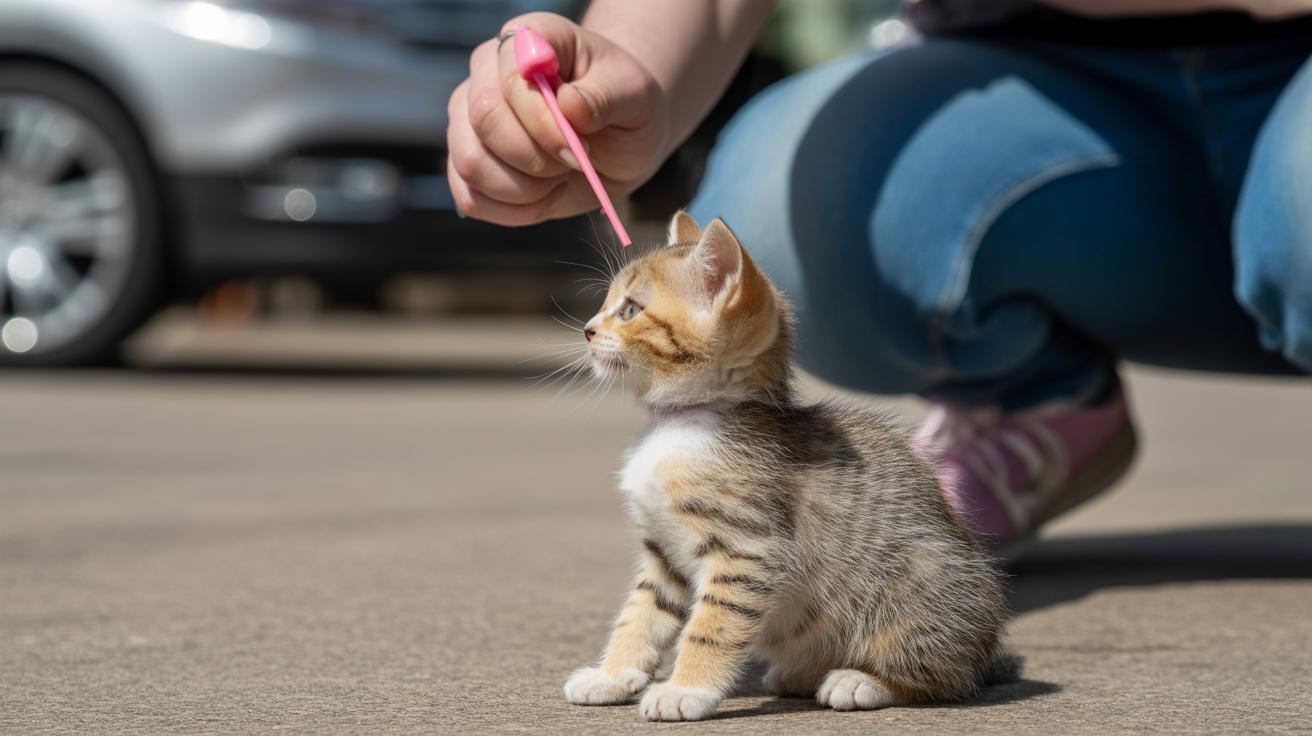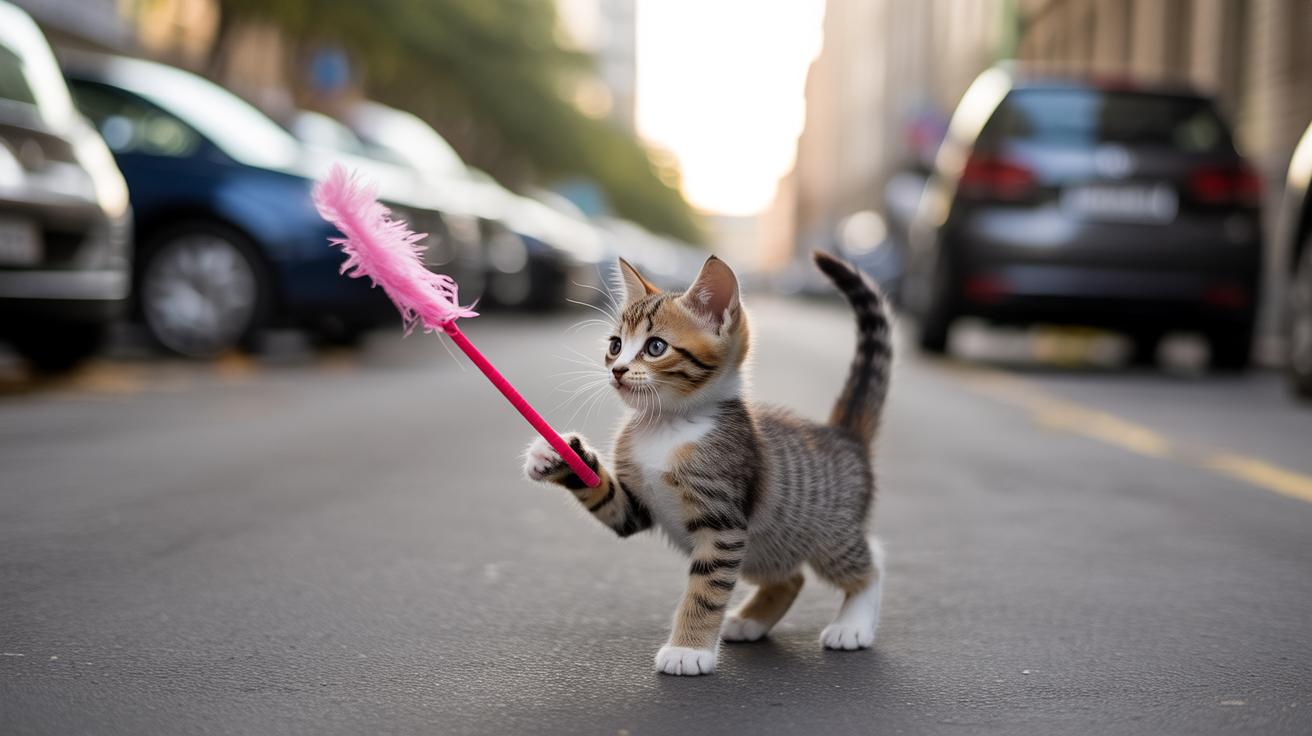
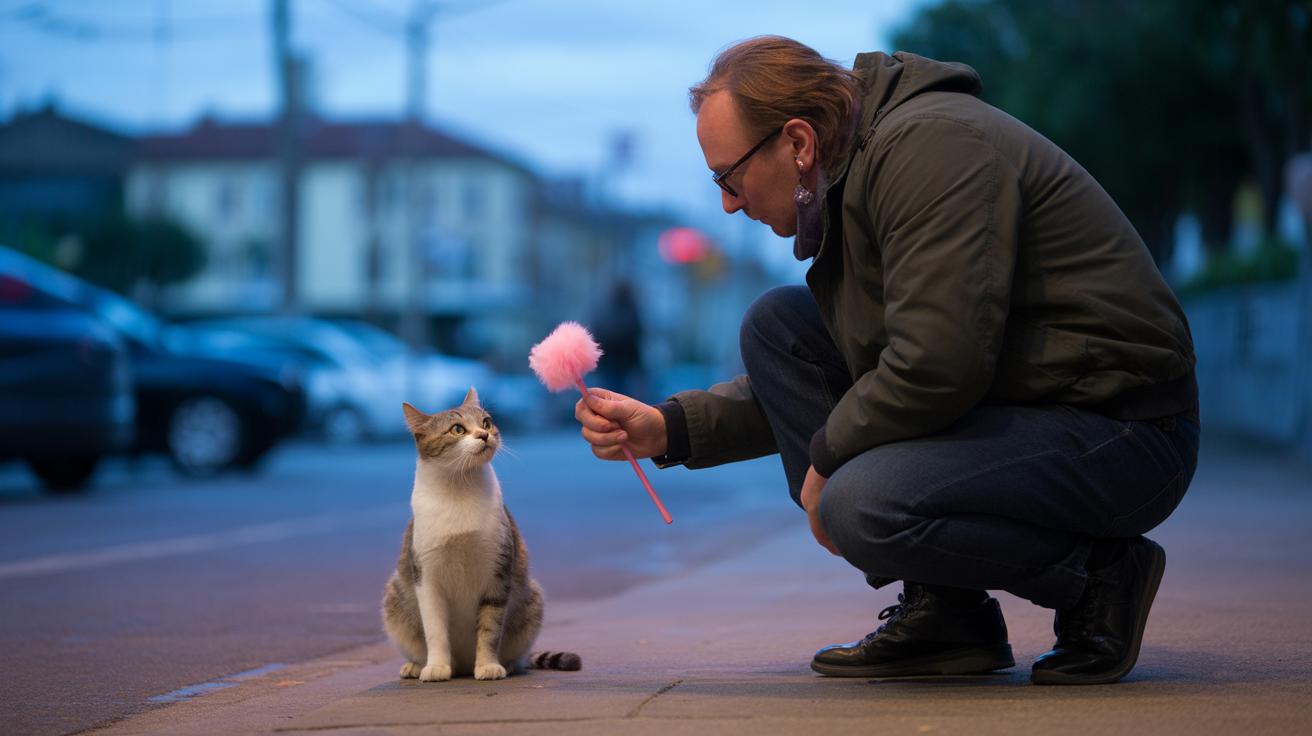
Think your cat's teaser wand is harmless? Think again. Those fluttery feathers and skinny strings look like pure fun, but they can hide real risks like choking, tangled limbs, or injured eyes. Ever watched your kitty chase a feather until their whiskers twitch? It’s adorable and a little nerve-racking.
I once watched Luna go from playful pounces to a wide-eyed fixation, her paws going in circles around a string. That’s why short, supervised play sessions and a clear capture at the end matter. Capture (end the game by giving a treat or letting your cat “catch” a safe toy, then put the wand away) gives your cat a win and keeps things safe.
Before you play, do a quick check: make sure feathers and attachments are secure, clips and knots are tight, and strings are not frayed. Keep sessions short, about 5 to 10 minutes for most cats; kittens should have shorter bursts. Always watch while you play, and store the wand out of reach when you’re done.
If your cat does get tangled, stay calm and call them with a soft voice or a treat to distract them. If they won’t let go or the string is wrapped tightly, gently cut the string close to the knot with scissors and get help; if there’s bleeding, a limp limb, or an eye injury, contact your vet right away. And, um, don’t feel bad, these things happen to the best of us.
Worth every paw-print.
Quick-action safety summary: what to do right now
Always watch every teaser wand play session. Give the wand and attachments a quick once-over before you start. End play with a satisfying capture or treat so your cat doesn’t keep chasing and get fixated.
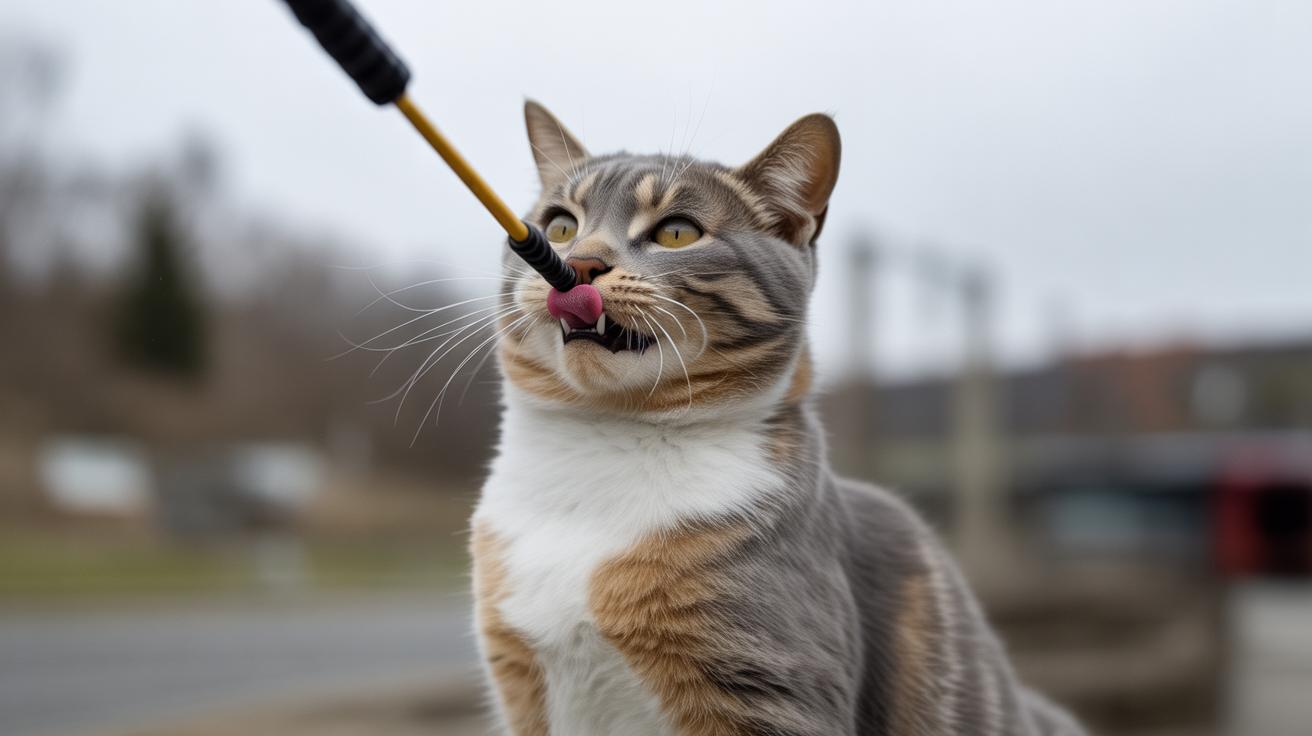
Common immediate risks: choking (airway blockage from small parts), entanglement (string wrapped around a paw or limb), eye trauma (eye injury from whipping motions), and overstimulation that can lead to biting or redirected aggression. Ever watched your kitty go from zoomies to full-on pounce mode? That’s when you step in.
Keep sessions short and focused. Aim for 5 to 10 minutes per burst, up to three bursts a day for active adult cats; shorten those bursts for kittens and seniors. If something goes wrong, stop play, separate the cat calmly, and cut the line with scissors if they’re tangled (careful not to cut skin). Call an emergency vet right away for severe signs like persistent vomiting, trouble breathing, heavy bleeding, collapse, or not responding.
- Do supervise every wand session.
- Do use non-toxic, larger attachments (no tiny parts that could be swallowed).
- Do end each session with a “capture” or treat so play feels finished.
- Do check the play area for cords, sharp corners, and other hazards before you start.
- Do rotate and inspect attachments for wear or loose bits before each use.
- Do keep sessions short: 5–10 minutes per burst, up to three times a day for active adults; reduce for kittens and seniors.
- Don’t use elastic bands or rubber bands as attachments.
- Don’t leave a wand, string, or parts lying around unattended.
- Don’t whip the rod toward your cat’s face or eyes.
- Don’t use tiny detachable beads or parts smaller than 1/2 inch.
Worth every paw-print.
Materials, buying, and DIY
Start with a solid rod. Wood handles (light and grippy) or aluminum (a lightweight metal that bends instead of snapping) make great bases. Avoid brittle plastics that can crack into sharp bits. The part that flies? Natural feathers (real feathers that shed) or short-pile faux fur (soft synthetic fur with short fibers) feel irresistible to cats. Thick synthetic fabrics stand up to chewing way better than thin ribbon, and they make a more satisfying swat. Use thicker monofilament (single-strand fishing line) instead of thin thread for the connection. It resists fraying and is less likely to snap into dangerous fuzzy bits.
Dyes and glue need attention. Cheap dyes and unknown adhesives can leach or stain paws and mouths. Spot-test new colors by rubbing a damp white cloth over the piece. If color blooms, skip it. Prefer sewn seams and stitched backing over glued-only joins. Pet-safe adhesives (water-based and labeled non-toxic) are okay for quick fixes, but don’t rely on glue alone. Also watch for metal parts that might contain heavy metals and avoid anything unlabeled.
Sizing and design keep play safe. Make the toy end at least 2 inches across so cats can bat without swallowing it. No beads smaller than 1/2 inch. Tiny detachable bits are choking hazards. Pick wands with clip-on or replaceable tips so you can swap worn pieces instead of tossing the whole rod. Avoid permanently glued-on tiny parts or loose threads that can pull free during play.
Quick buying checklist
- Replaceable ends clearly labeled.
- Non-toxic materials called out.
- Thick line connections visible.
- Visible stitching and solid backup knots.
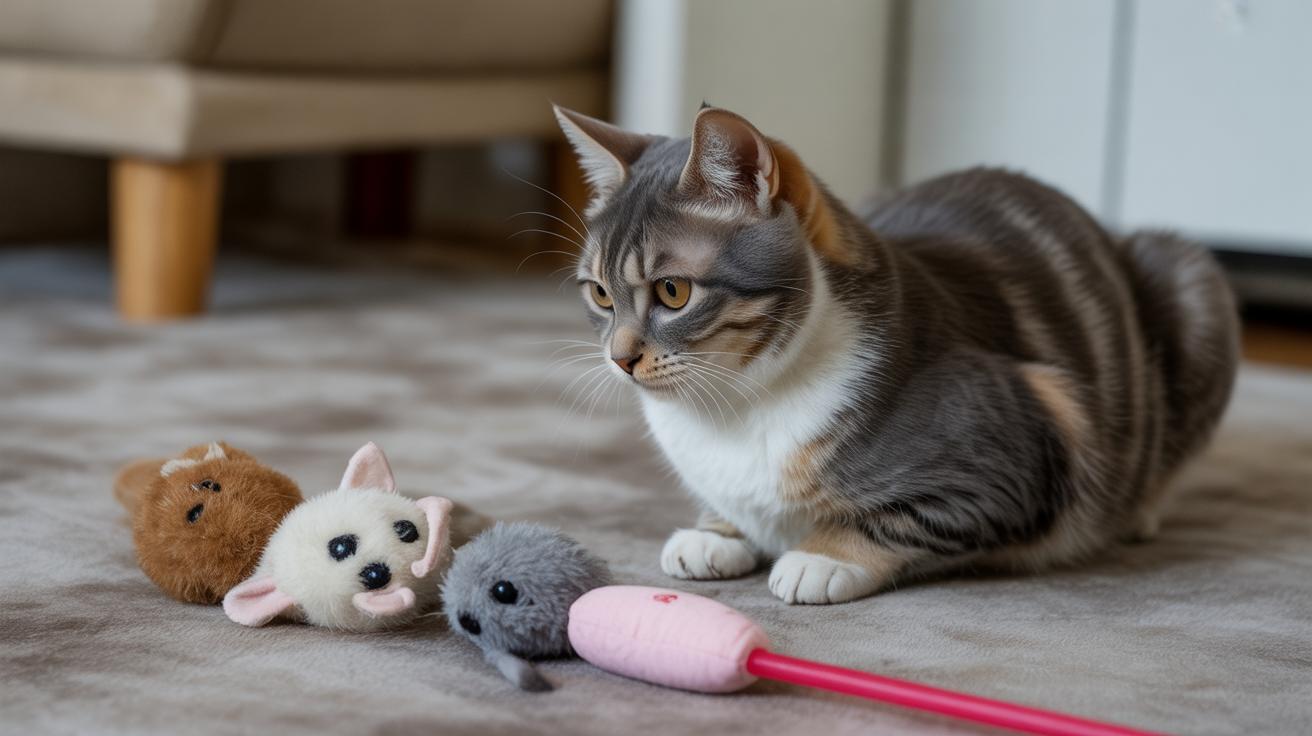
DIY picks that work. For homemade teaser tips, use tightly woven cotton (sturdy quilting cotton), felt (dense wool or synthetic fabric), or short-pile faux fur (low-shed synthetic). Sew seams with double stitching and use a stitched backing cloth for repairs instead of just glue. Don’t use plastic bags, rubber bands, or small beads. Store spare tips separately so you can rotate them in when one shows chewing damage. Speaking of feathers, my cat once traded a feather for a nap, so rotating keeps things interesting.
Safe knotting and attachment methods
Keep knots simple and strong. A double-overhand knot (two wraps) with at least a 1/2 inch tail tucked under a stitched backing patch helps stop slippage. For loop attachments, thread the line through a small metal ferrule or a sturdy clip and crimp or stitch the ferrule to lock it in place. Use thicker monofilament (single-strand fishing line) rather than thin sewing thread.
Want a breakaway connection? Use a small breakaway clip or a deliberately weaker short cord section that releases under moderate force. Test it by tugging so the connector comes apart before the line tightens around a paw. Quick reminder: toy-end should be at least 2 inches across, no beads smaller than 1/2 inch, and leave about a 1/2 inch tail beyond knots for safe stitching. Worth every paw-print.
Teaser Wand Safety Tips for Cats
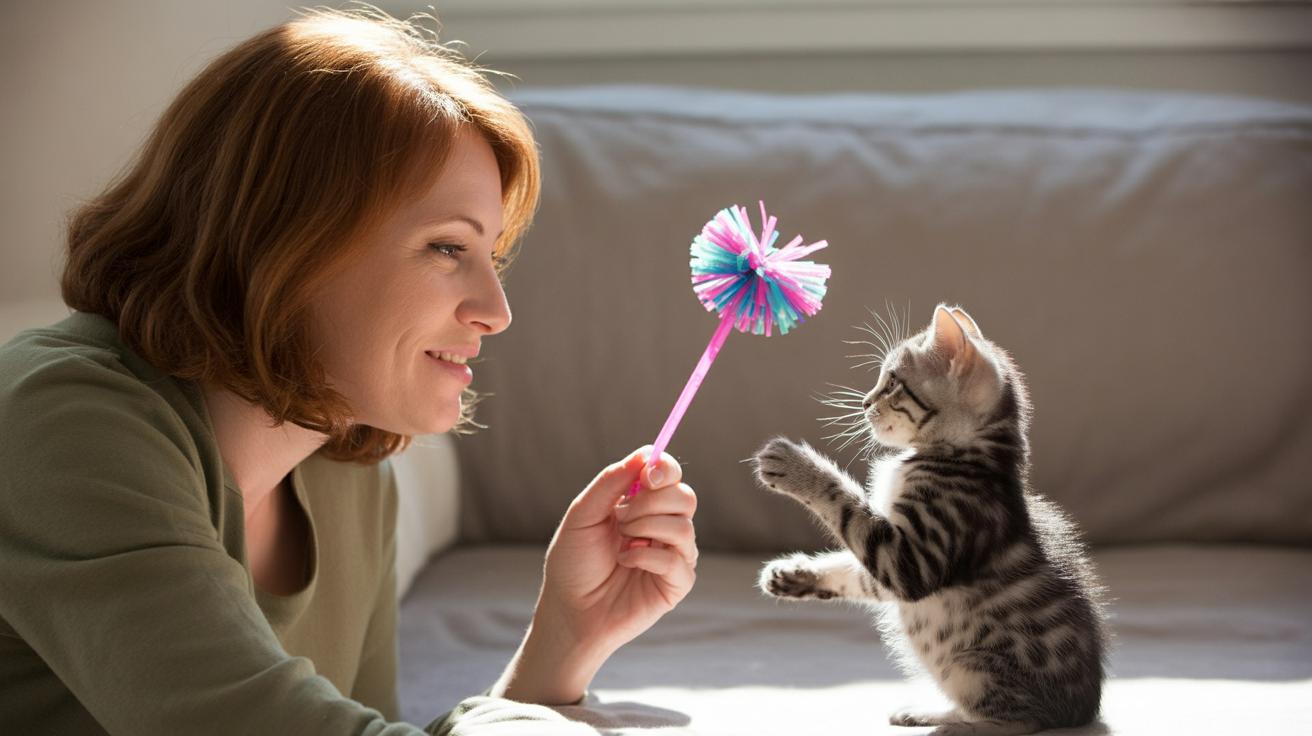
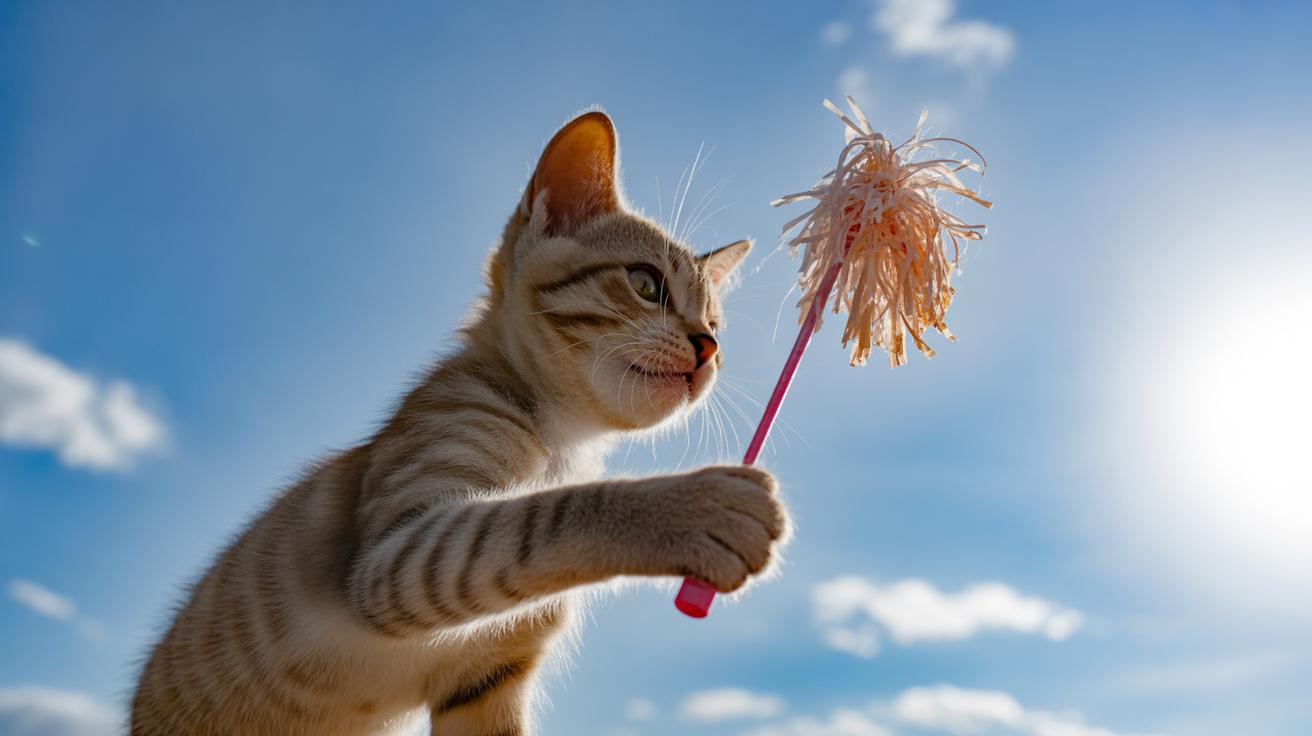
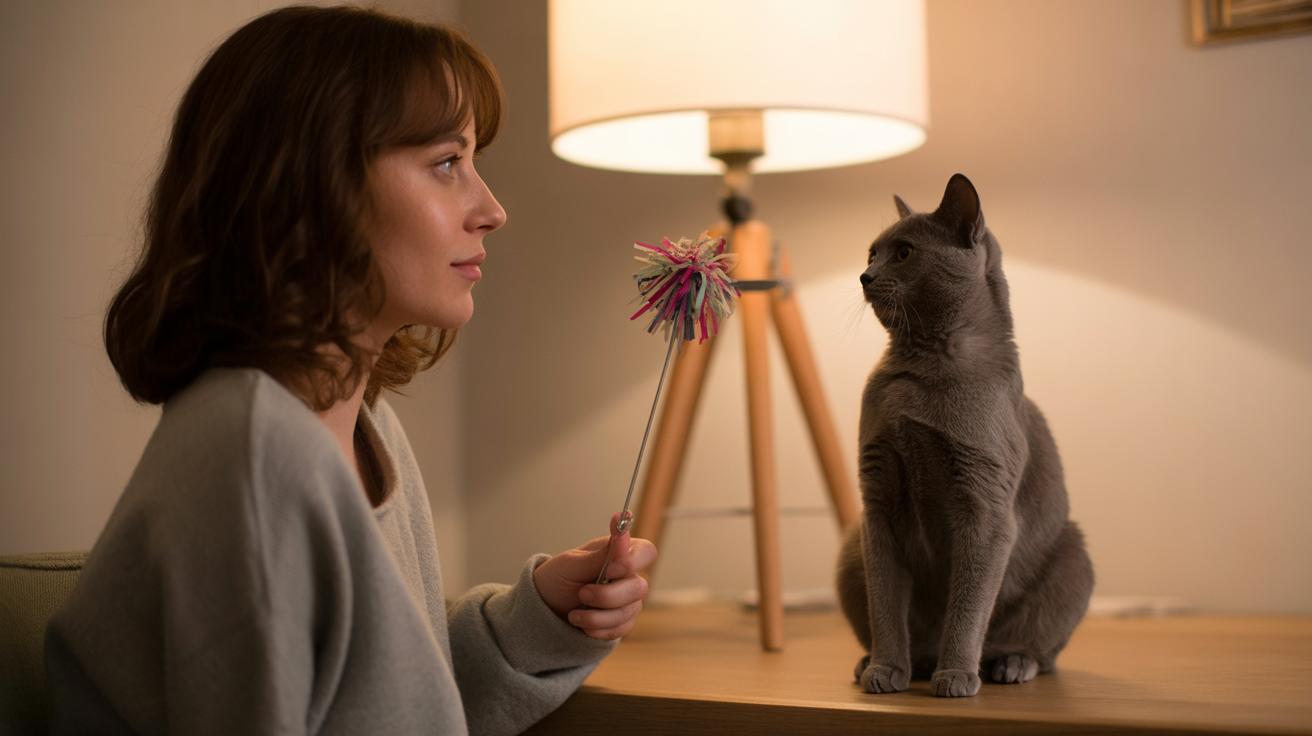
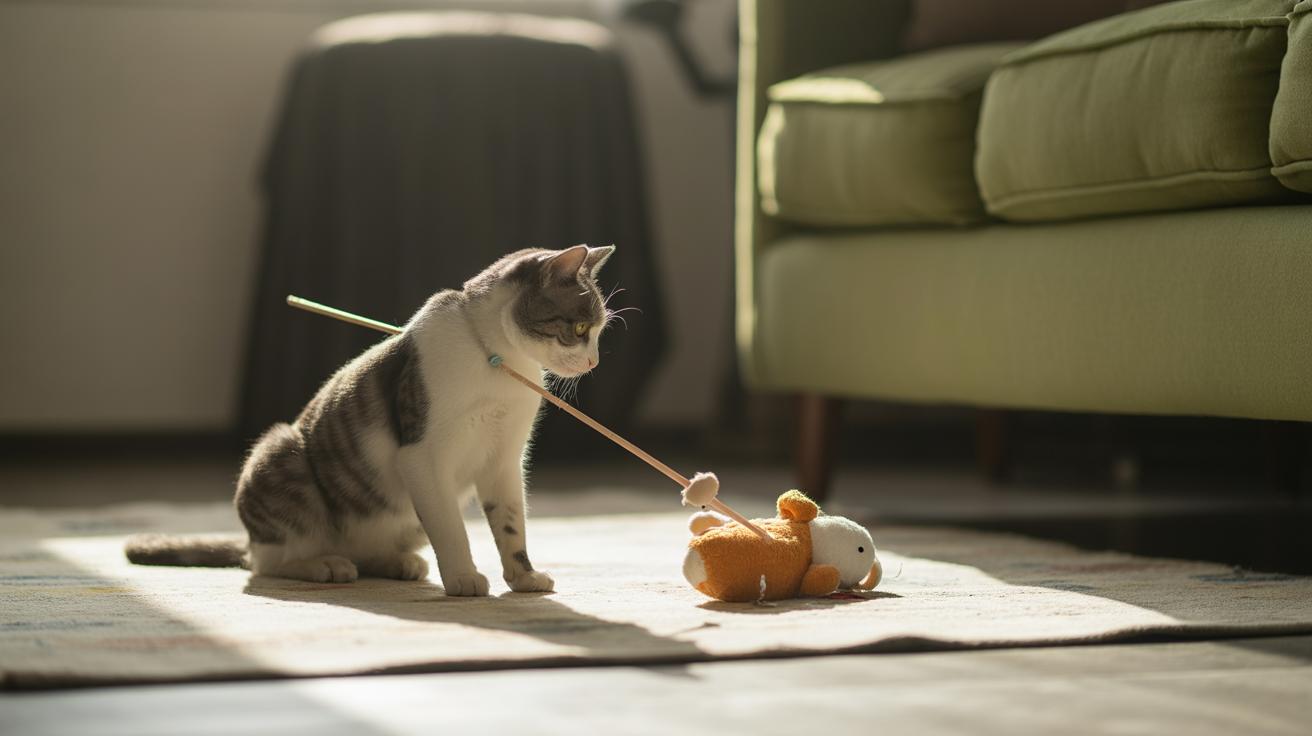
Active supervision keeps small things like swallowing or tangling from turning into big problems. Stay low or kneel so you control the wand (a stick with a string and toy on the end). Keep the handle (the grip you hold) out of paw reach between moves, or tuck it under your foot when the chase pauses. Hold the rod (the stick) so the line (the string) never drags behind furniture where a curious paw can snag it. Controlled, deliberate motions beat wild swinging every time , safer and more fun for your kitty.
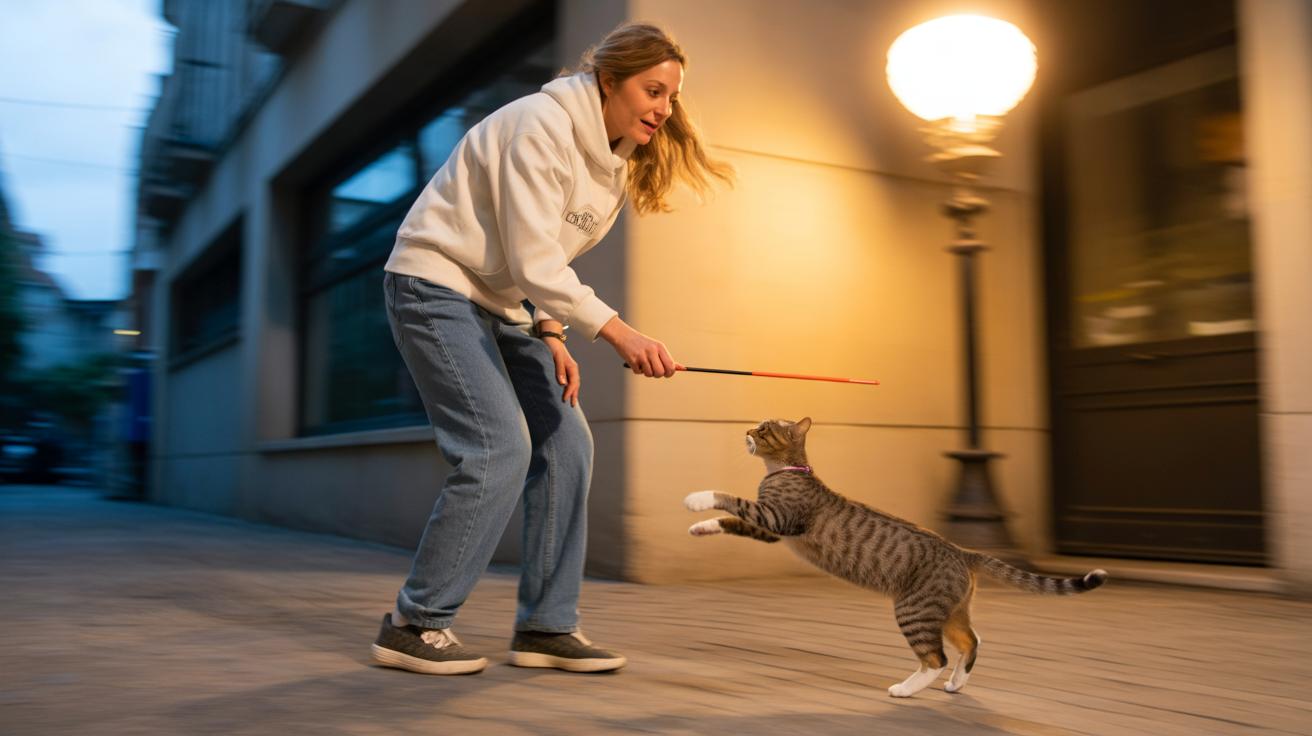
Run play sessions like a tiny story. Start slow to spark interest, build into a lively chase with quick, jerky moves that mimic prey, then end with a calm capture and a treat or gentle petting so the hunt feels finished. Your cat’s whiskers will twitch as the toy darts away and the final pounce feels so satisfying. Clear the room first, put away cords and breakables, and check the quick-action checklist for exact burst lengths and how often to repeat sessions.
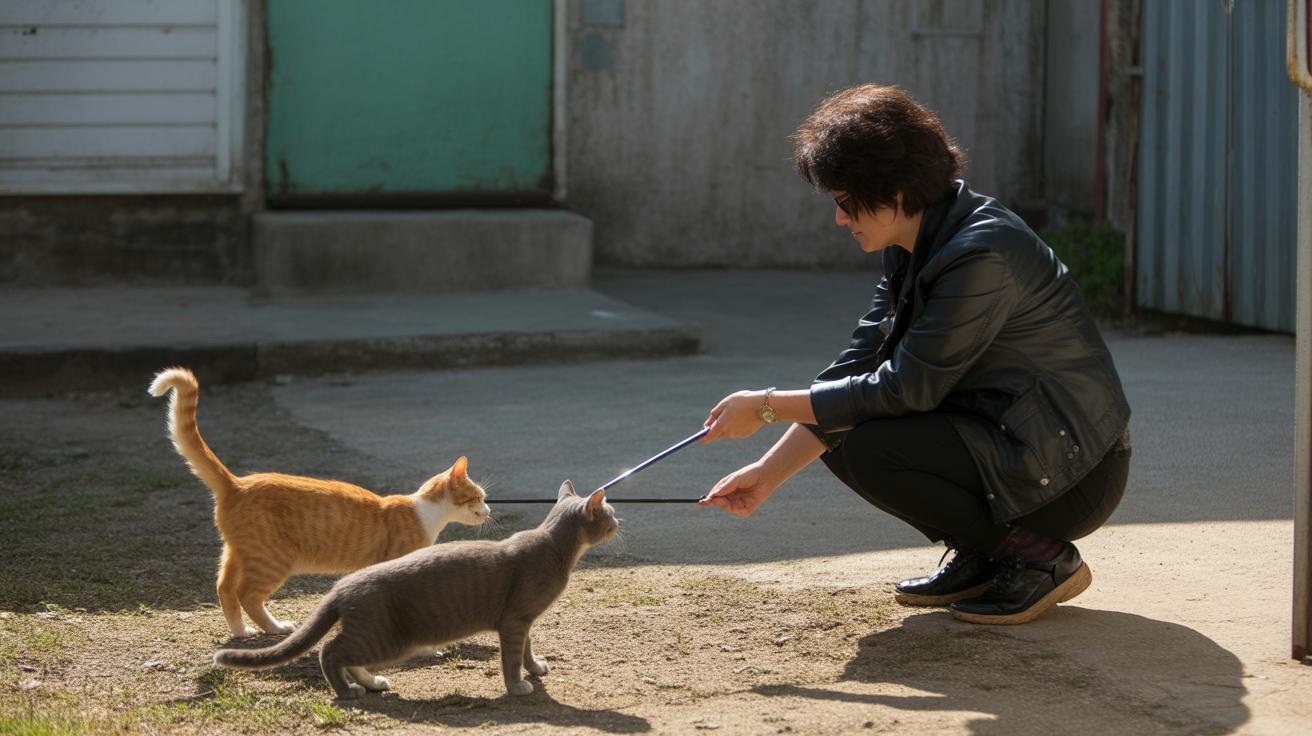
Multi-cat homes need a plan so no one hogs the spotlight. Offer multiple wands or stagger playtimes so the high-drive kitty doesn’t monopolize the toy. Use separate areas or close a door for back-to-back sessions and watch for resource guarding, blocking access, hissing, or one cat stealing the toy and refusing to share. Rotate toys so every cat gets a turn and play stays peaceful.
Signs of overstimulation and when to stop
Watch for tail lashing, flattened ears, sudden hard bites, or frenzied spinning. If you see any of those, pause play. Swap to a calmer on-floor toy, or calmly separate the cats and follow the quick-action checklist’s immediate stop actions. Worth every paw-print.
String hazards and emergency response
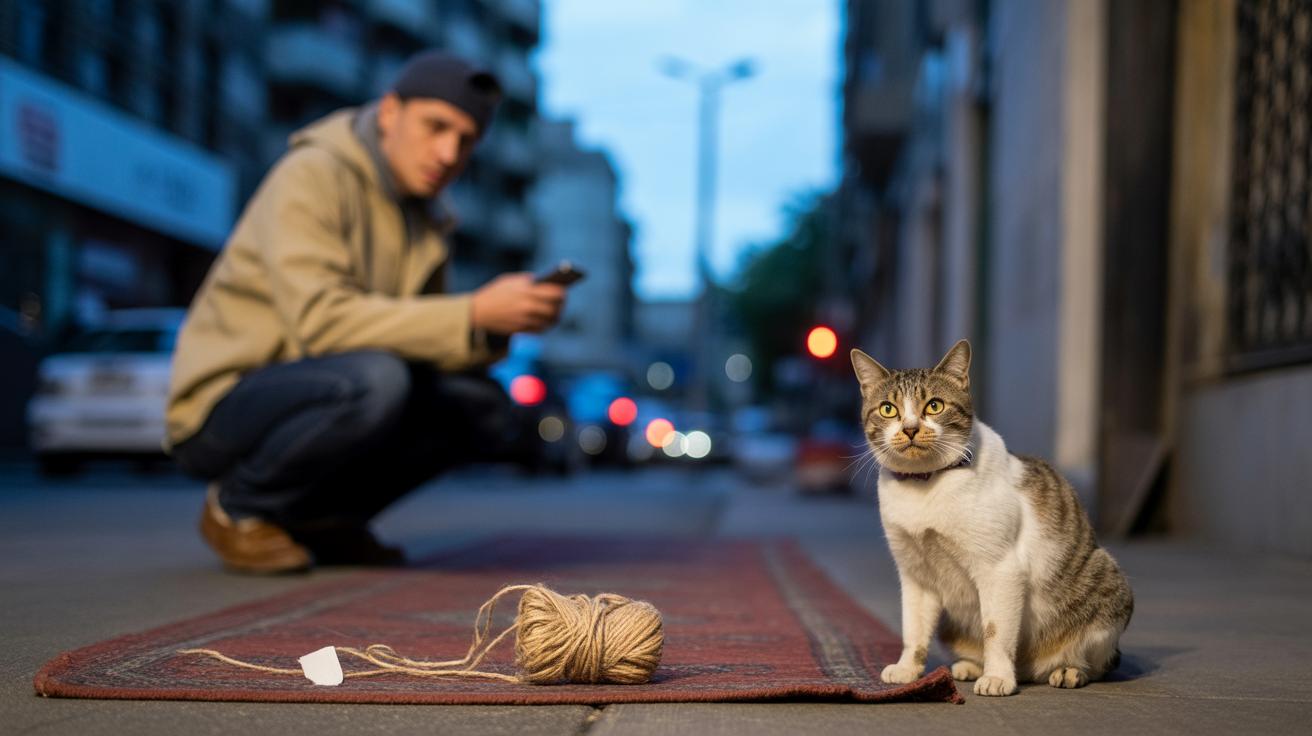
Scope: This section explains how string and other linear things can hurt cats, which signs mean you need urgent care, what to do right away at home, and exactly when to call an emergency vet.
A linear foreign body (a length of thread or string that runs along the intestinal tract) can be sneaky. The string can catch in the mouth or stomach while the intestines try to pull the rest through. The outside bit acts like an anchor while the inside part bunches and slides, sawing into tissue. Thin sewing thread or long loose fibers are more dangerous than thicker monofilament (single-strand fishing line) because thin lines cut, fray, and can slip between gut folds.
Watch closely for these red flags and call your vet if you see any of them:
- Drooling or lots of saliva – call right away.
- Repeated vomiting or gagging – urgent vet contact needed.
- A hard, swollen, or very tender belly – get emergency help.
- Not eating for more than one meal – call your clinic.
- Lethargy, stumbling, or collapsing – go to emergency care.
- Trouble breathing or noisy breathing – emergency attention required.
If your cat gets tangled, stay calm. Stop play and separate gently so you don’t scare them. Cut any external line close to the toy to free the cat instead of pulling, because pulling can make internal damage worse. Don’t try to fish a swallowed thread out of the mouth or throat – that can slice tissues. Keep your cat quiet and warm, wrap them gently for transport, and head to your vet or the emergency clinic promptly. Ever watched a cat freeze mid-pounce? Yeah, stay calm like that.
Call an emergency clinic immediately for persistent vomiting, severe belly pain, breathing trouble, collapse, heavy bleeding, or signs of shock. Bring the toy and any detached pieces, note the time your cat was exposed, and take photos if you can. The clinic will likely do diagnostics such as x-ray (radiograph to see inside), ultrasound (sound waves that image organs), endoscopy (a camera on a flexible tube to look down the throat and stomach), or surgery to find and remove a linear foreign body.
Quick checklist
- Cut the external line right away if your cat is tangled.
- Do not pull on a thread that may have been swallowed.
- Watch for drooling, repeated vomiting, a hard belly, lethargy, or breathing trouble.
- Phone an emergency vet now for any severe sign listed above.
- Bring the toy or parts, the exposure time, and photos to the clinic.
- Expect x-ray, ultrasound, endoscopy, or surgical removal if ingestion is suspected.
Act fast. It really can make the difference.
Maintenance: inspection, cleaning, storage, rotation, and records

Scope: Here we cover the quick checks to do before play, simple cleaning methods, when to replace toys, smart storage tips, a rotation schedule, and a tiny log you can use to track toy history. Think of this as a no-fuss routine that keeps play safe and fun.
Do a quick pre-play scan every time. Look for frayed threads, loose knots, detached feathers, cracked handles (wood or plastic), sharp edges, chewing, exposed stuffing, or popped seams. If you see any of those, pull the toy out of rotation right away. Ten seconds now can save a vet visit later. Ever watched your kitty chase shadows? That’s the exact kind of play you want to keep worry-free.
Washing basics: Toss soft fabric toys in a gentle, cold cycle inside a mesh laundry bag (a netting bag that keeps tiny bits from disappearing). Use a pet-safe detergent that’s fragrance-free and skip bleach or harsh solvents. For mixed-material toys, hand-wash with mild soap and warm water, rinse until the suds are gone, and lay flat to air dry so glue seams (the adhesive holding pieces together) don’t soften. Wipe rigid parts (plastic or wood) and handles with a pet-safe disinfectant wipe or a damp cloth and mild soap, then dry thoroughly. Wet bits can grow mold or loosen stitching and glue.
Replace toys the moment damage appears. Visible chewing, jagged edges, or exposed stuffing are non-negotiable replace moments. Don’t rely on a fixed calendar date; note what failed and replace when wear shows up. Keep a short log entry with purchase or replacement date and the failure mode so you spot patterns , like a feather tip that always sheds after two weeks.
Store wands and spare tips out of paw reach in labeled containers or a closed drawer so curious cats don’t “help” between sessions. Rotate toys weekly to cut focused wear and boredom – bring a different tip or wand into play each week and inspect it before the first use. Keep worn tips separated and marked for retirement so you don’t accidentally hand a partially chewed toy back to your cat. For busy days, toss an unbreakable ball before you head out , that’s ten minutes of safe play while you’re gone.
A tiny log makes this easy. Jot date, item, what you saw, and what you did. Over time you’ll see patterns and know which bits last and which need upgrades.
| Date | Item | IssueObserved | ActionTaken |
|---|---|---|---|
| 2026-01-10 | Feather tip | Loose quill, small feathers falling | Removed, replaced with faux fur tip |
| 2026-01-15 | Faux fur ball | Seam split, stuffing exposed | Discarded, logged replacement |
| 2026-01-22 | Monofilament line | Fraying near knot | Retied with stitched backing, tested |
| 2026-01-29 | Wooden handle | Crack forming | Replaced rod, stored old for craft scrap |
| 2026-02-05 | Clip-on tip | Clip loosened | Replaced clip, marked for closer inspection |
Age- and condition-specific safety
Scope: This section gives simple, targeted safety tips for kittens, seniors, and cats with medical needs. Session timing and emergency steps live in the quick-action checklist and the maintenance section, so check those for exact times and stop-actions.
Kittens mouth everything when they’re teething, so pick chew-resistant ends like tightly stitched felt (soft fabric that won’t come apart) or short-pile faux fur (short, plush fake fur), and use thicker monofilament (a single, thin fishing-line style thread) connections. Supervise every play session , don’t leave a kitten alone with a wand , and swap to a sturdier chew-safe tip the moment mouthing turns to biting or shredding. Short bursts are best; your kitten will pounce, then flop, then ask for more. Cross-reference the quick-action checklist for exact session lengths and immediate stop actions.
For senior or mobility-limited cats, slow things down. Lower the toy height, keep movements gentle and ground-level, and use soft, low-flying targets that invite stalking rather than big leaps. Watch breathing, long pauses, or limp responses as signs to stop; older bodies tire fast. Finish calm, maybe with a slow pet or a small treat to mark play as over, and shorten sessions compared to a young adult cat. Skip high jumps and fast, whip-like motions that can jar joints.
If a cat is post-surgery, wearing a collar, or has stitches, get the vet’s okay before bringing back active wand play. Use low-risk designs with large, non-detachable tips and a longer handle so the toy stays away from incisions or the collar. After play, check the wound for rubbing, redness, or swelling and pause active sessions until your vet clears full activity. Safety first, fun next.
Worth every paw-print.
Final Words
Supervise every wand session, check the tip before play, and always finish with a calm “capture” so the hunting urge is satisfied.
This post ran through quick-action stops, safe materials and knot tricks (think thicker monofilament, like a strong fishing-line cord), multi-cat strategies, string hazards (thin thread that can tangle and snag), emergency signs, cleaning, storage, and age-specific tweaks.
Practice these teaser wand safety tips for cats with short, joyful bursts. Your crew stays active, your toys last longer, and home life gets a lot cozier.
FAQ
What are the best teaser wand safety tips for cats and how do I use wand toys with my cat?
Supervise every session, inspect attachments before and after play, finish play with a “capture” treat or tangible toy, use short 5–10 minute bursts, avoid thin threads, and never leave the wand unattended.
Is the Da Bird cat toy safe to use?
Yes when used correctly: supervise play, replace frayed feathers (natural or synthetic), remove any detached bits, keep sessions short, and store the wand out of reach between uses.
What toys are safe for cats?
Choose toys made from non-toxic materials with replaceable tips and attachments at least 2 inches wide. Avoid beads smaller than 1/2 inch, elastic bands, and thin thread; prefer thicker monofilament (single-strand fishing-style) lines.
How do I play safely with my cat using lasers?
Never shine the beam into your cat’s eyes, use short 5–10 minute bursts, finish with a tangible “capture” toy or treat, and stop if chasing becomes frantic or obsessive.
What is the 3 3 3 rule for cats moving?
The 3 3 3 rule: three days to hide and adjust, three weeks to explore the new space, and three months to fully settle and resume normal behavior and confidence.