Sick of tiny paw prints on your toast and your cat treating the counter like a private VIP lounge? Cats love high spots and the smell of crumbs. Your kitty’s whiskers twitch, it inches closer, and before you know it there’s a paw on your plate. Ever watched a cat leap and thought, "Really?" Me too.
Here’s a short, humane 10-step plan with fast, practical moves you can try today. Clear away food and crumbs so the attraction disappears. Block the launch spots (those favorite jump or launch spots) so your cat has fewer easy paths up. Add a nearby perch or shelf so they still get height without the danger. Use a gentle marker-and-reward routine (marker: a short sound or word to mark good behavior, reward: a tiny treat) so your cat learns what you want. These steps help your cat stay safe, teach a new habit, and give you your kitchen back.
Worth every paw-print.
Quick-start: 10-step action plan
Use this quick starter plan when you want fast, humane steps to keep your cat off counters and safe. It’s simple, practical, and you can mix these ideas depending on your home.
-
Clear counters of food, crumbs, and dishes. Cats sniff and hunt, those crumbs are an invitation. (see Food management, feeders and schedules)
-
Remove or block boost points like chairs and stools. Boost points are the things cats jump from, so move them away or push them under the counter for a bit. (see Safe deterrents and counter-proofing)
-
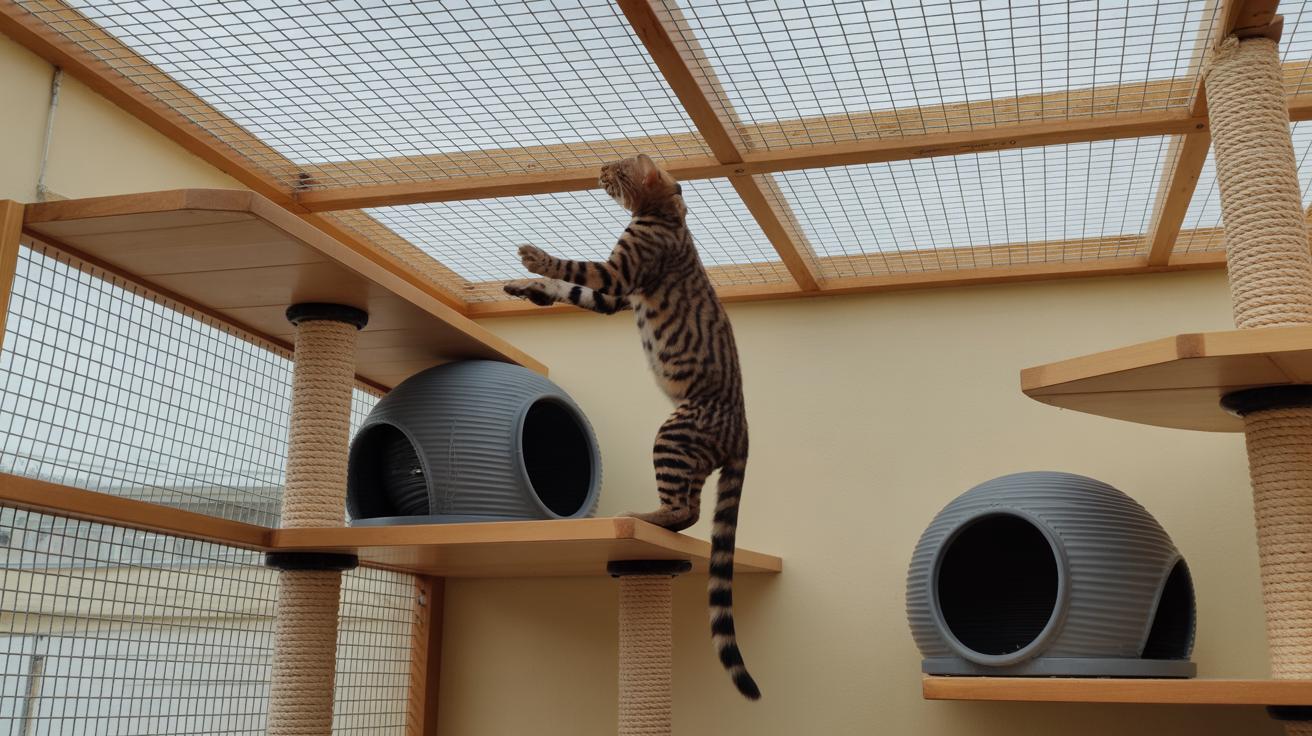
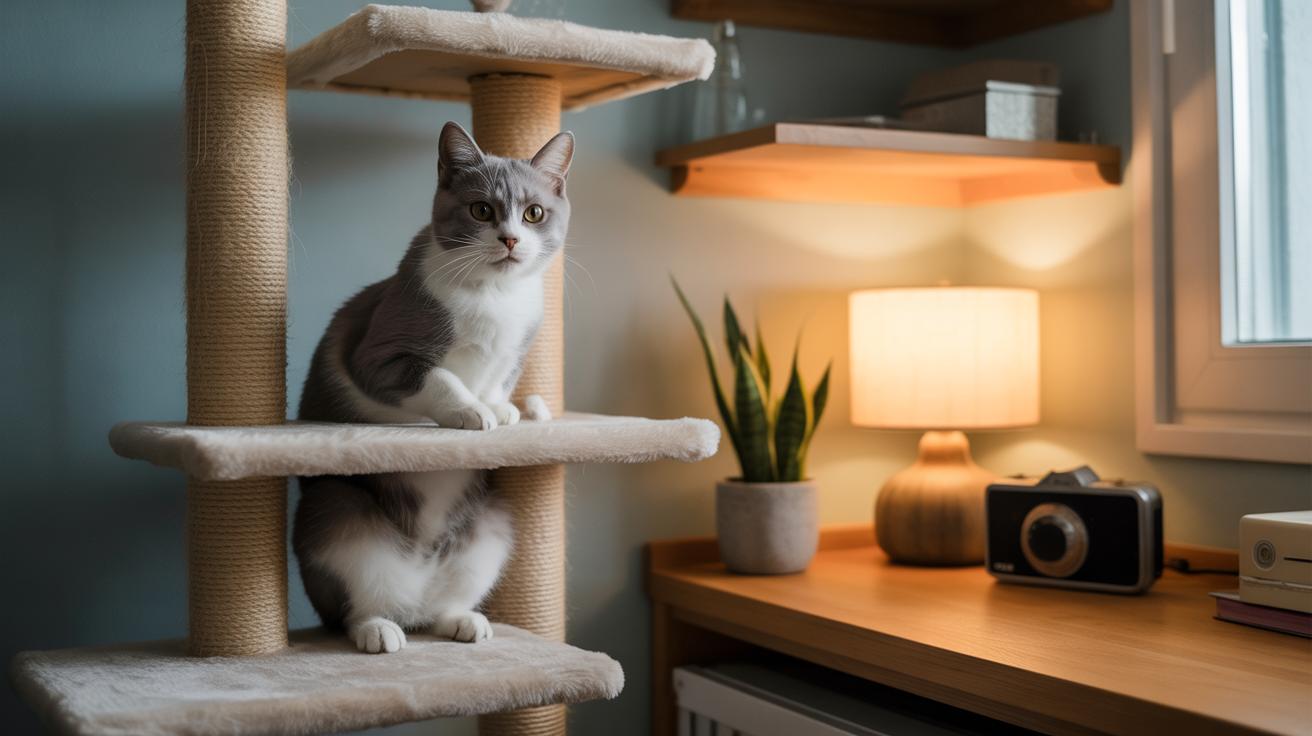
Put a stable perch or cat tree beside the counter as a nearby option. A perch or tree (tall climbing post or ledge) gives them the same height without the countertop chaos. Your cat may choose the perch when it wants the view. (see Provide alternatives: trees, shelves, perches)
-
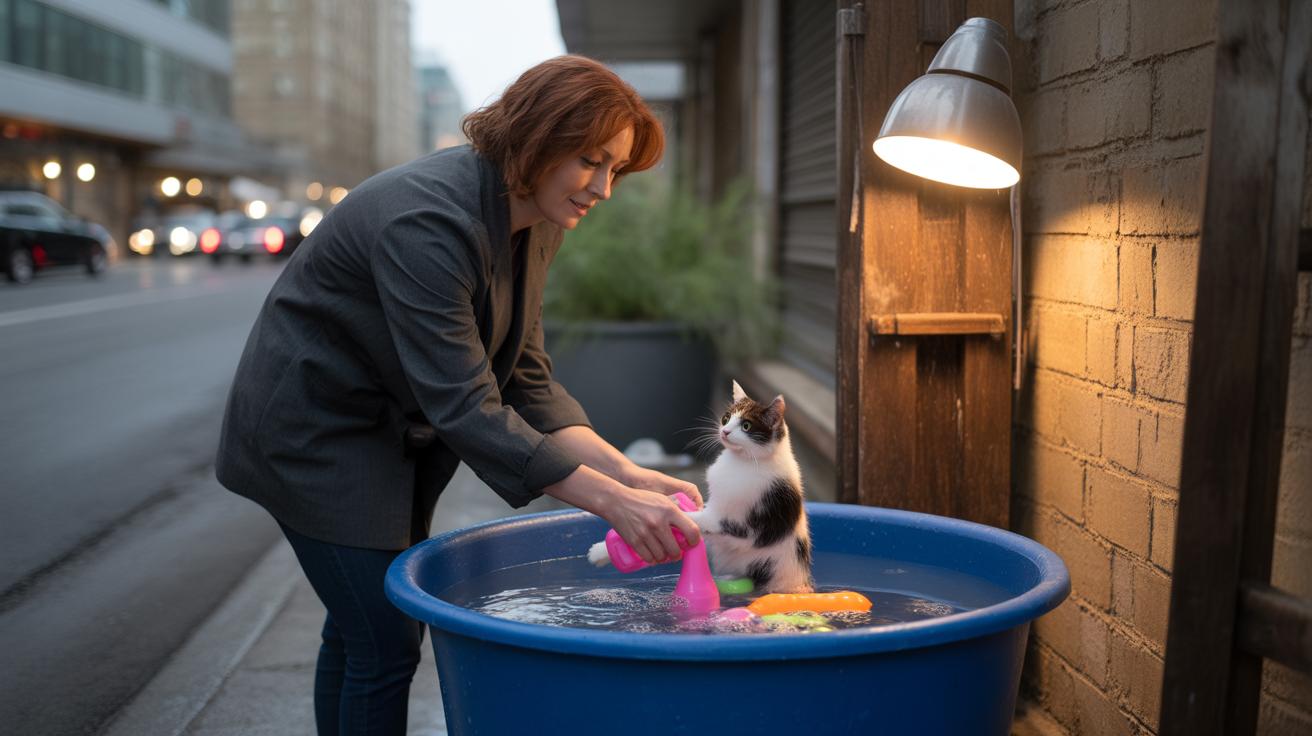
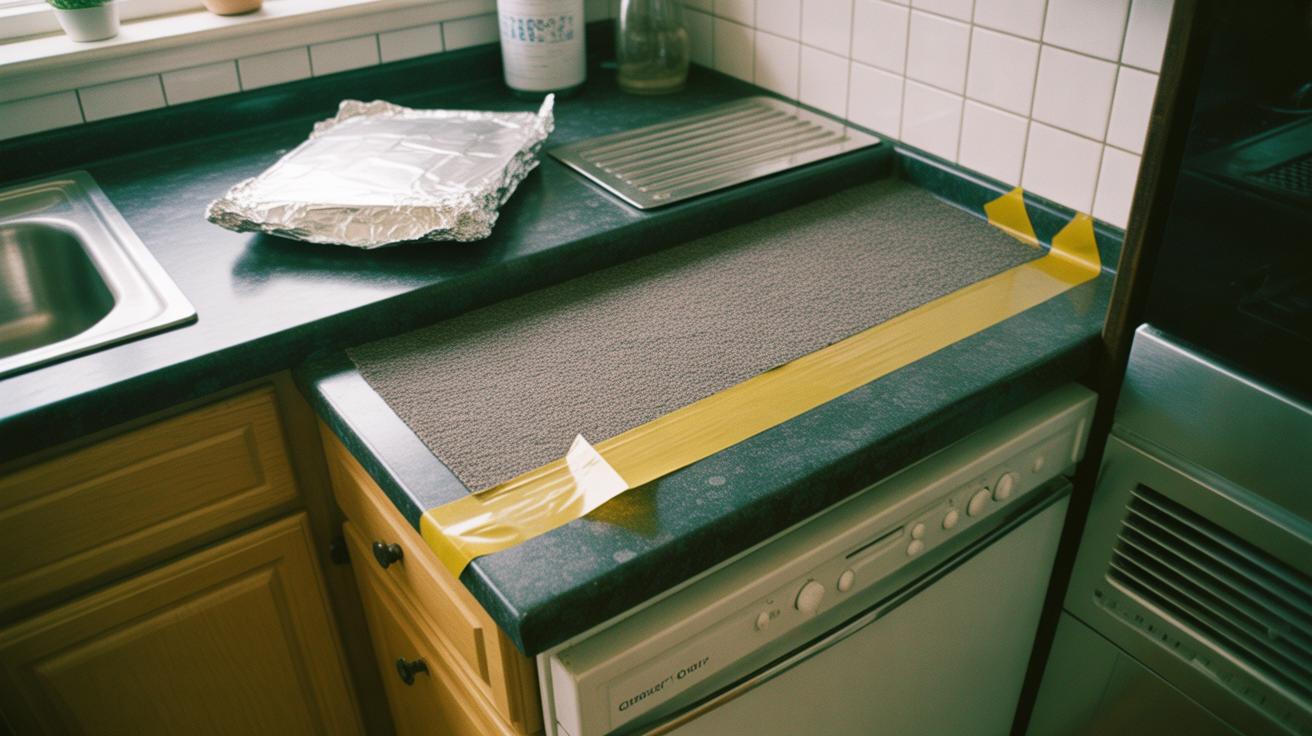
Try a temporary, humane deterrent on the counter edge for short-term training. Use crinkly aluminum foil (aluminum foil, the noisy, unpleasant feel under paws) or double-sided tape (sticky sensation cats dislike) only for a few days while you teach new habits. Don’t leave these forever. (see Safe deterrents and counter-proofing)
-
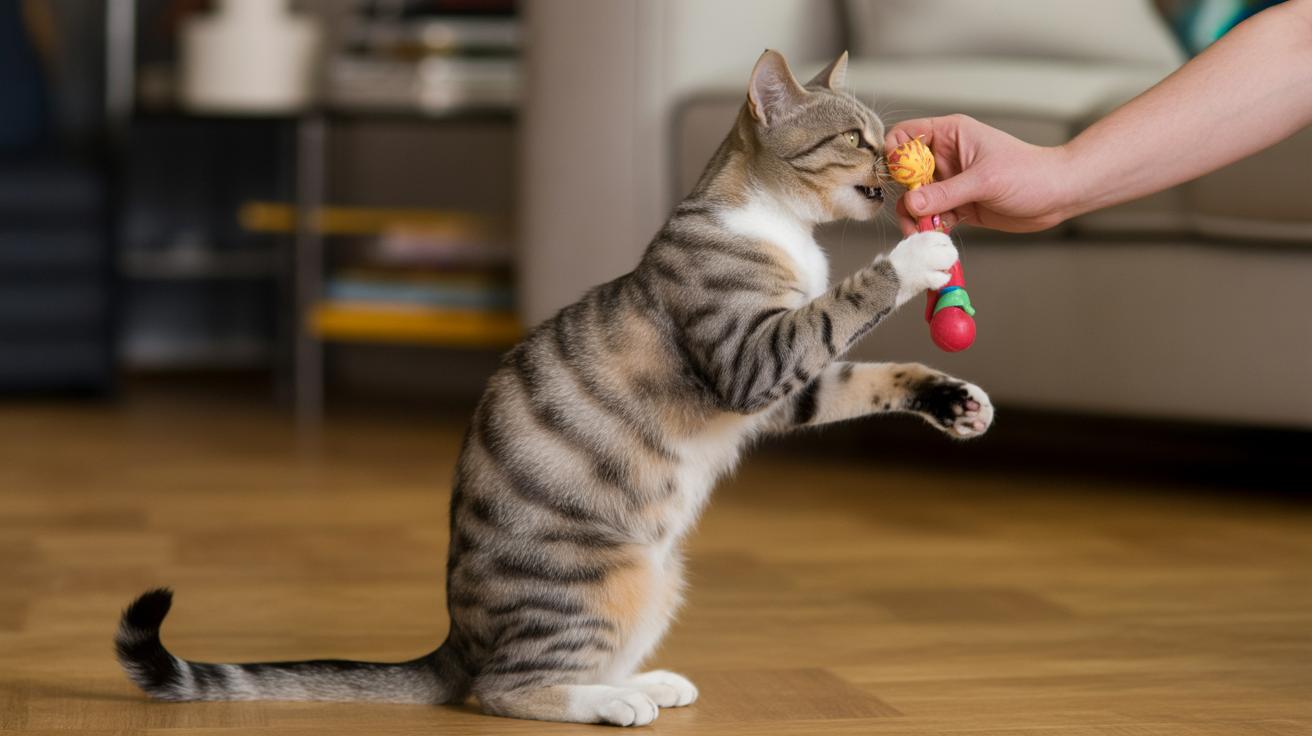
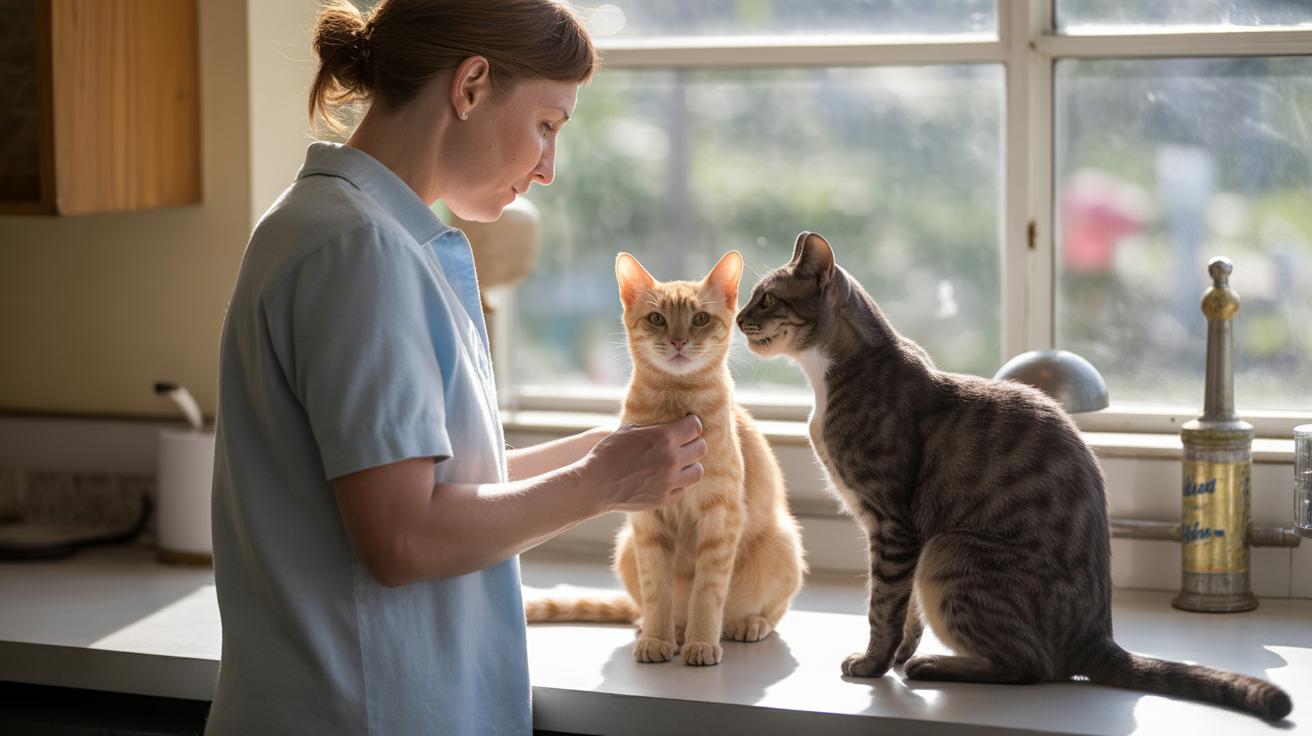
Start a simple "off" or "down" marker-and-reward routine when the cat hops off. A marker is a clicker or a single word, followed by a tiny treat, fast timing wins. Keep sessions short and consistent. (see Positive reinforcement methods)
-
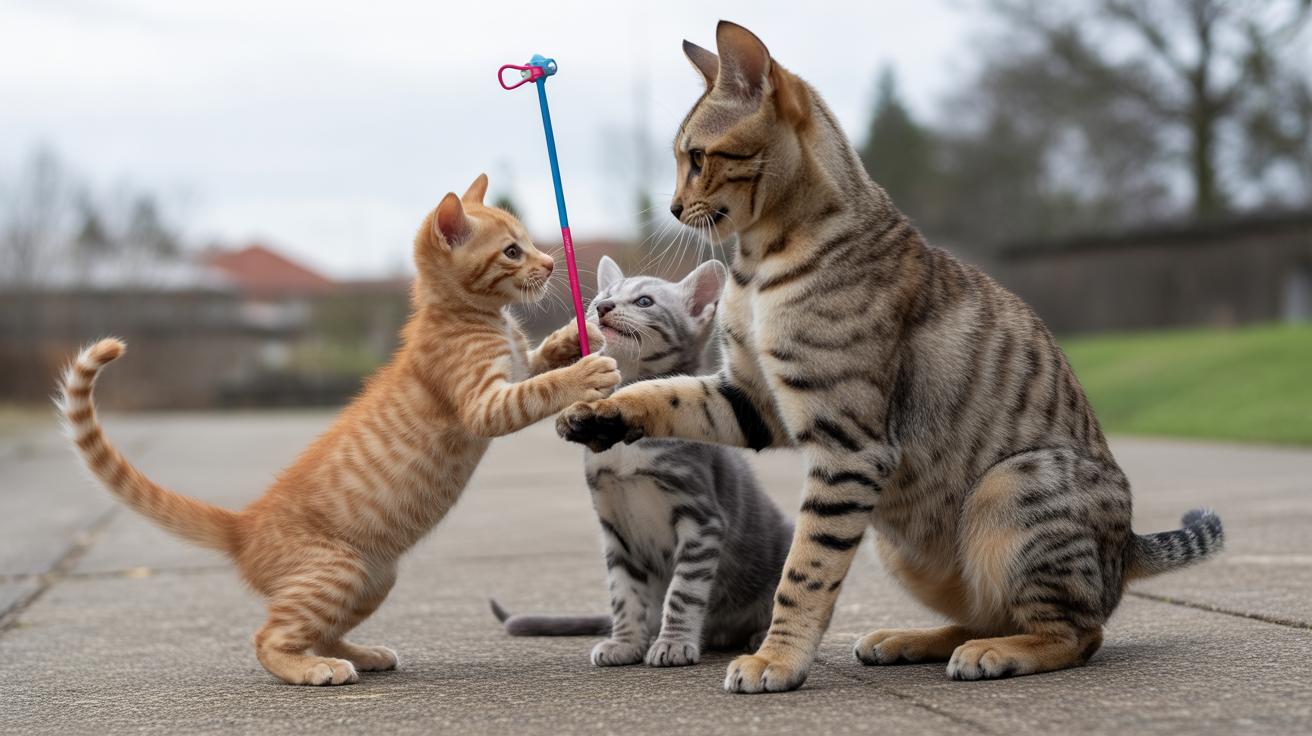
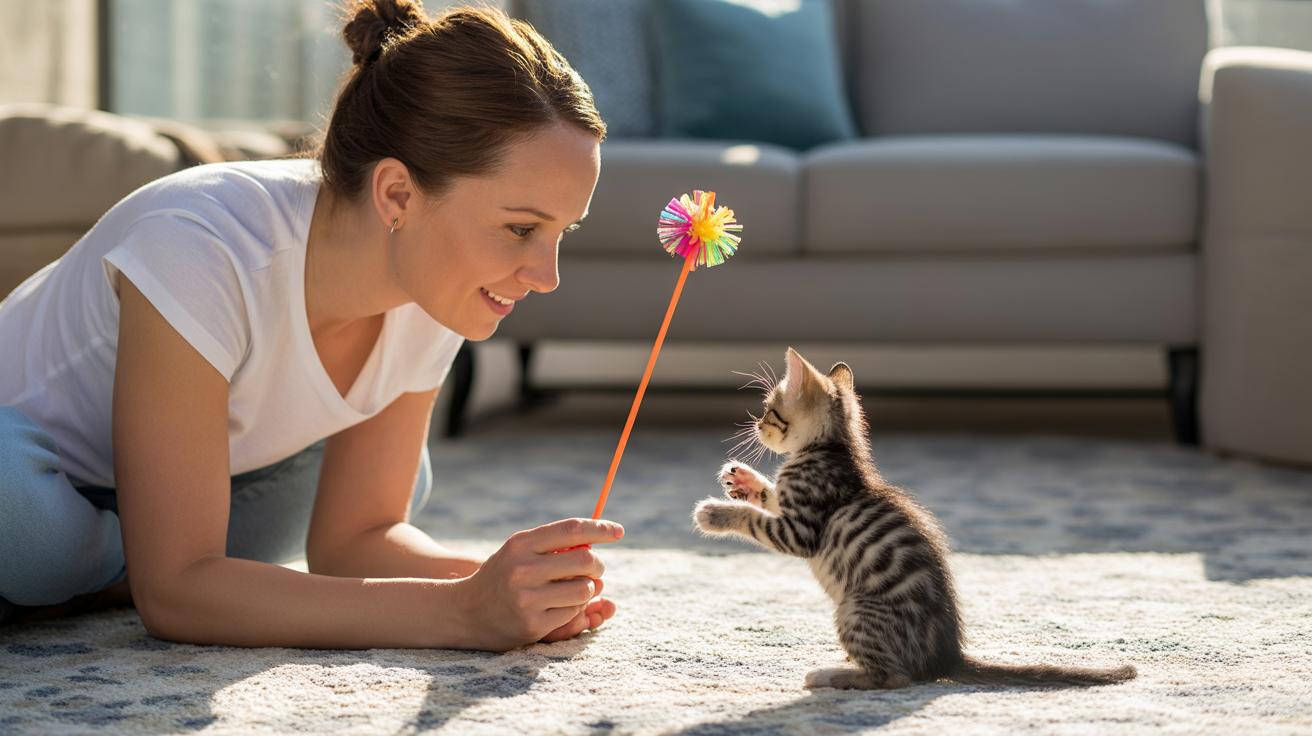
Add extra daily play to cut boredom-driven jumping. Short, focused play (feather teaser, laser, or wand, think fishing rod for cats) tires them out and satisfies their chase instinct. Ten minutes before you leave can buy you peace. (see Provide alternatives and play protocols)
-
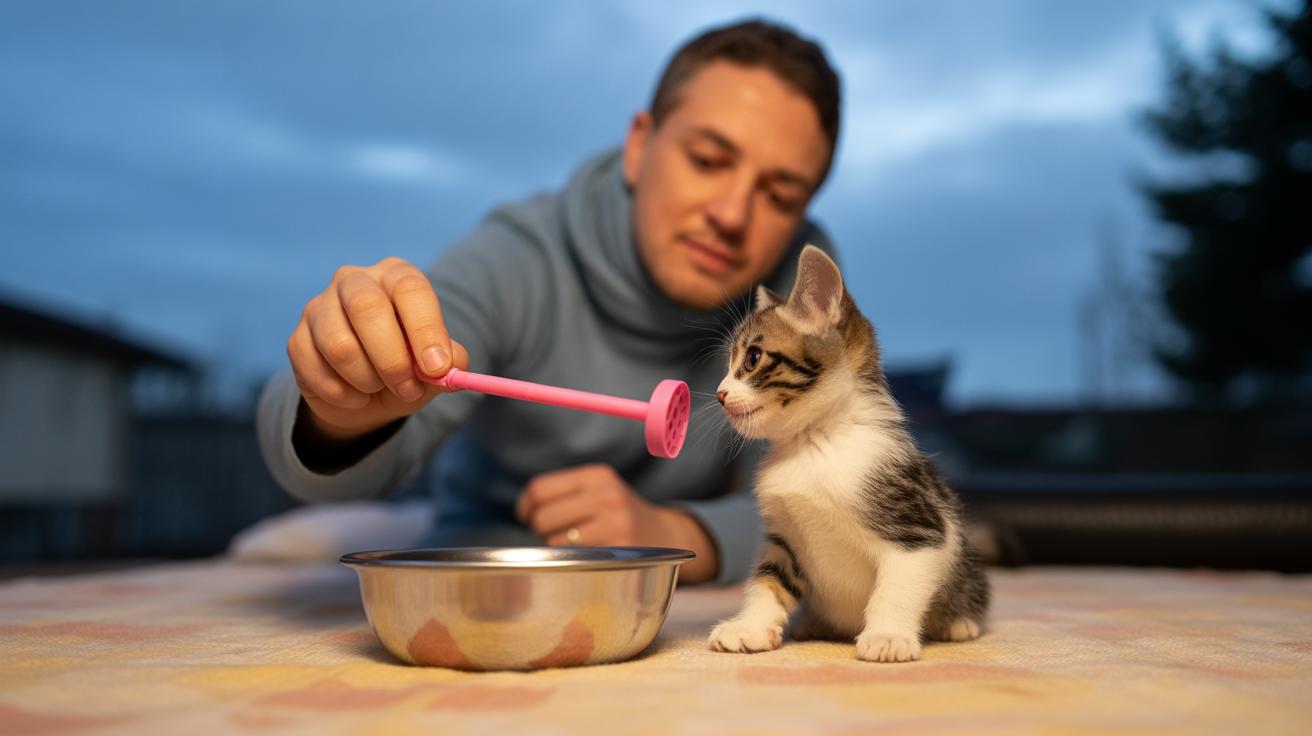
Use a timed feeder or puzzle feeder if food is the lure. A timed feeder (automatic food dispenser) or puzzle feeder (food-filled toy that makes cats work for meals) spreads meals and reduces counter-motivated scavenging. (see Food management, feeders and schedules)
-
Keep a quick weekly log of counter incidents and successful perch uses. Note time of day and what drew them up, this helps shape training and find patterns. One line per day is fine. (see Training kittens vs adult cats: tracking and shaping)
-
In multi-cat homes, run these steps for each cat and stagger training. Treat each cat’s motivations separately, and give shy cats quieter perch access while outgoing cats learn boundaries. (see Special cases: multi-cat households)
-
If the behavior appears sudden, extreme, or out of character, get a veterinary evaluation. A vet checkup (medical exam to rule out pain, thyroid issues, or stress) can catch problems that make cats act differently. (see Special cases: medical red flags)
Detailed operational steps, like exact session lengths, clicker timing, treat-fading plans, and calorie notes, live in the linked deep-dive sections; follow those protocols for the best results. Worth every paw-print.
Why cats jump on counters: causes you can address to stop counter-surfing
Counters are an easy high spot with great sightlines, warm patches, and lots of smells, so cats jump on counters to scout, nap, or spy on you. That elevated vantage satisfies their instinct to watch the room and feel safe. When a counter offers a better view than a window ledge or tree, it becomes irresistible.
Smells and food are huge drivers. Leftover crumbs, a cooling plate, or a dropped grape tell a cat there might be a reward waiting, and people sometimes accidentally reinforce the habit by sharing bites or laughing. Counters also bring real hazards like hot pans, sharp knives, and toxic foods such as onion or chocolate (both can poison cats), so keeping them clear matters for safety.
A sudden jump in counter visits can be a red flag for health changes , more eating, more restlessness, or new routes onto counters may mean pain, dental trouble, or thyroid changes (thyroid gland shifts that speed up metabolism). If your cat starts counter-surfing out of the blue, a vet check is a smart move.
Not every leap is about snacks. Cats love heights for privacy and to monitor the action below; bored cats or ones craving attention might hop up just to get noticed. Even small things like a dripping faucet or running sink water can be a specific lure. Older cats or those with mobility pain will change how often or where they jump, so watch the pattern.
So how do you fix it? First, figure out why your cat is counter-surfing at home , food, height, boredom, attention, or medical reasons , then match the solution.
- Positive reinforcement: Reward your cat for using approved spots. Give treats, pets, or playtime when they choose a cat tree or window perch instead of the counter.
- Provide alternatives: Add a tall cat tree, a window shelf, or a padded perch (a comfy raised bed) so they get the view and warmth they want. Think of these like VIP seats just for them.
- Safe deterrents and counter-proofing: Remove temptations by clearing plates and crumbs. Try double-sided tape, a clean aluminum foil strip, or a motion-activated clacker (safe and humane) to make counters less fun.
- Food management and feeders: Store food in sealed containers and use puzzle feeders or scheduled feedings so food is predictable and not a counter mystery.
- Veterinary referral: If behavior changes suddenly or you see other signs like weight change, litter box issues, or pain, get a vet visit to rule out medical causes.
Ever watched your kitty leap up, whiskers forward, like they own the place? It’s normal. With a little detective work and a few new perches, you can keep them safe and off the countertops , and still give them their throne.
How to Train a Cat to Not Jump on Counters

Positive reinforcement is the safest, most reliable way to teach "off" and "down." Below is a step-by-step marker-and-reward plan you can start today, plus schedules, treat notes, and quick fixes when things stall. Ready? Your cat might be too, once the treats show up.
Pairing the marker and creating the "off" response
Pick a marker: a clicker (a small handheld device that makes a sharp click) or a short verbal word like "Yes!" The marker tells your cat the exact moment you want to reward.
Days 1-3: charge the marker by clicking or saying your word, then give a tiny treat within about one second. Do 20-30 pairings per short session, 2-3 sessions a day so the click predicts food fast.
Next, capture the first off behavior. When your kitty jumps down, mark the instant the paws touch the floor (that little satisfying thud), then reward and say a quick praise. If they don’t offer the move naturally, lure them with a target stick (a stick with a small ball tip cats touch with their nose) or hold a treat near the floor, mark the downward step, then reward. Keep sessions 3-5 minutes with 10-15 good reps early on. Film a few reps on your phone to check your timing, seriously, timing is everything.
Shaping and fading: session plans and reinforcement schedules
Beginner plan (weeks 1-2): continuous reinforcement. Reward every correct "off" so the connection is obvious. Run three short sessions each day: morning, midday, and evening. Aim for 10-20 reps total per day. Rest 15-30 seconds between reps so your cat stays interested.
Intermediate (weeks 3-4): start cutting food rewards. Switch to a mixed system, every 2nd or 3rd correct "off" gets a treat, others get a short play burst or petting. Replace some treats with 20-30 seconds of wand play (a teaser toy like a fishing rod for cats). Treat-size note: tiny bites work best, a pea-size piece of freeze-dried chicken is often 1-3 kcal. If weight is a worry, remove the same number of calories from meals that day rather than skipping rewards.
Advanced (weeks 5-8): move to intermittent reinforcement. Reward unpredictably, and use praise or play on non-food trials. By week 8 many cats will respond to a single food reward every few successes, plus petting or play sometimes.
Sample cue script: show the perch, say the cue ("off" or "down"), wait, mark the instant paws are down, then reward within about one second. Short and consistent words help learning.
Tools, product recommendations, and advanced techniques
Find a clicker that fits your hand and clicks crisply. Choose a verbal marker you can say in one comfortable breath. A lightweight target stick speeds shaping. Use a phone timer or apps to keep session lengths steady and to remind you to train a few times a day.
Treat picks: freeze-dried meat bits, tiny soft treats, or crushed high-value kibble. Non-food rewards: a 20-30 second high-energy chase with a wand, a quick lap of petting, or access to the window perch you want them to use. Advanced move: guide your cat from counter to perch with the target stick, then mark on the perch and reward there. Film short how-to clips of your sessions to spot timing slips or to show a trainer if you need help.
Troubleshooting checklist
- Marker comes too late: practice clicks and treats alone until the click predicts food instantly.
- Rewarding while cat is still on the counter: new rule, no reward unless all four paws are on the floor or on the approved perch, then mark.
- Inconsistent rules confuse cats: pick one cue and one reward plan and stick with it for at least two weeks.
- Cat avoids the kitchen after a training slip: reduce startling things and make the perch more inviting with treats and toys.
- Progress stalls despite good timing: check overall food access, add more short play sessions, and consider a vet check for hidden medical issues or a consult with a certified behaviorist.
Worth every paw-print.
Ever watched your kitty chase shadows while you sip coffee? Training like this gives you ten focused minutes of good behavior and your cat a safe, fun outlet. Oops, let me rephrase that, it's really a tiny routine that can change your whole kitchen vibe.
How to Train a Cat to Not Jump on Counters

Good alternatives work when they give your cat the same perks as a countertop: height, a clear view, a warm spot, and a front-row seat to the action. Put perches where people hang out, pick models with a wide base footprint (the floor space the tree needs), and anchor shelves to studs (vertical wall supports) or use rated anchors (anchoring = securely fastening to the wall; rated anchors are heavy-duty fasteners made for drywall).
Think of training like staging a royal takeover. Turn the new spot into your cat’s favorite throne by making it reliably rewarding. Start with tasty treats, short play bursts, and a clear cue word. Then shape the switch from counter to perch over about two weeks using a marker (clicker or a short word) and steady rewards.
Selecting and installing the right perch or tree
Choose a stable cat tree as a counter alternative. Look for a broad base, plywood (pressed wood board), or a solid-core post (a dense center post that won’t crush under claws), and a posted weight rating (how much load the product safely holds). Height rules of thumb: small cats 2–3 ft, average cats 4–6 ft, large breeds 6+ ft. For tall freestanding trees, pick a base at least 1.5 times the tree height in diameter so it won’t tip.
For wall shelves and window perches you need stud-mounted brackets or heavy-duty toggle anchors if you can’t find a stud (toggle anchors are strong fasteners that spread load behind drywall). Mounting steps: find a stud, mark bracket locations, pre-drill pilot holes (small starter holes), screw brackets into the studs, attach the shelf, and test it by pressing down and applying sideways force. For window perches choose models with a lip or a non-slip pad and check that the sill and fasteners will hold your cat’s weight before letting them up.
Training protocol to move from counter to perch
Days 1–3: bait the perch with treats and a favorite toy. Sit nearby and mark (click or say your marker) the instant your cat steps onto the perch, then reward. Keep sessions short and sweet.
Days 4–7: use a target stick or wand (think fishing rod for cats) to guide the cat off the counter and onto the perch. Mark on the perch and reward there. Start saying a cue word like “perch” or “tree” as you lure them up.
Days 8–10: fade the visible lure. Give the cue and wait a beat for your cat to move, then mark and reward when they do. Start rewarding intermittently rather than every single time.
Days 11–14: aim for independent use. Hide a tiny treat on the perch and only reward when the cat jumps up without a food lure. Measurable goal: perch used five times a day without a food lure. Practice template: three 3–5 minute sessions per day with 6–12 reps total.
Your cat’s whiskers will twitch as the treat rolls across the perch. Reward the behavior you want, and soon the perch becomes the obvious choice.
Play-based maintenance and toy rotation
Keep the perch exciting with short wand-toy sessions on or near it, and a puzzle toy sometimes topped with a few kibble pieces. Rotate toys every 3–7 days so the spot feels new. Mix high-speed wand chases with slow, reward-based play to keep motivation fresh. For texture swaps and new sounds try DIY replacement attachments for teaser wands. Short how-to videos of a wand session and a puzzle feeder on a perch help you copy success.
- Troubleshooting checklist:
- Perch wobbles: move it to floor level, re-anchor, or choose a heavier-base model.
- Perch in a dead spot: relocate it near where people sit or by the kitchen doorway.
- Cat ignores the perch: add hidden treats, do a brief wand session on the perch, and use a clear cue when rewarding.
Common setup mistakes are an unstable perch, placing it where no one hangs out, and never changing toys. Fix these by upgrading to a sturdier tree or anchoring shelves, moving the perch into view of your usual seating, and rotating toys and puzzles. If progress stalls, go back to the lure-and-mark steps and raise the perch’s immediate payoff with a timed puzzle or a short, exciting play burst on the spot.
Worth every paw-print.
How to Train a Cat to Not Jump on Counters
Deterrents are short-term, humane training helpers. Use them to make counters less rewarding while you teach a better place to sit, watch, and chill. Pair deterrents with an attractive perch, regular play, and a tidy feeding plan for the best results. Ever watched your kitty hop up like it’s on a mission? We’ll make that mission less fun, gently.
| Deterrent | How it works | Pros | Cons | Deployment protocol | Safety notes |
|---|---|---|---|---|---|
| Aluminum foil (thin metal sheet) | Crinkly texture and sound that cats find annoying | Cheap. Easy to set up. | Cats may get used to it over time. | Cover landing spots and rotate placement every 3-4 days for 10-14 days. | Remove immediately if your cat shows extreme fear or stress. |
| Double-sided tape / Sticky Paws (sticky strips) | Sticky surface cats dislike touching with their paws | Creates instant surface aversion. | Adhesive can lose stickiness and might transfer to fur or skin. | Apply narrow strips along edges, replace weekly or as needed. | Avoid direct contact with skin, and don’t use on delicate finishes. |
| Upside-down plastic carpet runner (nubby side up) | Unpleasant bumpy texture under paws | Reusable and low-tech. | Can scratch counters if unpadded or moved roughly. | Test a small area first, anchor edges so it won’t shift. | Remove if your cat tries to chew the plastic. |
| Motion-activated deterrent (movement sensor that triggers sound or light) | Surprising stimulus interrupts the jump and teaches avoidance | Hands-free, works while you’re away. | May startle people, and cats can habituate over time. | Start with low sensitivity and short test periods to see the reaction. | Don’t use loud alarms that cause panic; avoid devices that spray air if it stresses your cat. |
| Scat mat (low-voltage training mat that gives a mild static pulse) | Gives a brief, low-intensity static feedback when stepped on | Can be effective for some cats. | Some people have ethical concerns; it’s not right for every home. | Talk with a behaviorist before using, and start at the lowest setting. | Do not use with cats that have heart issues, and never place on wet surfaces. |
Deployment checklist and test protocol:
- Take a three-day baseline count of how often your cat visits counters before you start.
- Run a 10-14 day trial with your chosen deterrent while offering a nearby perch and short marker-and-reward sessions (marker-and-reward means a clicker or a quick “yes,” then a treat).
- Rotate the deterrent placement every 3-4 days so your cat can’t predict safe spots.
- Keep a simple log of daily counter visits and perch uses to watch trends.
- If your cat starts avoiding the whole kitchen, stop the deterrent and try a gentler option.
Quick fixes if your cat outsmarts the deterrent:
- Move the deterrent to a different approach point so your cat can’t find a new landing path.
- Increase enrichment: a 2-5 minute wand play session, a timed puzzle feeder (a food toy that dispenses kibble on a schedule), or a fresh perch near the counter helps a lot.
- Recheck feeding times and access. Hungry cats will beat texture-based deterrents nearly every time.
- Try short, frequent marker-and-reward drills at the perch so your cat learns the counter is not the cool spot anymore.
If progress stalls after a fair trial, go back to marker-and-reward and perch placement, or bring in a pro. Talk to your veterinarian if the behavior changed suddenly or seems stress-related, and consider a certified behaviorist for stubborn cases. Worth every paw-print.
How to Train a Cat to Not Jump on Counters
Hunger is the biggest reason cats raid counters, so the trick is to take away that drive by spreading the same daily calories into more frequent, fun feedings and adding food-based enrichment that makes your cat work a little for their meal. Ever watched your cat stare at the counter like it’s the main stage? Yeah, that.
Start with a clear calorie plan and move slowly to timed and puzzle feeding. First, figure out your cat’s daily calories (kcal, short for kilocalories , the “calories” on pet food labels). Example math: if your cat needs 240 kcal/day and you feed twice a day, each meal is 120 kcal. Split that into three meals and it’s 80 kcal each; four meals becomes 60 kcal per meal. Write those numbers down so you don’t guess.
Pick a reliable automatic feeder (a programmable dispenser that releases set portions) and set the portion size to match your new meal plan. Do a test run: load dry kibble, program the times, and trigger manual releases while you watch to confirm each dispense equals the intended portion. Leave one supervised scheduled cycle to double-check consistent delivery. For daytime when you’re out, choose a timed feeder that holds sealed portions and runs on AC with battery backup (battery power keeps meals coming if electricity blips).
Add puzzle feeders so meals aren’t just flat bowls , make them foraging games. Try slow-rotate bowls, snuffle mats (fabric mats you hide kibble in), and rolling treat balls. Transition slowly: on day one swap 10 to 20 percent of a meal into the puzzle, then raise that share over 3 to 7 days until the whole portion is delivered through the puzzle. Supervise early sessions so your cat doesn’t get frustrated and you can time how long the puzzle takes; aim for about 5 to 20 minutes of engagement, not hours.
If you feed wet food, stir in 1 to 2 teaspoons of plain canned pumpkin (pure pumpkin, not pie filling) to add fiber and help your cat feel full. Track your cat’s weight when you add fiber and subtract those pumpkin calories from other portions so the total daily intake stays the same. Count treats and training rewards into the daily total too , move reward calories out of meal portions instead of tacking them on top.
Weigh your cat weekly for the first 6 to 8 weeks and keep a simple log with date, body weight, meal times, feeder type used, and any counter incidents so you can spot trends. If weight creeps up or down, tweak portion sizes or make puzzles easier or harder to keep your cat at a healthy weight while taking away the counter temptation. Worth every paw-print.
How to Train a Cat to Not Jump on Counters

Extended shaping – a 6-week plan (use this if you want the longer option in the main training protocol).
Daily session template
Three short sessions per day, 3 to 5 minutes each. Aim for 8 to 12 reps total. Use your marker (a clicker or a short word that marks the exact moment) and follow it immediately with a tiny, high-value reward (pea-sized freeze-dried chicken bite) or a 10-20 second play burst. Rest about 15 to 30 seconds between reps so your cat stays curious and engaged.
Quick version you can say out loud: "Three 3-minute sessions. Mark each step-down. Reward with a pea-sized freeze-dried chicken bite."
Week 1 – Foundation: goal is a reliable marker and captured "off" behaviors.
Charge the marker in two short sessions each day, and mark any time the cat steps down from a counter on their own. Try to get 15 to 25 marks a day so the cat links the marker to good things.
Pass: your cat offers spontaneous offs in at least two sessions without using lures.
If not meeting goal: shorten sessions to about 2 minutes, switch to a higher-value treat, or add one extra short play burst before training.
Week 2 – Move the behavior: goal is guiding the cat from counter to a nearby perch.
Use a target or a lure (target is a small object the cat touches; lure can be a treat on a stick) to guide the cat to the perch, then mark arrival and reward there. Keep three sessions a day and reward on the perch so it becomes a more appealing spot.
Pass: the cat accepts the lure to the perch and is marked there in about 70% of reps.
If not meeting goal: check the perch placement – it should be near activity and very stable – add hidden treats on the perch and increase play rewards.
Week 3 – Fade the visible lure: goal is responding to a cue without obvious food lure.
Say the cue word, wait 2 to 4 seconds, and mark if the cat moves to the perch. Reward intermittently so the cat learns to respond to the cue itself. Aim for about 20 reps a day.
Pass: the cat moves to the perch on cue in roughly 60% of trials.
If not meeting goal: slow the fade down, use partial lures for a few sessions, and boost the treat value.
Week 4 – Add mild distractions: goal is keeping the response with moderate distractions.
Practice during mealtime smells, with normal household noise, or with another person in the room. Use variable rewards so the cat learns to choose the perch even when things are interesting elsewhere.
Pass: the cat uses the perch on cue in 50% or more of distracted trials.
If not meeting goal: add a short play session before training, reduce tempting smells on counters, and check deterrent placement.
Week 5 – Reduce treat frequency: goal is switching many reps from food to play or praise.
Move from treats every rep to treats every 2 to 4 reps, and replace some food rewards with 20 to 30 seconds of wand play (think fishing rod for cats). This builds more durable behavior.
Pass: your cat complies at least 60% of the time using mixed rewards.
If not meeting goal: alternate reward types more often and note which reward gets the fastest response.
Week 6 – Generalize and maintain: goal is independent perch use and cue control.
Randomize practice times, surprise-reinforce correct choices, and run short tests by skipping a reward one trial and rewarding the next. The idea is to make the behavior useful in real life, not just in training drills.
Pass: the perch is used multiple times a day without treats and counters are rarely visited.
If not meeting goal: repeat the week where progress stalled, or consult your vet or a certified behavior professional for stubborn or sudden setbacks.
Tracking template and sample row – use this in your tracking or logging subsection.
| Date | Cat | Counter Jumps | Perch Uses | Deterrents Applied | Rewards Given | Notes / Medical |
|---|---|---|---|---|---|---|
| 2026-01-10 | Luna (kitten) | 3 | 8 | Foil on stove edge | Freeze-dried chicken, 6 marks | Bright, active; progress on cue week 2 |
Logging example: 2026-01-10, Luna, 3 jumps, 8 perch uses, foil deterrent, 6 chicken bits, bright and active.
How to Train a Cat to Not Jump on Counters
![]()
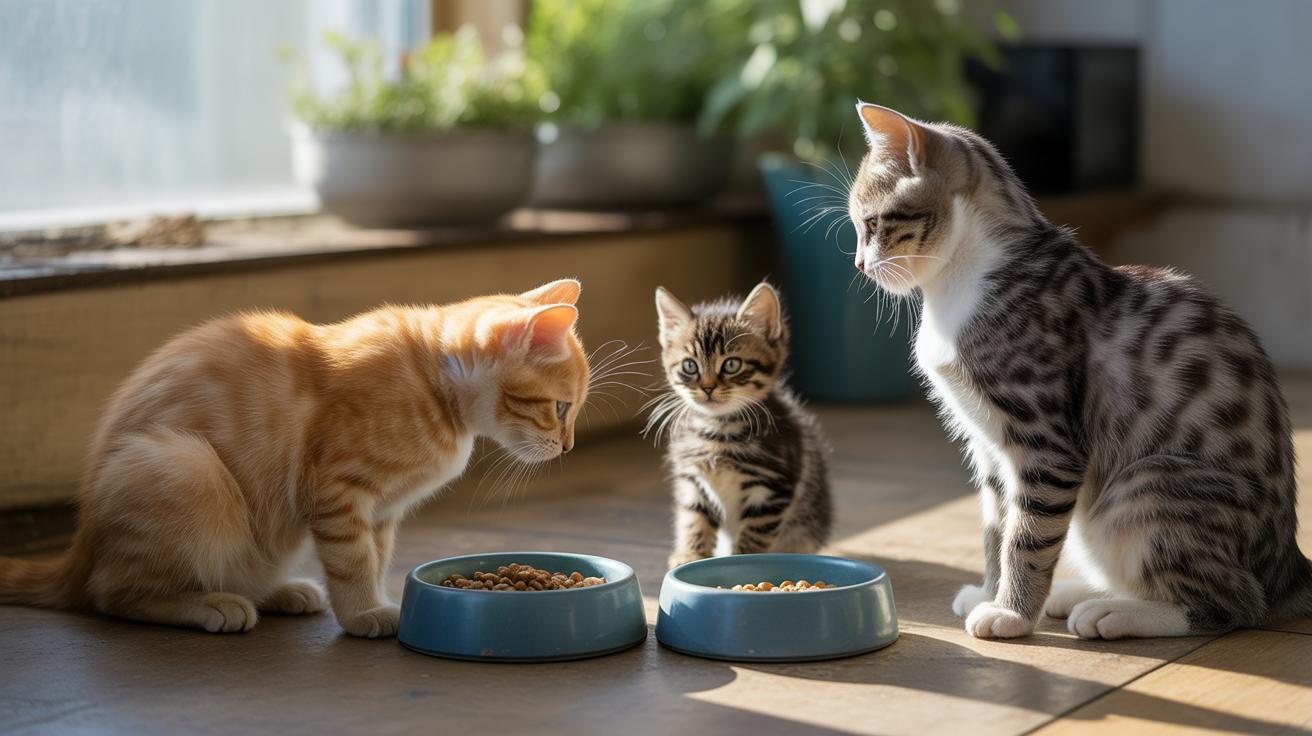
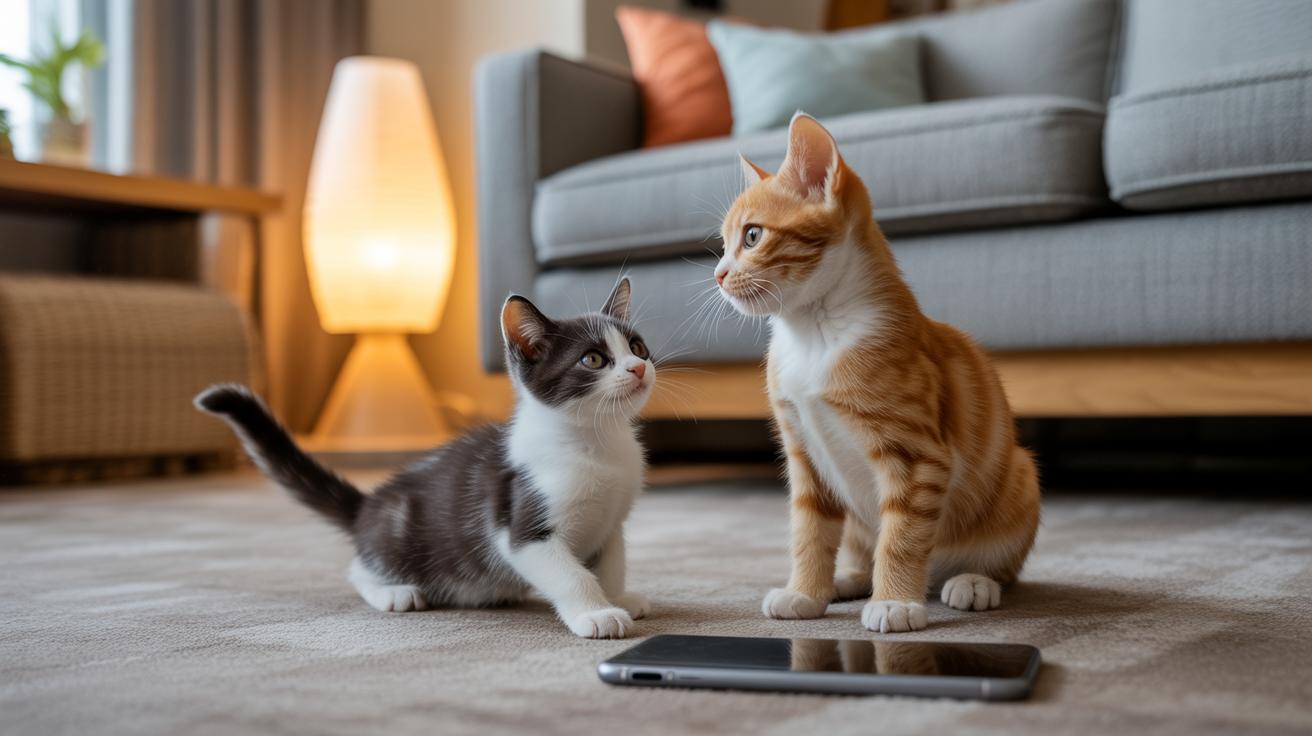
Multi-cat households: staged training and resource placement
Go one cat at a time so you don’t accidentally teach a copycat. Pick the cat that jumps the most and do short marker-and-reward sessions with just that cat until they choose perches more often. Then add the next cat. Use closed doors or baby gates to give each kitty private practice if you need to.
Spread vertical real estate: aim for one perch or shelf per cat plus one extra so shy cats aren’t shut out. Put feeding stations in separate rooms or well-spaced zones to cut food-driven competition. Product tips: pick trees with wide bases (more stable), wall shelves rated for the cat’s weight (weight capacity – how much load the shelf safely holds), and puzzle feeders (slow-feeding bowls that make meals last) sized so one bold cat can’t hog everything.
Try a simple daily plan: morning perch rewards for Cat A, midday timed feeder for all, a short wand session in the evening for Cat B, then a brief supervised group perch time. Track progress per cat , count counter jumps and perch uses each day , so you know who needs more practice.
Senior and mobility-limited cats: safer alternatives and fall prevention
Older cats and kitties with arthritis need gentle options. Offer perches 1 to 2 feet high, ramps or step aids with shallow risers (about 4 to 6 inches per step) and non-slip treads. Pick ramps rated above your heaviest cat’s weight so they don’t sag.
Skip loud, startle-style deterrents. Soft textures like short strips of double-sided tape used briefly are better than alarms or air puffs for a cat that moves slowly. Add soft landing zones , thick rugs or cushioned pads near counters , so a misstep won’t be a bad fall.
Watch how they walk: slower climbs, stiffness after resting, favoring a leg, or frequent pauses can mean pain. Film short clips of your cat stepping up or walking (gait – how they move) to show your vet. There are quick how-to videos for ramp setup and gait checks you can copy for your own tests.
Medical red flags and professional referral protocol
Look out for sudden changes: more counter visits, bigger appetite or more thirst, limping, not eating, weight loss, sudden meowing, confusion or pacing, and litter-box changes. If you see these, do a quick home check: note meal times, new food access, recent house changes, and whether more than one cat shows the behavior.
Vet appointment checklist – bring:
- A 1 to 2 week log of counter incidents and perch uses.
- Date-stamped video of the behavior.
- Current weight records and a list of medications and supplements.
- Recent diet details and any home changes.
Suggested vet tests: a full physical exam, bloodwork (CBC – basic blood cell test, and chemistry – organ function tests), thyroid screen, urinalysis (urine test), a pain-focused orthopedic check, and imaging like x-rays if trauma or arthritis is suspected.
Call a certified feline behavior consultant or veterinary behaviorist when medical causes are ruled out but the problem keeps going, when multi-cat social stress seems involved, or if your cat shows anxiety signs like hiding or redirected aggression. Bring the same logs and videos to speed up a stepwise plan.
Quick decision guide: if signs are sudden or your cat looks painful, book a vet visit and bring videos, weight logs, and med lists; if medical checks are clear and the issue seems social or training-related, schedule a behavior consult and bring your tracking log and short clips of training sessions.
Worth every paw-print.
Troubleshooting, common mistakes, and when to seek professional help for cats on counters
Got a cat who thinks your counters are a private buffet? You’re not alone. Here’s a quick checklist of common training stalls so you can spot what’s tripping things up.
-
Inconsistent rules
If people in the house set different rules, your cat gets mixed signals. One person lets them up, another scolds, confusing. -
Accidental rewarding of counters
Leaving food out or laughing when they jump up actually rewards the behavior. Oops, we all do it sometimes. -
Punitive or startle methods that harm trust
Scaring or punishing a cat can break trust and make problems worse. Training works better with calm, positive steps. -
No appealing alternatives provided
If the counter is the best perch, of course they’ll choose it. Give them fun, comfy options like a window perch or a cat tree to claim. -
Unmanaged food access driving counter raids
Open snacks and easy access to food are an invitation to raid. Use sealed containers, timed feeders, and tidy up food quickly. -
Possible medical causes or sudden behavior changes
Sudden new behaviors can mean pain or illness, not mischief. When a cat changes fast, check with your vet.
Quick note: the vet/behaviorist appointment checklist moved to Medical red flags, and tracking-metrics guidance moved to Tracking/Logging (tracking/logging means simple notes, times, and short videos you can bring). Bring clips when you can, they help the pro see what you mean.
Final Words
In the action, you’ve got a fast 10-step starter to stop counter raids, a clear look at why cats jump, full marker-and-reward training, perch and play swaps, safe deterrents, feeding plans, age-specific shaping, multi-cat tips, and troubleshooting.
Start with the quick-start checklist. Try a nearby perch, pair deterrents with short marker-and-reward sessions, and read the full protocols for feeder setup and tracking.
Stick with small steps. Follow these tips and you’ll be on your way to how to train a cat to not jump on counters , worth every paw-print.
FAQ
- How do I make my cat stop jumping on the counter?
-
Making your cat stop jumping on counters means removing food rewards, blocking boost points, offering a nearby perch, using temporary deterrents, and practicing short marker-and-reward sessions until the habit changes.
<dt>How to clicker train a cat to stay off counters?</dt>
<dd>
  <p>Clicker training a cat to stay off counters uses a clicker (small hand-held marker), pair the click with treats, capture or lure the "off" behavior, mark the instant the paw leaves, and reward in short sessions.</p>
</dd>

<dt>How to keep cats off counters naturally?</dt>
<dd>
  <p>Keeping cats off counters naturally uses foil or double-sided tape as short-term deterrents, clears food, adds a close perch, boosts daily play, and uses timed or puzzle feeders (to slow eating and engage hunting).</p>
</dd>

<dt>How to train cats to not eat your food?</dt>
<dd>
  <p>Training cats not to eat your food means removing accessible food, using lids, teaching a "leave it" cue with marker-and-reward (marker = click or word), and switching to timed or puzzle feeders to meet hunger and curiosity.</p>
</dd>

<dt>Do cats outgrow counter surfing?</dt>
<dd>
  <p>Cats do not reliably outgrow counter surfing; kittens might mellow with age, but without removing rewards and giving better alternatives the behavior usually continues into adulthood.</p>
</dd>

<dt>What is the 3-3-3 rule for cats?</dt>
<dd>
  <p>The 3-3-3 rule for cats is an adoption guide: three days to hide, three weeks to toilet and start trusting people, and three months to feel settled in a new home.</p>
</dd>

<dt>How to cat proof a countertop?</dt>
<dd>
  <p>Cat-proofing a countertop means clear food and crumbs, block access points, add temporary deterrents like foil or tape, anchor hazards, and place a stable nearby perch as a preferred alternative.</p>
</dd>

<dt>How to train a cat not to jump on furniture or tables?</dt>
<dd>
  <p>Training cats off furniture and tables follows the same plan as counters: remove temptations, offer attractive perches, use marker-and-reward training, and apply gentle surface deterrents during the behavior change.</p>
</dd>

<dt>What should I do if my cat suddenly starts jumping on counters?</dt>
<dd>
  <p>If your cat suddenly starts jumping on counters, check for new food access, household changes, pain, or cognitive signs; log incidents, boost play and perch options, and schedule a vet visit if the change is extreme.</p>
</dd>

<dt>How do I train multiple cats to stay off counters?</dt>
<dd>
  <p>Training multiple cats requires separate sessions, staggered perch access, individual rewards, and tracking each cat's progress to avoid copycat behavior while managing shared resources like feeders and perches.</p>
</dd>