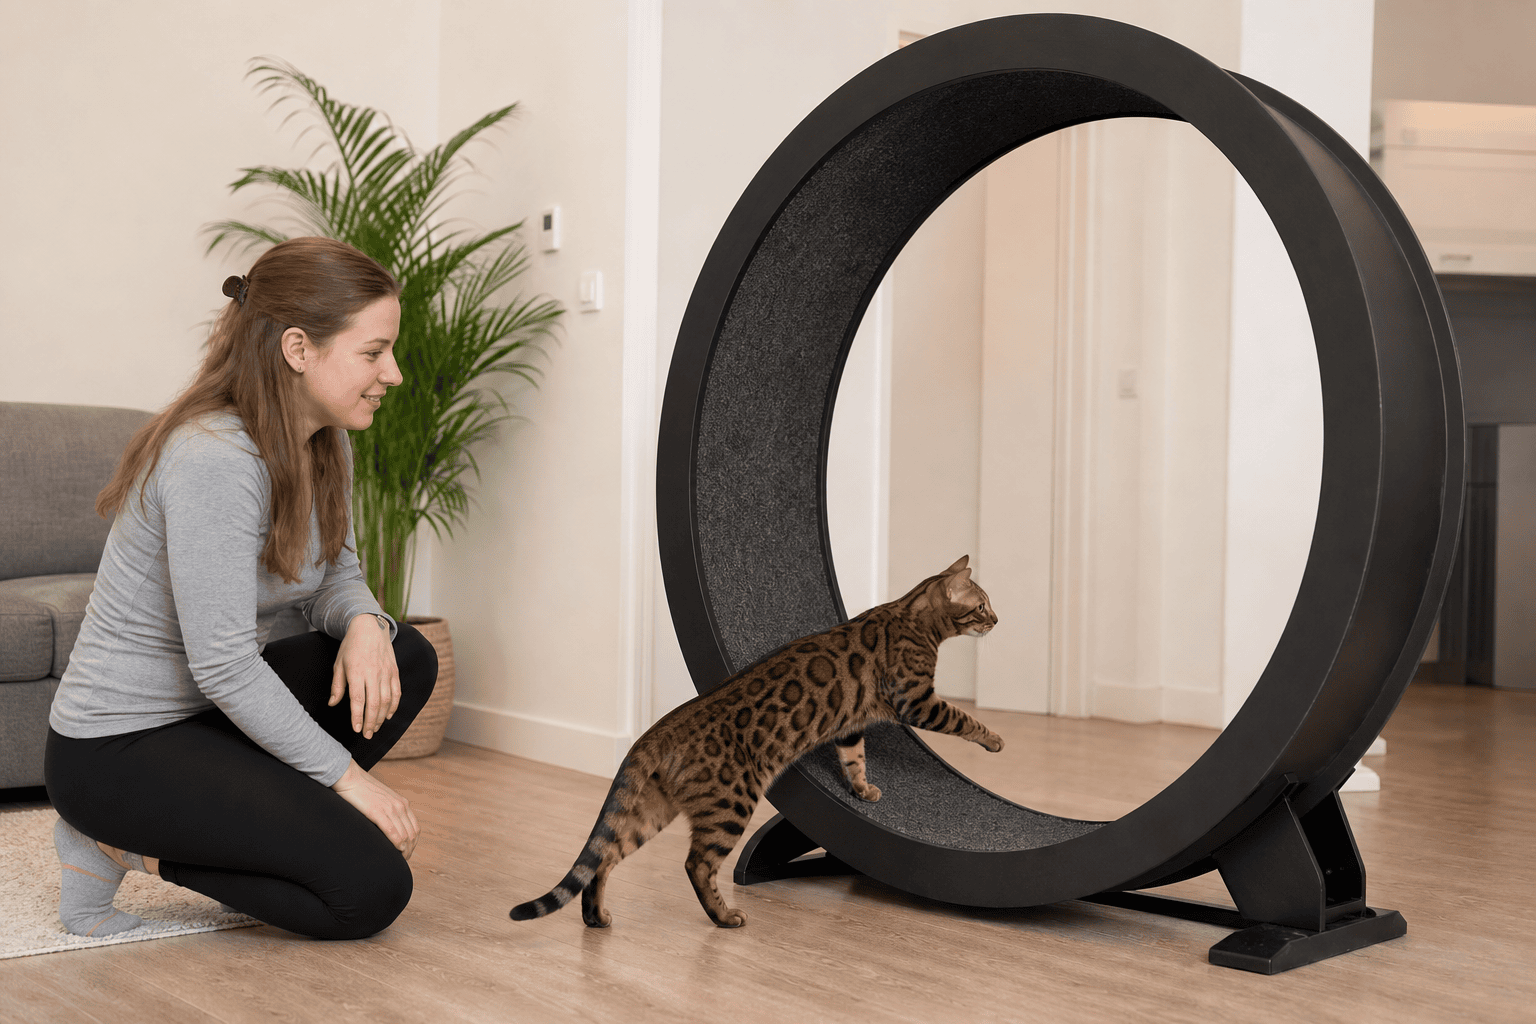
Cat toys that move can be excellent for indoor cats because motion wakes up the stalking, chasing, pouncing, grabbing, and kicking parts of play. The best choice is not simply the toy with the fastest motor or flashiest movement. It is the toy your cat can chase, catch, and use without swallowing parts, chewing electronics, or destroying the toy after two sessions.
For gentle cats, a rolling ball, covered-motion toy, wand lure, or track toy may be enough. For cats that bite hard, rabbit-kick, carry toys away, or dismantle plush, choose motion toys with fewer weak points and use stricter supervision. Treat “moves on its own” as a feature, not a safety guarantee.
What Counts as a Cat Toy That Moves?
Moving cat toys fall into three practical groups. Each group solves a different problem, and each carries different safety tradeoffs.
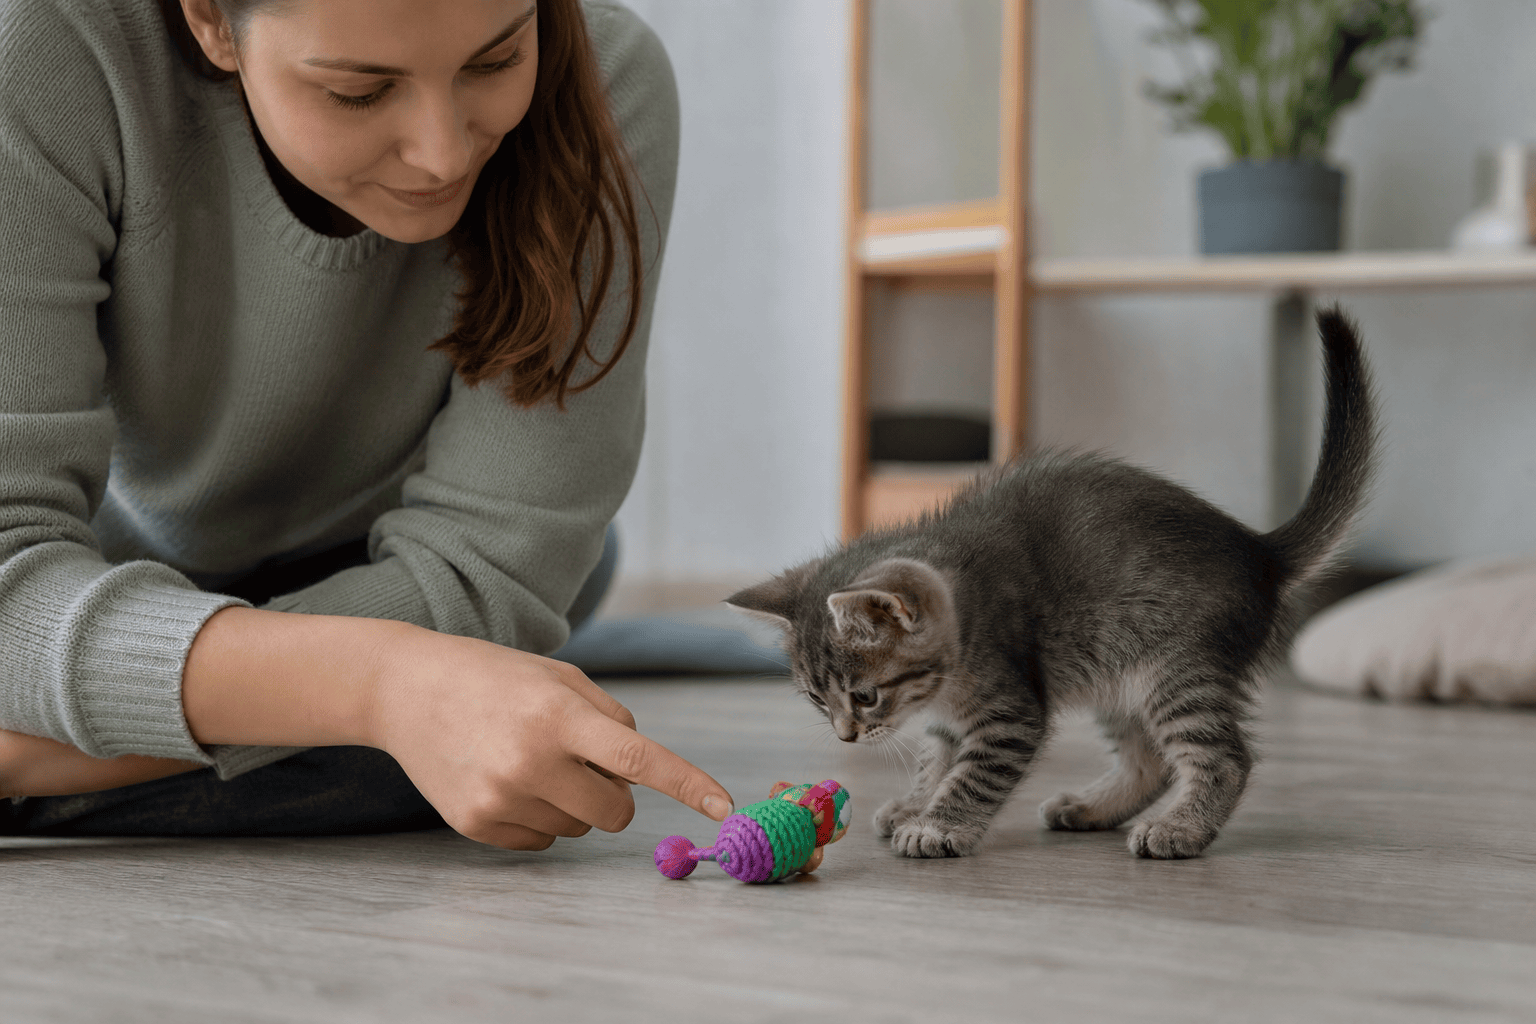
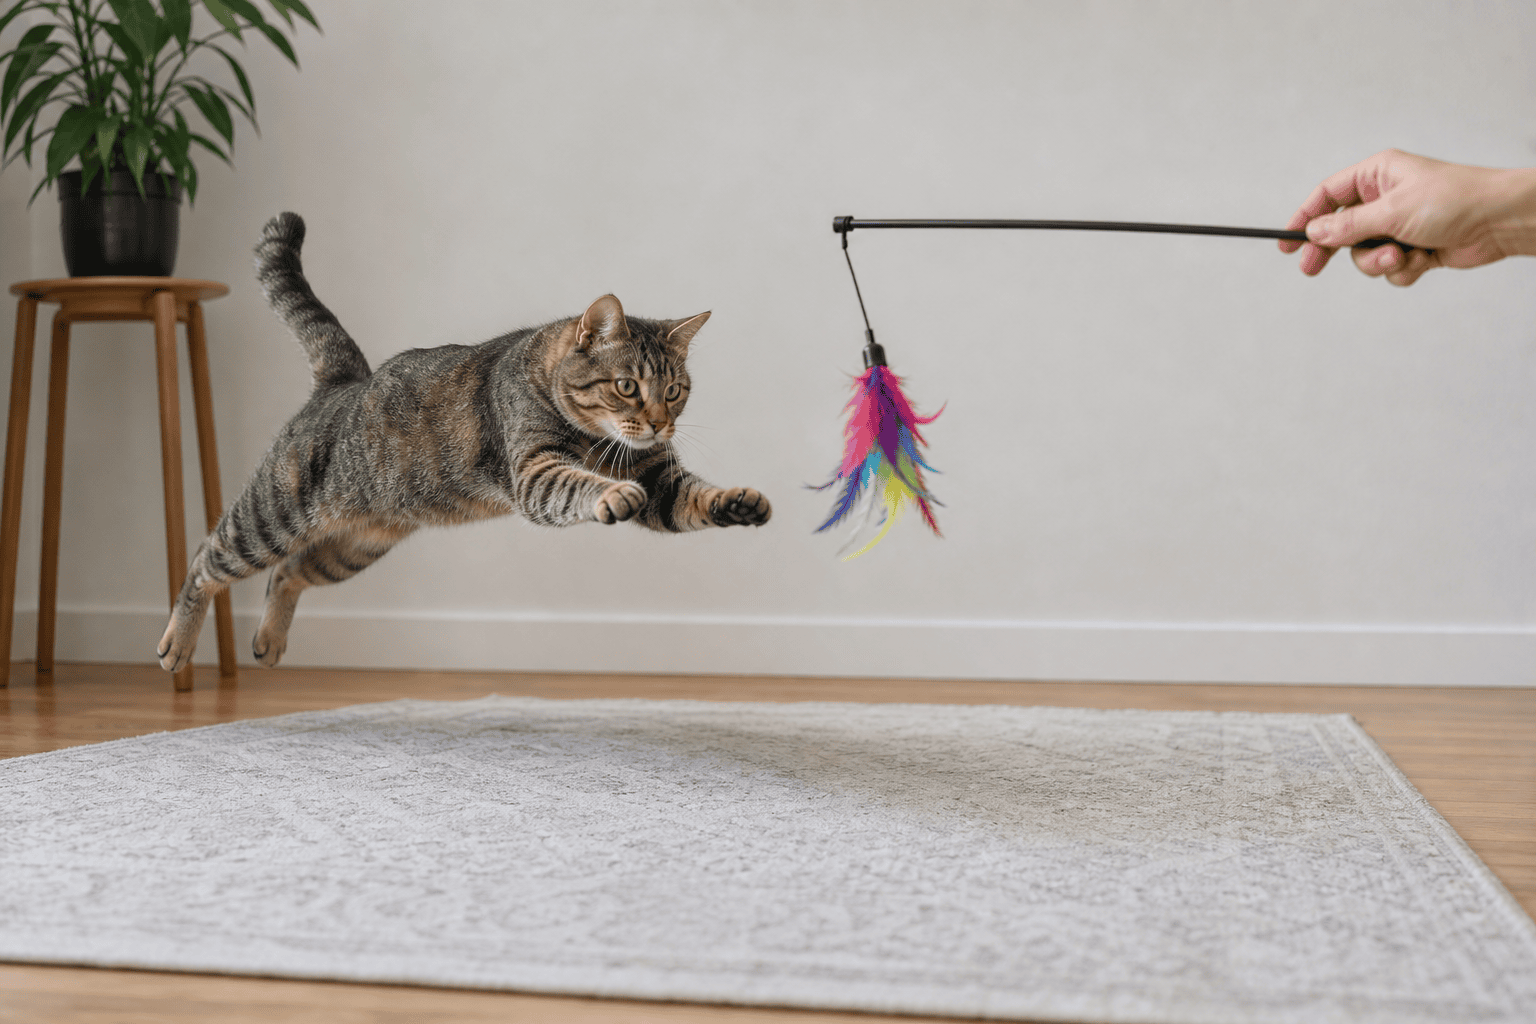
- Owner-guided motion: wand toys, fishing-pole teasers, dragged fabric strips, and toss toys. These give you the most control and usually create the most realistic prey movement.
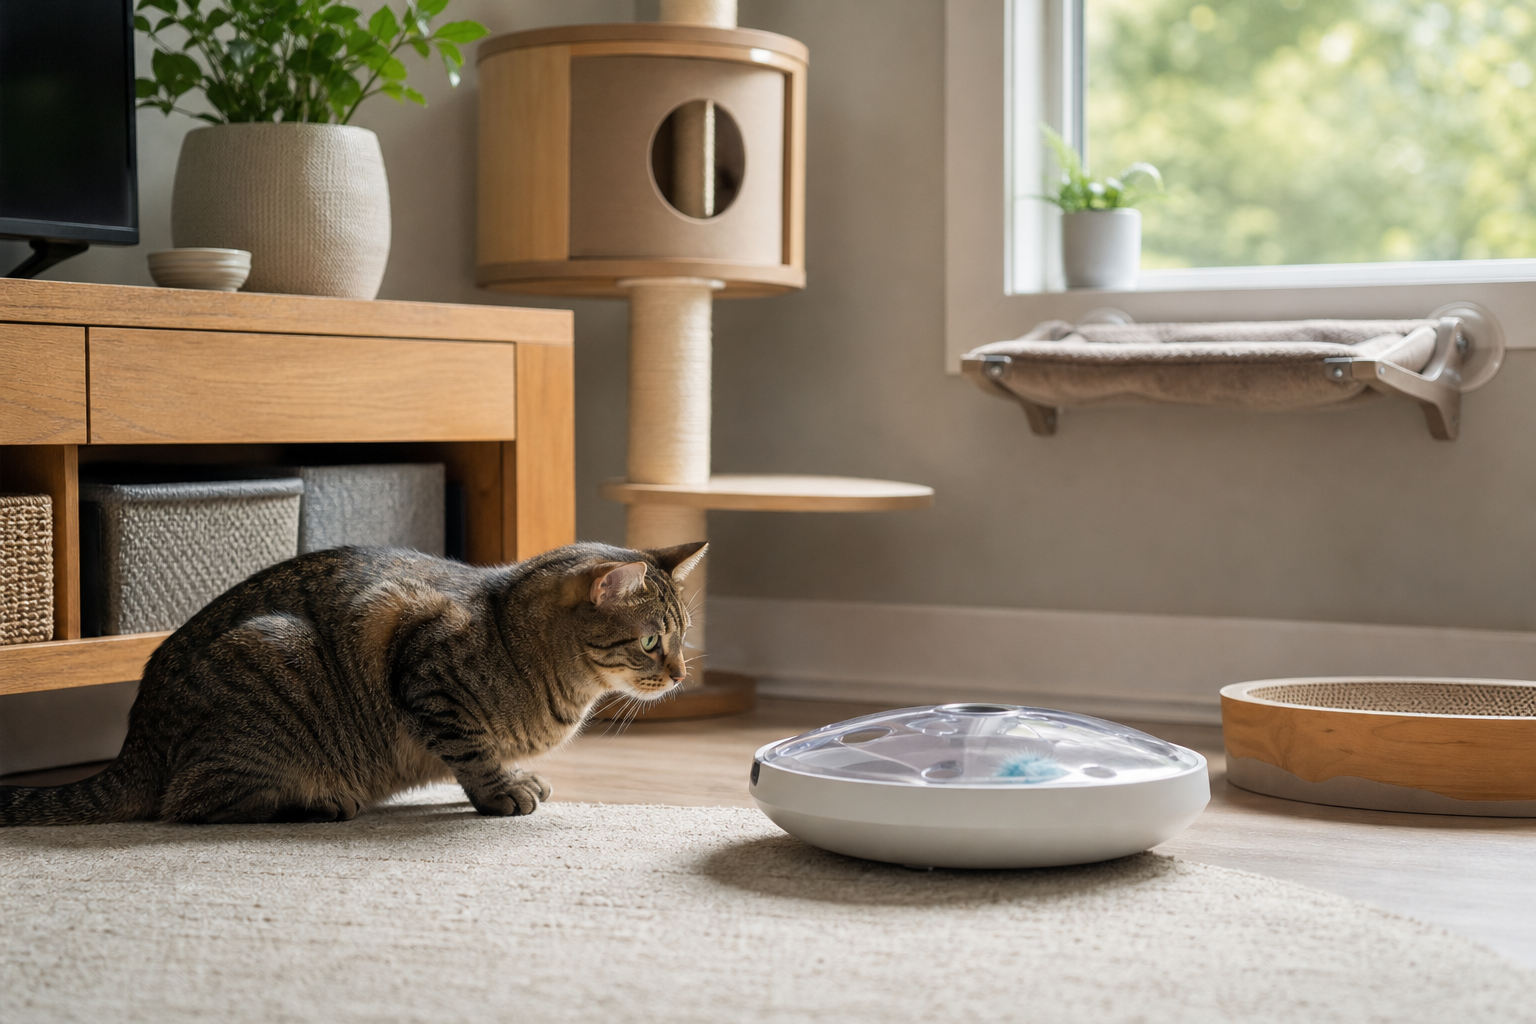
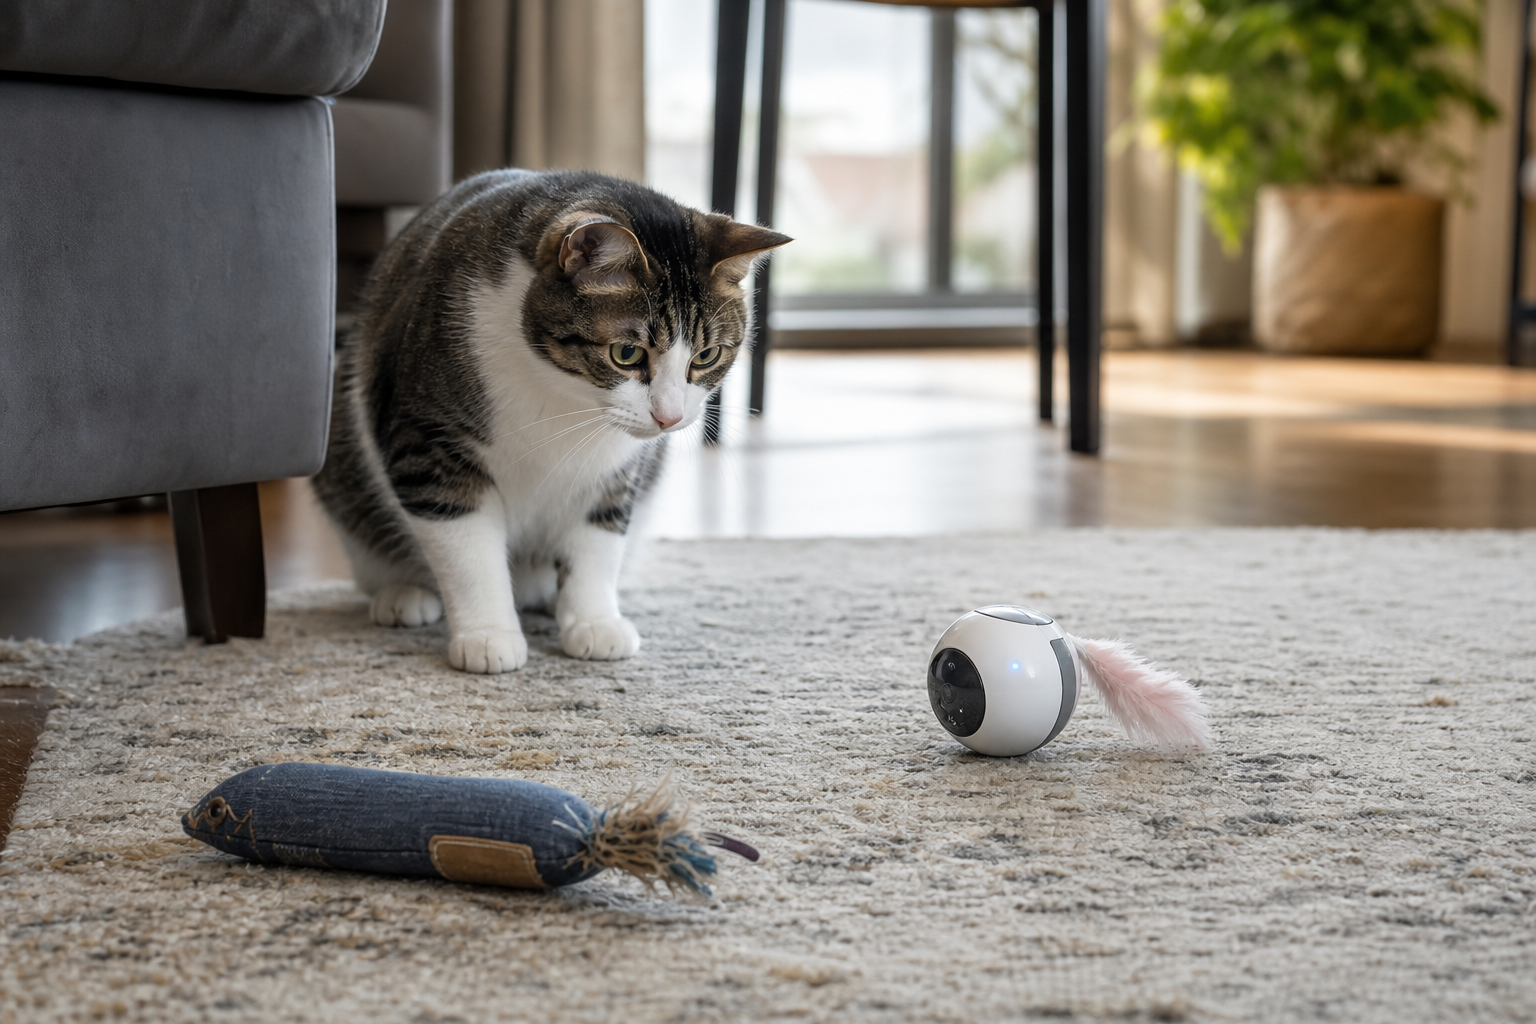
- Self-moving toys: automatic balls, flopping plush toys, concealed-motion mats, spinning lures, and toys with timed or motion-activated motors. These can help when your hands are busy, but they need more inspection.
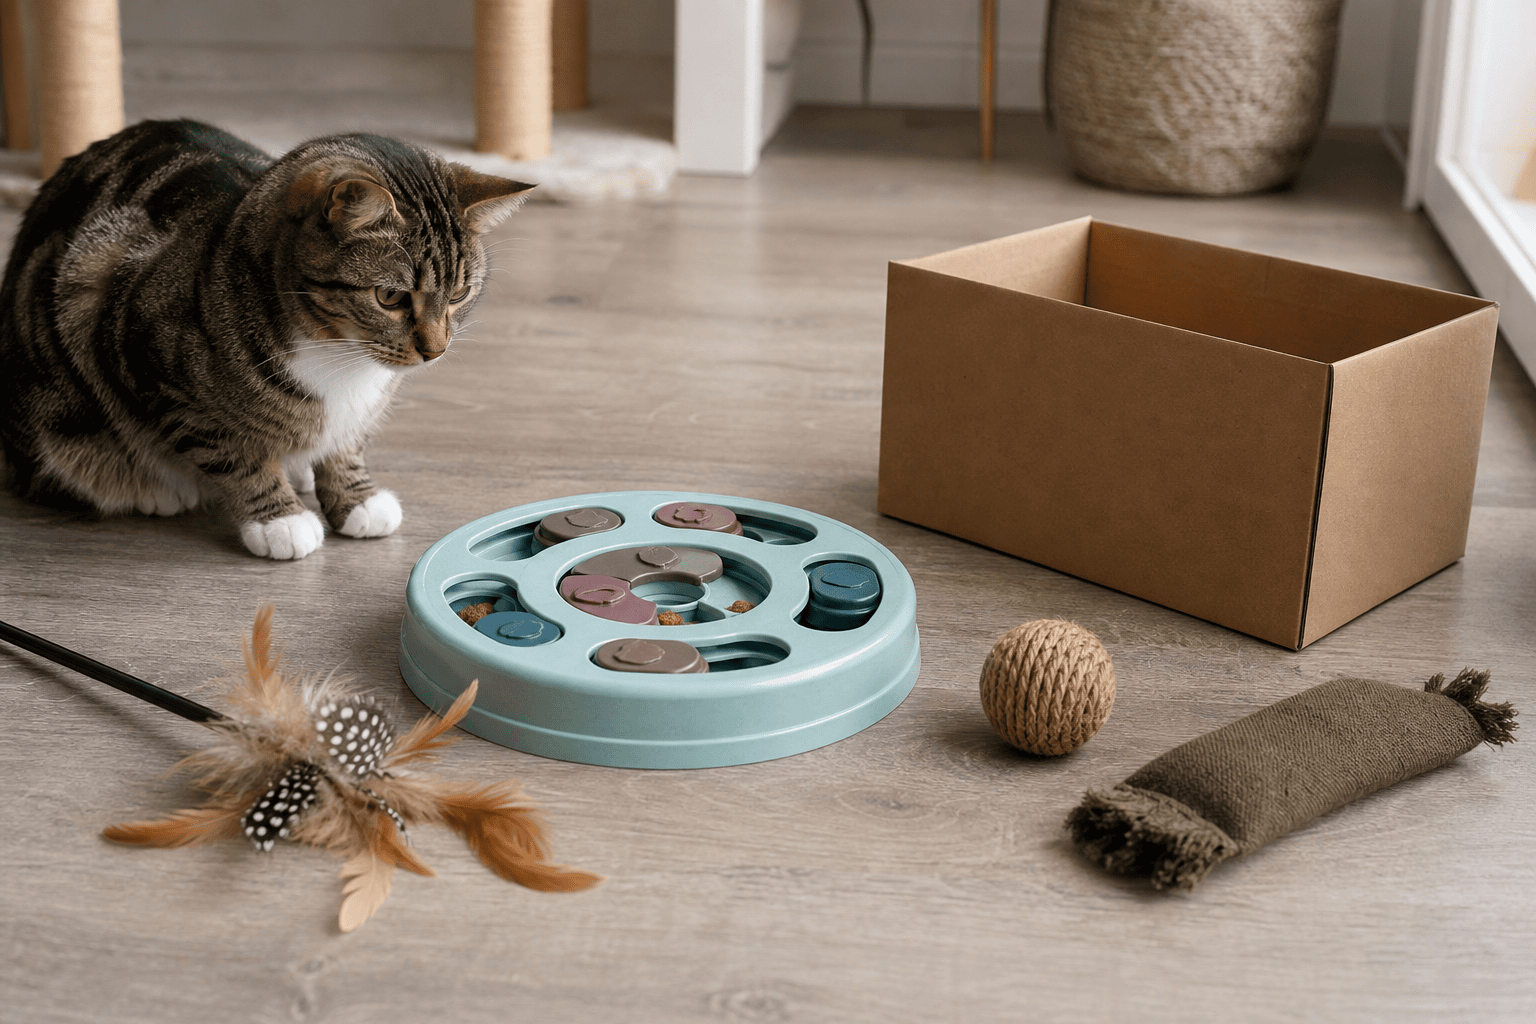
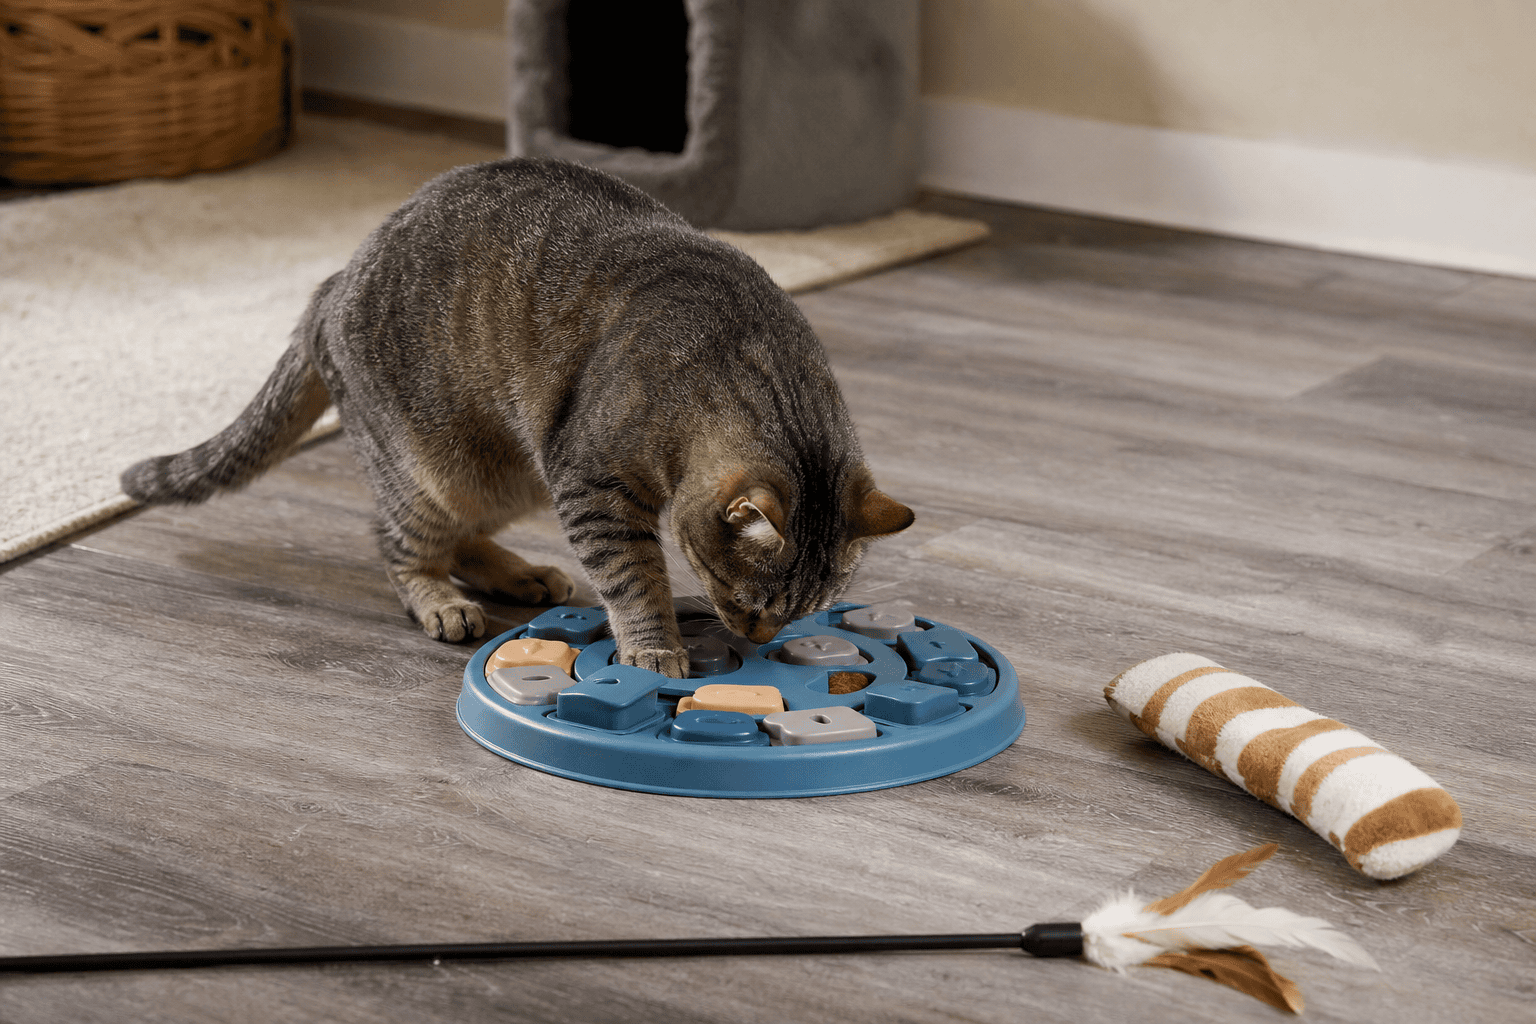
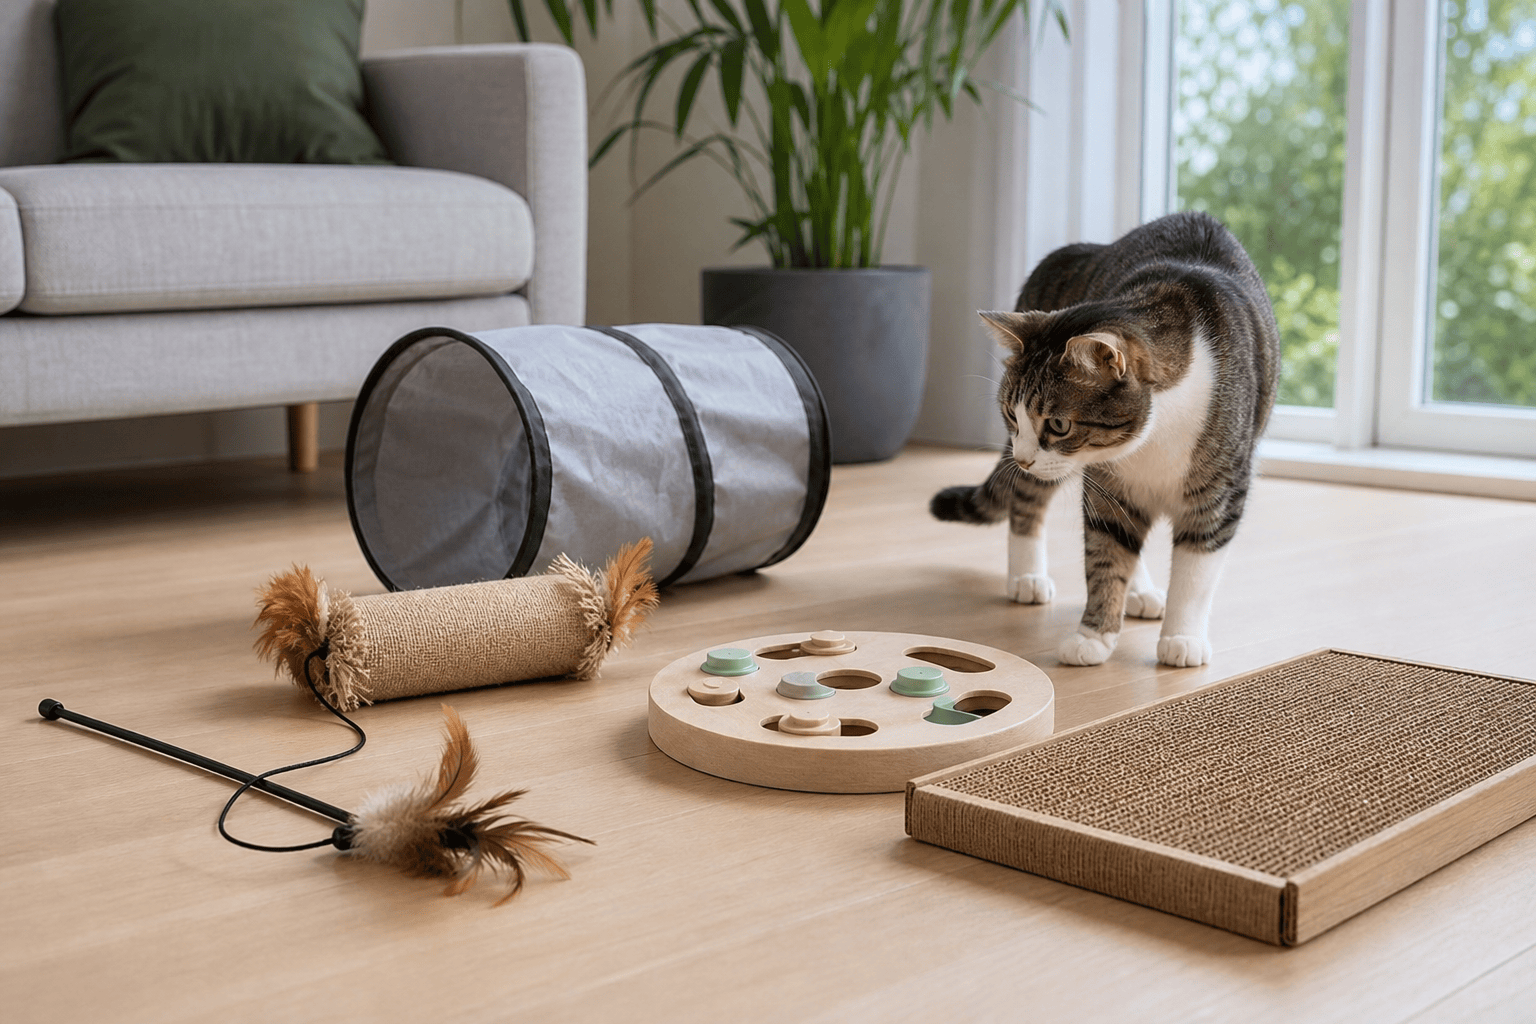
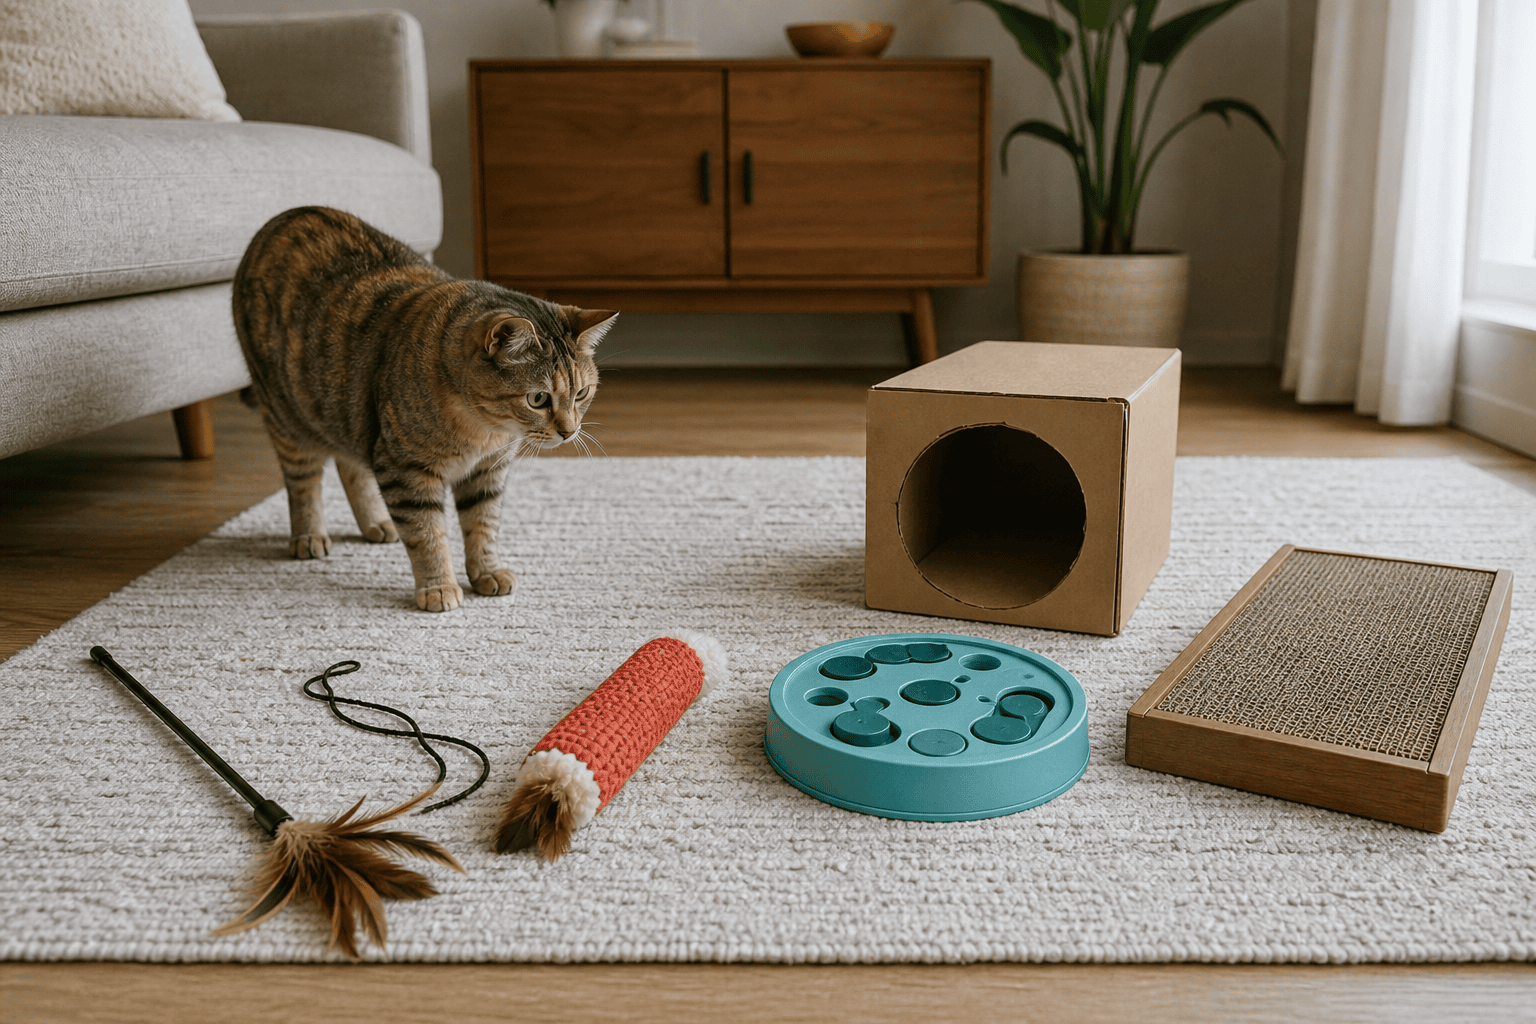
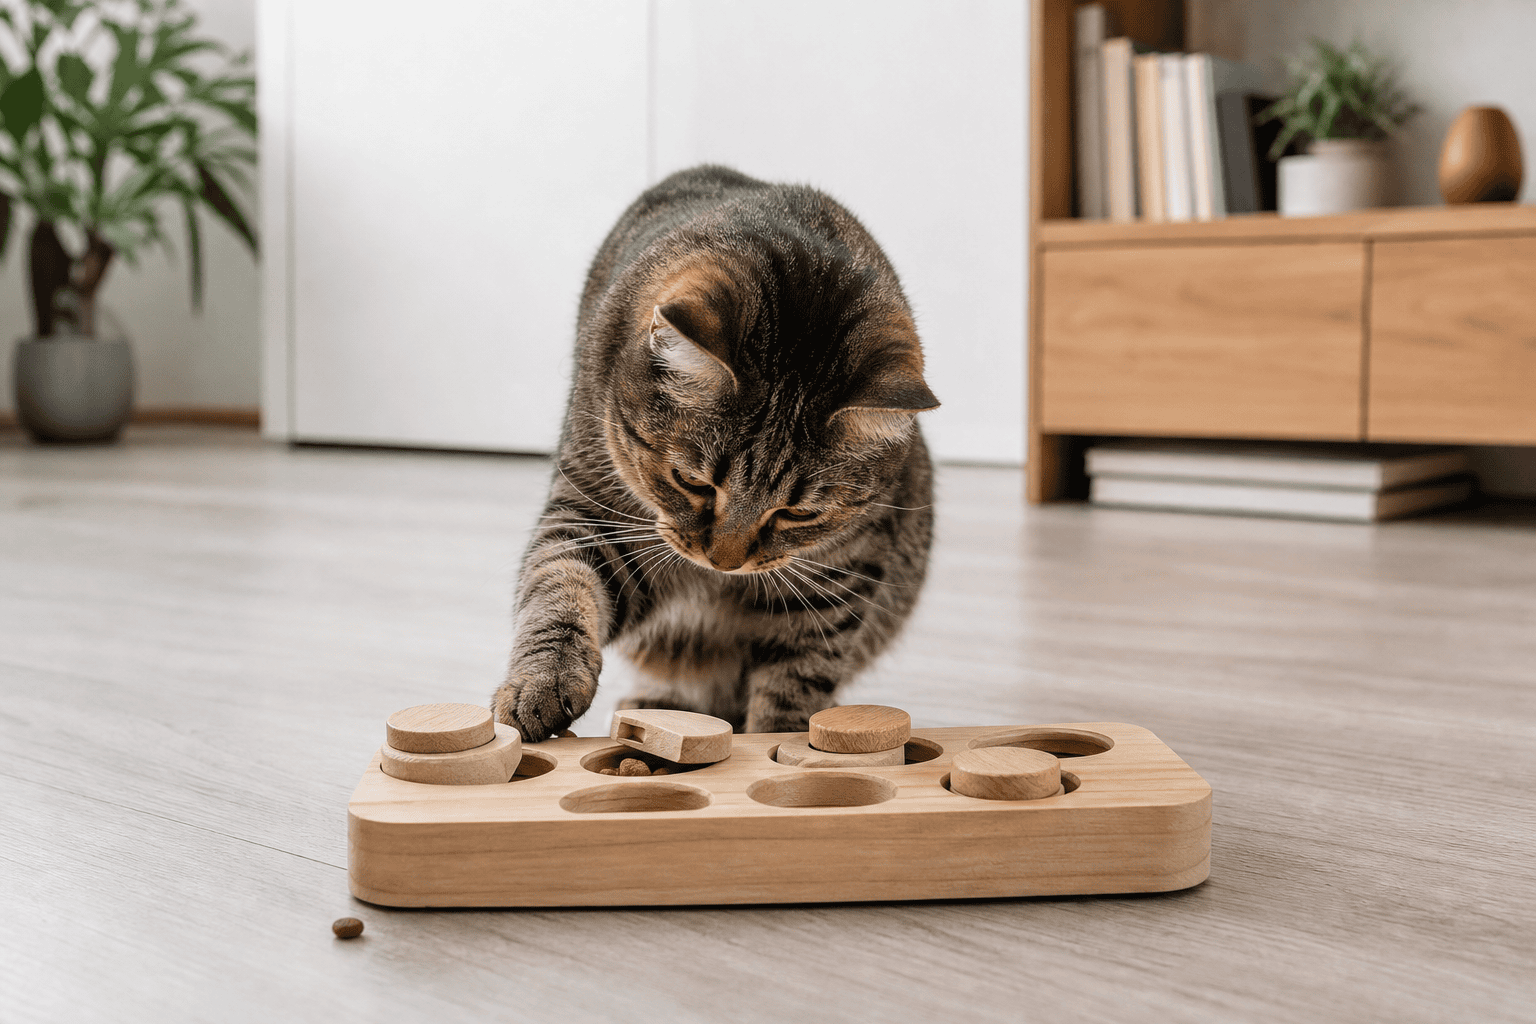
- Small-motion enrichment: tracks, spring toys, crinkle toys, puzzle feeders, and food-dispensing balls. These may not race across the room, but they encourage pawing, searching, and problem-solving.
If you are comparing automatic cat toys or electronic interactive cat toys, separate entertainment from durability. A toy can be exciting and still be a poor fit for a cat that chews seams, feathers, cords, or battery covers.
Why Motion Works for Cats
Movement matters because cats are built to notice small, irregular motion. A toy that darts, hides, pauses, or twitches can feel more like prey than a toy sitting in the same corner every day. That is why many cats ignore a basket of old toys but sprint across the room when a feather disappears behind a chair.
The AAFP and ISFM feline environmental needs guidelines recommend giving cats ways to express predatory play, including chasing, pouncing, catching, manipulating toys, using food puzzles, and rotating toys to reduce boredom. The key phrase for motion toys is not just chase. It is chase, catch, and finish.
A moving toy that never lets the cat catch anything can frustrate some cats. Laser-only play is the classic example, but the same issue can happen with a motorized lure hidden too well under fabric or a rolling toy that never becomes grabbable. End motion play with a physical toy, treat, or meal so the sequence has a satisfying close.
Choose by Play Style, Not by Hype
The right moving toy depends on what your cat does during play. Watch the first ten minutes closely. Your cat will usually tell you which category is safest and most useful.
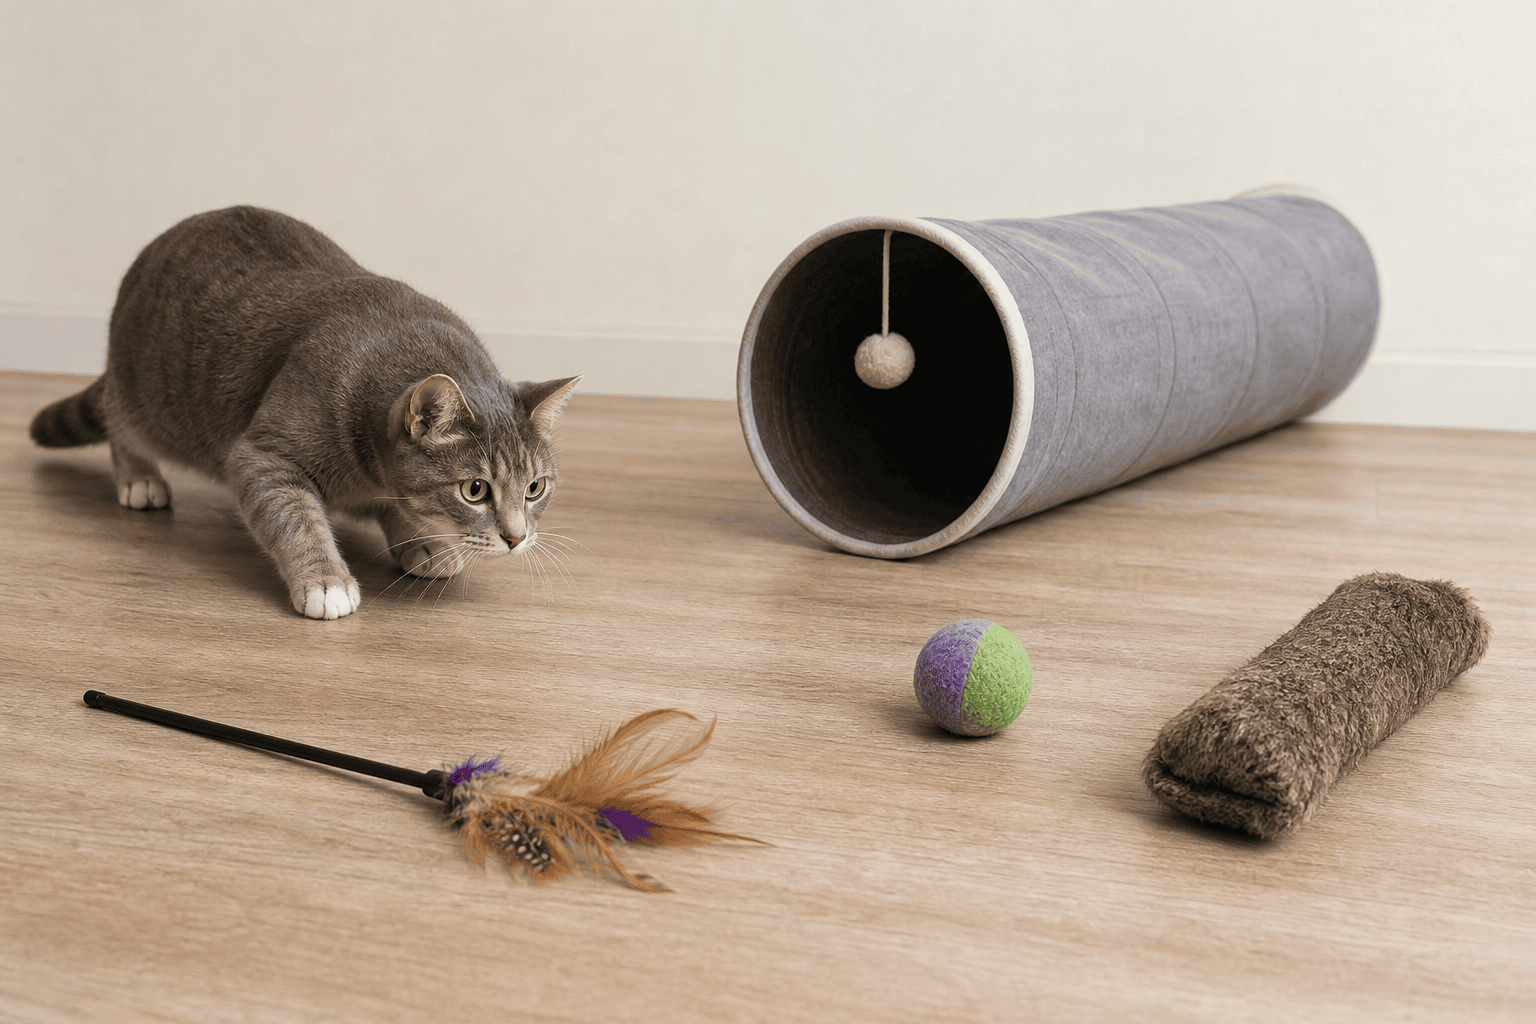
- The stalker: waits, watches, and pounces from cover. Try concealed-motion toys, wand games around furniture, slow rolling balls, and puzzle boxes.
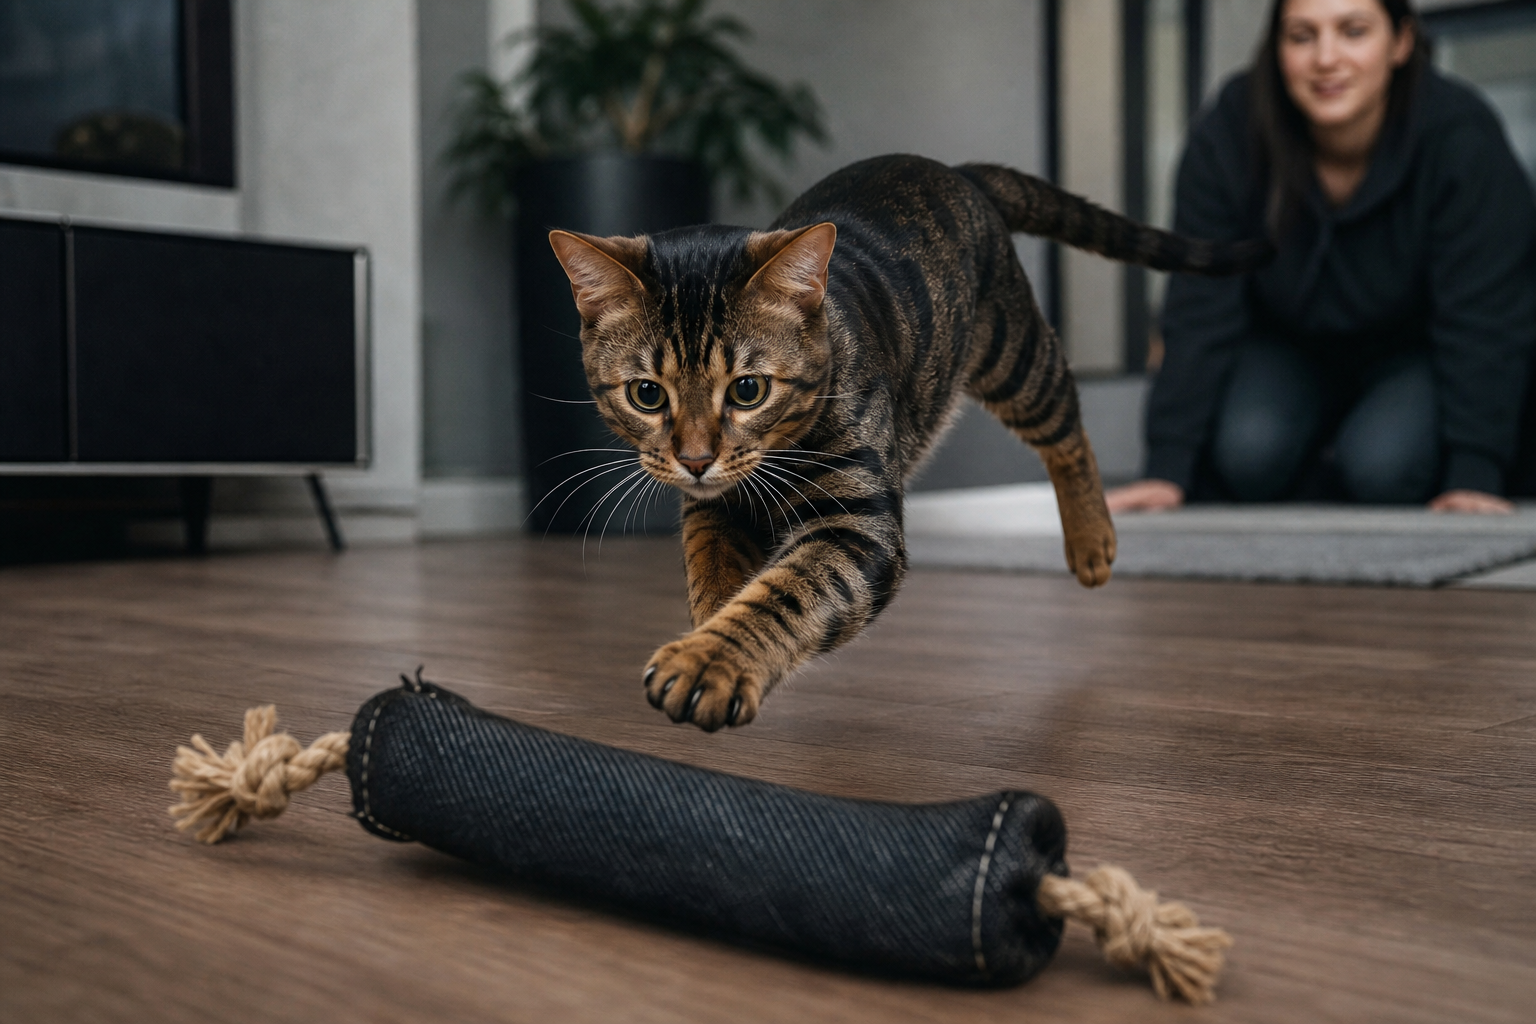
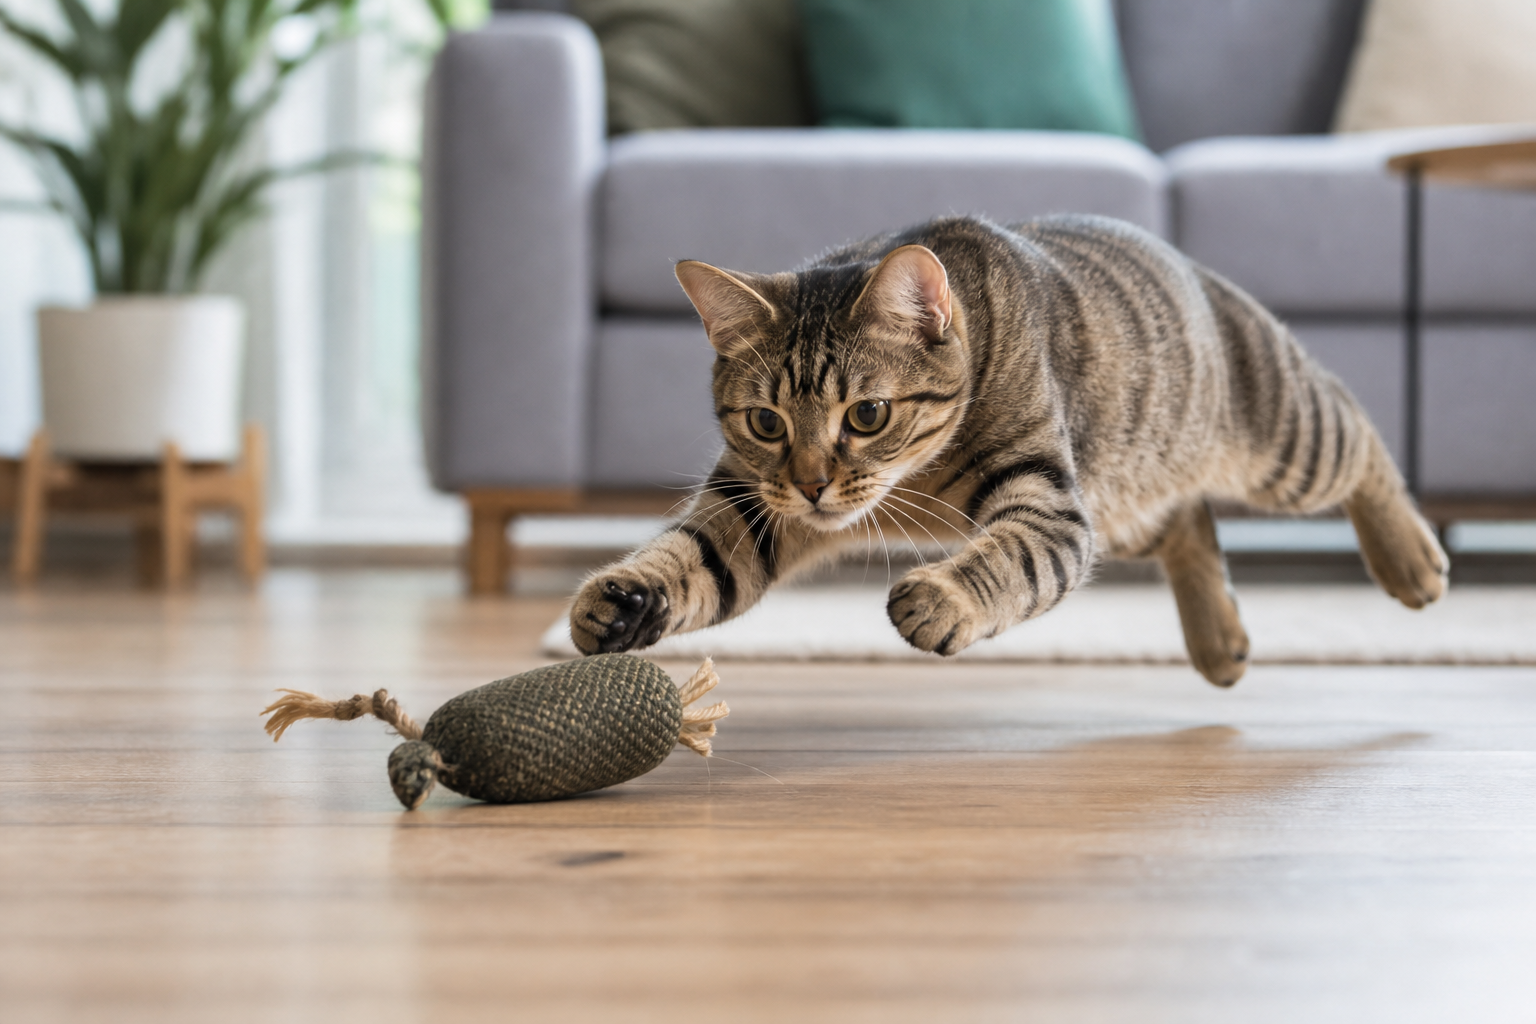
- The sprinter: chases down hallways and wants speed. Try owner-guided wand play, rolling toys in an open room, tunnels, and chase games that end with a catch target.
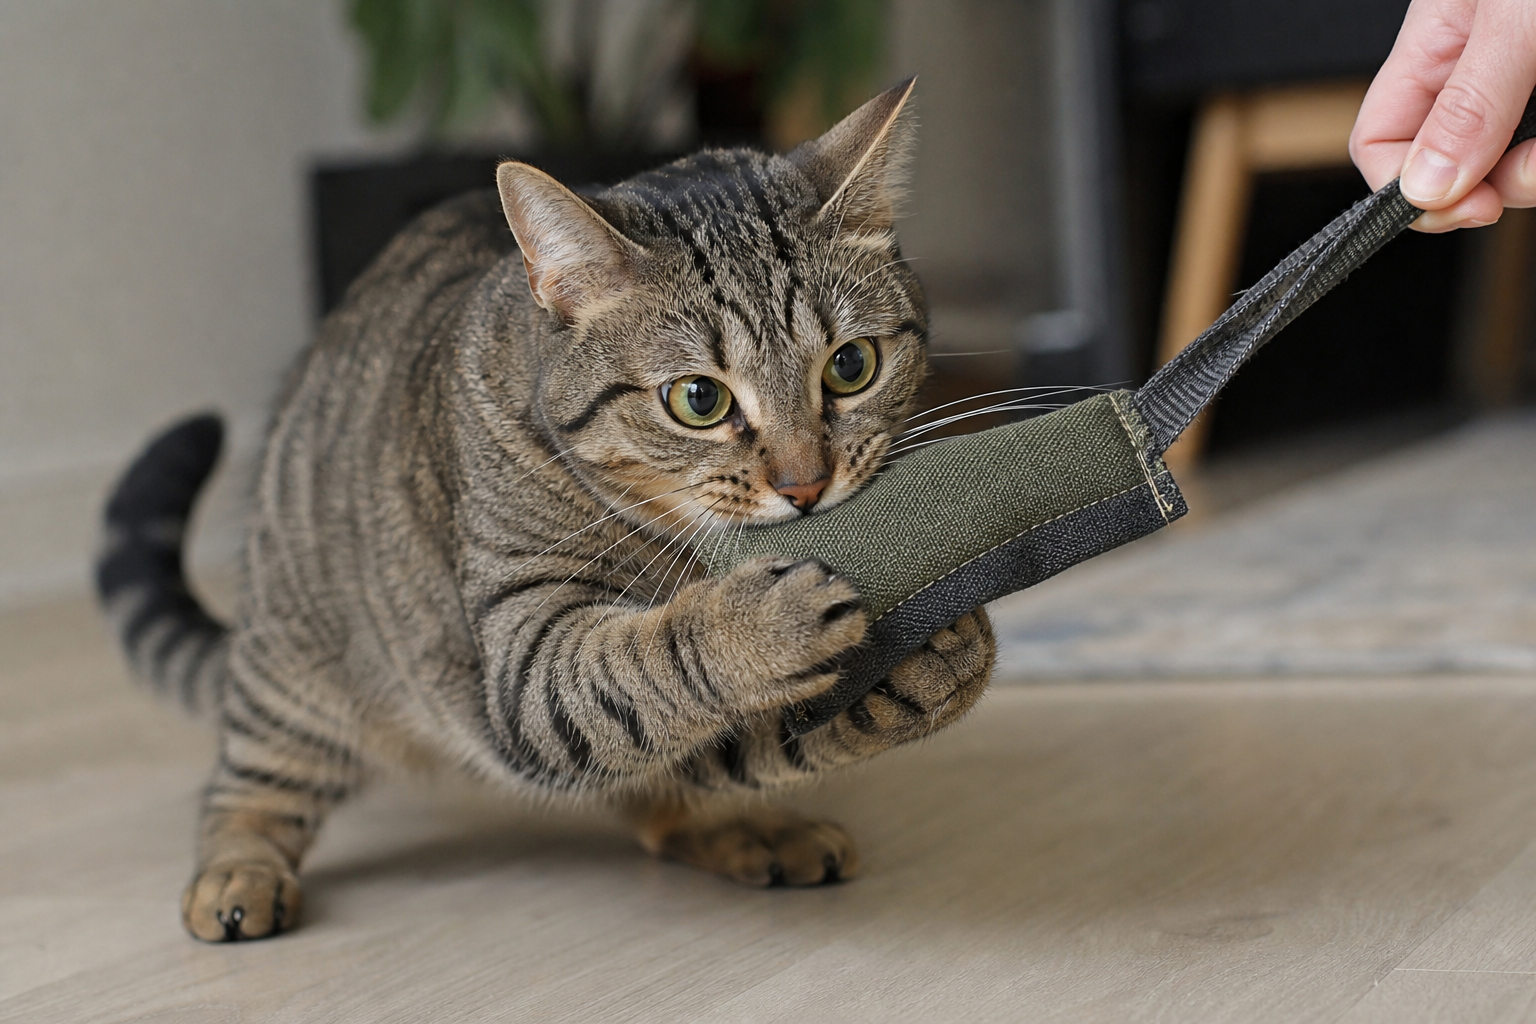
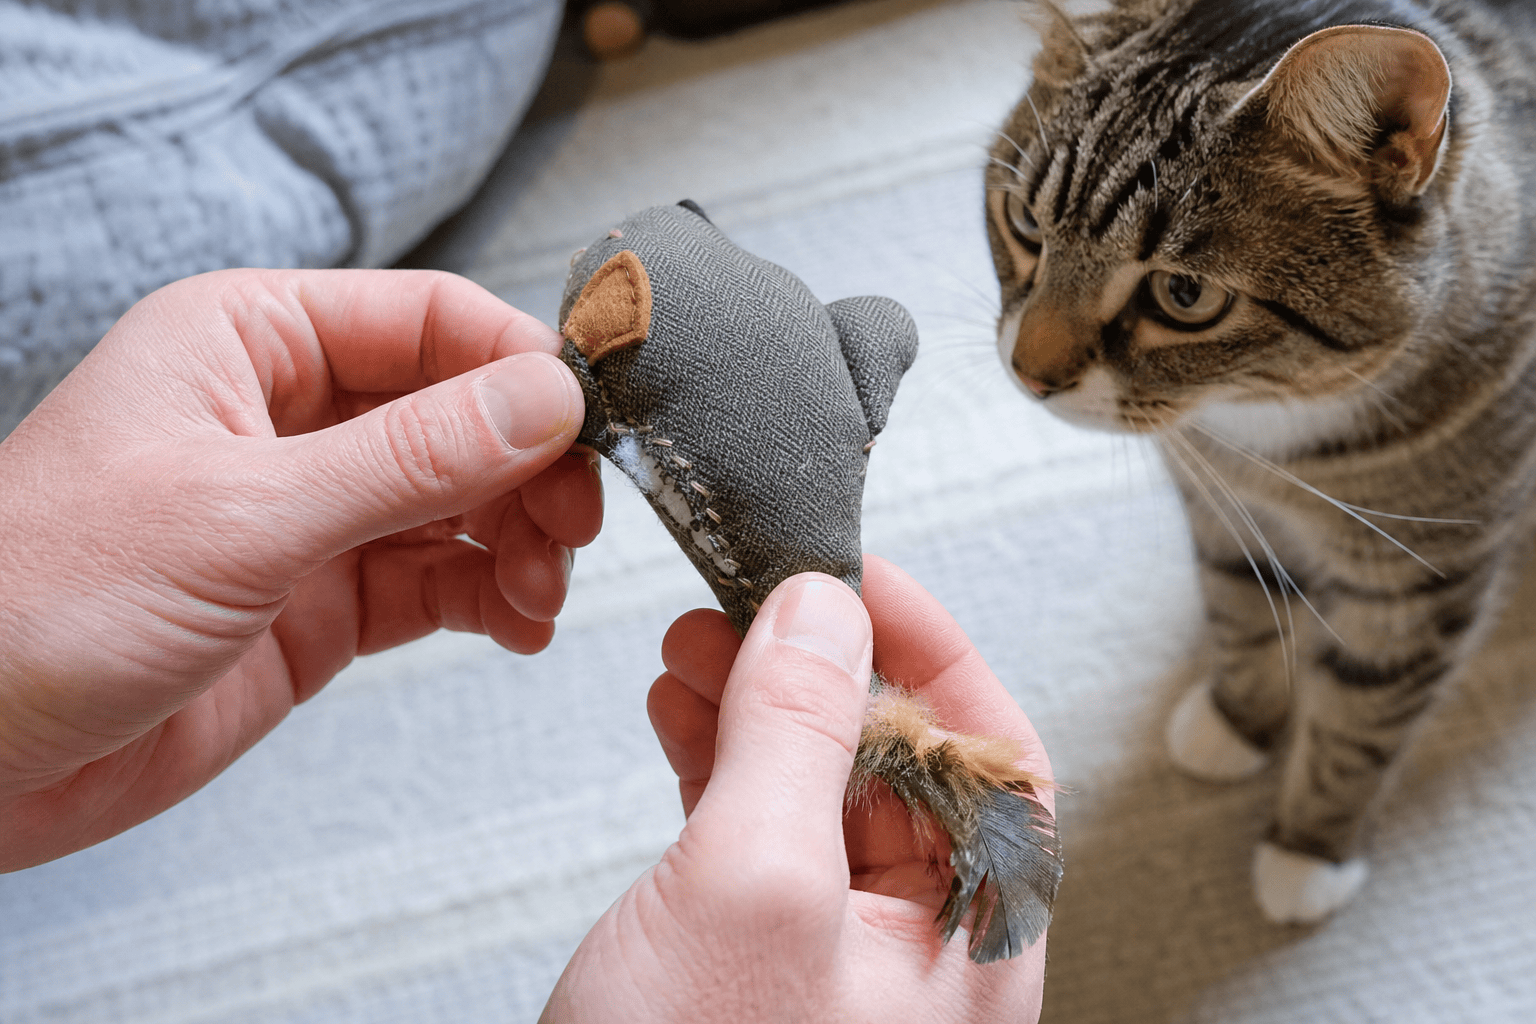
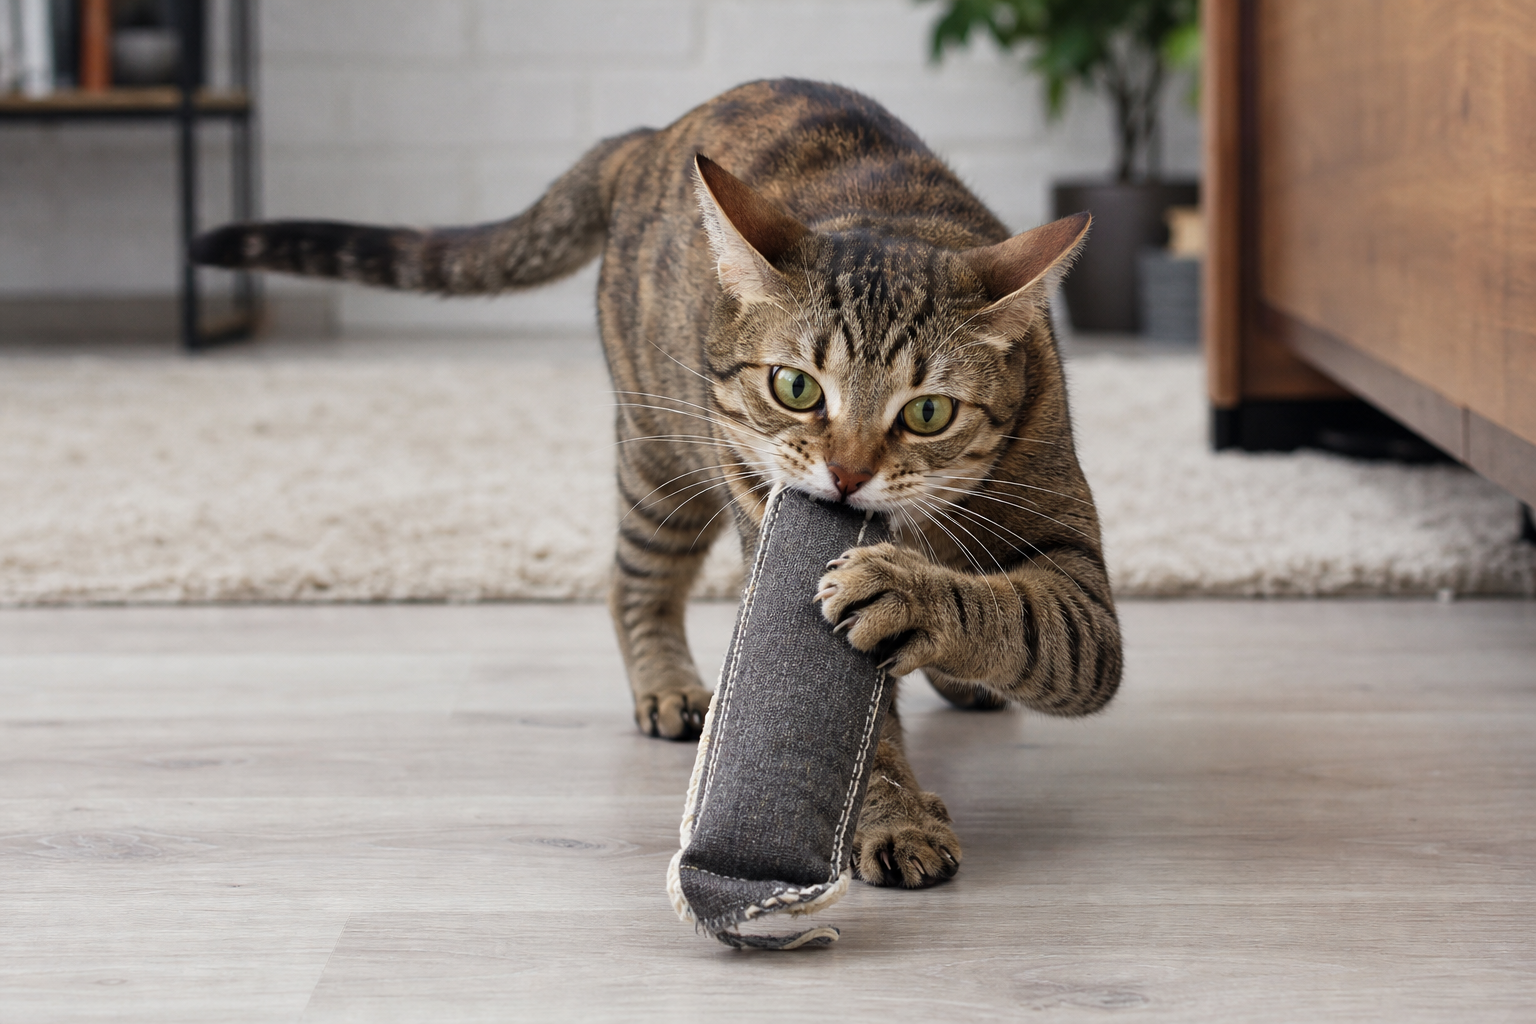
- The grabber: pins the toy and bites or kicks. Use larger fabric kickers, tough prey-shaped toys, and supervised wand sessions. Avoid tiny moving parts.
- The problem solver: paws at gaps, doors, and containers. Try track toys, treat balls, food puzzles, and covered toys that require searching.
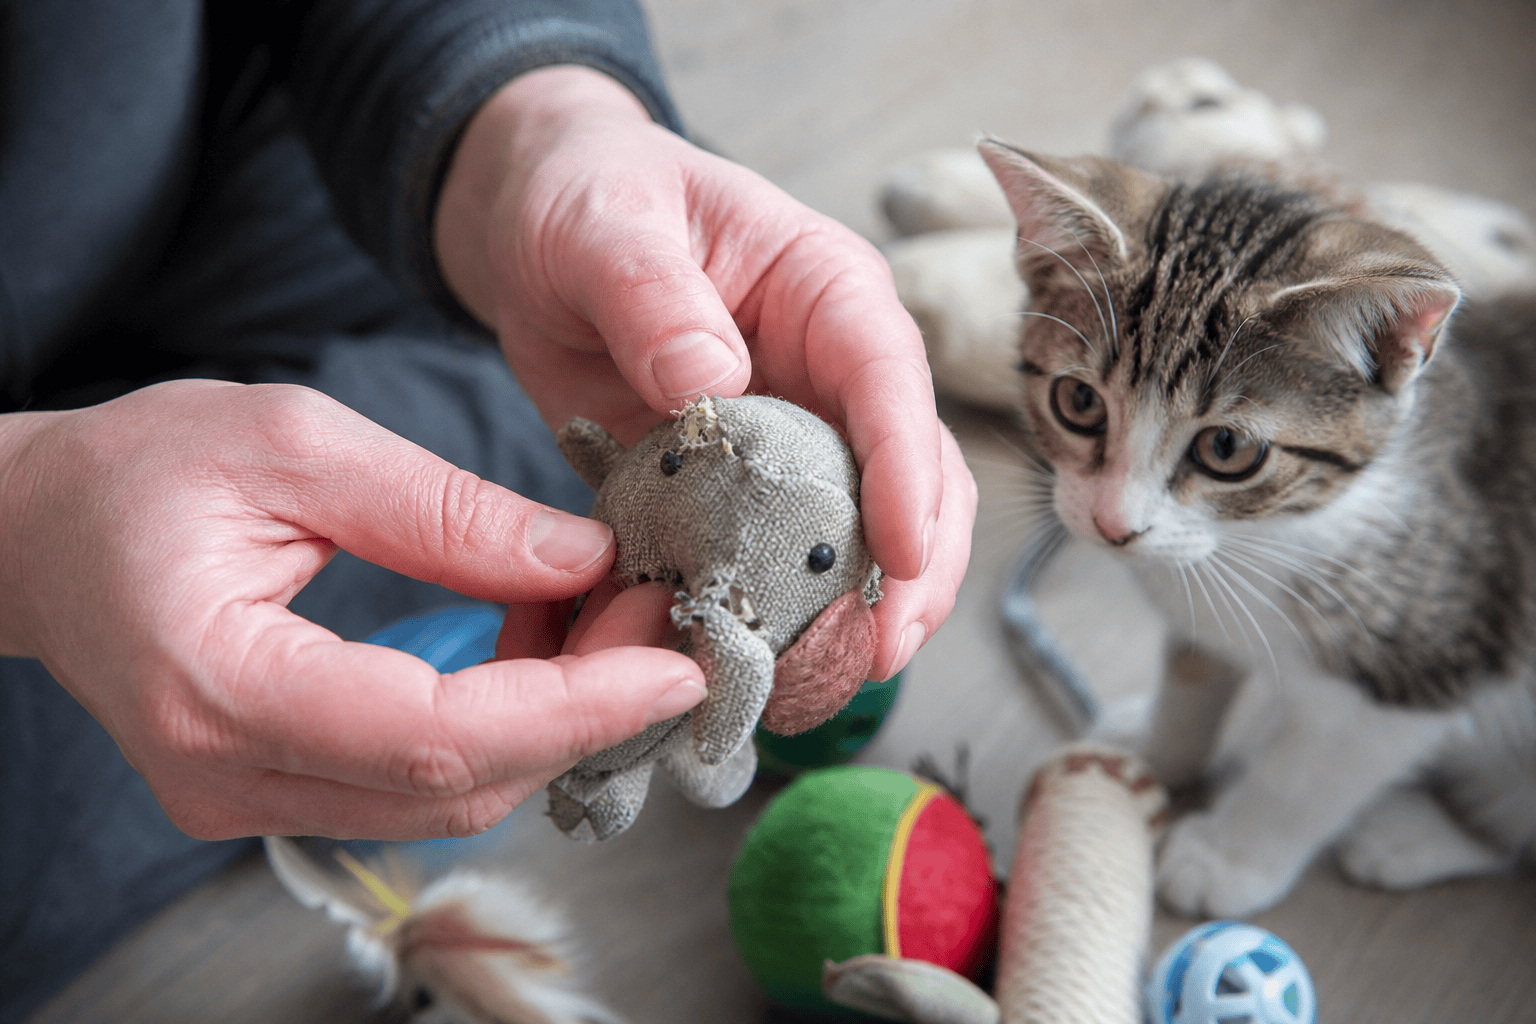
- The destroyer: chews seams, pulls feathers, opens weak plush, or attacks battery compartments. Keep electronics supervised and prioritize simple, inspectable toys.
For hunting-style play ideas, use Titan Claws’ guide to cat toys for hunting. If your cat’s main habit is chewing through toys, read toys for cats that chew and safe cat chew toys before buying a motorized toy.

Safety Rules for Toys That Move on Their Own
Automatic movement adds convenience, but it also adds failure points. Before any self-moving toy becomes part of your routine, ask what your cat can bite off, swallow, wrap around a paw, or expose by chewing.
Cornell Feline Health Center’s safe toys guidance cautions owners to avoid toys with small pieces or strand-like parts such as feathers and string that may separate and be ingested, and to avoid electrical cords a cat can chew. That advice is especially important with toys that move, because motion encourages harder grabbing.
- Check attachments: feathers, tails, ribbons, bells, plastic eyes, and elastic cords are common weak points.
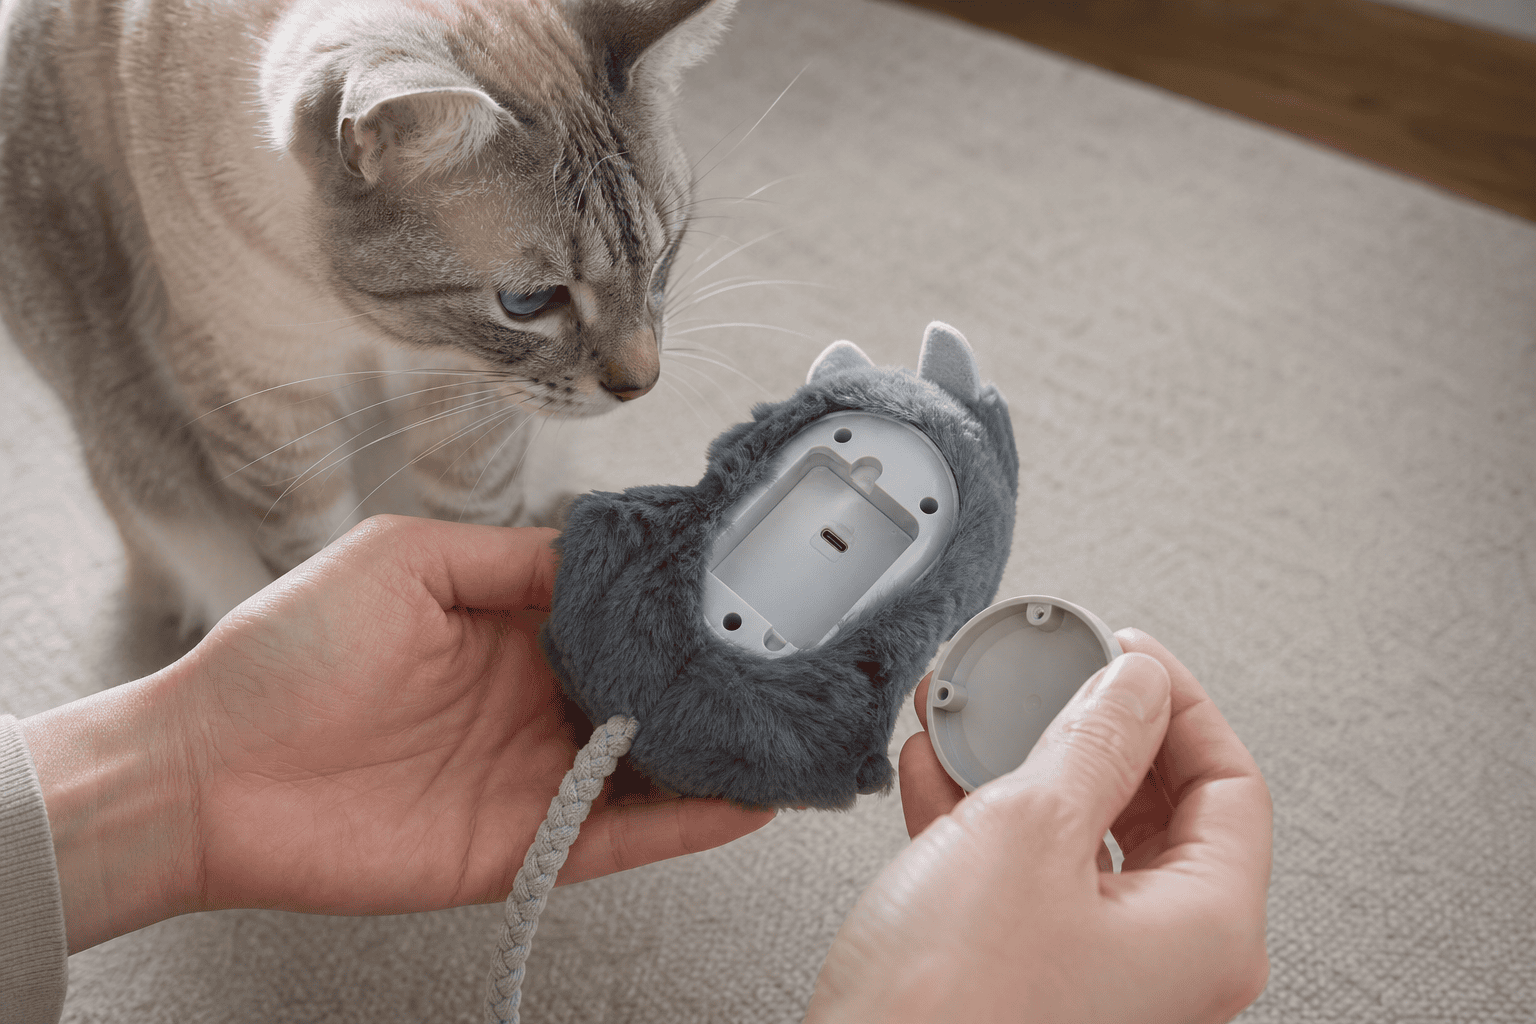
- Check power access: battery doors should screw shut, charging ports should be covered, and cords should be removed before play.
- Check size: avoid toys small enough to swallow or wedge deep under appliances.
- Check heat and noise: stop using a toy that gets hot, smells odd, clicks sharply, or scares your cat into hiding.
- Check the room: keep moving toys away from stairs, blind cords, water bowls, fragile objects, unstable furniture, and tight spaces where the toy can trap paws.
Do not leave a new powered toy out while you are gone just because the package describes it as interactive. Titan Claws’ guide to automatic cat toys for when you are away explains the stricter test for unsupervised access.
The Best Motion Types for Rough Players
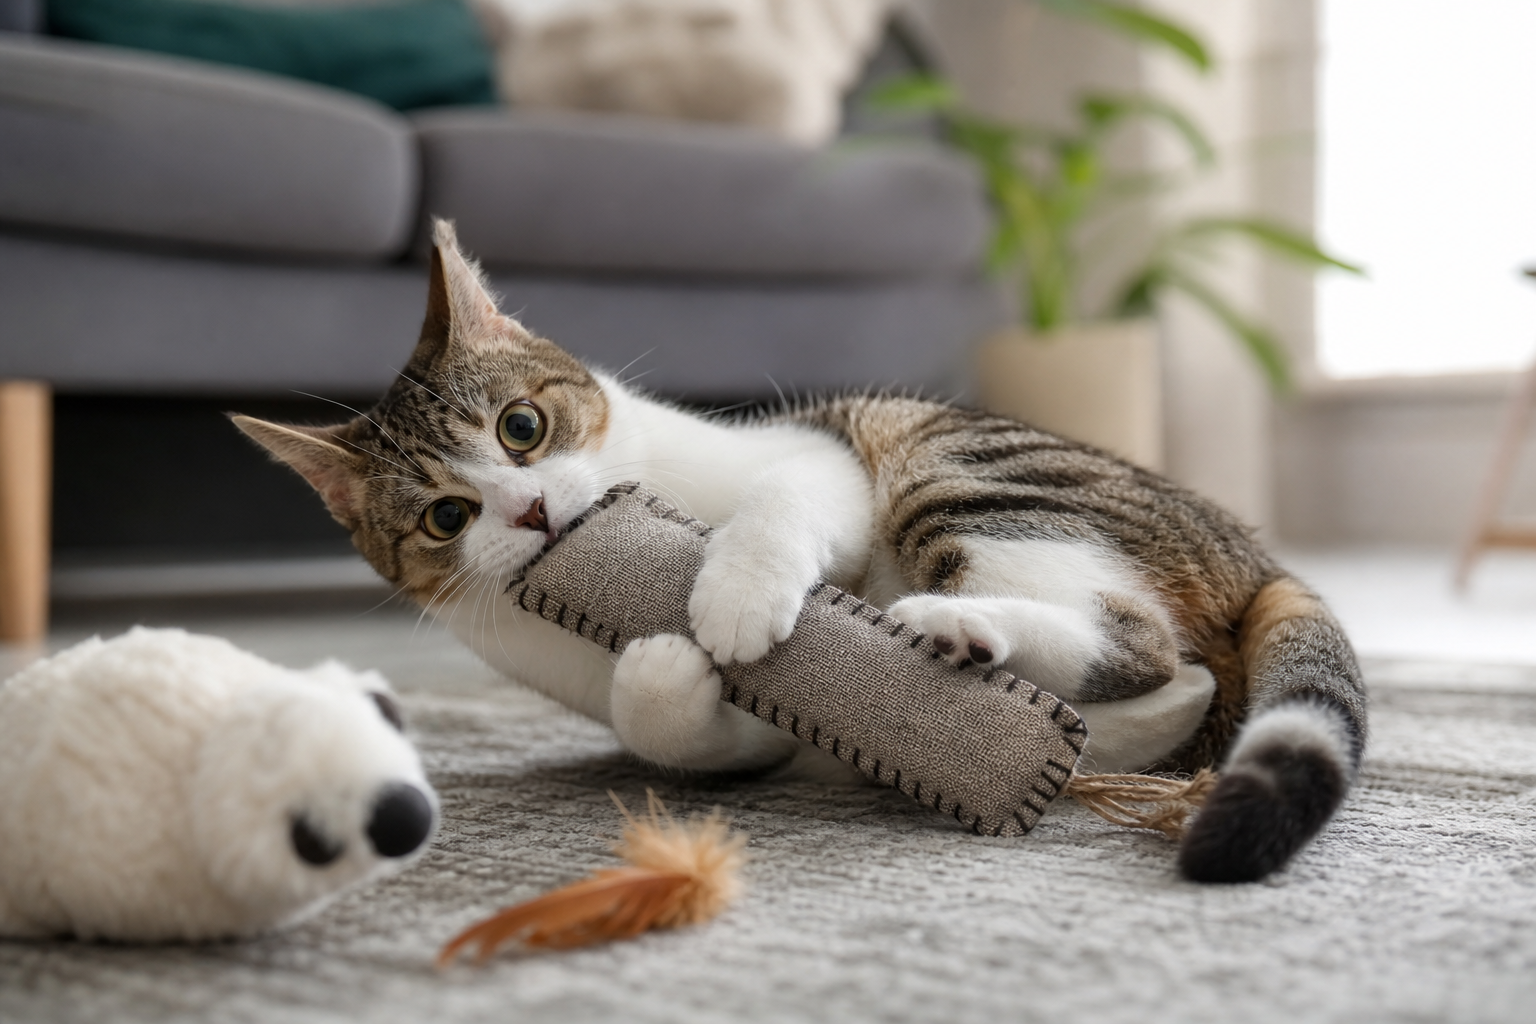
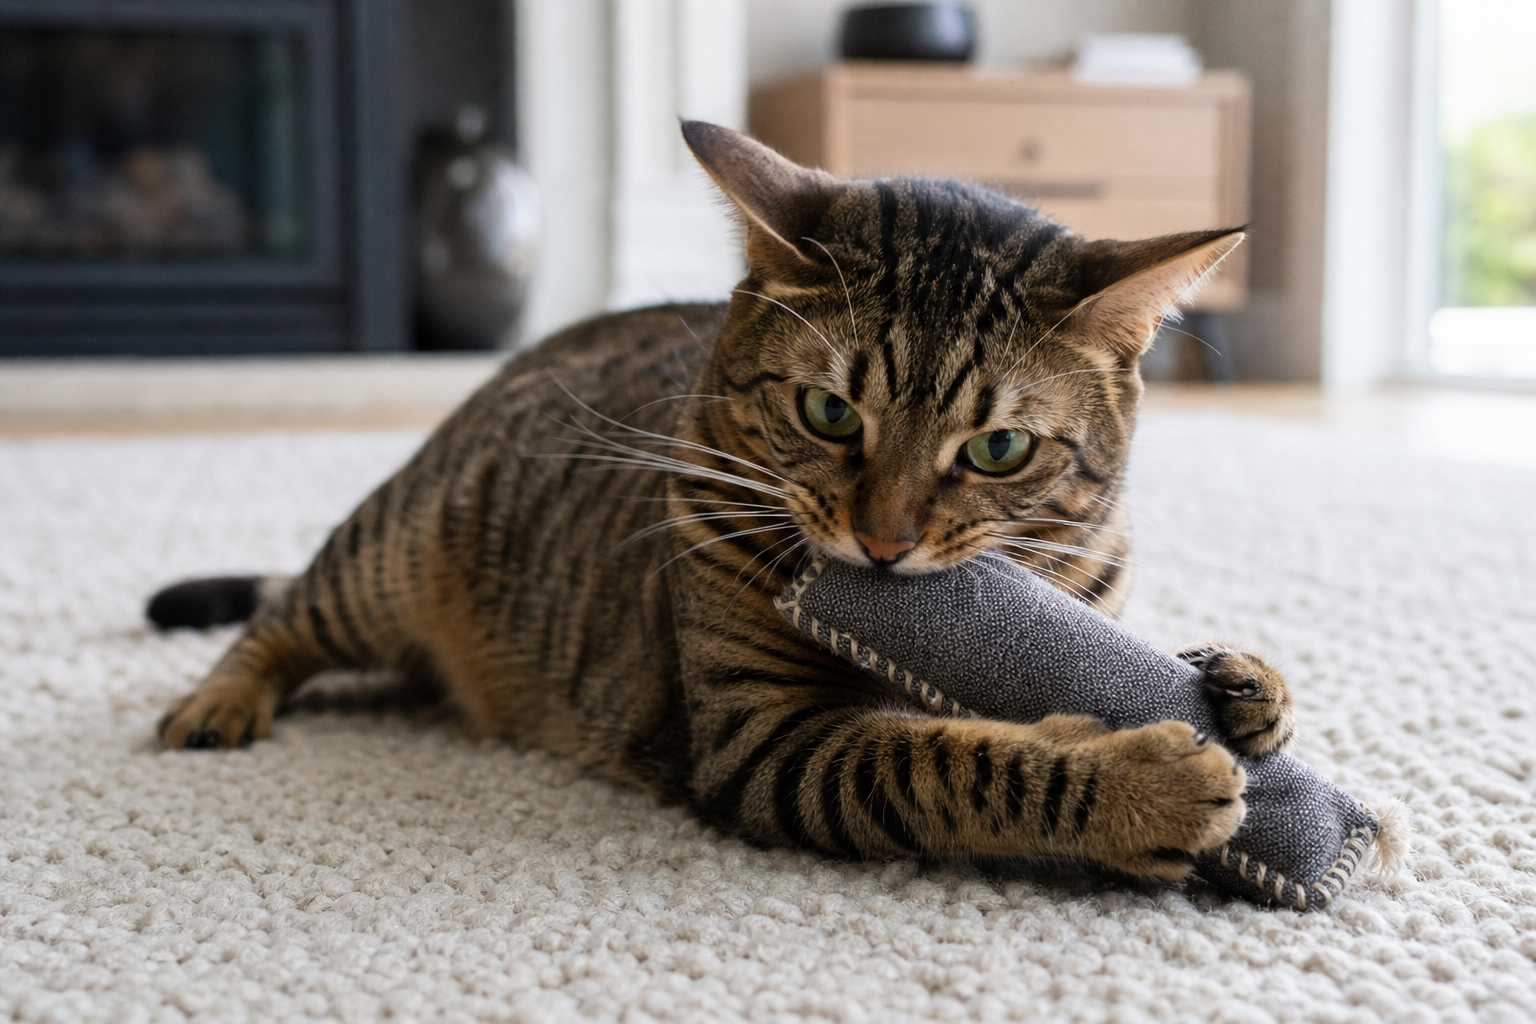
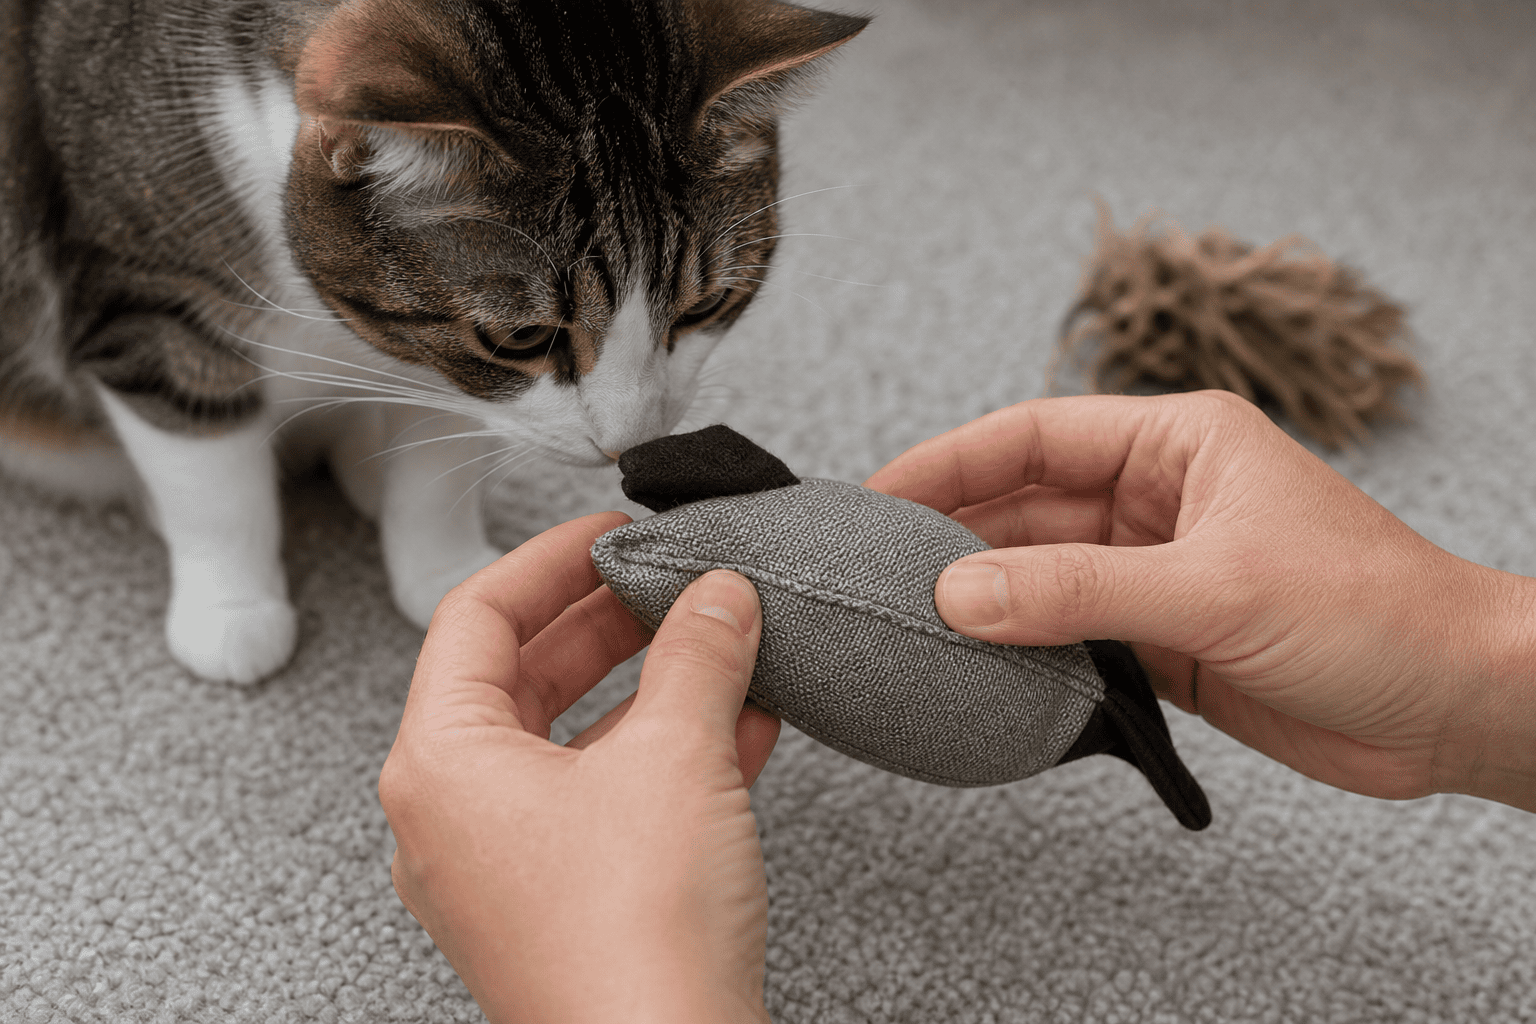
Rough players need toys that still make sense after the catch. If a cat can pin it, kick it, and bite it, the toy has to be large enough, simple enough, and sturdy enough for that job. No fabric toy is permanent, but some designs fail more predictably than others.
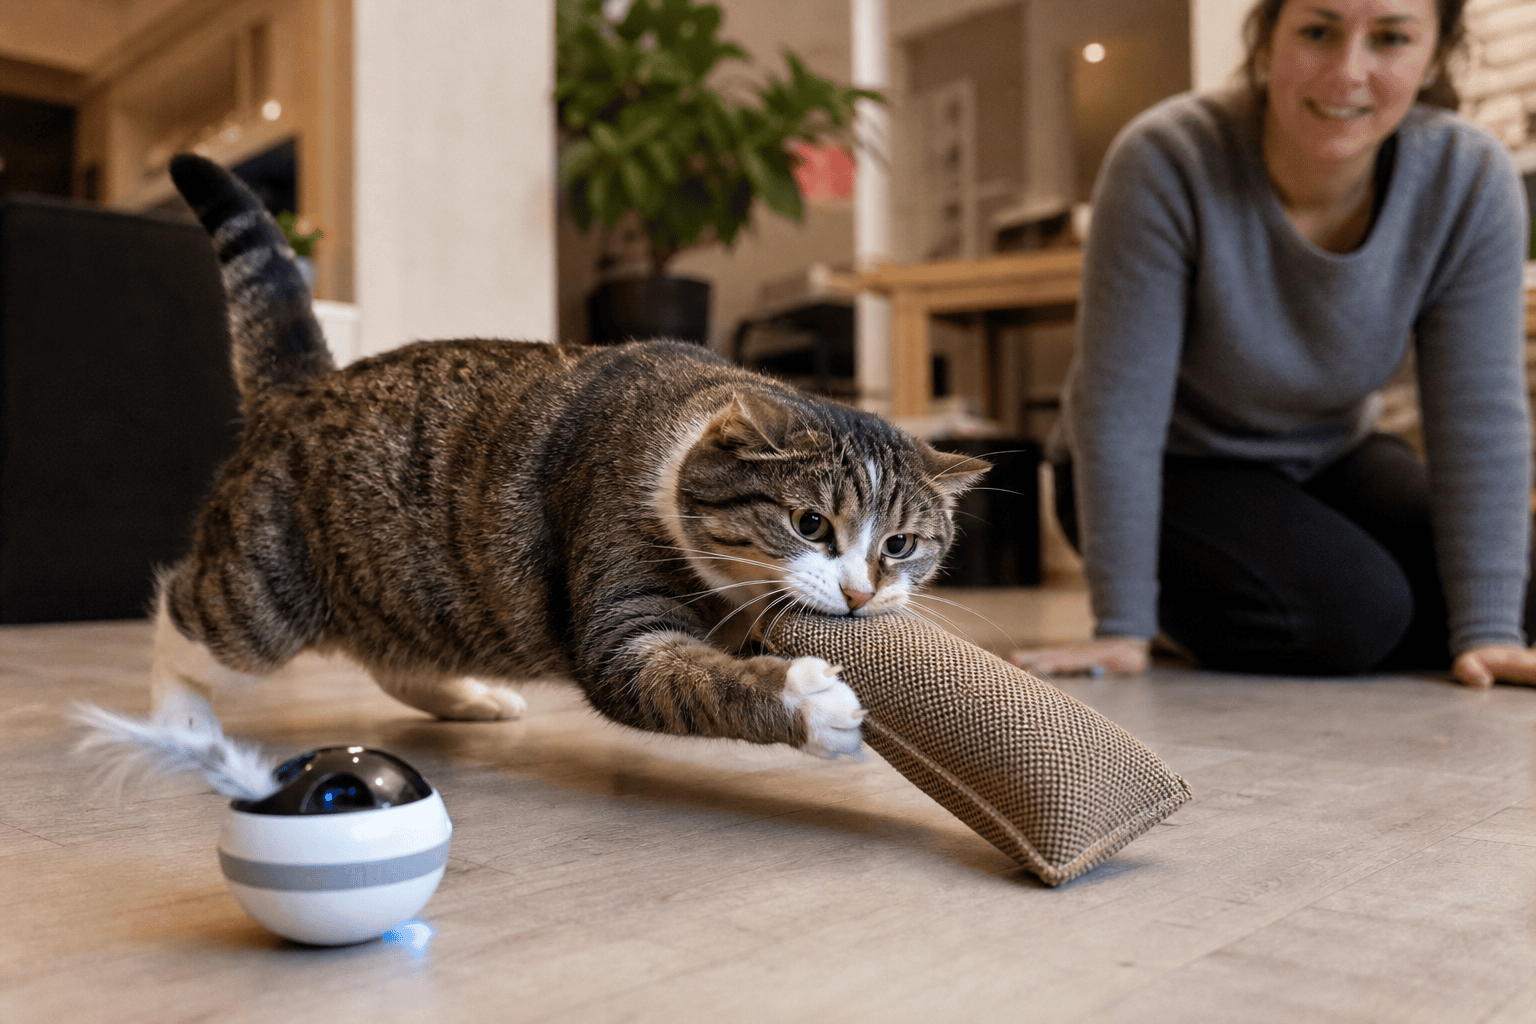
- Wand plus durable catch toy: use the wand to create motion, then let the cat land on a tougher kicker or plush target instead of chewing the string or feather.
- Covered-motion toys: a moving lure under fabric can work well if the cover is tough and the cat does not chew through it to reach the mechanism.
- Track toys: enclosed balls offer repeatable movement with fewer loose pieces. Check that the ball cannot pop out and the track does not pinch paws.
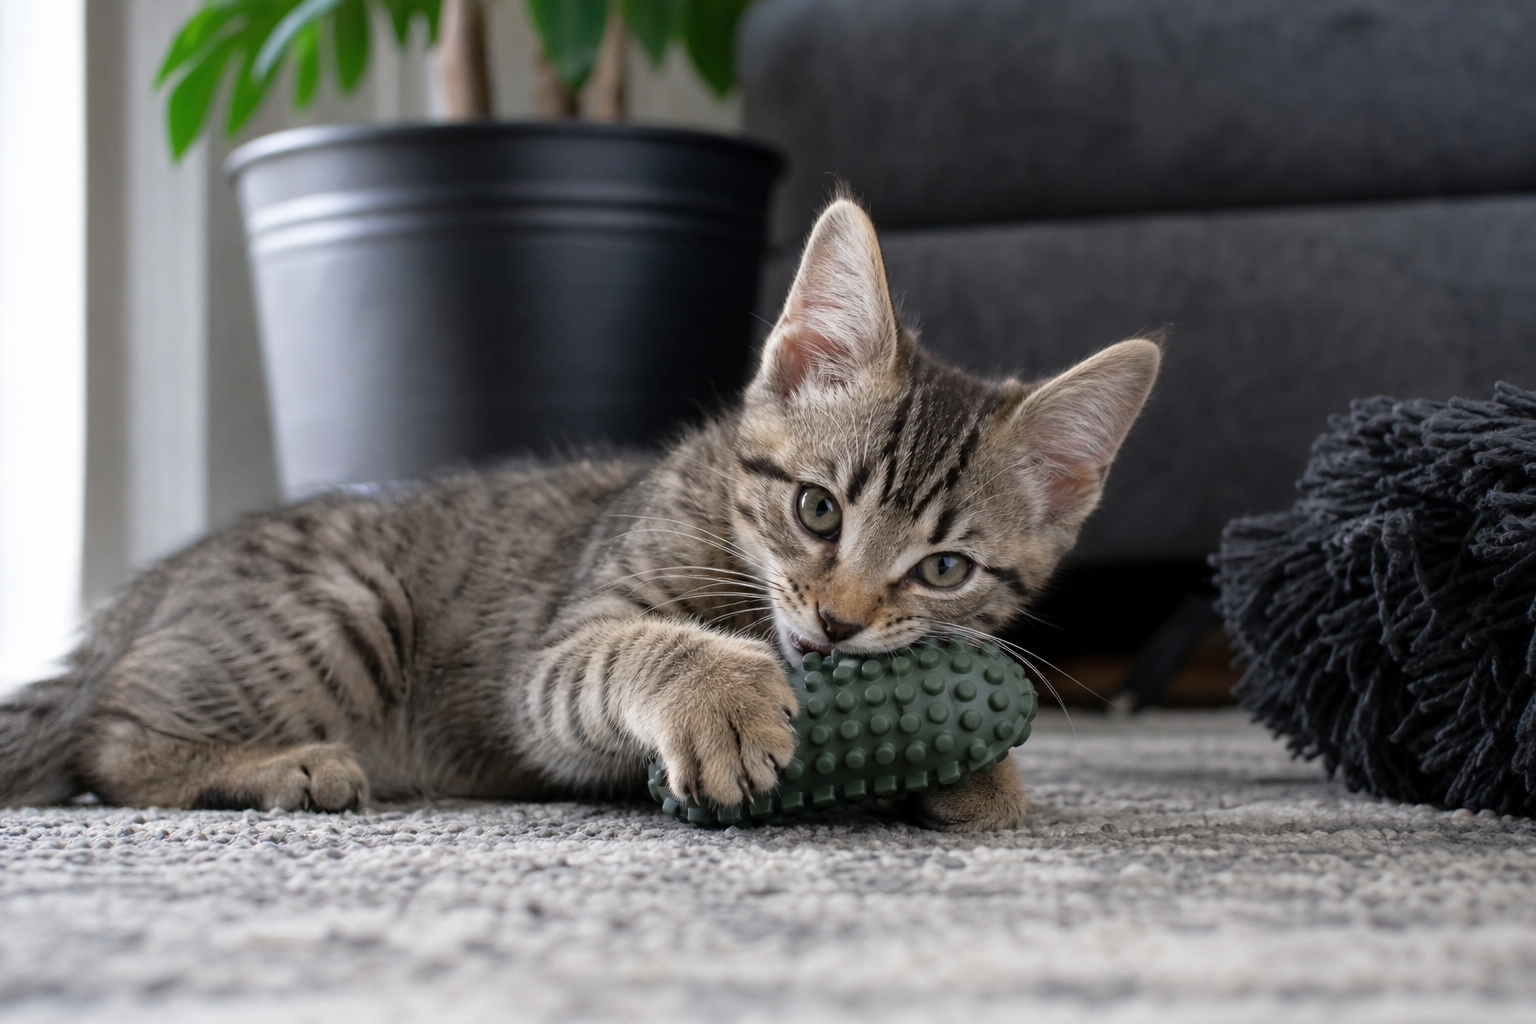
- Hard-shell rolling toys: useful for chasers, but only if the shell resists cracking and the toy is too large to disappear under dangerous furniture.
- Food-dispensing motion: treat balls and puzzle feeders add movement and reward without relying on feathers, strings, or plush electronics.
The common mistake is buying a fast toy for a hard-biting cat when the real need is a better capture object. For destructive cats, motion should lead to a safe bite-and-kick target, not a fragile motor, thin ribbon, or dangling feather.
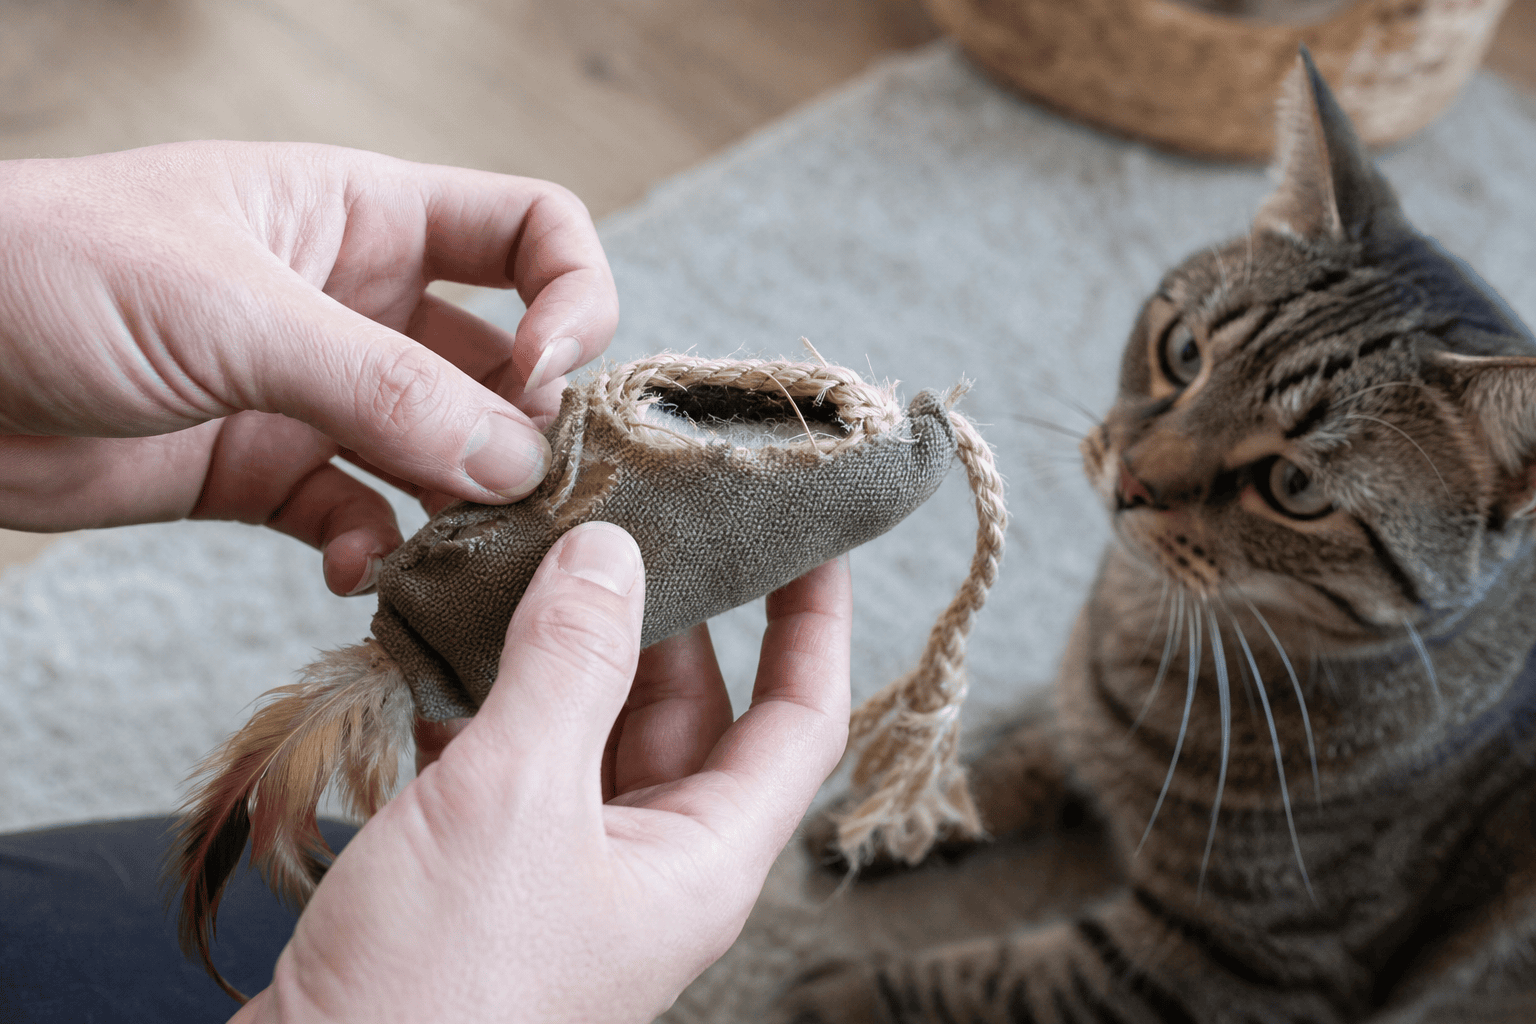
How to Test a Moving Toy Before Trusting It
Use a staged test instead of making the first session a full-speed free-for-all.
- Inspect before play. Tug gently on attachments, check seams, confirm battery doors are closed, and remove packaging bits.
- Introduce it turned off. Let your cat sniff, paw, and walk away. A fearful cat does not need the motor switched on immediately.
- Run a short supervised session. Watch whether your cat chases, hides, chews, tries to open the toy, or gets overstimulated.
- End with a catch. Offer a physical toy or treat so the hunt does not stop at endless pursuit.
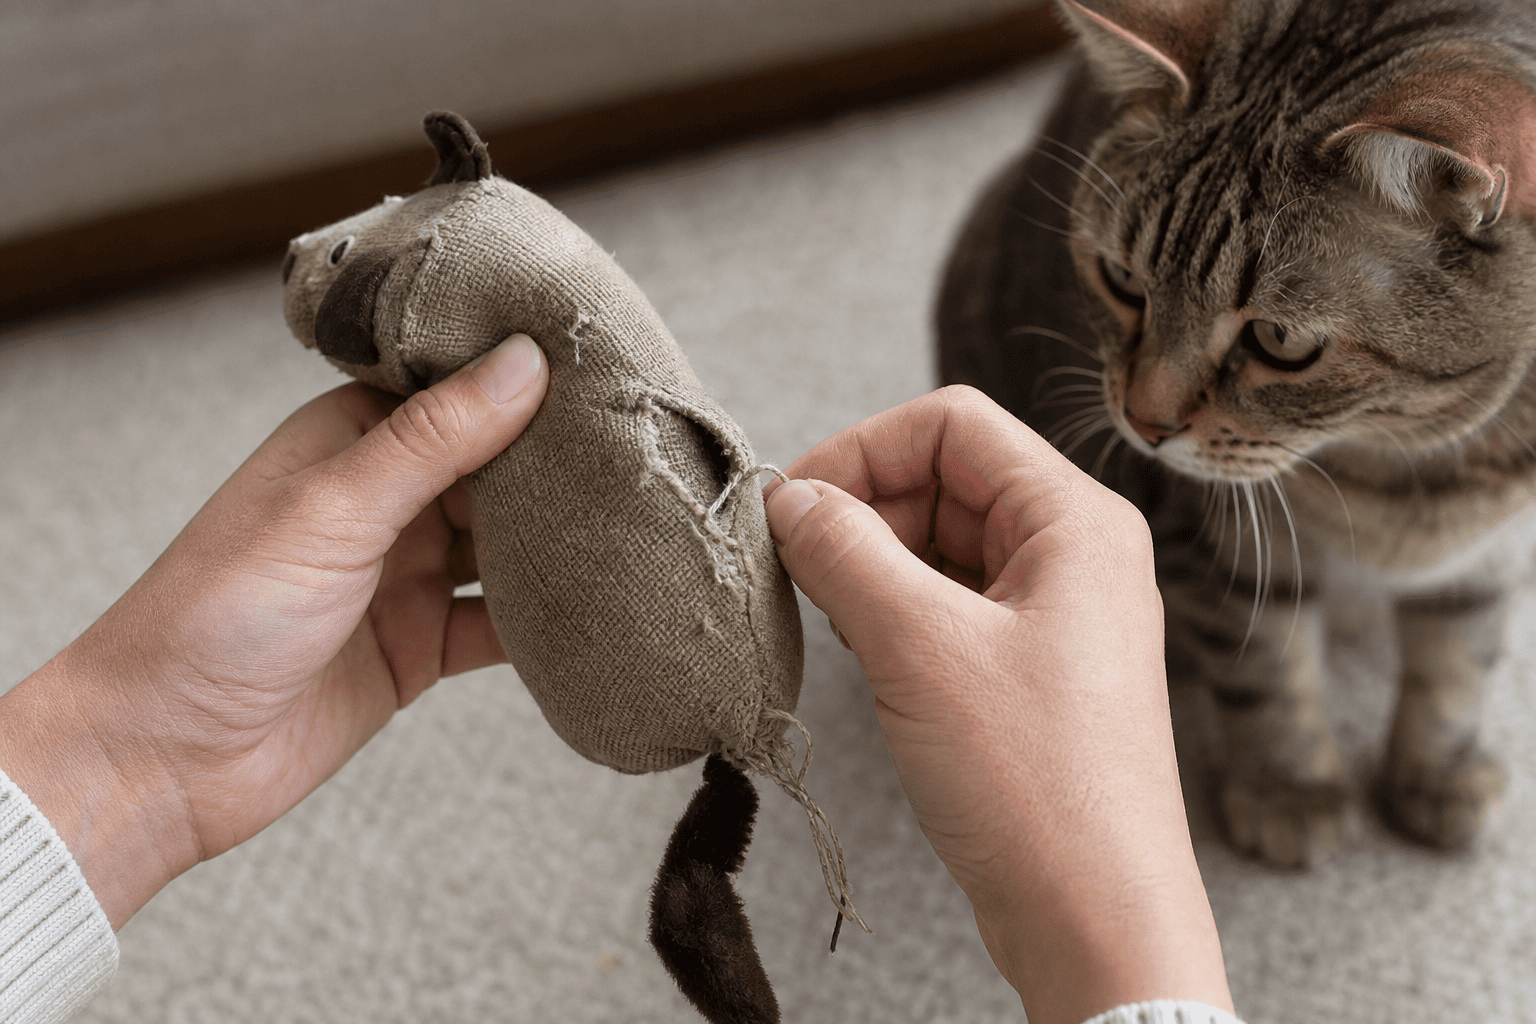
- Inspect after play. Look for new holes, loosened seams, missing parts, cracked plastic, exposed stuffing, or tooth marks near power areas.
- Repeat before expanding access. A toy should pass several sessions before it becomes a regular solo option.
If a toy shows damage, retire it or move it to very limited supervised use. Do not trim off a broken piece and assume the rest is safe unless the remaining toy is still structurally sound and easy to inspect.

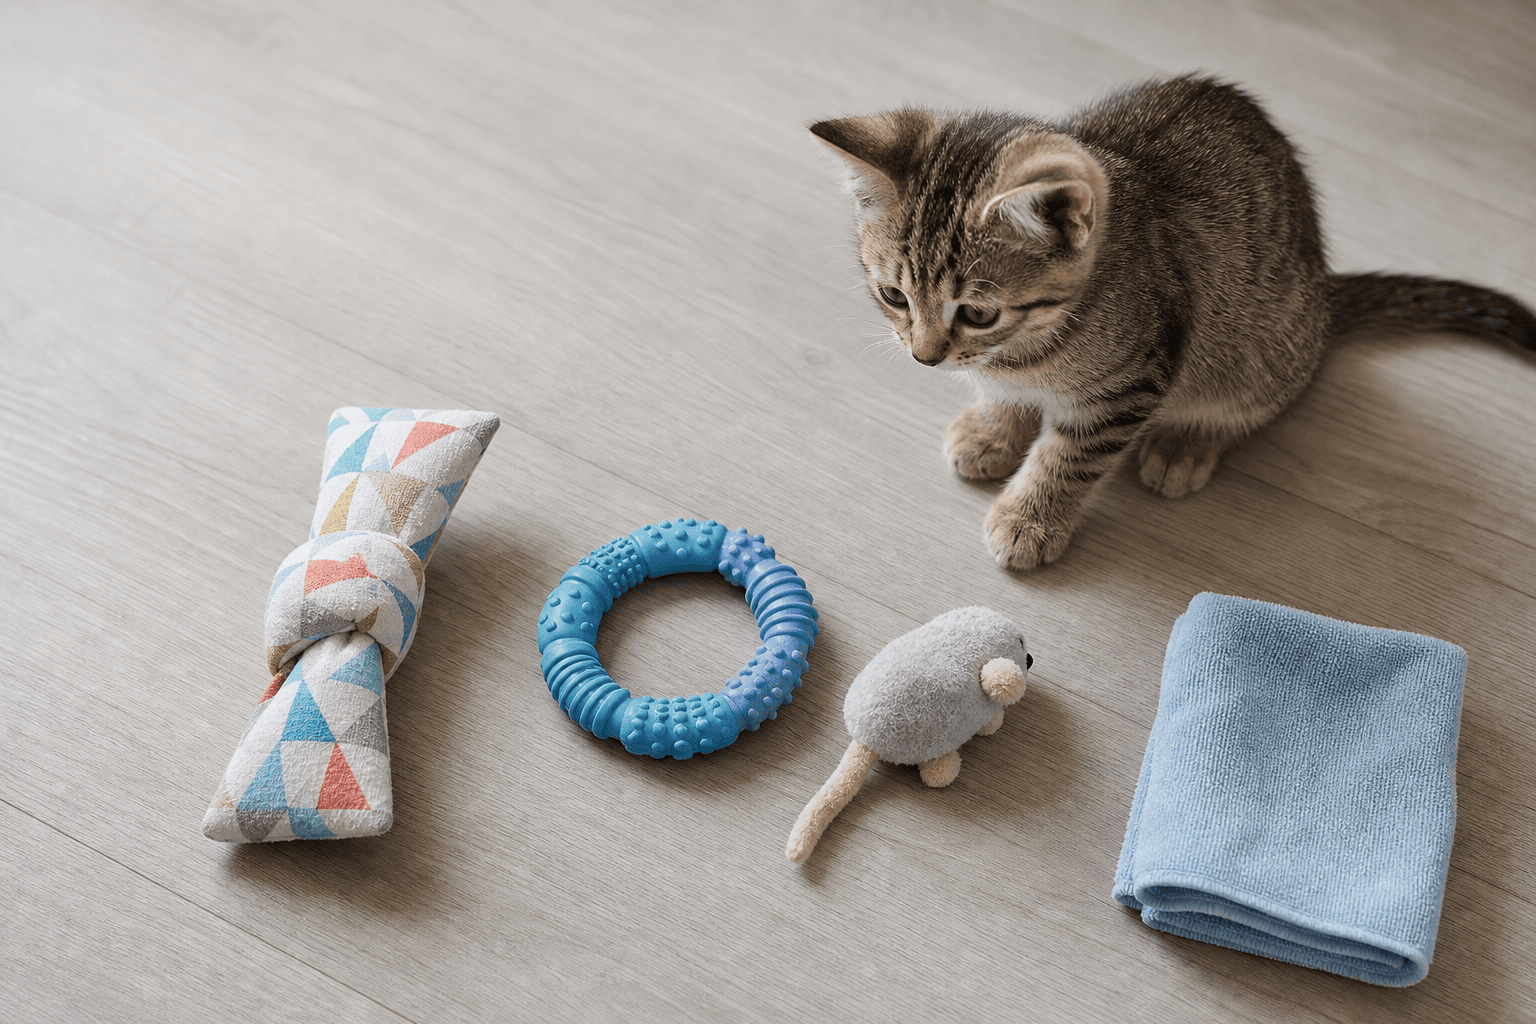
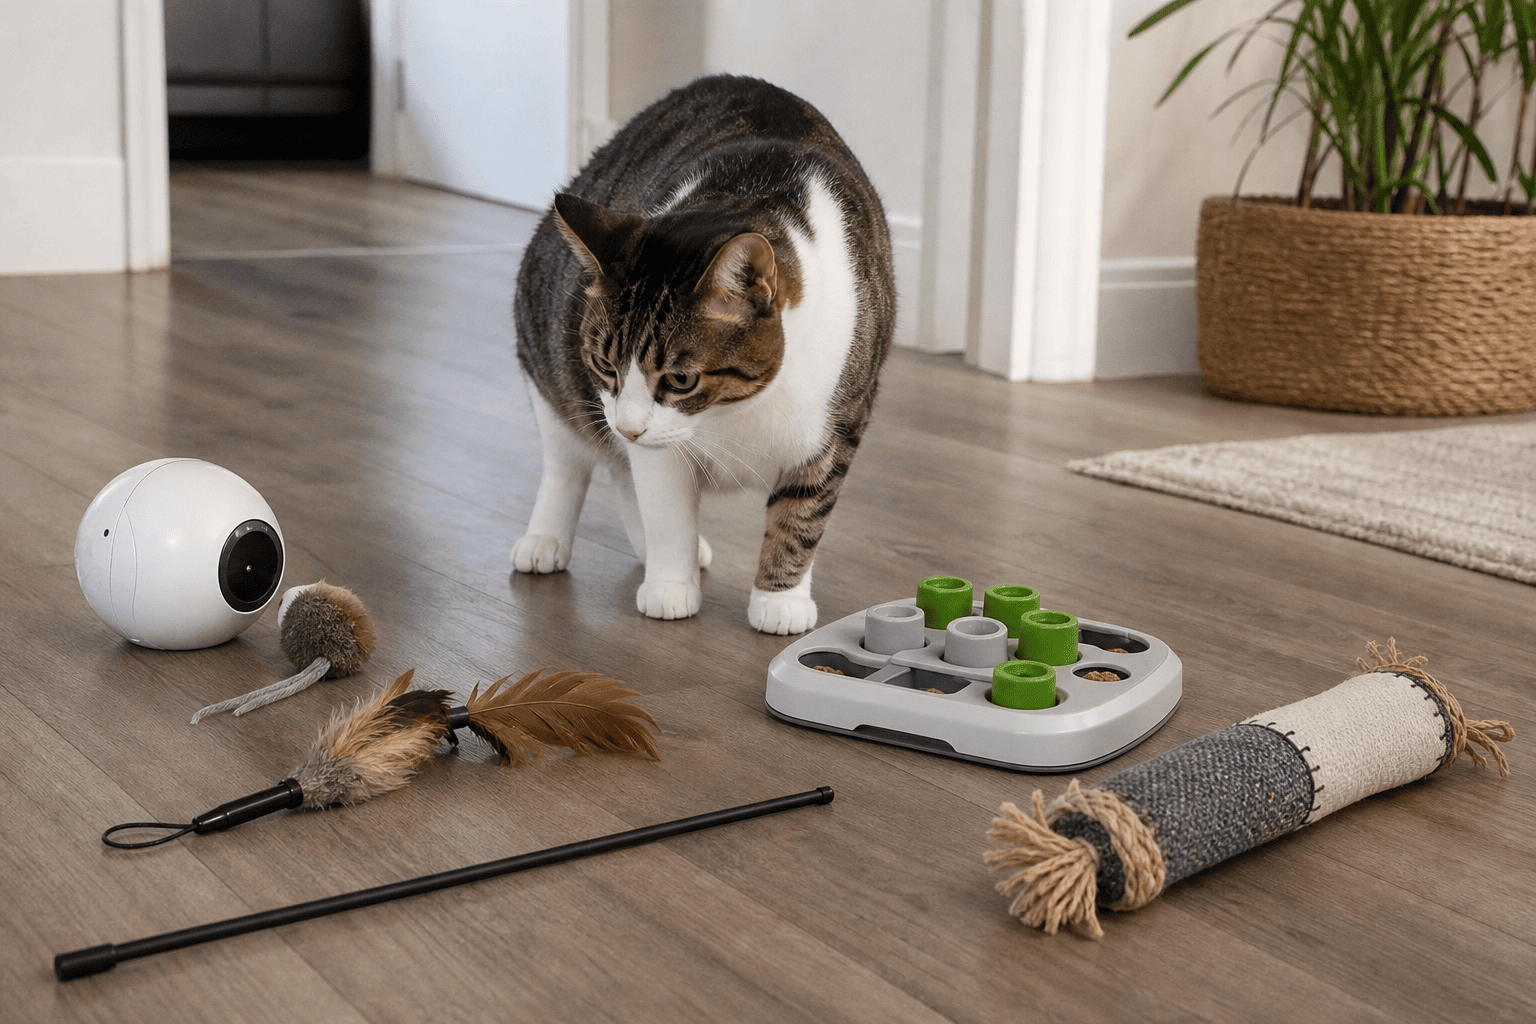
Build a Motion Rotation Instead of a Toy Pile
Many cats get bored when every toy is available all the time. Rotation keeps motion interesting without forcing you to buy more gadgets. It also makes inspection easier because fewer toys are on the floor.
A simple weekly rotation might look like this:
- Daily owner-led motion: one wand or chase session with a clear catch ending.
- Two or three solo toys: a track, puzzle feeder, rolling toy, or sturdy fabric toy matched to your cat’s habits.
- One high-energy session: tunnel chase, hallway tosses, or an automatic toy while you supervise.
- Rest days for favorites: put the most exciting toy away before it becomes background clutter.
- Inspection day: check seams, shells, batteries, attachments, and missing parts before toys return to the rotation.
For more non-gadget ideas, see cat toys for enrichment and cat enrichment activities. Motion is useful, but it works best alongside scratching, climbing, scent exploration, food puzzles, and human play.
What to Avoid
Some moving toys are fine for a gentle cat and a poor match for a rough player. Be careful with these categories:
- Thin feather spinners: exciting, but feathers and connector pieces can detach under hard biting.
- String or elastic toys: useful during supervised wand play, risky when left out.
- Electronic plush toys for chewers: soft covers can hide batteries, stuffing, zippers, and charging parts.
- Laser-only routines: chase without capture can leave some cats keyed up. End with a real toy or food reward.
- Very small rolling toys: they may wedge under furniture, disappear, or become a chewing hazard.
- No-name gadgets with weak doors: skip toys with loose battery covers, sharp seams, brittle plastic, or glued decorations.
Also avoid using hands or feet as the moving target. The AAFP/ISFM guidelines specifically warn against hand-and-foot play because it can injure the cat or handler and teaches the wrong target.
Quick Buying Checklist
- The toy matches how your cat actually plays: stalk, sprint, grab, solve, or chew.
- The moving parts are enclosed, oversized, or supervised.
- There are no loose feathers, strings, ribbons, bells, plastic eyes, or elastic cords available during solo play.
- Battery doors and charging areas are secure and not attractive chew targets.
- The toy can be inspected in under a minute.
- Your cat gets to catch something physical at the end of chase play.
- The room is clear of cords, stairs, breakables, and tight traps.
- You have a replacement plan when seams, shells, or attachments start to fail.
The Bottom Line
Cat toys that move are worth using when they create healthy hunting-style play and still hold up to the way your cat behaves after the chase. For many cats, the best setup is a mix of owner-guided motion, one or two carefully tested solo toys, and a rotation that keeps play fresh.
If your cat destroys ordinary toys, choose motion more carefully. Favor simple designs, supervised sessions, real catch targets, and post-play inspection. The goal is not to find a mythical toy your cat can never damage. The goal is to give your cat movement, challenge, and capture while keeping the toy’s failure points under control.