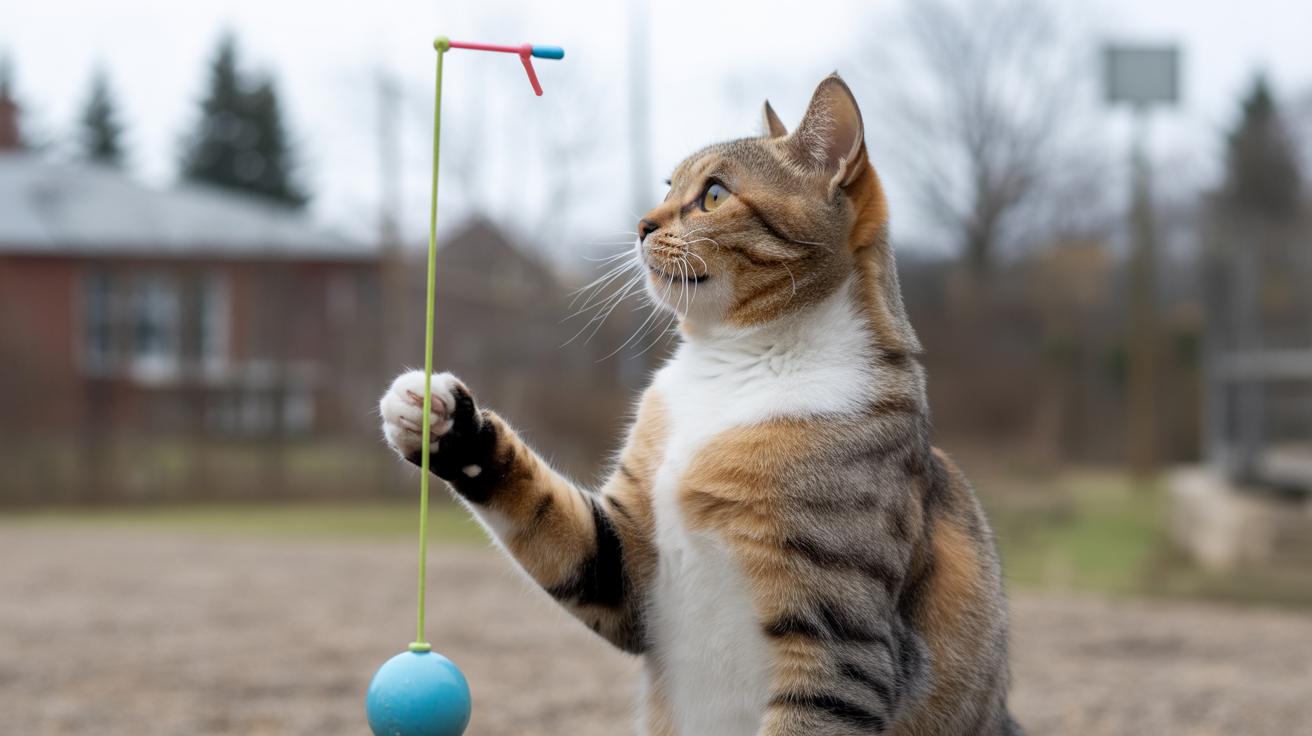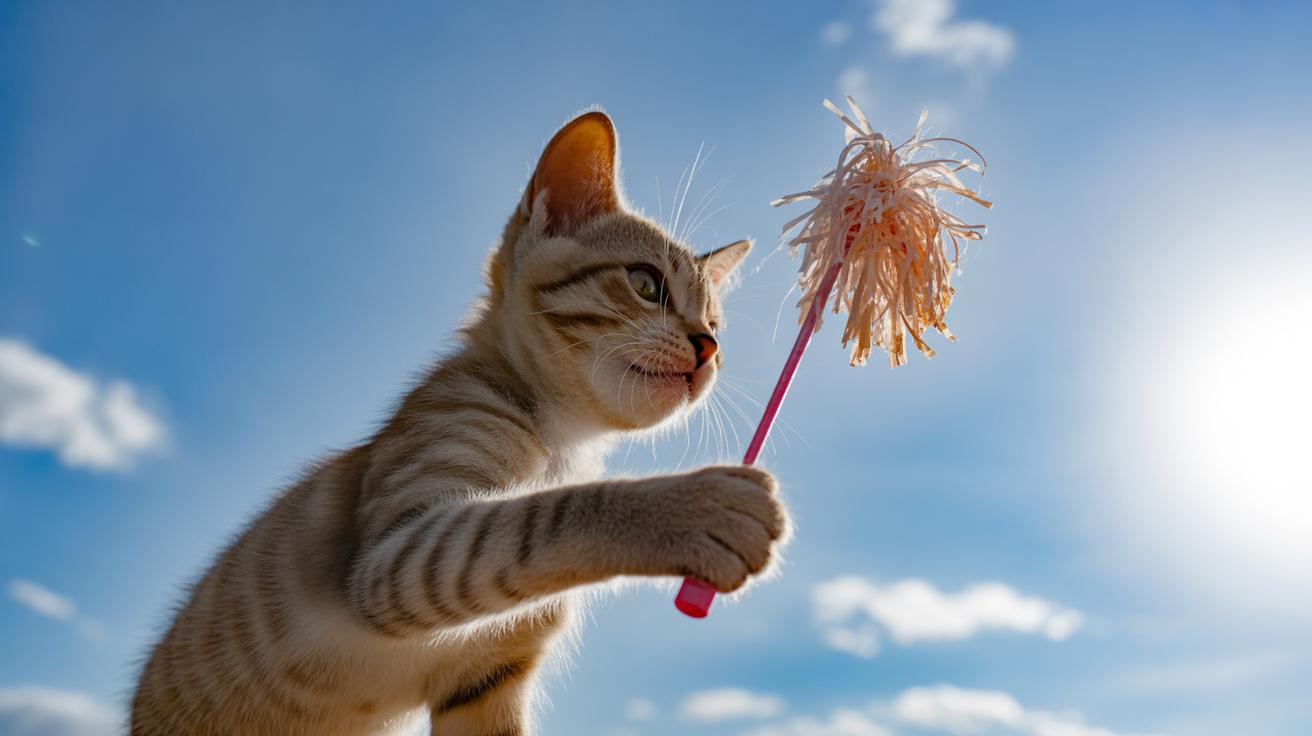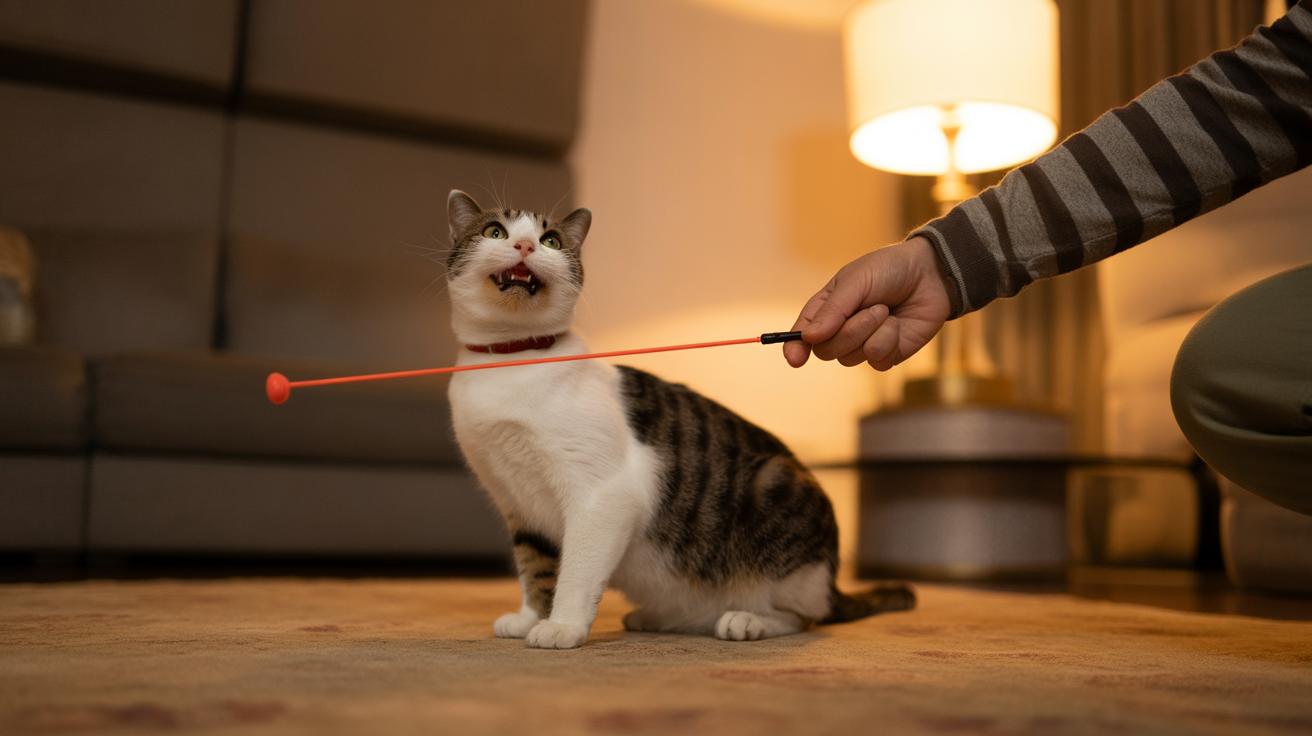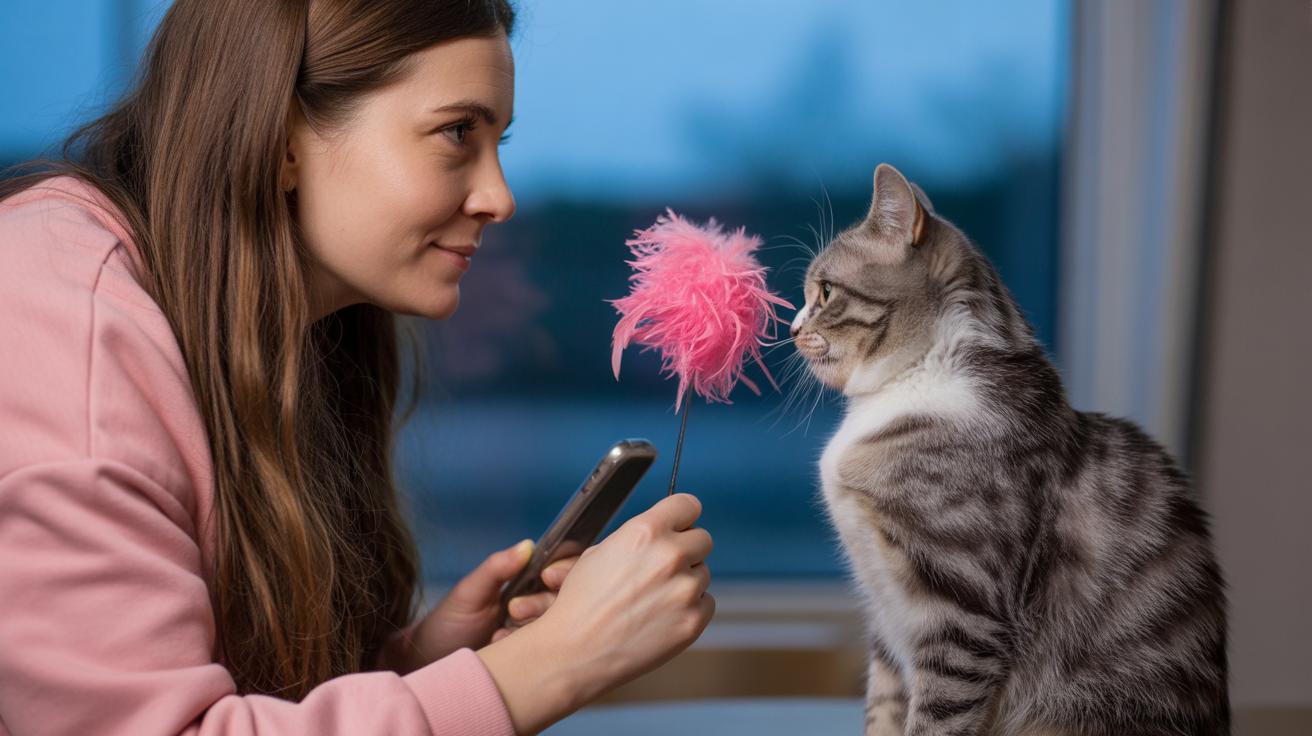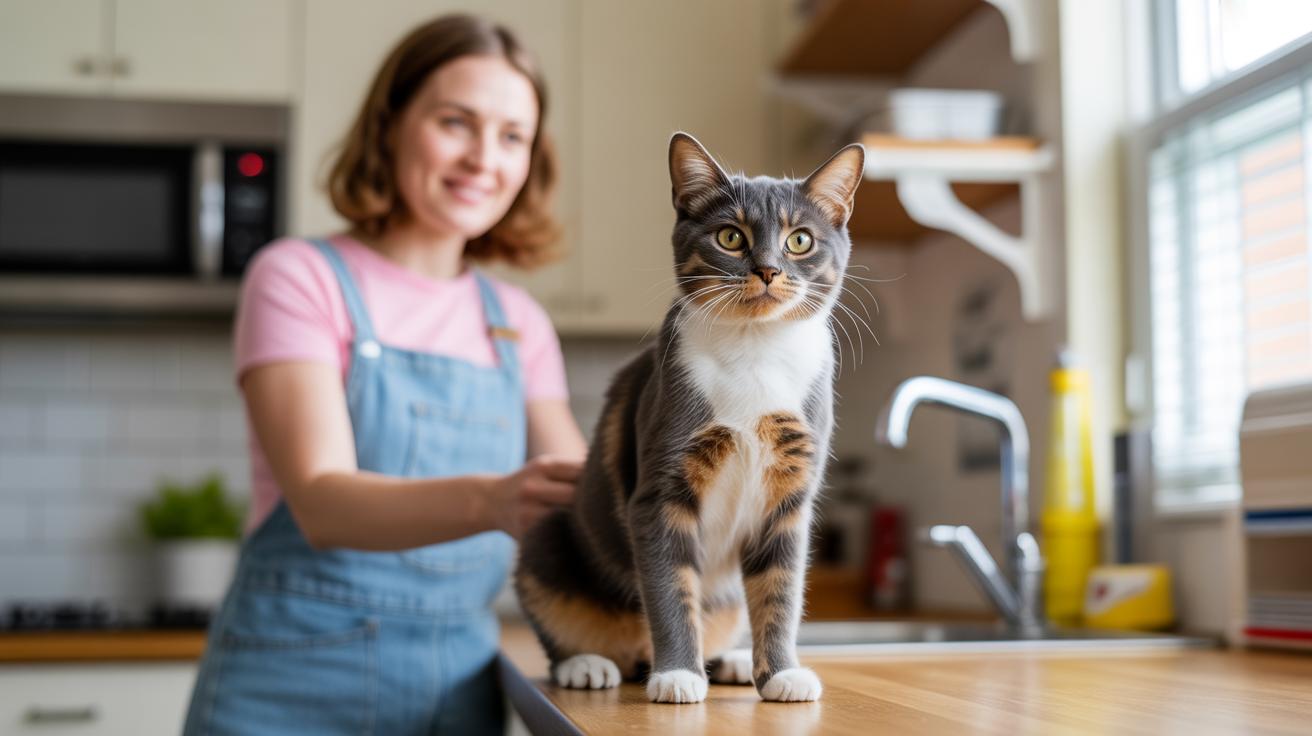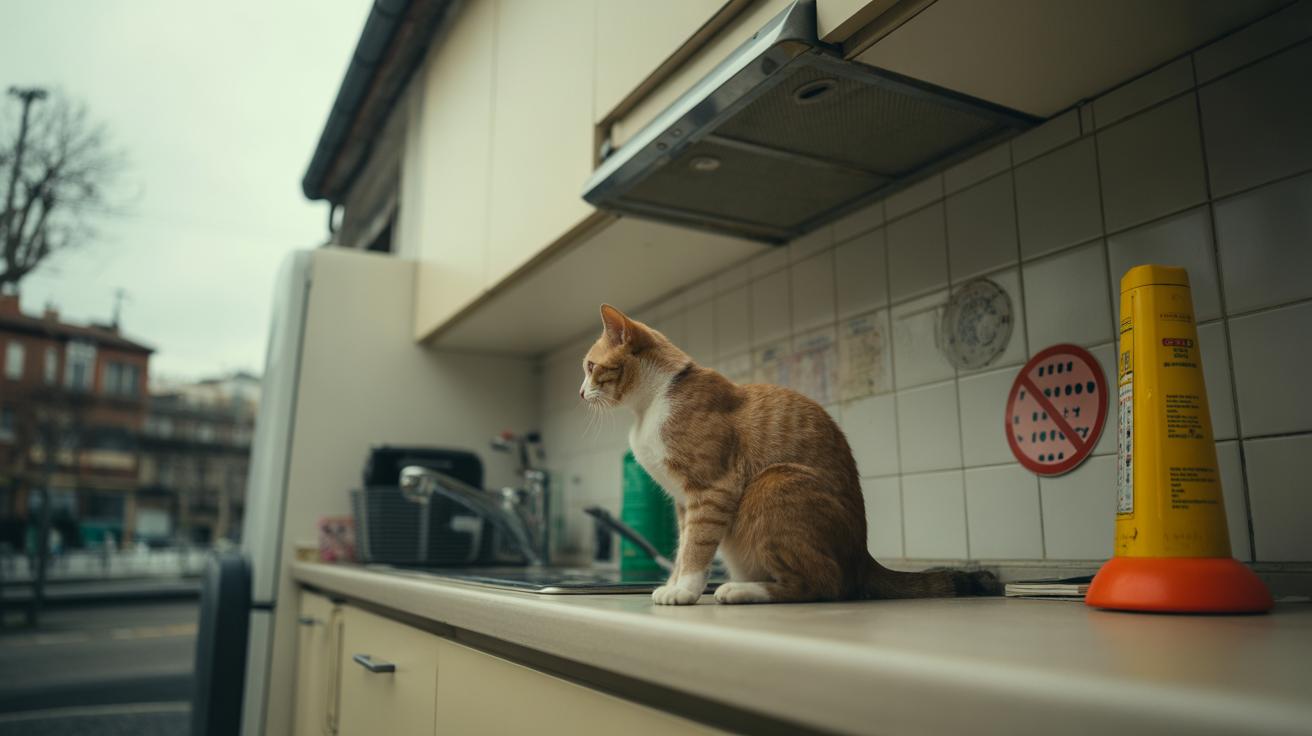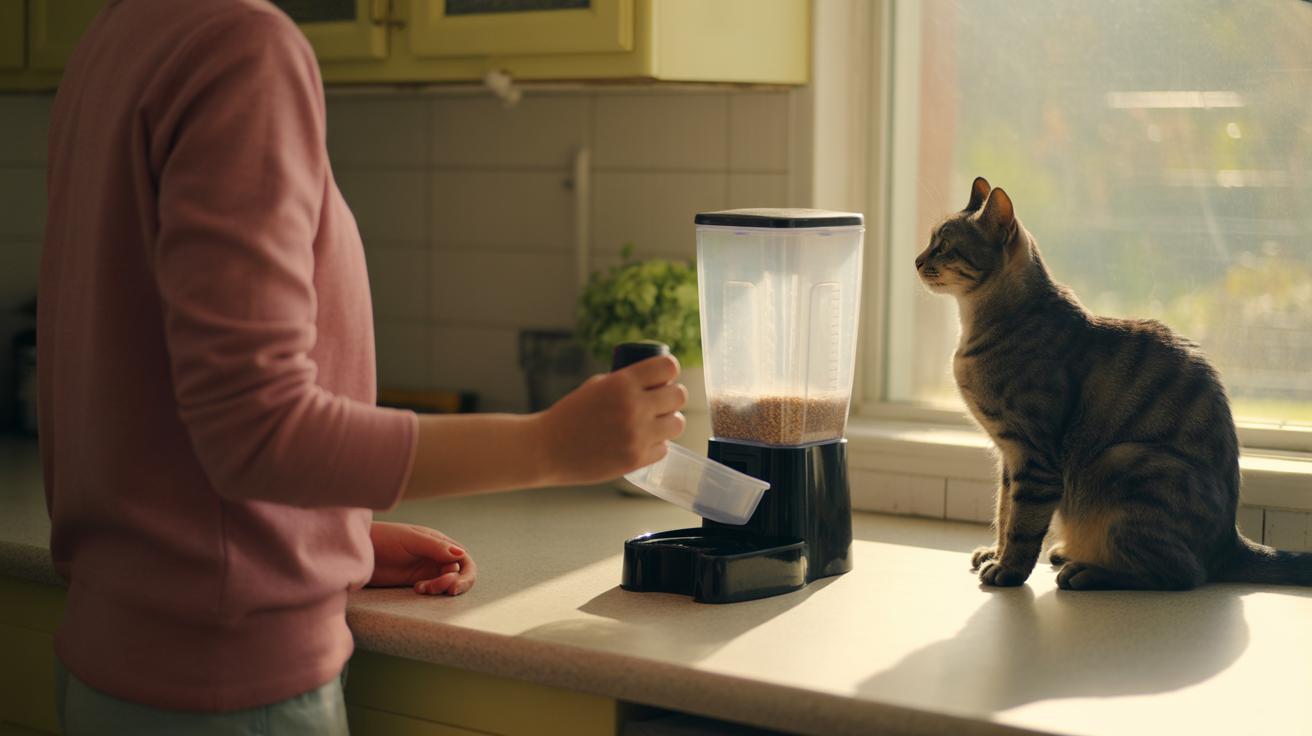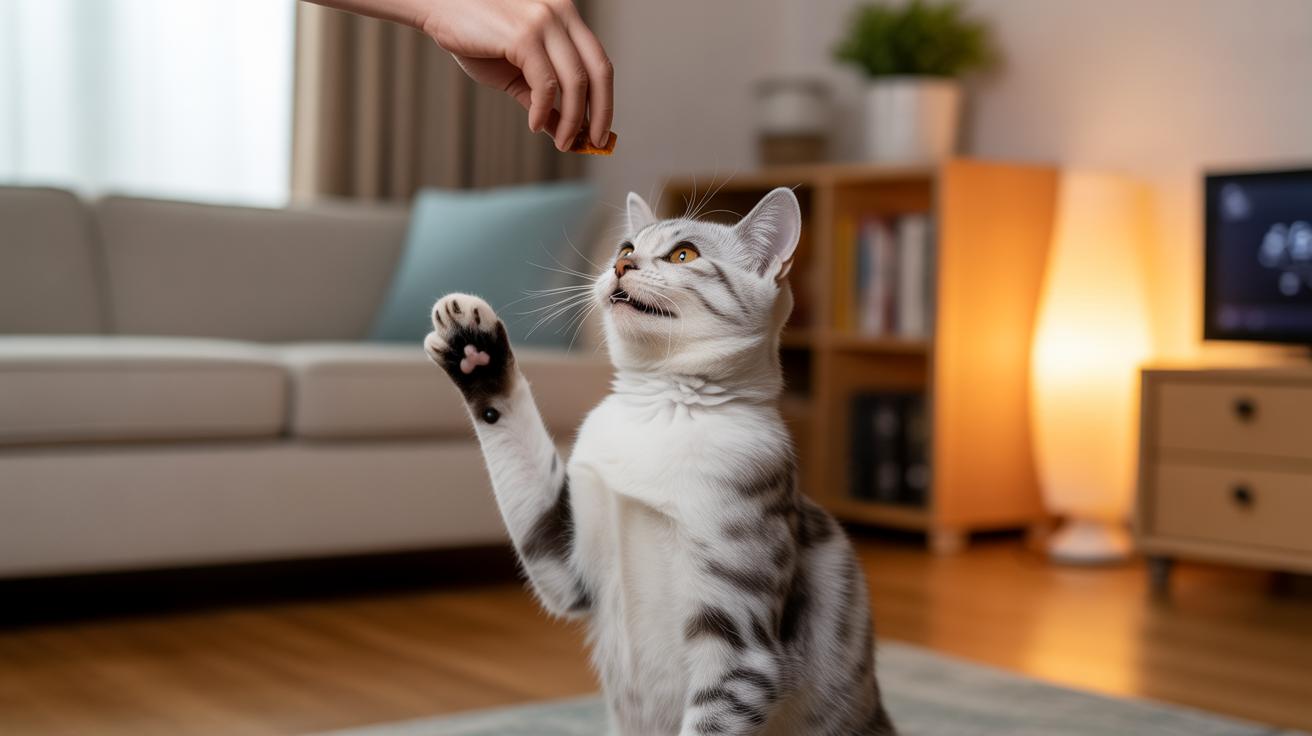
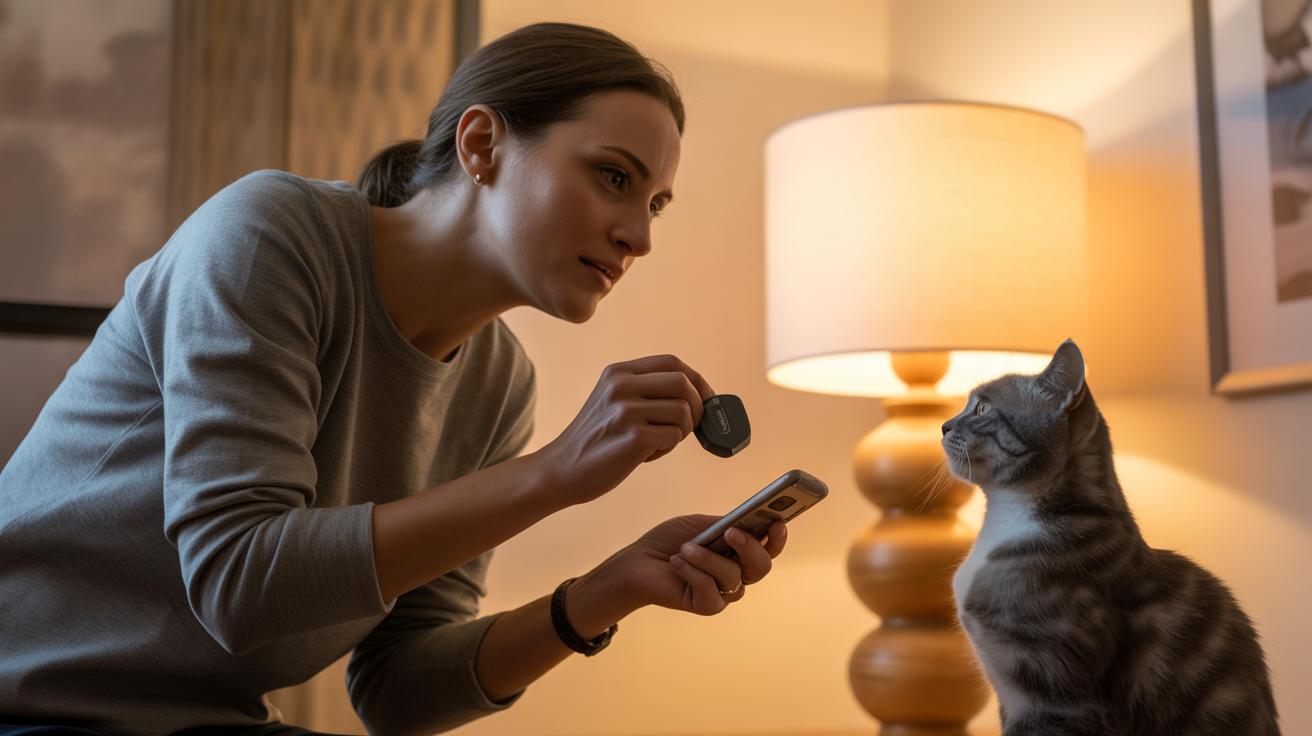
Think clickers are just for dogs? Lots of folks do, but a tiny, repeatable click can work wonders with shy kitties. That clear little sound tells a cat exactly when they did something right, and yes, it can teach them to come, sit, and pounce on cue while keeping you calm and confident. Check out our guide on Best Toys to Reduce Play Aggression.
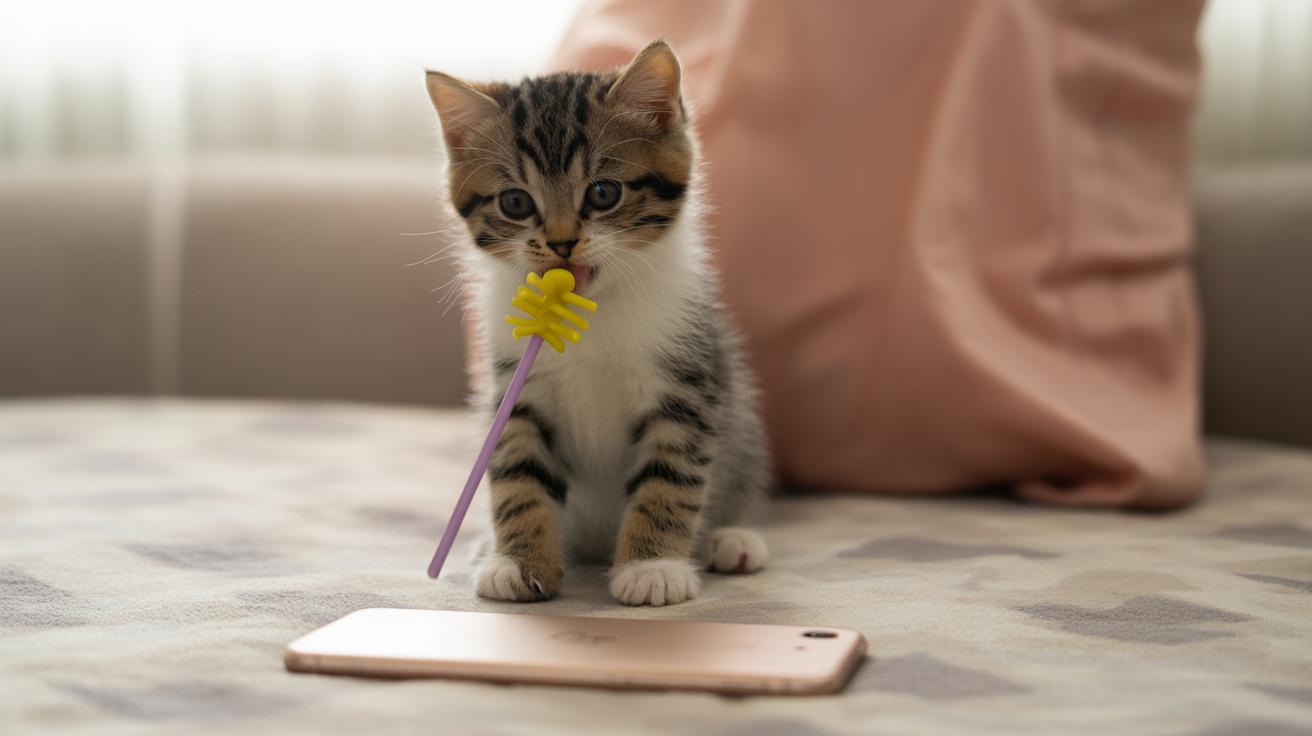
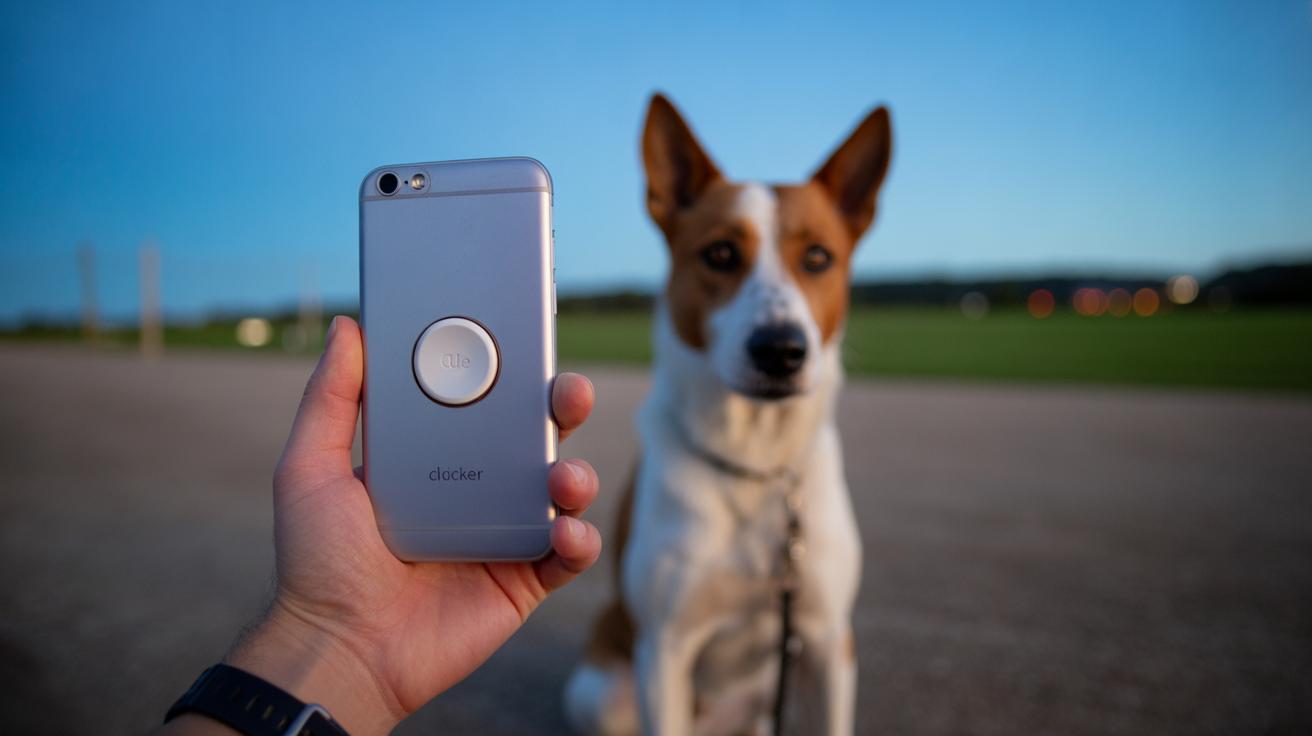
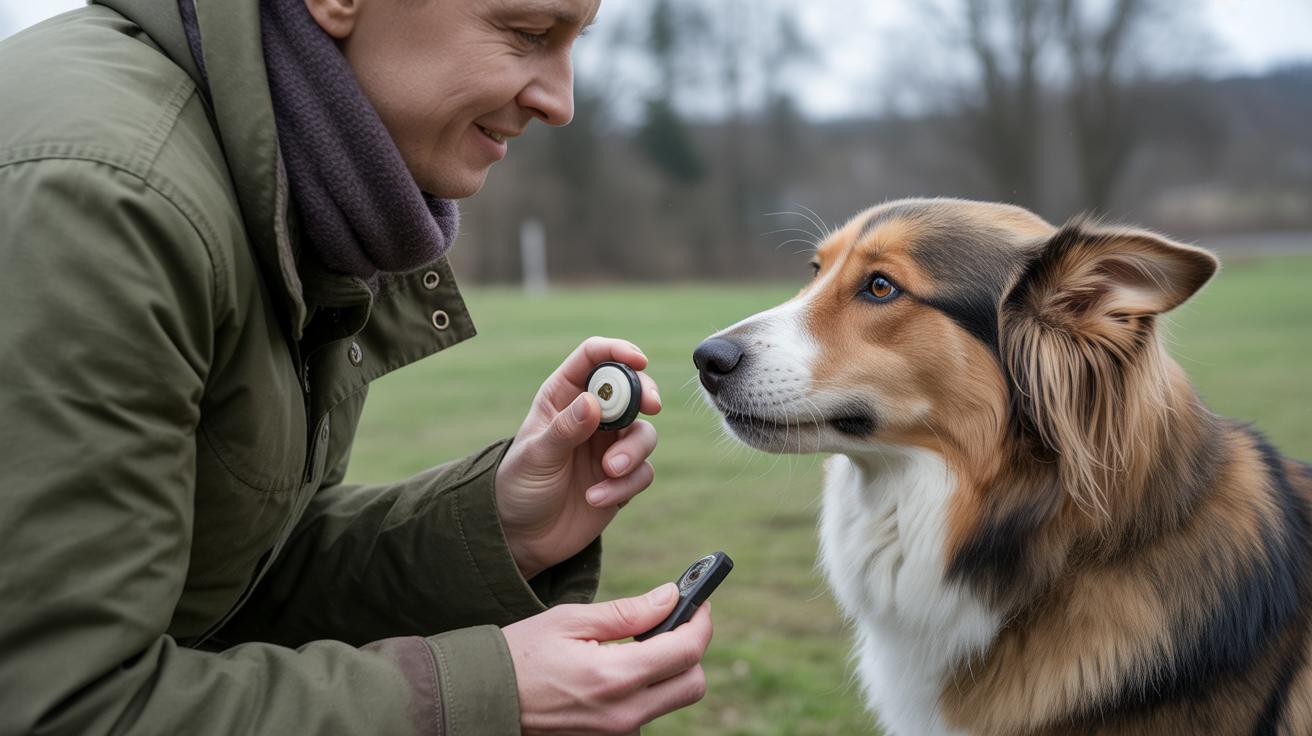
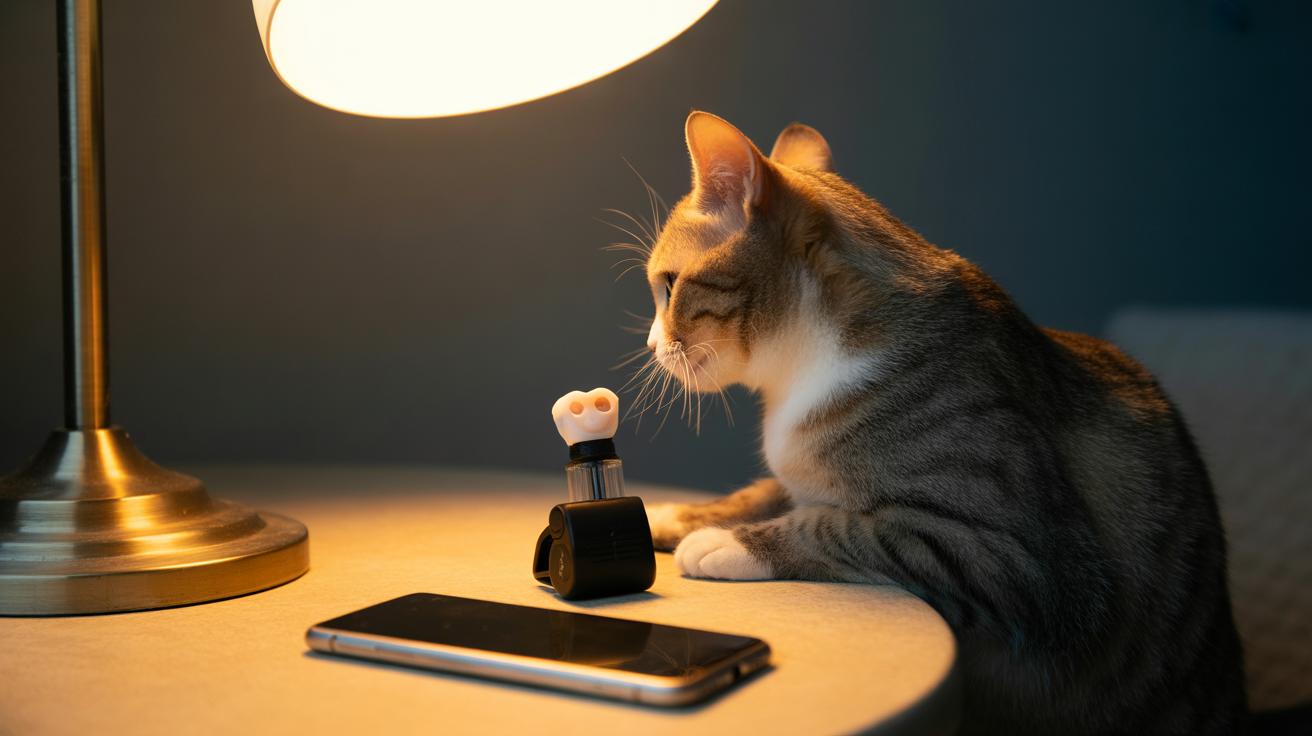
So what is a clicker? It’s a small device that makes a consistent sound to mark a moment. Handheld clicker (a little plastic box that clicks) is the classic. Vibration clicker (a buzzy device you can feel) is great for noise-sensitive cats. LED cue (a small light flash) gives a visual “yes” for really skittish felines. Think of the click as a marker (a short sound that marks the exact behavior you want).
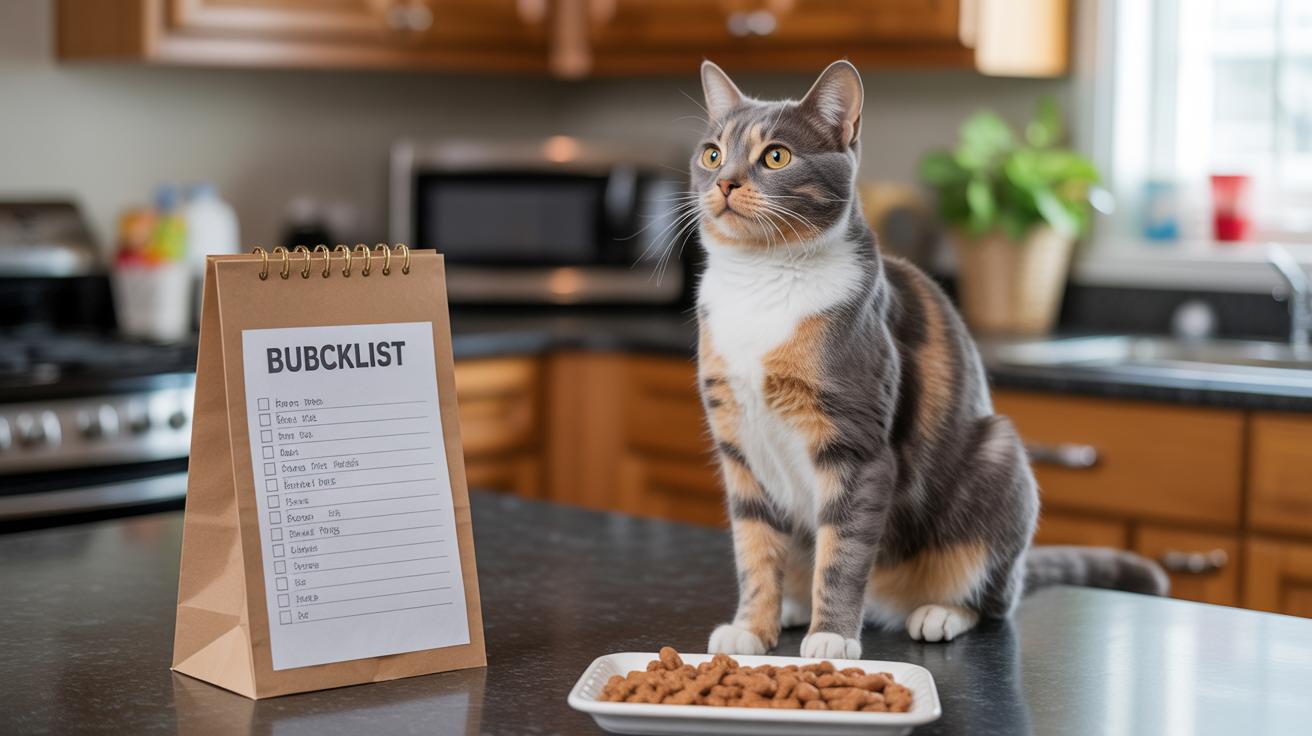
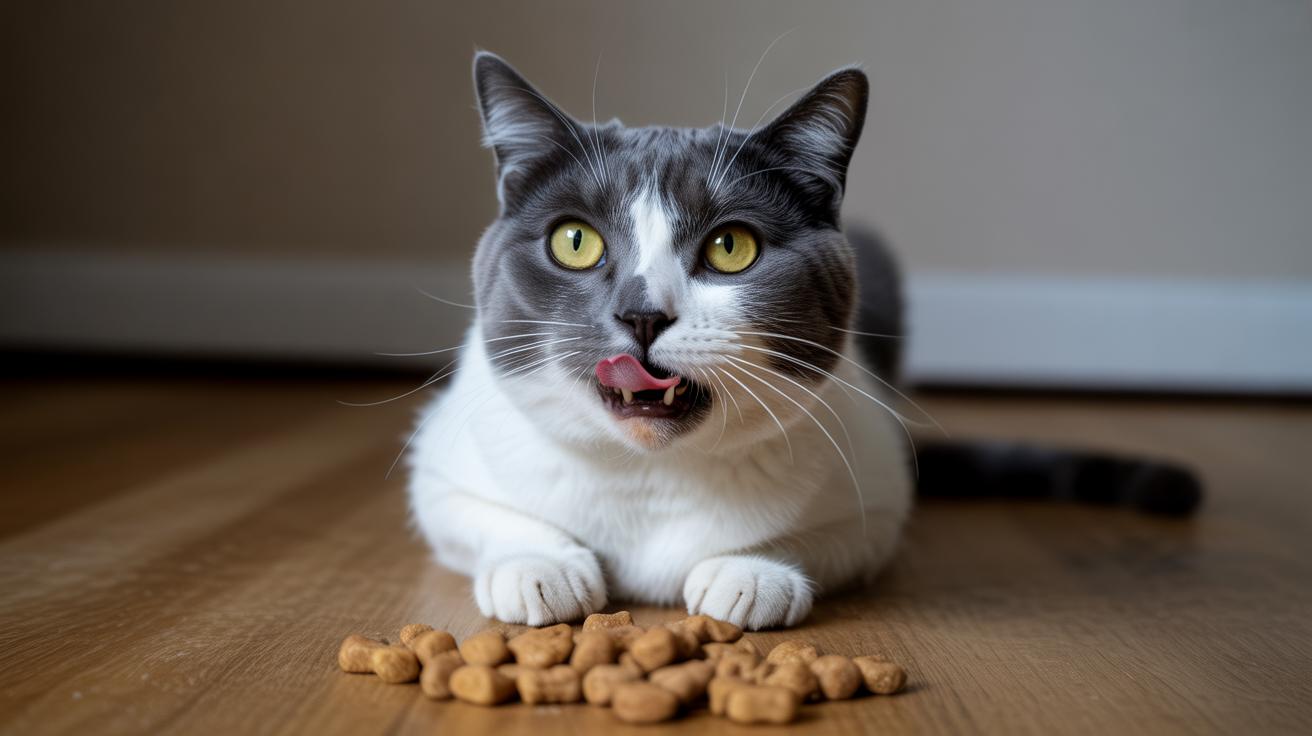
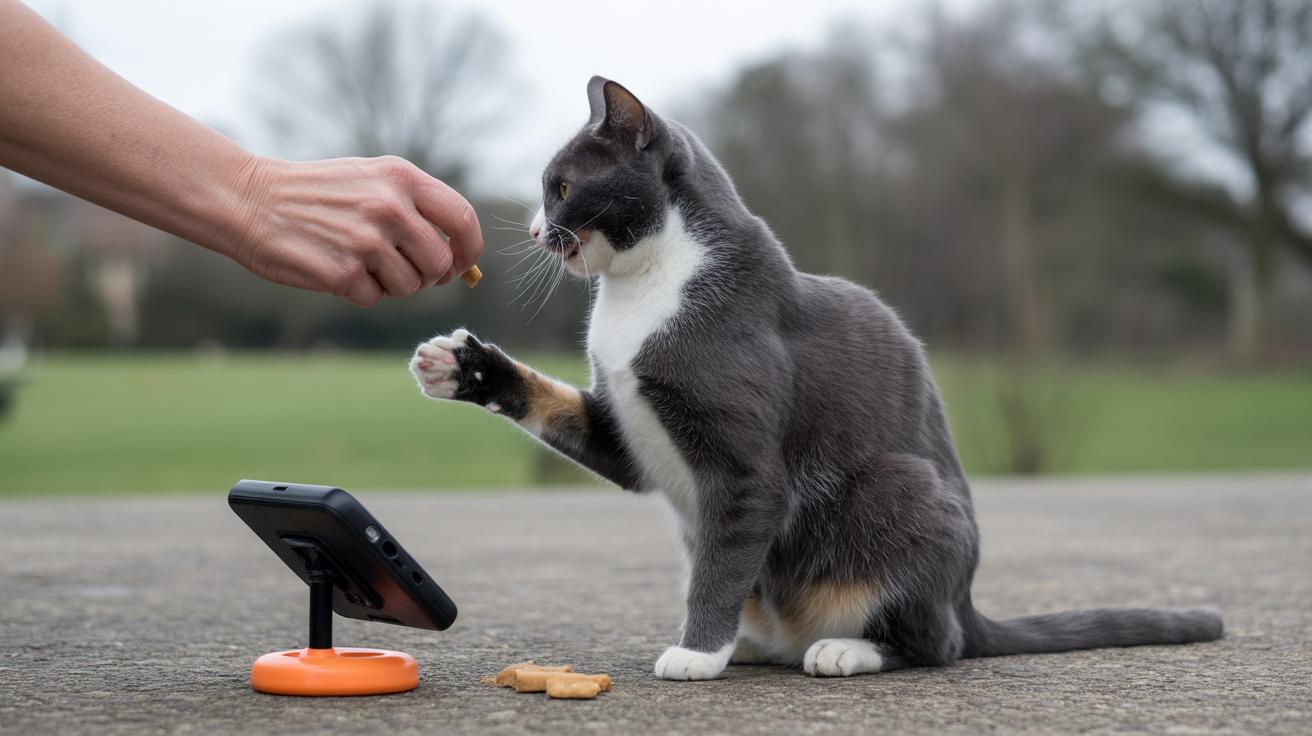
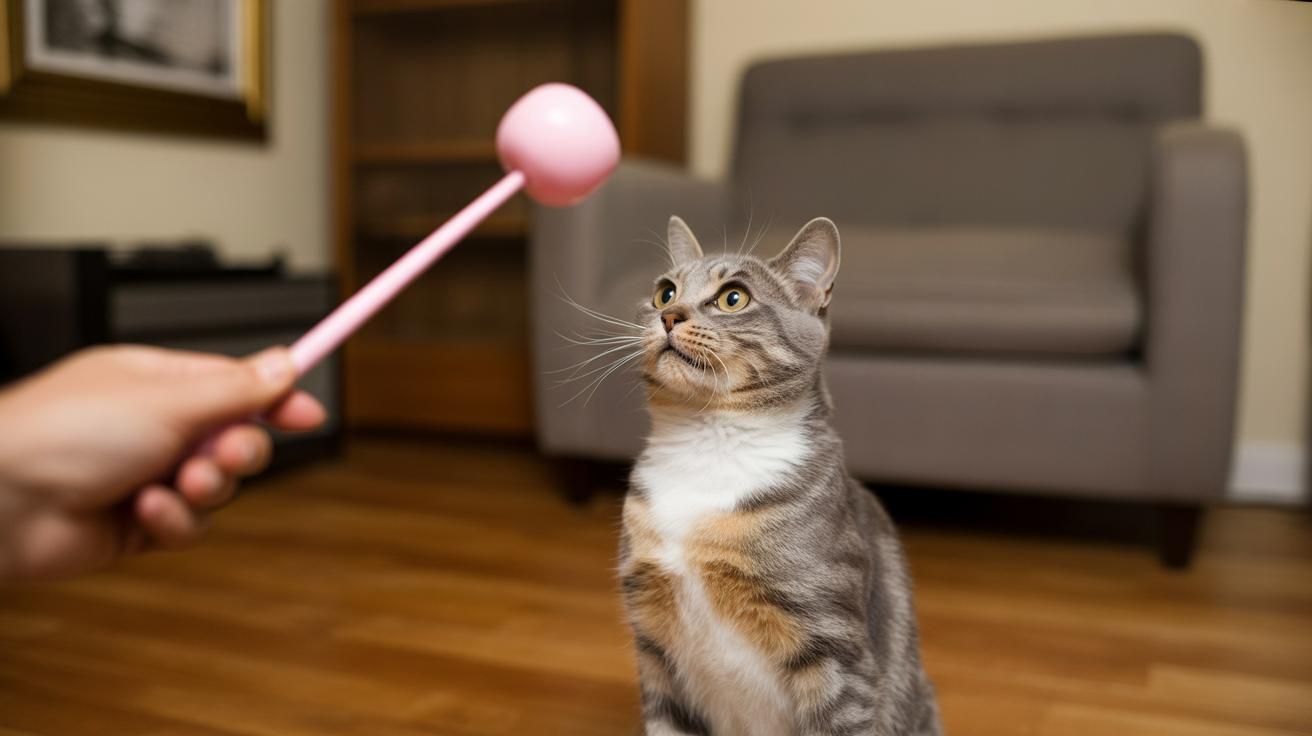
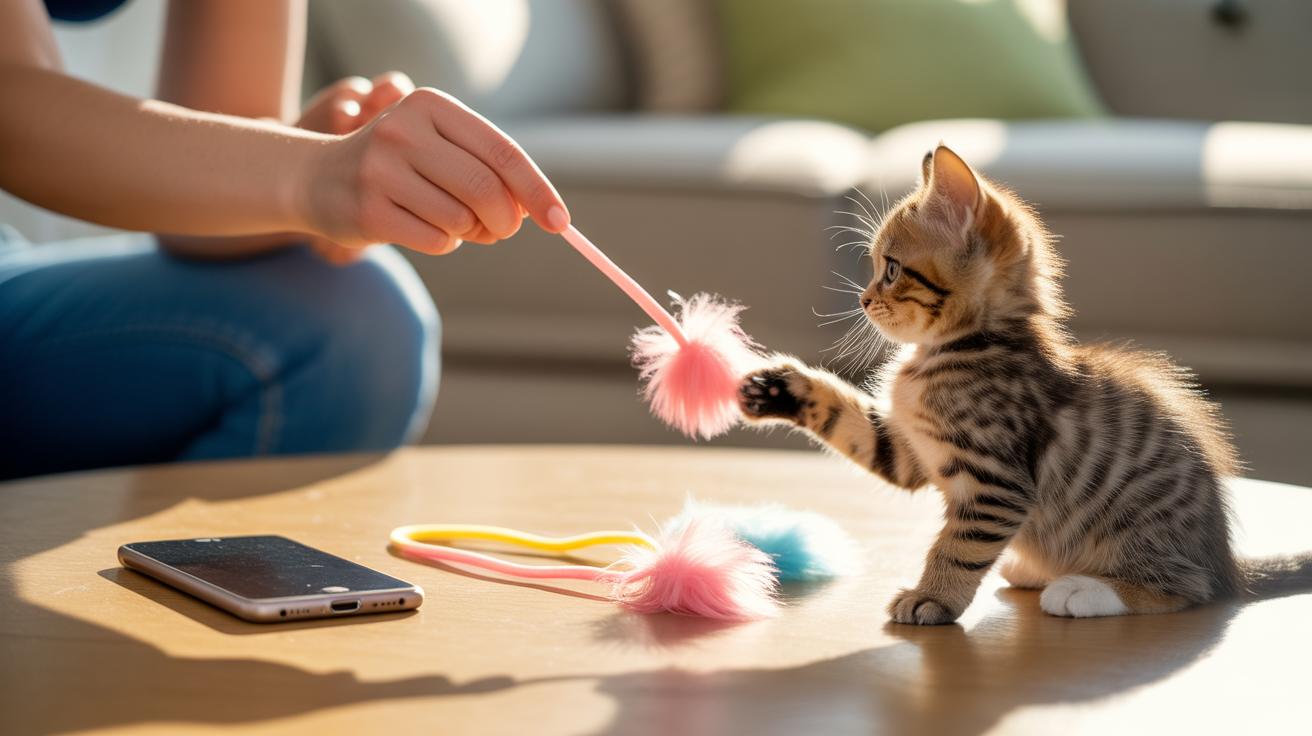
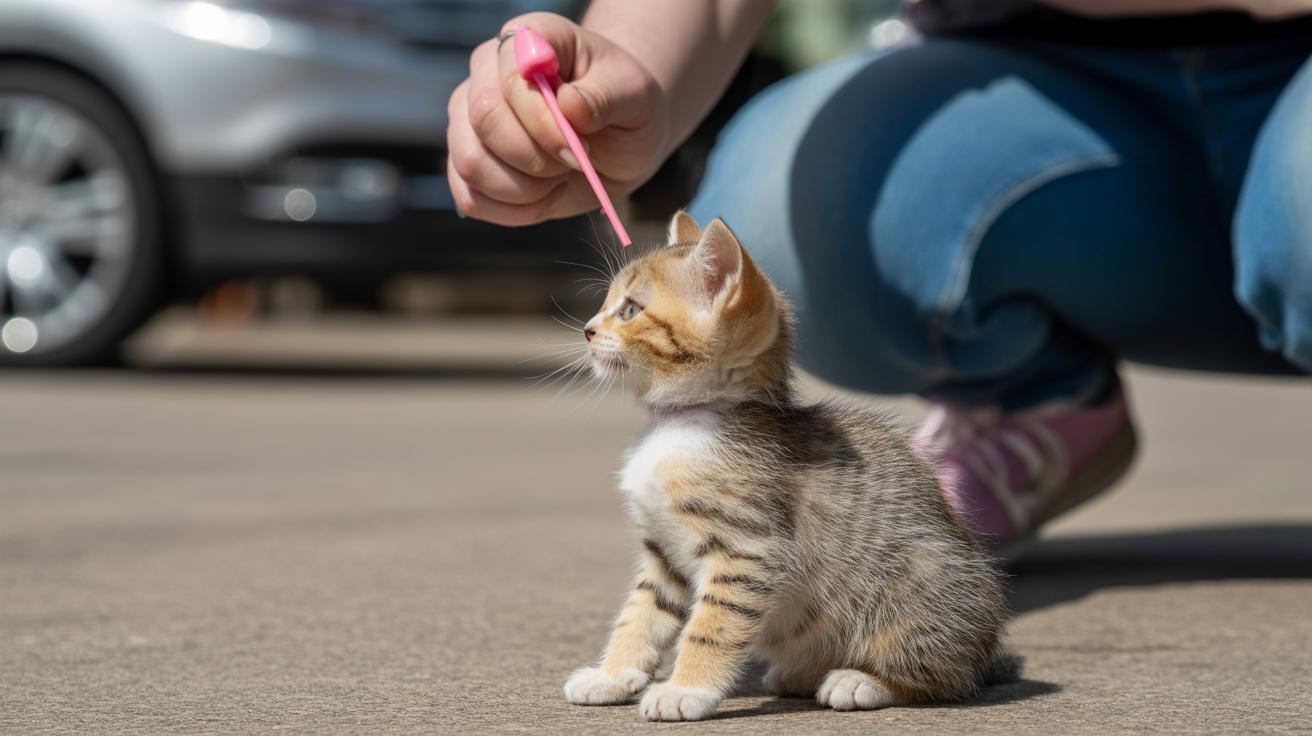
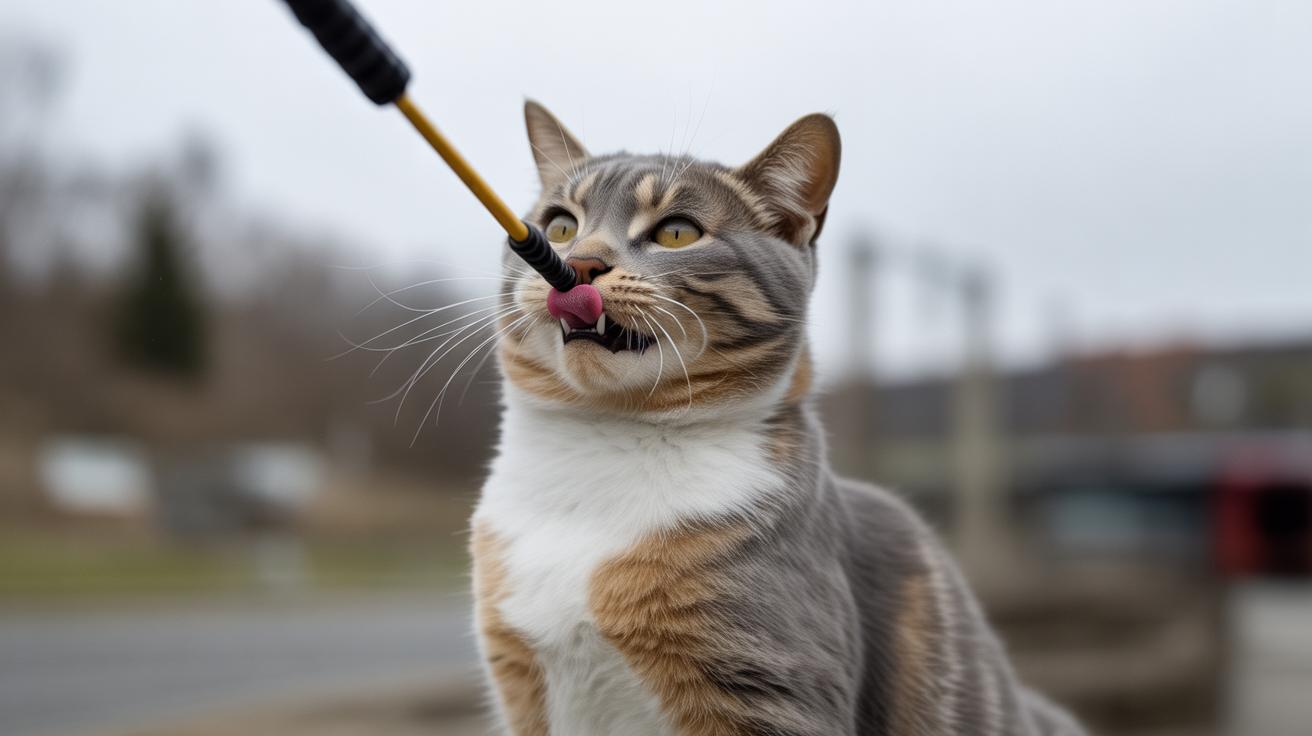
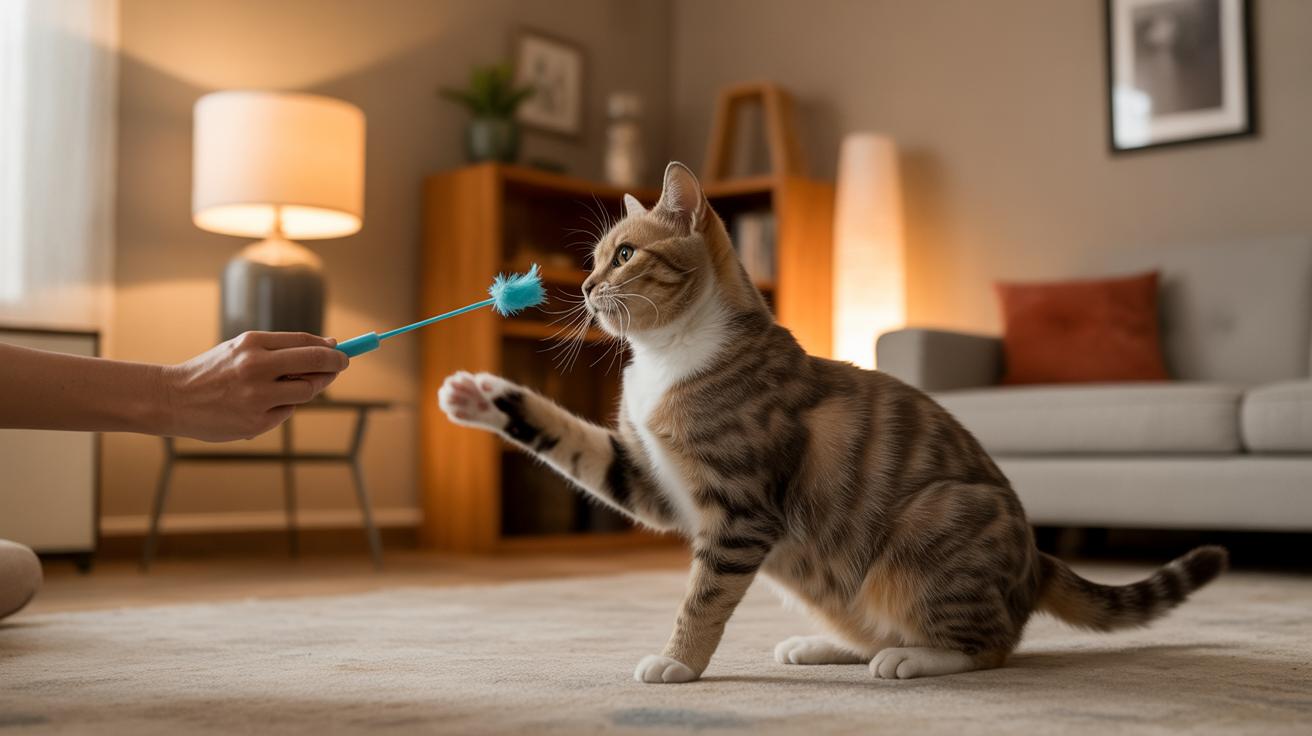
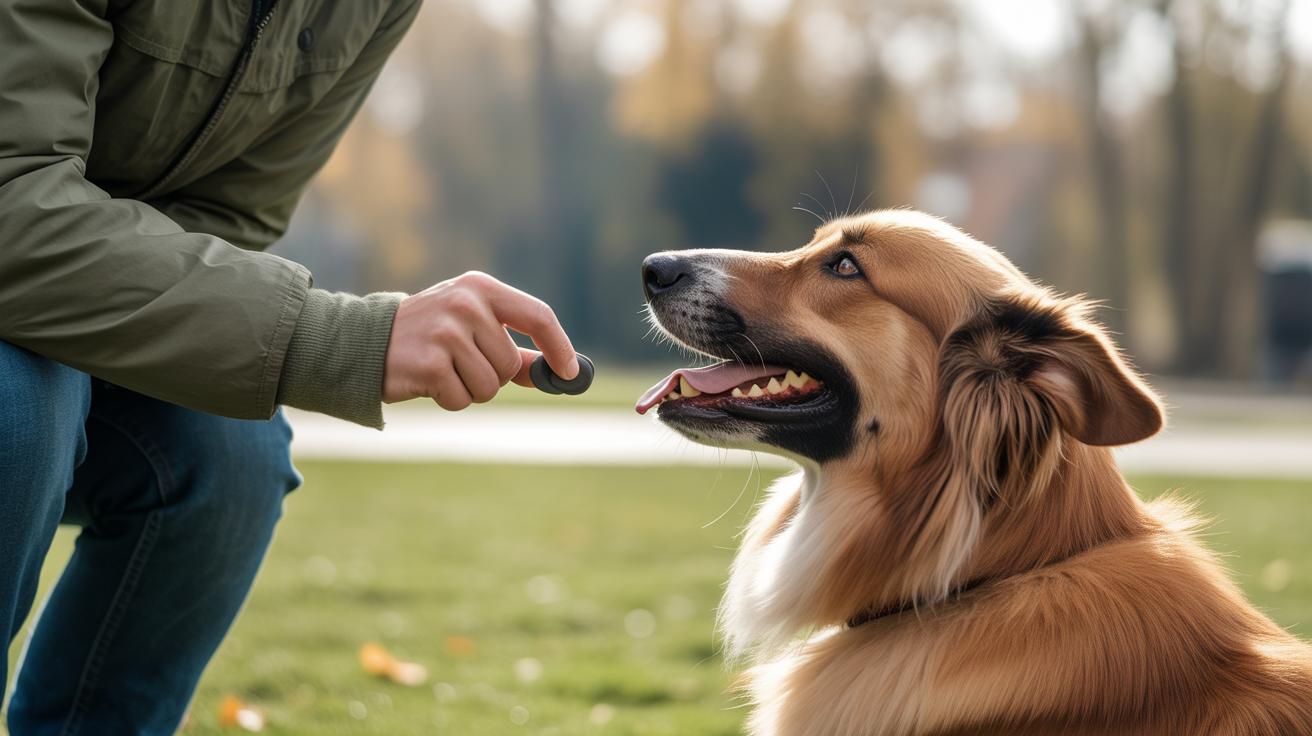
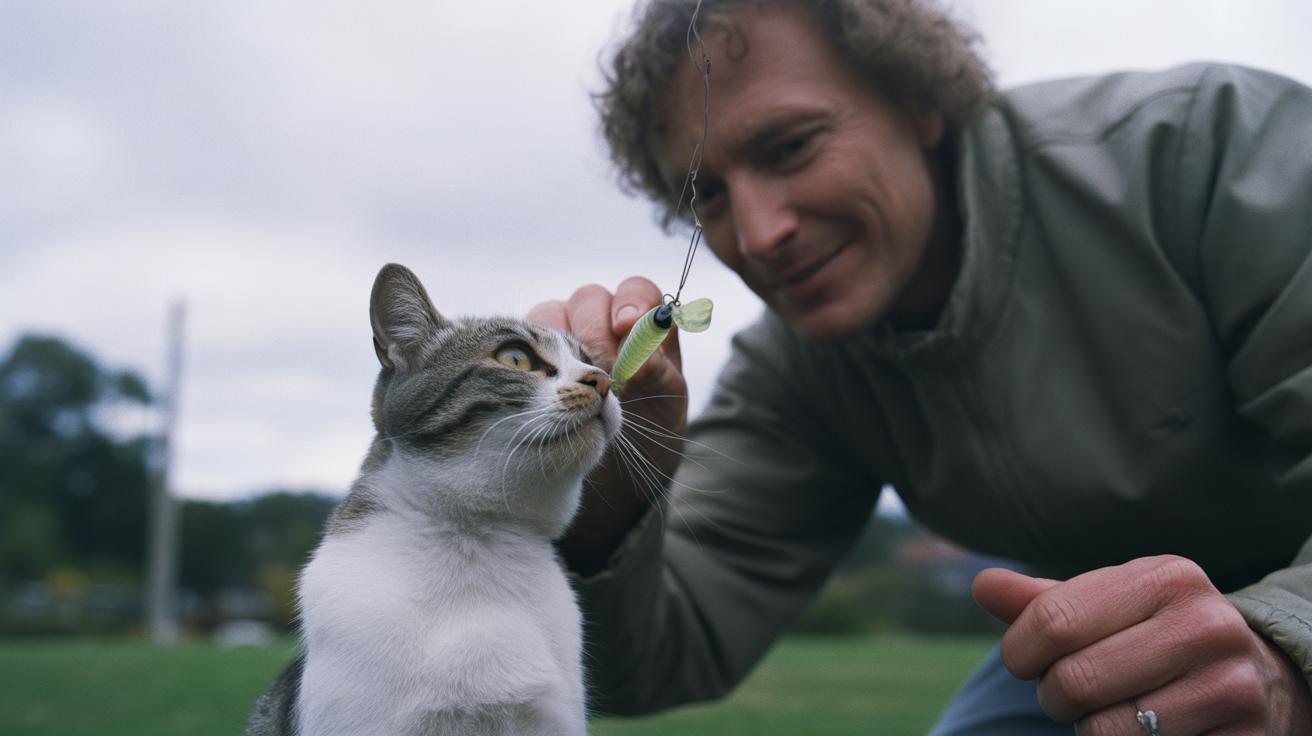
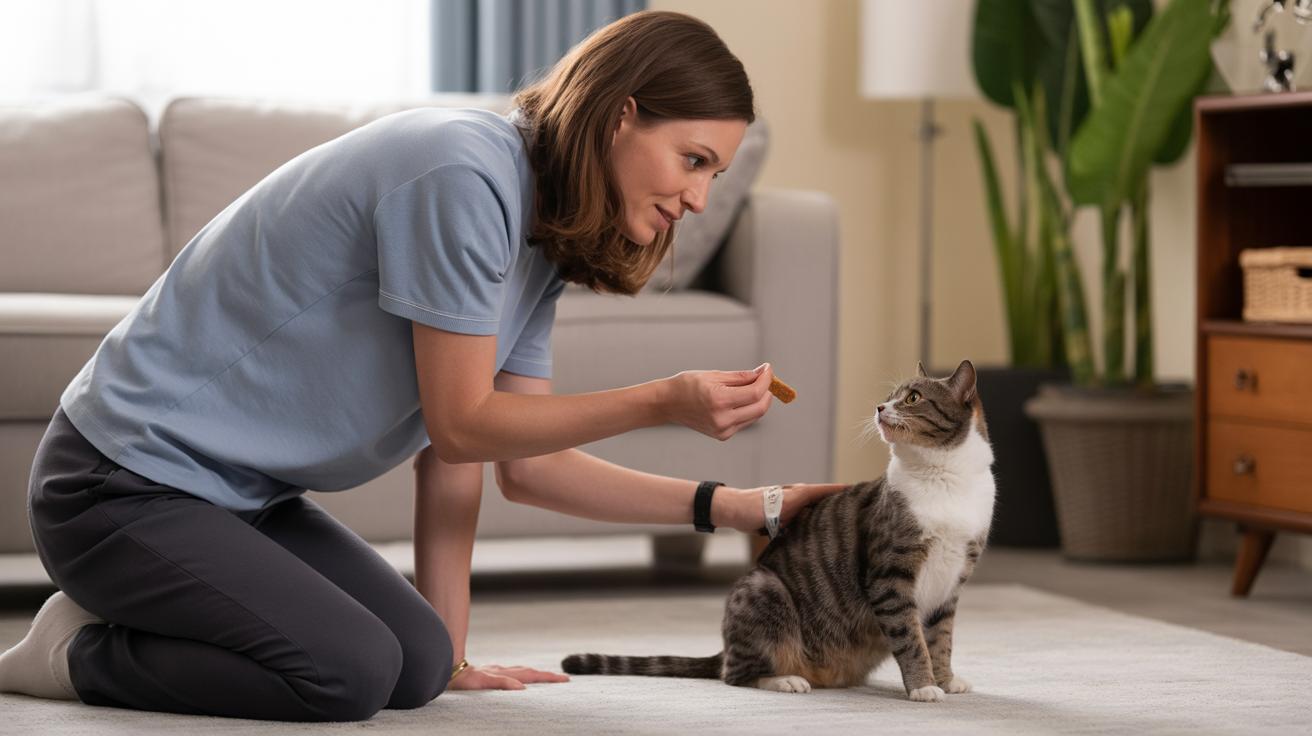
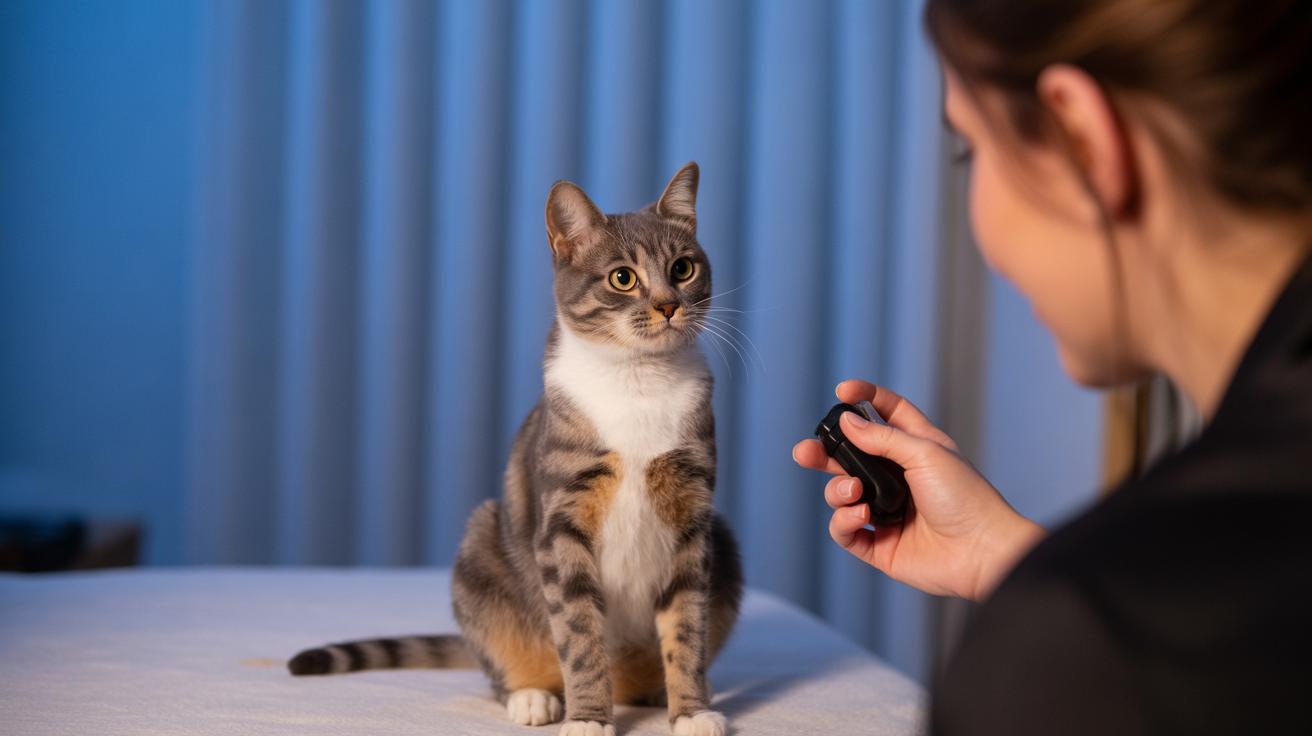
Timing is the secret. Click the instant your cat does the thing you like, then reward within one second. Tiny treats work best, pea-sized bits of chicken or a soft commercial treat, so they stay motivated and not full. Short sessions, just 2 to 5 minutes, a few times a day, make learning fast and fun. Your cat’s whiskers will twitch as the toy rolls or as you call their name, and that tiny click tells them “do that again.”
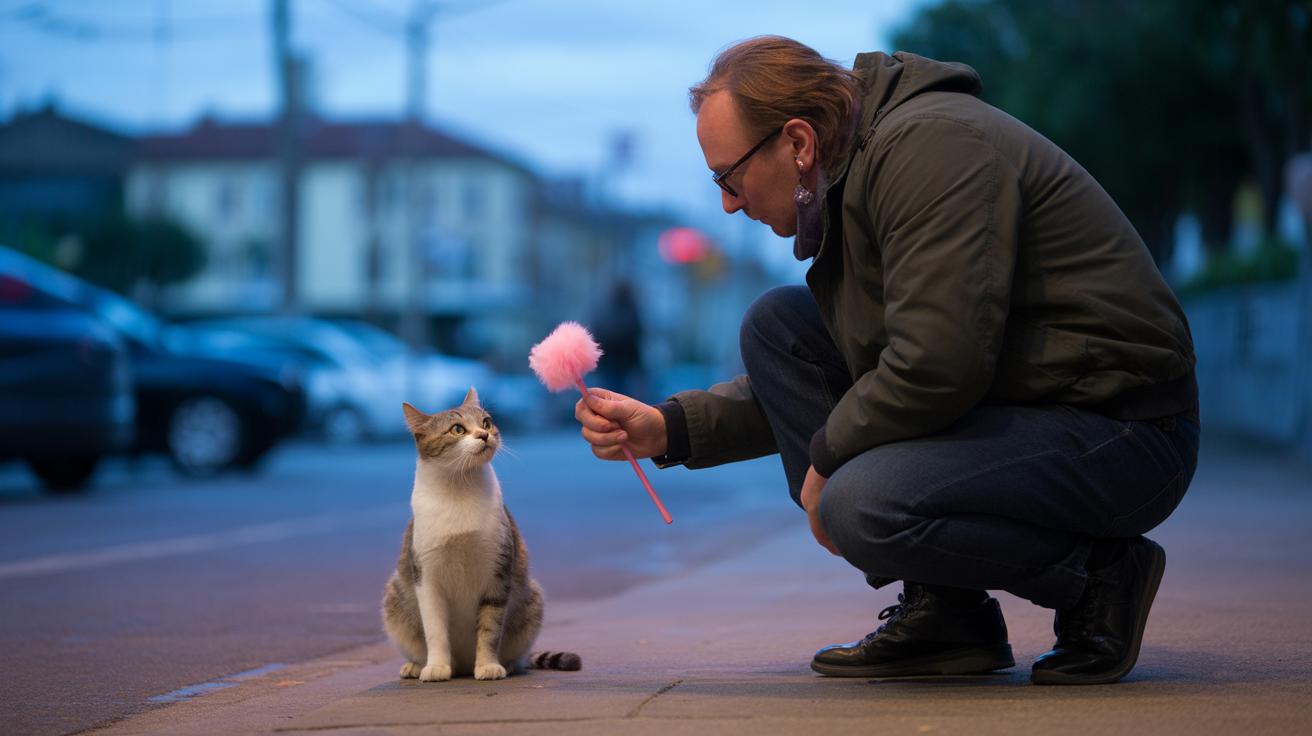
How to use it in real life? Capture a behavior first, like a step toward you, click the moment their paw moves, then toss a tiny treat. For sit, wait for a natural pause, click, reward. For come, click the instant they move toward you, then reward where you’re standing so they connect the approach with good things. If your kitty startles easily, start with vibration or LED cues, and sit on the floor so you feel less big and noisy.
Give it a try. Be patient, keep it playful, and celebrate small wins, your cat will thank you with purrs and dramatic leaps. Worth every paw-print.
cat clicker: how to choose and use one
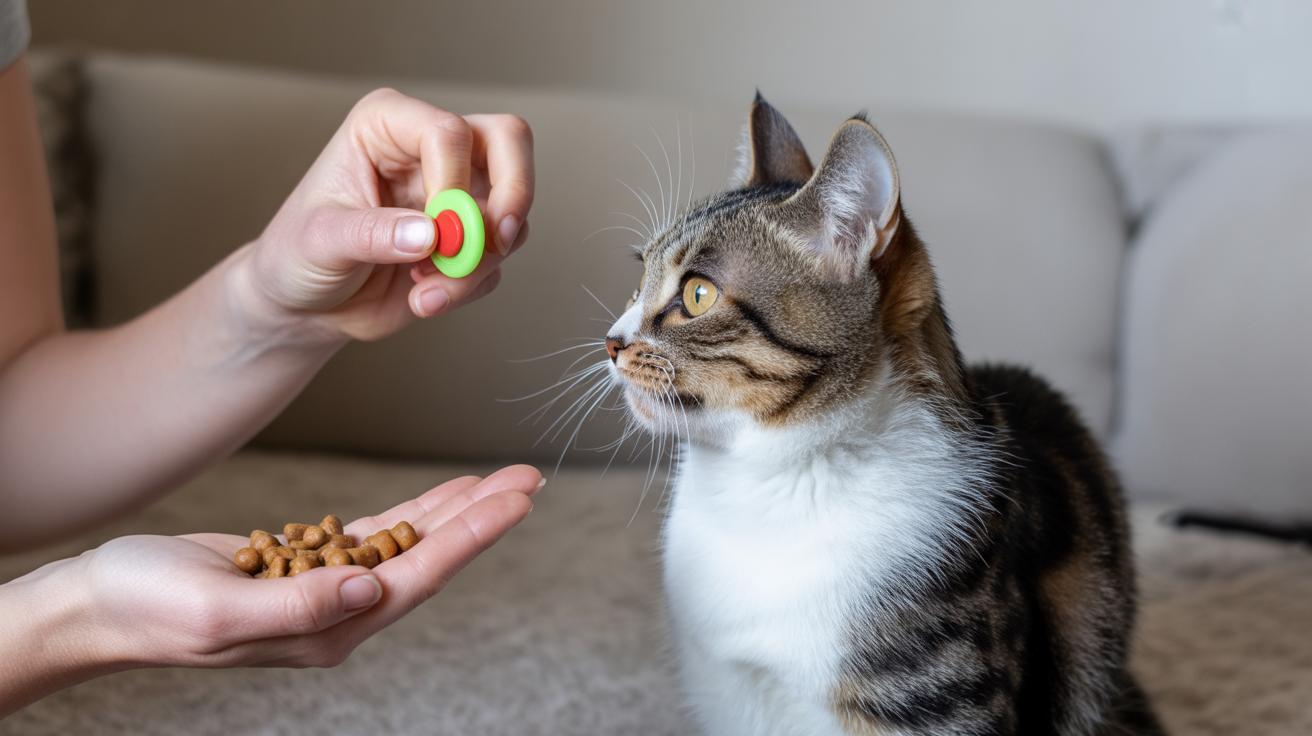
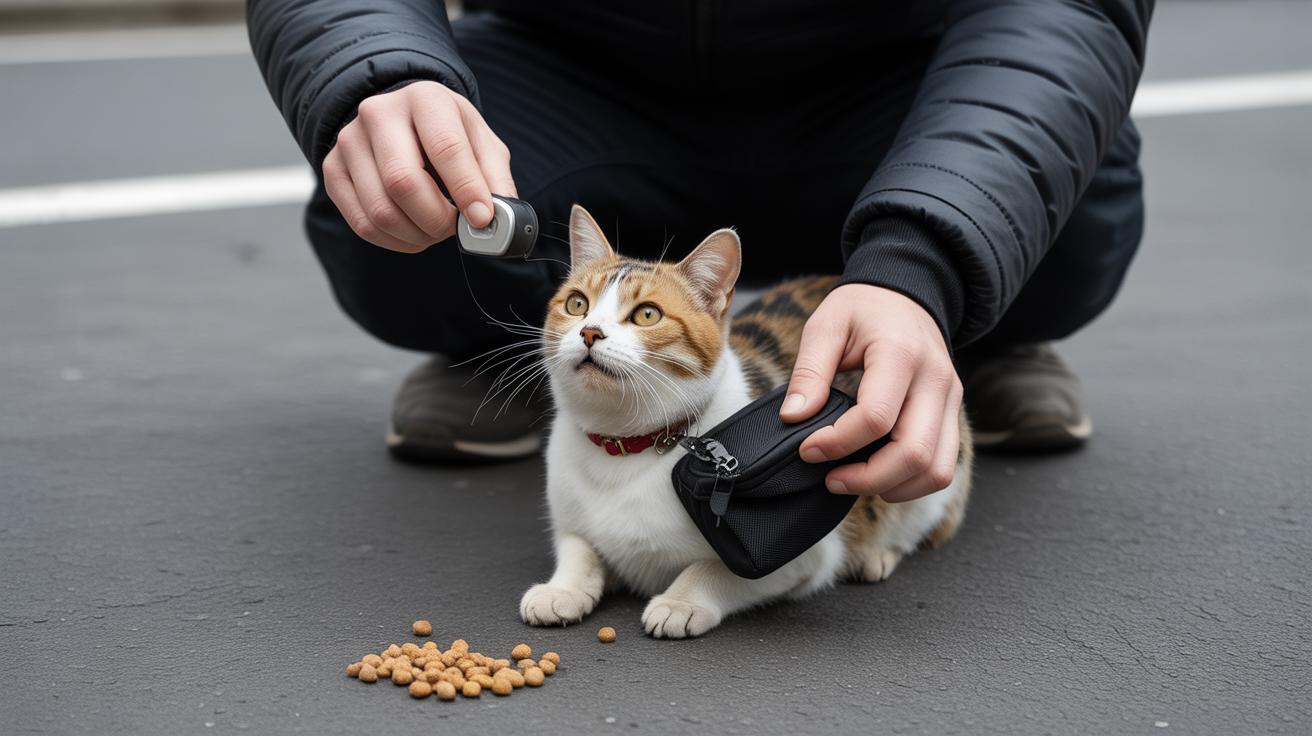
A cat clicker is a tiny marker device (a little gadget that signals the exact moment your cat does something you want) that makes the same clear sound every time. Ever watched your kitty time a pounce perfectly? That click tells them, "Yes , do that again." It’s simple, and oddly satisfying.
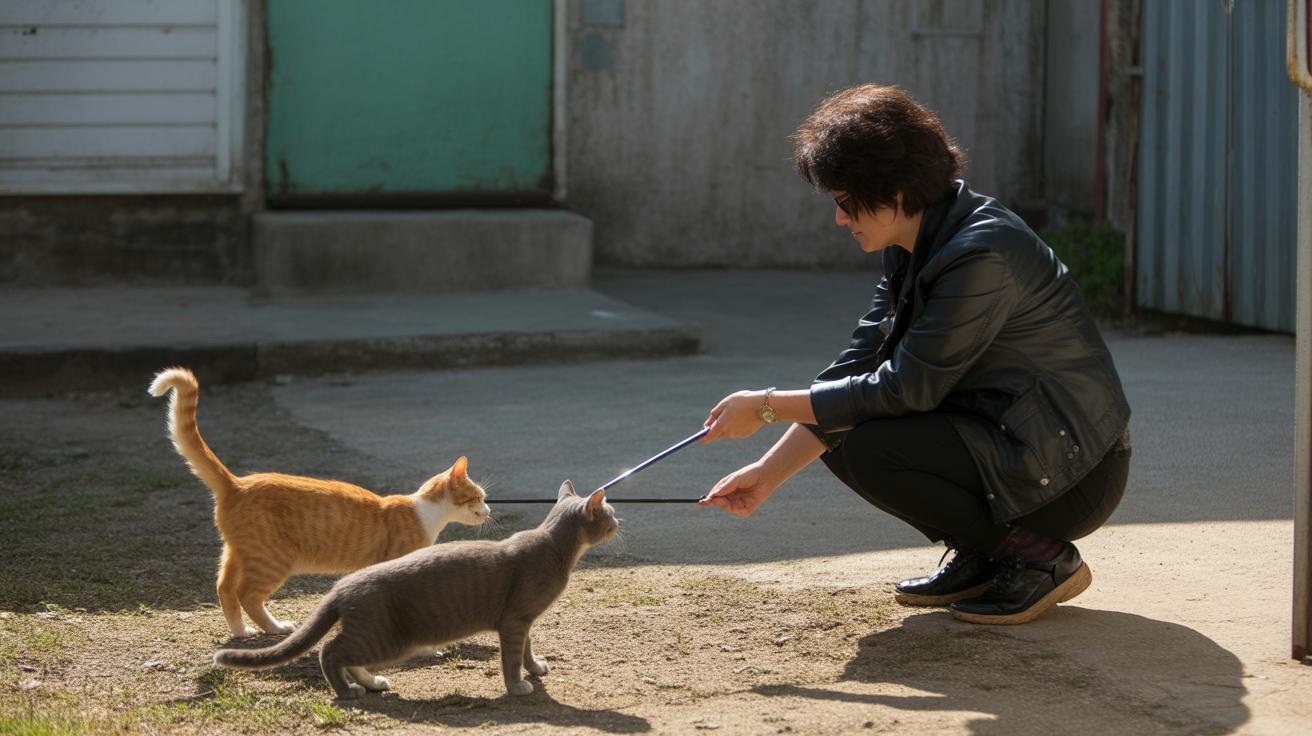
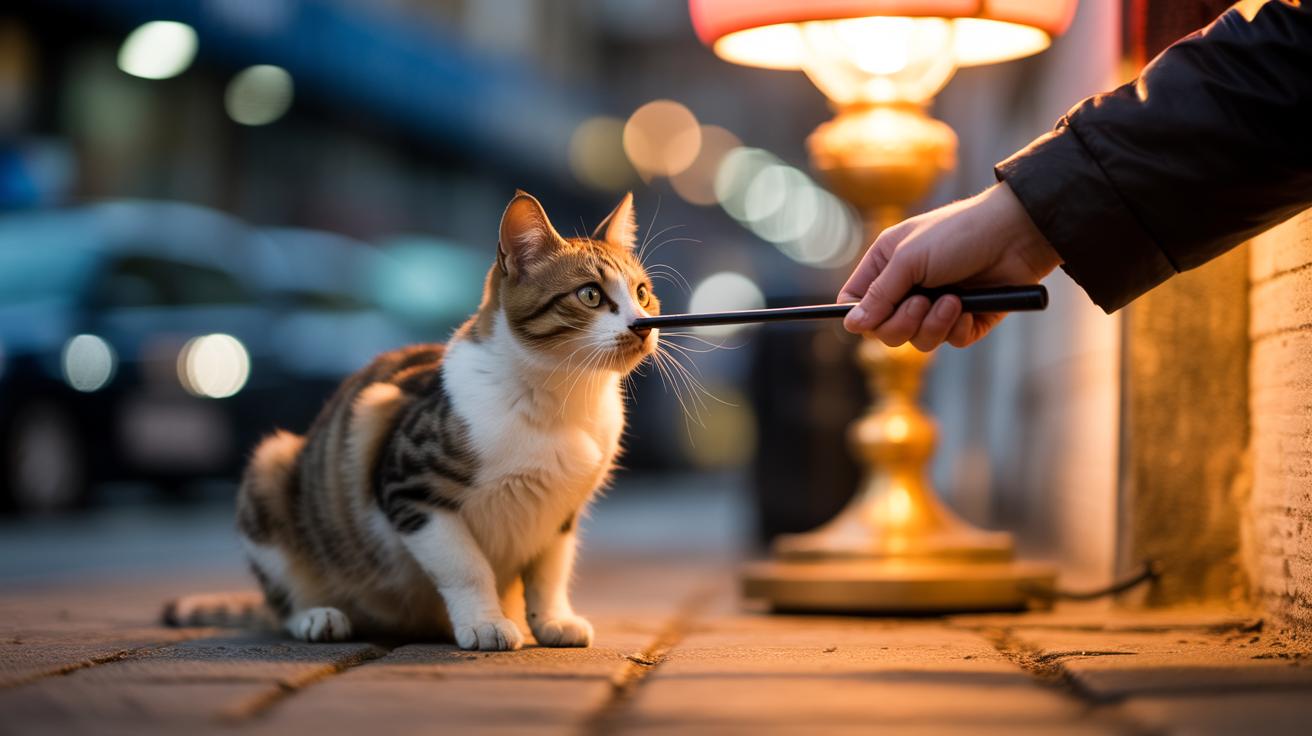
For skittish or noise-sensitive cats, try a quiet vibration marker (a small buzzer you feel more than hear) or an LED marker (a little light that blinks when you press it). For most folks, a handheld spring clicker (a small plastic tool with a metal strip that snaps and makes the click) is the default , it’s tactile, reliable, and easy to tuck in your pocket. This is the fastest way to begin clicker training. Here’s how to use a cat clicker:
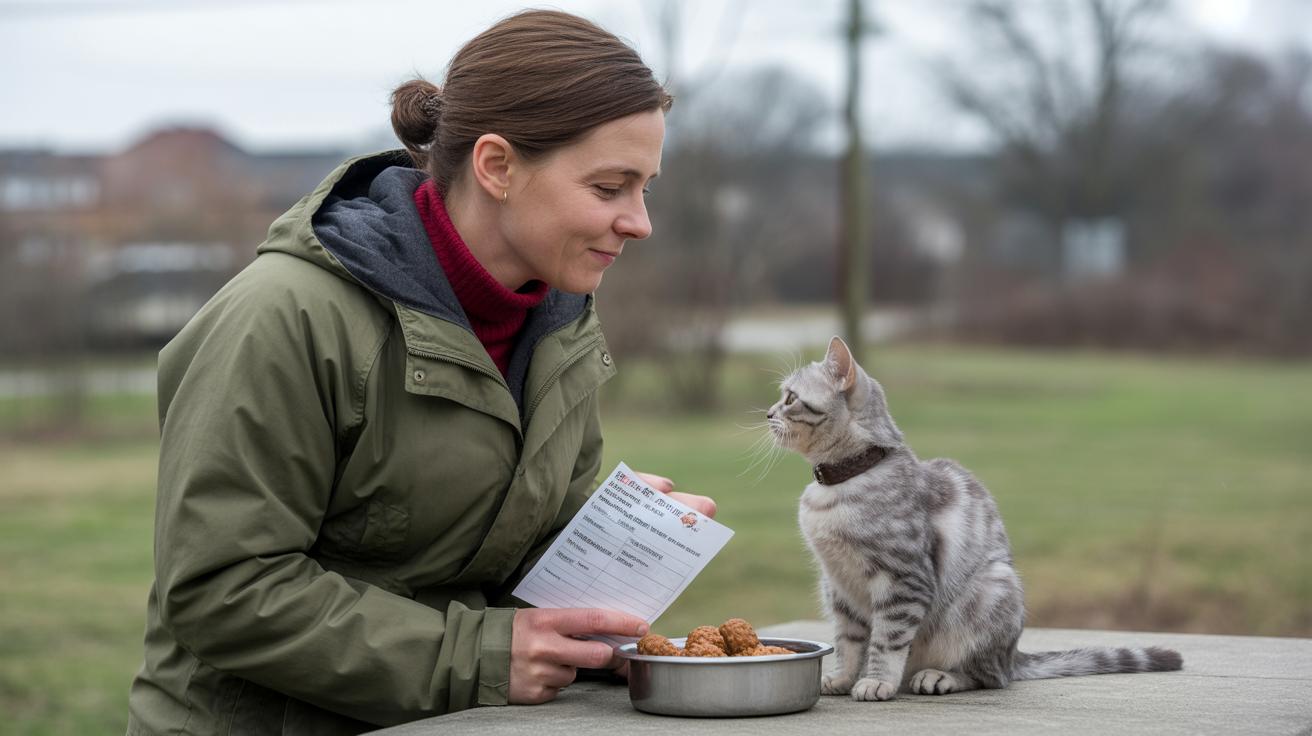
- Load the marker: click, then give a tiny, high-value treat (something your cat really loves, like a small piece of tuna). Repeat until the sound predicts the reward.
- Capture or prompt a simple behavior, and click at the very instant it happens. Timing matters.
- Reward immediately , within one second , and keep sessions short. Five one-minute bursts or several 3-5 minute sessions work better than one long lesson.
| Action | Timing | Why |
|---|---|---|
| Load | Click, then treat (repeat) | Links the sound to a reward so your cat notices the marker |
| Click timing | Click at the exact instant the behavior occurs | Marks the precise moment you want your cat to repeat |
| Reward window | Give treat within 1 second; treat ≈ tip of a little finger | Keeps the connection strong; short, frequent sessions build habit |
You’ll often see a lightbulb moment in minutes. Some tricks click into place after a few short sessions; others take a couple of weeks. Worth every paw-print.
Key numbers cheat-sheet
This is your quick, go-to reference for clicker training numbers, timing, and reps. Use this box so you do not have to repeat counts all over the article. Quick note: "pairings" (click + treat) and "shaping" (rewarding tiny steps toward a goal).
Short bursts, tiny treats, perfect timing. Ever watched your kitty pounce because of one well-timed click? These numbers help you get that moment more often.
| Metric | Suggested value | Notes |
|---|---|---|
| Reload / pairings (click + treat) | 20–30 | Builds the click→reward connection |
| Click-to-reward window | Within 1 second | Timing is everything for clear feedback |
| Session format | Five 1-minute bursts or 3–5 minute sessions | Short, frequent practice beats long sessions |
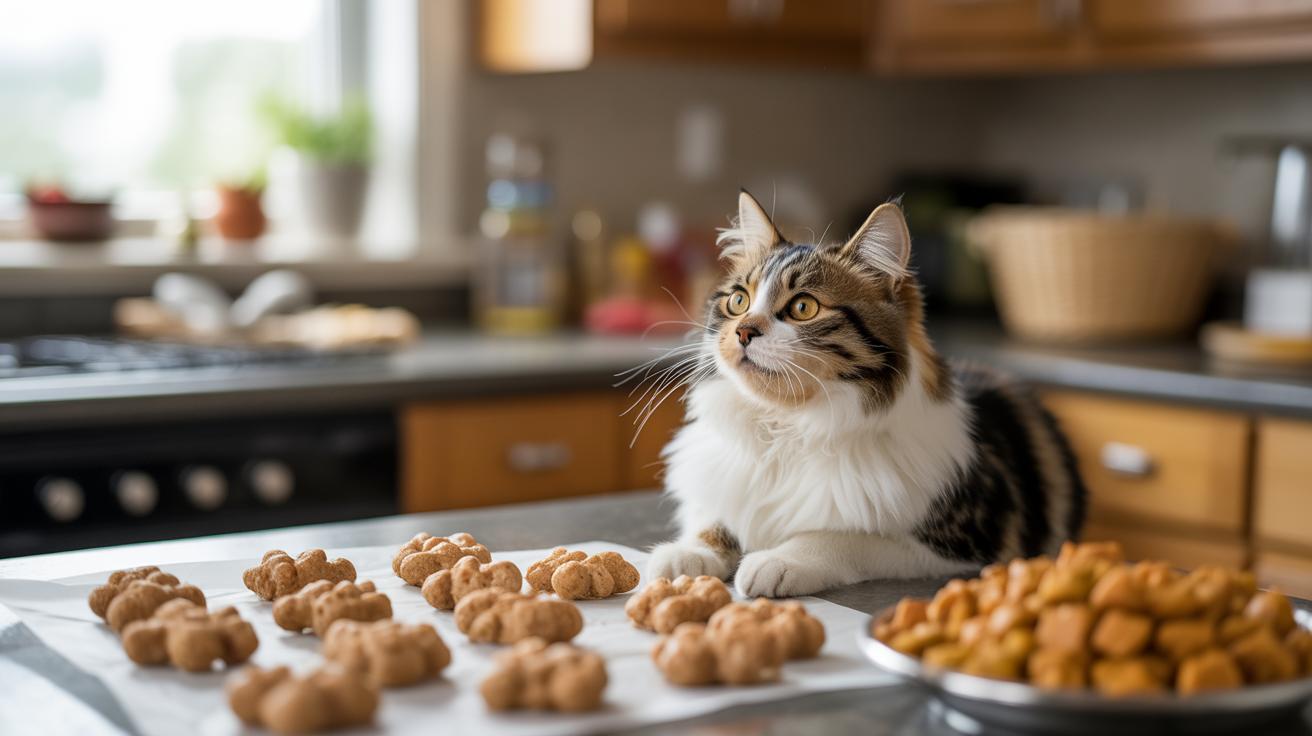
| Early reps per session | 10–20 successful clicks | Good for the first shaping steps |
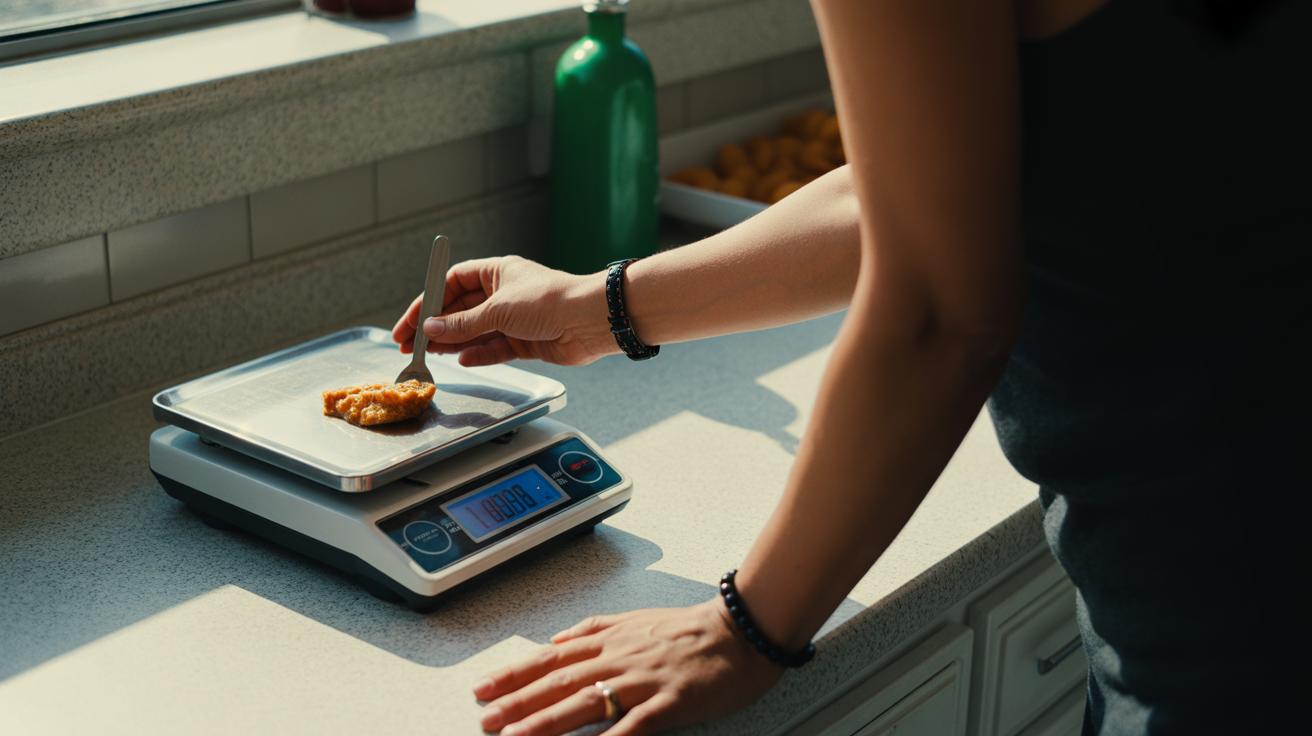
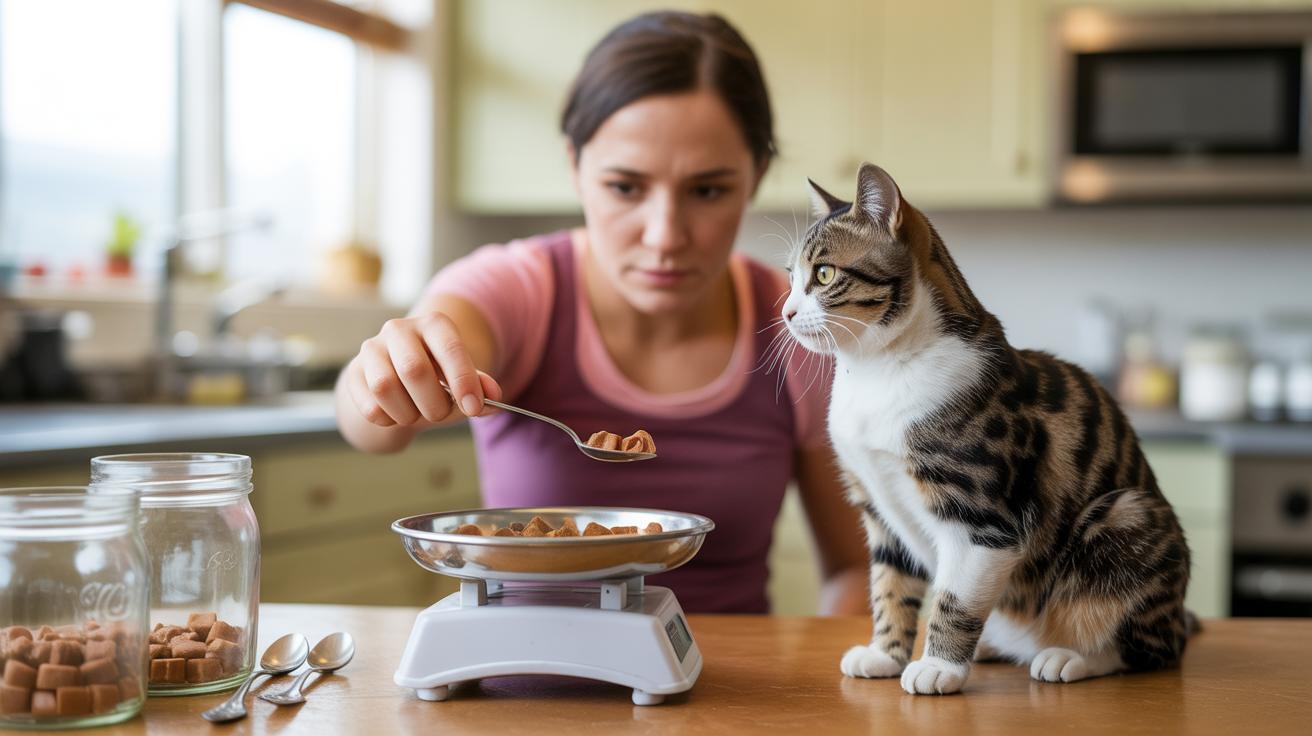
| Treat size | About a fingertip | Small bites keep motivation high and calories low |
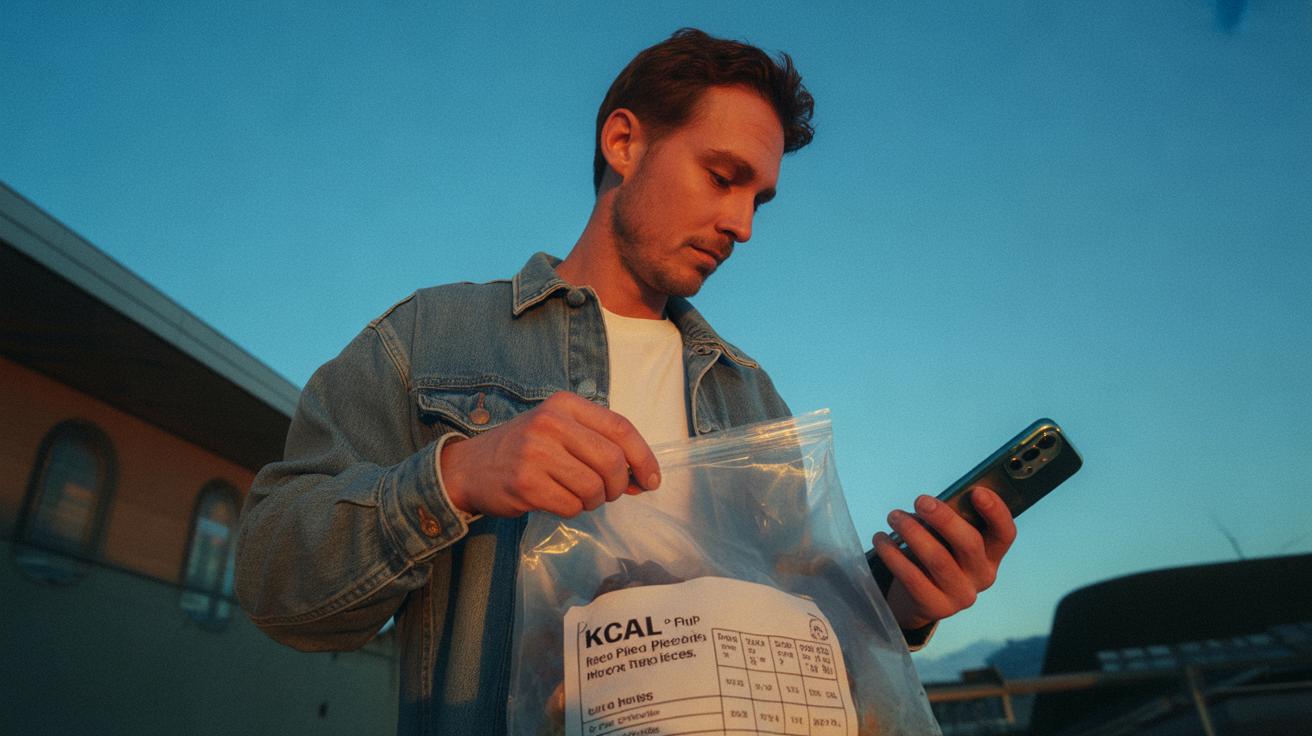
| Treat kcal per bite | About 1–3 kcal | Track treats so you do not add extra daily calories |
| Shaping reps per step | 10–20 clicks | Click for small approximations until the behavior is steady |
| Fading / reset guidance | Move to intermittent rewards; reset 2–3 sessions if needed | Raise criteria slowly and step back if reliability drops |
Use these numbers as a starting point and tweak for your cat. Worth every paw-print.
Types & who they suit
There are six common kinds of cat clickers you’ll find: handheld spring clickers (small handheld button that makes a sharp snap), silent/vibration markers (tiny buzzer you feel more than hear), LED or visual markers (light-based signal), automatic or timed clickers (pre-set electronic clicker), smartphone app markers (phone-based sound or flash), and remote clickers (handheld transmitter). They all tell your cat “good job,” but they do it with a snap, a buzz, a blink, or a timed beep, so pick the one that fits your cat’s ears and nerves.
-
Handheld spring clicker (small handheld button that makes a sharp snap)
Pros: it gives a clear, reliable tone and you get nice tactile feedback when you press it. Cons: some noise-sensitive cats jump or hide, and cheap plastic can wear out. It’s the classic starter clicker. -
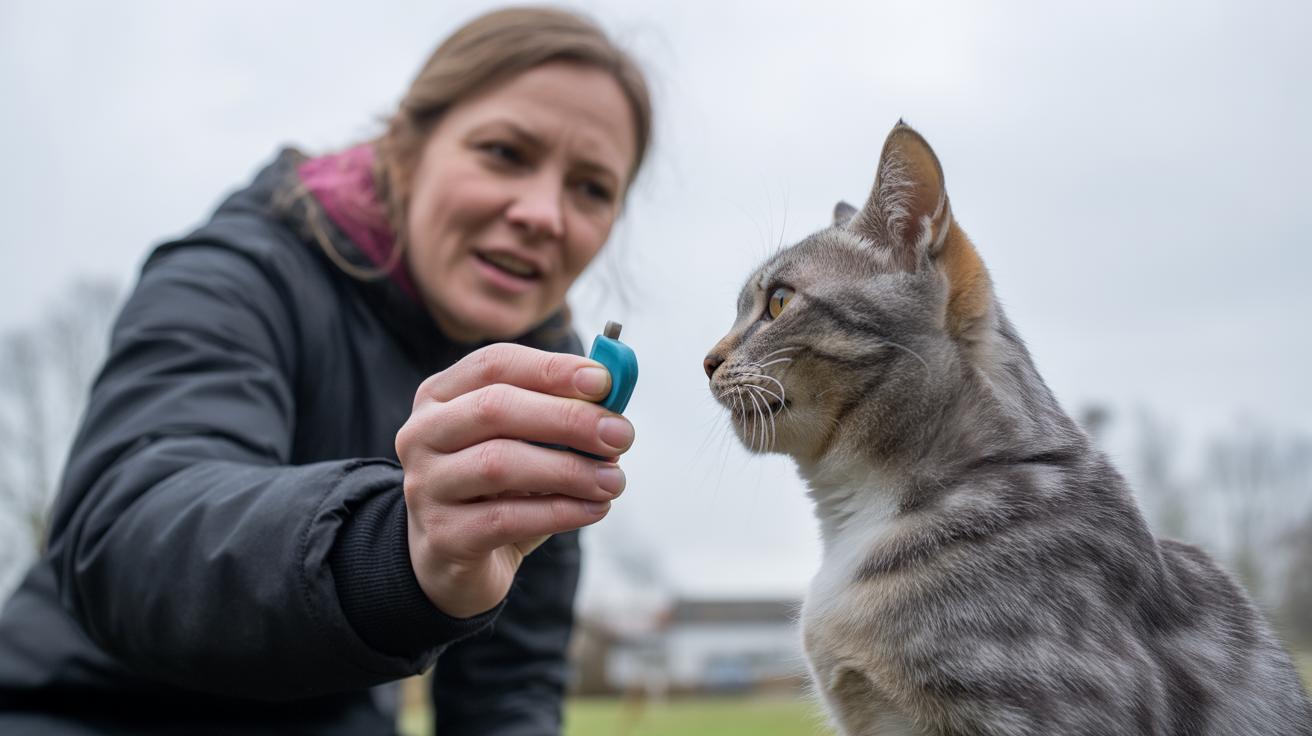
Silent / vibration marker (tiny buzzer you feel more than hear)
Pros: perfect for shy, anxious, or feral cats who hate noise. Cons: you might miss the faint buzz if you’re distracted. Use this when trust is still being built. -
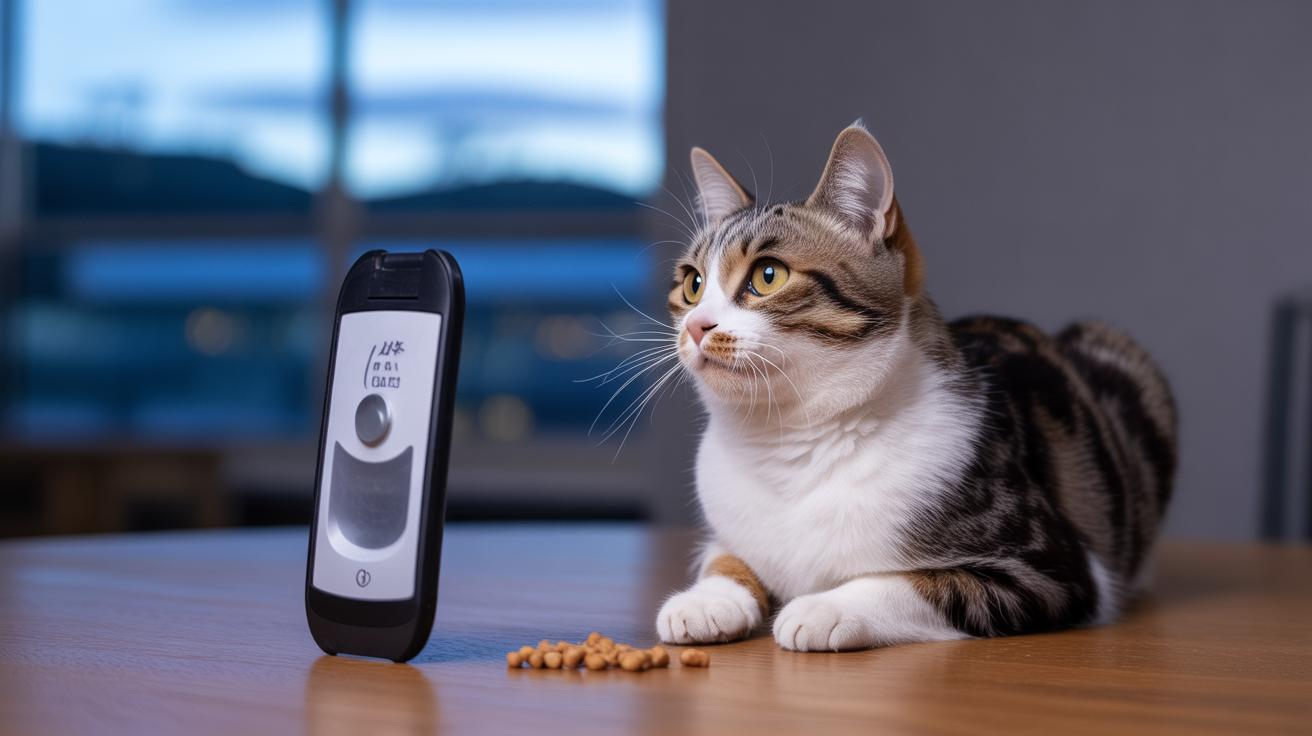
LED / visual marker (light-based signal)
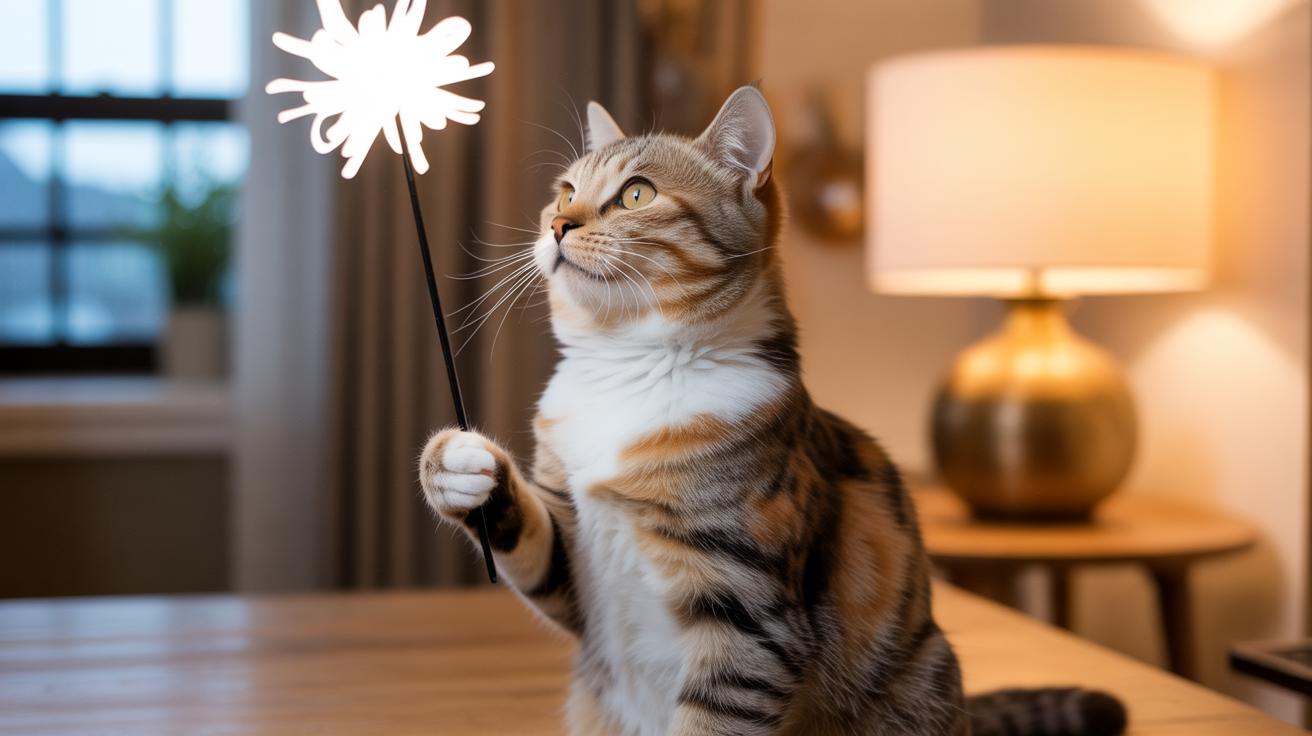
Pros: great for deaf cats or loud rooms, because a flash can beat out chaos. Cons: it needs a clear line of sight and can disappear in bright sunlight. Try it for kittens who watch things with laser focus. -
Automatic / timed clicker (pre-set electronic clicker)
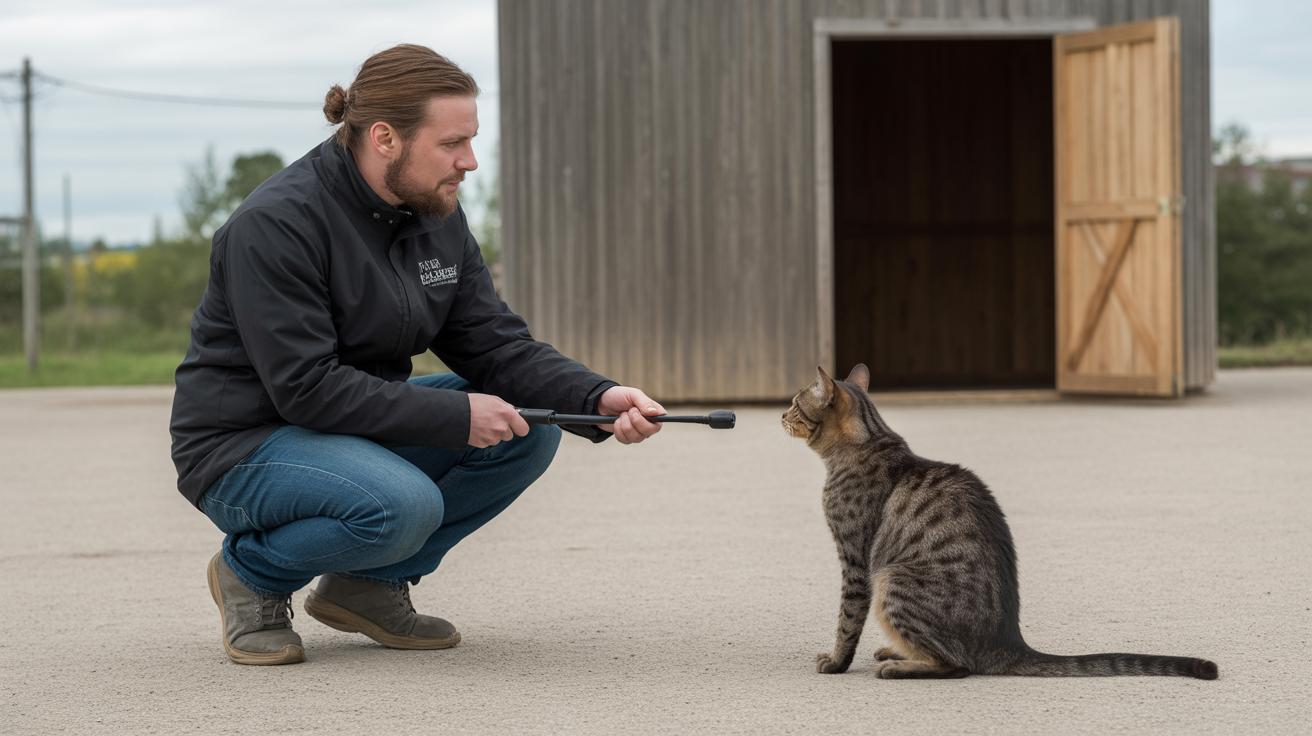
Pros: handy for distance work or sequences that need exact timing. Cons: you’ll need to test and tweak the timing so you don’t click late. Works well when you want hands-free precision. -
Smartphone app marker (phone-based sound or flash)
Pros: super convenient, can log sessions and offer lots of sounds. Cons: phone lag, notifications, or distractions can mess things up. If your phone buzzes mid-click, your cat will notice. -
Remote clicker (handheld transmitter)
Pros: nice for training at a distance when you don’t have a helper. Cons: can be bulkier and may get pressed by accident. Keep it in a pocket with the button covered.
Match the device to your cat’s temperament and life stage. For most pet cats and new trainers, the spring clicker is the go-to because it’s simple and tactile. For nervous cats or recent rescues, reach for a silent vibe marker so your cat doesn’t flinch. Kittens usually learn fast with any gentle marker, but very young or skittish kittens often prefer a visual or vibe marker until they relax. If you need hands-free timing for complex tricks, try an automatic clicker, just practice the timing.
Try new sounds and buzzes from a safe distance before you commit, watch for twitchy ears, flinches, or sudden hiding. When you switch marker types, “reload” the new marker using the Key numbers cheat-sheet so your cat quickly learns the new signal. If you can only buy one, get a trusty spring clicker, then swap to a vibe or LED if your cat shows stress.
When to pick a silent or vibration marker
If your cat freezes, runs, or flattens its ears when you click, that’s your cue to try a silent or vibration marker. These work especially well for feral or newly rescued cats that are still learning to trust humans. Pair the buzz or light with a treat the same way you would with any marker so the cat links the signal to reward. Check the Key numbers cheat-sheet for how many pairings to use, consistency wins.
| Clicker Type | Best for | Primary drawback |
|---|---|---|
| Handheld spring clicker (small handheld button that makes a sharp snap) | Everyday pet cats and beginners | May startle noise-sensitive cats; plastic can wear |
| Silent / vibration marker (tiny buzzer you feel more than hear) | Shy, anxious, or feral cats | Owner might miss the subtle buzz |
| LED / visual marker (light-based signal) | Deaf cats or noisy training areas | Needs clear sightline; less visible in bright light |
| Automatic / timed clicker (pre-set electronic clicker) | Distance work and timed sequences | Requires careful calibration so timing stays precise |
| Smartphone app marker (phone-based sound or flash) | Tech-forward trainers and session logging | Phone lag, notifications, or accidental distractions |
| Remote clicker (handheld transmitter) | Training at a distance without a partner | Can be bulky or accidentally pressed |
cat clicker: how to choose and use one
Look for clicker features that make training quick, comfy, and built to last. Think a steady tone or a small vibration (a tiny buzz you can feel), a comfy grip, volume control or a silent mode, and a sturdy spring mechanism (a thin metal strip that snaps) or solid plastic housing (the outer case). Add a clip or lanyard so it’s always at hand, and pick a simple shape that cuts down on accidental presses. Ever watched your kitty twitch when a sound is just right? That’s the goal.
Before you buy, try the click signal a few steps away to see how your cat reacts, and have several tiny treats ready to pair with the sound. Short, consistent training wins over long noisy sessions.
-
Tone consistency: Click several times. The sound should be the same every press so your cat learns the signal fast. Test: click 8 to 10 times and listen for any changes in pitch or length.
-
Volume control or silent mode: Some clickers let you dial the sound down or switch to a vibration-only option (a gentle buzz). Good for skittish or older cats. Test: flip through the settings and click a few feet away to see which your cat prefers.
-
Grip and ergonomics: It should feel natural in your hand for quick repeats during play. Test: hold it like you’ll use it and mimic short, fast clicks while reaching around a couch or chair.
-
Size and portability: Pocketable clickers make on-the-go sessions easy. Test: slip it in a pocket and walk around to check comfort and accidental presses.
-
Spring durability: The internal spring (that snapping metal strip) needs to last so the click stays sharp. Test: press it repeatedly to check for flimsiness or a slow return.
-
Attachment options: A clip or lanyard keeps the clicker handy when you’re carrying toys or treats. Test: clip it on and walk a short lap to see if it bounces or gets in the way.
-
Price range: You can find solid budget clickers and fancier models with extra features. Decide if a volume dial, vibration mode, or ergonomic design is worth a few extra bucks for you. Test: compare tone, feel, and features across a couple price points.
-
Warranty and return policy: Look for sellers who accept returns if the tone or build doesn’t work for your cat. Test: read the small print before buying so you’re not stuck with the wrong clicker.
Quick tips: use tiny, tasty treats so your cat associates the click fast. Keep sessions short and fun. Worth every paw-print.
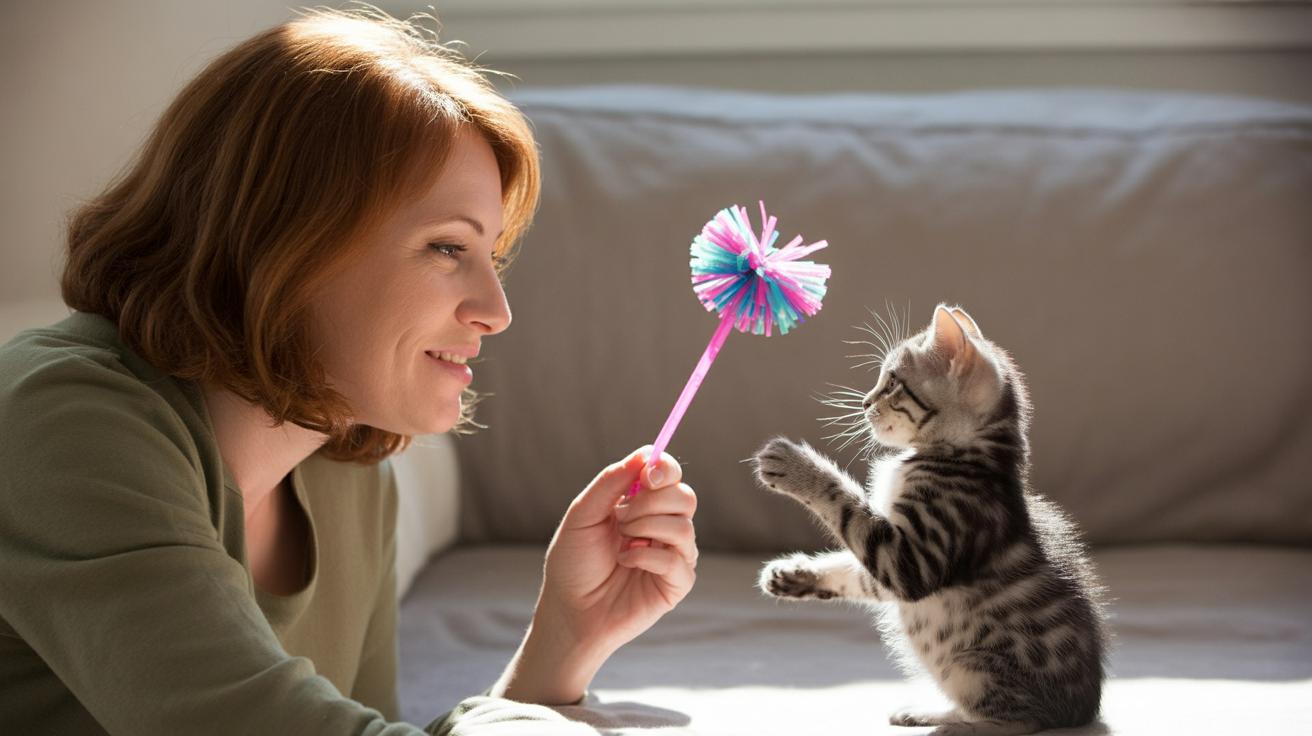
Start training now: a beginner's cat clicker training plan
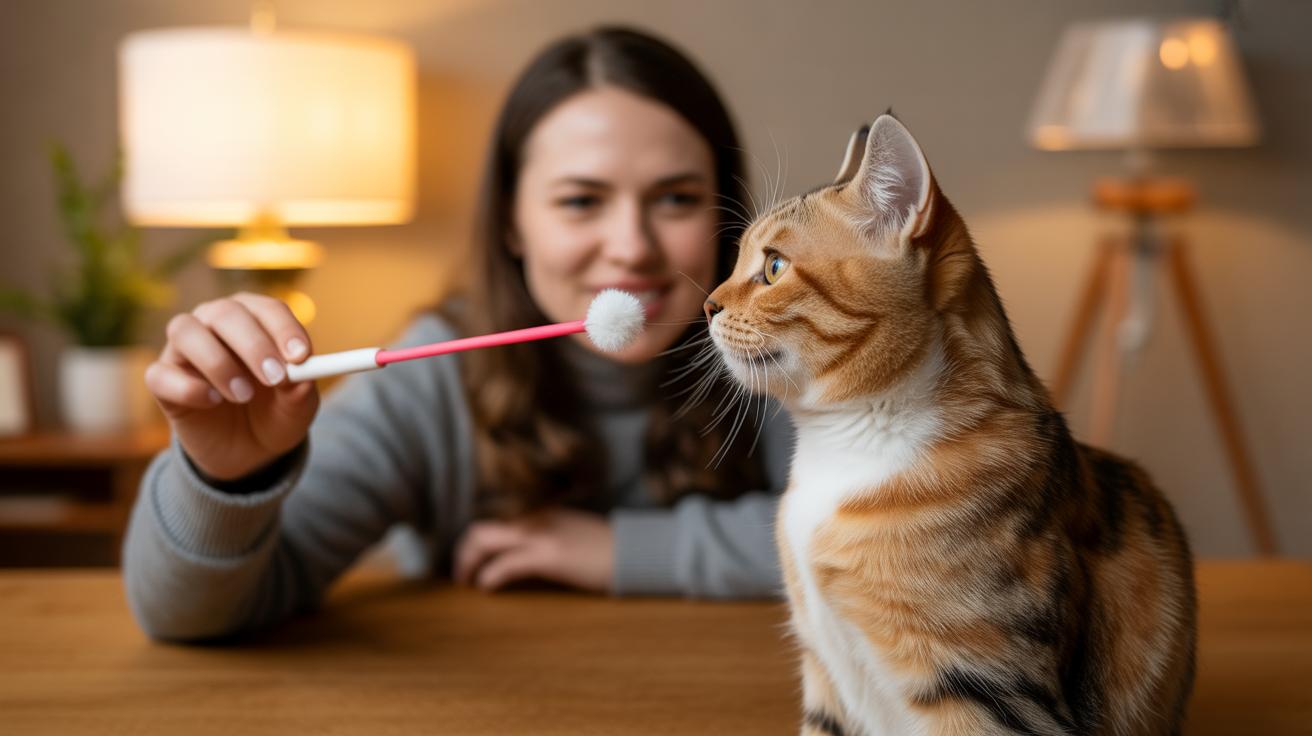
Loading phase: sit with your cat and a small dish of tiny, smelly treats (think fingertip-sized pieces of roast chicken or a fishy Churu bite). Have a clicker (a small device that makes a clear click) or use a marker sound (the consistent click that marks a good moment). Press the click and immediately offer a treat. Repeat calmly until your cat looks at you when they hear the sound. You’re simply teaching the sound = good thing. Easy, right?
Capturing and timing basics: pick a behavior your cat already does on their own , a sit, a head-turn toward your hand, or a nose touch to a target (a small object your cat can touch with their nose). Click the exact instant the behavior happens, then give the treat right away. Click-then-treat timing is everything: click the moment, treat within one second. Do short little practice bursts so your timing gets sharp and your cat stays excited.
- Load the marker with quick click → treat pairings.
- Capture one simple behavior your cat already offers.
- Click at the precise instant the behavior happens.
- Reward immediately with a tiny treat (about fingertip size).
- Repeat in short bursts and stop while your cat still wants more.
Cue introduction and progression: once the cat repeats the behavior reliably for the click, start adding a short cue word just before the action , one syllable like “sit” or “touch.” Say the cue as your cat begins to move into the action, click the correct behavior, and reward. That’s how the clicker builds a verbal cue. As your cat gets steadier, add small challenges: take one or two steps back, toss in a soft distraction, or ask for a slightly longer hold. If you want exact repetition targets, check the Key numbers cheat-sheet for suggested pairing and rep counts instead of guessing.
Session scheduling and reinforcement progression: keep sessions short and frequent , lots of tiny practices beat one long grind. Stop before your cat loses interest; always end on a good response so training stays fun. After a behavior is solid, move from giving a treat every click to a mix of treats, praise, or a quick toy toss so your cat stays motivated without expecting food every time. This is classic clicker training: clear signals, tasty rewards, and gradual increases in challenge. Expect quick wins in minutes for simple stuff, and steady progress over days to weeks for trickier moves.
Worth every paw-print.
Sample 7-day starter schedule
- Day 1: Load the marker with calm click → treat pairings; make the sound predict a reward.
- Days 2–3: Capture an easy behavior (sit or touch) and reinforce in short bursts.
- Day 4: Add a one-word cue just before the action; click and reward when your cat does it.
- Day 5: Practice at a small distance (one or two steps back) and keep sessions short.
- Day 6: Add a mild distraction (a toy nearby or soft noise) and keep click-then-treat timing tight.
- Day 7: Reduce treat frequency a bit; mix in praise or a quick toy reward while checking progress.
- After week one: consult the Key numbers cheat-sheet for exact pairing and rep counts to shape longer sequences.
cat clicker: how to choose and use one

If your cat ignores the clicker, don’t worry , this is super common. Most of the time it’s simple stuff: you clicked a hair late, the treat wasn’t exciting, the room was noisy or full of distractions, the click sound startled them, or the session was too long and they just tuned out. These are the usual suspects when people ask why the clicker stops working.
Quick fixes to try right now: move to a quieter spot and sit at your cat’s level so you’re part of the world they see, switch to a stronger-smelling treat or a favorite toy, keep practice bursts short, and have a partner watch you click so someone can confirm your timing. If you changed your marker sound recently, reload the new signal by pairing click then treat a few times (reload = re-teach the click means reward). Think of reloading as making the click exciting again.
- Check timing accuracy – click the exact instant the behavior happens. Timing is tiny but everything.
- Reduce distractions – try a calmer room with fewer people or loud noises.
- Upgrade reward value – use smellier, tastier treats or something your cat really loves.
- Shorten session length – stop while your cat is still eager. Ten quick reps beat one long snoozy session.
- Health check – make sure your cat doesn’t have a sore mouth, low appetite, or other issues.
- Recondition the marker – pair click then treat several times so the sound means the same thing again (marker = the sound that marks the behavior).
- Have an observer watch and click – a second pair of eyes can confirm your timing and help you learn.
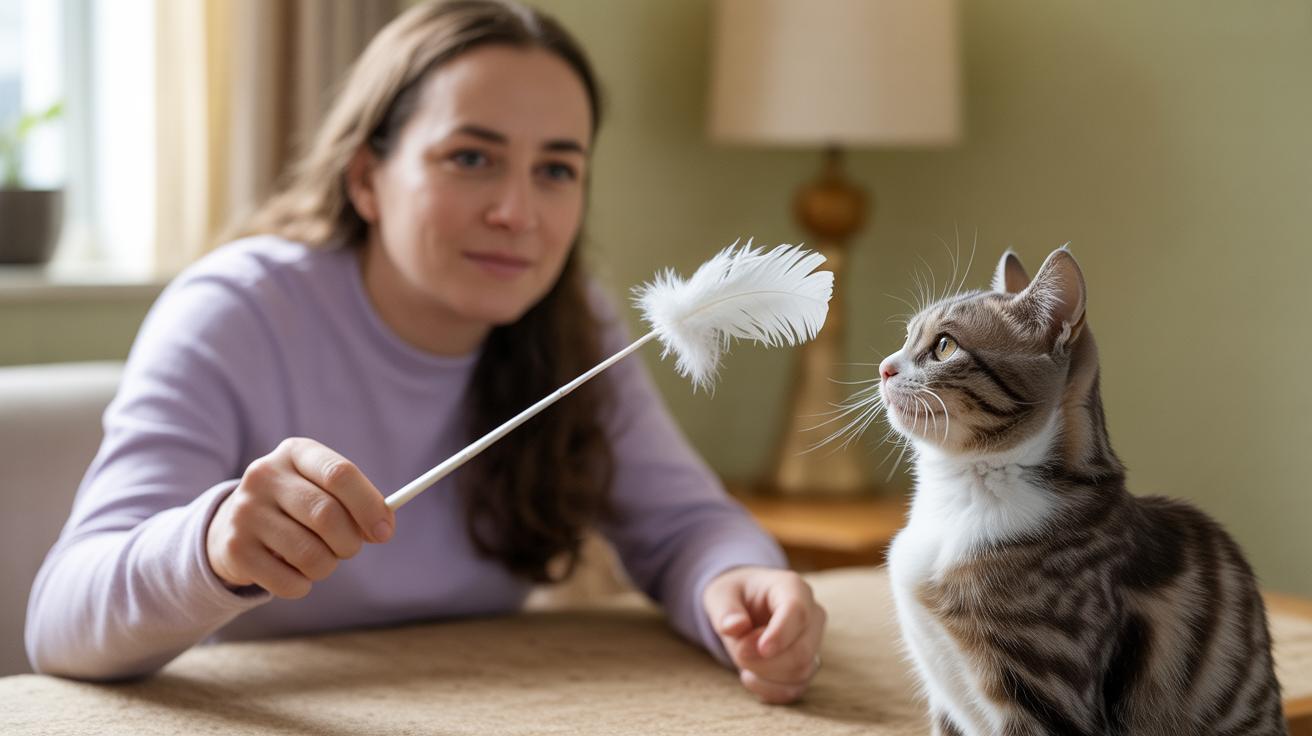
- Try toy rewards – feather wands, quick tosses, or a tiny play burst can beat food sometimes.
If you stall, break the goal into tinier steps and click small approximations , that’s shaping (making a big trick from lots of little wins). If things still feel stuck, check your cheat-sheet for how many reload pairings and ideal session lengths, and switch rewards if your cat gets bored. Keep it fun and short. Worth every paw-print.
Advanced cat clicker training: shaping, chaining, and fading the marker

Shaping with a clicker (a small device that makes a clear click to mark a behavior) means rewarding tiny steps toward a final move instead of waiting for the whole trick to show up. Click for the little wins, look, approach, touch, then slowly raise the bar so your cat learns the path to success. Think of it like teaching a dance one step at a time; each click says, "Yes, that was it," and your cat figures out the rest.
Chaining (linking trained parts into one smooth sequence) takes those tiny steps and stitches them together. Teach each subtask, then click and reward as you connect them so the whole action flows. It’s like stringing beads: one bead at a time becomes a necklace that your cat can wear, claw-tastic, right?
Start simple and practical. Break the goal into very small targets, click precise approximations, and only bump up the requirement once the current step is steady. Keep rounds short and fun so your cat stays curious instead of bored, ten minutes of playful focus beats an hour of meh. If a session goes sideways, toss in a quick easy win to rebuild confidence.
Fade the clicker (slowly reduce reliance on the click sound and treats) once performance is reliable. Move from treats on every click to a mix of treats, praise, or toy rewards. If reliability dips, go back to denser clicking for a few sessions, then try fading again. Patience here pays off, your cat learns to work for different rewards.
Example: shaping a cat to jump onto a shelf in 8 steps
- Look at the shelf edge when you point (click the look).
- Step toward the shelf (click the movement).
- Put front paws on the shelf edge (click paw placement).
- Shift weight forward onto the front paws (click the shift).
- Make a small partial hop with hind feet still on the floor (click the hop start).
- Push so the hind feet leave the floor a little (click mid-jump).
- Land both front paws fully on the shelf (click the landing).
- Settle weight fully on the shelf so your cat looks comfy (click the full position).
- Fading schedule: begin with continuous treats, then follow the Key numbers cheat-sheet for gradual intermittent rewards and session counts.
- If performance slips, go back one step and reinforce with more successful clicks per the cheat-sheet.
If fading causes confusion, first check your timing and reward value, late clicks or weak treats undo progress fast. Click right when the action happens (within a beat), and use treats your cat really loves. Keep sessions short, re-split steps if needed, and remember: steady small successes beat big leaps.
Worth every paw-print.
cat clicker: how to choose and use one
Safety first. A marker (the click or sound you pair with a treat) is a signal, not punishment, so never use it to scold your cat. Watch for stress signs like flattened ears, a tucked posture, or a fast-flicking tail, and stop the session if your kitty looks uncomfortable. If your cat just had surgery or is sick, pause training and check with your veterinarian before you start again.
Keep treats tiny. Use bite-size rewards and shave a little off your cat’s regular meals so you’re not adding extra calories (see the Key numbers cheat-sheet for kcal per treat and daily training allowance). Short sessions win: three to five minutes a few times a day beats one long, frantic round.
If a clicker isn’t a good fit, pick a consistent substitute: a short verbal marker (one quick word or sound you always use), a vibration marker (a little buzz), or an LED marker (a tiny blinking light). Think of the marker like a camera flash for your cat’s brain , a quick pop that means “yes, good job.” DIY options that work: snap your fingers or tap a small metal lid, as long as the sound is distinct and you pair it reliably with treats. Apps can be handy, but watch for phone lag or incoming notifications that can mess up timing.
For recommended models, use the single model table elsewhere in this article so you don’t repeat choices. When you pick a model, match the tone, volume control, or vibration to your cat’s noise sensitivity and training goals , some cats love a loud click, others prefer a soft buzz. And hey, if your cat prefers purring to clicking, try different markers and see which one gets those whiskers twitching.
Final Words
Load the marker, click the exact instant the behavior happens, and reward within one second. Start with tiny, tasty treats and short bursts so your cat stays curious.
Pick a clicker type that fits the cat, spring clicker (small handheld you press) for most, silent/vibe (gentle buzz) for shy kitties, and check tone, grip, and durability before you buy. Use the cheat-sheet for counts, follow the week-one plan, and try shaping (rewarding tiny steps) when basics click into place.
Give it a few quick sessions and you’ll see real progress in days. Think cat clicker: how to choose and use one , happy practice, happy cats.
FAQ
How to use a cat clicker?
To use a cat clicker, first load the marker (a distinct sound that marks the exact moment), click the instant the behavior happens, reward within one second, and keep sessions short and playful.
Where can I find cat clicker training videos or Cat School resources?
Cat clicker training videos live on YouTube — search for terms like clicker training cats, kitten clicker training, or Cat School; pick clear, step-by-step demos from trainers or vet-backed channels that show timing and treats.
How to train a kitten with a clicker?
Pair the click with tiny tasty treats, capture simple actions like look or sit, click the exact instant, reward immediately, and keep sessions under a few minutes.
How to train a cat with treats?
Mark the exact moment with a click or short word, give a fingertip-sized, high-value treat within one second, and repeat in short, frequent bursts until reliable.
What is the 3-3-3 rule for cats?
The 3-3-3 rule means three days to settle into a new space, three weeks to show more personality, and three months to feel comfortable and settle into routine.
How to choose a cat toy?
Match toy type to play style (chaser, pouncer, chewer), pick durable, non-toxic materials, check size for safety, and test moving or noisy toys from a safe distance.