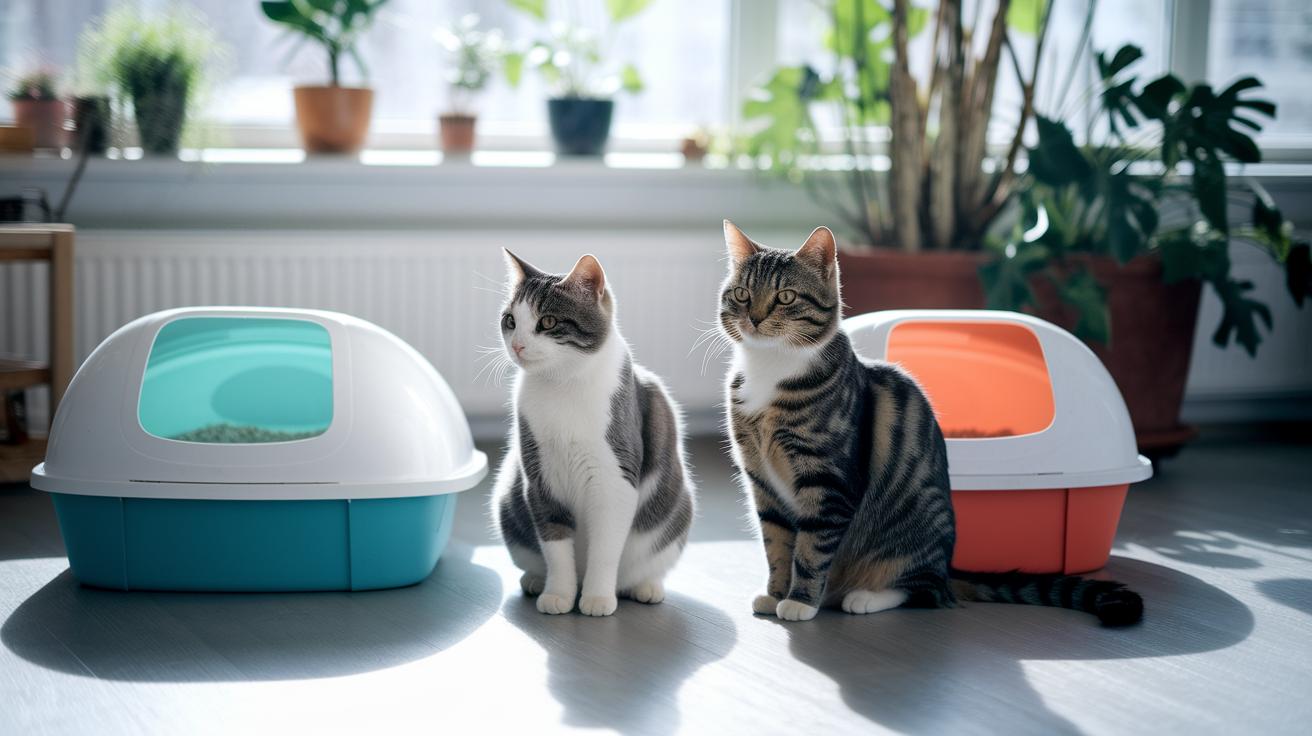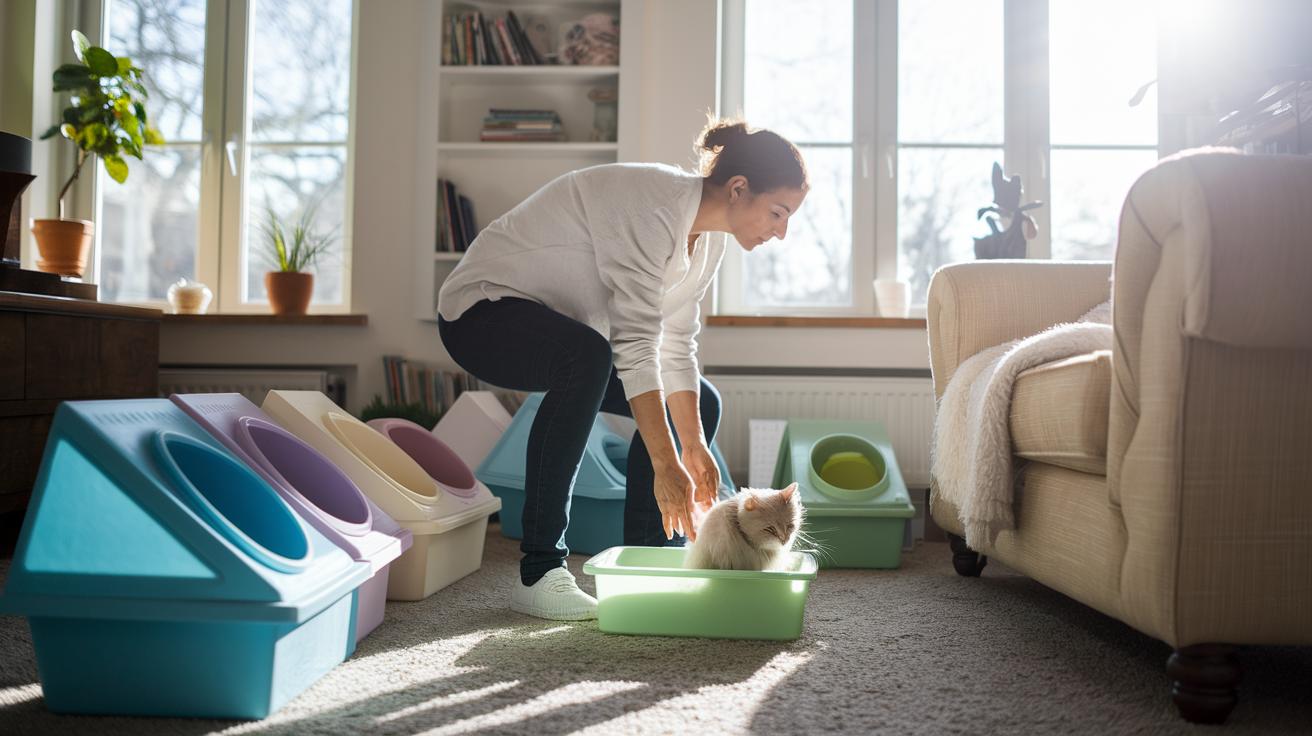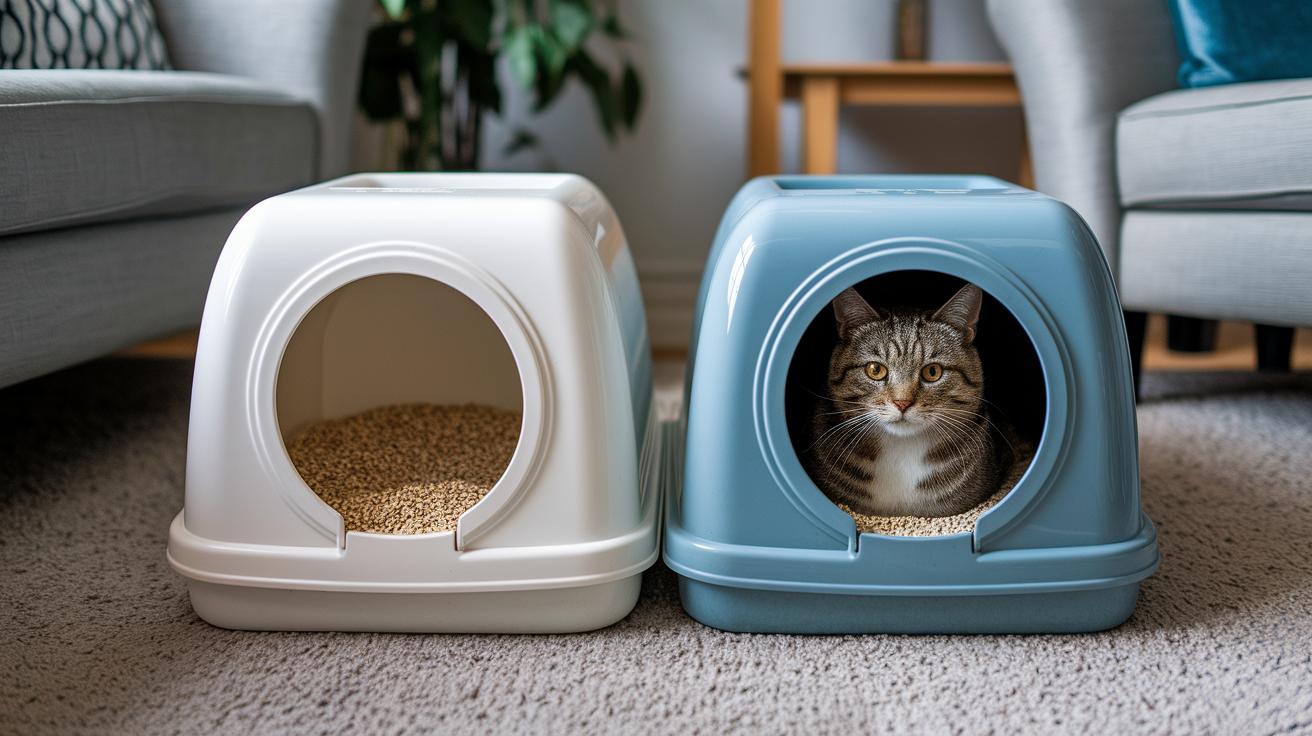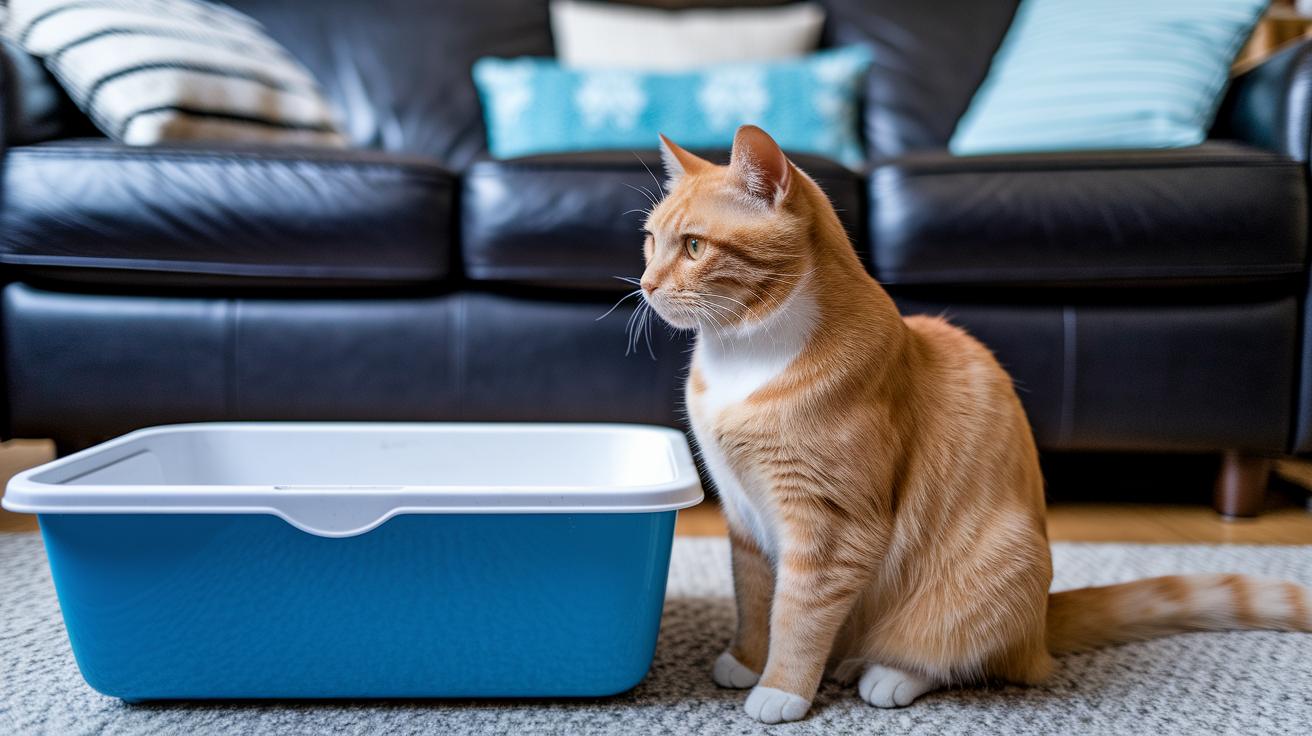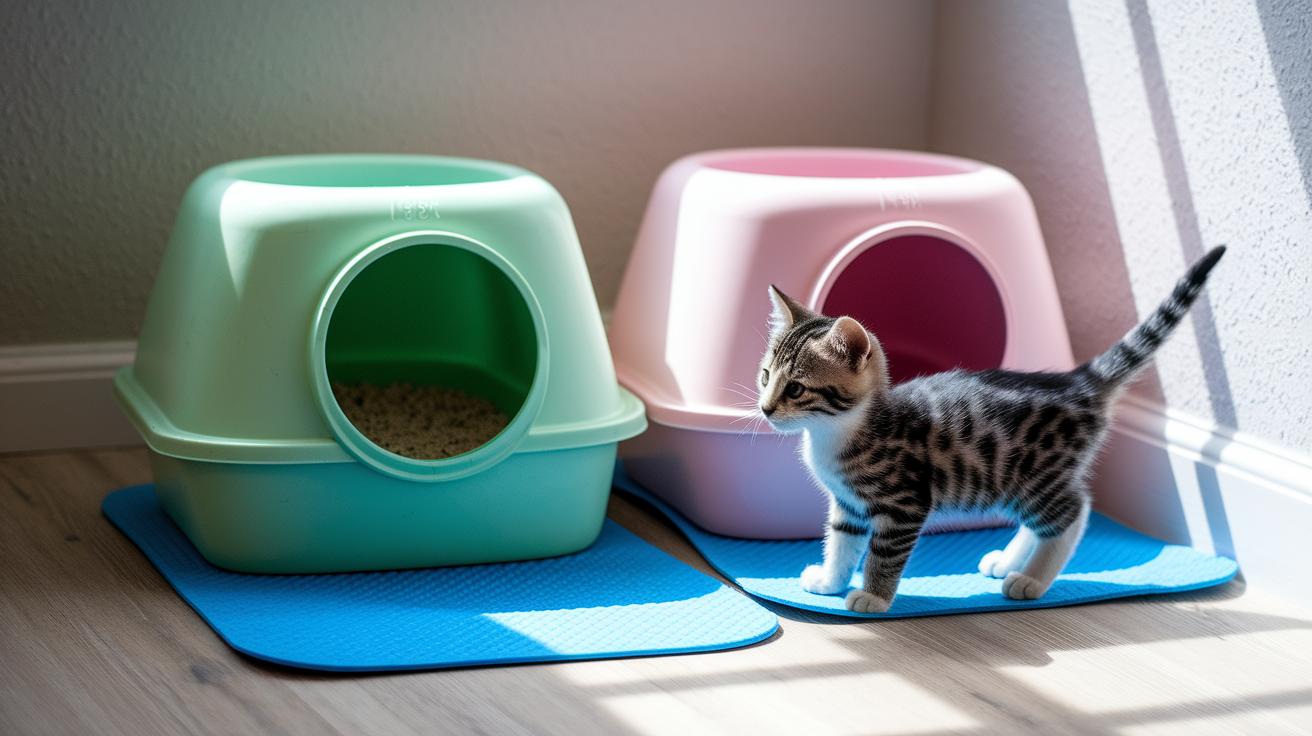
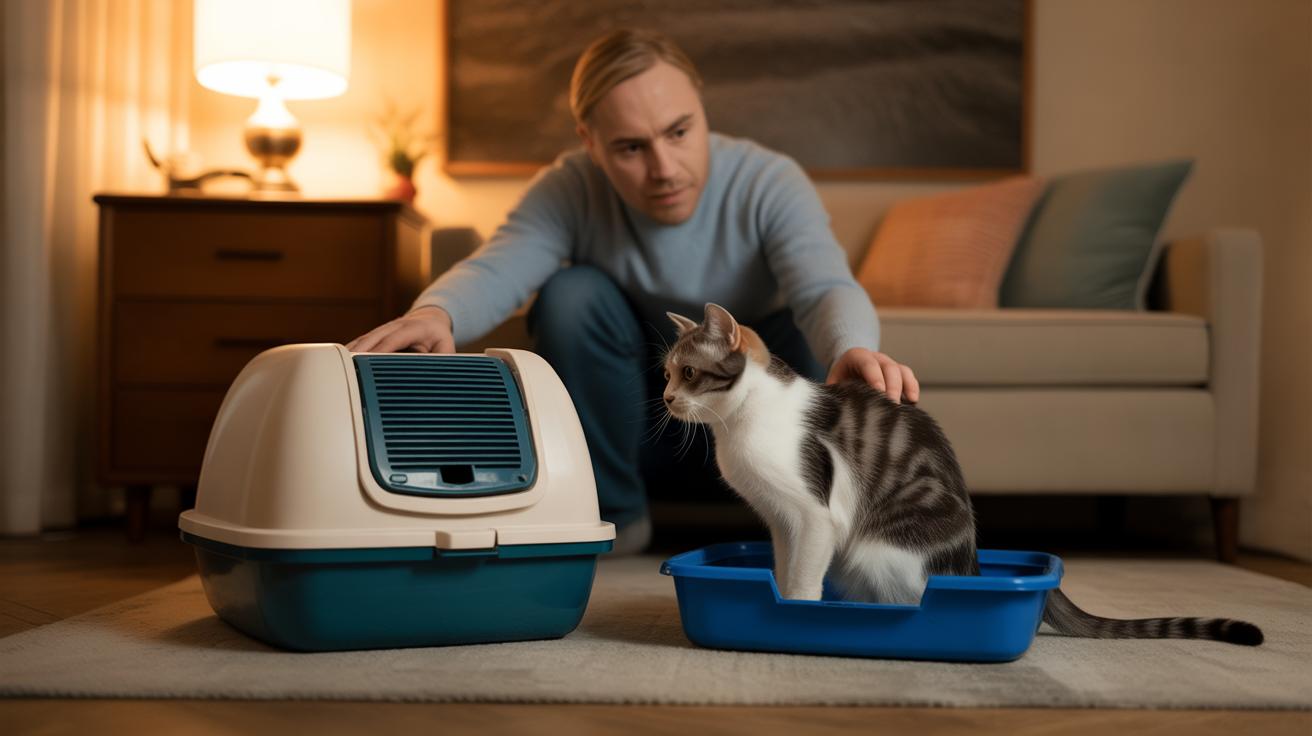
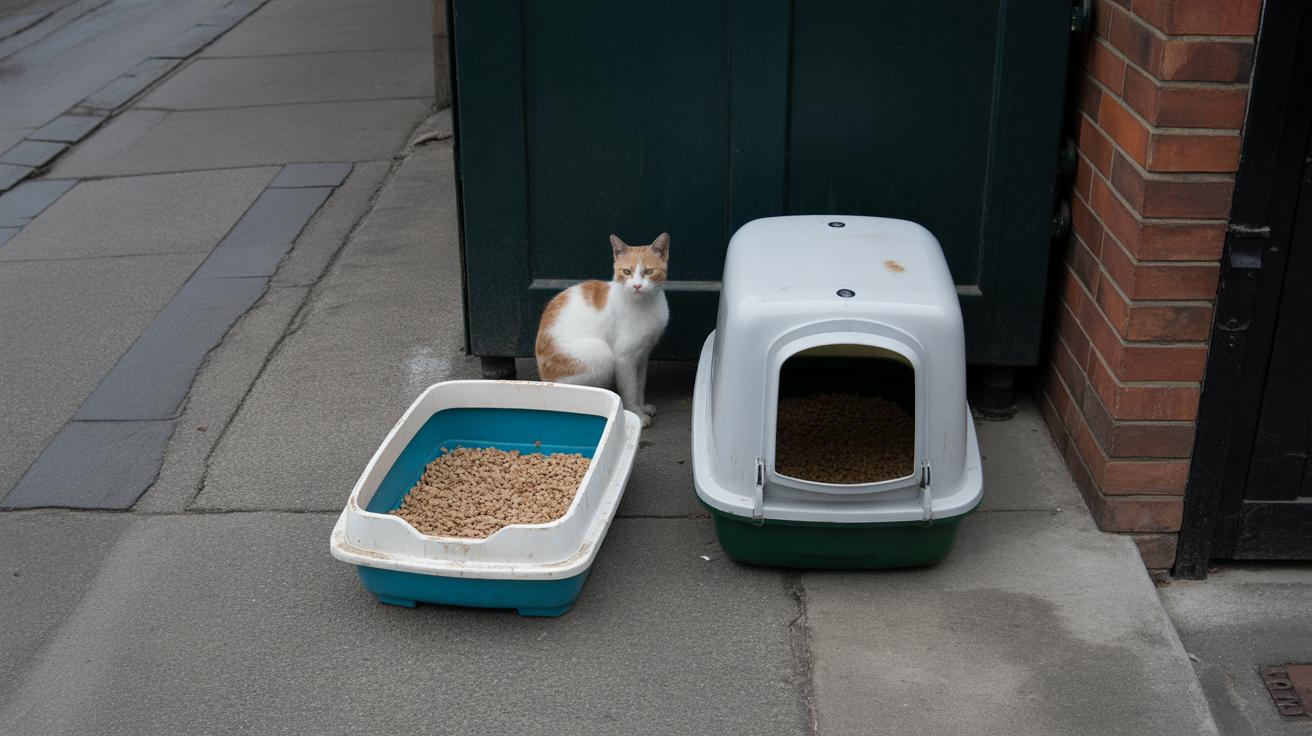
Top-entry litter boxes are the tidy, smell-hiding options , so why do lots of cat parents still use open pans? Let’s break it down so you can pick the box that fits your cat and your life.
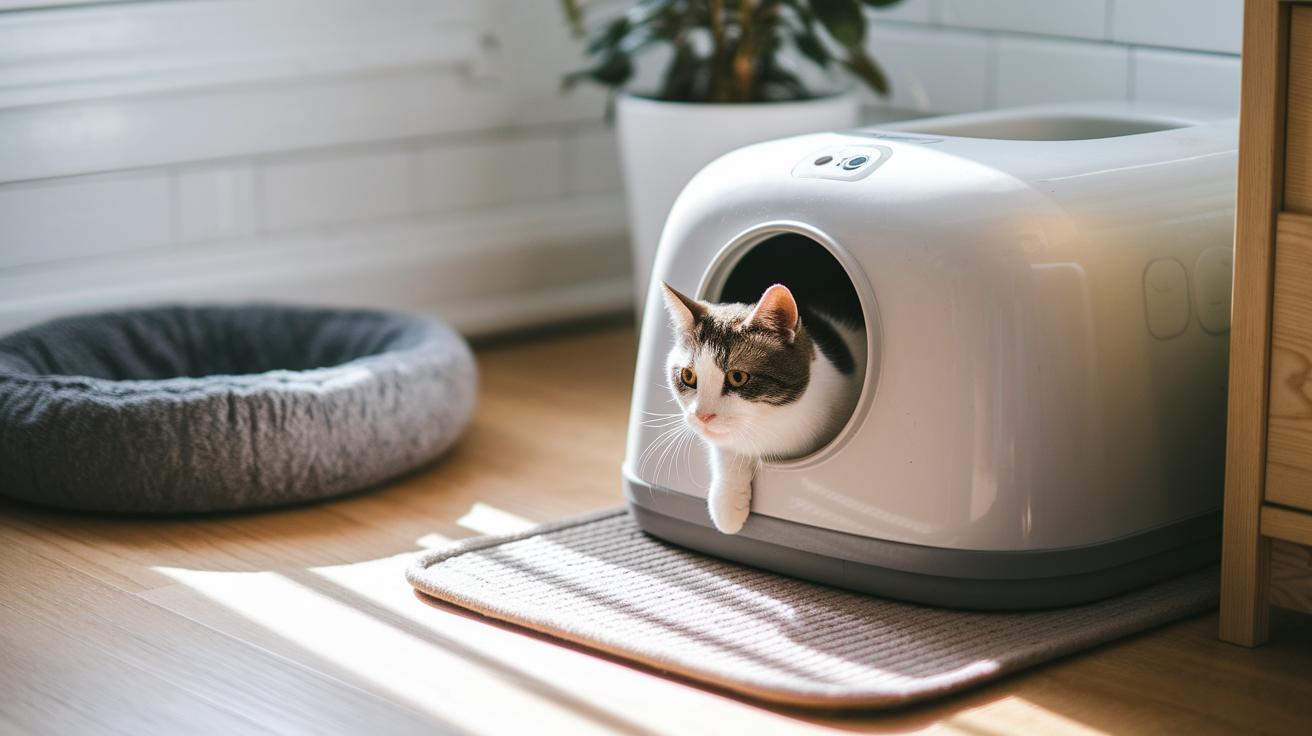
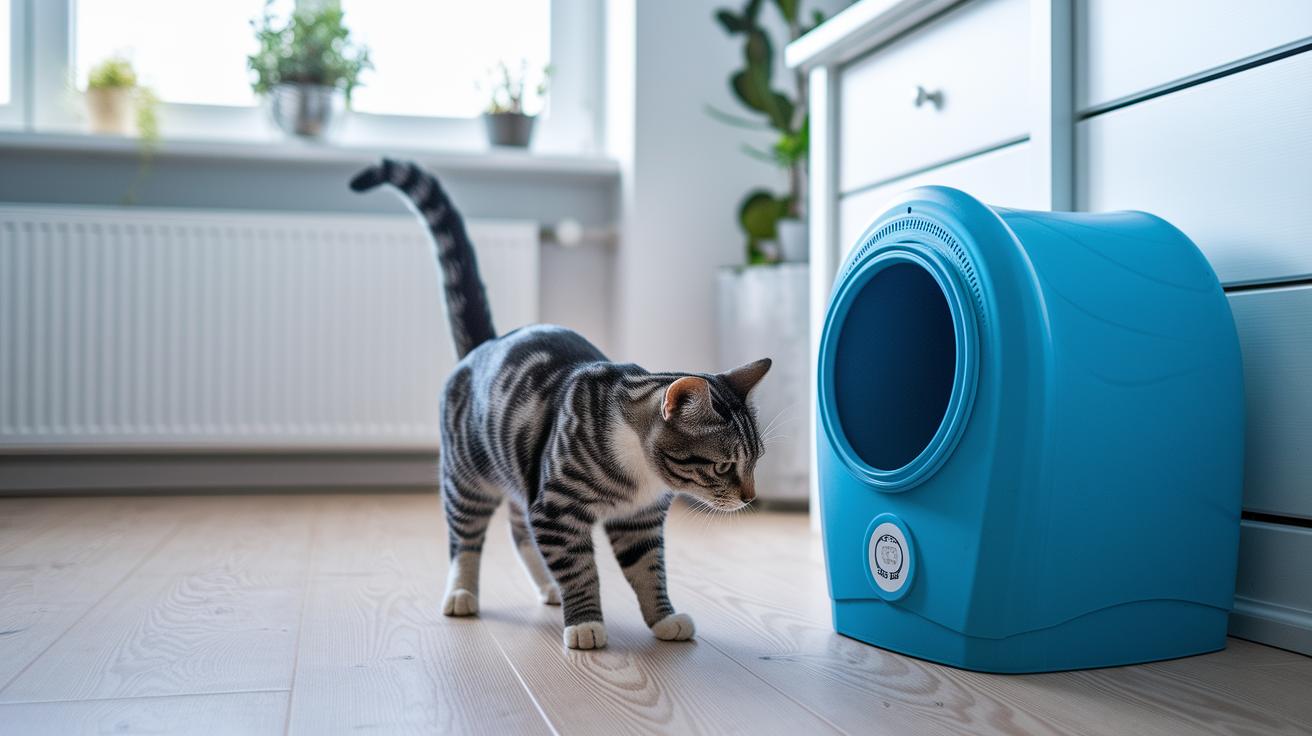
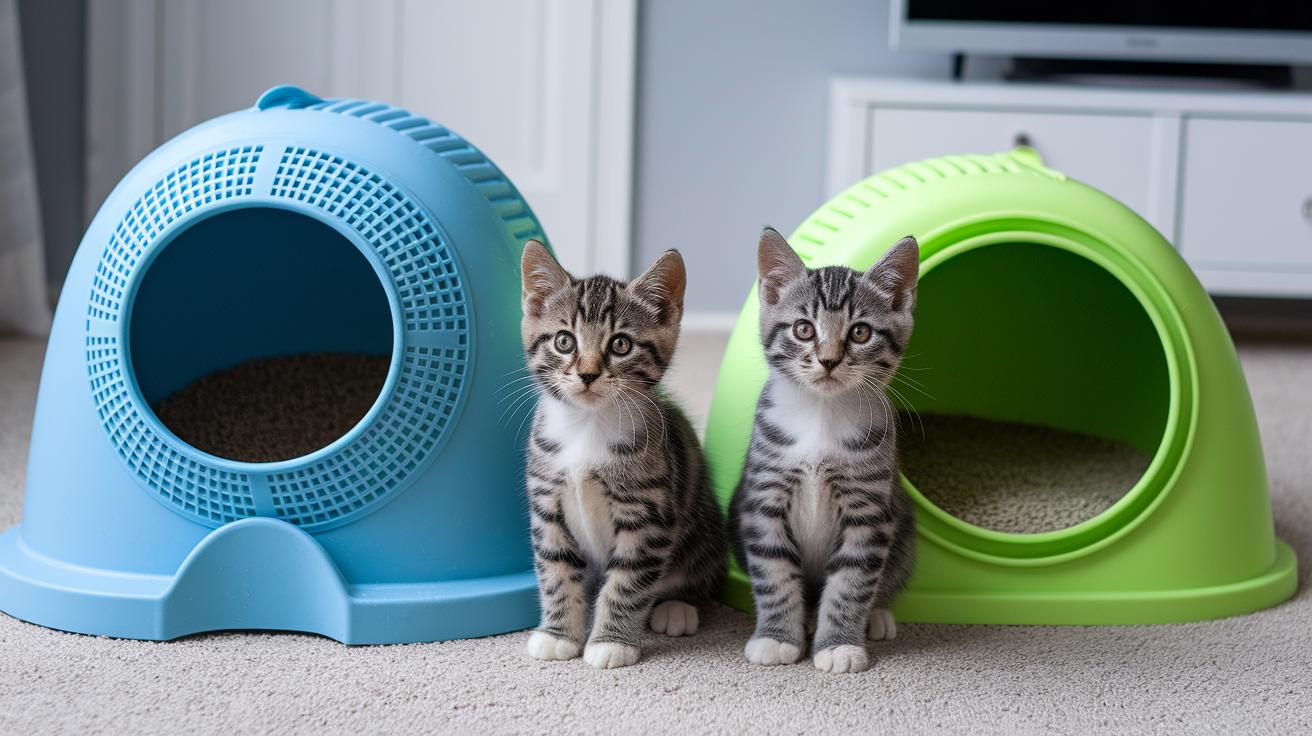
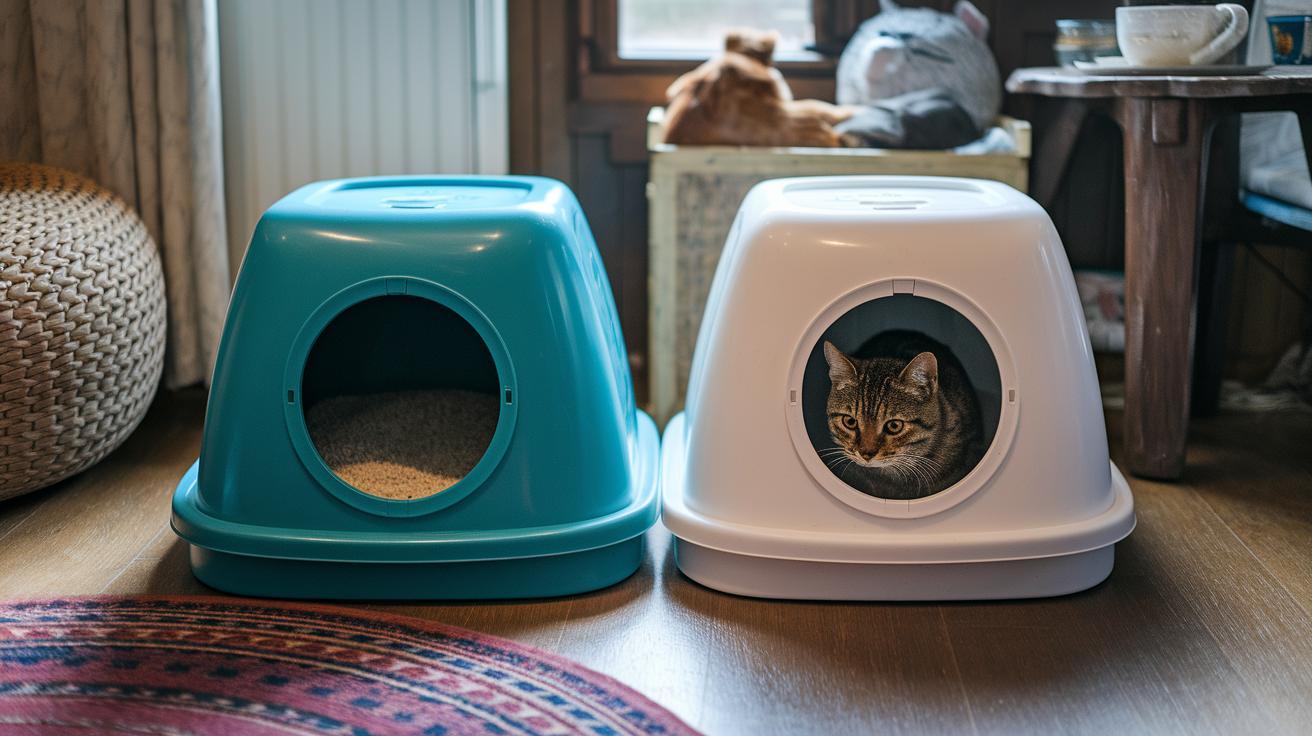
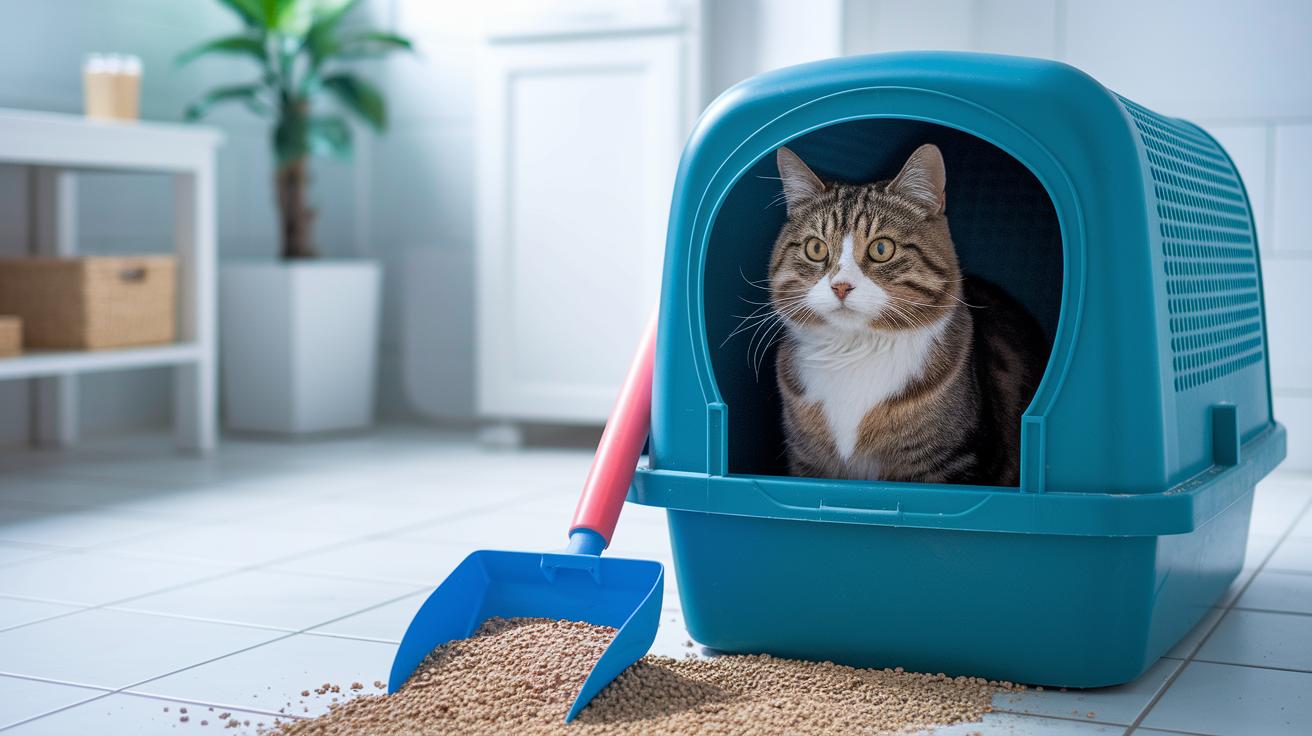
Top-entry boxes (a box with a lid and a hole on top) keep litter and odors tucked inside. They cut down on tracking, hide the mess from guests, and make the room feel cleaner. Your floors stop looking like a sandy beach after playtime. Really.
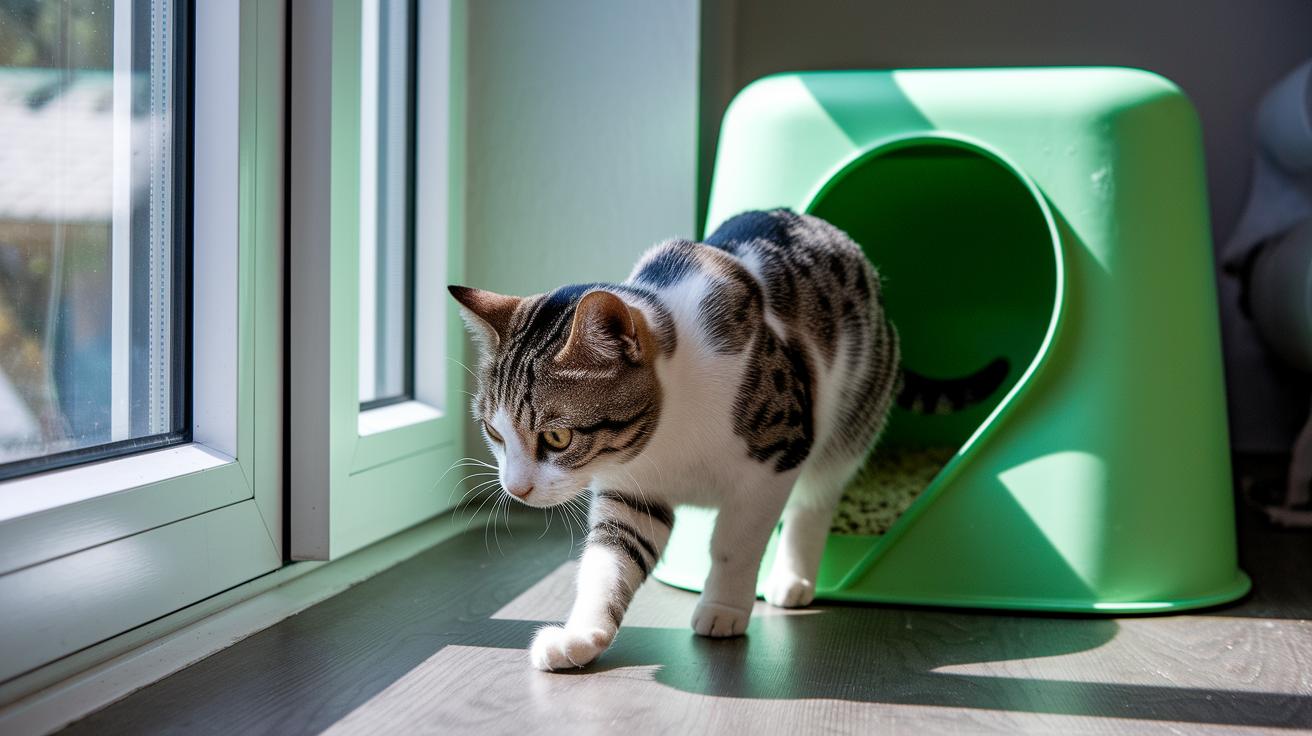
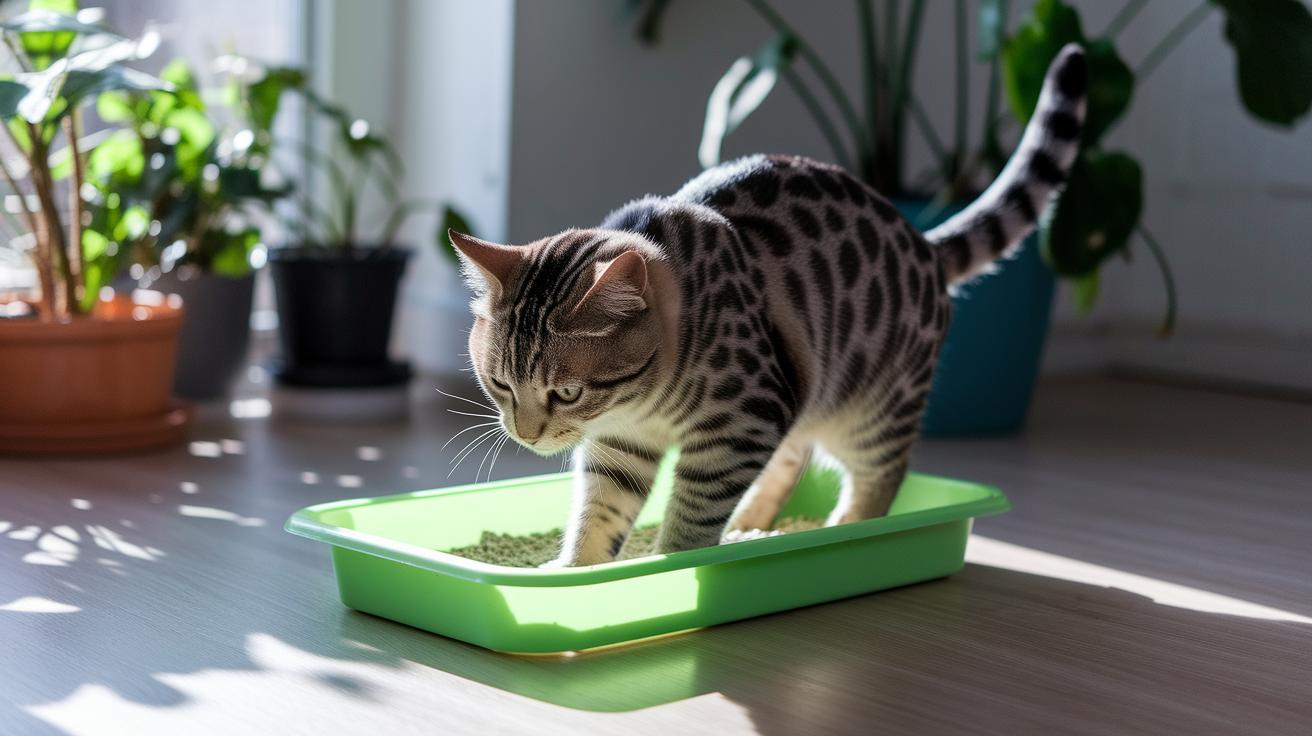
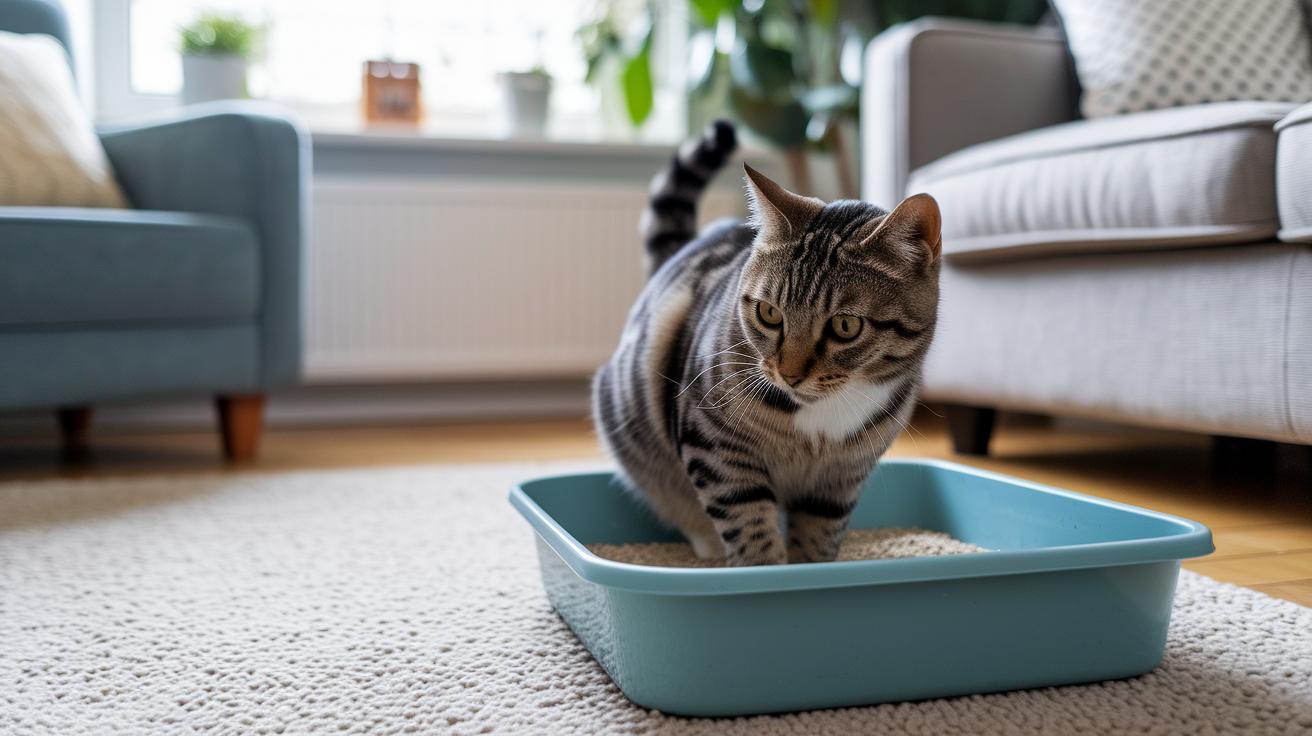
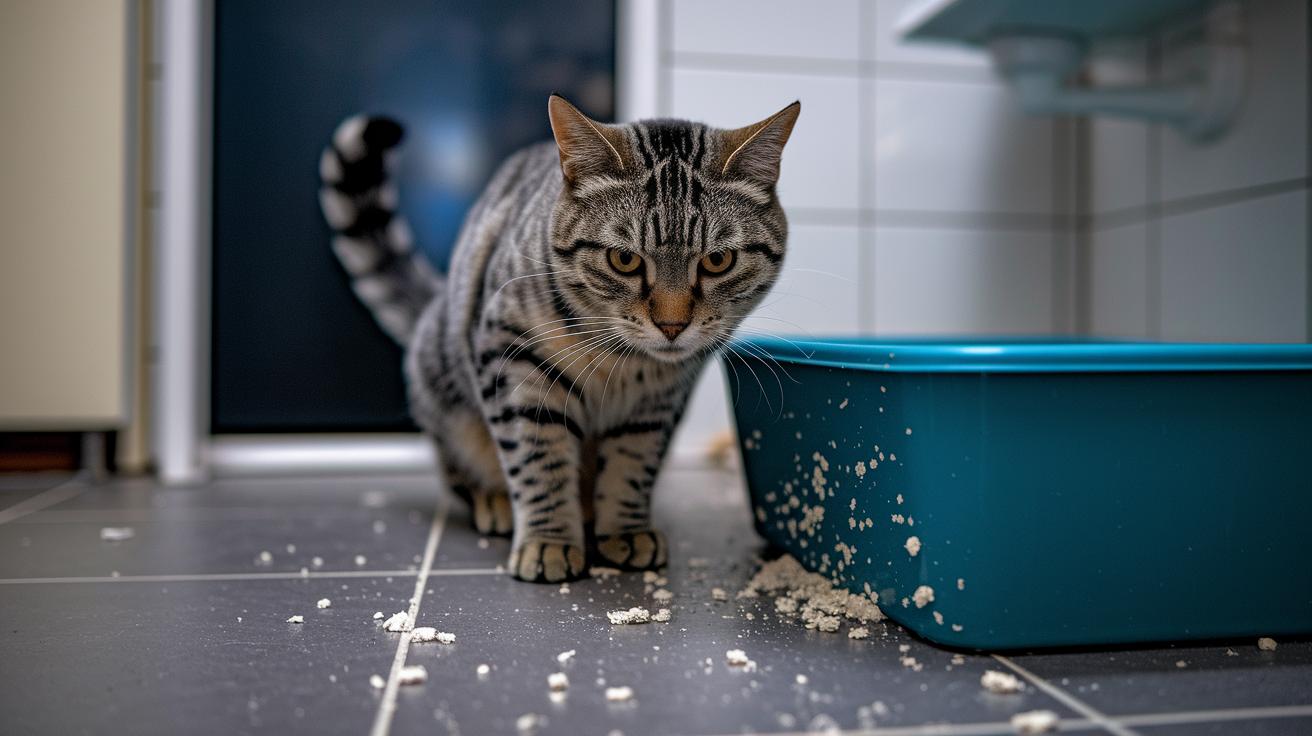
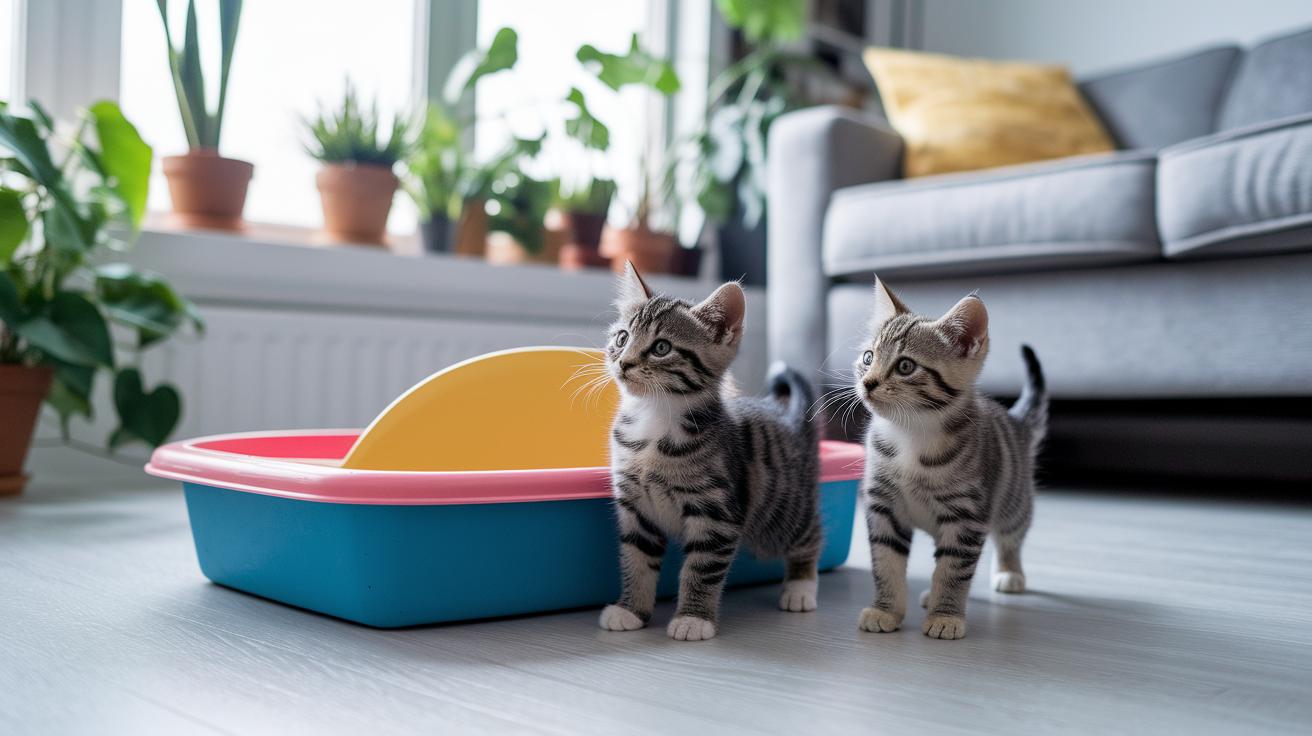
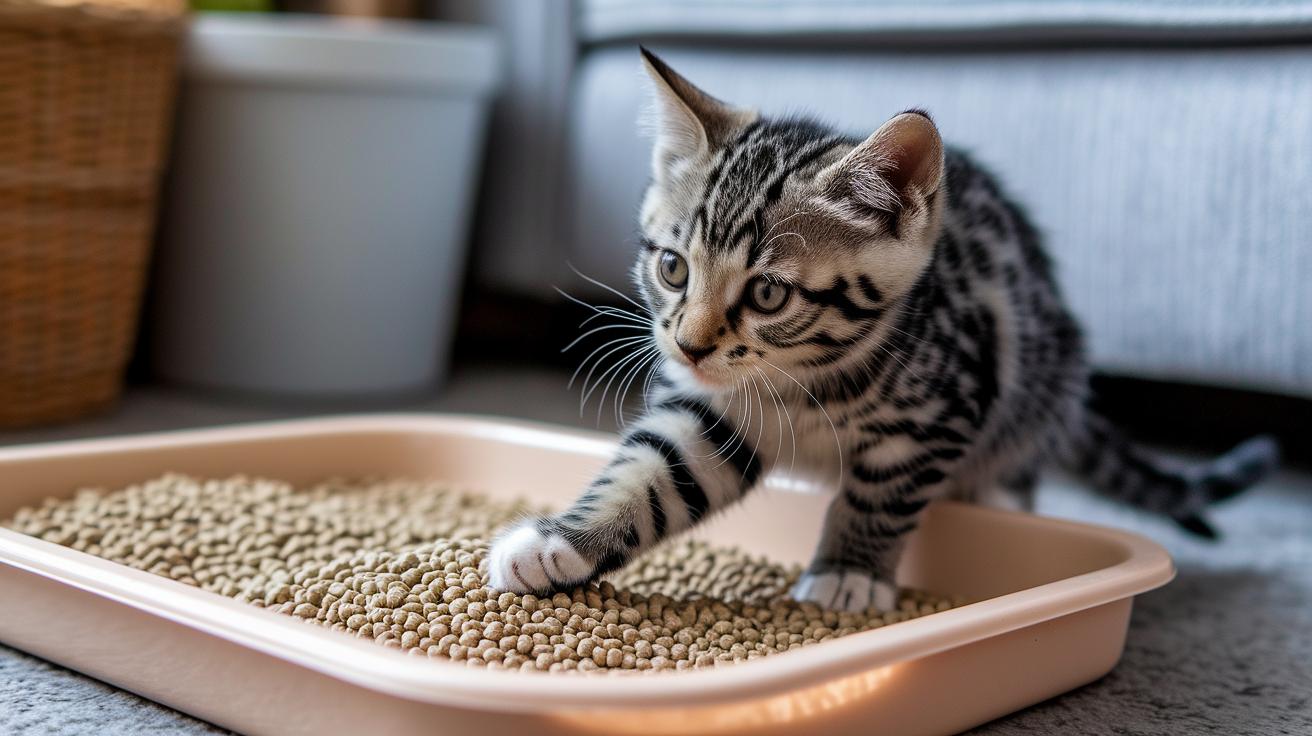
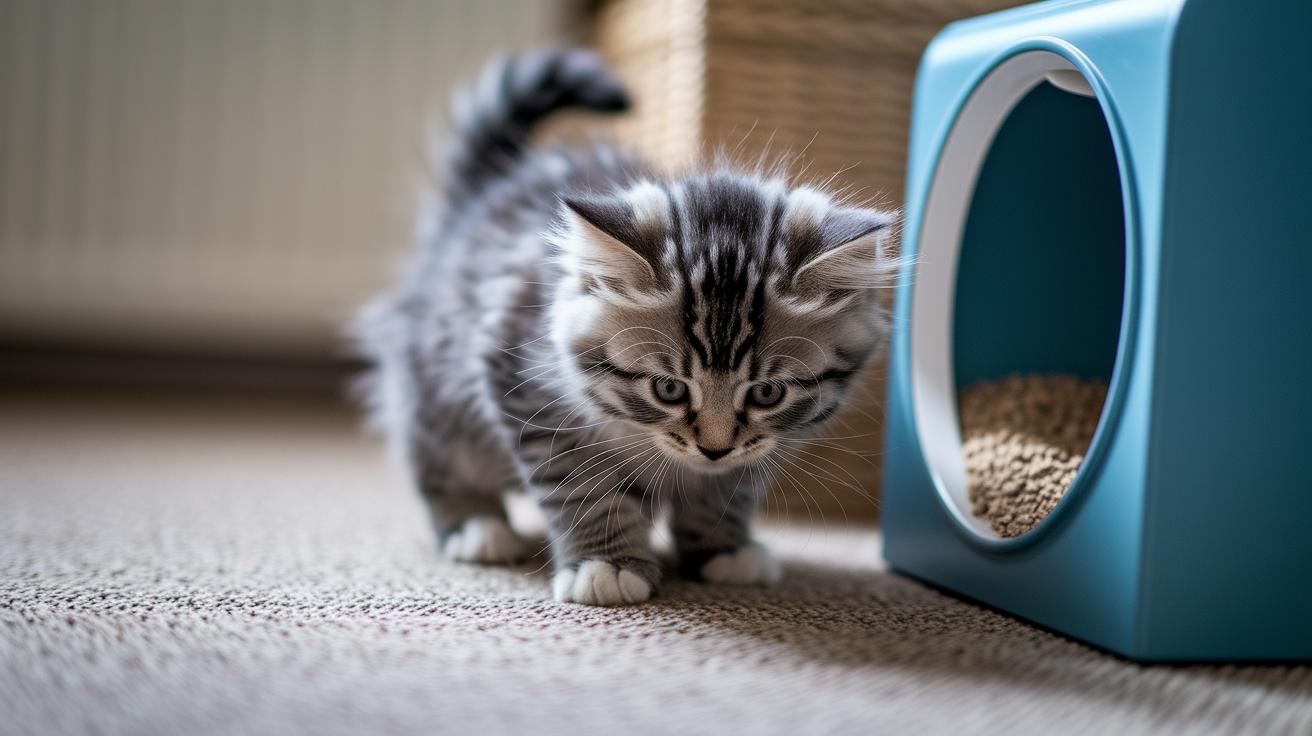
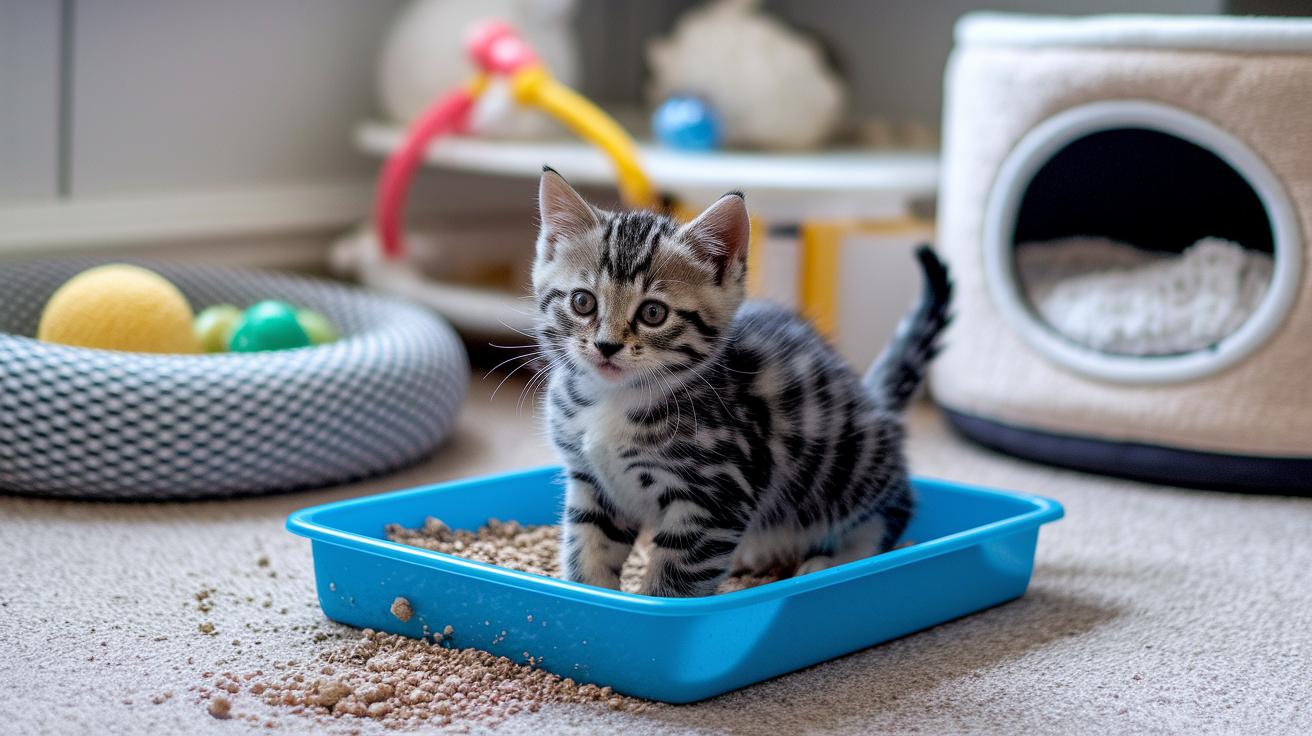
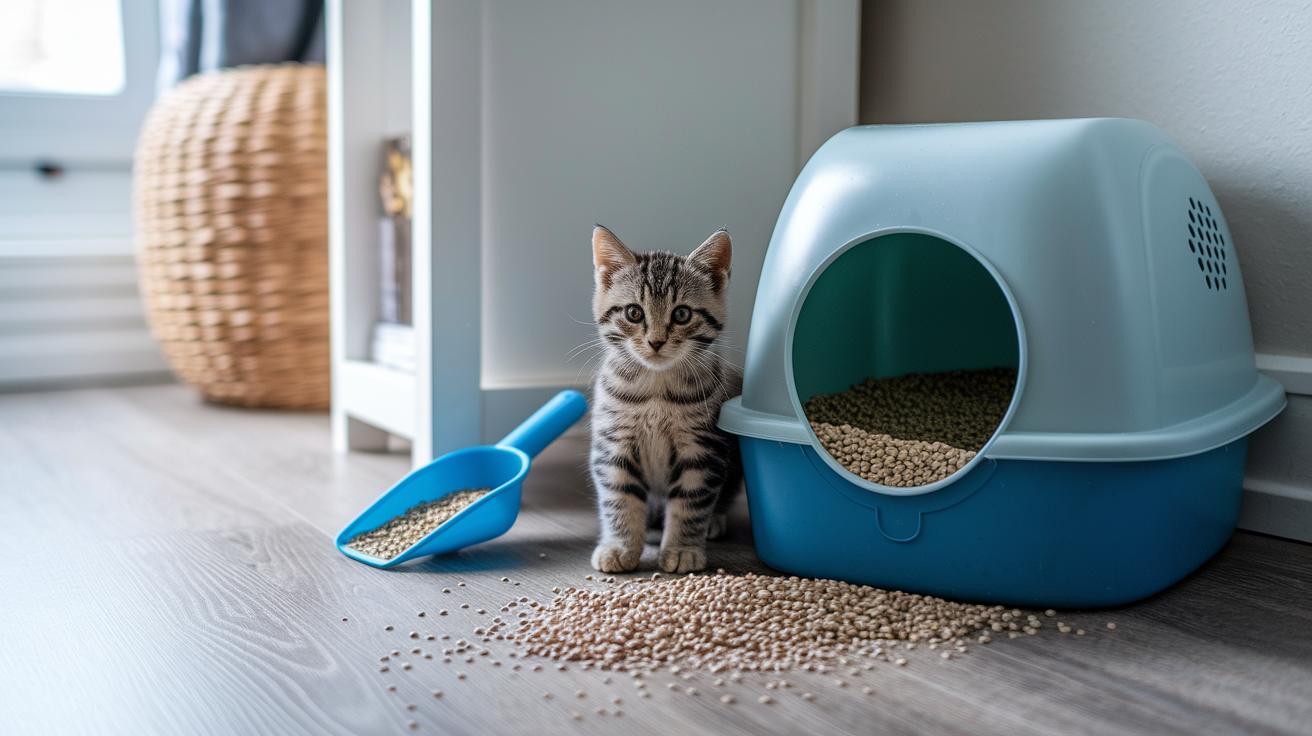
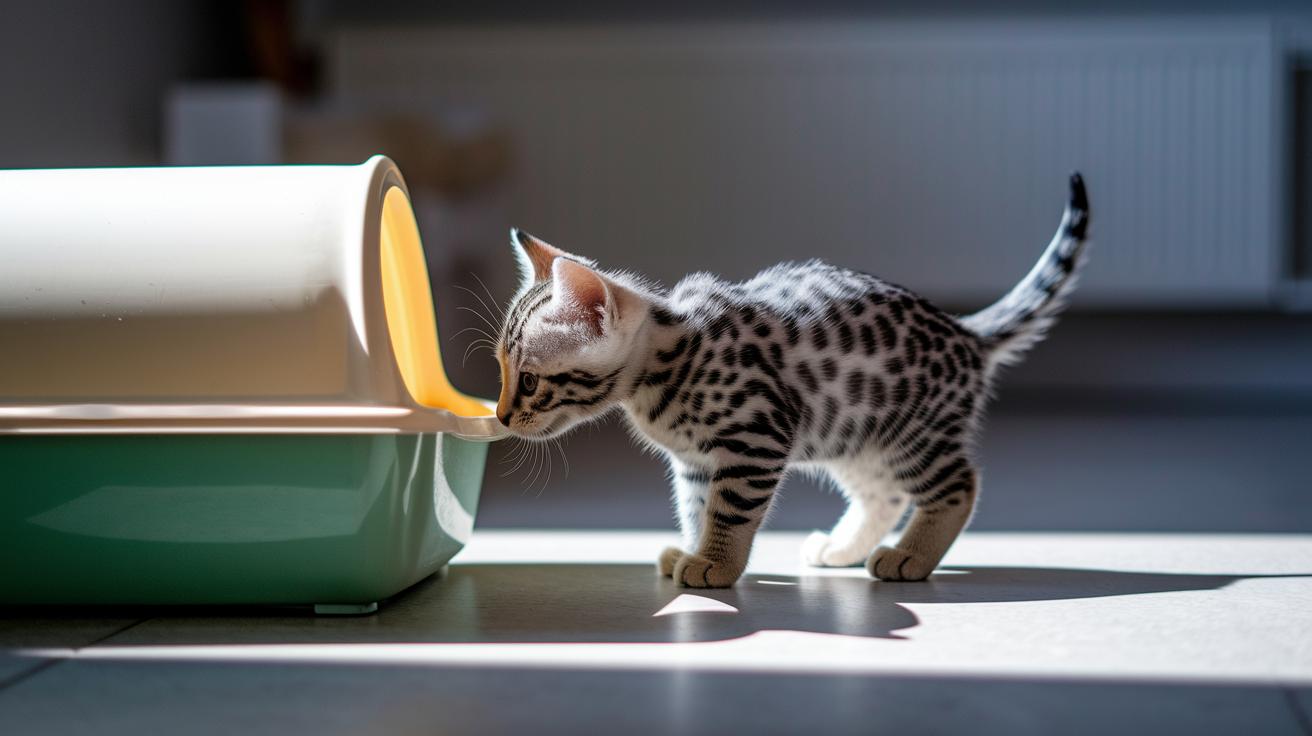
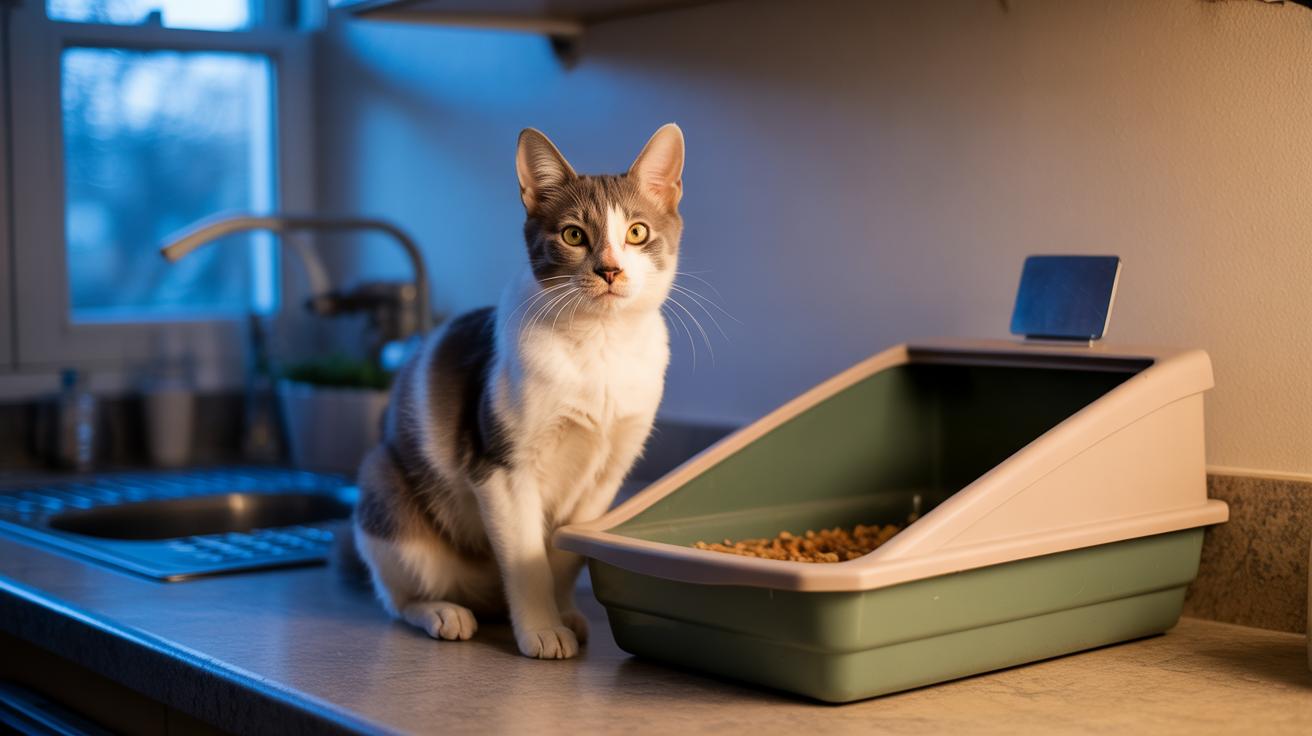
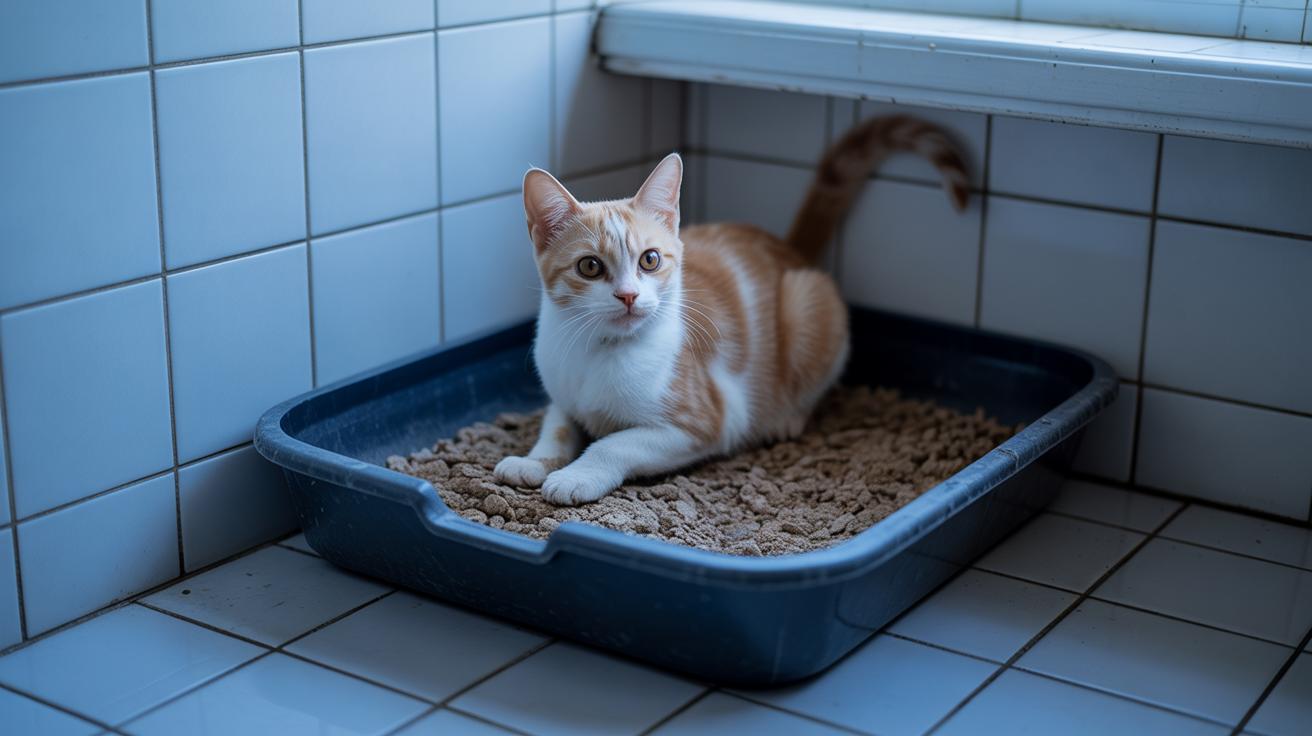
Open pans (low-sided trays) give cats easy access and better ventilation (simple air flow), which helps smells dissipate faster. They’re way easier to scoop, especially for kittens, seniors, or broad-shouldered cats who can’t twist themselves into a lid hole. Ever watched a senior cat try to climb into a top hole? Yep, not great.
Now the quick compare: scatter control , top-entry wins. Odor management , top-entry keeps smells contained, but good airflow in an open pan can fight smell too. Ventilation , open pans win. Scooping ease , open pans win, hands down. Think about your cat’s size, mobility, and whether you want less sweeping or faster scooping.
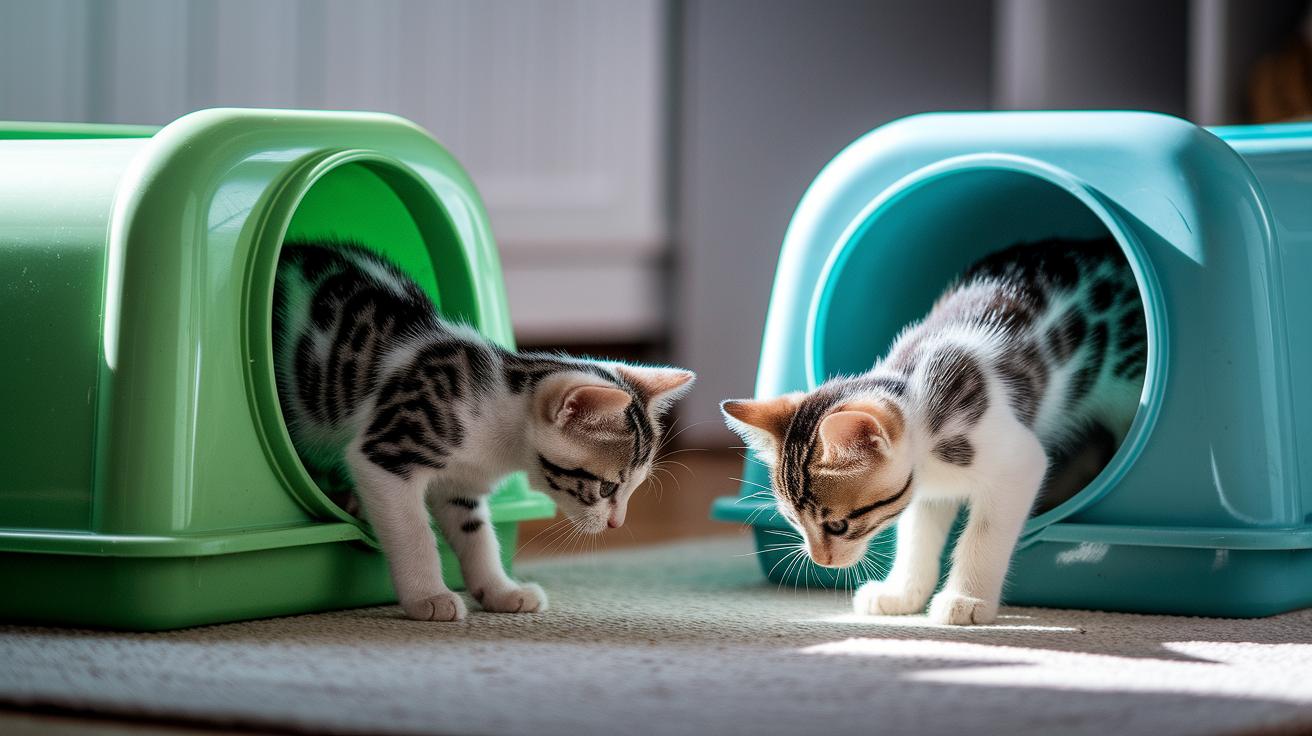
For kittens, older cats, or big-chested breeds, pick an open pan so getting in and out is simple. For active diggers, apartment living, or if you hate sandy footprints, a top-entry box is claw-tastic. For multi-cat homes, try a mix or a larger open pan to avoid traffic jams.
Match the box to your cat’s needs and your cleaning style, and both of you will be feline fine. Worth every paw-print.
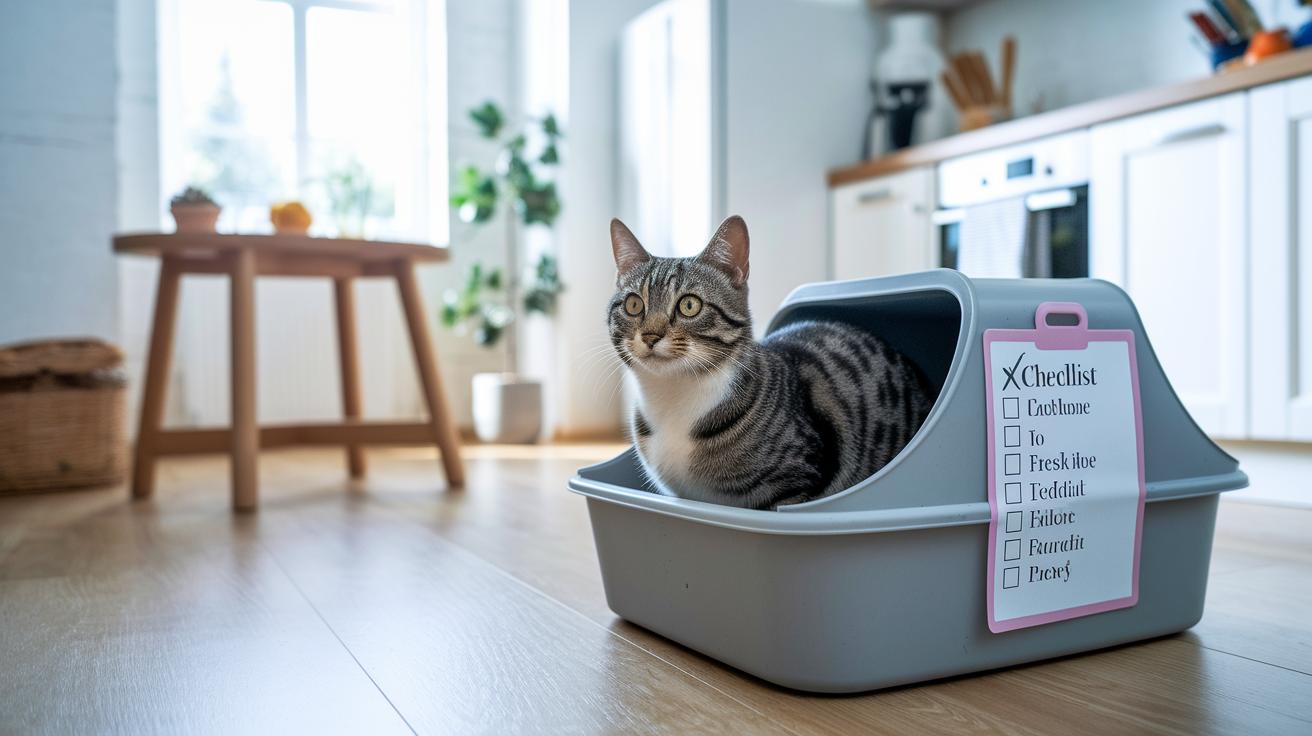
Quick verdict and decision checklist
Pick top-entry if you want the best scatter and odor control and your cats are nimble adults. Pick open pans if airflow (ventilation), easy scooping, or pets with mobility issues are more important to you.
Top-entry boxes are great at keeping litter tucked away and hiding waste, so your bathroom looks tidier and tracking drops a lot. They trap smells well, especially with regular filter (charcoal filter or similar) maintenance, but the enclosed sides cut airflow and can hold moisture and odors. The smaller top opening makes scooping a bit fiddly, and big or broad-shouldered cats may feel cramped inside, so when you compare top-entry vs open designs think about your cat's size, how many people and pets use the area, and how you like to scoop.
Open pans give barrier-free access that helps kittens, seniors, and arthritic cats move in and out without trouble. They breathe better (better ventilation reduces humidity and bacterial risk) and make health checks easy, you can see changes fast. Scooping is quicker, and options like high-sided pans or sifting inserts (screens that separate clean litter) can cut down scatter, but odors are more noticeable and litter can spread across the floor. So factor in your space, how much smell you can tolerate, and whether you want high sides or sifting solutions when you build your litter box checklist and daily routine.
See the Odor control, ventilation, and hygiene section for exact cleaning frequencies and tools.
Worth every paw-print.
| Feature | Top-entry | Open pan |
|---|---|---|
| Odor control | Very good at containing smells (best with regular filter maintenance) | Smells spread more; people notice odors sooner |
| Litter tracking | Low: litter stays inside; textured top helps remove litter from paws | Higher: litter can scatter; use mats or high-sided pans to catch it |
| Accessibility (kittens/seniors) | Poor: requires climbing, not ideal for young or arthritic cats | Excellent: low-entry options and high-sided choices available |
| Cleaning effort | Moderate: smaller opening can make scooping slower | Easy: full access; sifting inserts (screens that separate clean litter) speed changes |
| Ventilation | Reduced unless model includes vents; can trap moisture and odors | Strong: open airflow lowers humidity and bacterial risk |
| Privacy | High: enclosed and private | Low: fully visible |
| Suitability for large cats | Variable: some feel cramped for big breeds | Better: larger pans are easier to size up |
| Multi-cat dynamics | May reduce one-cat monopolizing but could create ambush spots | Easier shared access but can increase competition at peak times |
| Quick recommendation | Choose for maximum scatter and odor control if your adults are agile | Choose for ventilation, faster scooping, and mobility-friendly access |
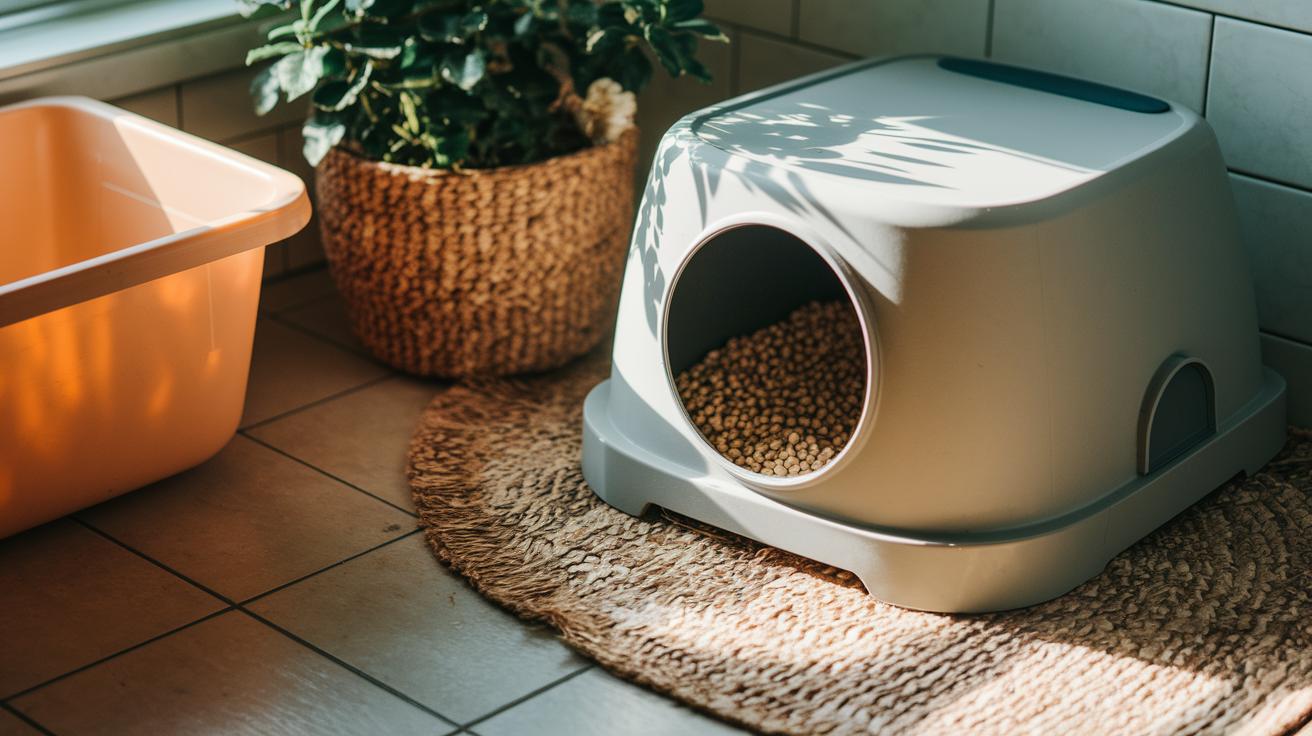
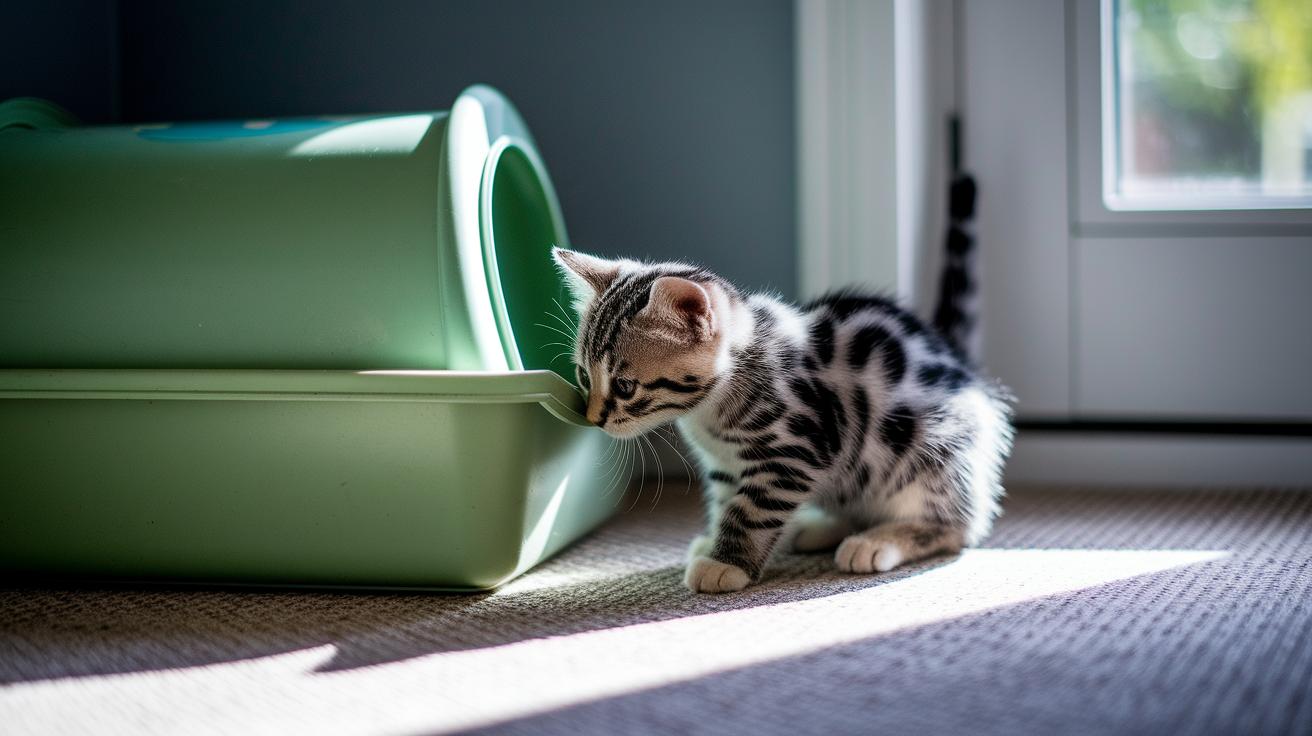
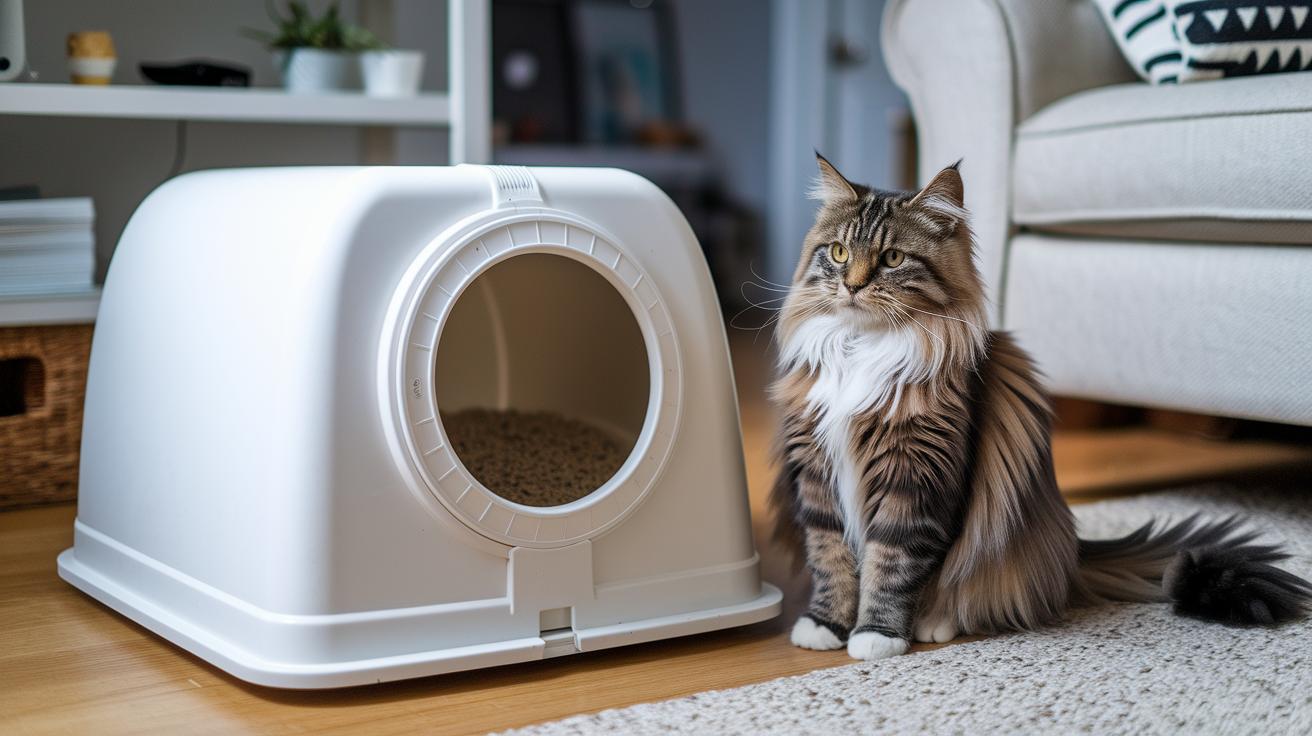
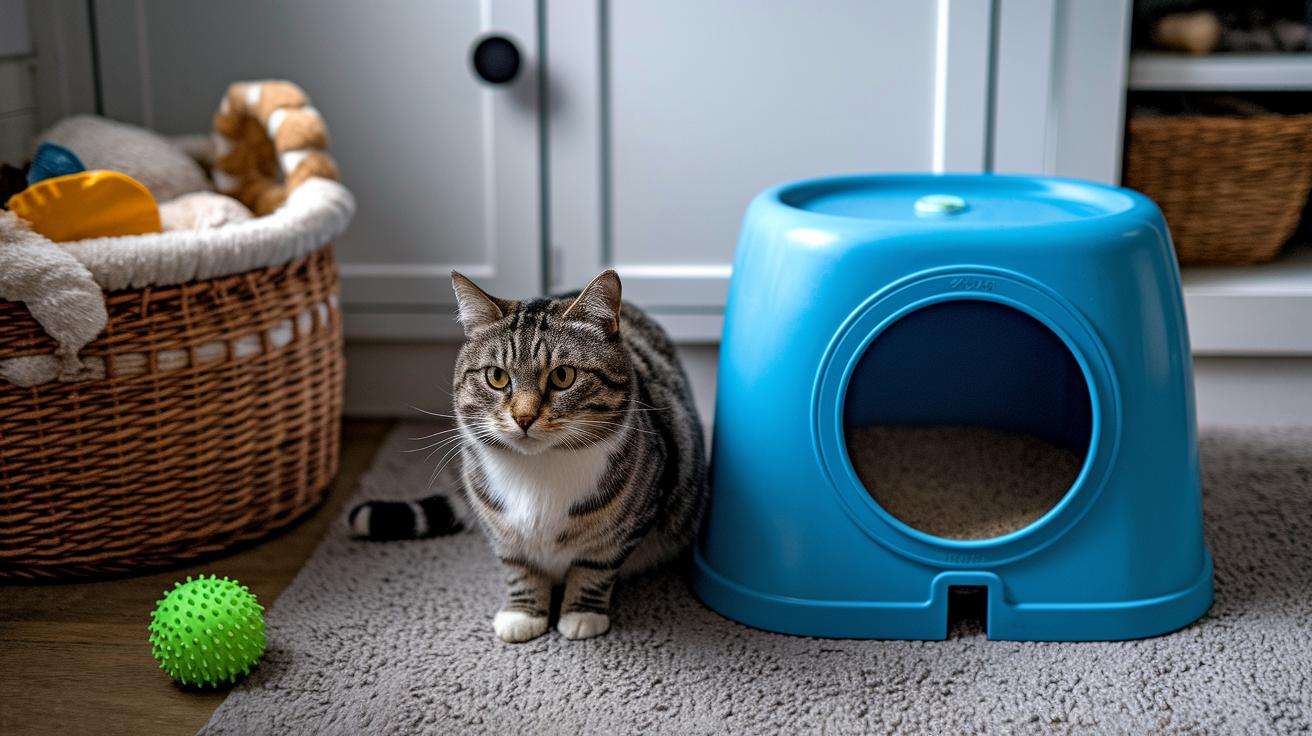
Top-entry litter box design: features, pros, and when it works best
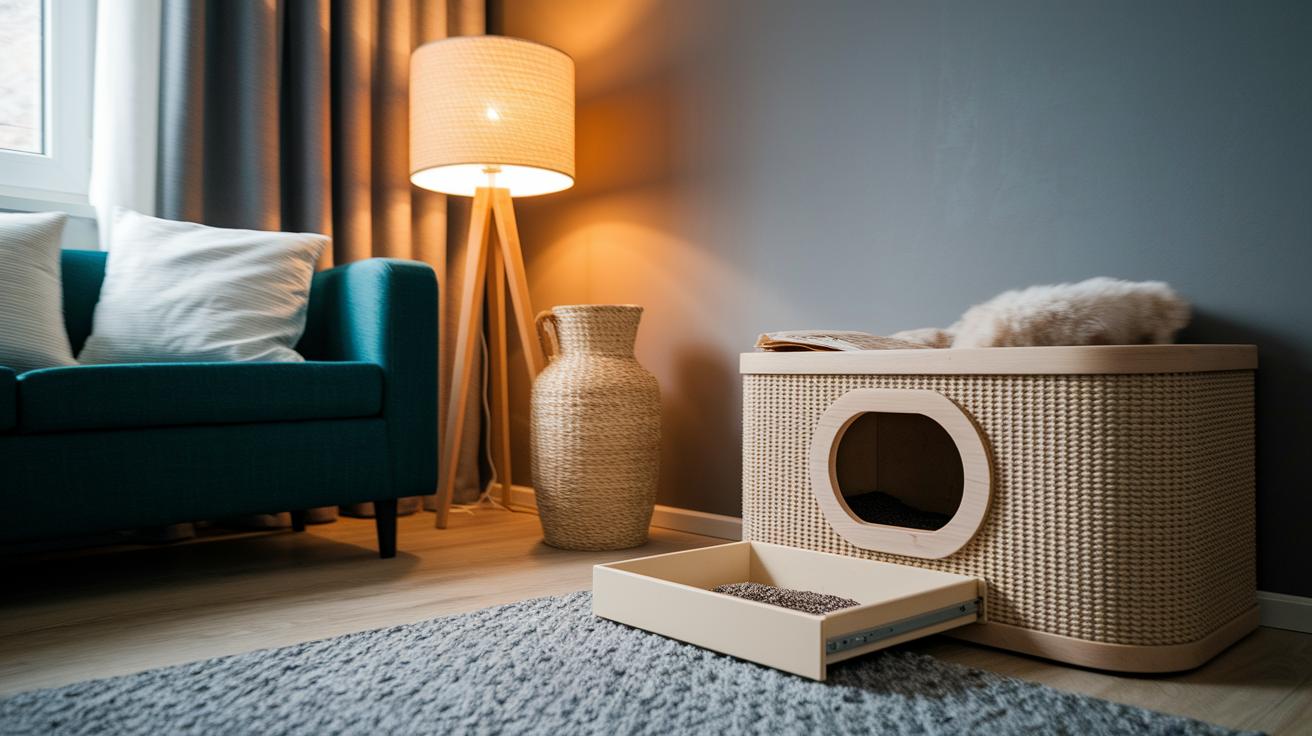
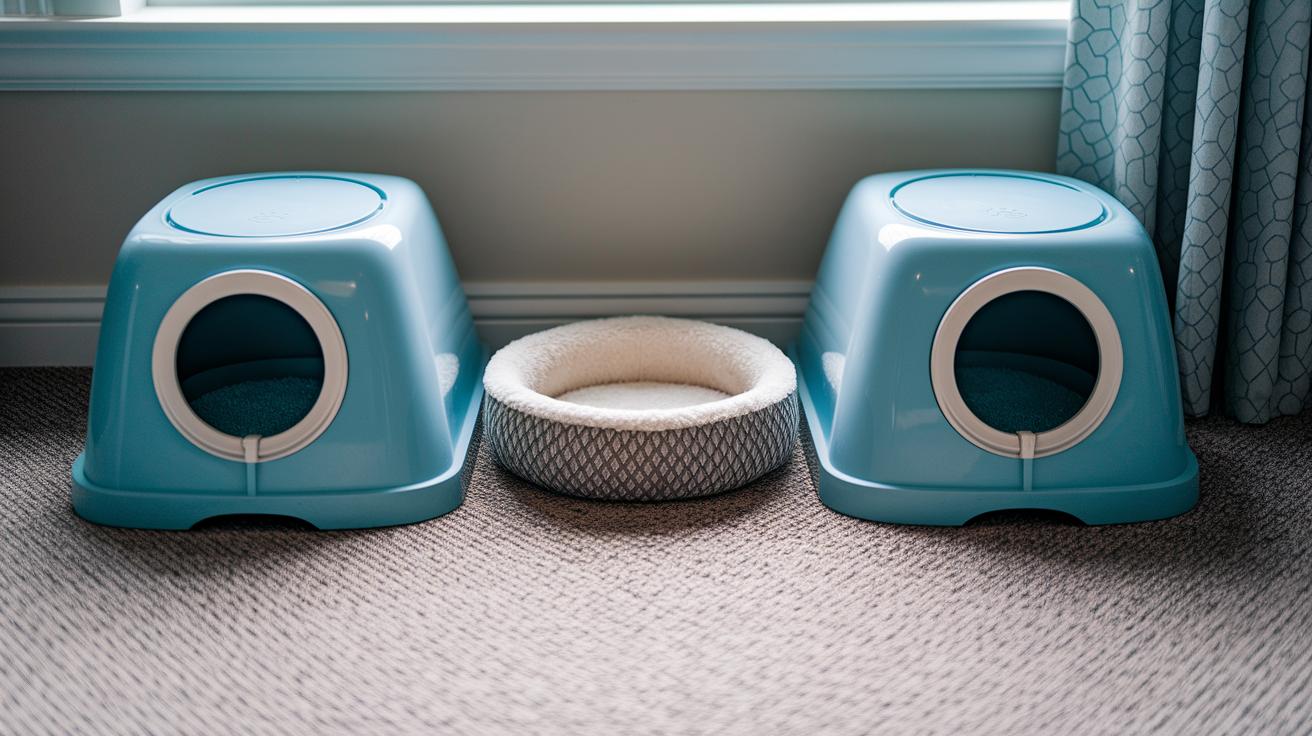
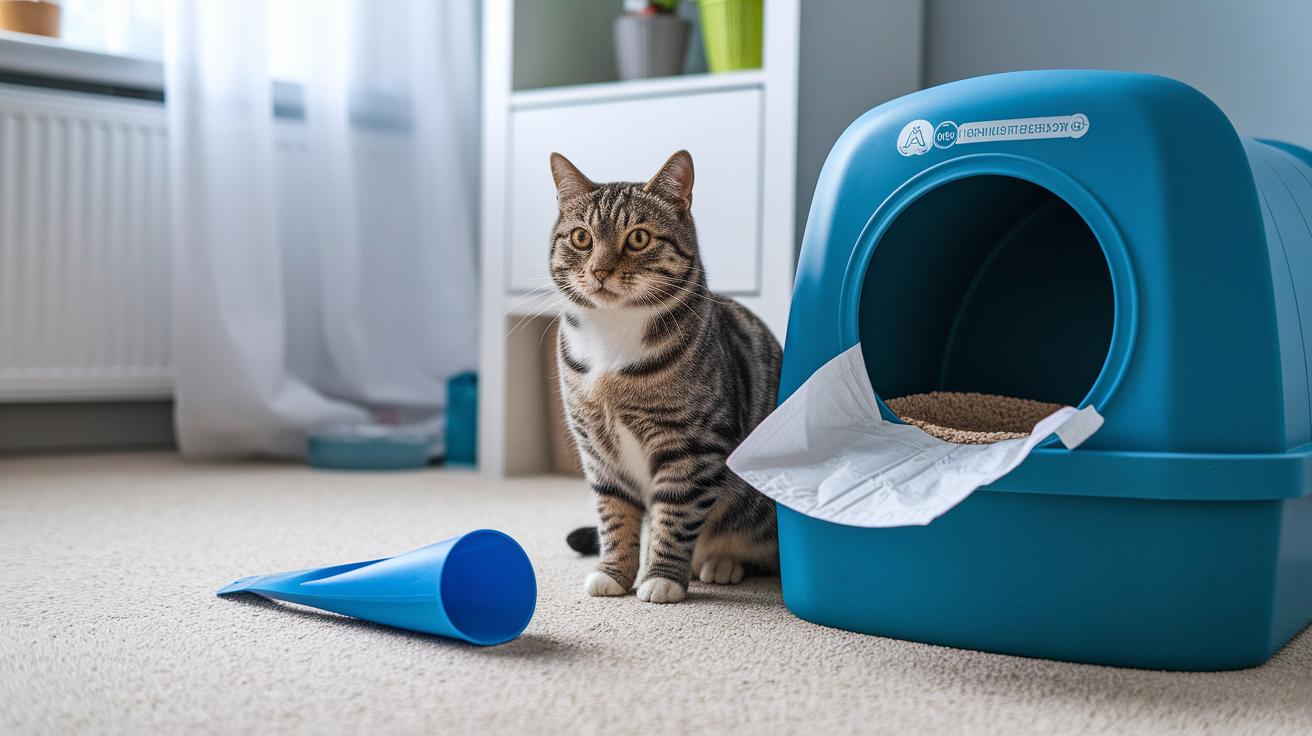
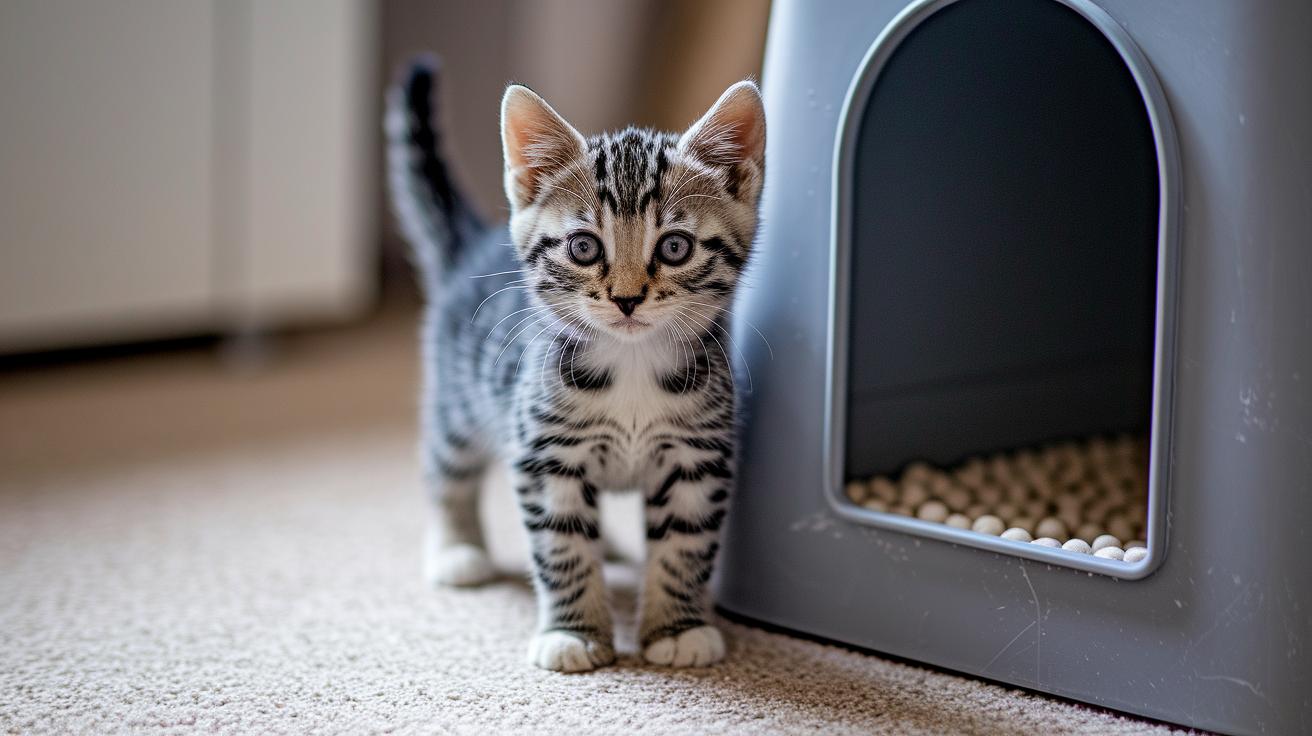
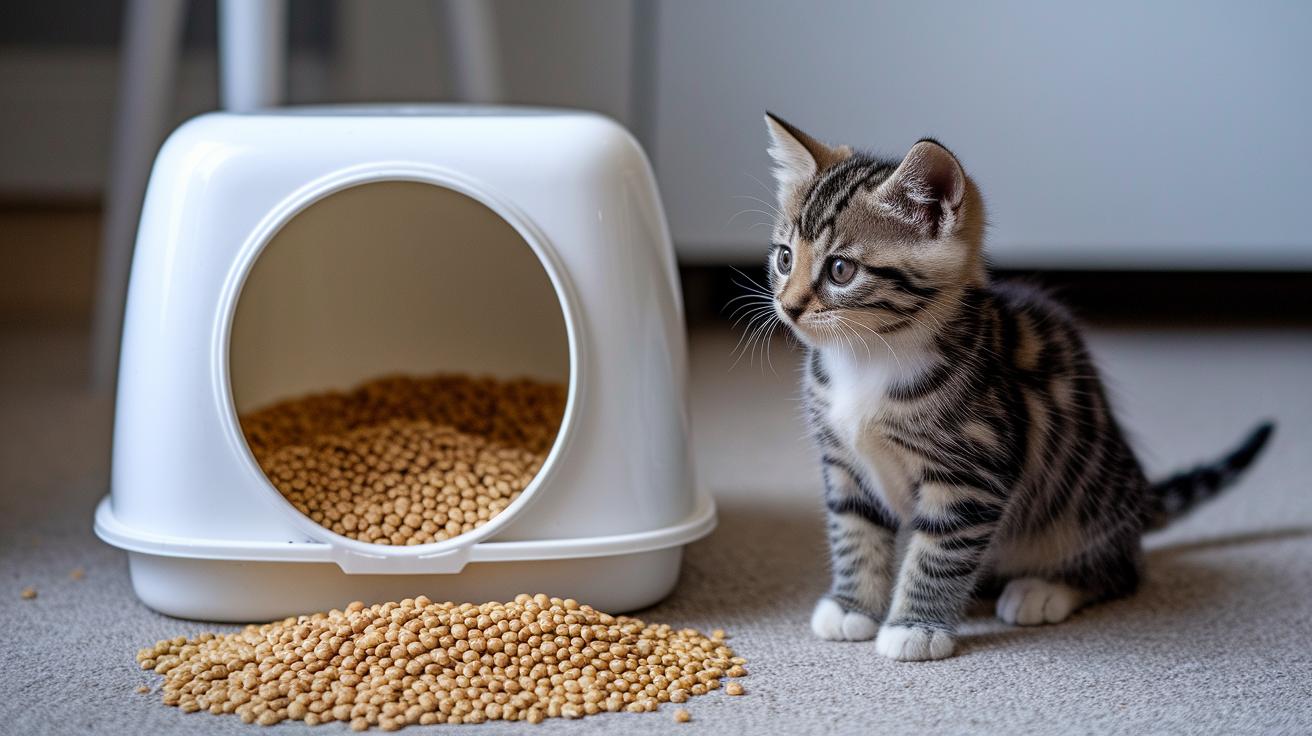
Top-entry boxes are litter boxes with the opening on the top (a top-opening litter box). They have taller walls that really help stop scattered litter. Many models use a textured top plate (a ridged surface that scrapes stray granules off paws, like a tiny doormat) and some are built into furniture-like shells so the whole setup looks tidy and out of the way. Think neat. Think less sweeping.
They’re perfect if you want litter hidden and out of reach from dogs or curious kids. Ever watched a puppy dive headfirst into a litter pan? Yeah, this helps. But they limit airflow, which can let moisture and odors hang around longer. And they can be tricky for kittens, seniors, or big-bodied cats to get into.
Pros: quick glance
- Excellent at stopping tracked litter. Your floors will thank you.
- Keeps the litter area hidden and looks tidy.
- Keeps dogs and kids from nosing around.
- Great for a single cat that prefers privacy.
Cons: quick glance
- Reduced airflow can trap moisture and smell over time.
- Harder entry for kittens, elderly cats, or arthritic kitties.
- Smaller opening makes scooping awkward.
- Filters and liners (disposable bags or cartridges) need regular upkeep, and the hidden design can lead to less-frequent cleaning.
Quick tip: place the box somewhere with some natural airflow and check it more often than you might with an open box. For busy days, a quick scooping session before you go out gives your cat a fresh spot and saves you from odors later. Worth every paw-print.
Sample copy line for product pages:
Textured top plate: "The ridged top scrapes off litter like a tiny doormat, leaving less grit on the floor."
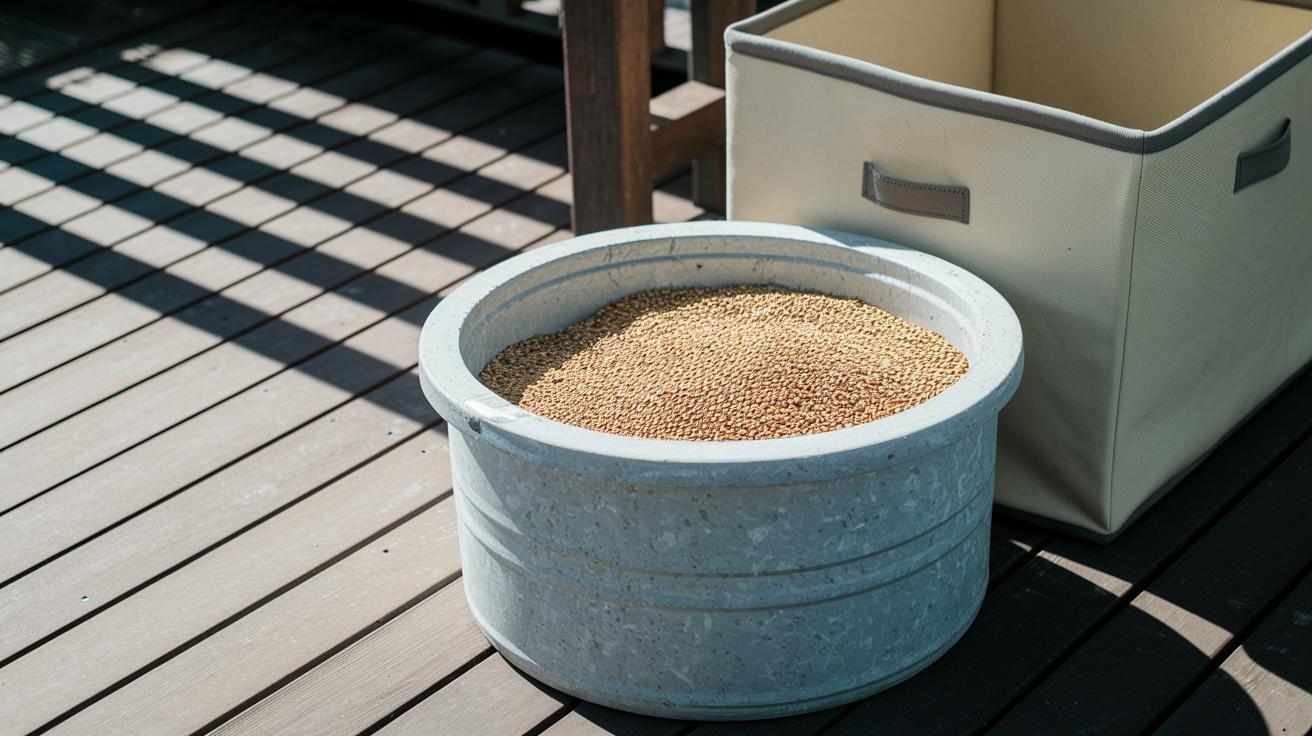
Open litter box design: features, benefits, and common drawbacks
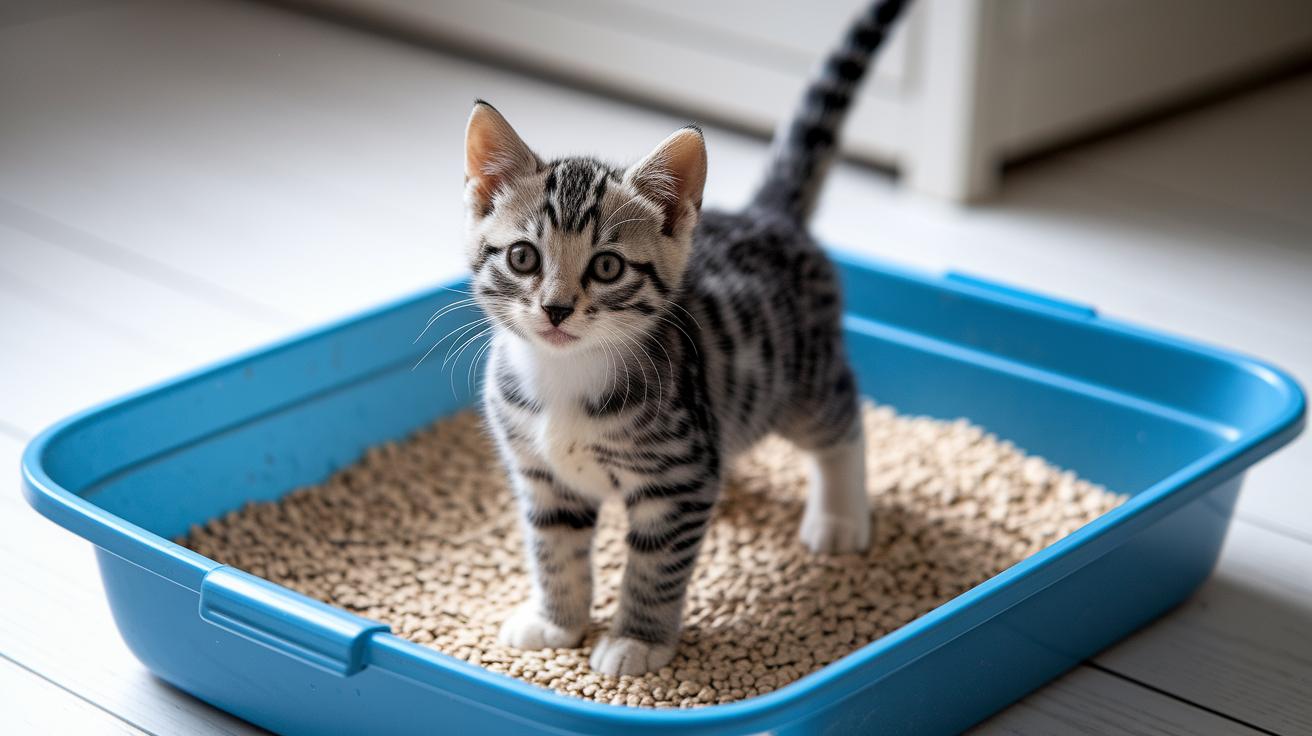
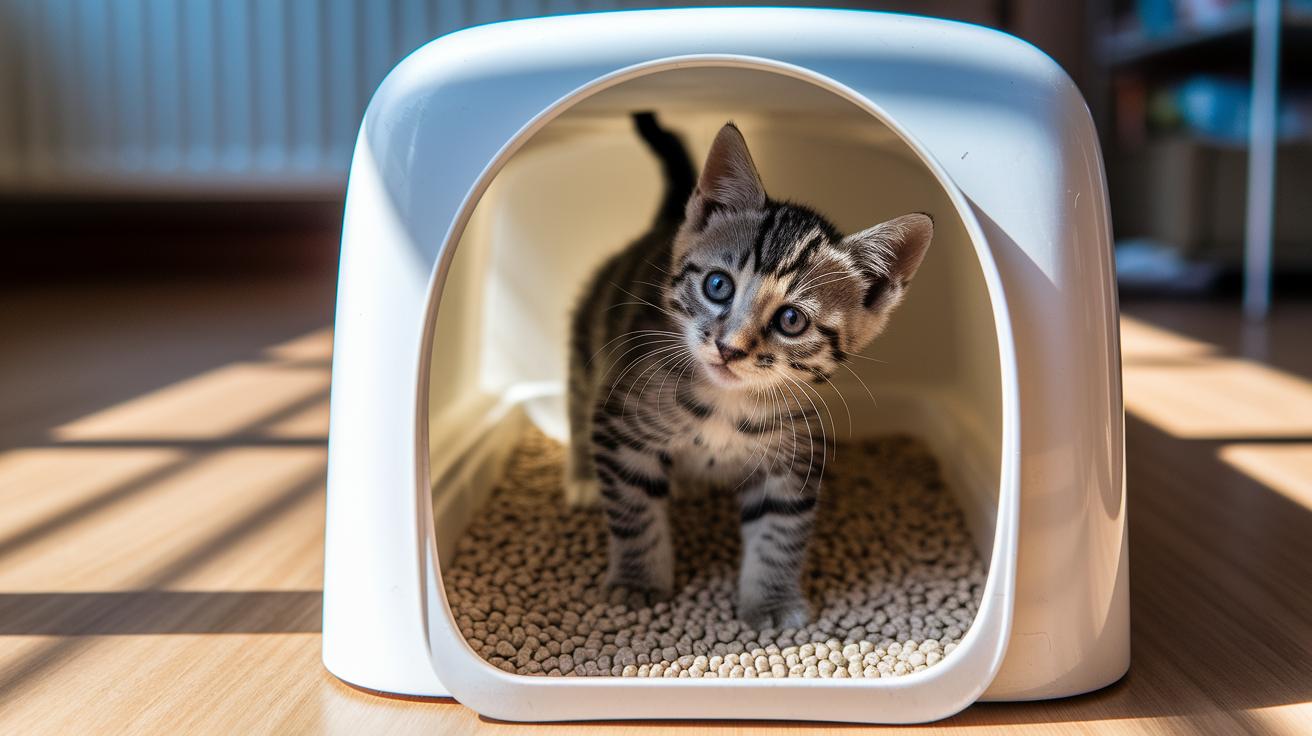
Open-pan litter boxes usually come in three shapes, and each one has a different vibe for your cat. Low-sided pans (shallow lip for easy entry) are great for kittens and older cats who want an easy step in. High-sided pans (taller walls to contain scatter) help keep litter off the floor when your cat digs with gusto. High-sided with low-entry cutouts (tall sides plus a lowered opening for easier access) give the best of both worlds , containment and a friendly doorway.
-
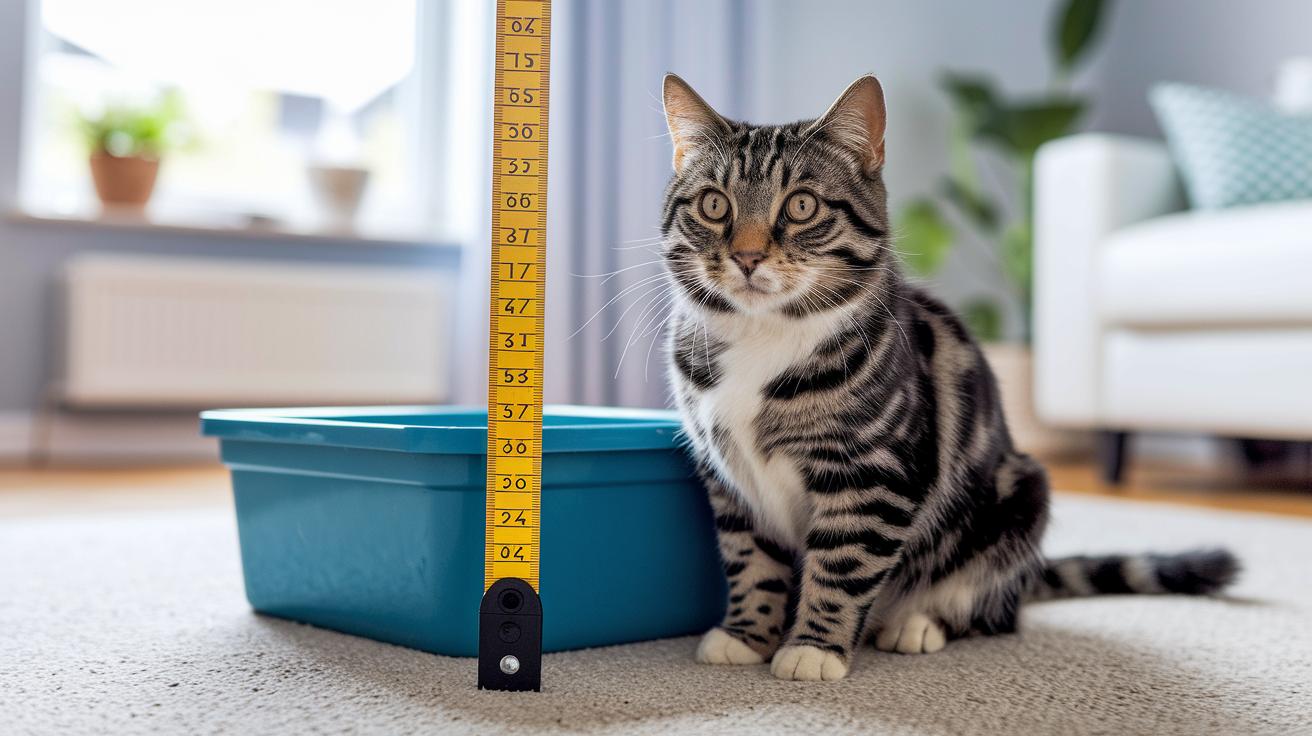
Quick selection tip: measure your cat’s shoulder height and compare it to the pan’s entry height (lip means the entry height). If the lip sits below their shoulder, stepping in will be easier. Example: If Luna's shoulder is about 5 inches, pick a pan with an entry under 5 inches. Easy peasy, and your cat will thank you with fewer balks at the box.
-
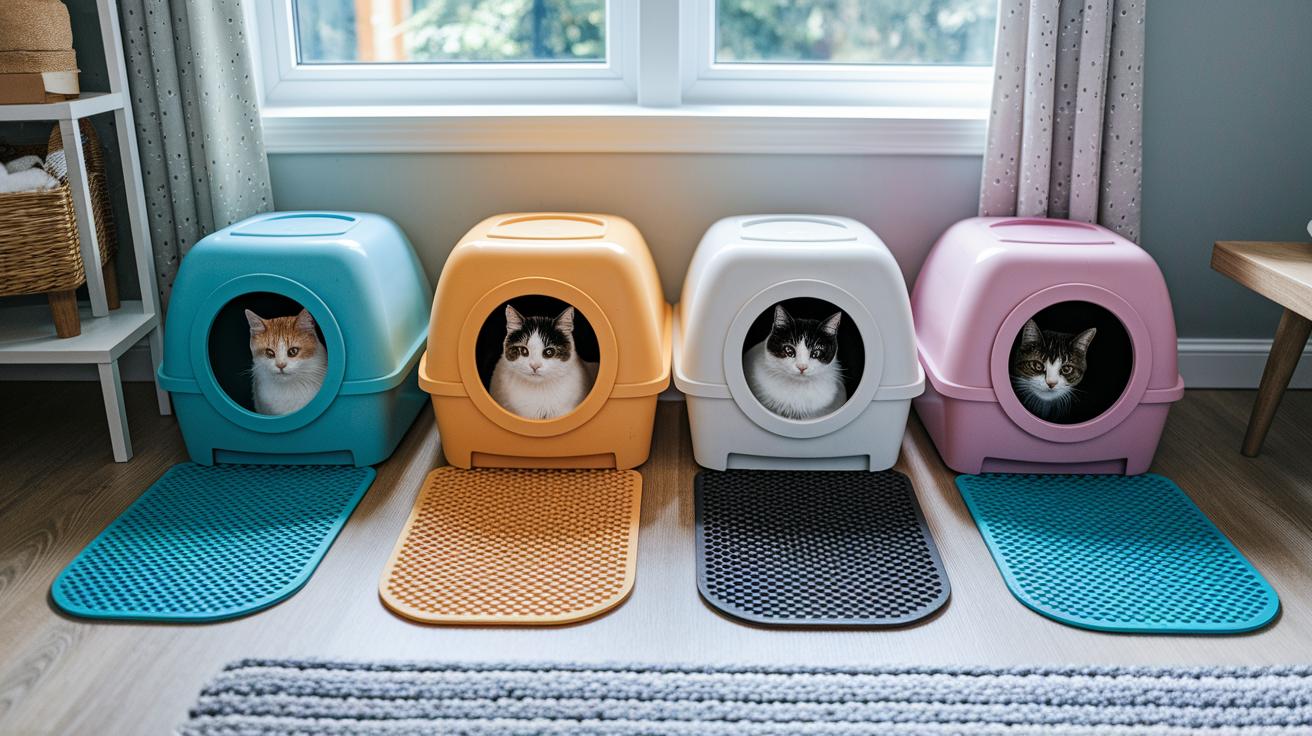
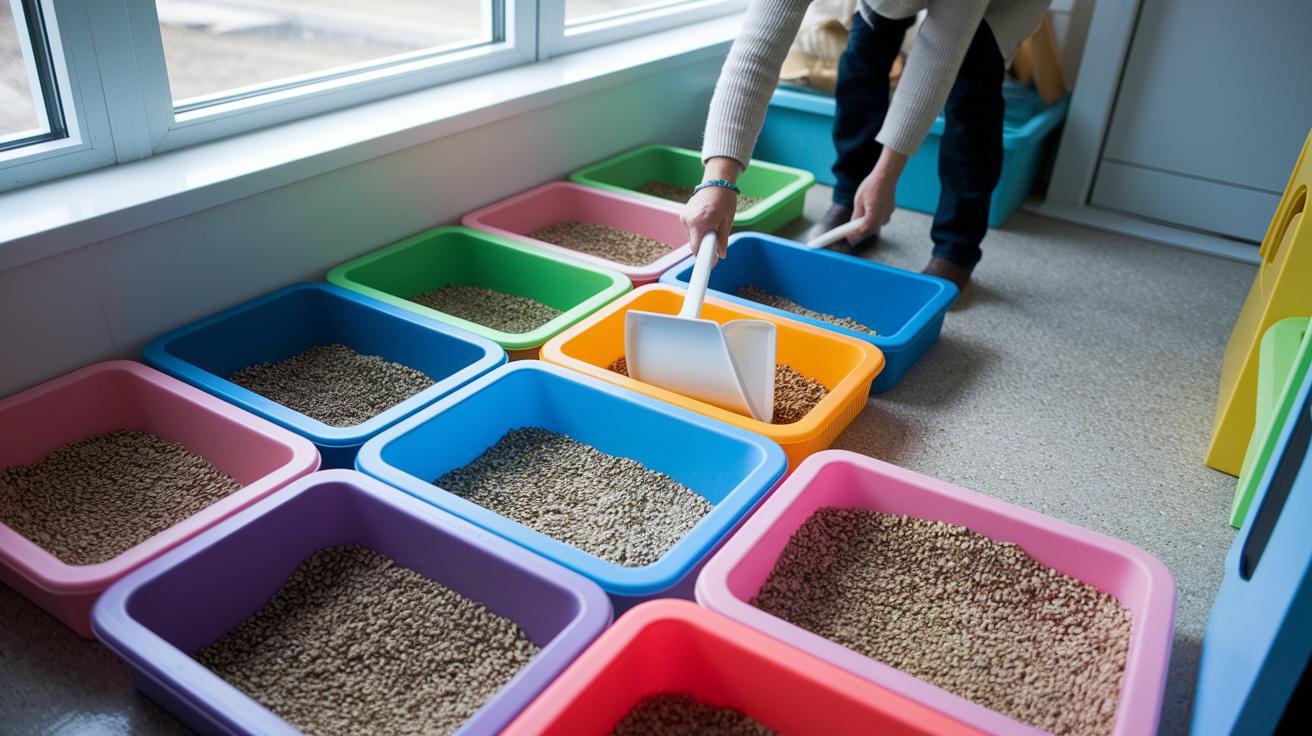
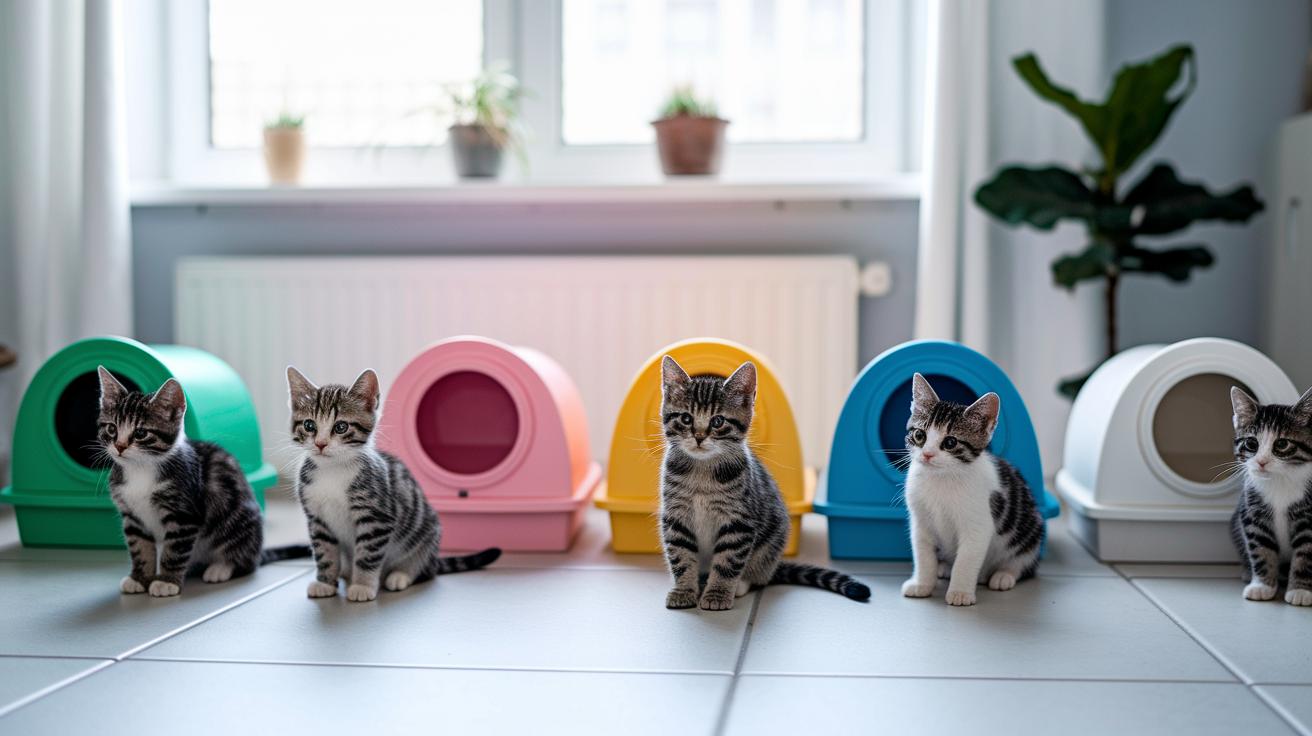
For multi-cat homes, keep at least one open pan per cat plus one spare to cut down on competition and make it easier to notice changes in use. Three cats? Try four open pans spaced around the house so no one has to wait in line. It really helps calm the household and makes scooping schedules simpler.
See the Odor control, ventilation, and hygiene section for cleaning schedules and tools.
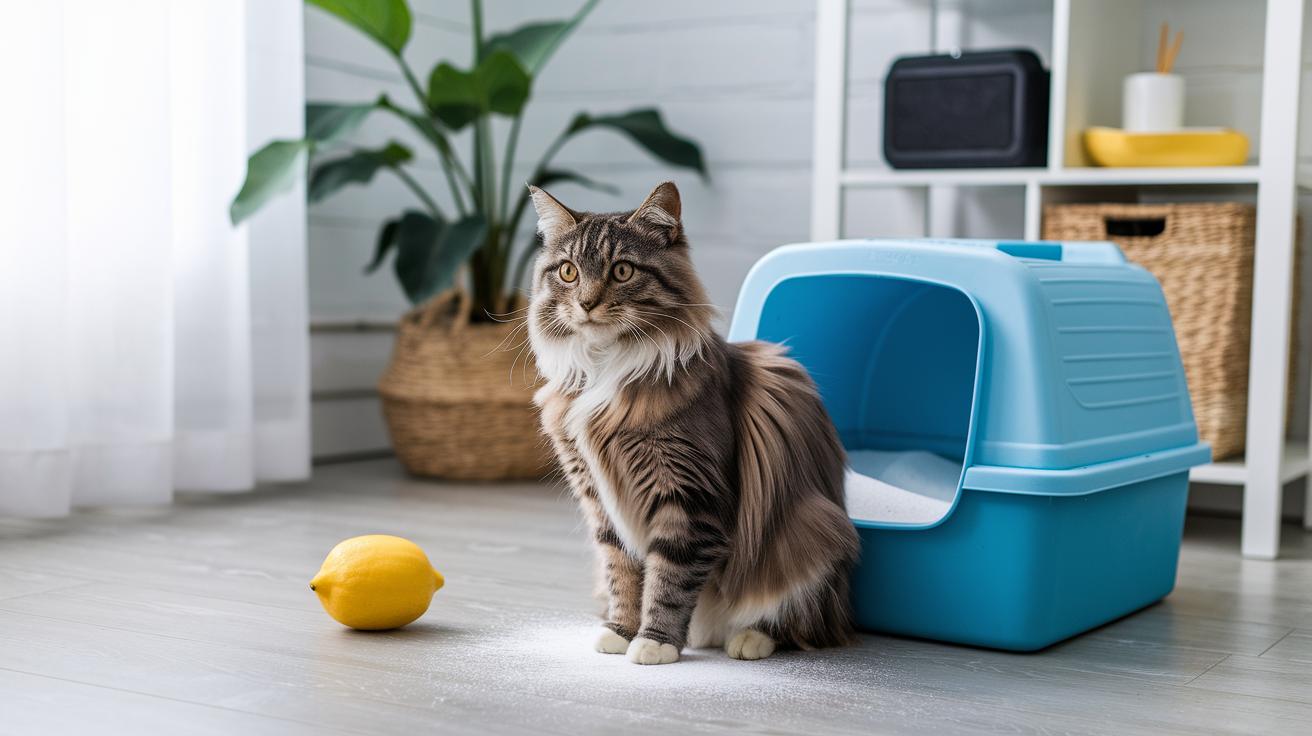
Odor control, ventilation, and hygiene by box type
Top-entry boxes tend to trap smells inside their tall walls and small opening, so odors build up instead of drifting away. That tighter space also cuts airflow, so humidity hangs around and gives bacteria (tiny microbes that multiply in damp places) and mold a cozier spot to grow. Your nose pays the price later. Ever watched your cat give you a look like, “Really?” Yeah.
Open pans let odor molecules spread into the room instead of collecting in the box. That means the litter stays drier and less friendly to bacteria, but you’ll usually smell things sooner around the house. Tradeoffs, you know?
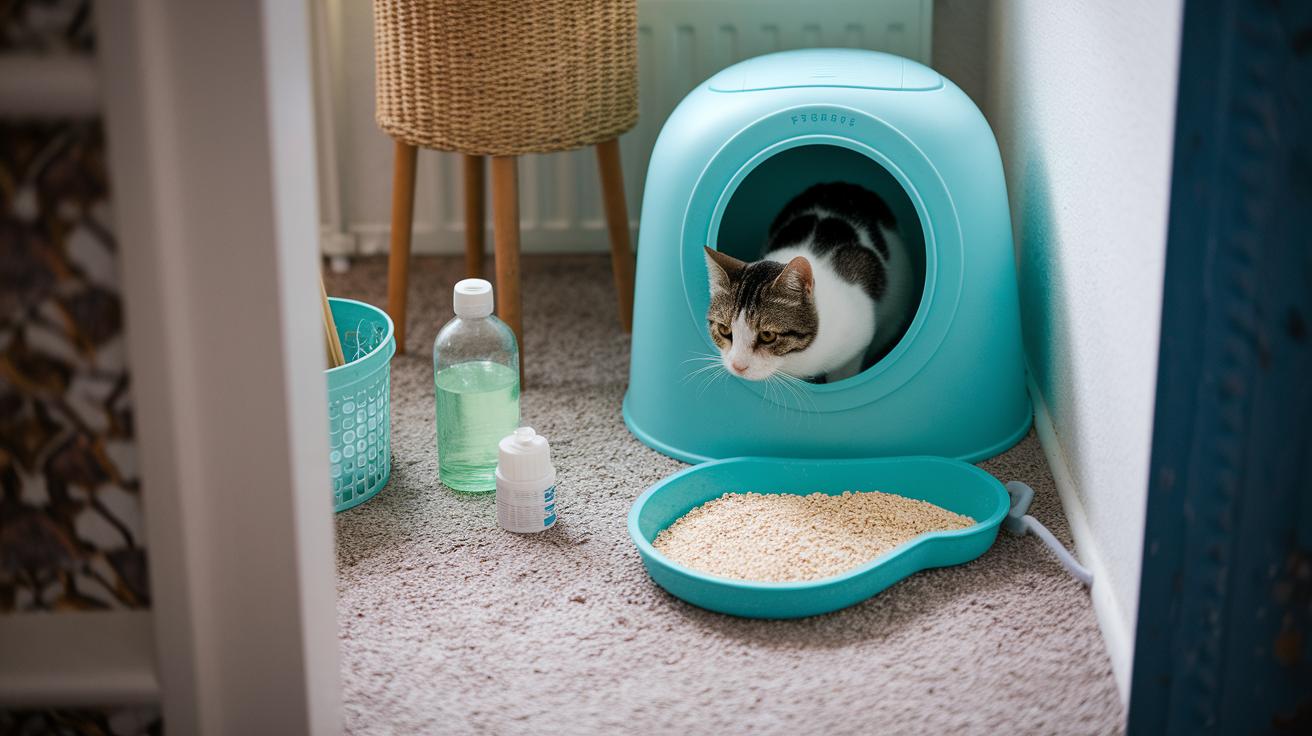
Scoop at least twice a day and use a clumping litter (forms firm clumps for easy removal) kept 2–3 inches deep so digging feels natural and waste gets contained. Wash the box weekly with hot water and a mild detergent (soap that cleans without harsh fumes), and fully replace the litter every 2–4 weeks. Useful tools: a long-handled scoop for posture-friendly scooping, a sifting insert for faster full changes, disposable liners for messy days, and a gentle scrub brush. Worth every paw-print.
Odor-neutralizing litters and silica crystals (tiny beads that soak up moisture and smells) can help, but how well they work depends on the box. Enclosed designs hide smells better when paired with good clumping litter or silica; open pans do best with lightning-fast scooping and an odor-control litter to keep room smells down.
Many top-entry models include carbon or charcoal filters (carbon: a porous material that soaks up odor molecules) or disposable liners, but they only do their job if you replace them on schedule. Ventilation fixes are simple. Pick a model with built-in vents, drill a few small holes in non-structural areas of the lid to boost airflow, or add a quiet circulation fan aimed so it moves air without spooking your cat.
Quick practical tips:
- Put the box where cross-ventilation reaches it, like near a window or hallway breeze.
- Keep a weekly scrub routine and change filters per the maker’s schedule.
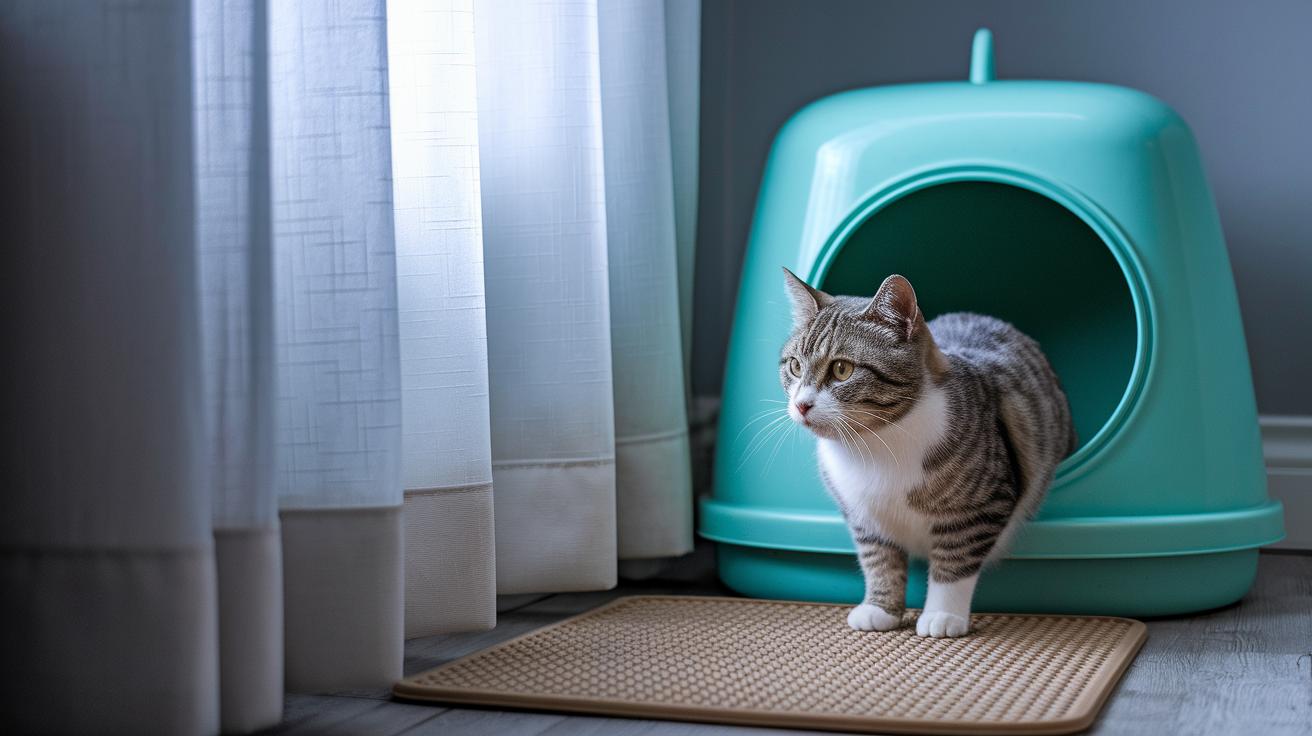
- Use a mat to catch tracked litter so odors don’t cling to nearby carpet.
- For top-entry boxes, check seals and lids often so air can move freely.
In truth, a little daily scooping and a smart setup go a long way. Your cat gets a cleaner bathroom, and you get fewer surprise “oops” moments when you walk into the room.
Cleaning, maintenance, and owner ergonomics for top-entry and open pans
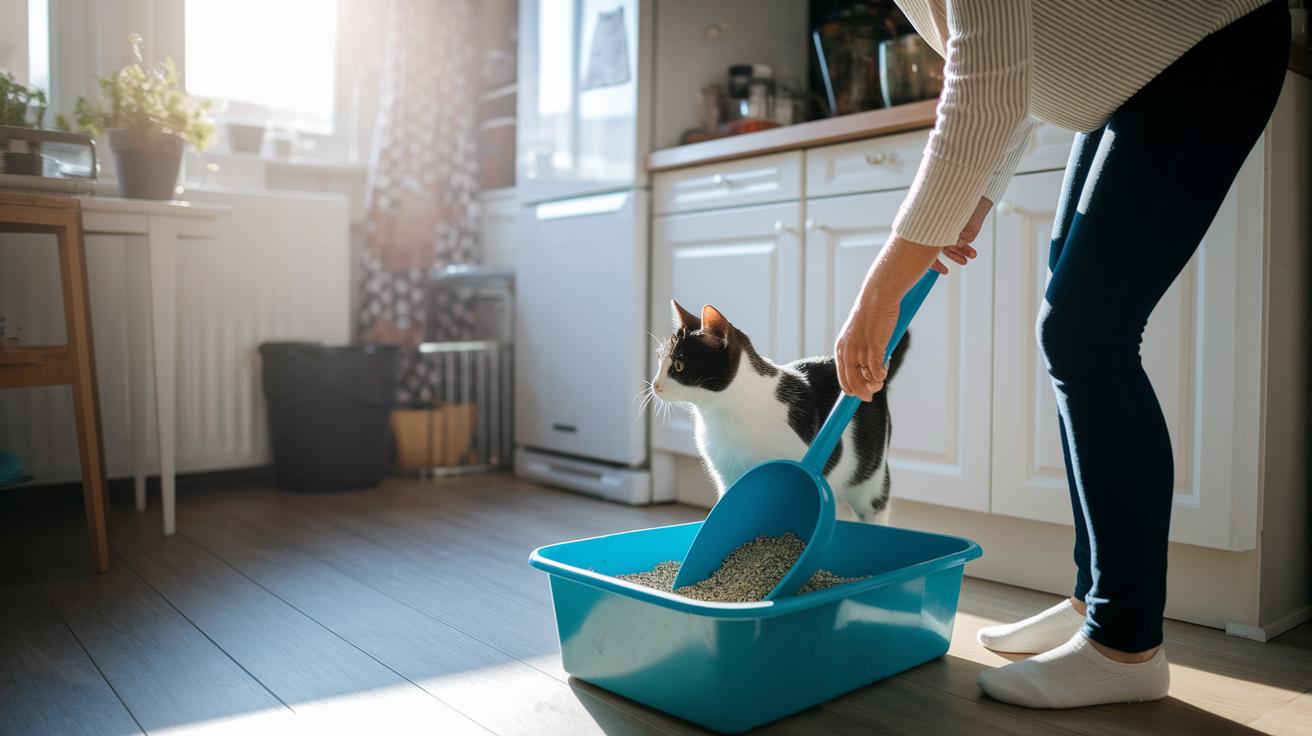
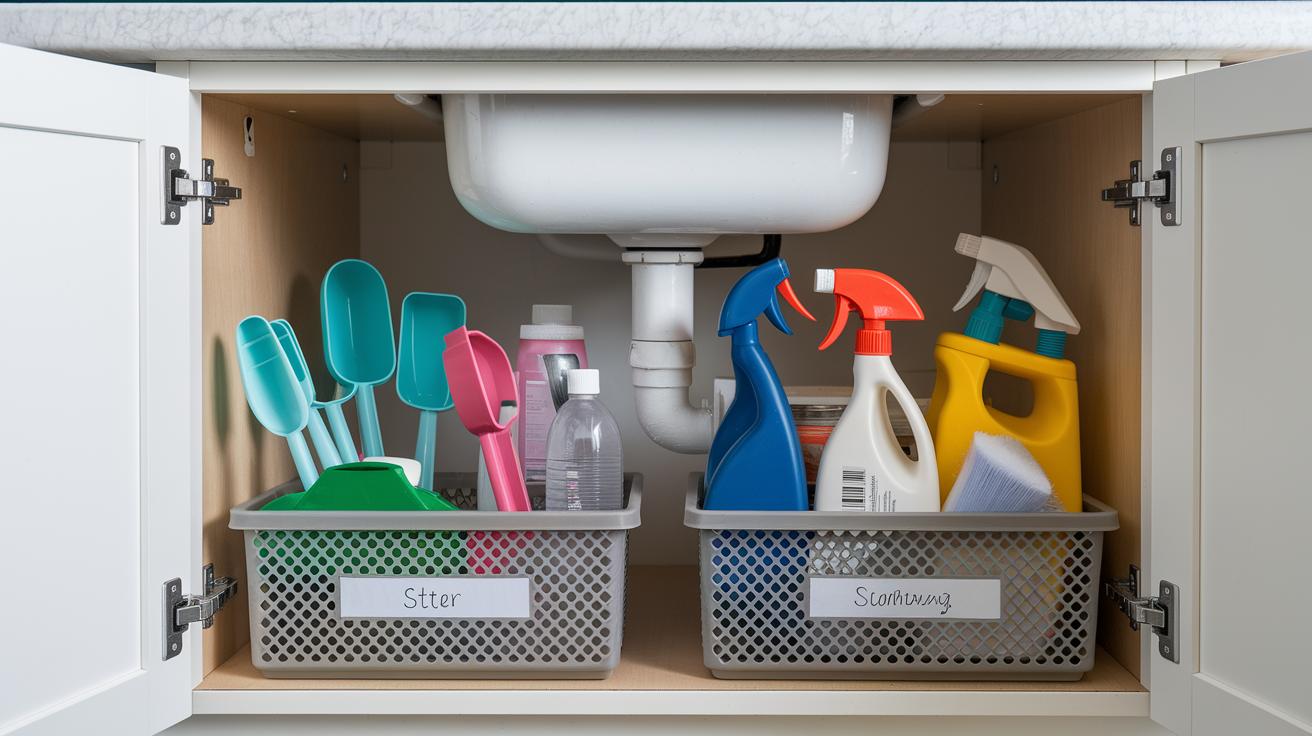
Scooping ergonomics
Pick a scoop that fits the pan. For open pans (low-sided boxes with a wide top) use a wide, shallow scoop so you can lift clumps fast and cut wrist strain. For top-entry pans (tall-sided boxes with a small top opening) choose a narrower scoop that slips through the hole and reaches down the tall walls.
Use an angled-handle or long-handled scoop to keep your back straighter – less bending, less groan. Like a tiny shovel, a wide shallow scoop lifts clumps in one smooth motion. Your wrist will thank you. Ever tried scooping with a tiny spoon? Not fun.
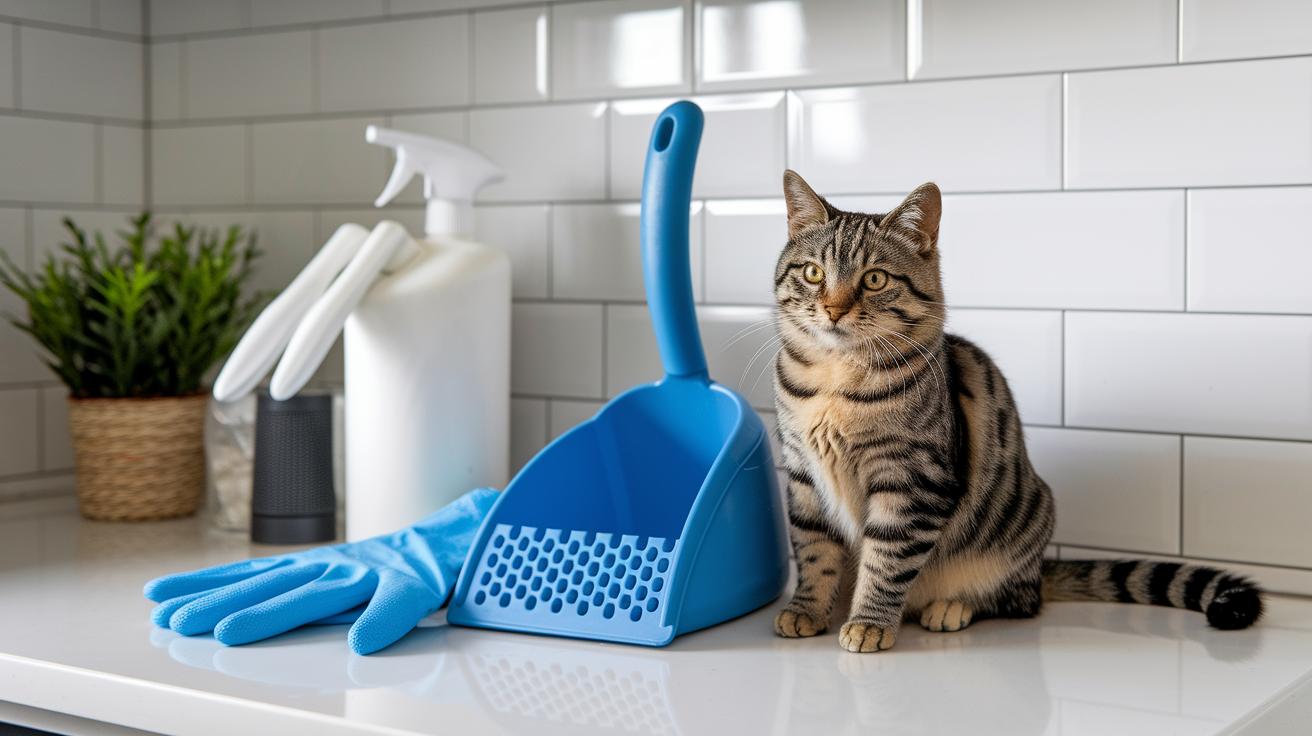
One-line cross-reference: for tools such as sifting inserts (mesh trays that separate clean litter) or disposable liners (single-use liners for easy cleanup), see the Odor control, ventilation, and hygiene section.
Washing and deep cleaning
If the model has a removable inner pan (a separate insert you can pull out), take it out first so pouring and rinsing are easier. I usually do this outdoors when I can – less mess, more fresh air.
Follow this quick routine:
- Empty litter into trash.
- Rinse with hot water.
- Scrub with a mild detergent (soap that cleans without harsh fumes).
- Dry fully in sun or air. Moisture left behind invites microbes (tiny germs) and odors.
Keep wipes for quick rim-touches between deep cleans. For exact change and scooping schedules, refer to the Odor control, ventilation, and hygiene section. Worth every paw-print.
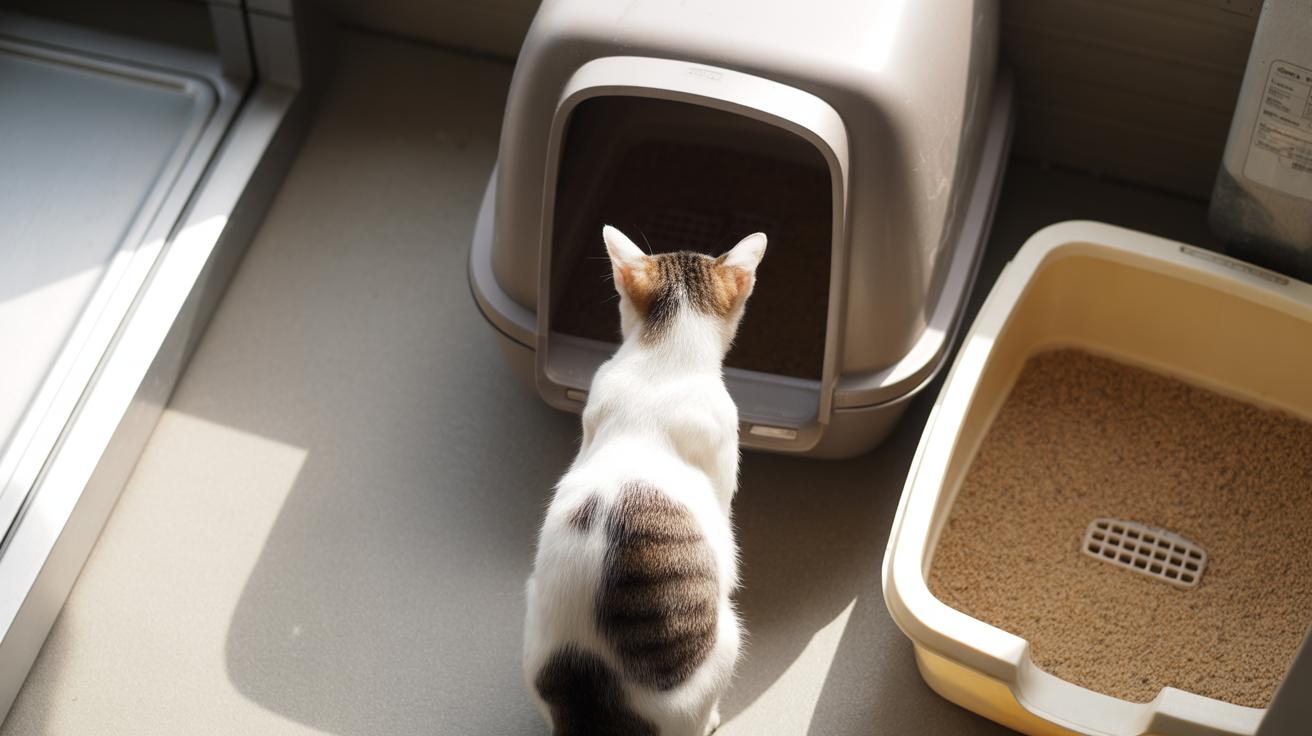
Suitability for kittens, senior cats, and large breeds when comparing top-entry vs open litter box designs
Measure your cat from the tip of the nose to the base of the tail, then add 6 to 8 inches. That gives the interior length your cat needs to turn and dig without bumping into the walls. Check shoulder height against the entry lip (the raised edge your cat steps over) and pick an entry lower than the shoulder so stepping in feels natural. Measure across the shoulders and add a few inches so broad-chested breeds like a Maine Coon do not feel cramped.
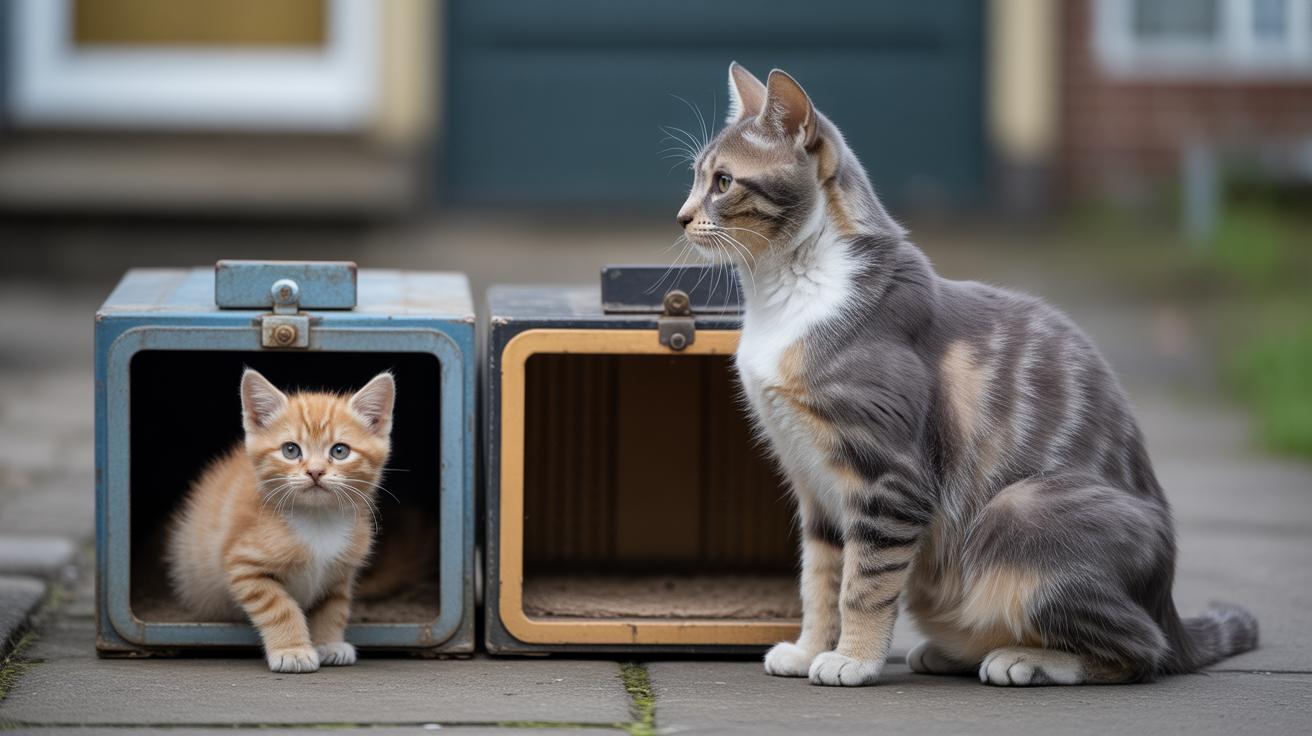
Top-entry boxes usually need a hop up and a climb, so they can be tough for kittens, seniors, and cats with arthritis who struggle with stairs or jumping. Open pans and low-entry, high-sided boxes (high-sided means tall walls to stop scatter) are easier for mobility-impaired cats because paws hit the floor quickly and there is plenty of room to spin. Some makers do low-entry or cut-out top-entry versions that solve this, and there are self-cleaning models too. Self-cleaning (a mechanism that automatically rakes or sifts waste into a bin) low-entry boxes can have specs like a 4.8-inch low entry, about 57.6-liter capacity, and noise under 40 dB , quiet enough for most skittish cats.
Ever watched your kitty hesitate at a tall lip? Um, yeah, been there. For seniors and kittens aim for a low entry lip under 5 inches. Make sure interior length equals your cat length plus 6 to 8 inches. Pick high walls or a tall rim to cut down on scatter without forcing a climb. A removable inner pan makes scooping and washing so much easier, trust me.
Also look for a textured, non-slip floor or a gentle ramp to help balance and reduce slipping. If your cat startles at noise, choose a model that runs under 40 dB. Secure lids or cut-outs are fine as long as they still let air flow and don’t trap smells. Worth every paw-print when the box fits your cat.
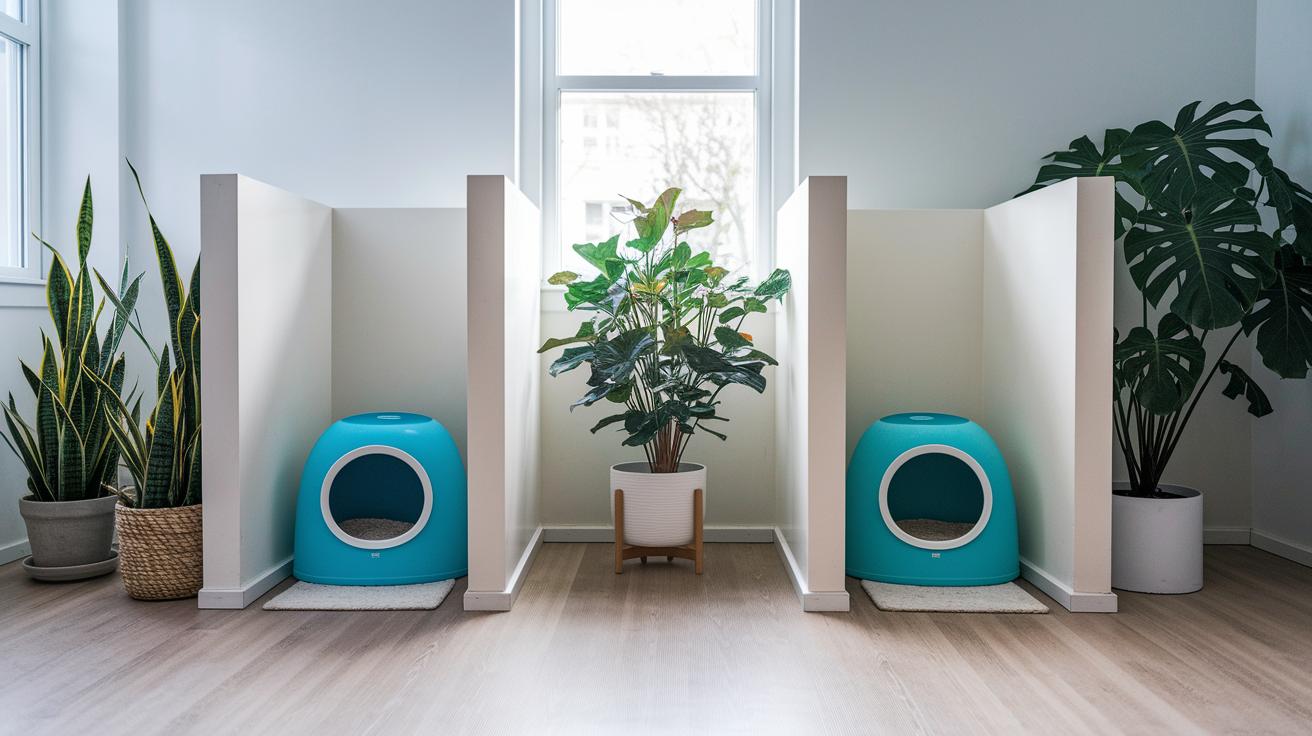
Multi-cat households, placement, and behavioral considerations for top-entry vs open litter box designs
One good rule to remember is one box per cat, plus one extra. It cuts down on fights, lowers the chance a cat pees or poops outside the box, and gives nervous kitties options. Simple. Worth writing on the fridge.
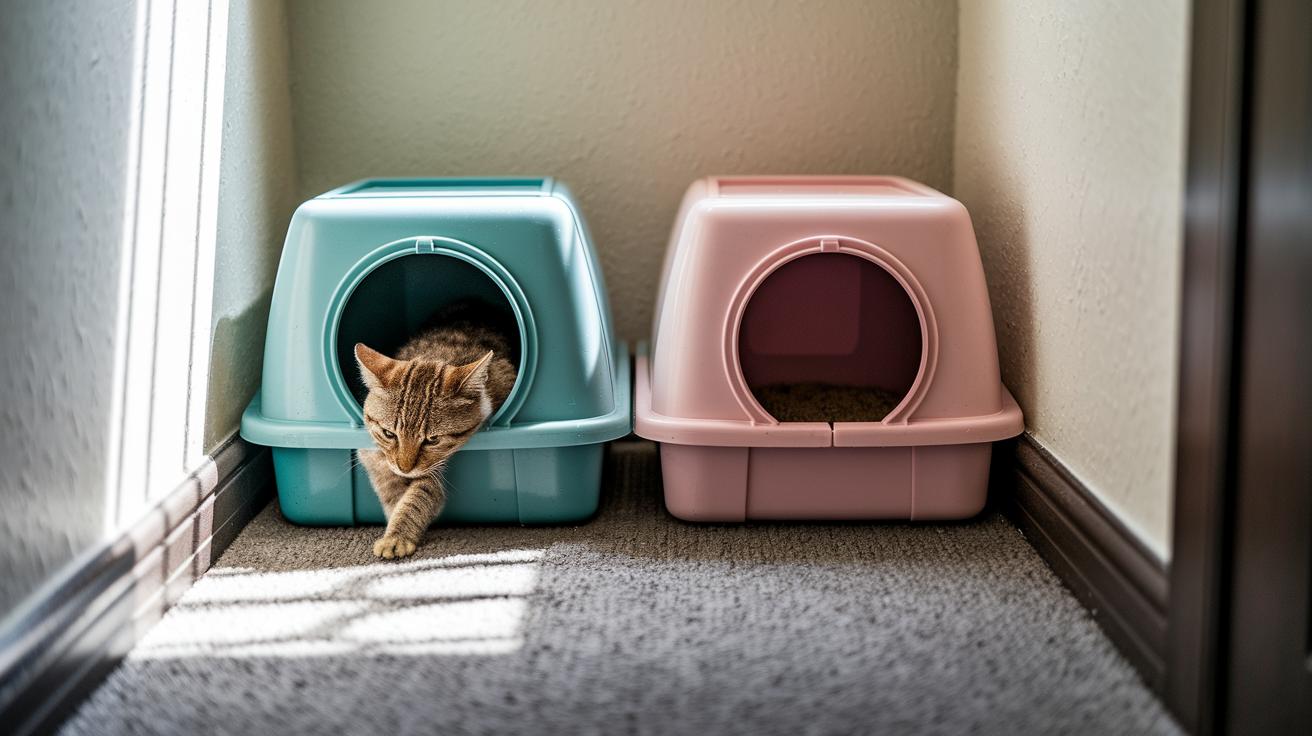
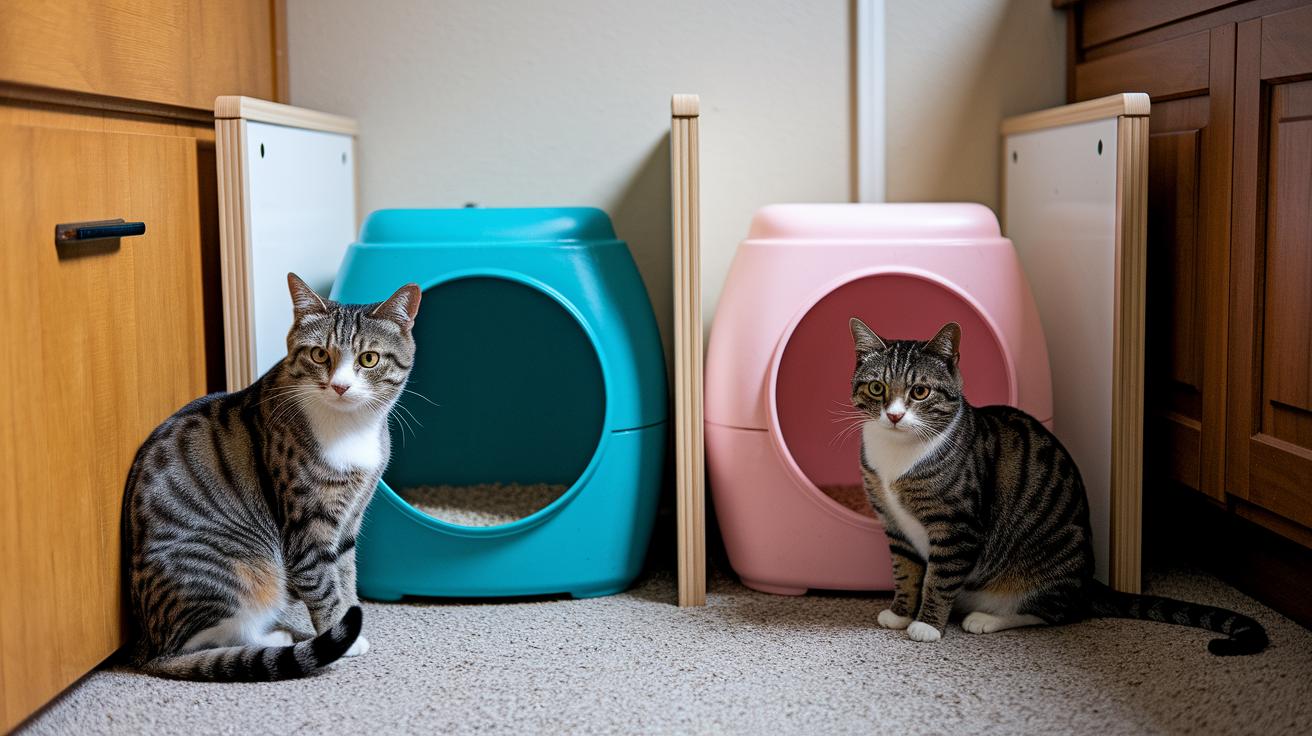
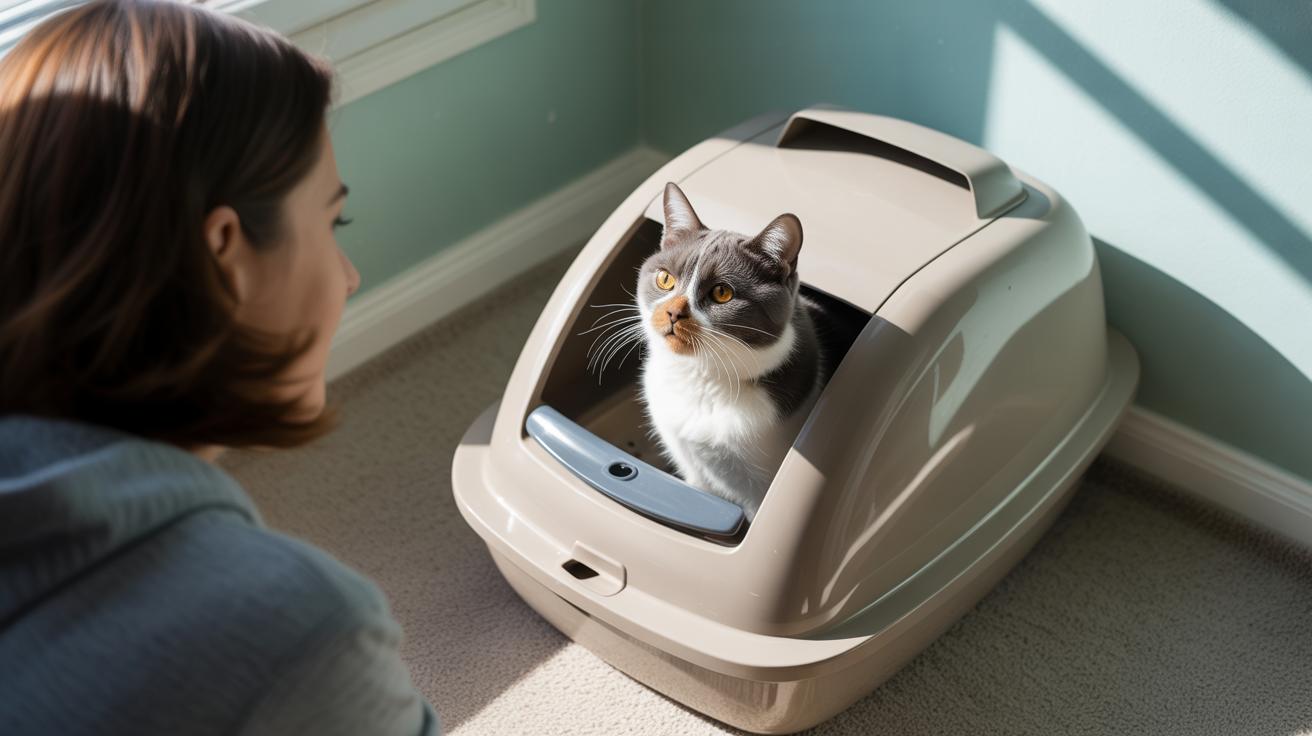
Top-entry boxes (a litter box with a lid and a small hole on top) can help in busy multi-cat homes. The small opening makes it harder for a bossy cat to sit guard and hog the box. That can stop anxious cats from finding a new, less appropriate spot to go. But watch for ambushes. If a shy cat climbs out and another cat waits by the only exit, the first cat might start avoiding the box. Try placing a top-entry so cats can approach and leave from different angles. That way no single cat can block the only way out.
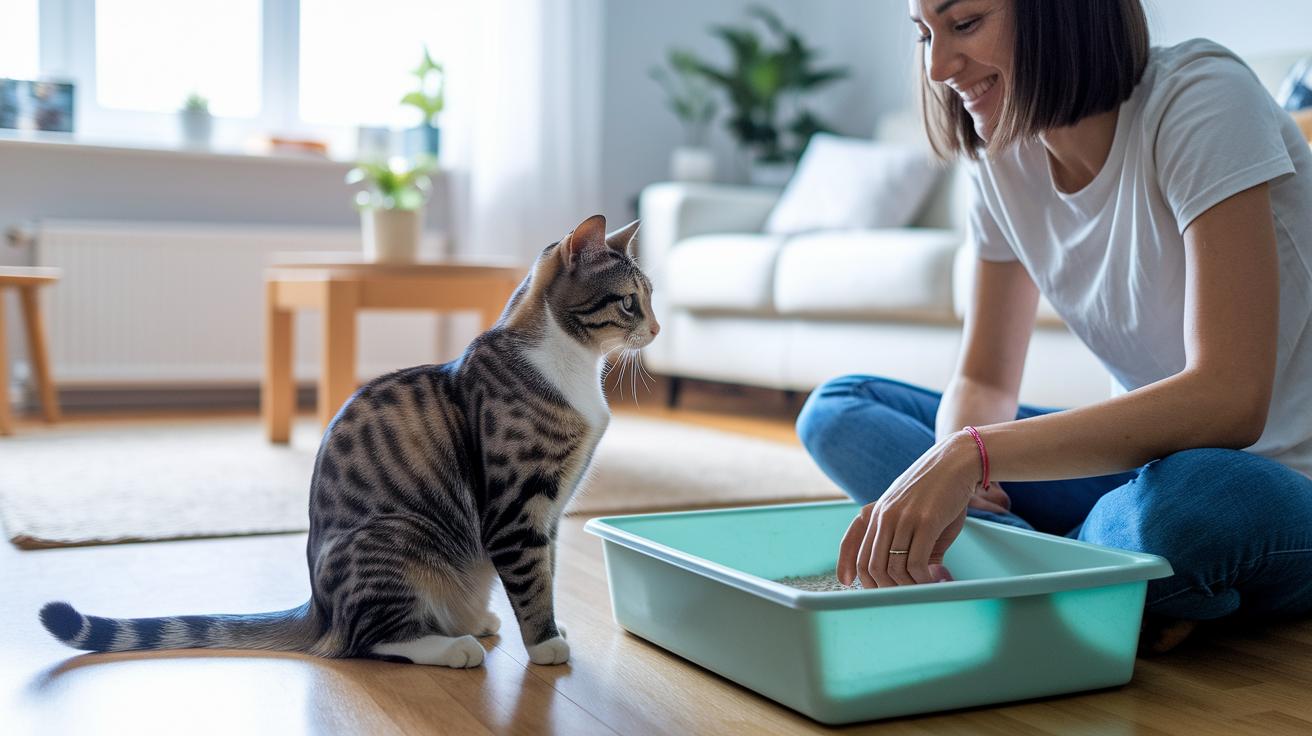
Open pans (the shallow, no-lid style) give fast, visible access. Caregivers can see who's using the box, swap it out quickly, and spot health changes like diarrhea or frequent peeing. For busy people, that visibility is a big win. It’s also easier to tidy between cats so nobody feels crowded.
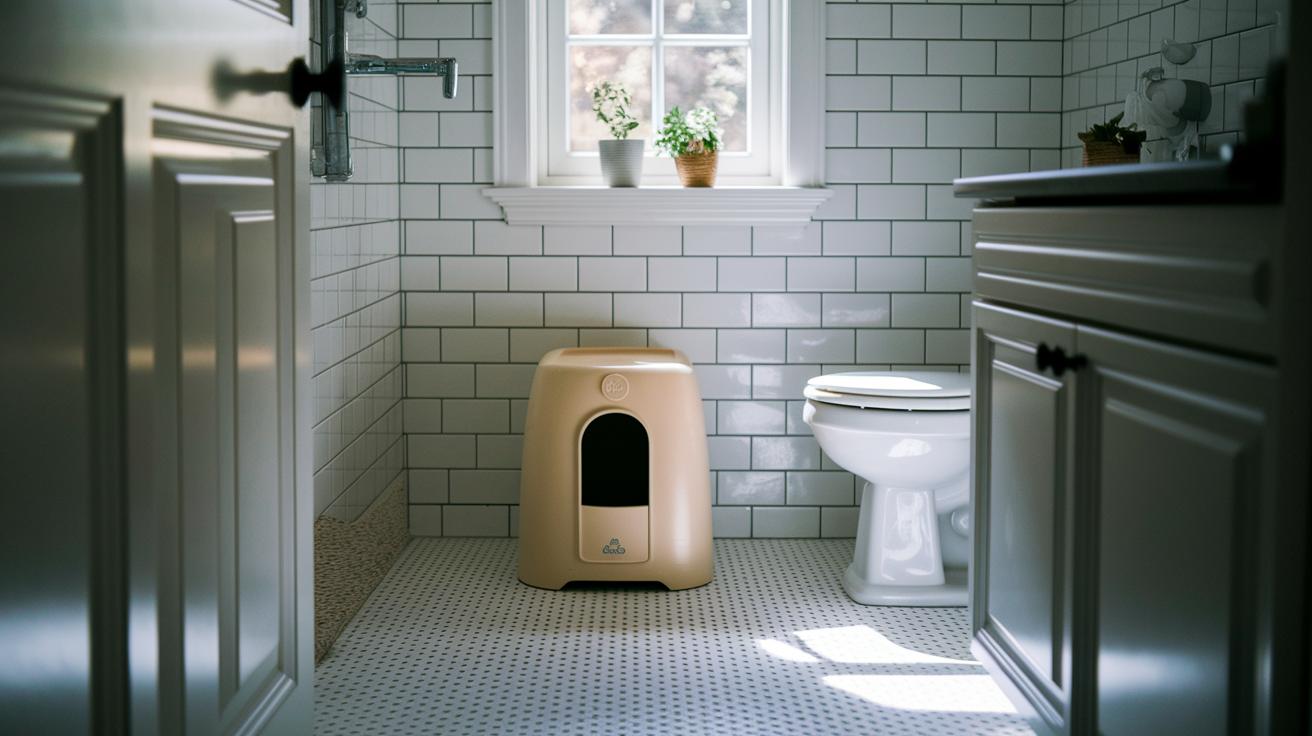
Placement matters as much as the box style. Avoid tight corners and noisy, high-traffic spots where a cat can be startled. Bathrooms or laundry rooms can work if ventilation (airflow that keeps the box dry) is good and the door is left slightly open so a cat does not feel trapped. Think about clear approach and exit paths. Your cat should be able to walk in and out without being cornered.
Clean more often in multi-cat homes. Seriously. Scoop frequency and full cleanings need to go up as you add cats. If one cat is sick or sprays a lot, give them a dedicated spare box in a quiet spot for a while. Keep that box just for them so they can go in private and you can monitor any changes.
Little things help a lot. Put boxes on different levels if you can, especially for shy cats or elders who dislike stairs. Add low-sided pans for kittens or older pets who struggle with high entrances. And if you like a tidy look but want airflow, check the DIY litter box enclosure guide to turn an open pan into a ventilated hideaway.
In truth, there’s no one perfect box for every home. Watch your cats, try options, and follow where they take you. Your couch will thank you.
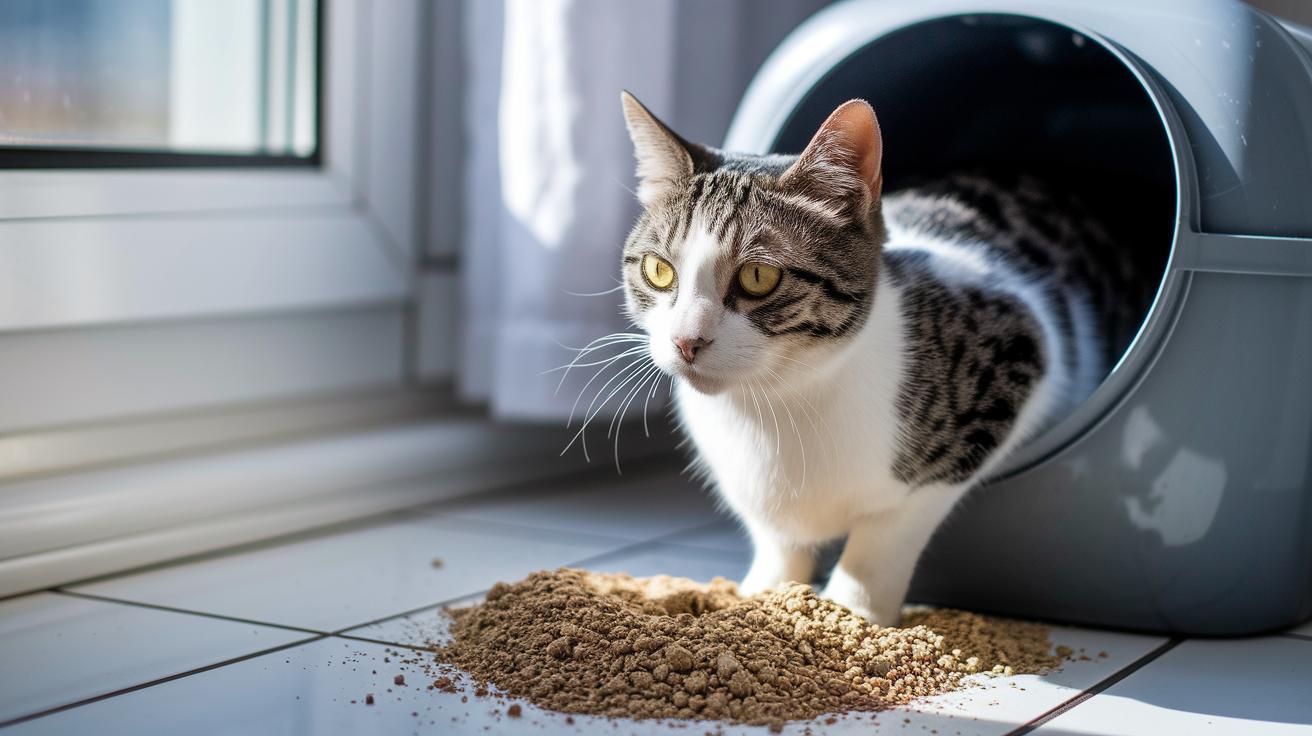
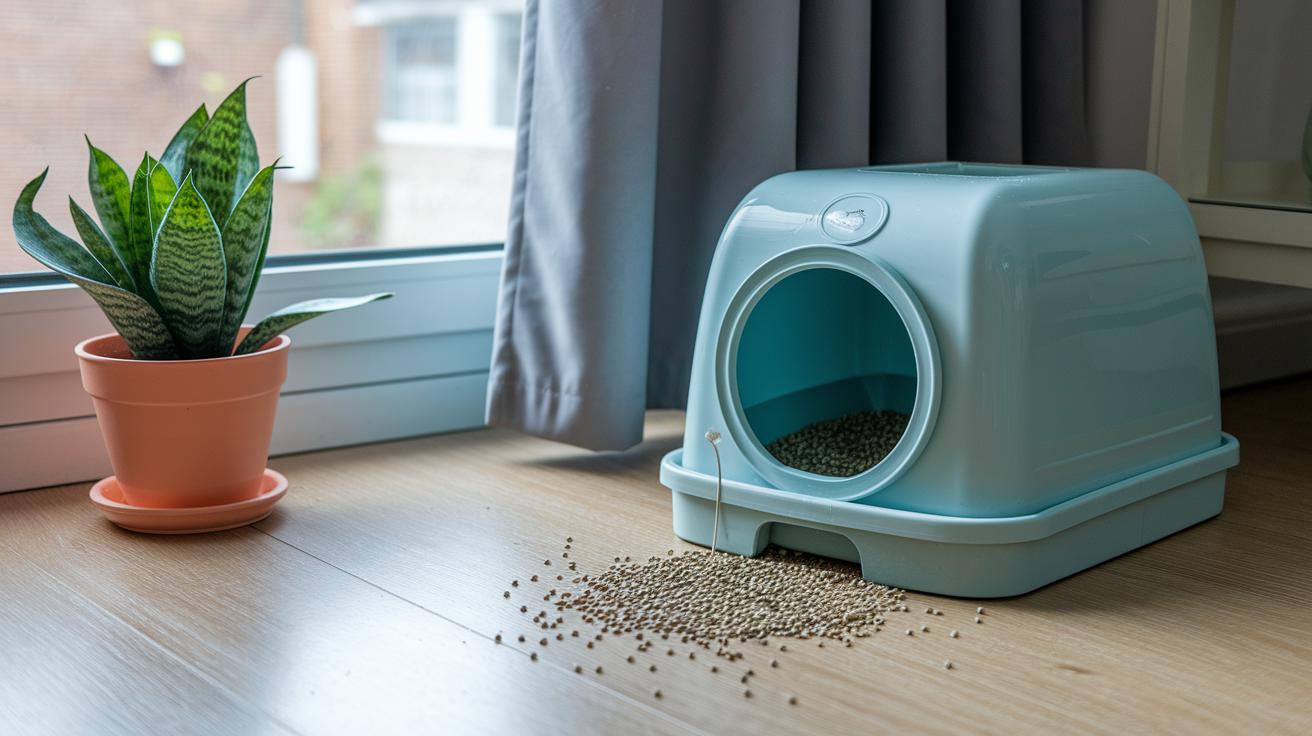
Litter choice, tracking, and containment solutions for each design
![]()
We moved this section into the design-specific pages to avoid repeating the same tips everywhere. You’ll find practical, hands-on advice on each design page instead of a long repeat here. Ever notice how litter advice can read like a broken record? We fixed that.
See Top-entry litter box design for anti-tracking granules and textured top plate guidance (textured top plate: a ridged surface that scrapes stray granules off paws). Set the plate flush over the opening so your cat’s paws brush the ridges as they step out, and give it a quick wipe or rinse every week. It cuts down on the breadcrumb trail across the floor. Worth every paw-print.
See Open-litter-box design and Odor control/ventilation for high-sided pans, sifting pans, and mat placement advice. High-sided pans (pans with taller walls) help stop scatter. Sifting pans (pans that separate clumps from clean litter) speed up cleaning. Put the mat where your cat’s paws land as they step down, about 6-12 inches from the box exit, so it actually catches stray bits.
See Odor control/ventilation (clumping litter: forms solid clumps when wet) for the recommended 2-3 inch clumping-litter depth. Try pellets (coarse compressed pieces that track less) if tracking is your main worry, but know some deep-diggers hate them. Silica crystals (absorbent gel beads) are great for odor, but watch for dust or allergy signs like sneezing or watery eyes. If that happens, swap back to a low-dust option.
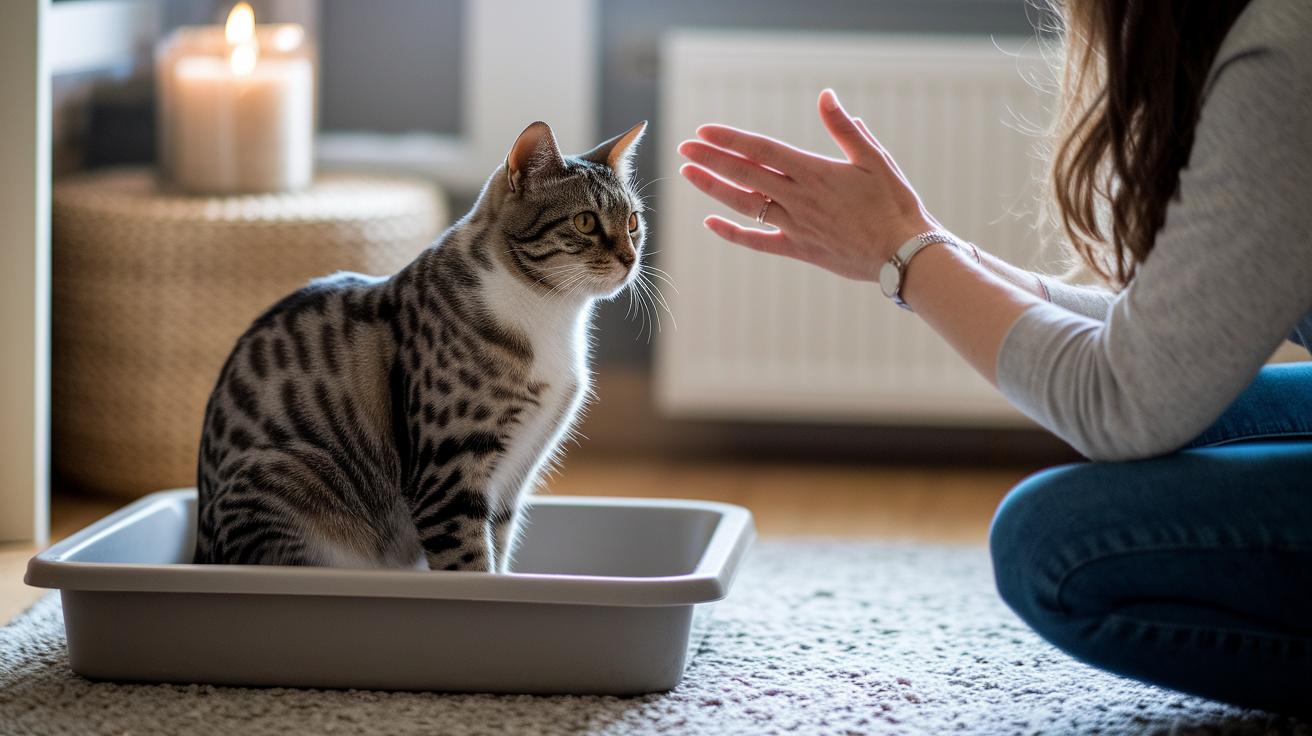
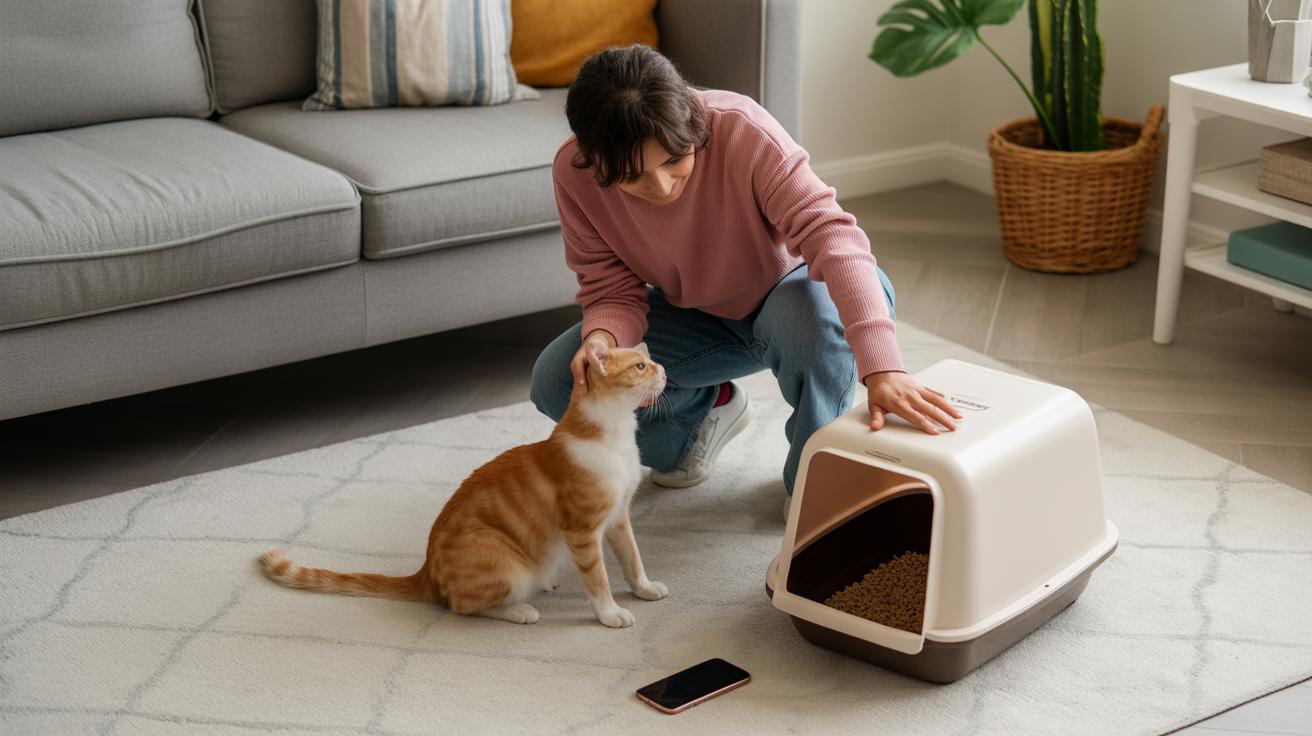
Transitioning and training tips when switching between top-entry and open litter box designs
Switching litter boxes works best when you go slow, keep the same litter, and pay close attention to your cat. Expect about one to three weeks for most cats to adjust. Older or shy kitties might need more time, and that’s totally okay.
Step-by-step transition plan
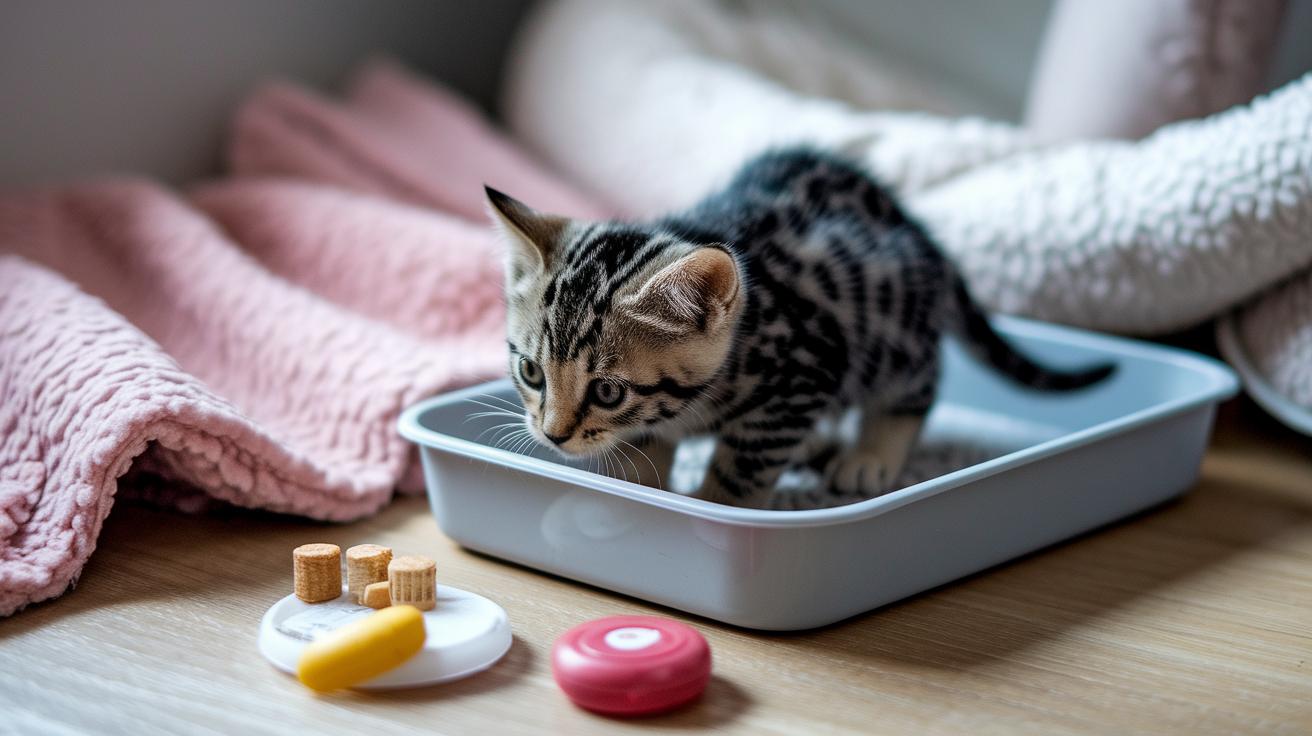
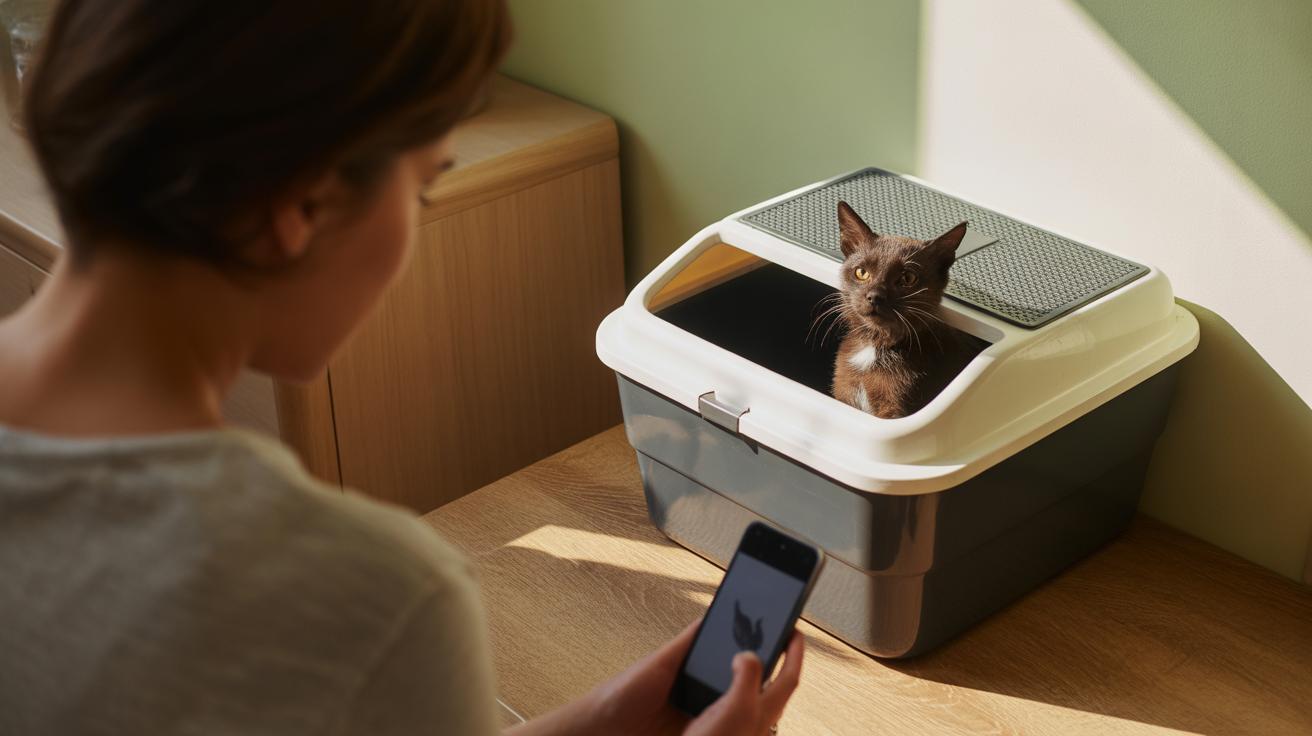
Day 1–3: put the new box right next to the old one and fill it with the same litter so the scent feels familiar. If the new box is top-entry (a box with a hole on top), or hooded (a covered box with a roof), or an open pan (no cover, low sides), mention that to your cat with a treat. Place a small treat or a smear of wet food on the new box so they sniff and explore.
Day 4–10: each day, move the new box a little closer to its final spot. Offer quiet praise or a tiny treat after your cat uses it. For switching from hooded to top-entry, let your cat climb on the lid first, put a treat on the textured top so they learn the route. Think of top-entry like a little rooftop door for cats. It’s a simple training tip that helps kittens and cautious adults both.
Week 2: if your cat is using the new box consistently, move it fully into place and remove the old pan. Keep a backup for a while, just in case.
Monitoring signs and when to stop the transition
Watch their body language. Hesitant paws, long sniffing without digging, crouched posture, tail flicks, or loud meows can mean stress. Repeated accidents outside the box, changes in appetite, or straining to urinate are red flags. If you see accidents or clear avoidance for 7 to 14 days, pause the switch and go back to the old box or try a different design.
Transitioning to an open pan often goes faster, since cats can see in. But if your cat shows stress, slow down. Your cat’s comfort matters more than the perfect setup.
If you notice painful urination, blood, or any big health change, call your vet right away. Worth every paw-print.
Comparing top-entry vs open litter box designs
Once you’ve already decided on size, the stuff that really matters is ventilation, filter access, and how easy the box is to clean. Look for built-in vents or an easy-to-replace carbon filter (carbon filter = a charcoal layer that soaks up smells). Also favor boxes with a removable inner pan or a lid that lifts off so you can reach every corner. A big open top makes scooping fast, but it also lets more smell out. Ever tried scooping with your spine hunched? Not fun. Make sure you can reach clumps without twisting your back. If you can’t, try a different model.
Want a quick win? I switched to a pan with a removable inner tray and scooping went from awkward to one-handed. Huge relief.
Thinking about automated or self-cleaning units? Aim for measurable performance. Target about 57.6 liters of waste capacity (that’s roughly 15.2 gallons) and noise under 40 dB for a quieter home (40 dB is about a quiet library). Low-entry self-cleaning boxes with those numbers tend to be easier for kittens and seniors to step into. When you test models, run a 7 to 14 day trial. Watch daily use, note odor control, check litter tracking, and test scooping ergonomics if the unit has a manual option. Keep a tiny log like this: "day 4: less odor, day 9: cat uses box at night." It helps you compare like a pro.
Quick model comparison suggestions
-
Top-entry picks:
- Textured top plate so litter shakes off paws (the little bumps mean fewer paw prints on the couch).
- Easy carbon filter access (replaceable charcoal layer) and a secure spot for it.
- Removable inner pan for fast, full cleaning.
- Stable lid fit for cats that like to burrow and flip around.
-
Open pans:
- High-sided or high-sided-with-low-entry options to control scatter.
- Sifting inserts for fast full changes.
- Wide, shallow rims that make scooping simple and quick.
- Put a durable mat 6 to 12 inches from the exit to catch tracked litter.
-
Automated / self-cleaning criteria:
- Low-entry option for kittens and seniors.
- About 57.6 L (15.2 gal) waste capacity.
- Noise under 40 dB for calmer homes.
- Easy manual override so you can scoop if the mechanism jams.
A little sensory note: imagine your cat’s whiskers twitching as the litter rolls away. Small changes like a textured top or a removable tray can make cleanup feel almost fun. Worth every paw-print.
Final Words
in the action: choose top-entry for maximum scatter and odor control if your adult cats are agile; choose open pans when ventilation, easy scooping, or mobility friendly access matter.
Top-entry boxes keep litter contained and block curious kids, but they can limit airflow and be tough for kittens or seniors.
Open pans breathe better and make scooping simple, though smells can be more noticeable and litter may scatter.
See the Odor control, ventilation, and hygiene section for exact cleaning steps. Good luck comparing top-entry vs open litter box designs. You’ll be feline fine.
FAQ
Frequently Asked Questions
Which is better: top-entry or open pan litter box?
Choosing between a top-entry and an open pan litter box comes down to needs: pick top-entry for maximum scatter and odor control and agile adult cats, pick open pans for better airflow (ventilation) and easier access for kittens or seniors.
Do cats like top-entry litter boxes or do they dislike them?
Cats’ reaction to top-entry litter boxes varies: many confident adult cats enjoy privacy and less scatter, while kittens, elderly, arthritic, or shy cats often avoid the climb or cramped interior.
Do top-entry litter boxes smell less?
Top-entry litter boxes can smell less to nearby people by trapping scatter and some odor under high walls, but reduced airflow (ventilation) may let moisture and smells build; add vents and keep regular cleaning to prevent buildup.
What is the golden rule for litter boxes?
The golden rule for litter boxes is one box per cat plus one extra. This reduces competition, lowers stress, and cuts down on accidents so everyone stays feline fine.
Are top-entry boxes suitable for kittens, senior cats, or large breeds?
Top-entry boxes are often unsuitable for kittens, seniors, or mobility-impaired cats because of the climb; choose low-entry or high-sided open pans and size the box by measuring nose-to-base-of-tail plus 6–8 inches interior length.
Are top-entry boxes a good choice for multi-cat households?
Top-entry boxes can help in multi-cat homes by cutting monopolization and blocking dogs or children, yet some cats may feel exposed; follow one-per-cat-plus-one, space boxes apart, and watch for tension or avoidance.