Think kitten bites are just part of the adorable package? Not really. Those tiny teeth can sting like little pinpricks, and if you let the behavior slide it quickly becomes a habit that wrecks playtime.
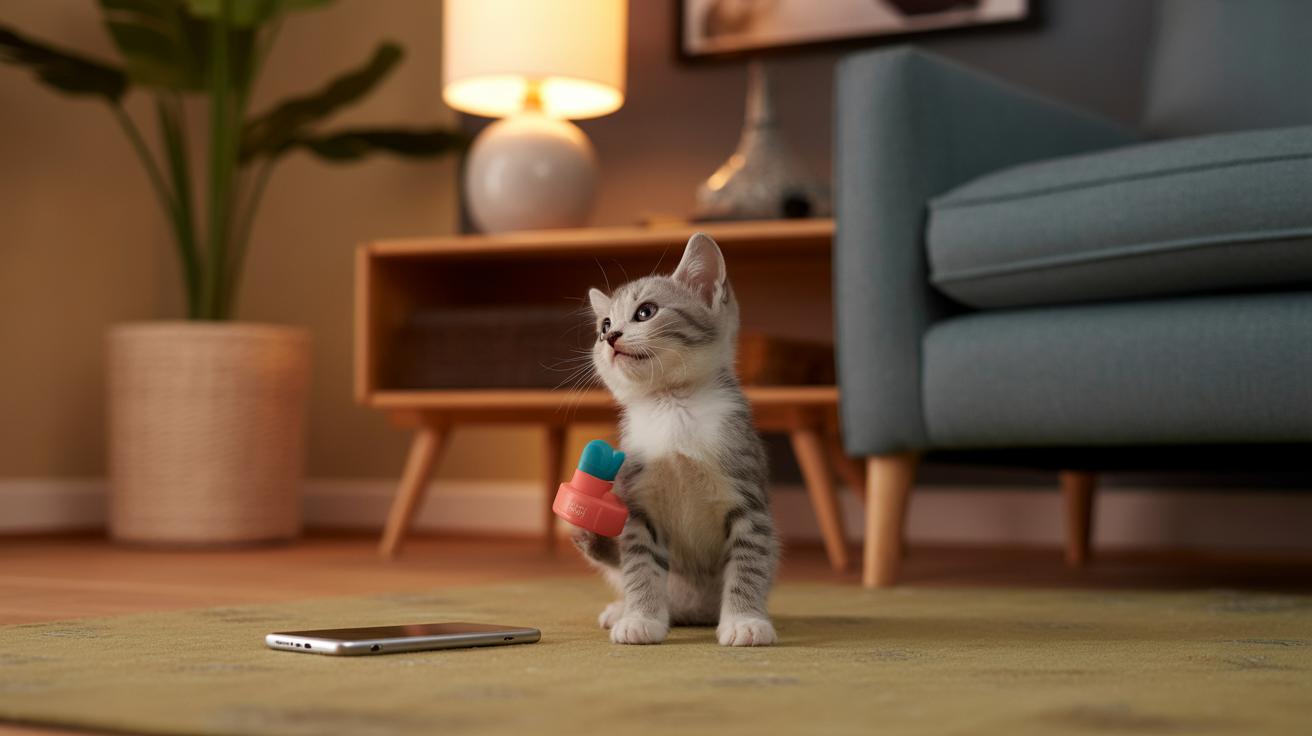
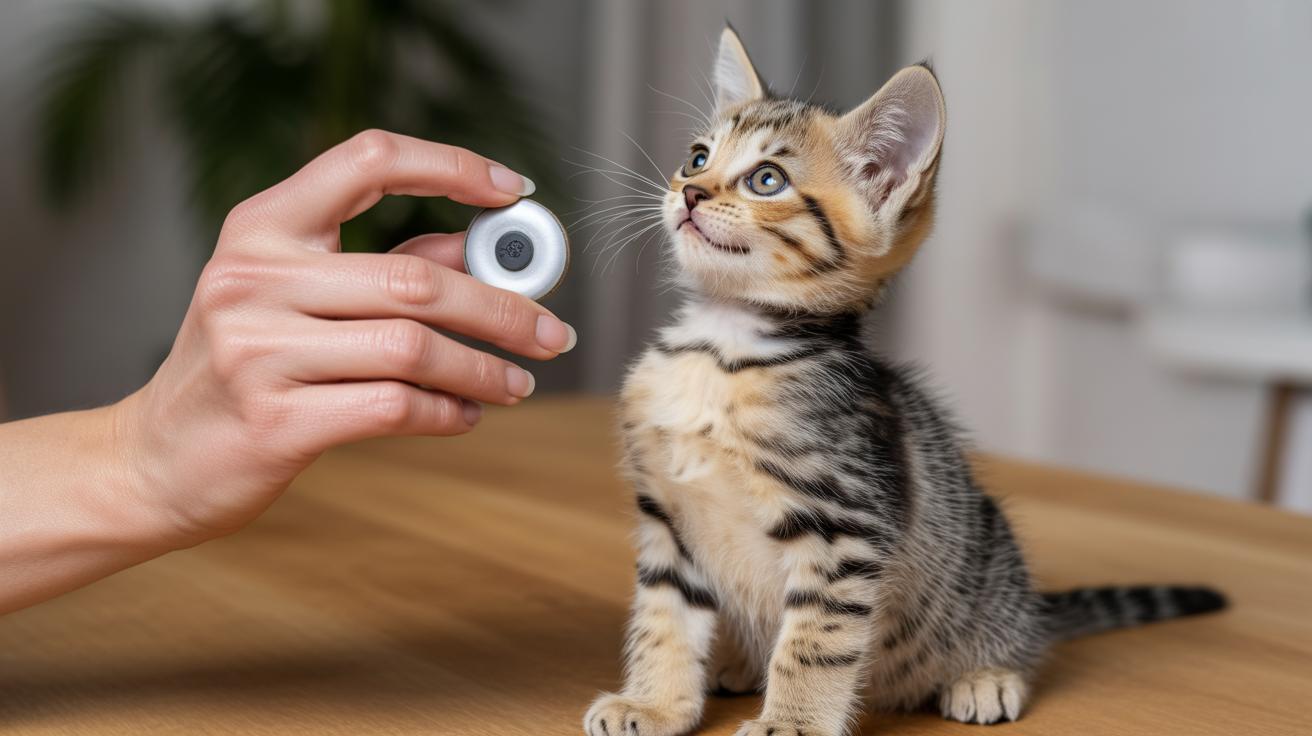
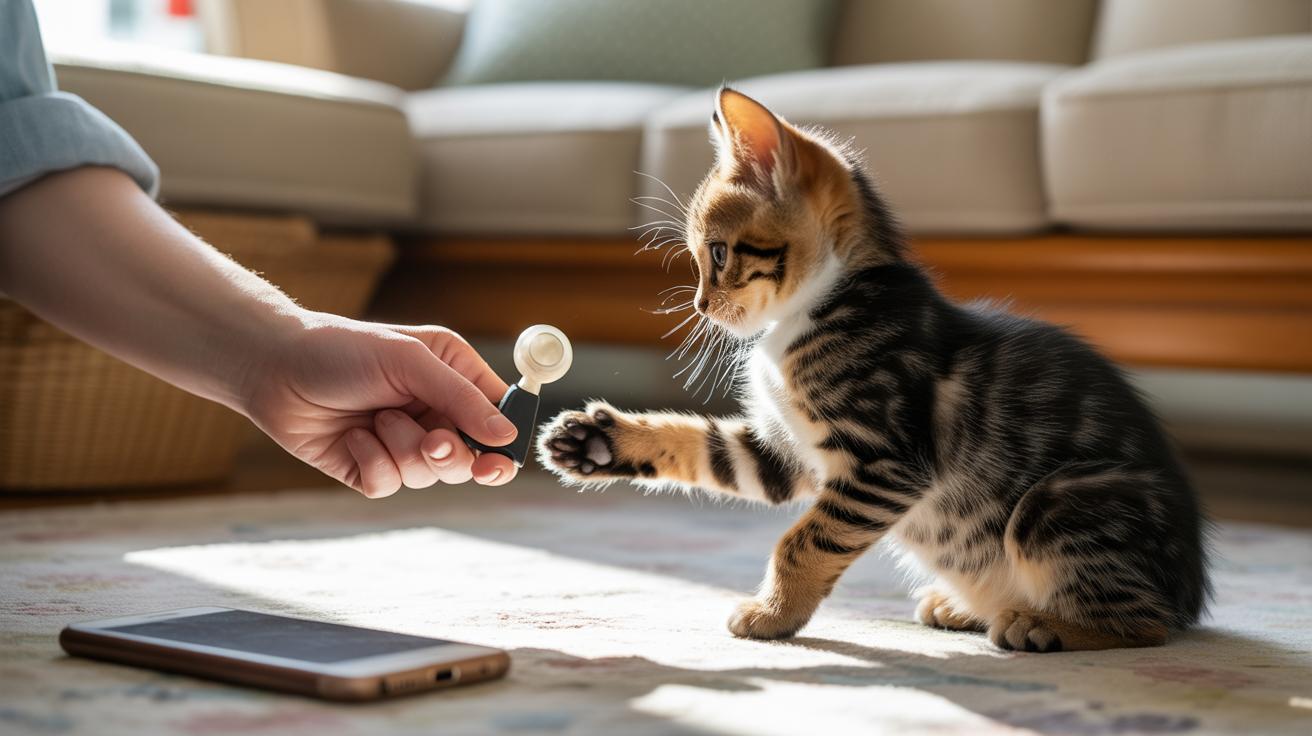
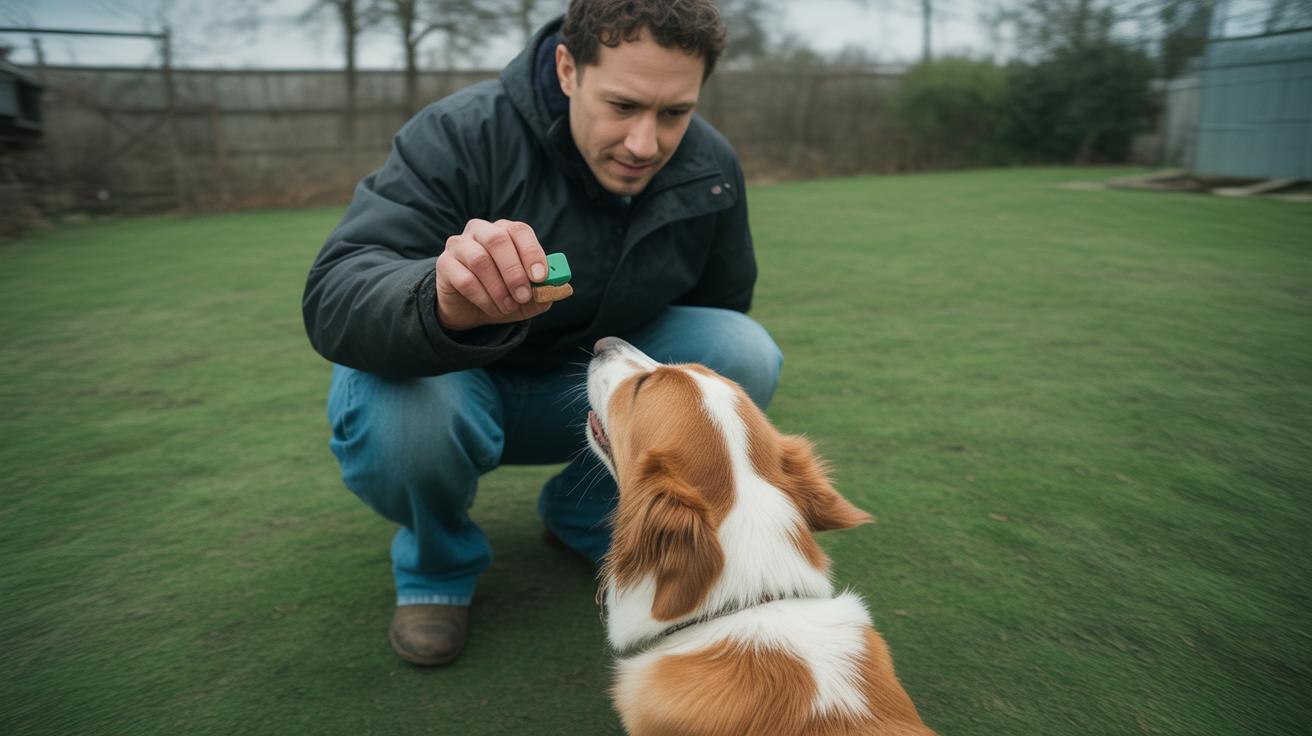
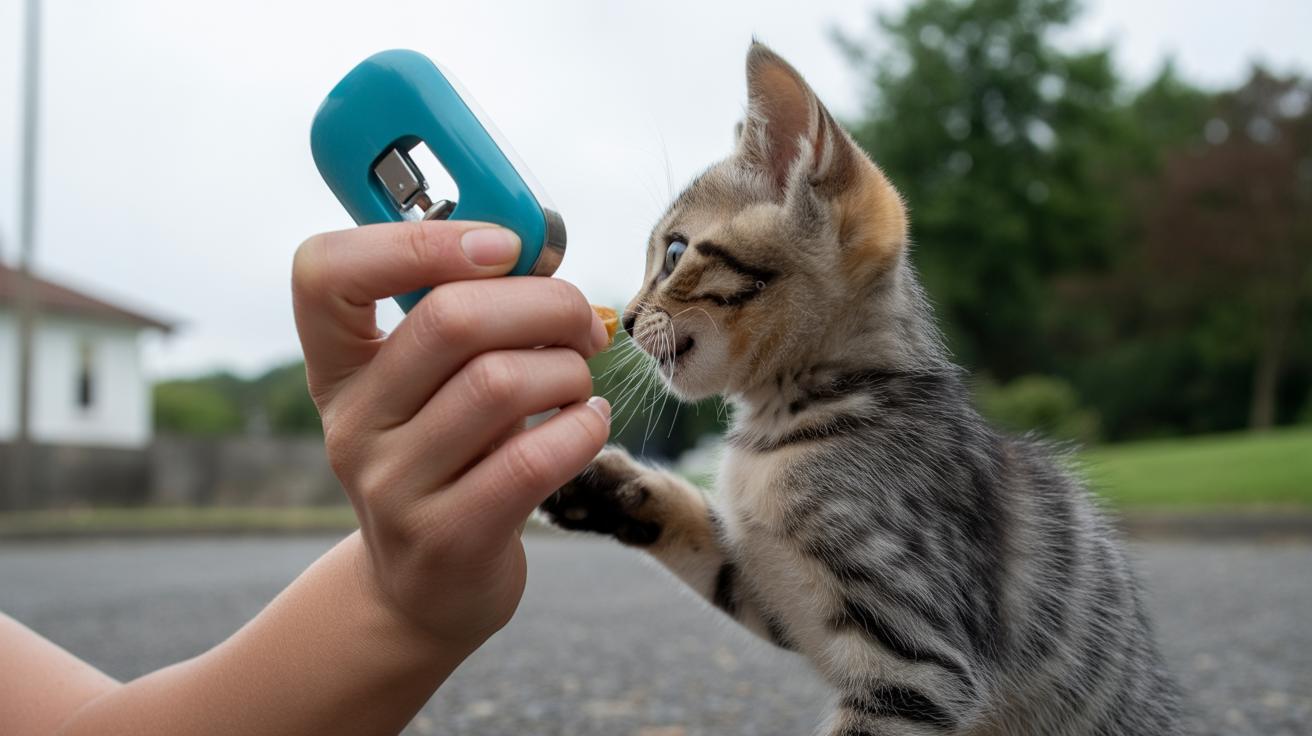
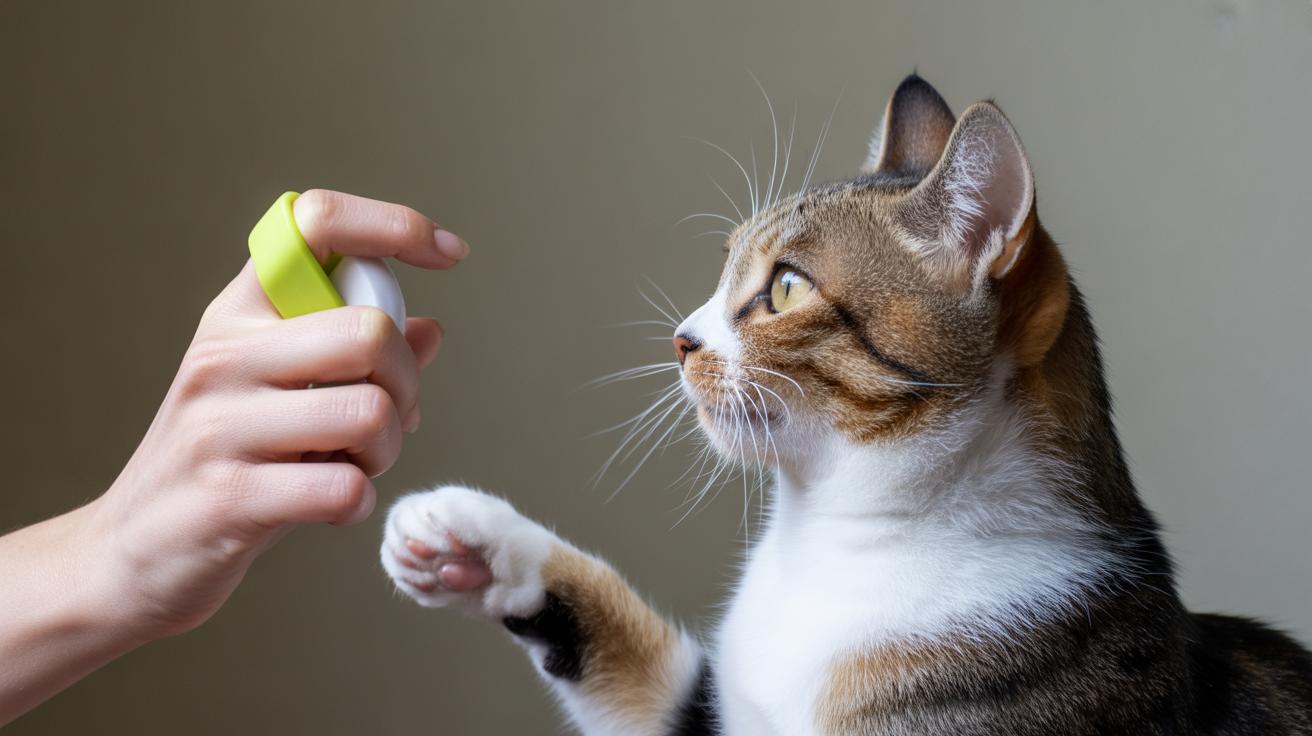
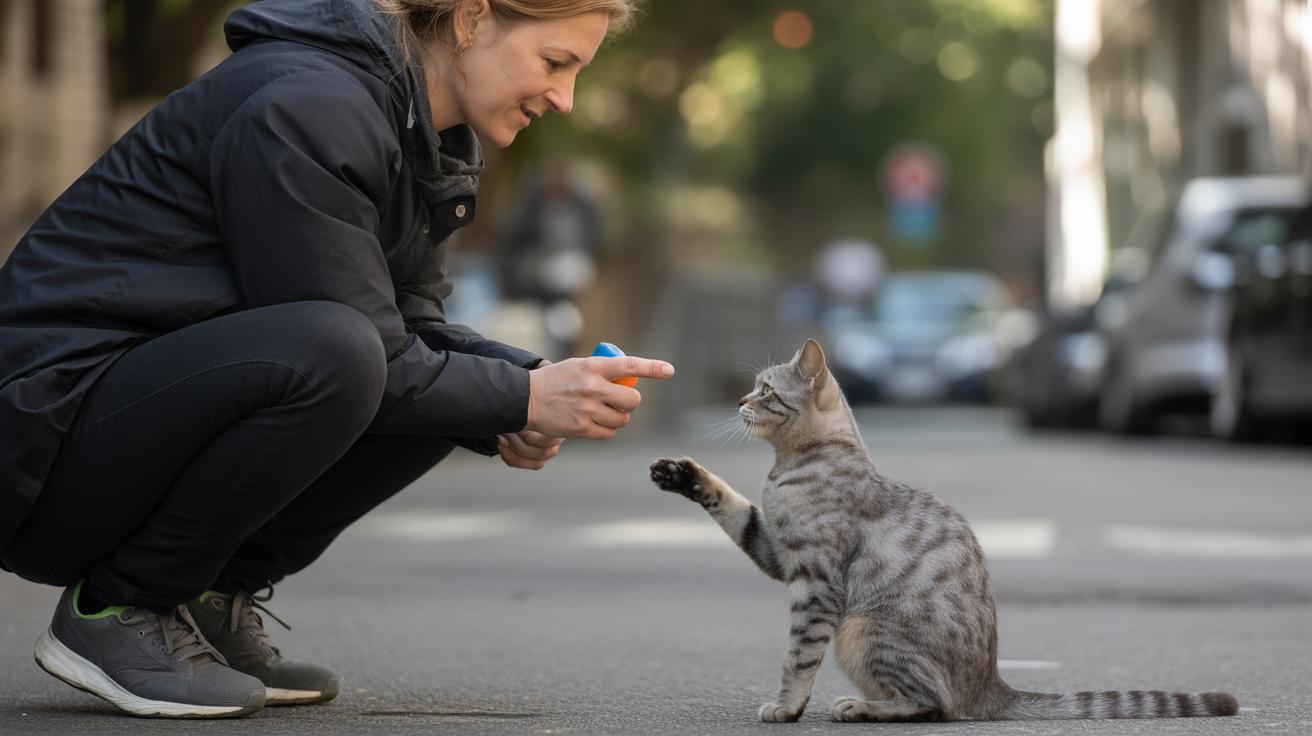
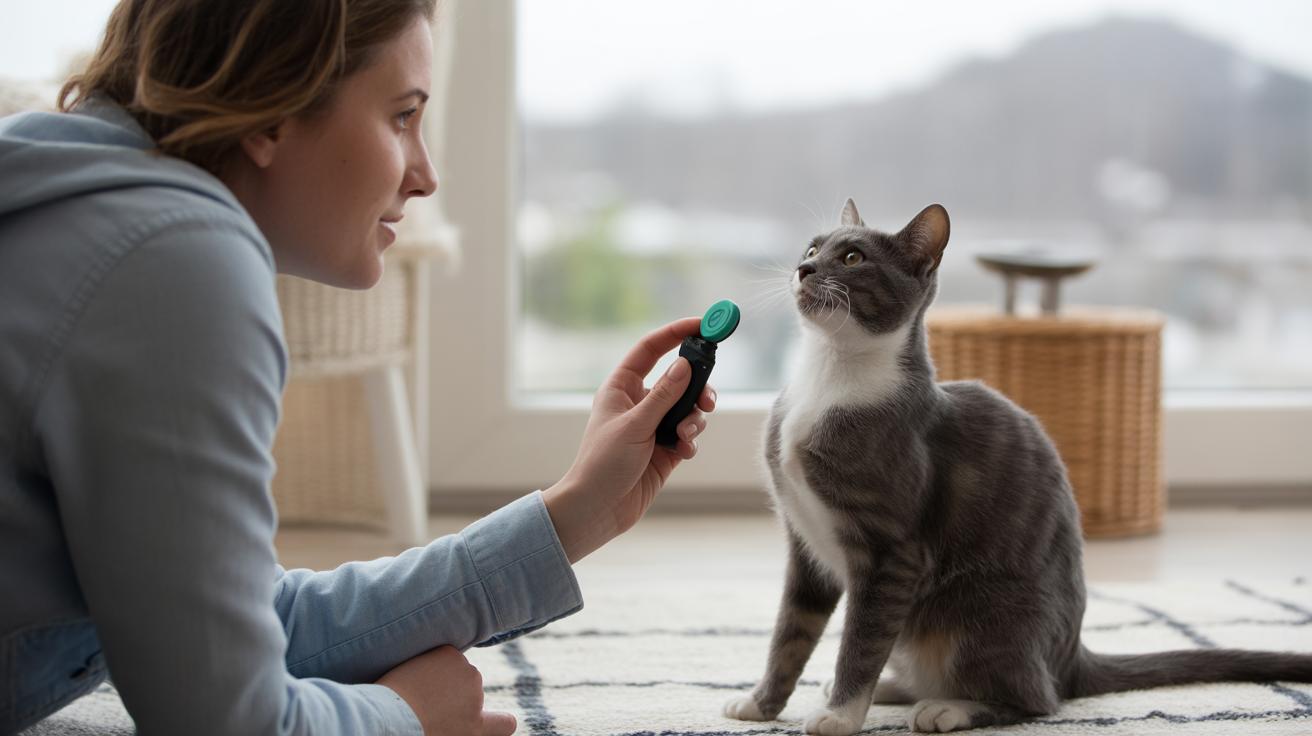
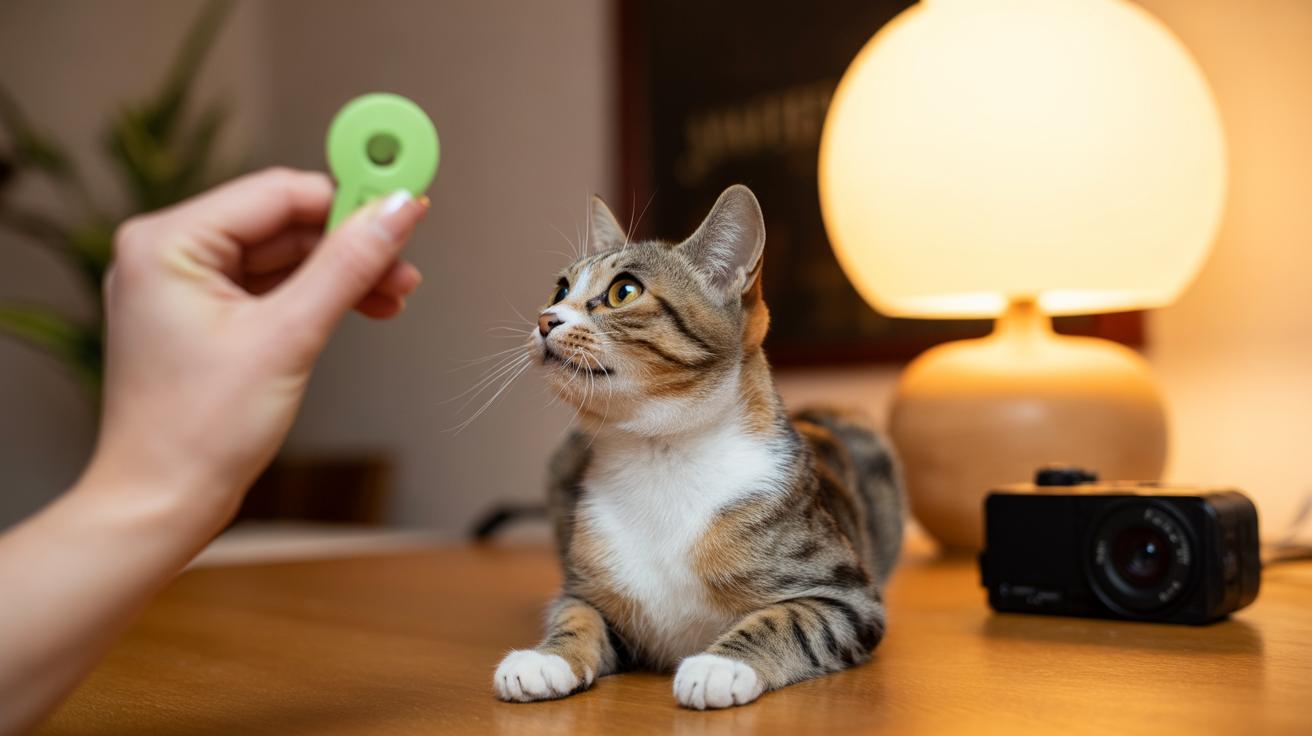
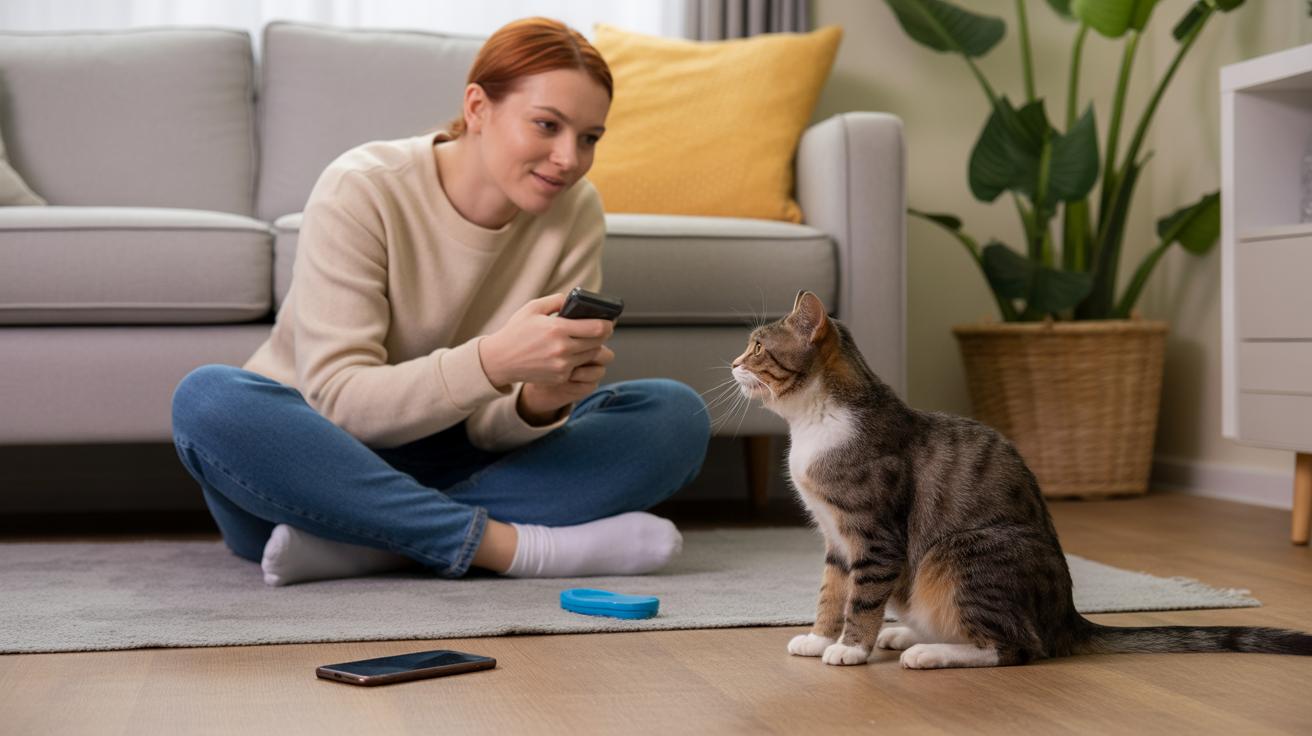
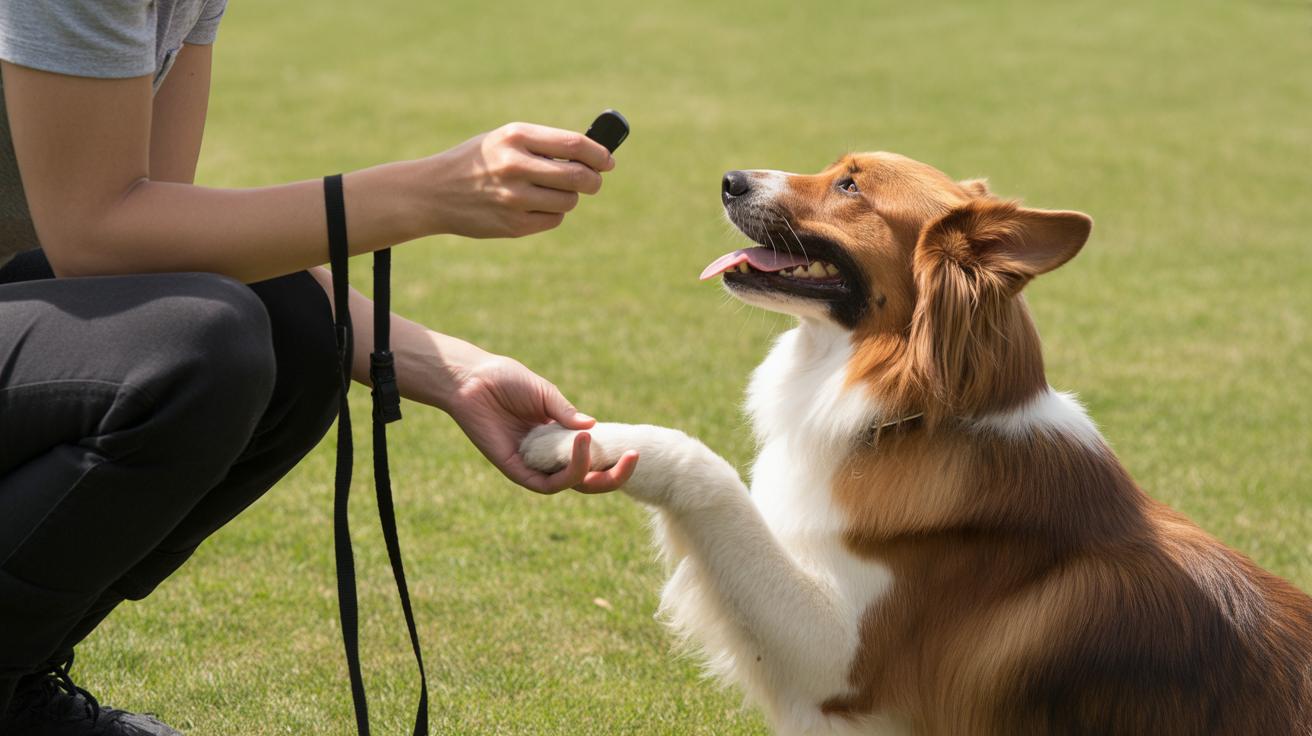
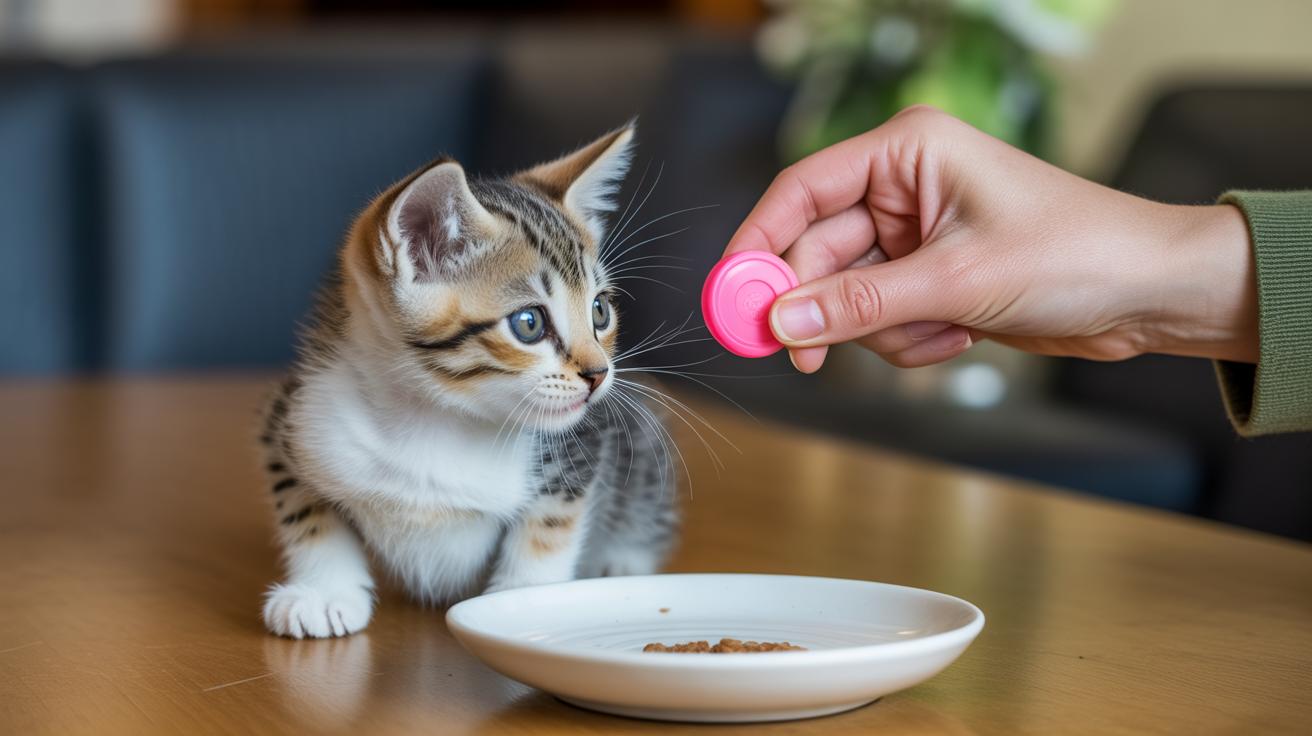
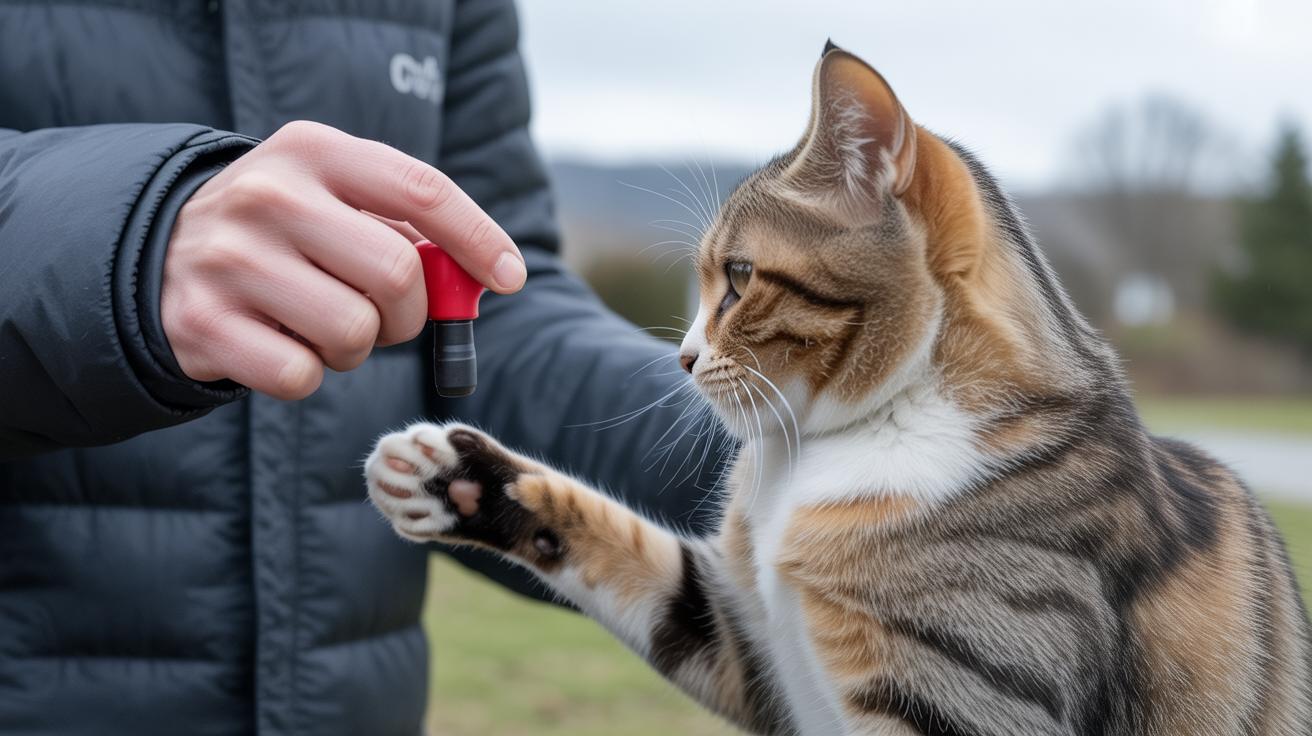
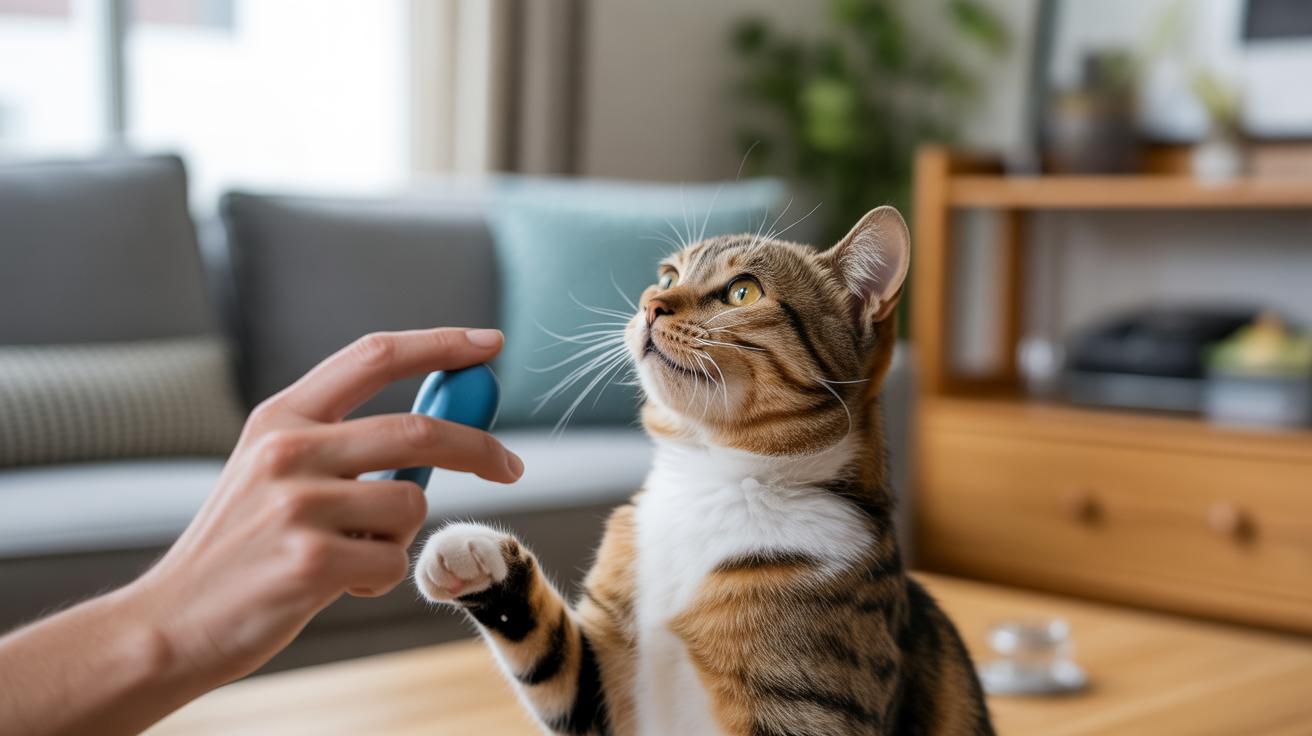
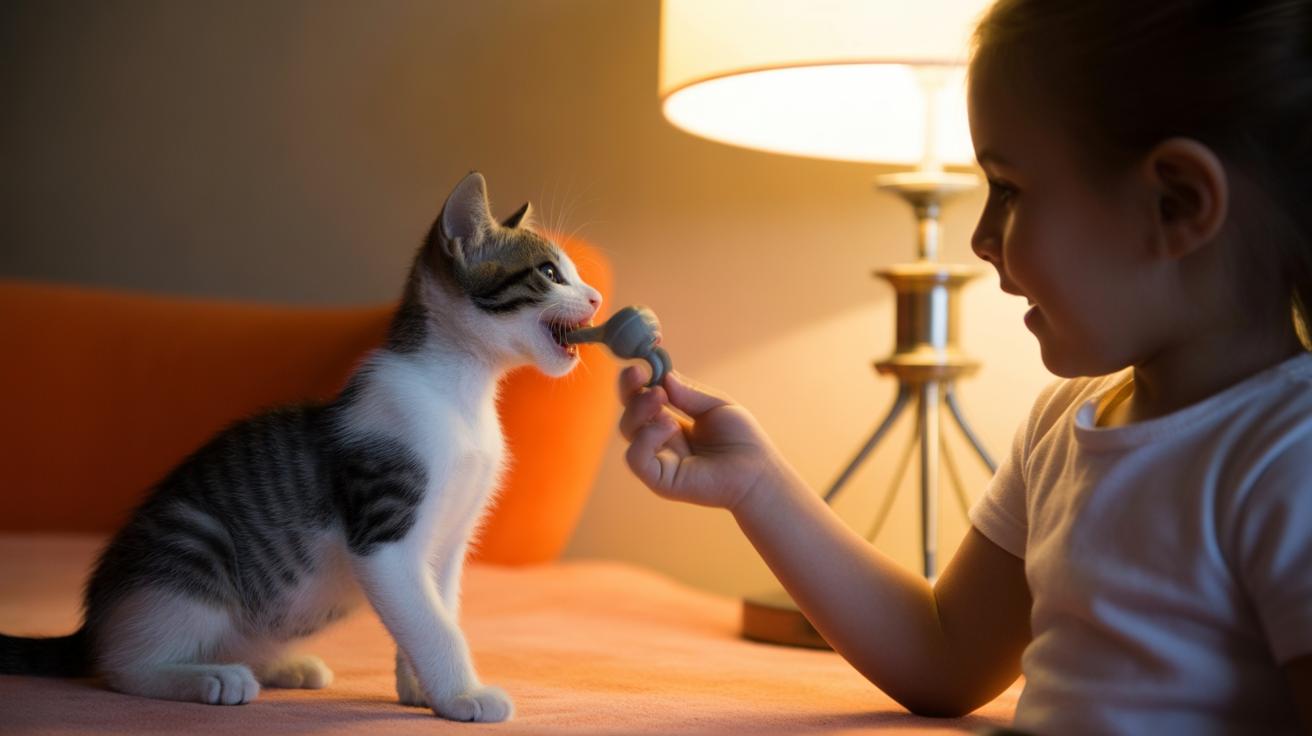
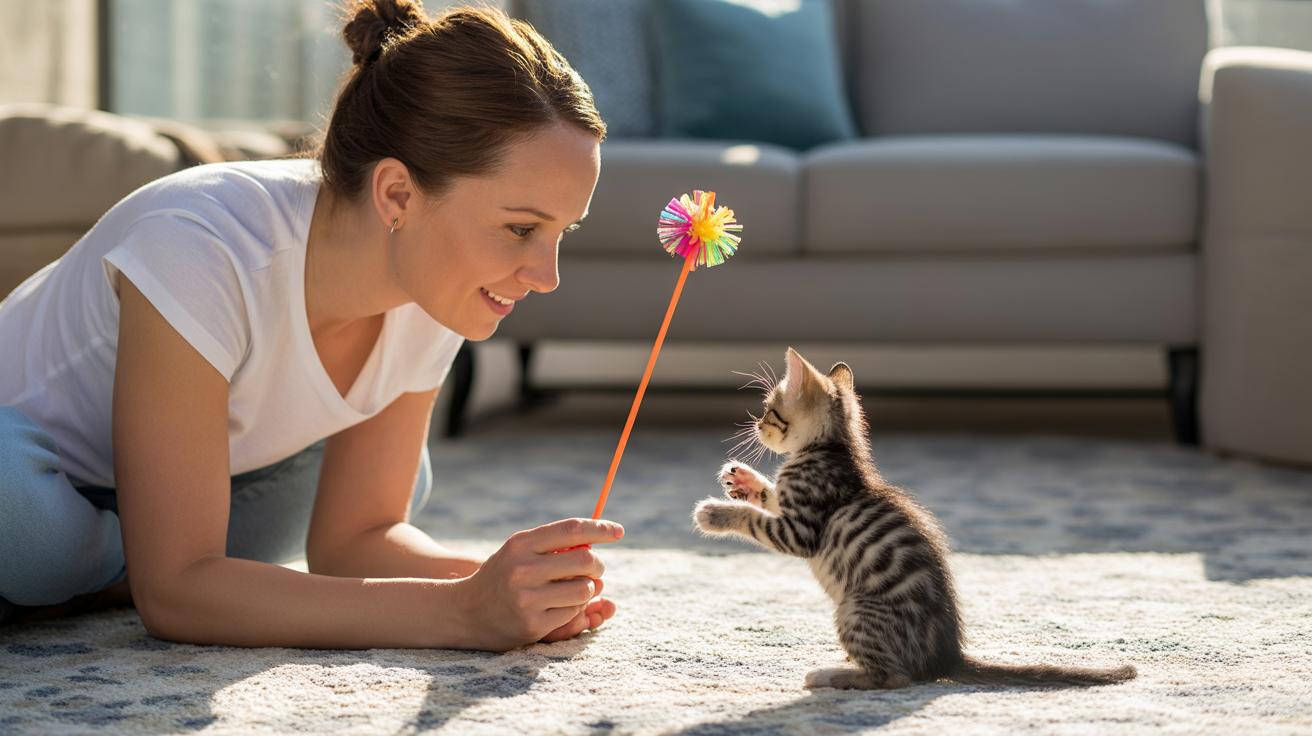
Here’s a quick, safe script you can use right away. Say "Ouch!" in a clear voice, then freeze (stop moving so your kitten loses interest). Slide your hand back slowly, and offer a chew toy (a toy made to be bitten) so they learn toys are for nibbling, not fingers.
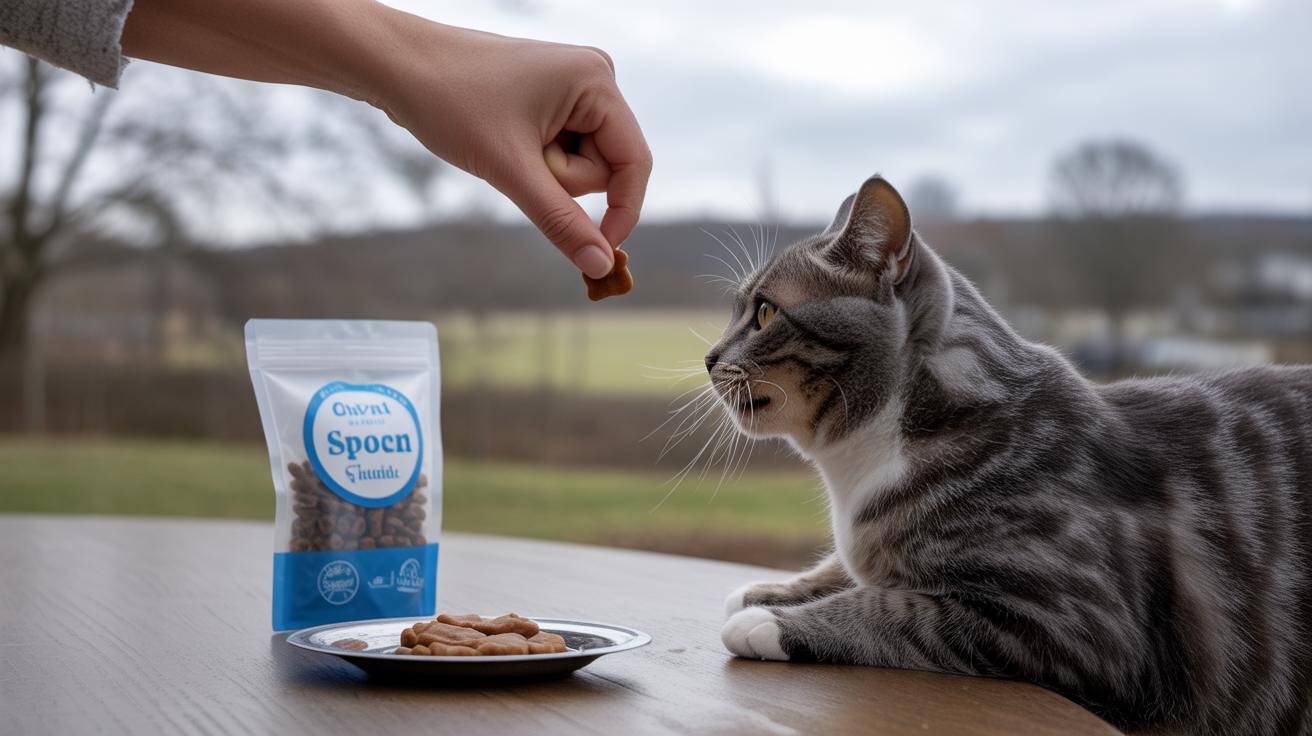
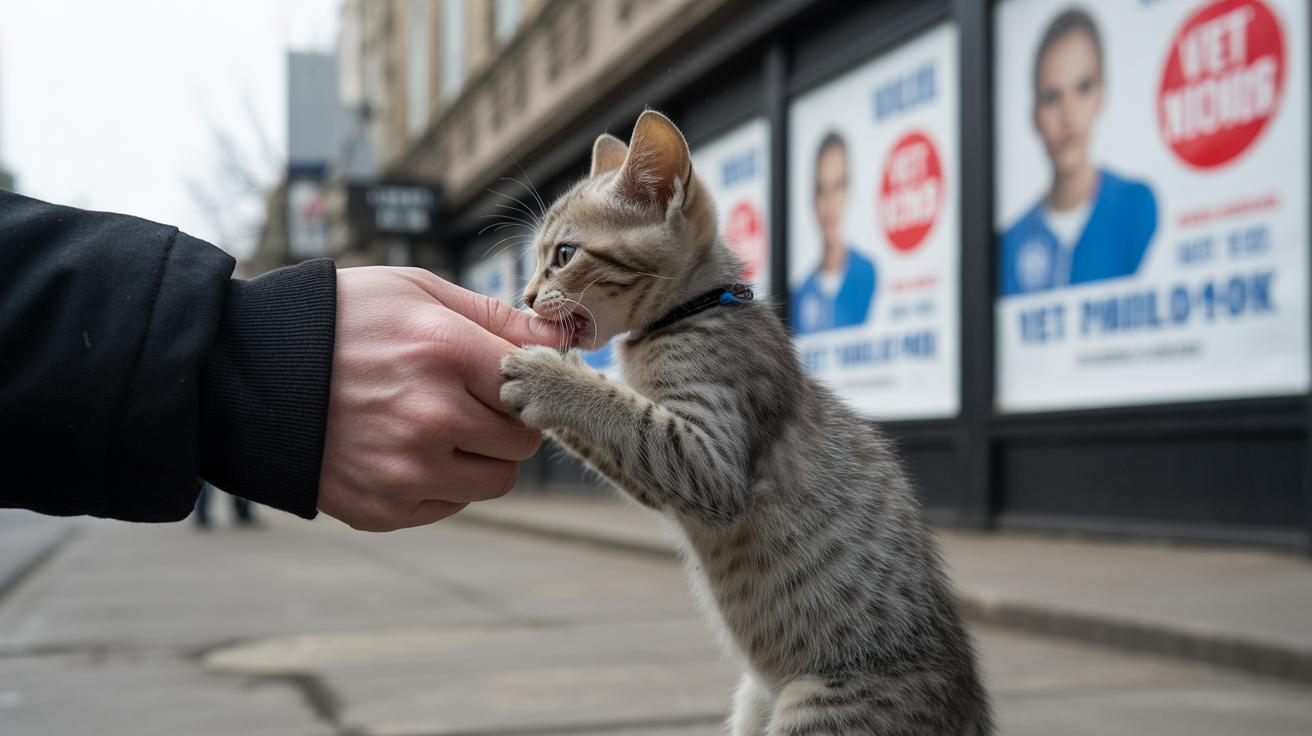
If your kitty gives a hard latch (a firm bite that won't let go), stay calm. Don’t yank your hand. Instead, gently wiggle your fingers free or lure them off with the toy, then give a calm-down time (short timeout to relax) of about five minutes in a safe spot. Simple rewards like a soft "Good calm" and a tiny treat help teach gentle play.
Keep it consistent and patient. Praise calm paws, replace hands with toys during rough play, and soon you’ll see more playful pounces and fewer painful nips. Ever watched your kitty chase shadows? It’s oddly glorious.
Quick, practical steps to stop a kitten from biting
Quick, safe moves you can do right away: give a short vocal cue, stop moving calmly, offer a toy to redirect play, and if needed use a short time-out (brief calm-down break). Say "Ouch!" (short, single-syllable) to startle the kitten, then gently offer a toy while saying "No bite."
- Say “Ouch!” (short, sharp) and freeze movement.
- Withdraw your hand slowly, slide it back and close fingers gently; do not jerk.
- Offer a designated bite toy (a soft chew or plush toy) and say “No bite, bite this.”
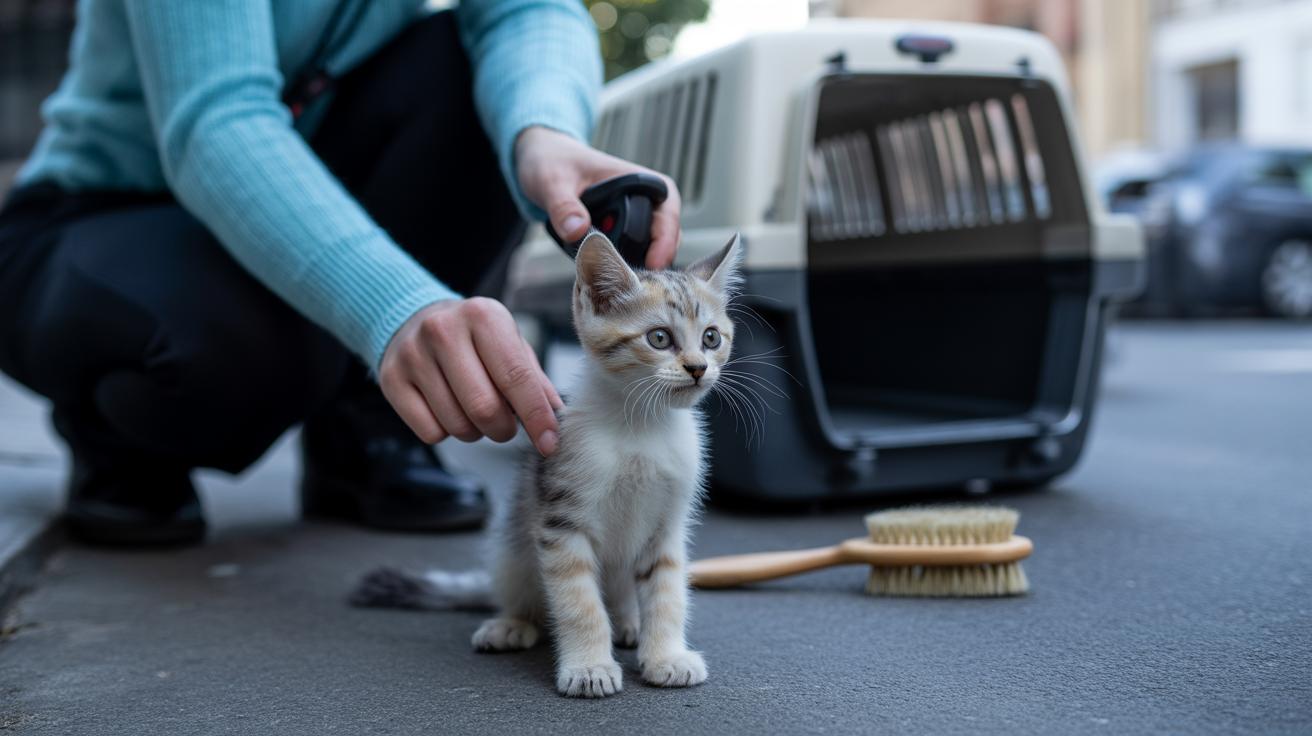
- If the kitten keeps biting, put them in a quiet room or a carrier (secure pet carrier with familiar bedding) for about 5 minutes, then return calmly.
- For a hard latch (a strong hold with teeth), follow the safety tips above and seek veterinary care (veterinarian) if the wound breaks skin or shows signs of infection.
- Reward calm behavior and resume play when the kitten is relaxed; cross-link these items to the on-page anchors for more detail.
When you pull your hand back, freeze first so the kitten doesn’t see a moving target and start chasing. Then slide your hand back slowly and close your fingers gently; don’t yank or slap. Ever watched your kitty chase shadows? Same idea, movement invites pouncing.
For time-outs, use a safe, quiet room or a secure carrier with familiar bedding for about five minutes, then come back calmly and act like nothing dramatic happened. It’s just a short reset.
If a kitten locks on hard, don’t pull. Hold still and gently roll the kitten’s muzzle (muzzle means the nose and mouth area) to break the grip, or wrap a soft damp cloth around the mouth and slide your hand free. Seek veterinary care for bites that break skin, swell, or show redness or pus. Get immediate vet help for severe pain, bleeding that won’t stop, swollen limbs, trouble breathing, collapse, or repeated severe latches.
See Training Scripts, Play Plan, and Troubleshooting below. This quick guide doesn’t include the full scripts, full schedules, toy lists, blanket method details, or extended troubleshooting , those are in the sections that follow.
Why a kitten bites: play, teething, overstimulation and attention-seeking
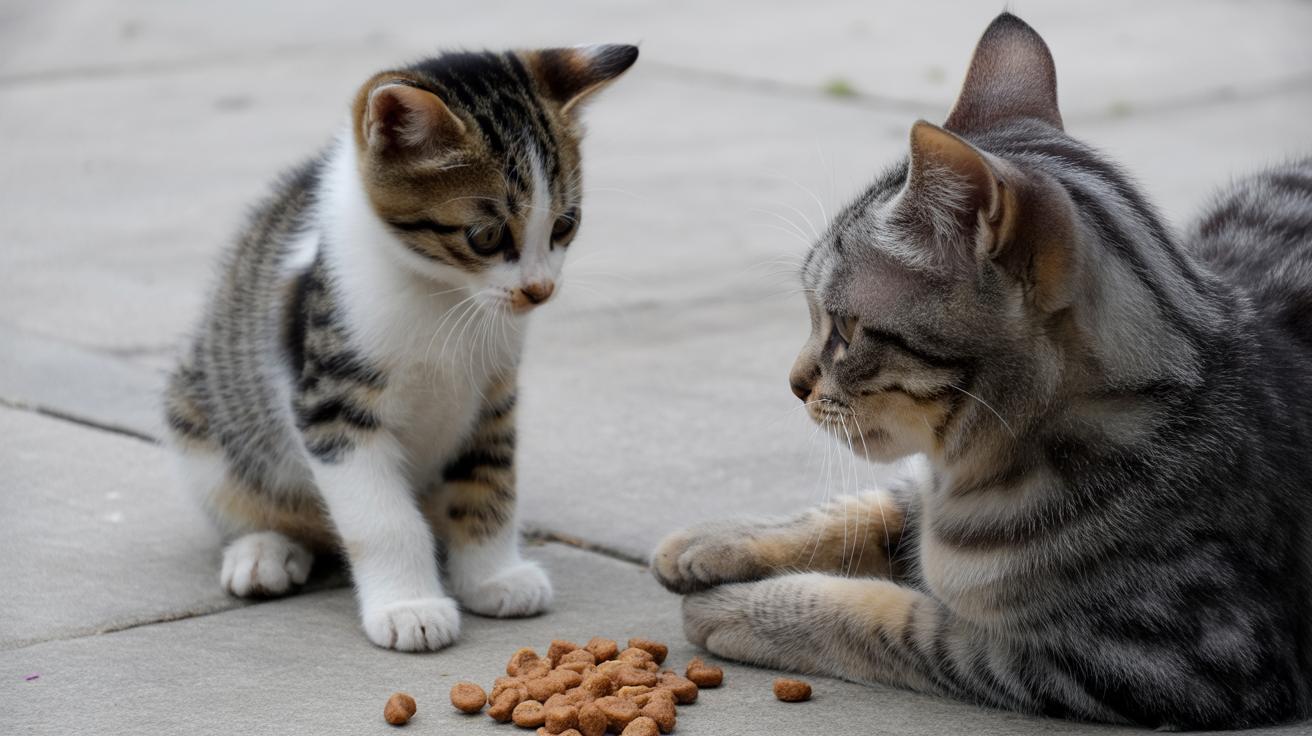
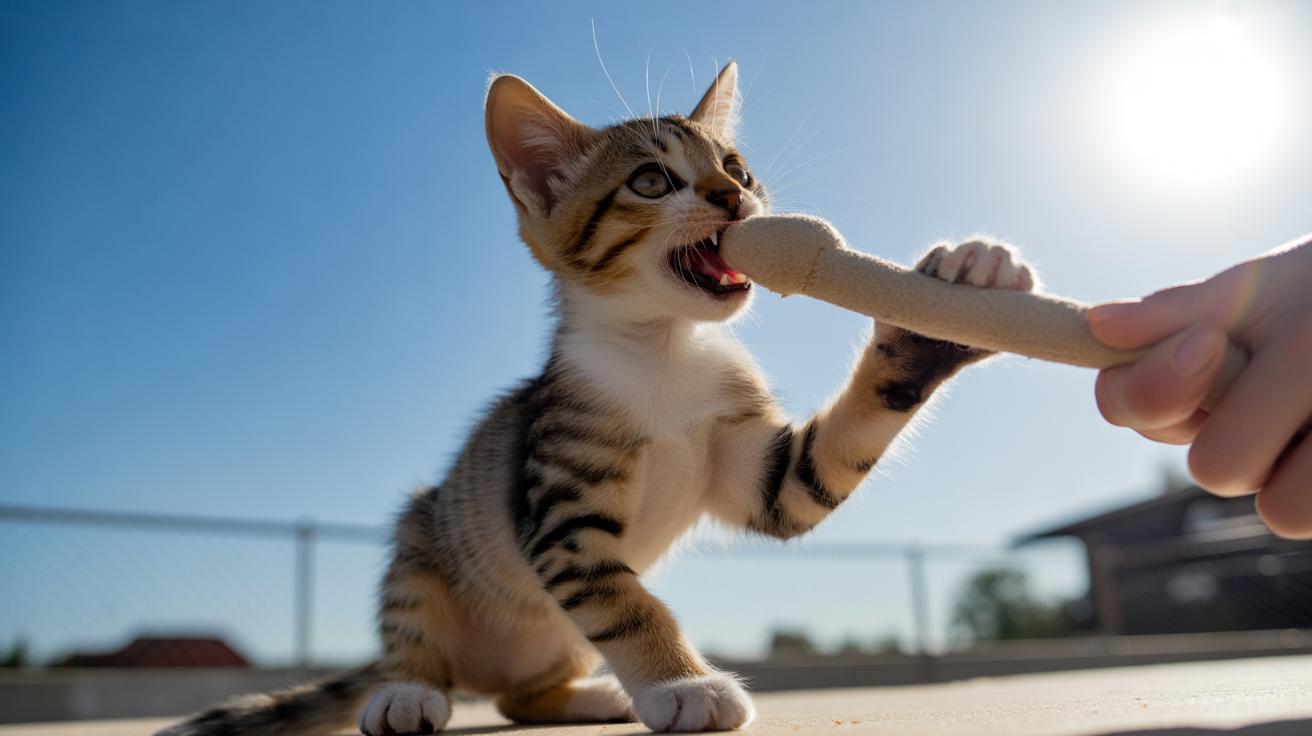
Kittens start practicing hunting and mouthing as early as about 4 weeks old, so you’ll see them watch, stalk, pounce, and give tiny nips while they learn to catch prey. Play-bites usually come with a loose, wiggly body and soft nibbles, not meant to hurt. Fear or aggressive bites have a stiff body, flattened ears, and loud yowls, so read the body language before you react. Ever watched whiskers twitch right before a pounce? Cute and useful info.
Teething (when baby teeth fall out and adult teeth push in) adds a fizzy urge to chew. Baby teeth usually come out around 3 to 4 months, and adult teeth are often in by about 6 months. Biting and object-play tend to peak between 4 and 6 months, so extra toys and short, guided play sessions during that window help a lot. Think safe chew toys or soft fabric mice to save your hands.
Other common reasons are bored energy, petting that goes too far, or plain attention-seeking when the kitten wants play or food. If you want quick fixes for an immediate nip, see the lead: Quick, practical steps to stop a kitten from biting. Little tip – a ten-minute chase session before you leave can buy you calm time.
Common causes at a glance:
- Play and hunting practice – learning to pounce and grab
- Teething (baby teeth fall out around 3–4 months; adult teeth by ~6 months)
- Overstimulation from petting – sudden tail flicks or skin ripples are signs
- Attention-seeking or frustration – wants play, food, or interaction
- Pain, fear, or illness – sudden nips or withdrawn behavior
Worth every paw-print.
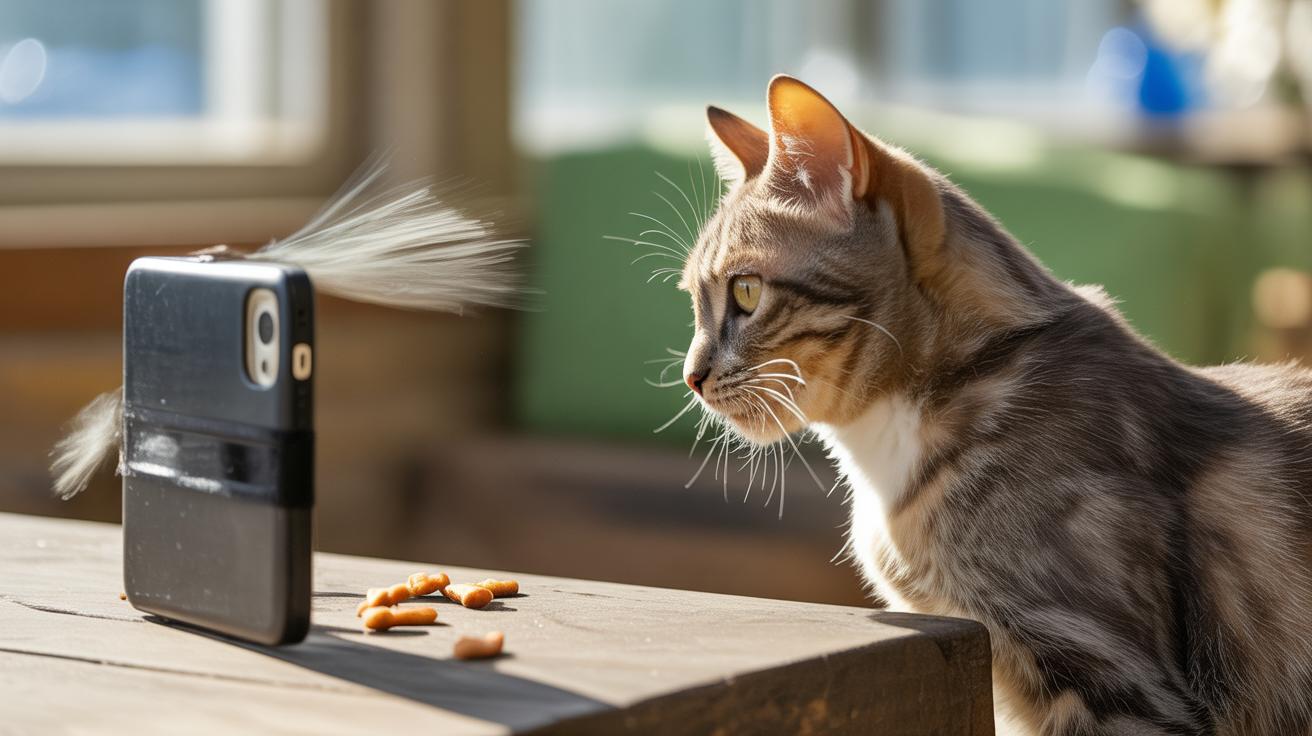
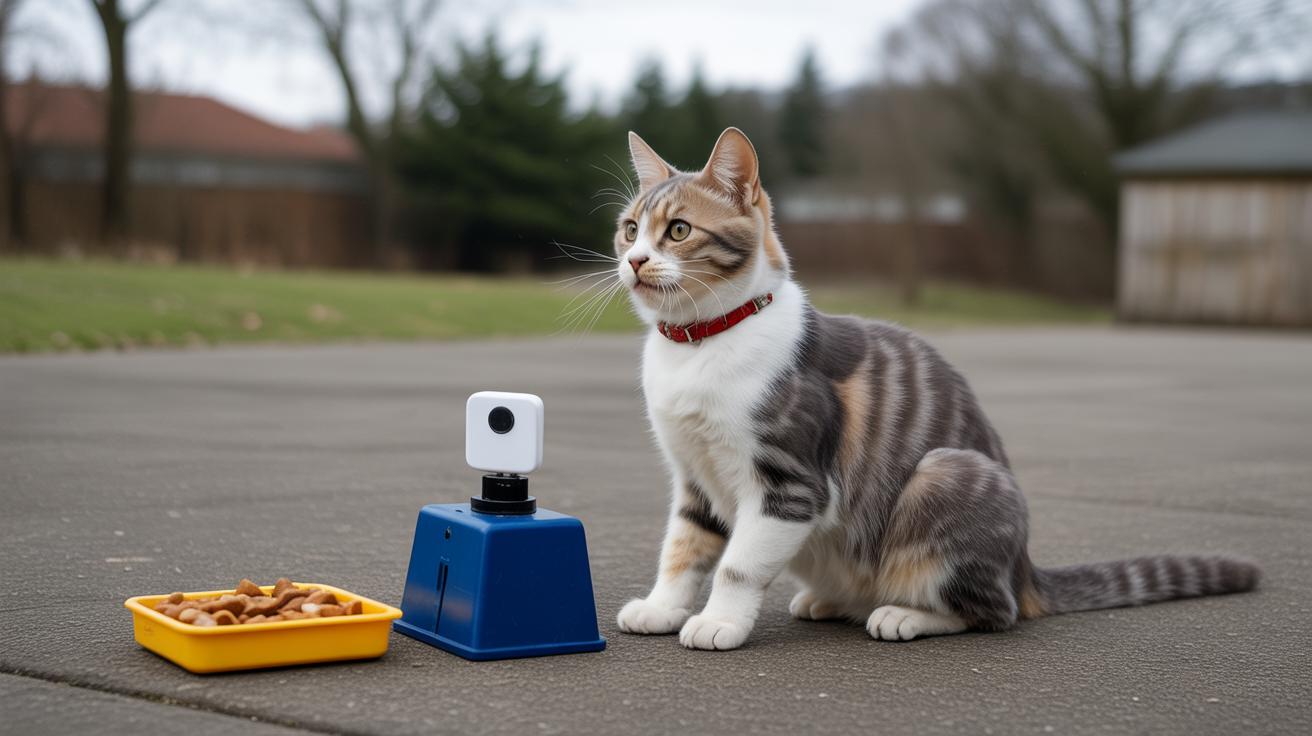
Use daily play and enrichment to stop a kitten from biting hands and feet
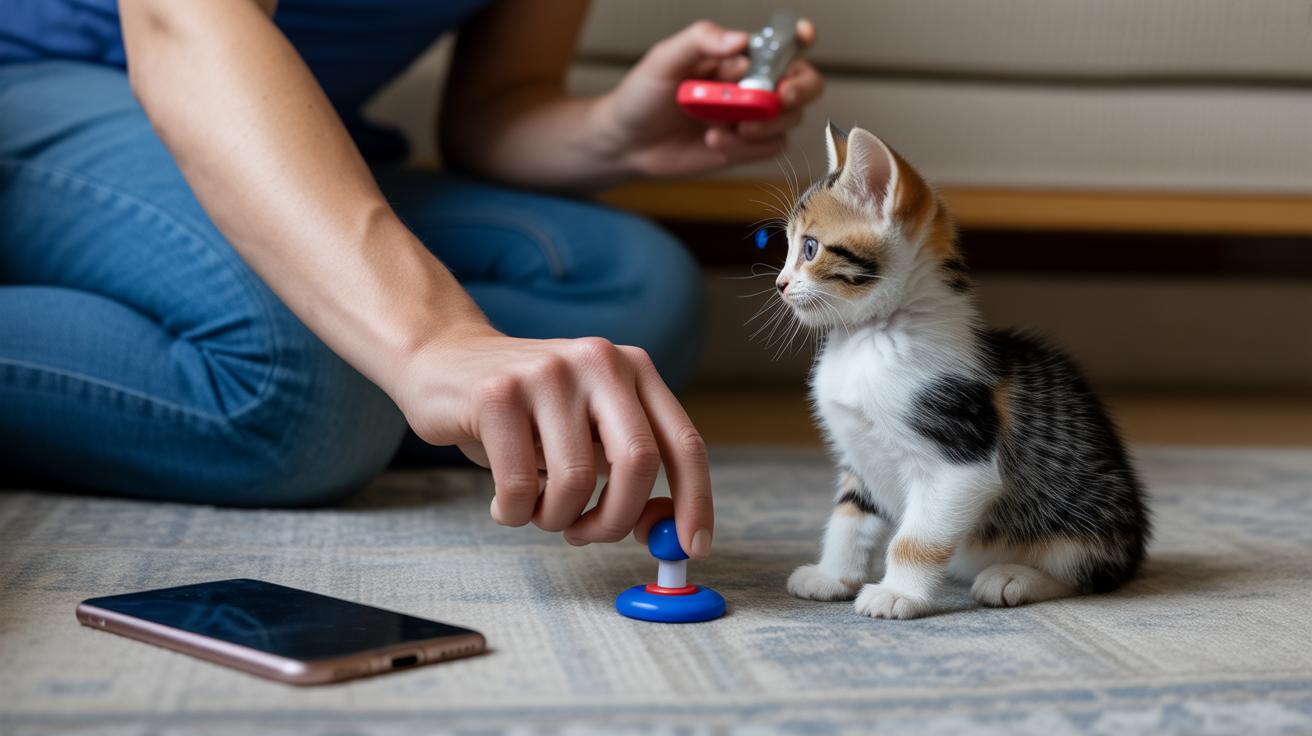
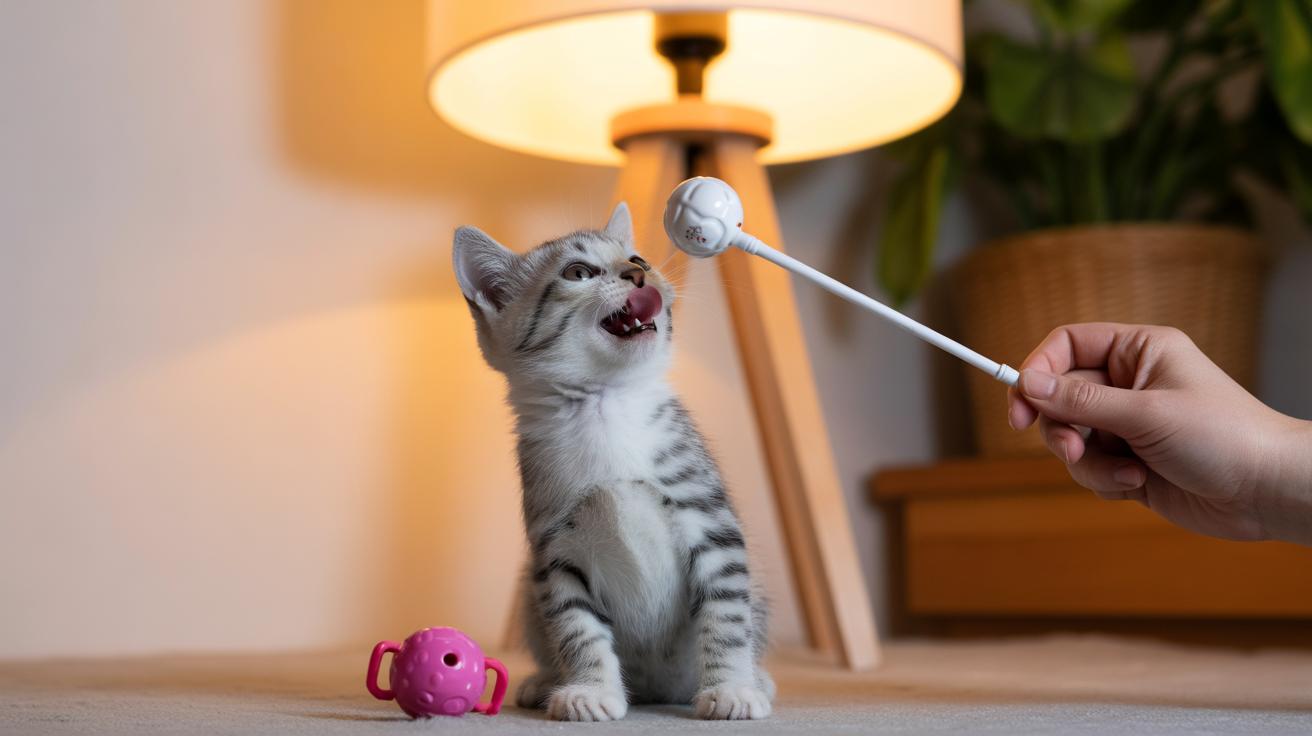
Turn your kitten’s hunting urge into short, focused play so your fingers and toes stay off-limits. Try this simple schedule: three 15-minute sessions a day – morning (right after you wake), mid-afternoon (an energy-slap breaker), and just before bed (to tire them out). Use a wand toy to mimic prey, end each session while the kitten is calm, and let them actually catch a toy at least once so they feel successful. Ever watched a whisker-twitching pounce? That little win matters.
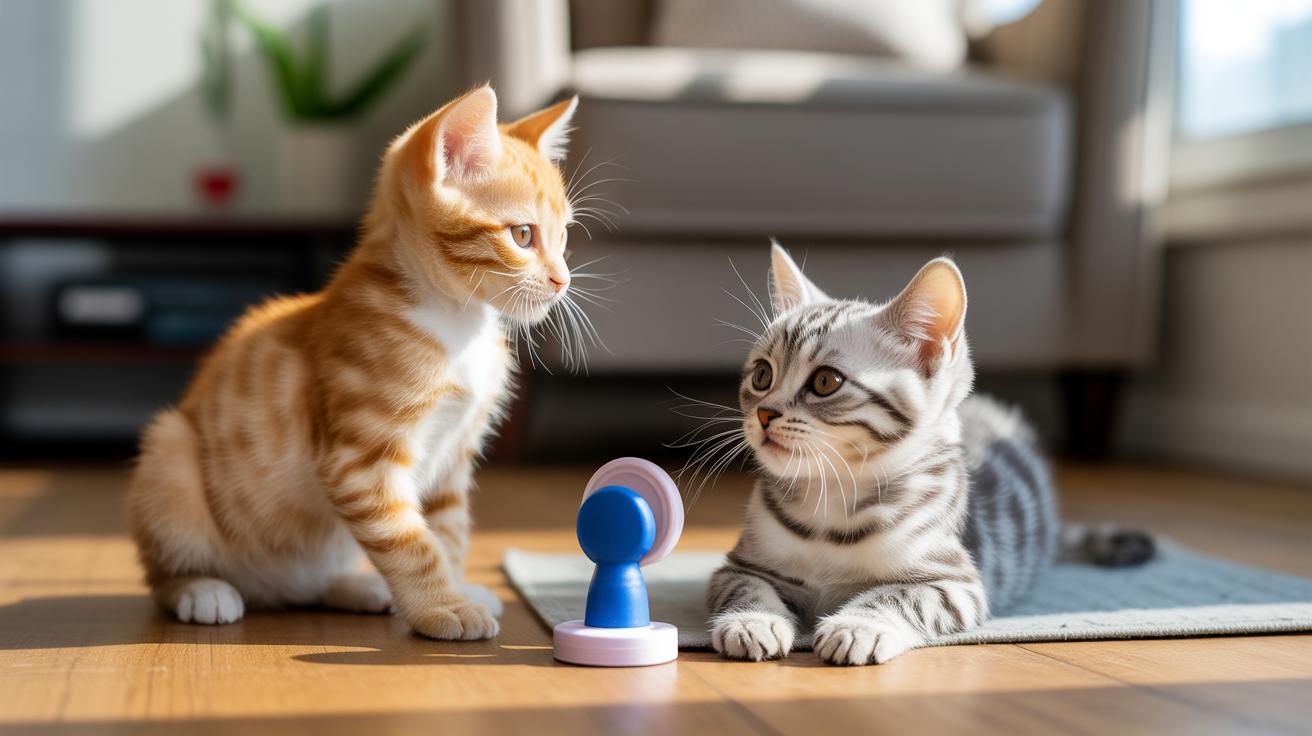
Here are the toys to keep on hand:
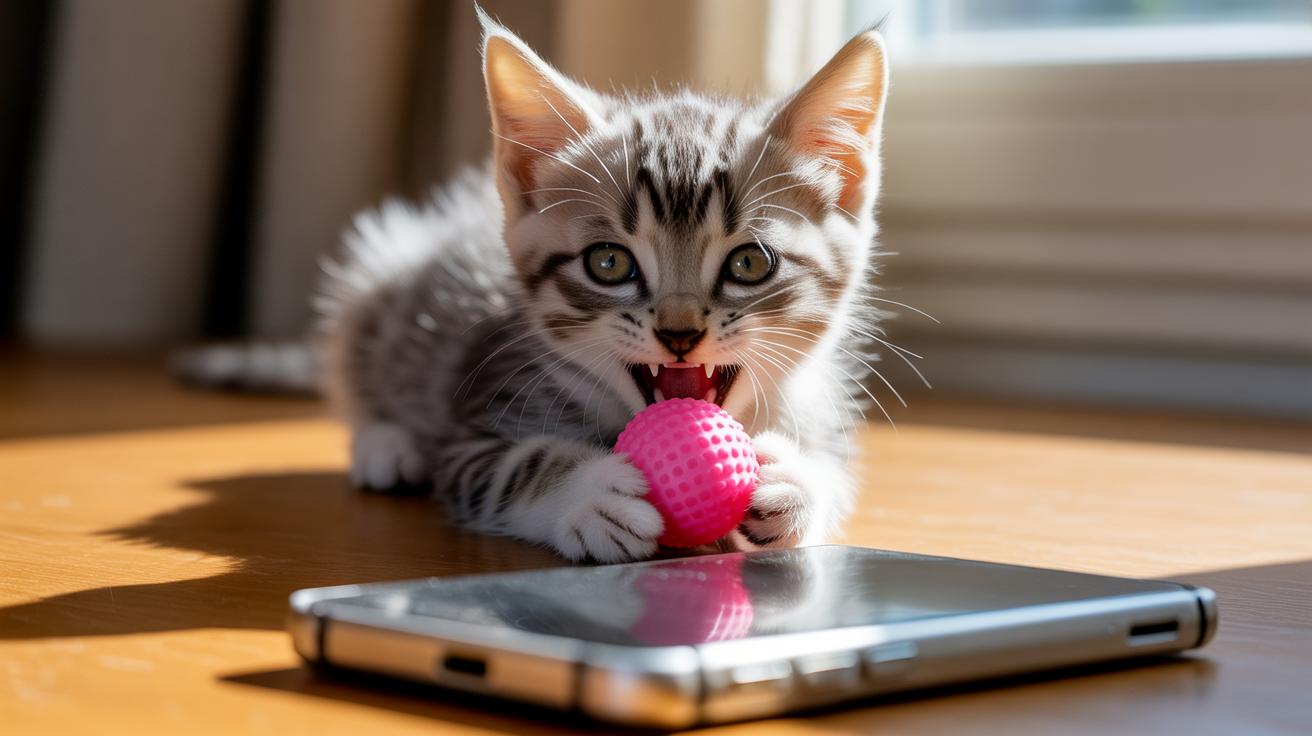
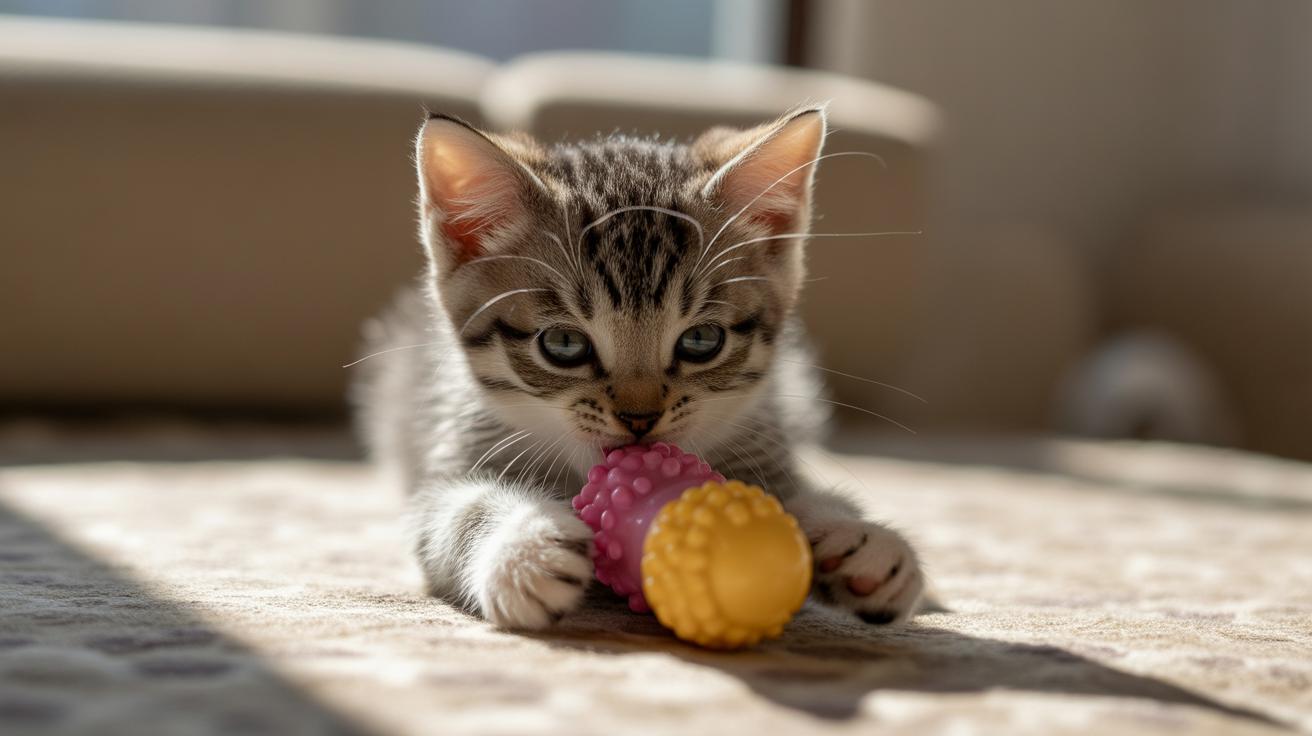
- wand feather toy (long stick with feathers that move like prey)
- kicker toy (soft, long plush for biting and bunny-kicking)
- crinkle ball (small ball that crunches and bounces in odd ways)
- plush mouse (tiny, soft toy made for grabbing and chewing)
- tunnel (fabric tube for hiding, pouncing, and quick sprints)
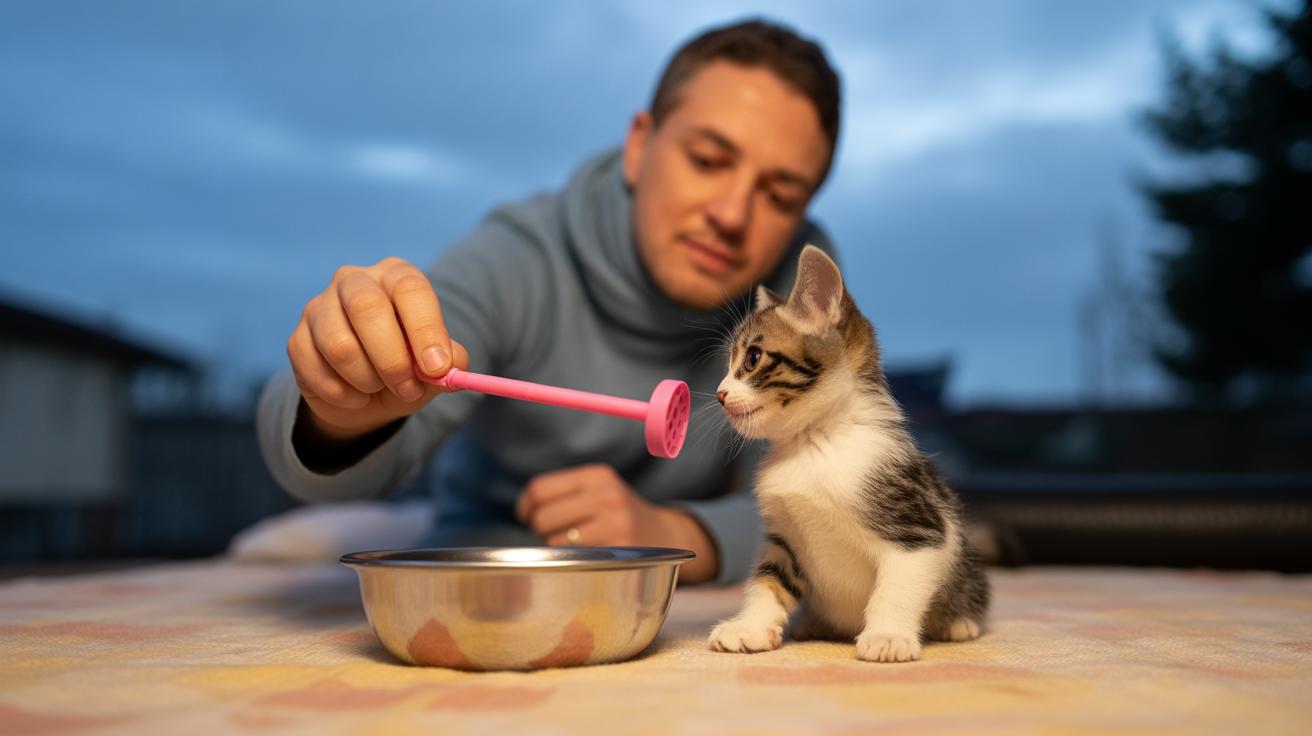
- food puzzle (a feeder that dispenses kibble when the cat works it)
| Toy Type | Why it works |
|---|---|
| wand feather toy | Keeps stalking and pouncing safe. Teaches chase mechanics while keeping your hands back. |
| kicker toy | Made for biting and kicking. Lets your kitten practice the grab-and-kick without hurting you. |
| crinkle ball | Crunchy sound and weird bounces hold attention and trigger hunting instincts. |
| plush mouse | Small and soft for carrying and chewing – great for that post-catch chew session. |
| tunnel | Creates surprise spots for ambushes and gives room to sprint, which tires them fast. |
| food puzzle | Makes eating feel like hunting. Slows feeding and stretches play into a rewarding task. |
After a real catch, give a tiny reward to mimic hunt-then-eat satisfaction. Play 10-15 minutes, let them catch, then offer 1-2 tablespoons of kibble or a small treat. Rotate toys in two sets – set A for three days, then set B for three days – to keep things novel. If your kitten gets overaroused, pause for a minute, switch to a slow-moving toy, or end the session early. If they ignore toys, try changing how you move the toy, add a scent or a pinch of catnip, use a food puzzle, or refresh wand bits – check DIY replacement attachments for teaser wands for ideas. Replace toys that shred or lose stuffing.
Worth every paw-print.
Teaching bite inhibition and safe handling for kittens (with sample scripts)
The idea is simple and friendly: make biting stop the fun so your kitten learns to use a softer mouth. Play short drills where you let the kitten catch a toy, then if a nip happens give a calm cue and pause the game. Keep sessions brief, about 5 to 10 minutes, so the lesson sinks in without wearing anyone out.
Ever watched your kitty chase shadows? Great, use that same playful energy. Start lively with a wand toy, let the kitten win sometimes, and finish on a calm note with a treat. That helps the kitten learn that gentle play gets rewards.
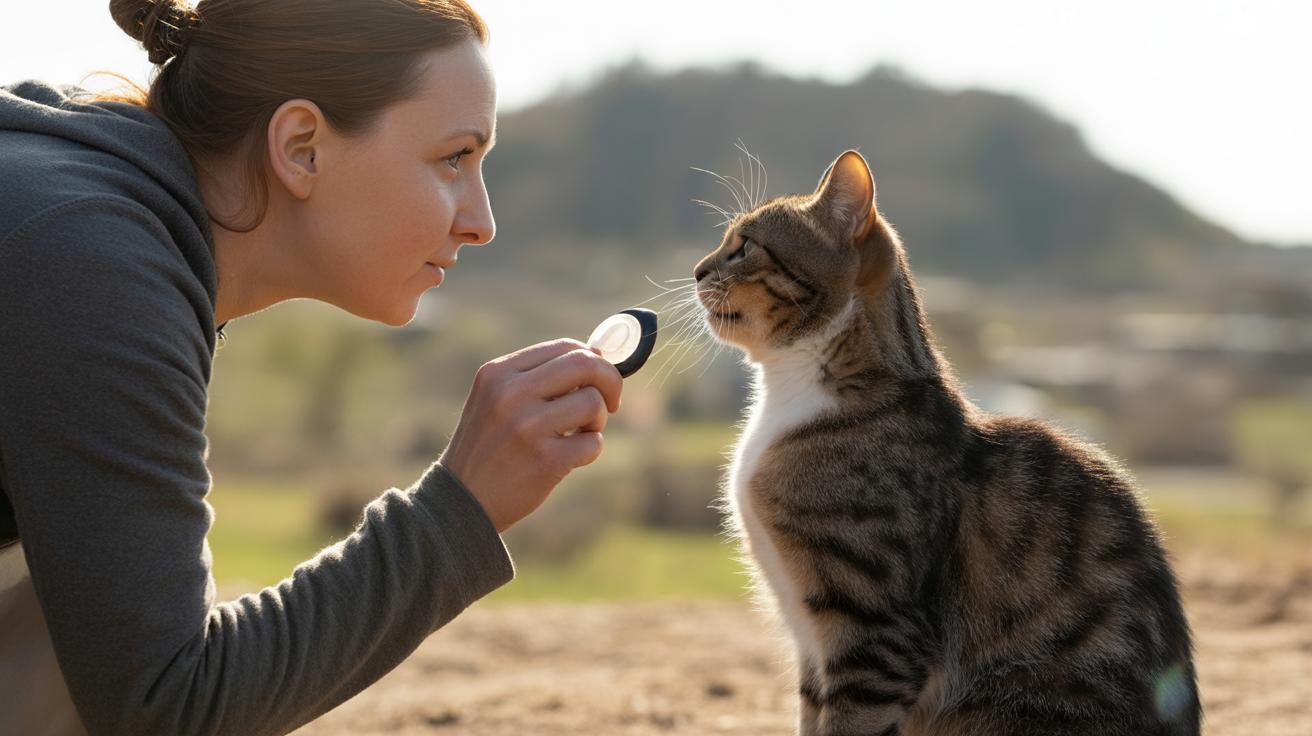
If a kitten locks on hard, stay calm. Hold still and cup the muzzle (nose and mouth area) with one hand, then gently roll the kitten’s head toward its shoulder with the other hand to ease the bite. If that doesn’t work, slide a soft, damp cloth around the mouth to break contact without jerking. Don’t use the blanket-over-head trick if the kitten panics, has breathing issues, or is especially fearful. The blanket trick means briefly covering the head with a lightweight towel to reduce stimulation, but you must watch breathing and never leave the kitten covered.
Sample Scripts and Cues
- “Ouch. That’s too hard.”
- “No bite, toy time!”
- Child-friendly: “No teeth! Use the feather.”
- Time-out cue: “Calm time.” (place kitten in a quiet room or carrier for about 5 minutes)
- Reintroduction cue: “Play nice.” (offer the toy and give gentle praise)
- Set the tone: play lively for 5 to 10 minutes using a wand or teaser, let the kitten catch the toy, and end calmly with a treat.
- On a nip: give a short, firm cue, stop moving, and wait 3 to 5 seconds before offering the toy again.
- Hard latch: stay still, cup the muzzle (nose and mouth area), try rolling the head, or use a damp cloth; get vet care if the skin breaks or looks infected.
- Time-out: put the kitten in a safe, quiet room or carrier for about 5 minutes, then return calmly and offer the toy again.
- Reward calm: praise softly and give a tiny treat or a bit of kibble after gentle, toy-only bites; keep short, regular sessions.
A few quick tips: use soft toys that won’t hurt tiny teeth, avoid hands-as-toys, and supervise kids so play stays safe. Worth every paw-print.
Redirect biting to toys and safe chewables (practical redirection games)
We moved the full redirection games into the Use daily play and enrichment section, under a short "Redirection games" subsection. There you’ll find five quick game ideas with one-line how-to tips and a toy-safety check for each: wand feather chase; kicker swap; toss-and-forget fetch; food-puzzle distraction; teether trade. Quick example: Wand feather chase – "Wiggle the feather low, then high; say 'Catch!' as your cat pounces." See Use daily play and enrichment: Use daily play and enrichment and the Quick Steps anchor: Quick, practical steps.
Training timings and templates now live in the Teaching bite inhibition section as a small drill box, so all bite-training instructions are in one place. The drill gives the routine and simple timings: offer toy for about 30 seconds; do three rounds of teasing for 20 to 30 seconds each; let the cat catch the toy; allow a brief bite; then reward. Short cue example: Structured drill – tease 20–30s; let catch; brief bite; reward. See Teaching bite inhibition: Teaching bite inhibition and the Quick Steps anchor: Quick, practical steps.
Toy-safety notes were moved into the toy list so we’re not repeating them everywhere. Key safety points are: inspect toys weekly; avoid small detachable parts, cheap beads, or toxic stuffing; never leave strings unsupervised. Replace any toy with exposed stuffing, loose seams, or hard chews that chip. Worth saying out loud: retire those toys right away, and you’ll sleep easier watching your kitty play.
Oops, one last thing, if you want the fastest help, jump to the Quick, practical steps anchor: Quick, practical steps.
Nighttime strategies: stop a kitten from biting at night by managing energy
Tame the midnight pounce with a simple evening routine that works like clockwork. Play hard, feed, then settle down. Ever watched your kitten stalk a sock like it’s a wild animal? That’s the energy we want to use up before bedtime.
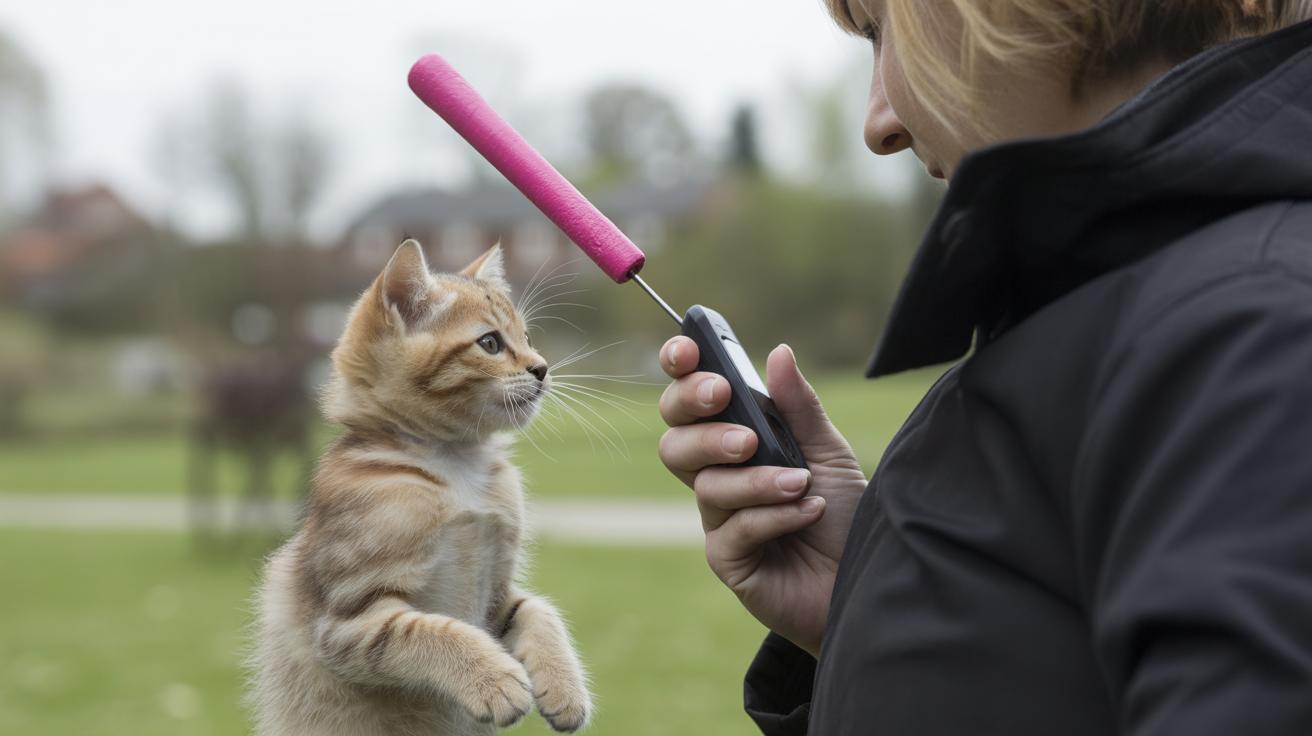
- Play 15 minutes , a vigorous teaser wand or chasing game that ends with a catch. (Teaser wand = a stick with feathers or a toy on a string, like a fishing rod for cats.) Keep it fast and exciting so your kitten practices the full hunt sequence.
- Feed a small meal right after play to mimic hunt then eat. Your cat’s brain expects food after the chase, so this makes them feel satisfied.
- Quiet 10 minutes to cuddle and settle , dim the lights, speak softly, and pet gently. Calm sensory input tells their body it’s time to rest.
If nips keep happening, add calming supports. Try a pheromone diffuser (plug-in that releases a cat-calming scent), a cozy sleep box with familiar bedding, a low-heat pad (gentle-warm pad for extra comfort), or soft white noise (steady background sound to mask sudden house noises). These help soothe the overstimulated kitty and make the bedroom feel safe.
Give the routine 1 to 3 weeks to really take hold. If your kitten is still active after that, try longer play sessions, a short late-night mini-play before lights out, or talk to your vet or a cat behaviorist for next steps. Worth every paw-print.
When kitten biting may mean pain, fear, or a deeper problem (when to consult a vet or behaviorist)
If your kitten nips now and then, it’s often play. But sometimes those bites point to something else. Keep an eye out for these warning signs:
- Bites outside play situations, like random nips or biting while being petted.
- A sudden jump in aggression or much stronger bites than before.
- Loss of appetite or noticeable changes in eating habits.
- Hiding, avoiding you, or a big drop in activity.
- Clear vocal signs of pain (growling, hissing, or loud yowls).
- Repeated hard latches that break the skin or won’t let go.
If you notice any of the above, call your vet right away for a physical exam and a mouth check. Vets will often run basic tests (blood work, X-rays, or other simple checks) to rule out pain, infection, or injury. Sometimes a sore tooth or an ear problem is the reason , ouch.
If the vet doesn’t find a medical cause, a behaviorist (a qualified feline behavior consultant who studies cat behavior) can help. They’ll ask about when the biting started, daily routines, triggers, medical history, and any recent household changes. Then they’ll watch how your cat acts and check the environment before handing you a step-by-step training plan and follow-up.
Helpful questions to bring: When did this start? Any recent illnesses or injuries? What changed at home lately? What have you already tried? Those answers make diagnosis faster and the plan more practical.
Supervising kids and other pets to stop a kitten biting people and feet
Start by setting clear house rules and practicing the short lines you want kids to use. Make it a game: role-play a few times so kids know what to say and how to move. Ever watched your kitty pounce on a sock? Practicing helps keep play friendly and safe.
Tell kids to use wand toys only (a wand toy is a stick with string, feathers, or a toy on the end). No hands. No feet. Show them how to pet softly, with slow strokes and a quiet voice. Try child-friendly cues like “No teeth! Use the feather.” and “Gentle paws, please.” Those quick, consistent phrases teach faster than yelling.
If a nip happens, adults should stay calm. Stop the game. Put the toy away for a moment and guide the child to say the cue phrase to the kitten instead of yelling at it. Short and steady is the trick. Kids learn better from pauses and practice than from loud scolding.
For homes with other pets, introduce everyone slowly and keep first meetings short and supervised. Do separate, short play sessions so an older cat doesn’t accidentally teach rough-play habits. Give the kitten a kitten-only room or a high perch (like a shelf or cat tree) where it can escape and breathe.
Rotate supervised mixed playtimes so each pet learns limits, and watch body language, ears back, tail flicks, or low growls mean it’s time to stop. If tension rises, end the session calmly and separate everyone for a cool-down. Then try again later.
- No roughhousing
- Use wand toys only (not hands or feet)
- Stop play on the first nip
- Teach the child the sample phrase to use (“No teeth! Use the feather.”)
- Supervise all play
- Keep a clear escape route for the kitten (a safe spot or high perch)
Troubleshooting and tracking progress when trying to stop a kitten from biting
![]()
Keep it simple and steady. Start logging each nip so small wins add up, then tweak play, timing, and rewards when you spot patterns. Make sure everyone in the house responds the same way to bites so the message is clear , consistency helps with persistent nipping. Little changes really matter.
- Log incidents every day. Note the time, what seemed to trigger it, how hard the bite was, what you did, and what you tried next.
- Add or shift interactive play to match your kitten's peak energy times. A tired kitty bites less.
- Rotate toys and enrichment so things stay interesting. New textures and sounds can cut boredom.
- Standardize household responses – same cue, same pause, same reward. Training works when everyone sings the same song.
- Talk to a credentialed behaviorist (a certified cat behavior professional) if you see no clear change in 4 to 6 weeks, or sooner if bites get harder.
Sample daily log format:
| Time | Trigger | Bite severity (1-5) | Response used | Follow-up action |
|---|---|---|---|---|
| 7:15 AM | Playing with hand | 2 (soft nibble) | Withdrawn attention, swapped for toy | Extra 10-min wand play before leaving |
| 8:40 PM | Overstimulation during petting | 4 (grab and bite) | Calm goodbye, short timeout | Shorter petting sessions next time |
Use a pocket notebook or a phone note app to track changes and to test different reinforcement schedules (the timing and rewards you use to encourage better behavior). Watch for trends – same time of day, same toy, same person. Then tweak one thing at a time.
If the bites stay the same after 4 to 6 weeks, or if the bite force increases, get professional help sooner rather than later. Better safe than sorry, and you’ll feel relieved when the pattern breaks.
Worth every paw-print.
Final Words
In the action, we gave a quick safe checklist: say “Ouch!” and freeze, withdraw slowly, offer a toy with “No bite , bite this,” use a ~5-minute quiet time-out, and follow the hard-latch safety steps or get vet care if needed.
We walked through daily play plans, toy picks and the hunt then eat feeding trick, bite-inhibition drills, redirection games, night routines, supervision rules, and tracking tips.
Keep safety first, supervise kids and other pets, and track progress. Small wins matter.
Stick with the plan, have fun, and you’ll soon know how to get a kitten to stop biting, worth every paw-print.
FAQ
Kitten biting phase
The kitten biting phase is a normal developmental stage when kittens practice hunting and mouthing; it often peaks at 4–6 months during teething (baby teeth fall out and adult teeth come in).
Why does my kitten bite me while purring?
The kitten bites you when purring since purrs can mean relaxed play or an overexcited state; triggers include play-hunting, teething (baby teeth falling out), attention-seeking, or overstimulation—watch body language for stress.
How can I stop my kitten from biting or scratching my hands or face?
You can stop your kitten biting hands or face by saying “Ouch!” (short), freezing, withdrawing your hand slowly, offering a toy and saying “No bite,” using a ~5-minute quiet time-out if needed, then reward calm play.
How do I get my kitten to stop biting me at night?
You can stop nightly biting by playing actively before bed, feeding after play to mimic hunt→eat, then a quiet wind-down; leave safe toys and ignore nighttime nips so your kitten learns calm sleep.
How do I stop my kitten from biting my older cat?
You can stop a kitten from biting an older cat by supervising, separating rough play, redirecting the kitten to toys, doing gradual introductions and scent swapping, and giving the older cat safe escape spots.
How do you teach a kitten not to bite or discipline a kitten that keeps biting?
You teach a kitten not to bite by using a short vocal cue, withdrawing attention, timed ~5-minute time-outs, bite-inhibition drills, and rewarding calm behavior; avoid hitting and use consistent family scripts for kids.
What is the 3-3-3 rule for kittens?
The 3-3-3 rule means three days to hide and adapt, three weeks to explore and accept household routine, and three months to fully bond and feel secure in their new home.
What should I do if a kitten locks on hard?
If a kitten locks on hard, don’t pull; stay still, gently roll the kitten’s muzzle or use a soft damp cloth to break the grip; see a vet if the skin is broken, swollen, or shows infection.