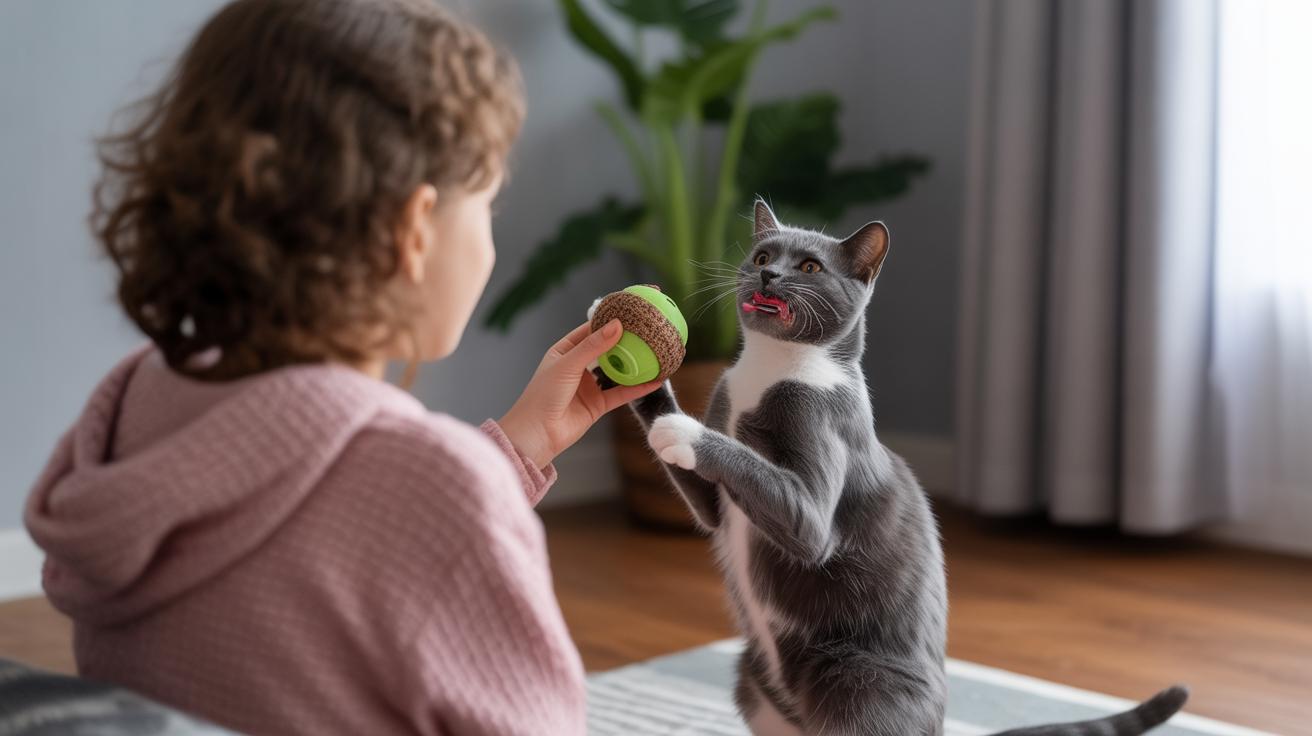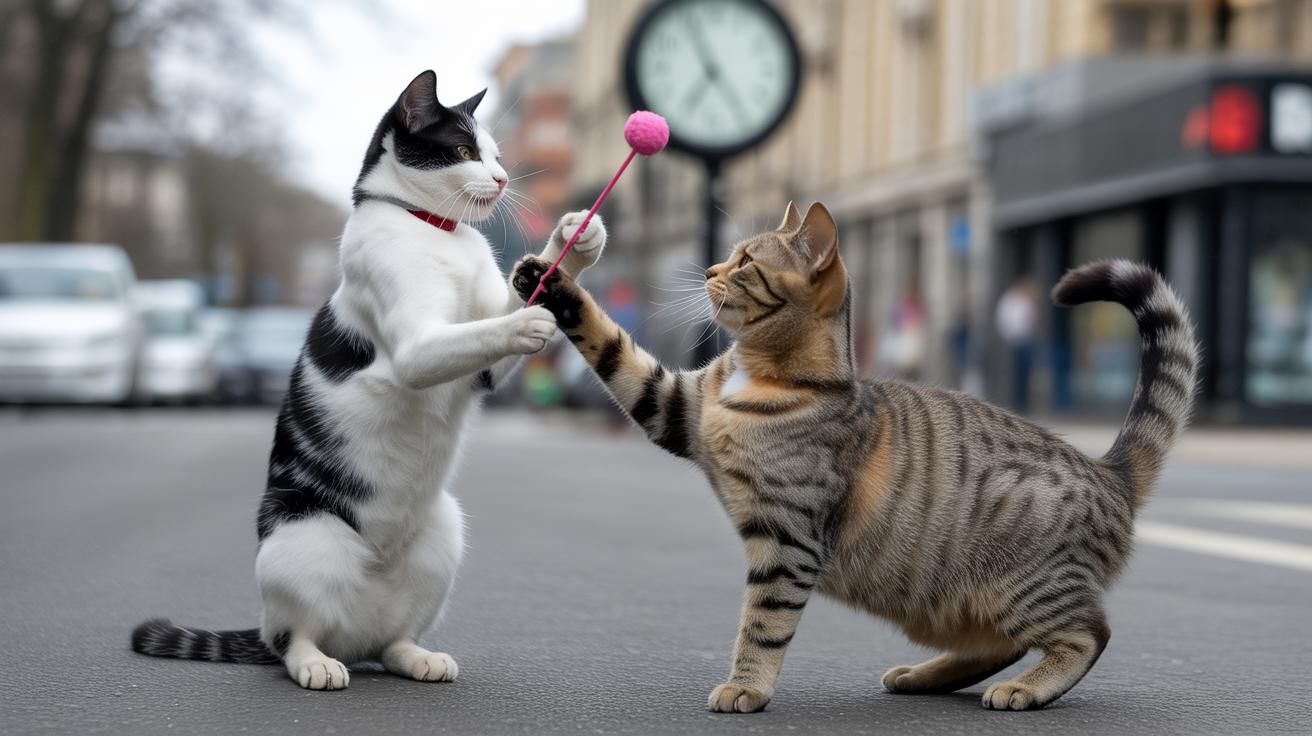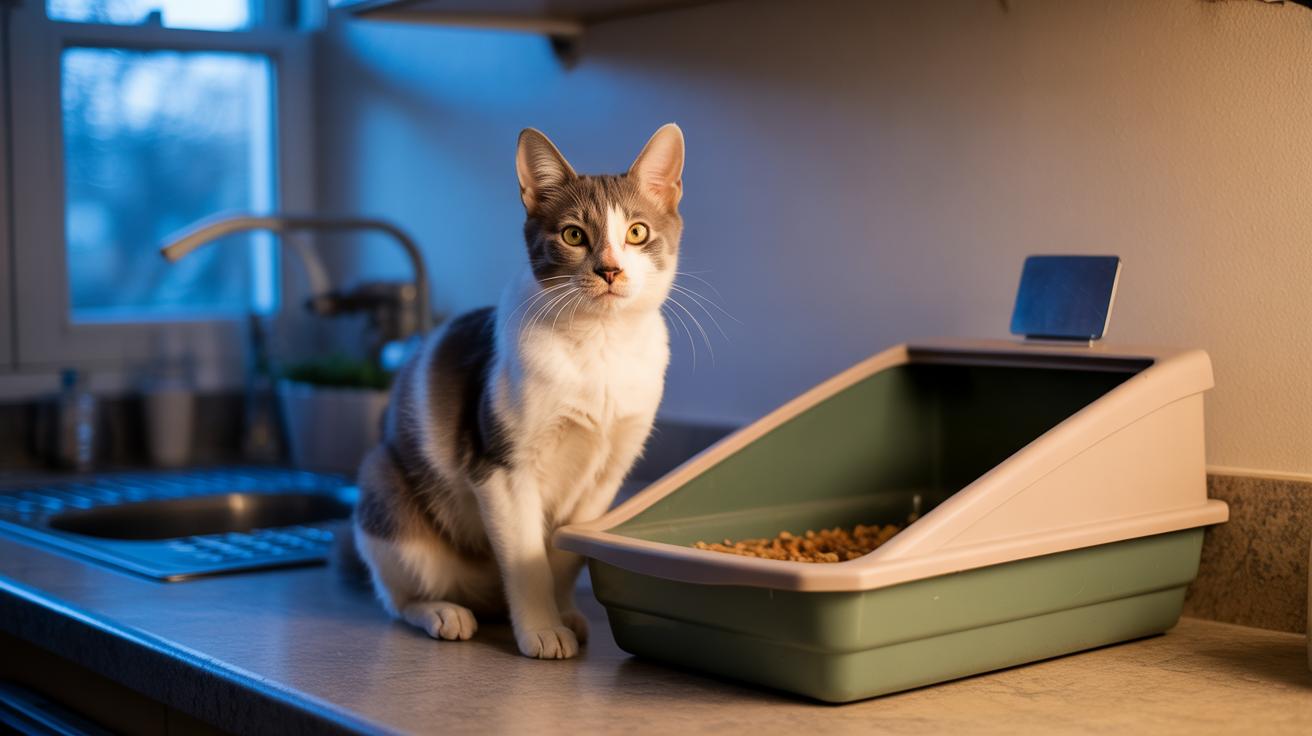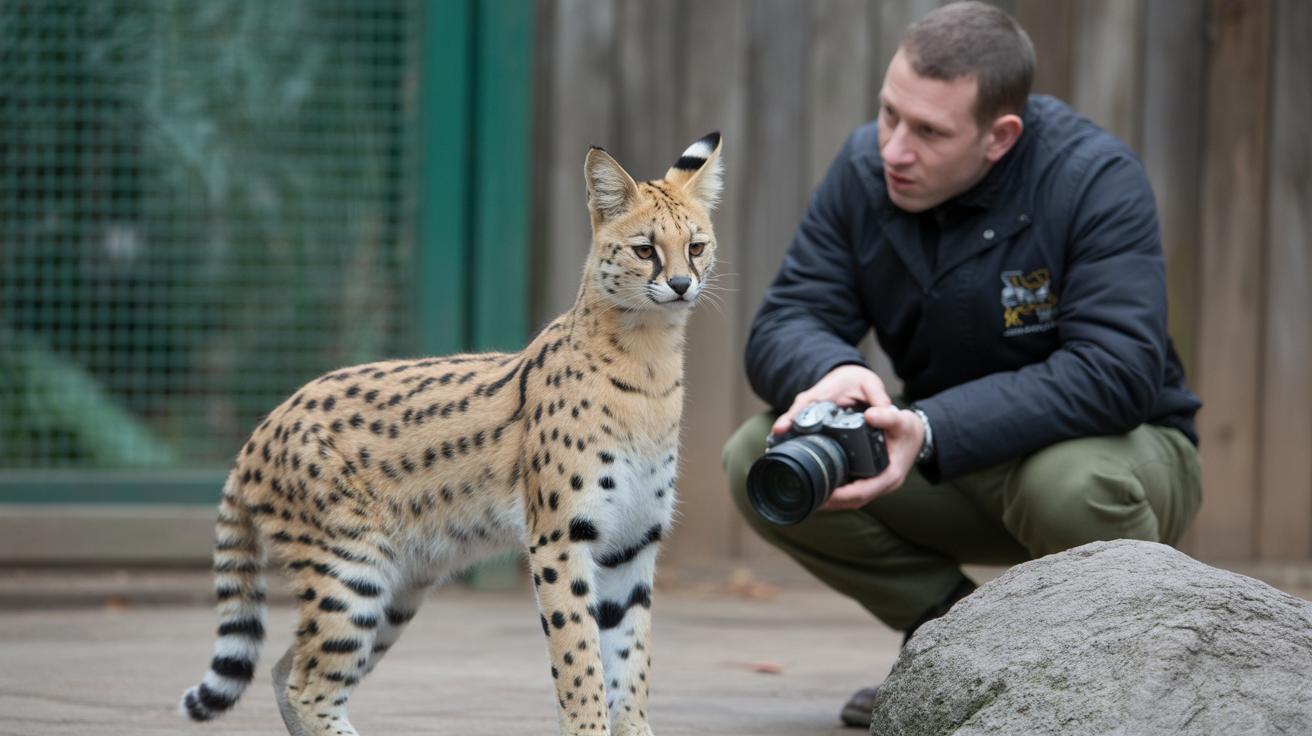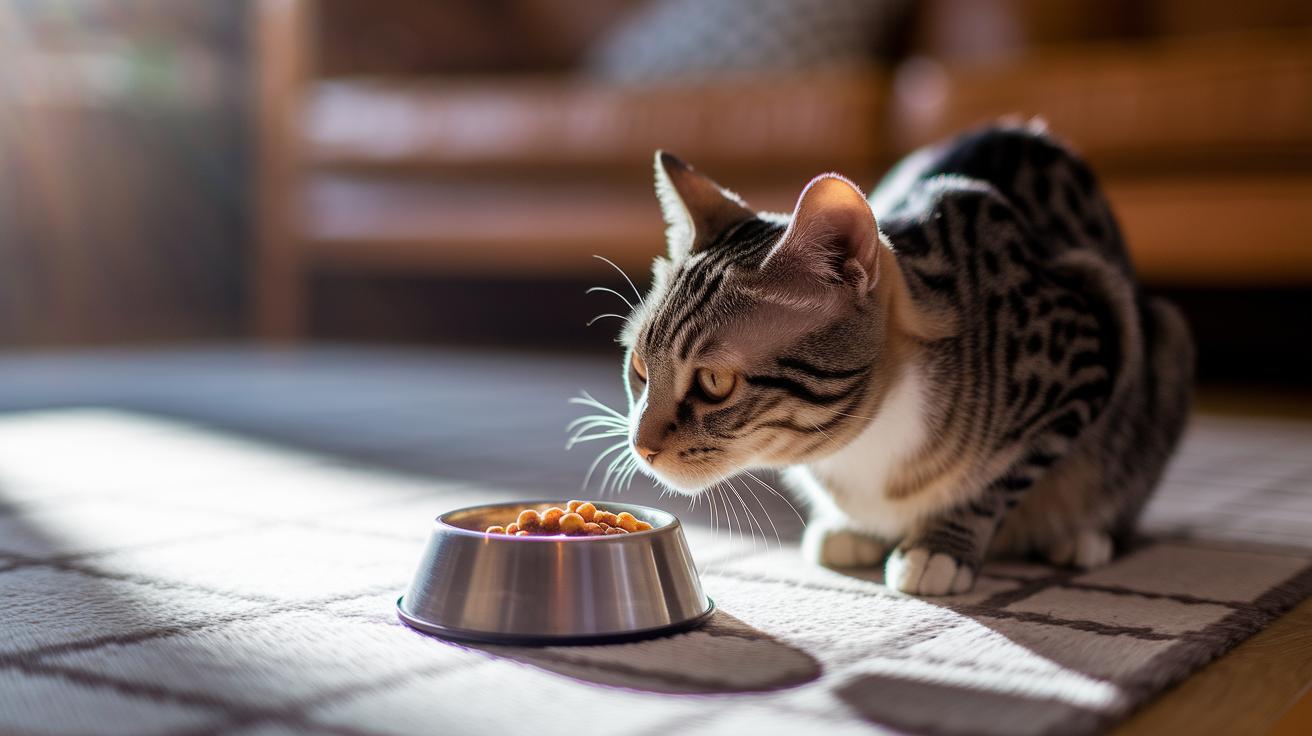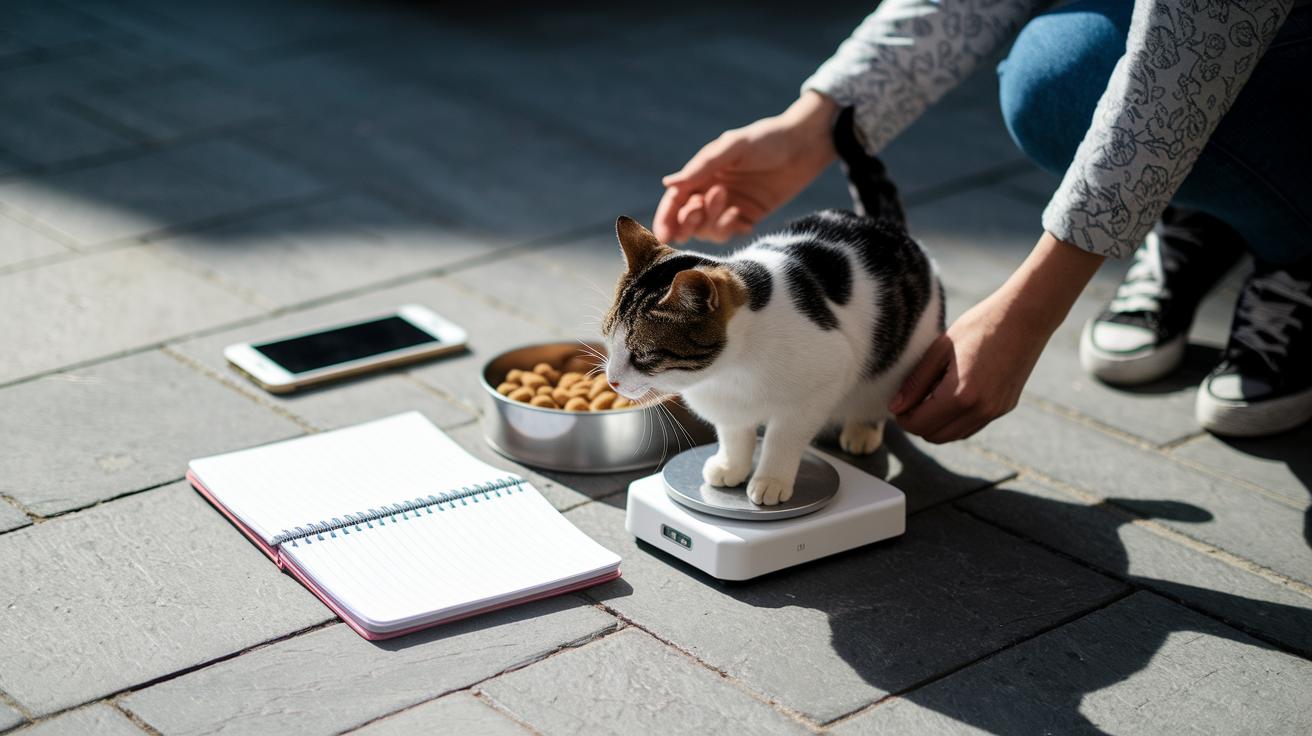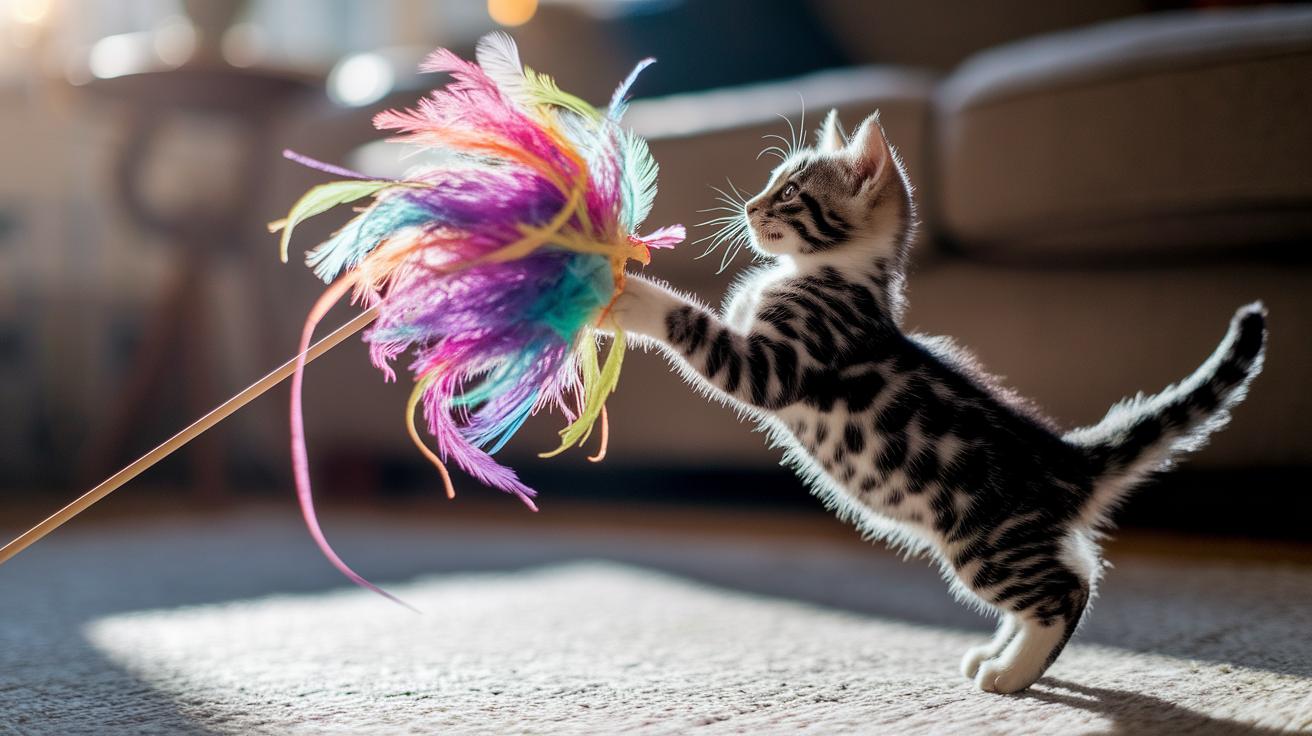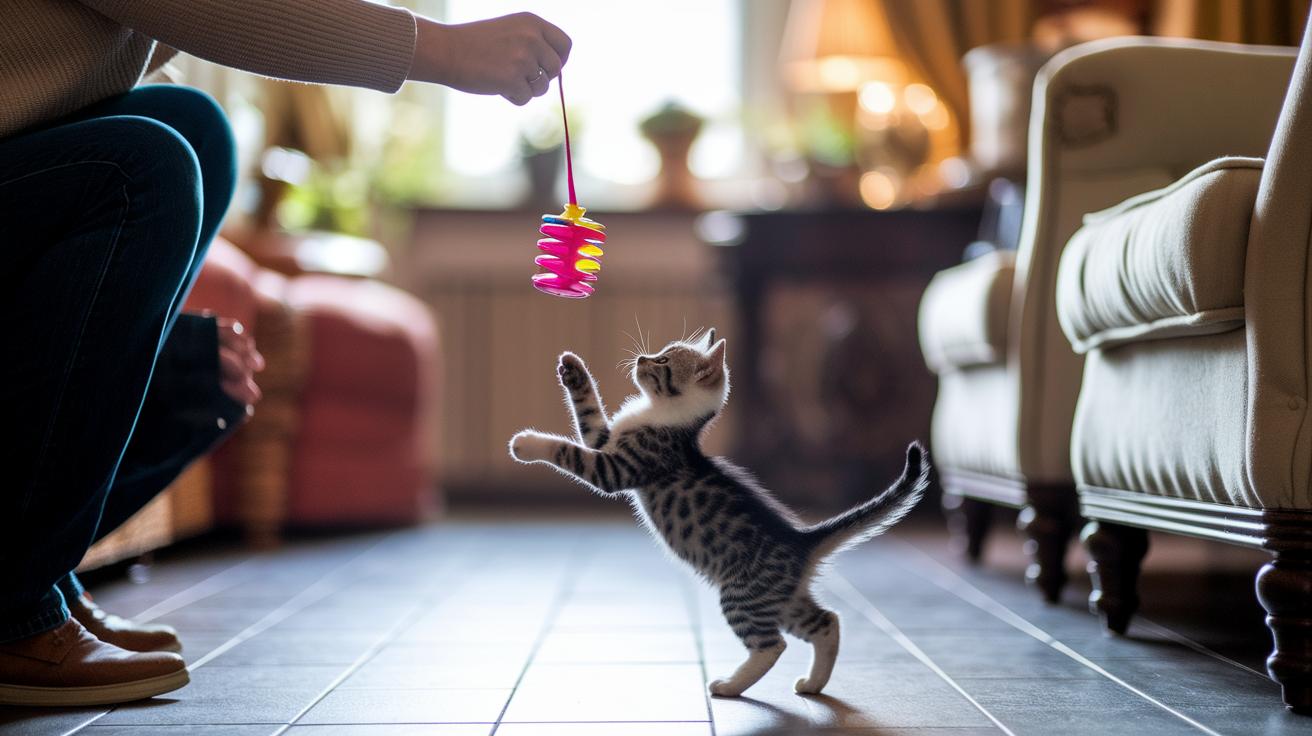
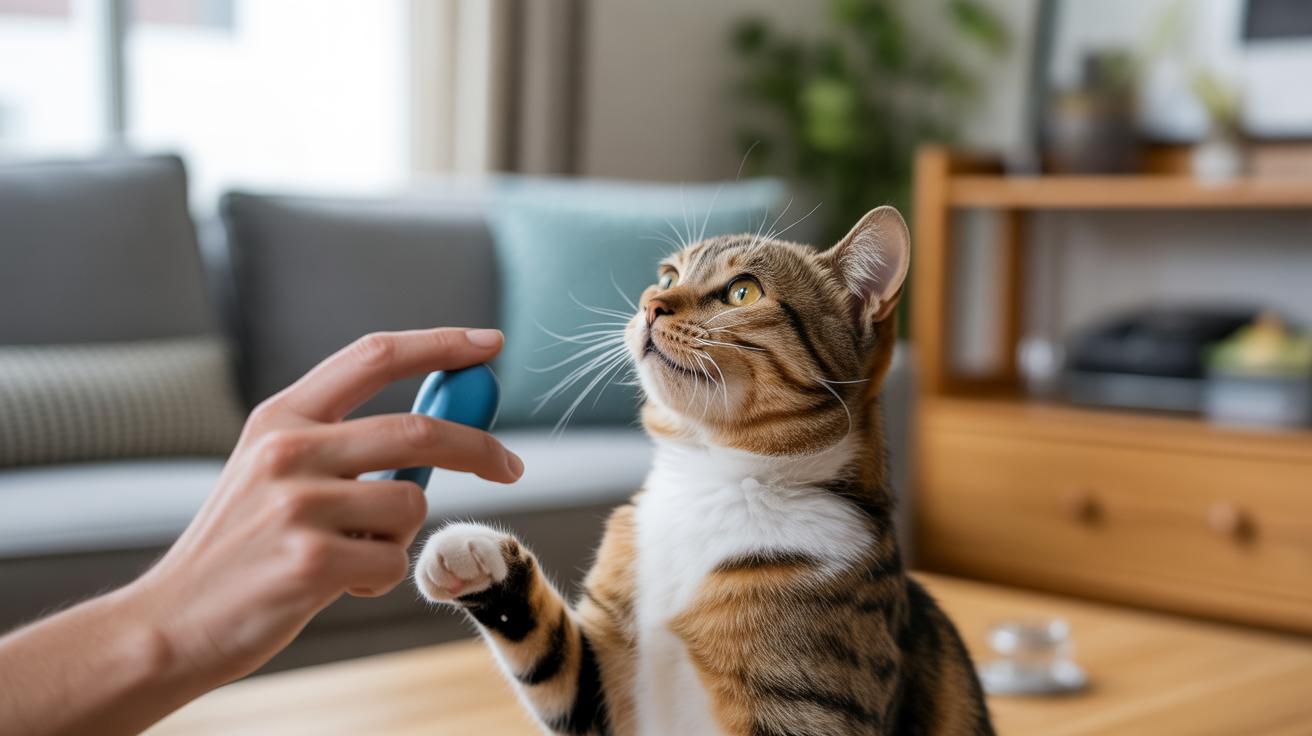
Think cats can't be trained? You're not alone. But clicker training is actually simple, precise, and surprisingly fast.
A clicker (a small handheld noisemaker that gives a crisp click) acts like a camera for behavior , it pins the exact moment your cat does something you like. The click is your marker (a short, clear sound that tells your cat "yes"), and a treat right after solidifies the idea. The crisp click and the soft crunch of a treat make the lesson click in their head.
Start by "loading the marker" (teach your cat that click equals treat). Keep sessions short, five minutes is perfect, and repeat a few times a day. Time your clicks to the very instant your kitty sits, comes, or bats a toy, and you’ll see those behaviors show up fast. Ever watched your cat zero in on a tiny sound? It's magic.
Worth every purr.
Clicker Training for Cats: Step-by-Step Basics
A clicker (a small handheld noisemaker that gives a crisp click) marks the exact moment your cat does something you like. That click acts as a marker (a sound that tells your cat, yes, that was it), and you follow it right away with a treat so the cat links action to reward. It’s precise timing that makes clicker training work, and it can feel a little magical when your kitty figures it out. Ever watched a cat suddenly get it? Cute, right.
- Pair the click sound with a treat 8-12 times to "load" the marker (teach your cat that click equals reward).
- Run short sessions , about 5 minutes each , 2-4 times per day. Short and sweet keeps them engaged.
- End every session while your cat is still interested. Finish on a happy note.
See details: Basics (#basics), Tools (#tools), Step-by-step (#step-by-step), Troubleshooting (#troubleshooting).
Always follow the click with a treat. If your cat is scared of the sound, muffle the clicker (cover it with a soft cloth) and pair the quieter click with treats until they relax (see Troubleshooting). Worth every purr.
Detailed how-to , Basics: marker timing, loading, and why it works
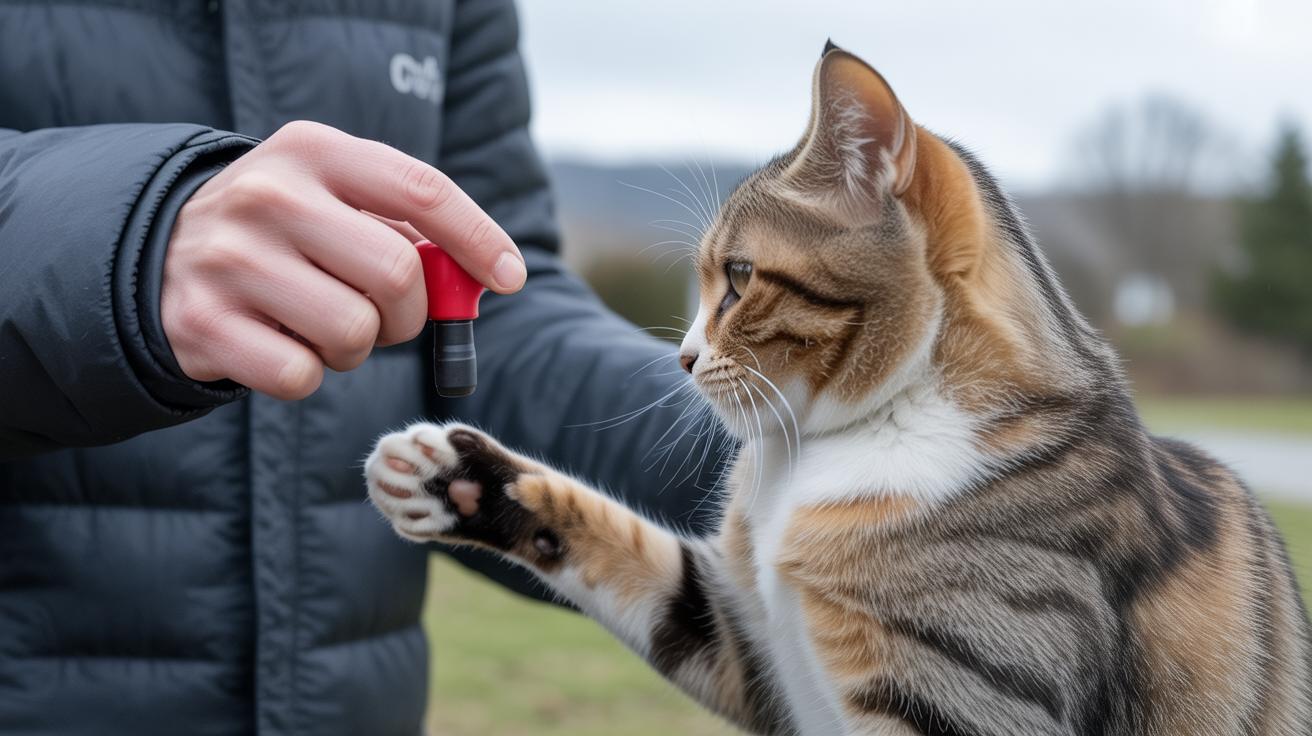
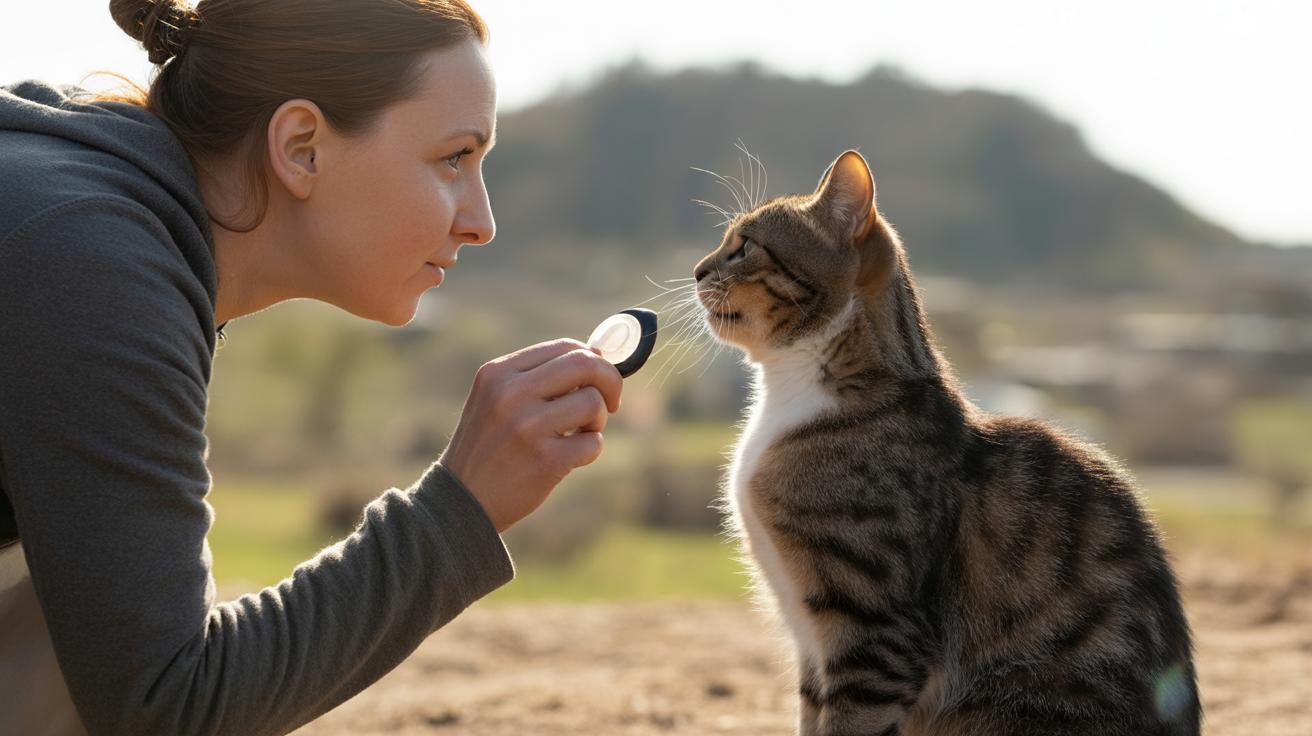
A marker is a crisp sound that pins down the exact moment your cat did something you like. Think of a marker (a short, clear sound that says "that!"), like a clicker (small handheld noisemaker) or a mouth click (a tiny click made with your tongue). That precise cue tells your cat exactly which action earned the reward. Timing is the whole trick.
Click the microsecond the behavior finishes, then give the treat within one second so the cat can link the sound and the reward. For shaping a sit, click the split-second the rear touches the floor. If you click when a paw lifts, you’ll mark a different action, so watch closely and practice those split-second choices.
To load the marker, pair click + treat 8–12 times in a calm spot so your cat learns that every click means a snack is coming. Space those pairings across a short session (not all at once), use tiny fragrant treats (small, smelly bites), and stop when the cat looks for the snack after the click , that’s your cue the marker is loaded. Keep sessions brief so the click stays meaningful and your kitty stays game.
If you don’t have a physical clicker, a mouth click or a clear “Yes” works, but it can be harder to hit the exact microsecond because your voice or mouth may lag. For lightning-fast moves, a handheld clicker usually gives the sharpest timing. Ever watch your cat snatch a toy in a blink? That’s when the clicker really helps.
Practical timing drills
Hand-movement drill: hold a treat in a closed fist, move your hand just a little, and click the exact instant your cat looks at or touches your hand. Repeat slowly until your reflex to click matches that tiny motion. It trains your eye-hand timing and helps you catch real behavior moments.
Slow-motion click drill: exaggerate a simple action, like lifting a paw very slowly, and click at the precise end of the motion, then reward. Do this a few times so your brain and fingers learn the exact endpoint. Then bring the action back to normal speed and you’ll be ready to mark real, quick moves.
See details: Quick Start (#quick-start)
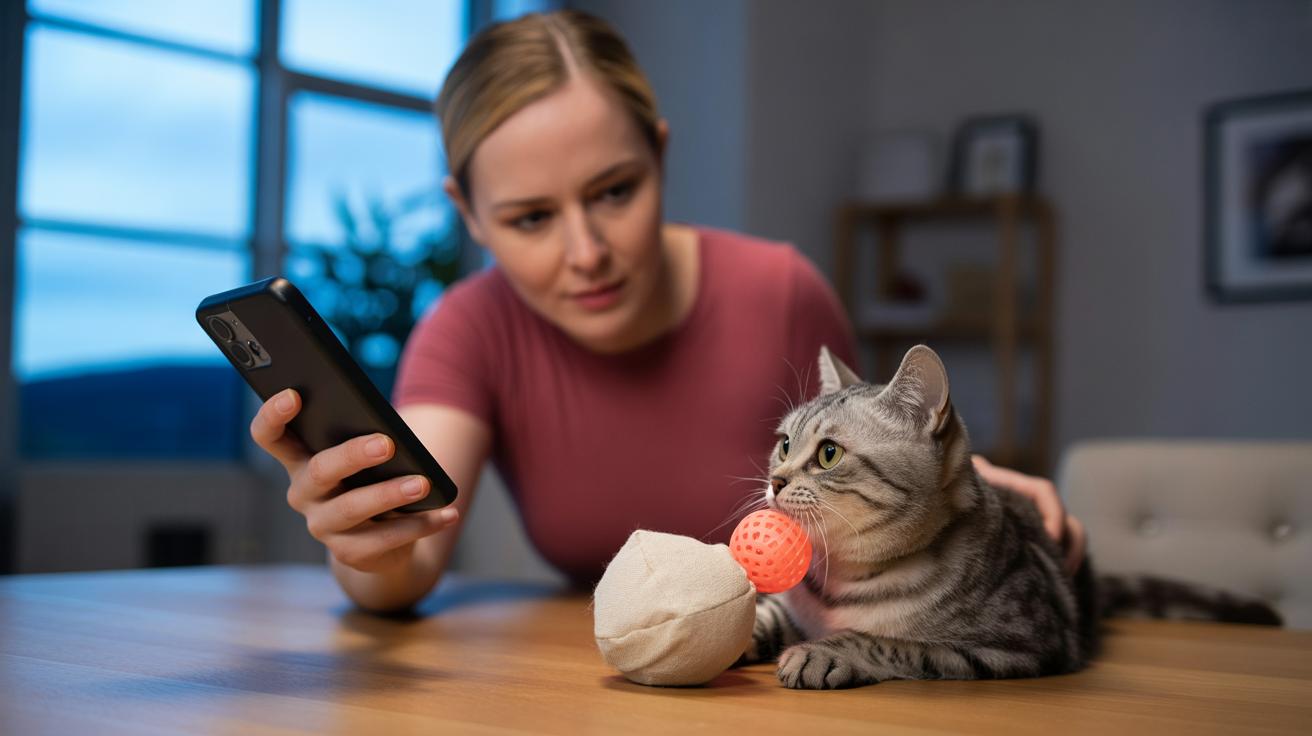
Detailed how-to , Tools: choosing a clicker and treat strategy (portioning & calories)
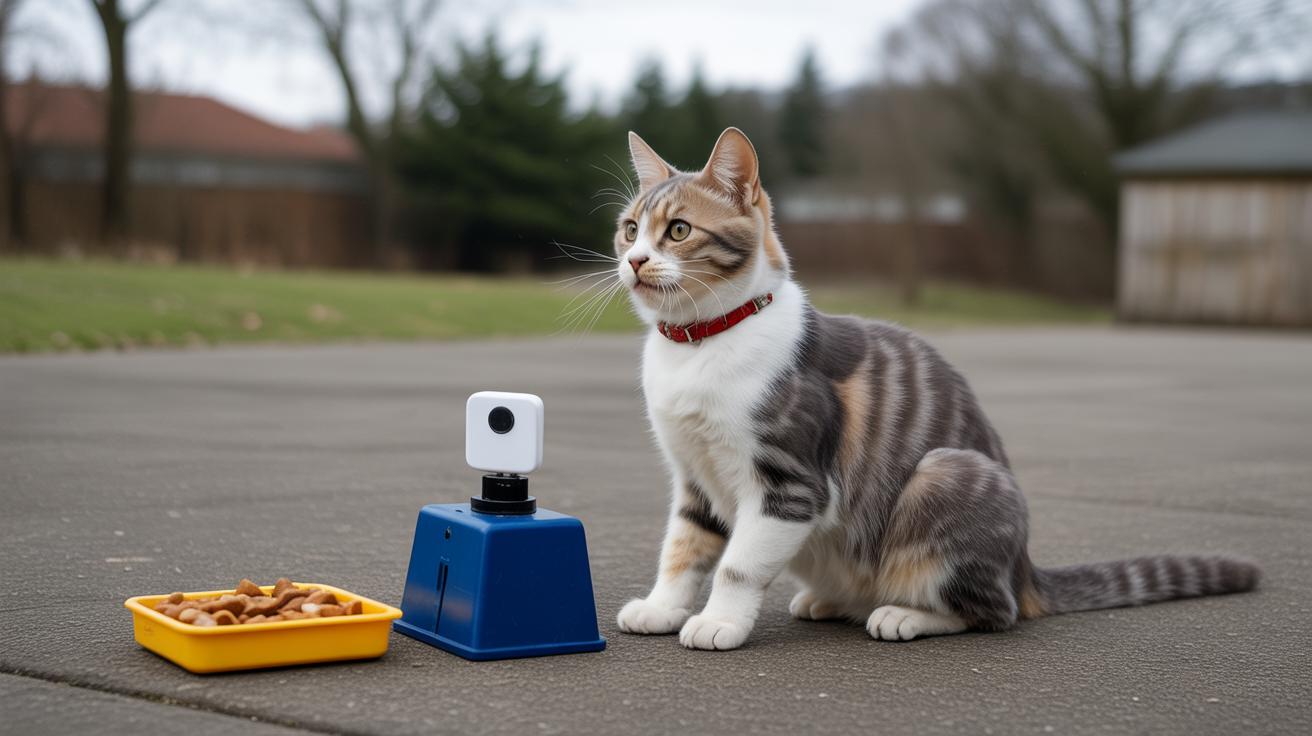
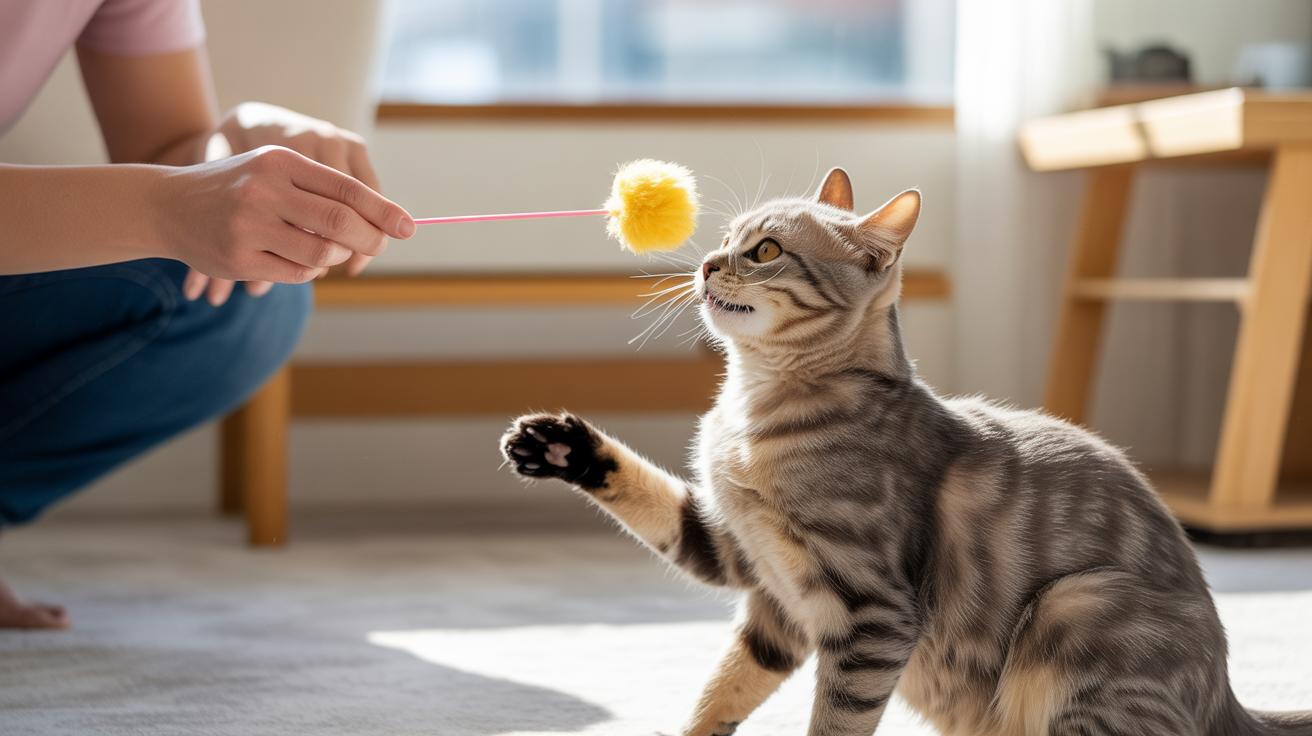
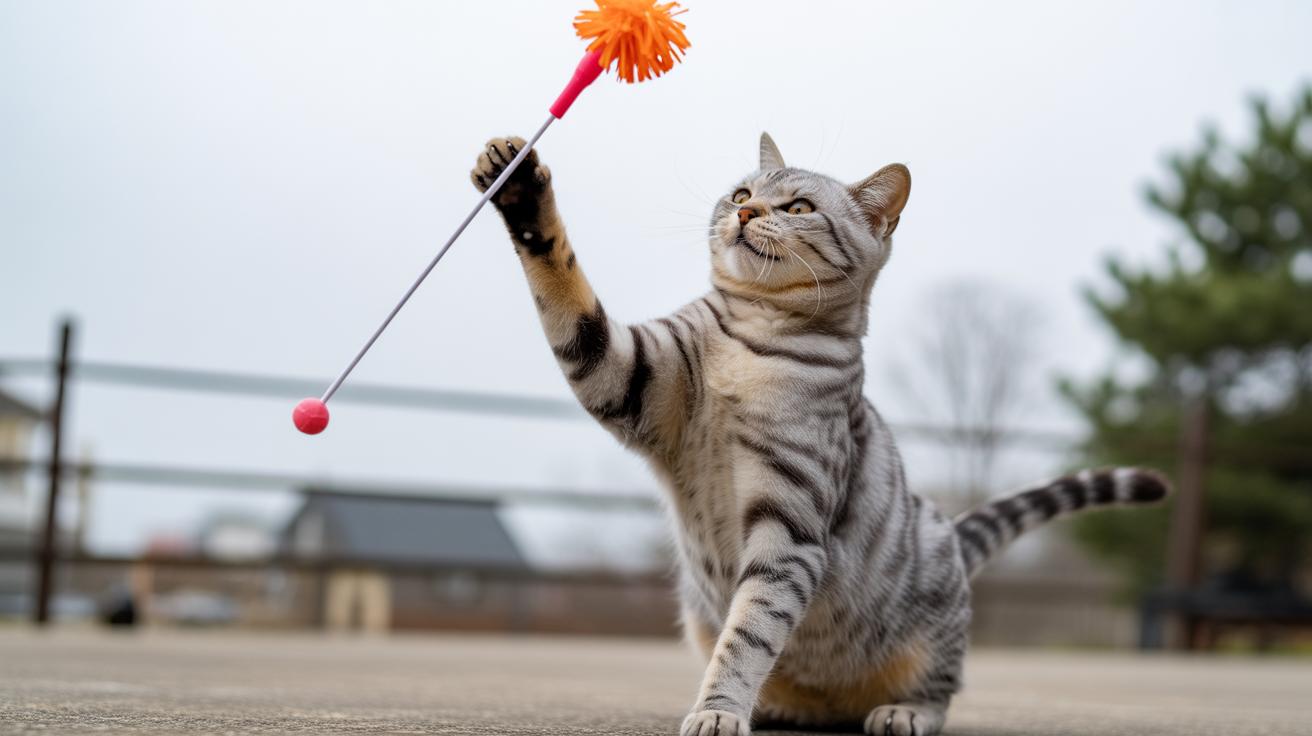
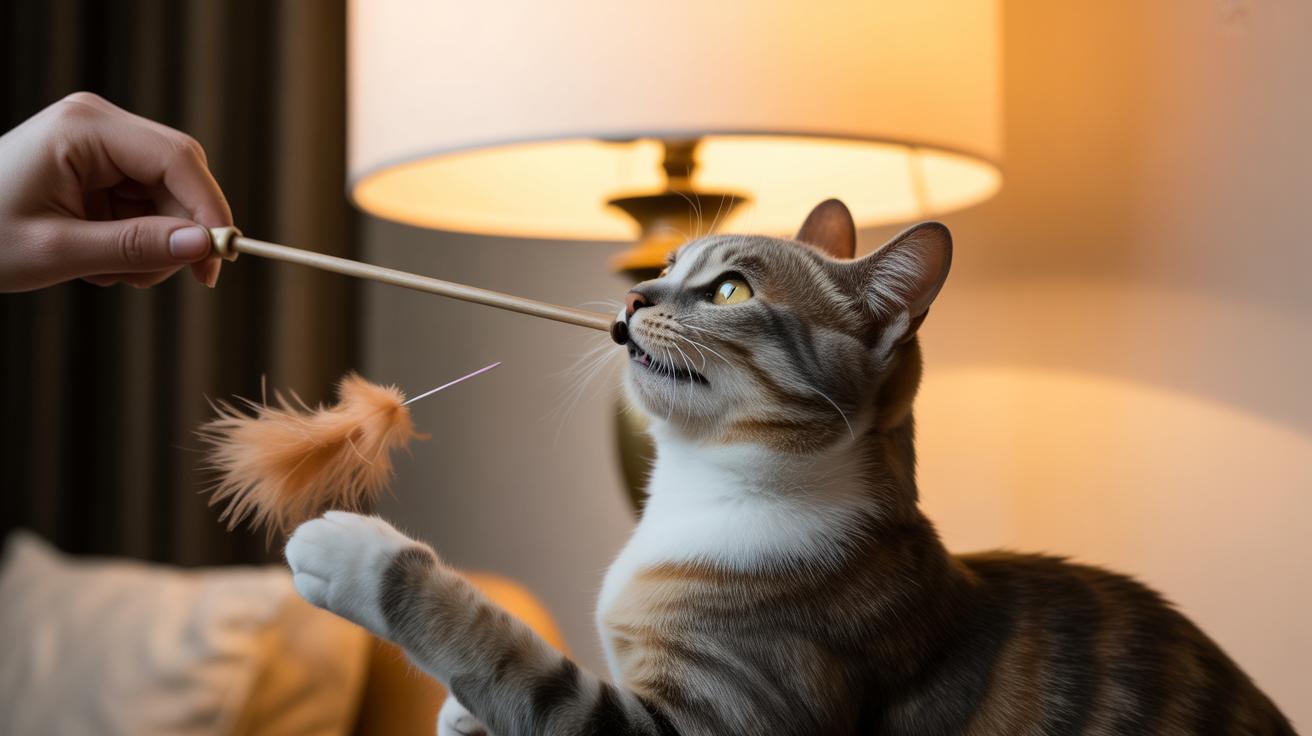
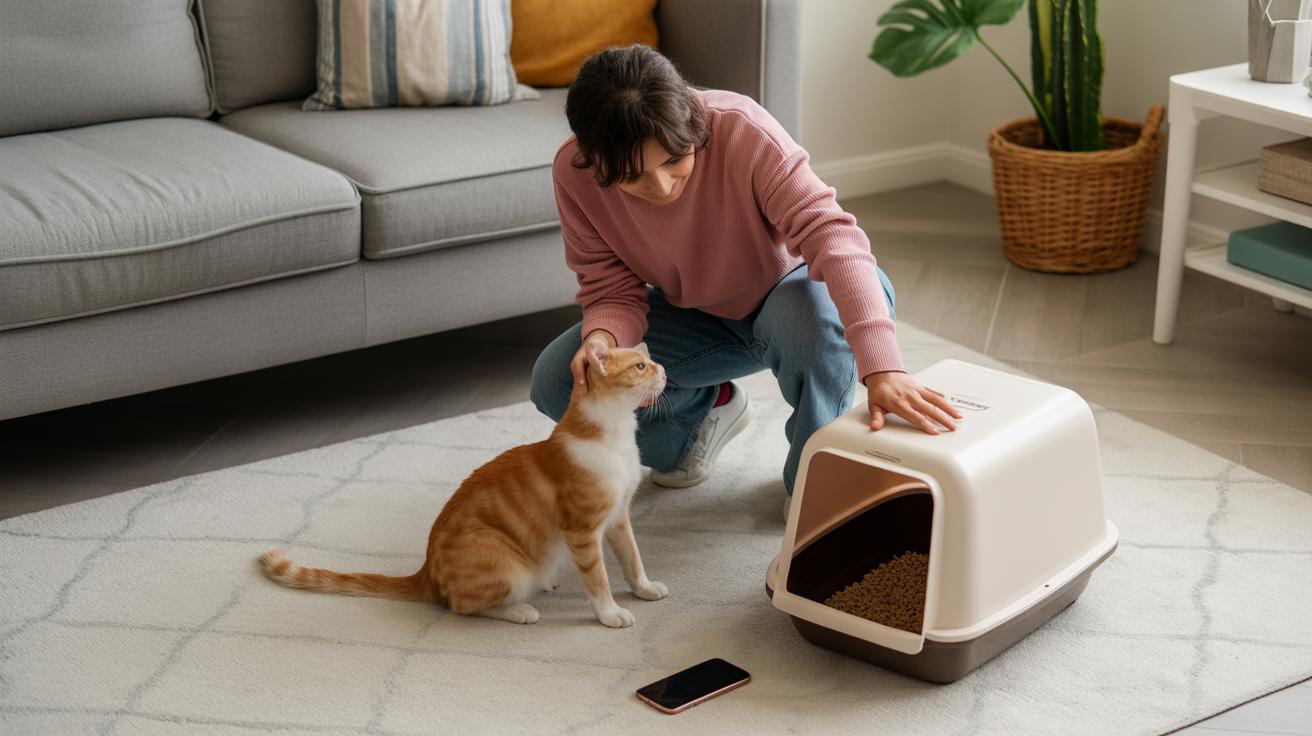
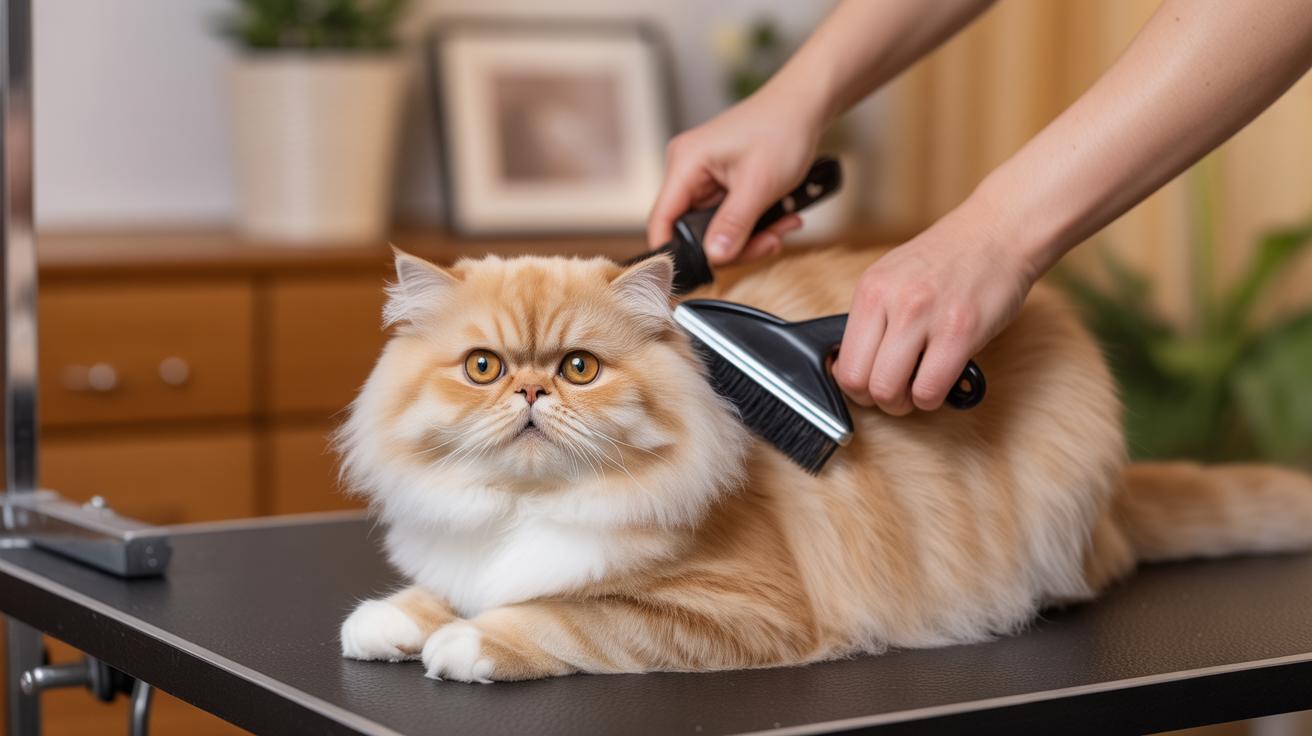
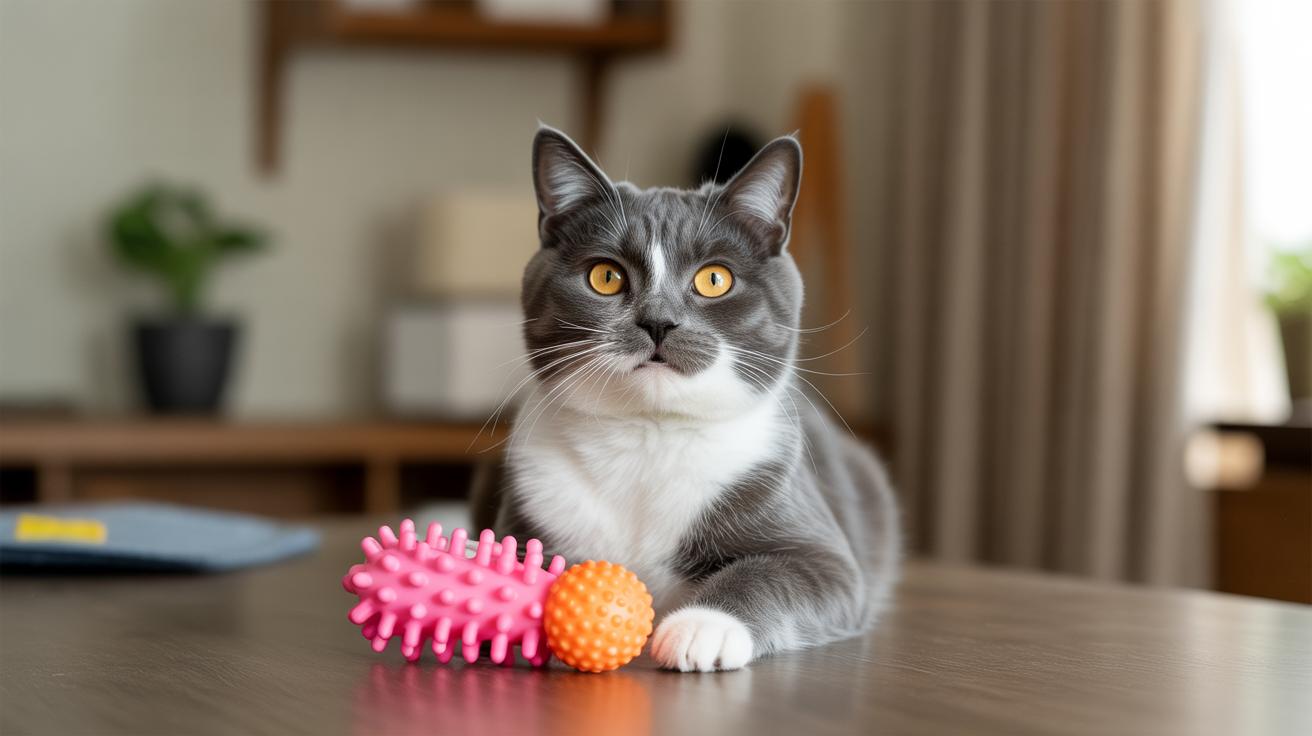
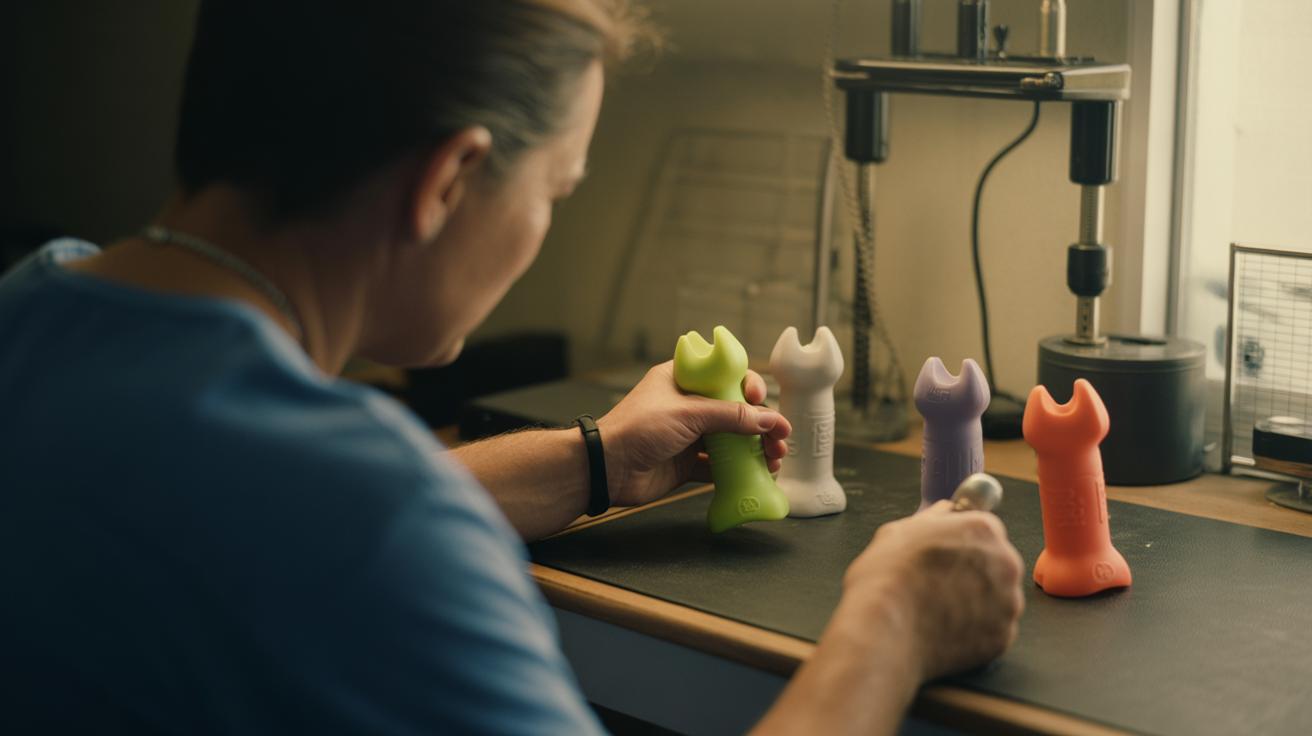
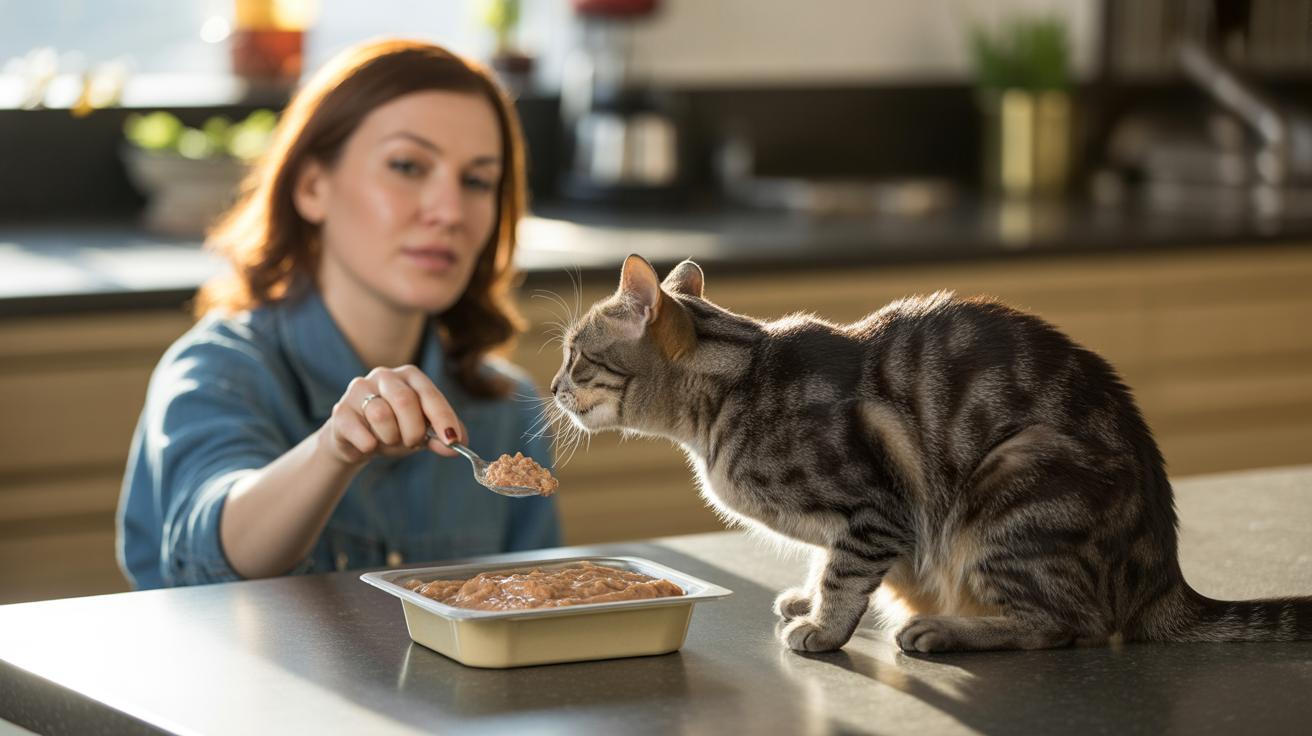
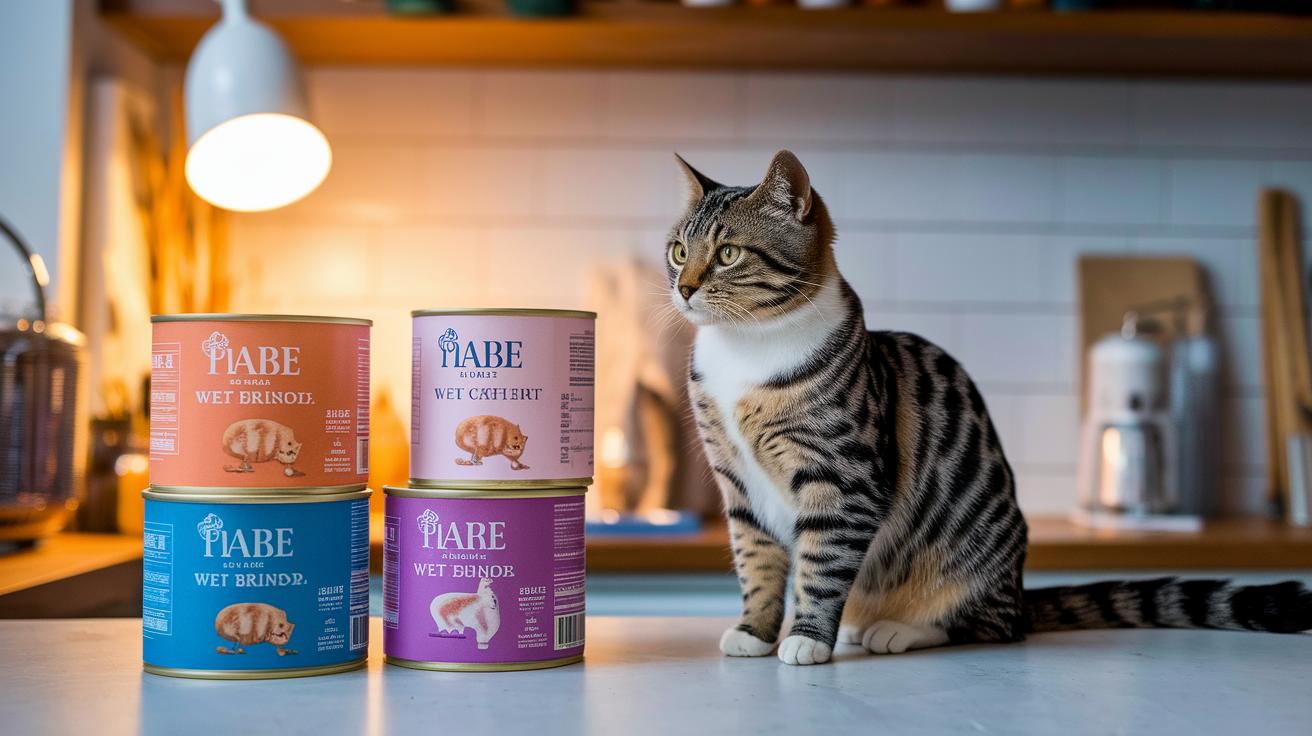
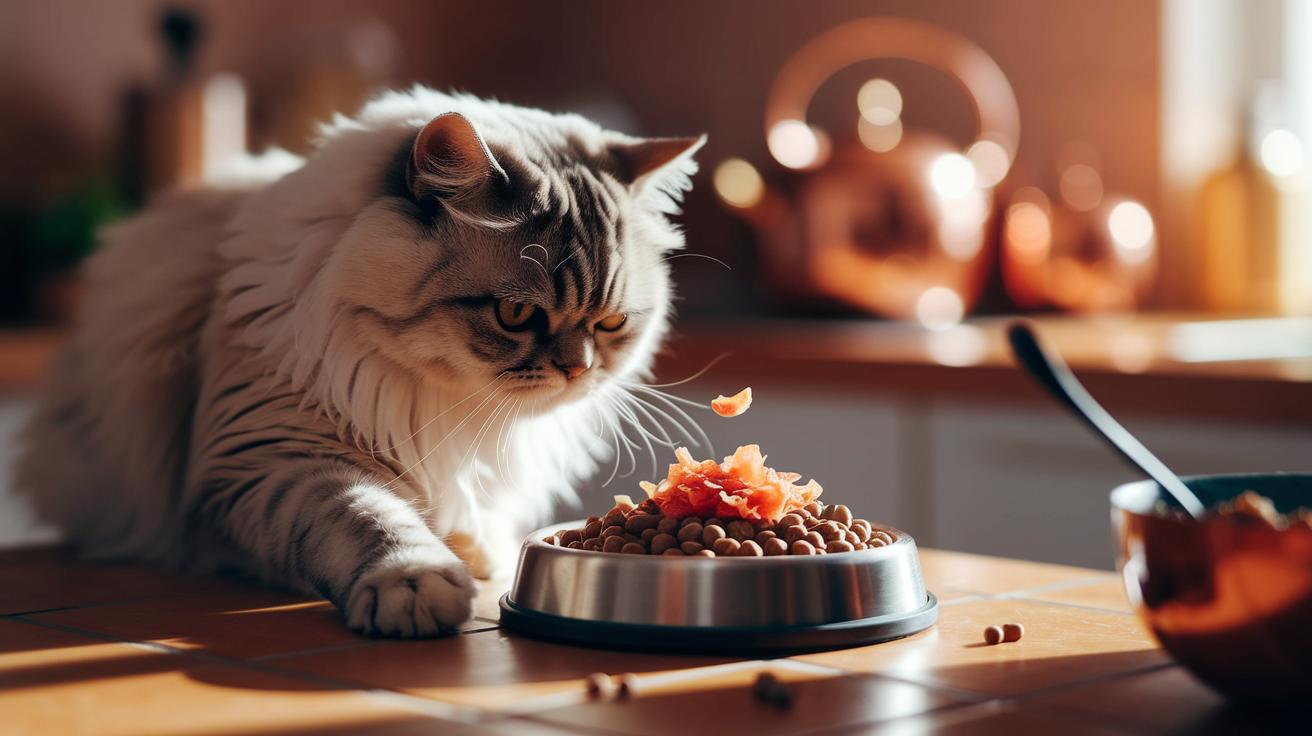
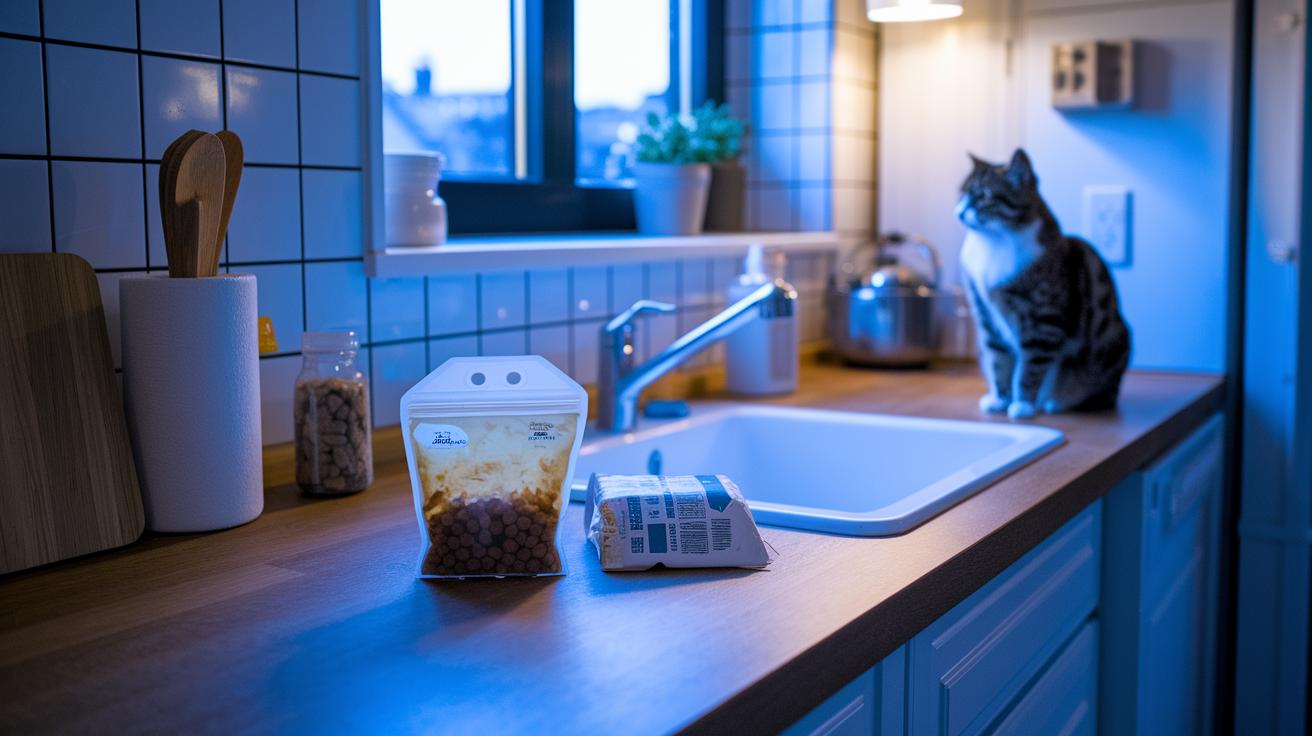
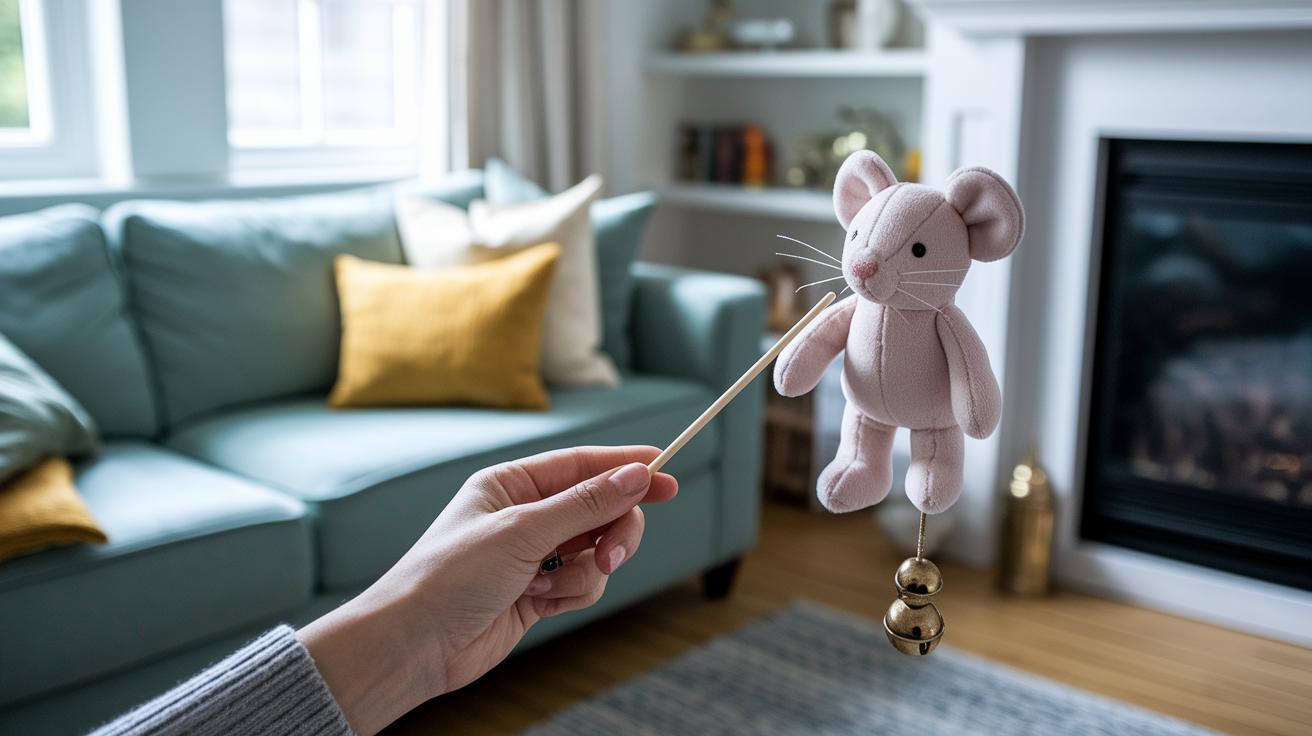
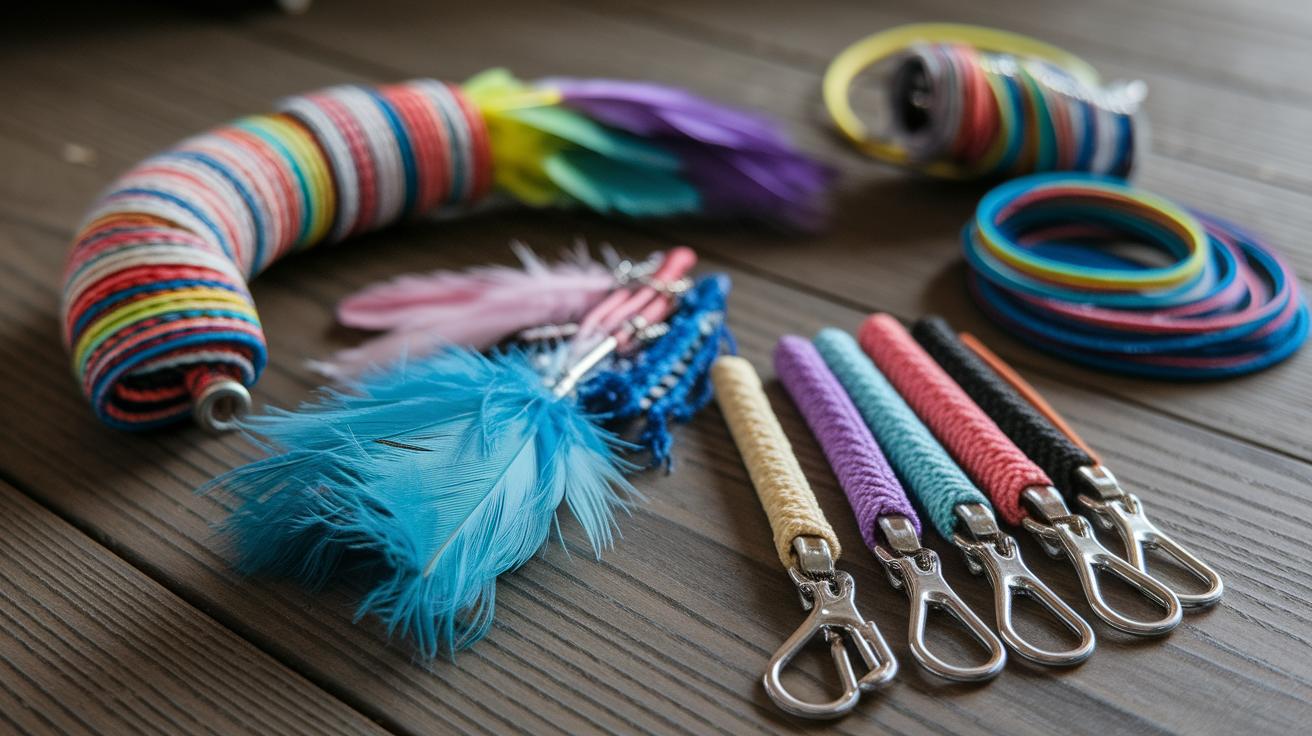
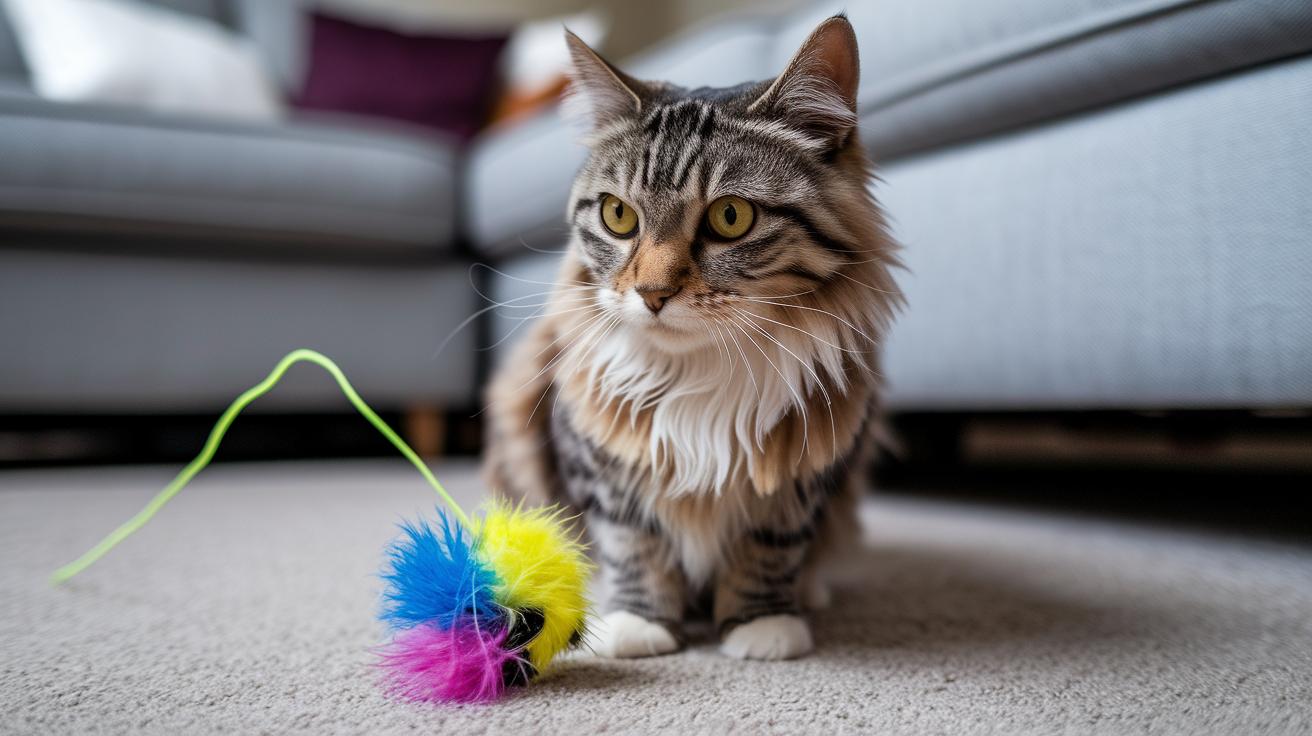
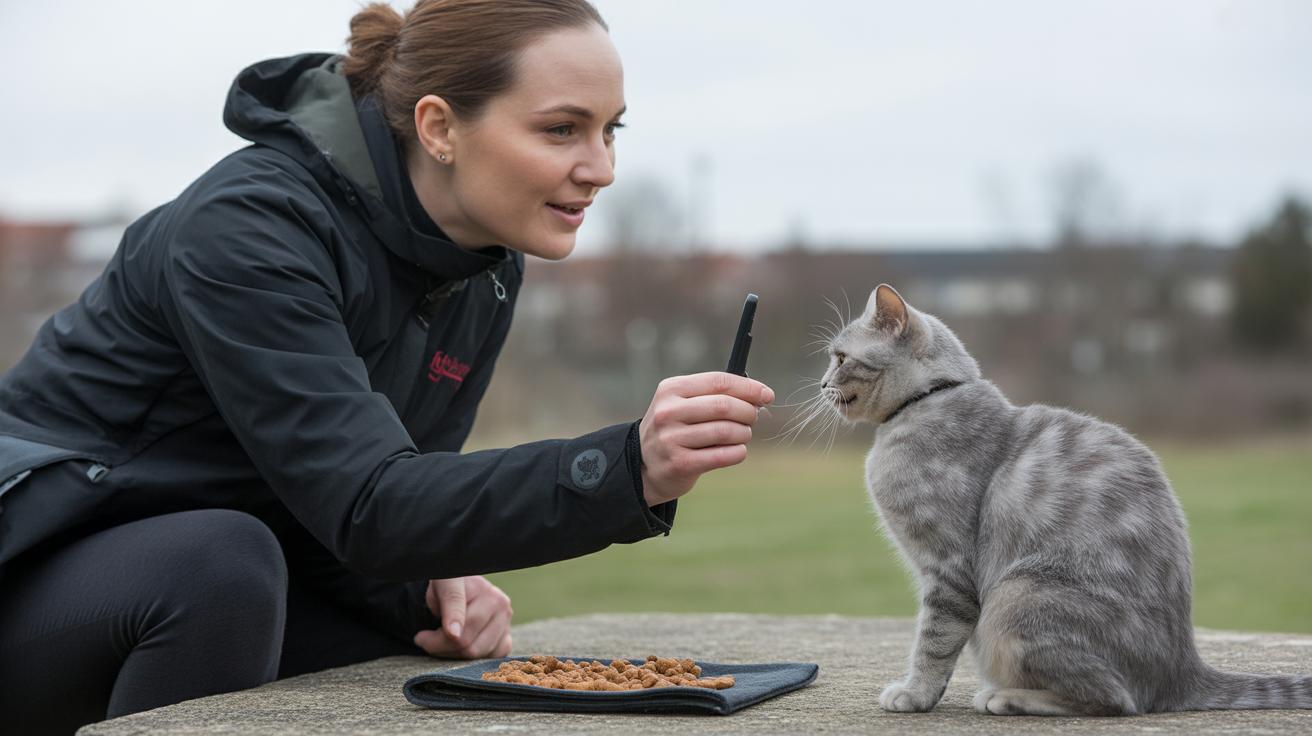
Keep your kit simple and ready. Use a small, consistent cat clicker (handheld noisemaker) so your timing stays sharp and your cat learns the sound fast. If you like moving targets, try a combined clicker-and-target wand (a clicker with a short stick attached) , it saves a hand and gets you moving with the toy. A target stick (long, lightweight rod that points or taps) lets you guide motion without touching your cat. For treats, a shallow treat saucer (a low dish) keeps pieces visible and from rolling off. Carry extras in a zipped treat pouch or pocket so you can reward on the fly. The best clickers are the ones you actually use: comfy in your hand, loud enough to mark, and simple to press without fumbling.
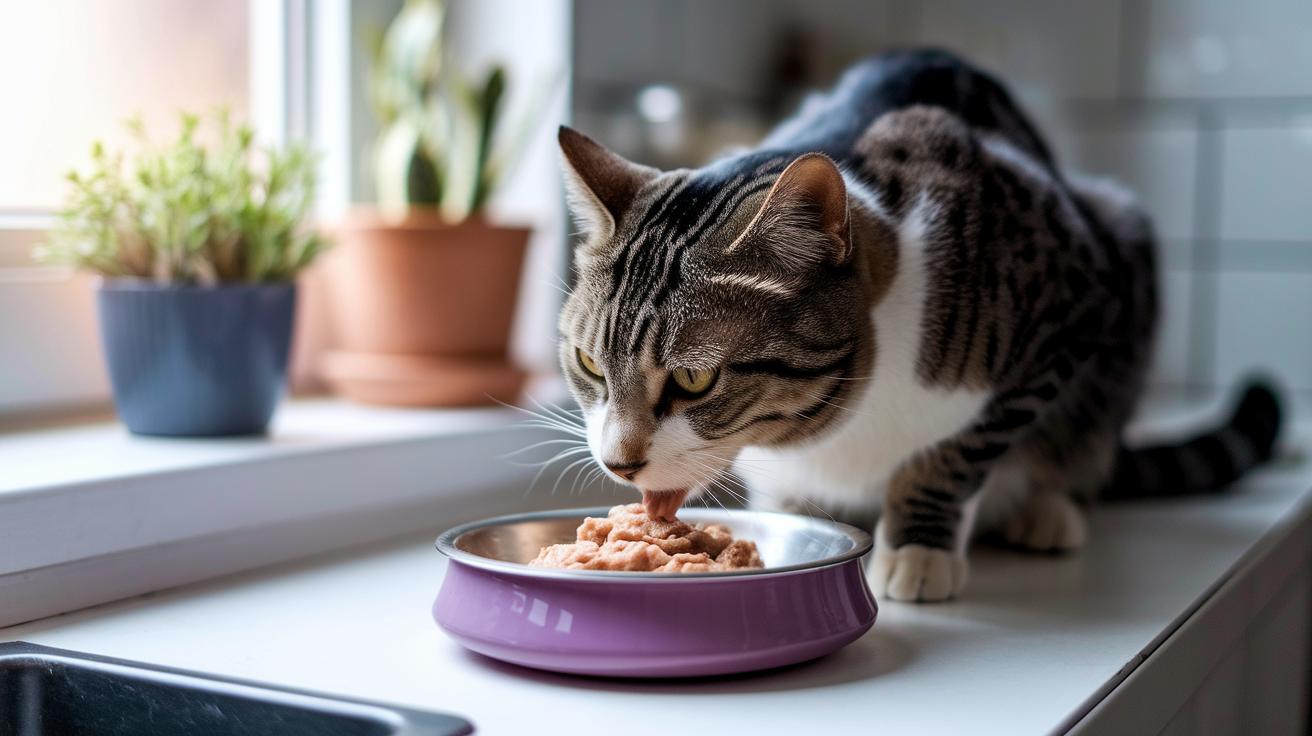
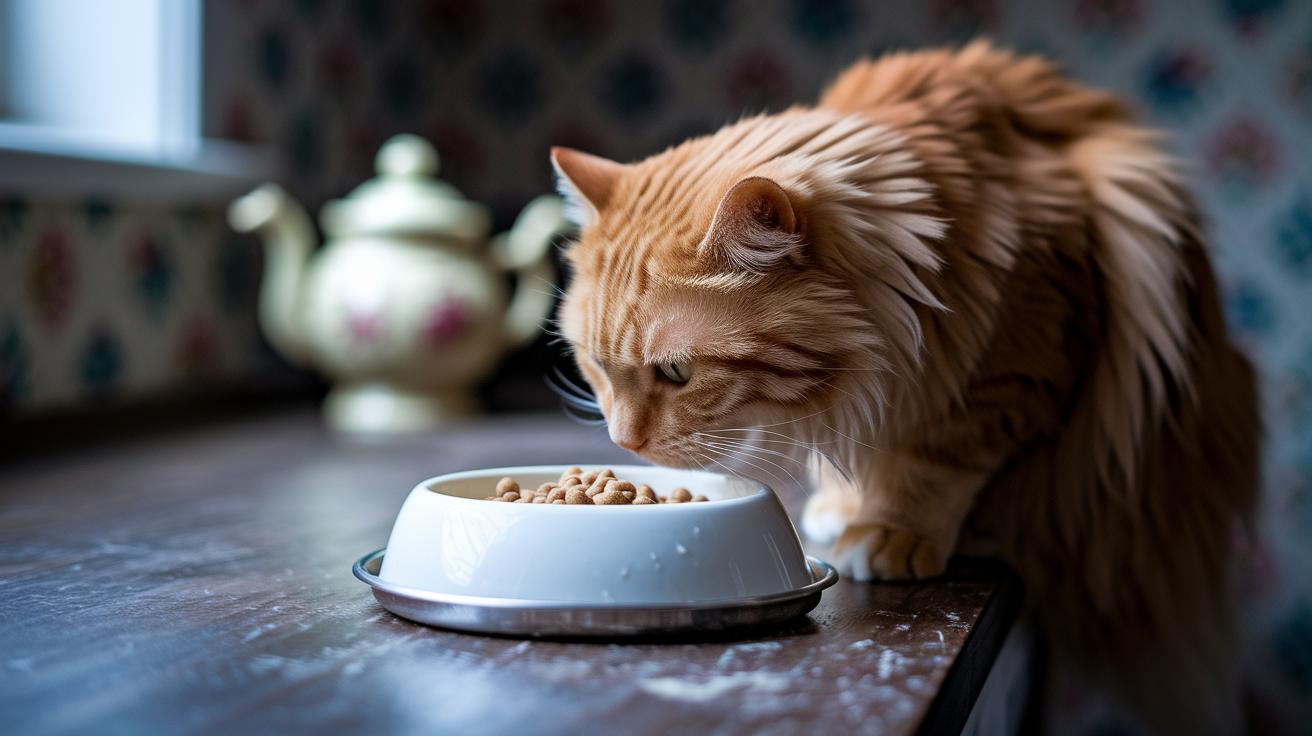
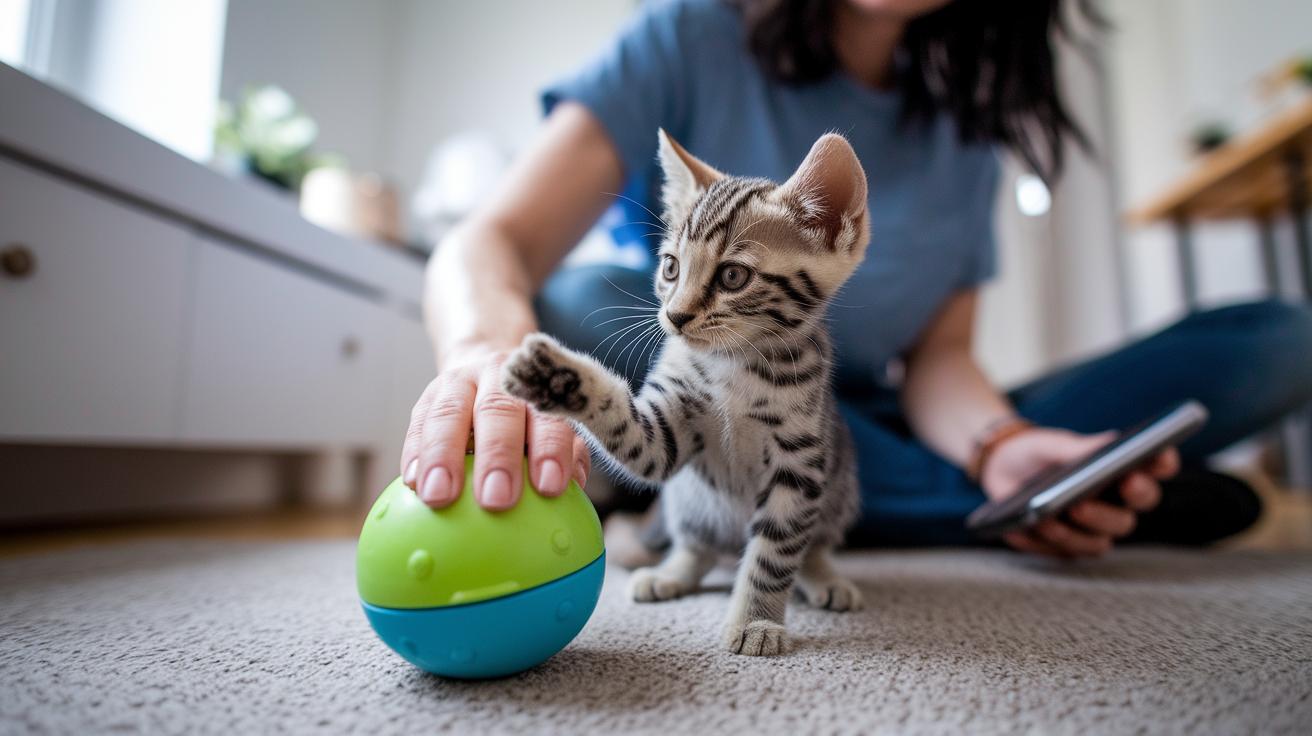
Pick tiny, high-aroma treats most of the time. Think a bite the size of the tip of your little finger , or a pea-sized nugget. Good choices: high-aroma wet treats, freeze-dried meat (dehydrated meat snacks), or lickable purees (soft spreadable treats). Portioning tip: aim for pea-sized or smaller so calories stay low. Many pea-sized training bits are about 1 to 3 kcal each. Freeze-dried chunks are denser, so break them into micro pieces. To log calories, do this: check the package for kcal per serving, count how many bites are in that serving, then divide to get kcal per bite. Easy math, and you can jot it in a quick note. For cats who aren’t food-motivated, use short toy bursts , a feather teaser or a toss of a tiny ball , as the reward.
Rotate rewards so your cat stays excited. Keep two or three food options plus one toy in play, and save the highest-aroma treat for the toughest steps. If your cat ever startles at the click, there’s a muffling protocol in Troubleshooting (#troubleshooting). See details: Troubleshooting (#troubleshooting)
| Reward type | Example items | Portion / notes |
|---|---|---|
| High-aroma wet treats | e.g., salmon puree | tiny pea-sized portions; low calorie per bite; check kcal per serving |
| Freeze-dried meat | e.g., chicken liver bites | very high value; break into micro pieces before using |
| Lickable puree | e.g., tuna paste | small blots on saucer; low total kcal if used sparingly |
| Toy rewards | feather teaser, small ball | use for short play breaks; calorie-free |
Set up a small training tray with your saucer, clicker, and treat pouch within arm’s reach. Carry treats in a zipped pocket for quick access, and jot treat calories in a short log after each session , it only takes a few seconds and saves confusion later. Treat-size, portion guidance, and calorie monitoring live only in this Tools section; other sections should cross-reference Tools for those specifics.
Detailed how-to , Step-by-step training plan (first 10 sessions and sample behaviors)
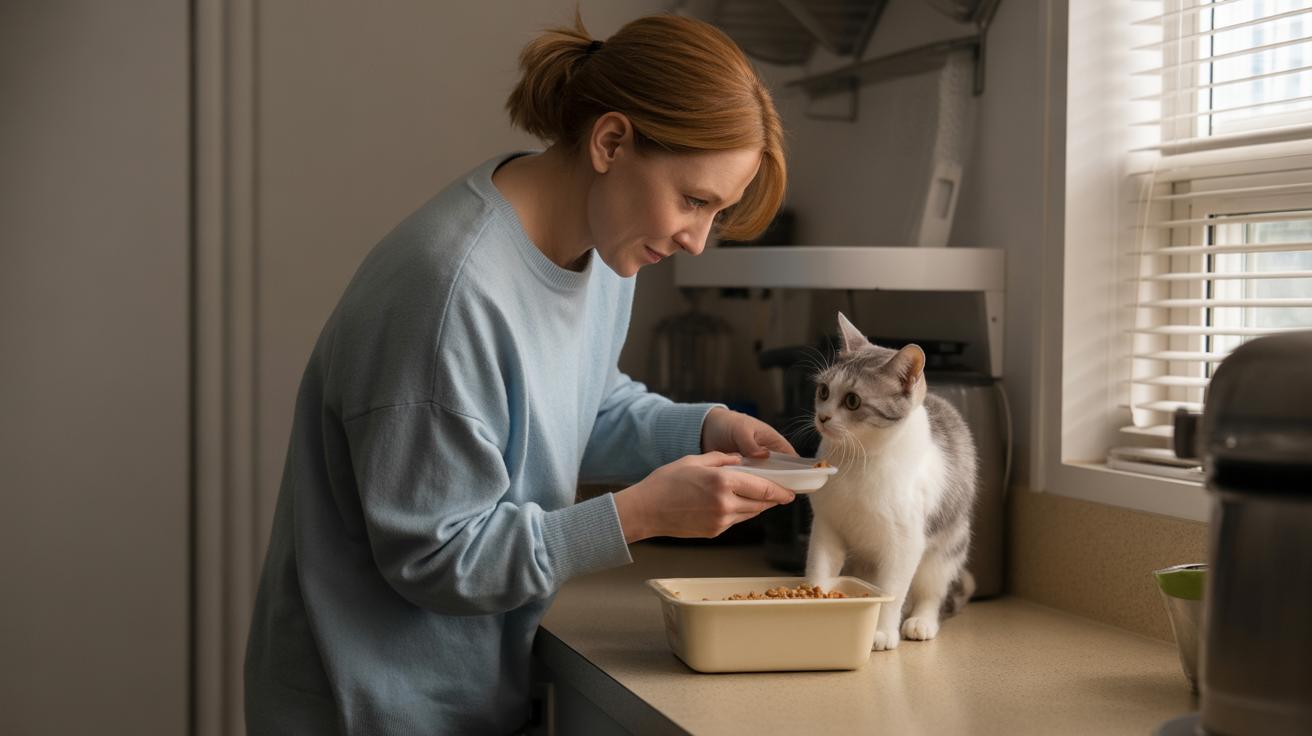
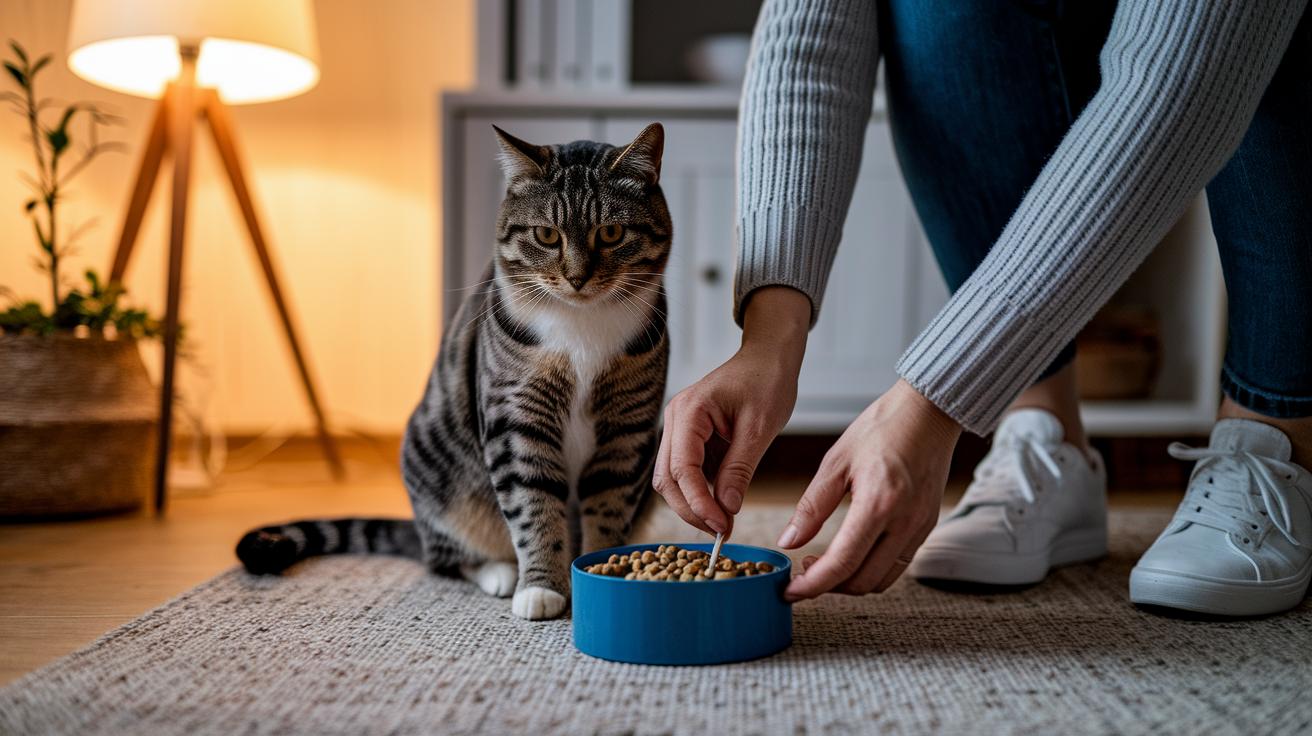
Keep it short. Five-minute sessions, two to four times a day is perfect. Make them upbeat and predictable so your cat knows the game. Check the Quick Start rules at Quick Start and loading tips at Basics. Have a tiny saucer of treats and a clicker (the click sound that marks the exact right moment) nearby so you can move fast between click and reward.
Start with easy, clear goals. Ask for a look at your hand, a touch to a target stick (a small wand with a dot or ball on the end), and tiny steps toward a sit. Reward the smallest improvements and slowly raise the bar. Track progress and practice the behavior in different rooms so the skill holds up.
- Session 1: Load the marker gently with calm pairing. Five minutes of click + treat while your cat watches , soft, slow, and no pressure.
- Session 2: Capture looks to your hand. Aim for three clean reps where you click for the cat looking at your hand.
- Session 3: Tap the target stick briefly. Try for two clear, intentional touches on the stick.
- Session 4: Start shaping a sit by clicking any lowering of the rear. Goal: three reps showing a deeper sit.
- Session 5: Chain look to target in one short run. Click the look, then click the target touch in the same session.
- Session 6: Fade a gentle lure for the sit. Reward the first solid contact of rear to floor once.
- Session 7: Build sit duration. Work toward holding two seconds across three reps.
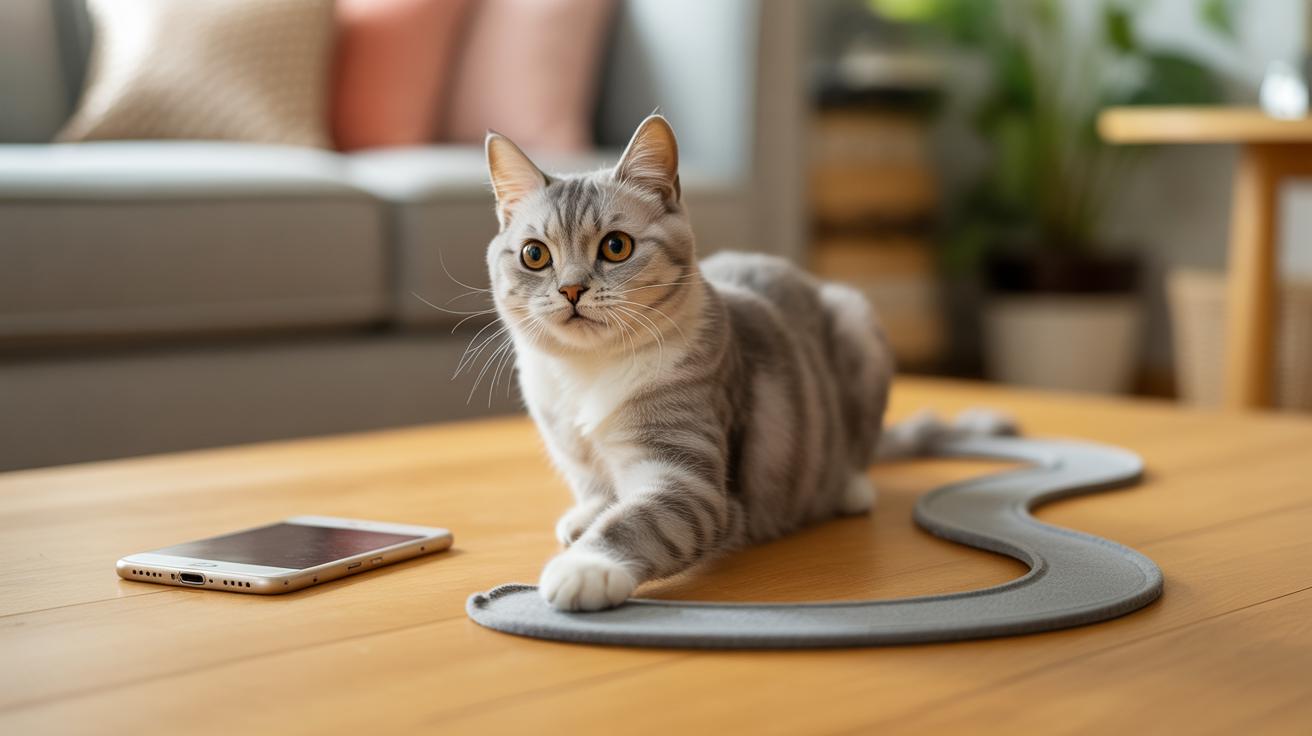
- Session 8: Move from target to mat. Guide the cat to a small mat and click the first two contacts.
- Session 9: Proof in a slightly busier space with one mild distraction (another person or a toy nearby). Check for reliable responses.
- Session 10: Mix drills quickly: look, target touch, short sit. Link the skills in one playful run.
Sample behavior outlines
Sit: Capture or lure an initial sit and click the instant the rear meets the floor (marker = click). Reward right away so the moment becomes obvious. Slowly fade the lure and only raise the hold time when your cat is comfy. Success = two seconds held across three consecutive sessions before you step up the requirement. Worth every paw-print.
Target-to-mat: Teach a touch to the target stick (think fishing-rod for cats). Once your cat reliably touches the stick, move the stick onto the mat and click the first paw or nose that contacts the mat. Success = three clear mat contacts from about one meter away in a single session.
Recall indoors: Use a visible treat or toy, call your cat, and click when they come within two meters, then reward at arrival. Keep rewards small and tasty so you can repeat. Success = a voluntary approach in three of four repetitions across two sessions.
Increase difficulty only after your cat meets the success criteria and stays eager. For timing tips see Basics and for treat portioning see Tools. Keep it playful, keep it short, and enjoy the little wins , your cat will too.
Detailed how-to , Troubleshooting: common mistakes, muffling protocol, and when to get help
Most stalled training comes from a few repeat offenders: clicking without giving the treat, marking the wrong instant, sessions that run too long, rewards that feel boring, and too many treats that mess with appetite. Your cat gets confused or bored, and progress grinds to a halt. Frustrating, I know , been there with a toy-flinging tuxedo.
Fixes are simple and friendly. Click only when you will deliver a reward, and make that reward worth a sniff and a nibble. If a treat fails, swap to a higher-aroma bite (high-value treats: strong-smelling, extra tasty bites) or give a tiny toy burst instead. Also, the clicker (a small handheld device that makes a sharp sound) should always be paired with something your cat wants right away.
Keep sessions short , think five minutes. Break big behaviors into tiny steps, click small approximations (tiny steps toward the final trick) and reward each one. If motivation dips, tighten meal timing a bit so training treats count as part of the day’s food rather than extras. That helps treats stay exciting without overfilling the belly.
Muffling protocol (step-by-step):
- Cover the clicker with a sock or soft cloth so the sound is gentler.
- Click and immediately toss a tiny treat 8 to 12 times while the sound is quiet, until your cat looks expectant , whiskers twitching, ears forward.
- Over several calm sessions, peel the cloth back a little each day and keep pairing the click with treats.
- When your cat stays relaxed with the quieter then slightly louder clicks, remove the cover.
Watch body language: relaxed blinking, a loose tail, and coming closer are good signs. Flattened ears, crouching, or fleeing mean slow down and make the steps easier.
Once a behavior is solid, move to intermittent rewards (giving treats sometimes instead of every time). Reward every click for a stretch, then every other click, then switch to an unpredictable pattern. Mix in high-value treats now and then so the behavior stays sharp without constant treats.
When to seek professional help
Talk to an experienced trainer or a certified behaviorist if stress escalates, if you see aggression or fear that worsens, or if progress stalls even though your timing and rewards are correct. Professionals can keep both of you safe and sane, and offer steps tailored to your cat’s needs.
See details: Quick Start, Tools
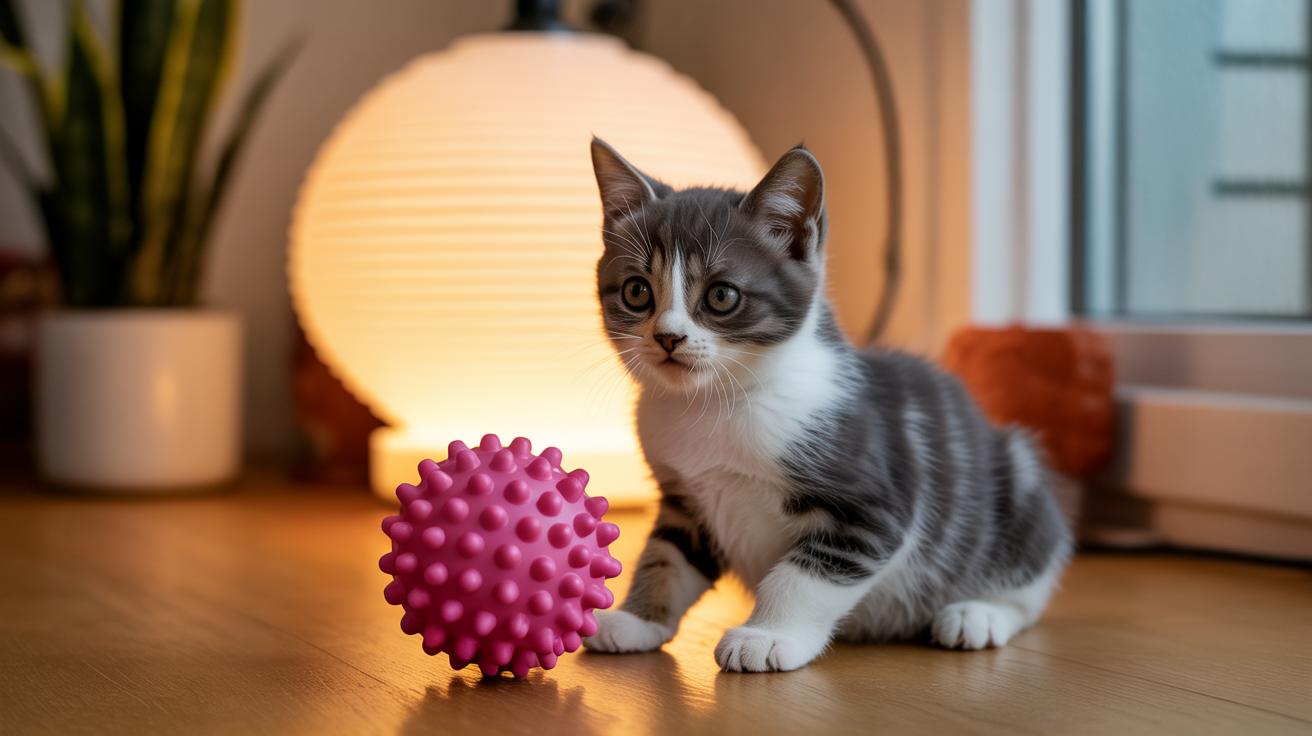
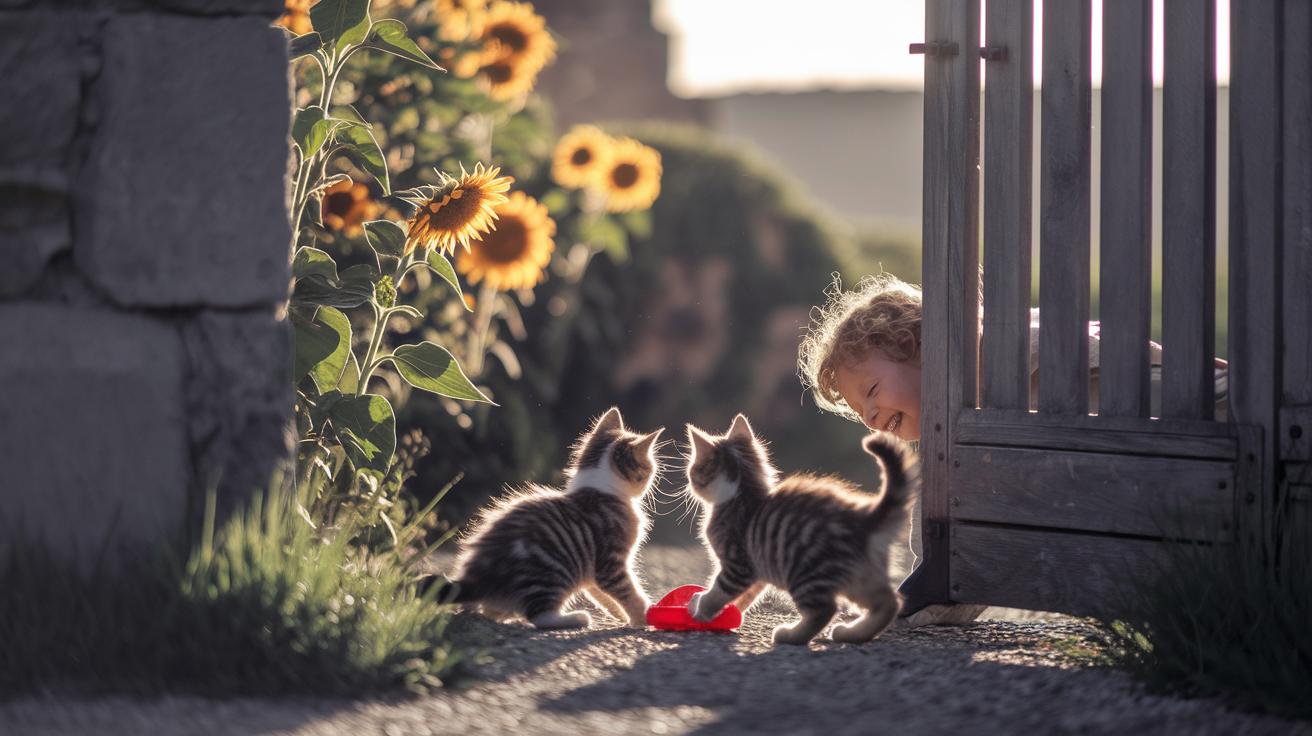
Clicker training adaptations for kittens, senior, and shy or fearful cats (special cases)
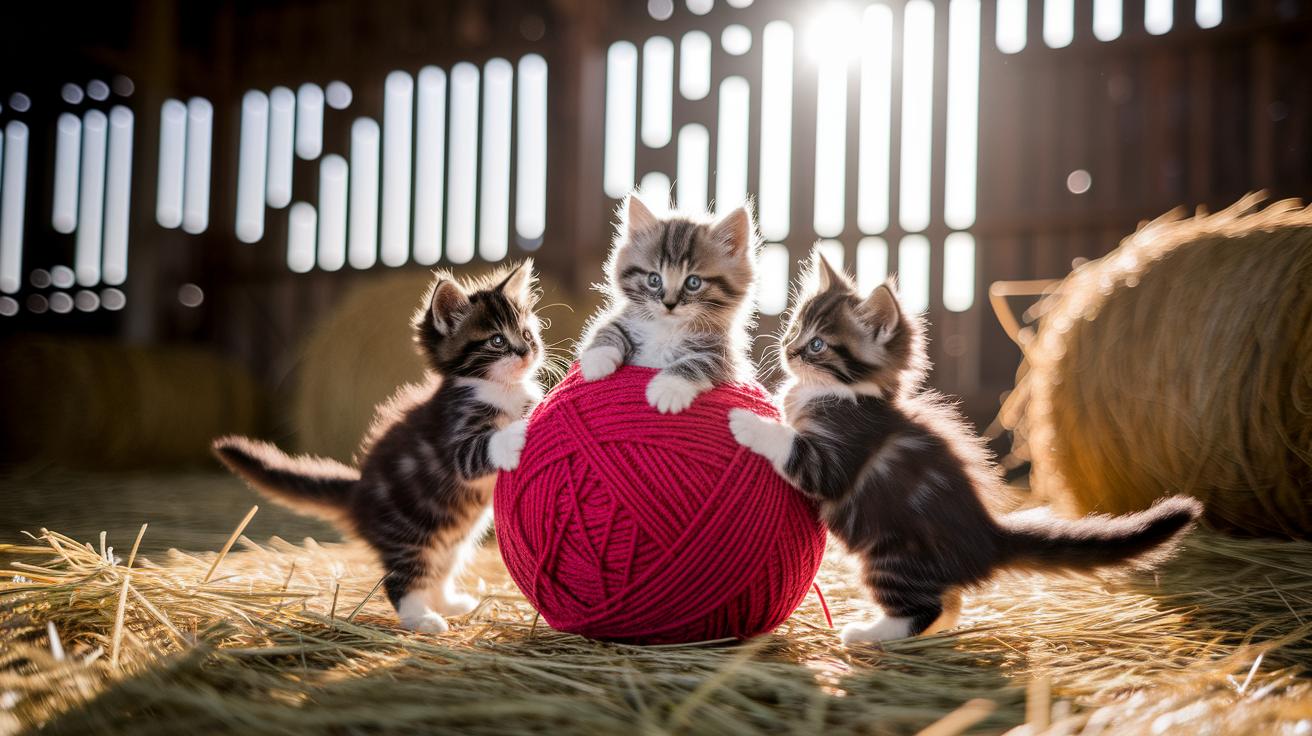
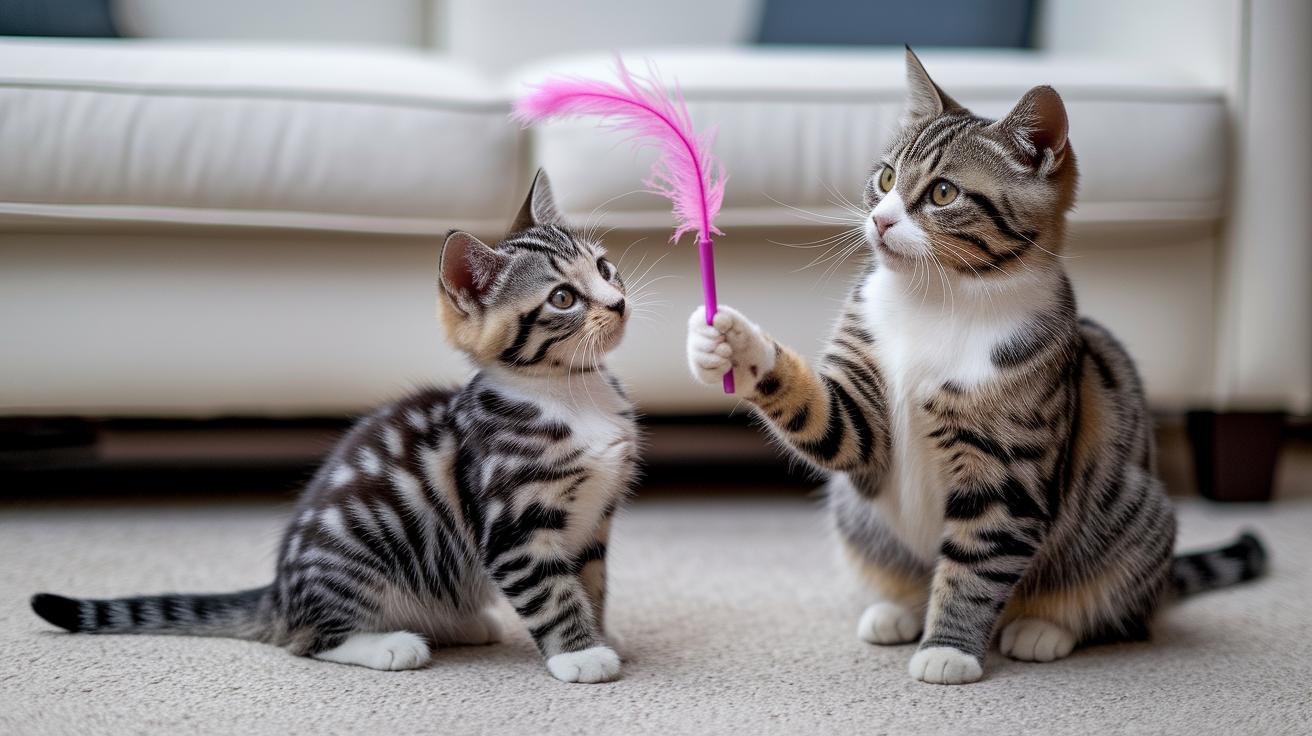
Kittens (~8 weeks) learn fast but tire faster. Keep sessions tiny , 30 seconds to 2 minutes, several short rounds a day , and focus on positive handling (gentle petting, calm voice, brief friendly touches). Start with ultra-simple goals: look at your hand, nose-tap a target (a small object you want them to touch with their nose), or sit for a heartbeat. Measurable progress looks like three clear, eager reps in one short session where the kitten looks or taps on cue without fuss.
Senior cats benefit from mental work without lots of movement. Pick stationary tasks , nose-touch, short sits, or target-to-mat (ask the cat to touch a target then step onto a mat) , and shape slowly with tiny increases in expectation. Two brief sessions of 2–5 minutes a day keeps it gentle and enjoyable. Pairing training with light play boosts engagement; see importance of play for senior cats to learn simple ways training plus play improves wellbeing. Success is steady, relaxed participation across three sessions.
Shy or fearful cats need an extra-soft approach, and the muffling protocol in Troubleshooting (#troubleshooting) can help reduce sound sensitivity (muffling protocol means softening the clicker sound, or switching to a quieter marker). Work at the cat’s pace: one calm click (clicker: a small handheld device that makes a crisp sound), one tiny treat, and lots of space; sessions may be 20–60 seconds at first. Look for relaxed blinking, approaching within about a meter, or a steady tail as signs you can inch forward. When food motivation is low, use play-based rewards and go slow , trust-building beats speed every time.
See details: Tools (#tools), Troubleshooting (#troubleshooting)
Advanced clicker techniques: shaping, chaining, proofing and enrichment (Detailed how-to)
For a quick refresher on tiny shaping steps, click timing, and the basic tools, see Quick Start, Tools and Step-by-step. This piece skips the basics and jumps into practical, advanced ways to build and troubleshoot multi-step chains, plus enrichment plans that pair puzzle feeders with training.
Keep the core rules in mind but I won’t repeat them here: shaping means tiny steps. Intermittent reinforcement means rewarding some correct responses, not every one (reward some but not all). Proofing means practicing the behavior in different rooms and situations. See Quick Start, Tools and Step-by-step for basics if you need them.
Multi-step chain examples (3–5 linked actions)
Here are simple chains to try. Train each link by itself first, then connect them slowly.
- 3-step chain example: recall → target touch (target = small object cats touch) → sit on mat.
- Teach each part alone. Add the cue for the first link once it’s solid. Then link 1 to 2, and later link 2 to 3. Keep sessions short so your cat stays keen.
- 4-step chain example: come to box → jump on box → turn 180° → paw touch a switch.
- Teach the turn and the paw touch separately (use a clear reward each time). Then practice the short moves between them until the flow feels smooth.
- 5-step chain example: move to low platform → hop to mid platform → target nose-touch a spot → spin → sit.
- Use short bursts and frequent resets. Small, predictable steps keep transitions crisp.
I once watched Luna nail a three-step jump-spin-sit in under a minute. Tiny wins stack fast, you know?
Fading schedules and intermittent-reward progressions
Use clear numbers so you know how to fade rewards and move to variable reinforcement (variable ratio = rewards on an unpredictable pattern).
| Stage | Reward Rate | Goal / Criteria |
|---|---|---|
| Stage 1 | 100% | Reward every correct link to build reliability |
| Stage 2 | 75% | Skip about 1 in 4 correct responses at random; keep marking the right moments |
| Stage 3 | 50% | Reward roughly half the correct sequences; still give the occasional full-sequence prize |
| Stage 4 | Variable (variable ratio) | Unpredictable pattern; give occasional high-value rewards for perfect runs |
Timing tip: shorten the pause between clicks as you link actions. If your cat hesitates, back up one link and rebuild confidence.
Troubleshooting chained behaviors (timing errors, error propagation)
- Timing errors (click comes late):
- Stop the chain right away.
- Re-teach the tiny step where timing failed with a clear bridging signal (bridging signal = a short sound that marks the exact correct moment).
- Do 3–5 reps at that micro-step pace before you try linking again.
- Error propagation (one bad link ruins later links):
- Find the earliest shaky link.
- Rebuild that link at 100% rewards for a few short blocks.
- Only add the next link when the first is solid.
- Timing drift between links (little pauses stack up): shorten the interval between clicks and reward only when transitions hit your target tempo.
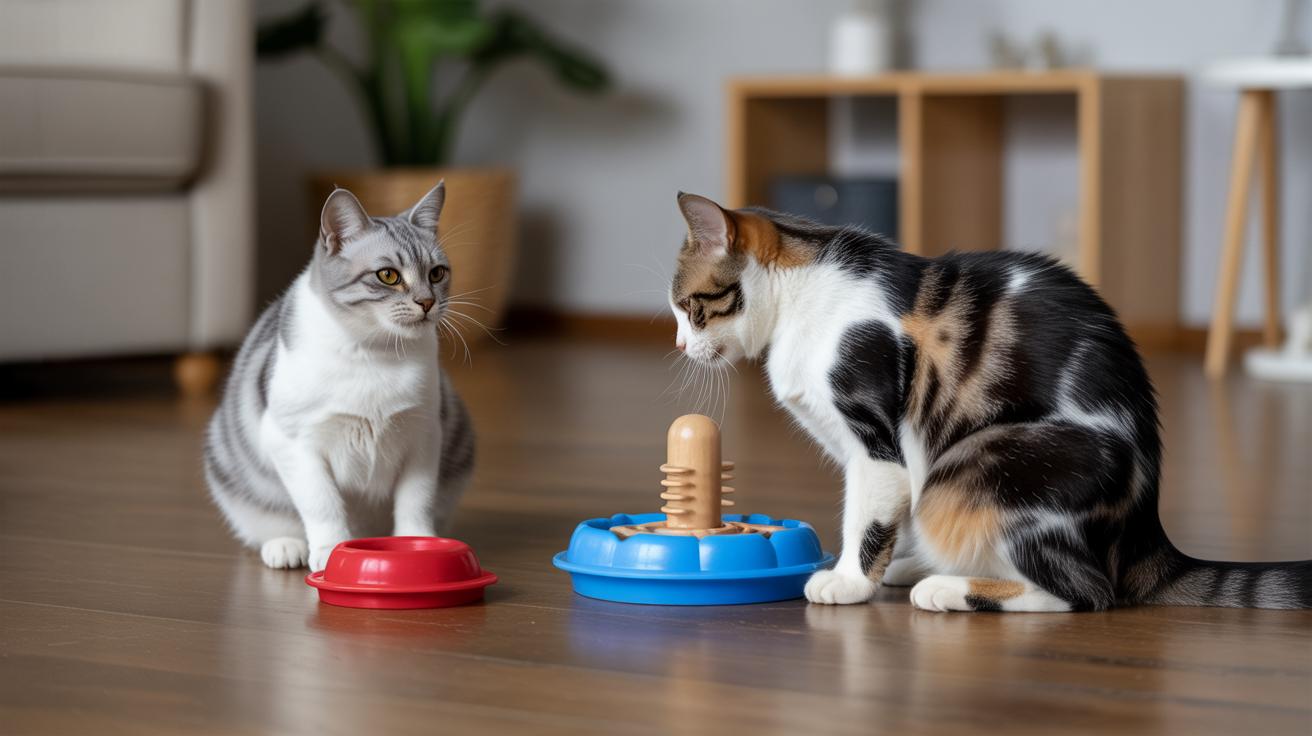
Enrichment protocol: combining puzzle feeders and training
This is fun. Start with a little foraging to wake the brain, then train transitions, then finish with a puzzle that needs the trained behavior.
- Session structure (example): 5–10 minutes with a puzzle feeder to get the problem-solving drive going, then 3 short training bursts (1–2 minutes each) focused on transitions, finish with a quick puzzle challenge that uses the trained behavior as the key.
- Progression: bump puzzle difficulty slowly (adjustable resistance = puzzle you can make harder or easier) while keeping training bursts concise so your cat stays engaged.
- Rotation: switch tasks across days so your cat practices chains, foraging, and new problems, keeps motivation high.
For busy mornings, toss an unbreakable ball before you head out and you’ve bought ten minutes of safe play.
Advanced problem / solution (3 real scenarios)
- Problem: Cat stops mid-chain and stares off.
- Pause training.
- Go back to the last reliable link and reward at 100% for 5 reps.
- Re-link with shorter transitions and add a brief, obvious cue to restart momentum.
- Problem: Cat loses interest across sessions.
- Shorten sessions to 1–2 minutes.
- Add variety: change the order of links or start in a new spot.
- Give easy wins early to rebuild engagement.
- Problem: Poor generalization (works in one room only).
- Move the chain one small step toward the new room (practice the first link in the new room).
- Add the next link in that room once the first is solid.
- Use brief, frequent sessions across several rooms to transfer the behavior.
See Quick Start, Tools and Step-by-step for the fundamentals. Worth every paw-print.
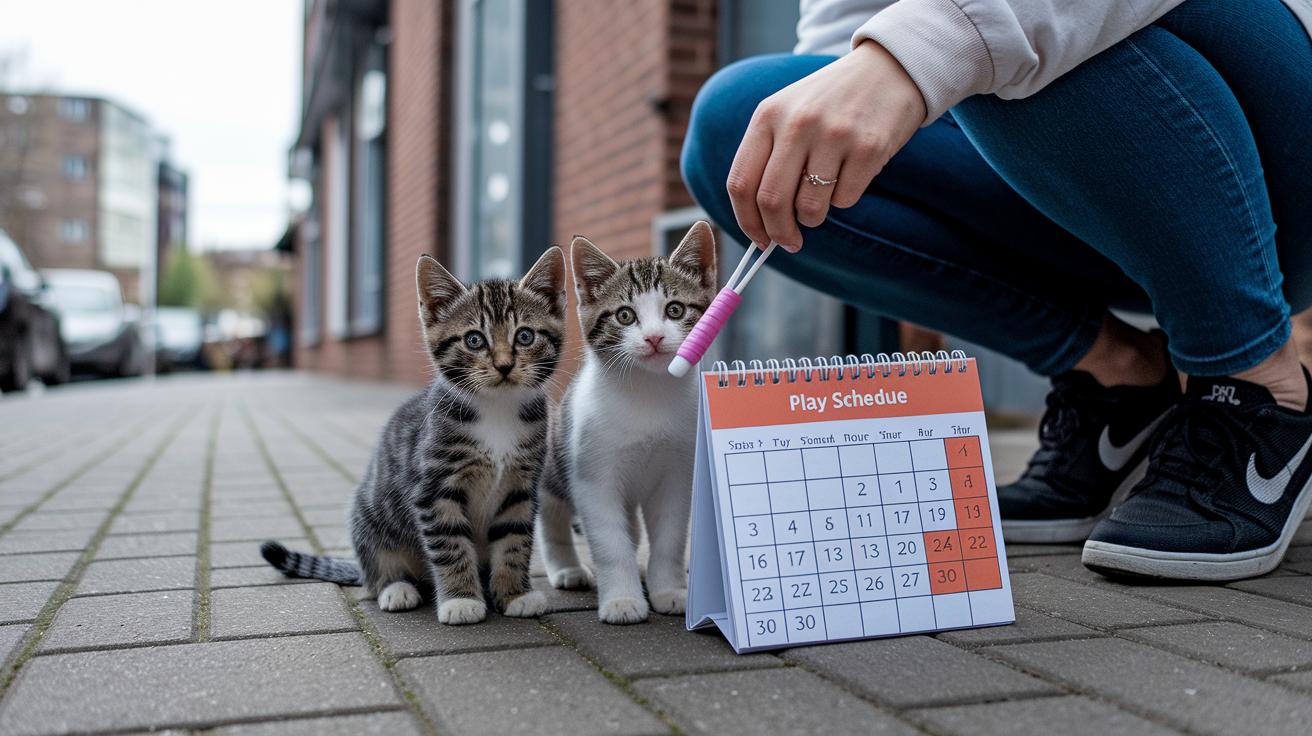
Progress tracking, schedules, milestones, and measuring success
![]()
Think of a training log like a map for your cat’s progress , it shows what’s working, what needs a tweak, and when to celebrate a real win. A quick record keeps timing tight (click-to-treat means the time between the clicker marker and the treat), prevents overfeeding, and helps you spot trends your memory will miss. You’ll stop guessing and start celebrating actual progress. Cute moment bonus: watching whiskers twitch as a behavior clicks into place never gets old.
Keep sessions short and steady. Start with five-minute bursts, two to four times a day for beginners, then cut back on treat frequency as the behavior becomes reliable. Jot a line or two right after each session so details don’t blur , small daily notes add up into clear patterns that tell you when to raise the bar or move practice to a new room. For busy days, toss an unbreakable ball or do a quick recall drill before you head out , that’s ten minutes of safe enrichment.
Simple fields to track after each session:
- Date , when you trained.
- Duration , minutes spent this session (how long you actually worked).
- Behavior targeted , exactly what you asked for (sit, target touch, recall , recall means coming when called).
- Click-to-treat latency , seconds between the marker (clicker sound) and the reward (how fast you delivered the treat).
- Success rate , clear reps out of total attempts (how often the behavior was correct).
Keep it honest and tiny. A few lines per session beat a long, perfect log you’ll never fill out. Then, when you spot steady wins, raise criteria or add distance, distractions, or another room. Worth every paw-print.
See details: Tools (#tools) for treat-calorie calculations and Step-by-step (#step-by-step) for session templates.
Final Words
Click the instant you like a behavior and reward right away. That quick-start marker method (marker = a sound that marks the exact moment of desired behavior) plus the Basics give you fast, clear results.
Gather simple Tools: a small clicker, tiny high-aroma treats, and a pouch. Follow the Step-by-step plan, five-minute sessions, 2–4 times daily, to shape sits, targets, and recalls.
If progress stalls, check Troubleshooting for muffling and fixes. Keep sessions short and fun. With a bit of practice, clicker training for cats brings smarter play and calmer, happier homes.