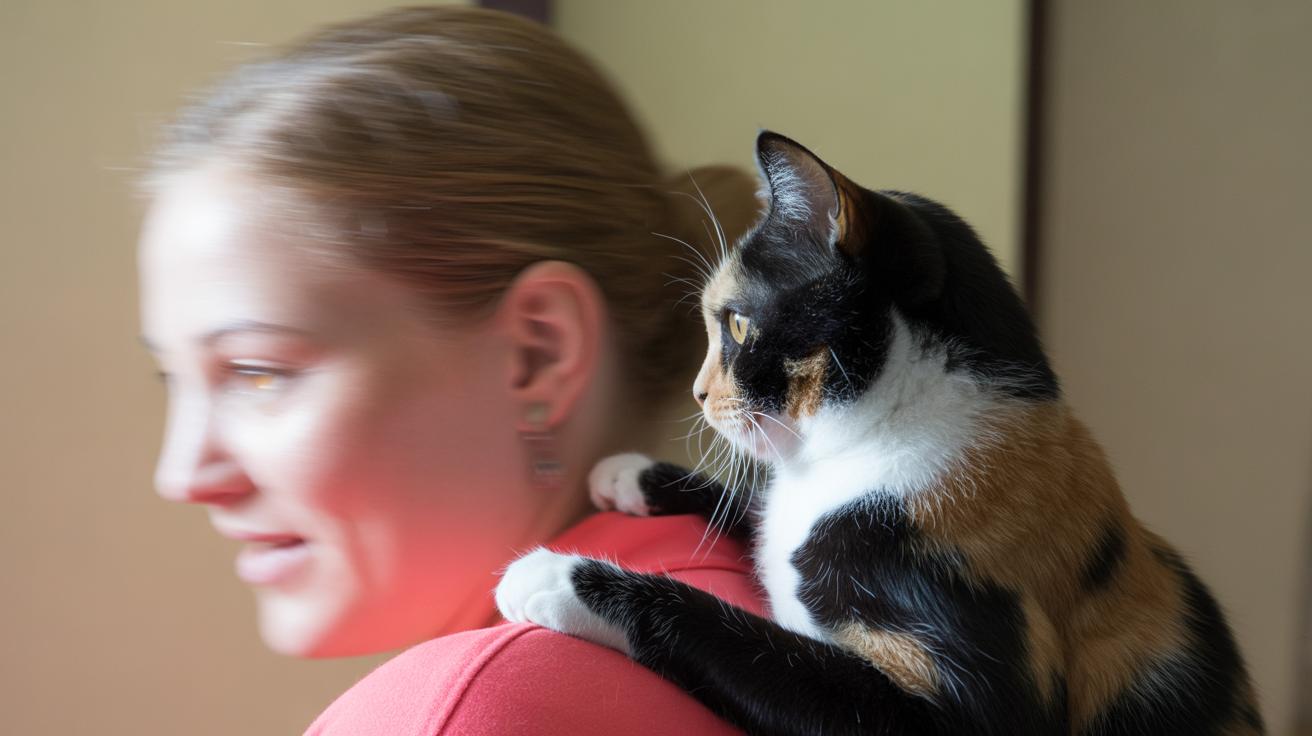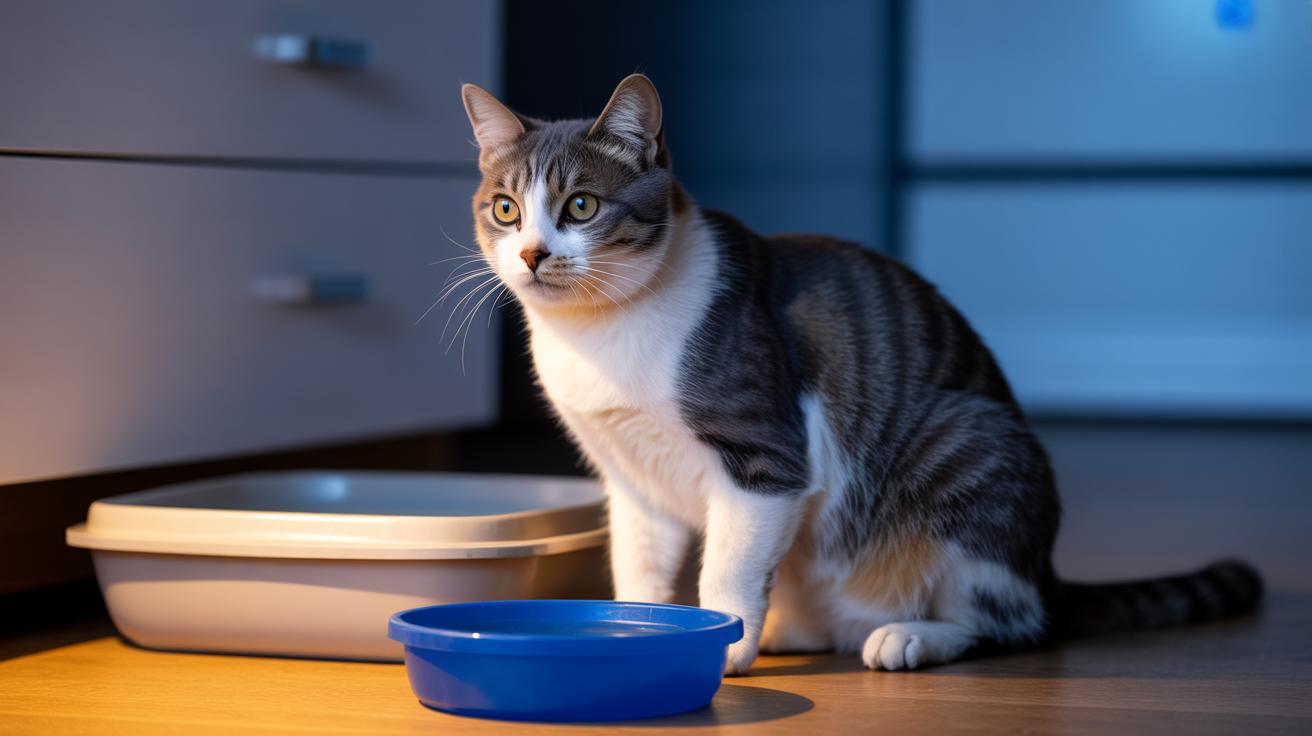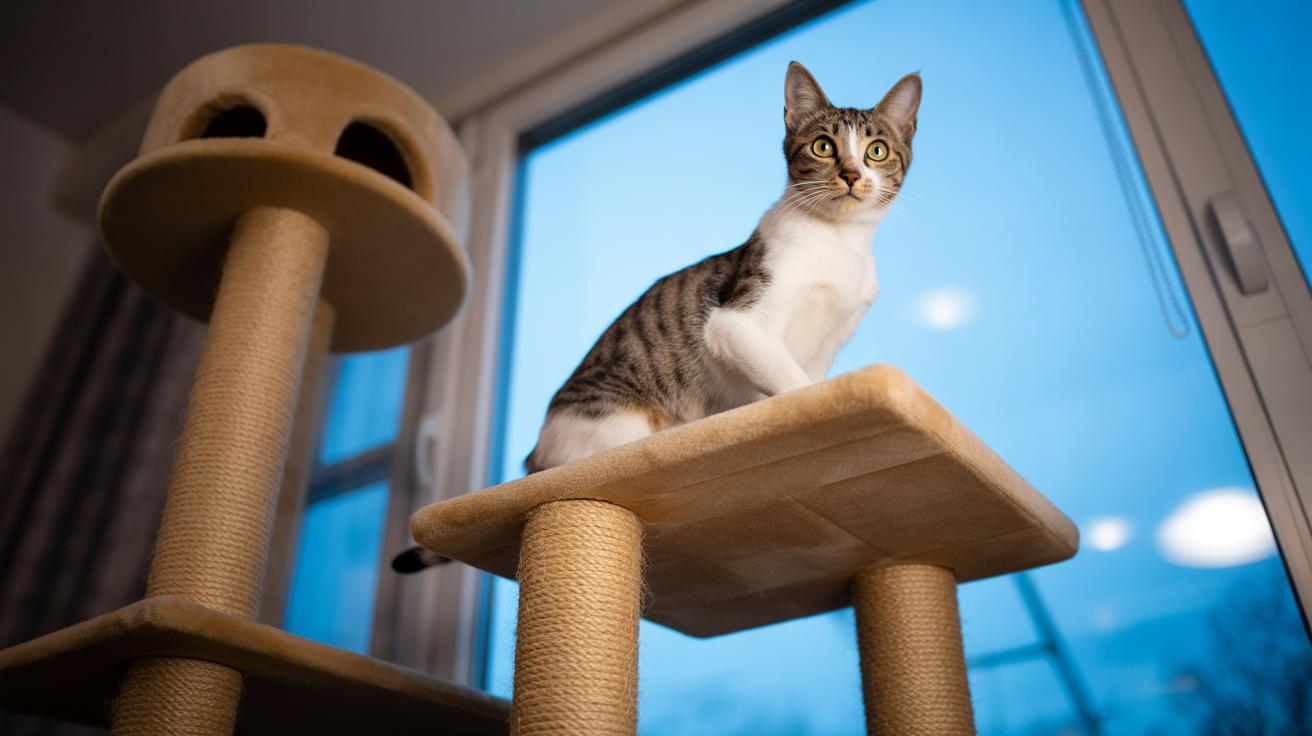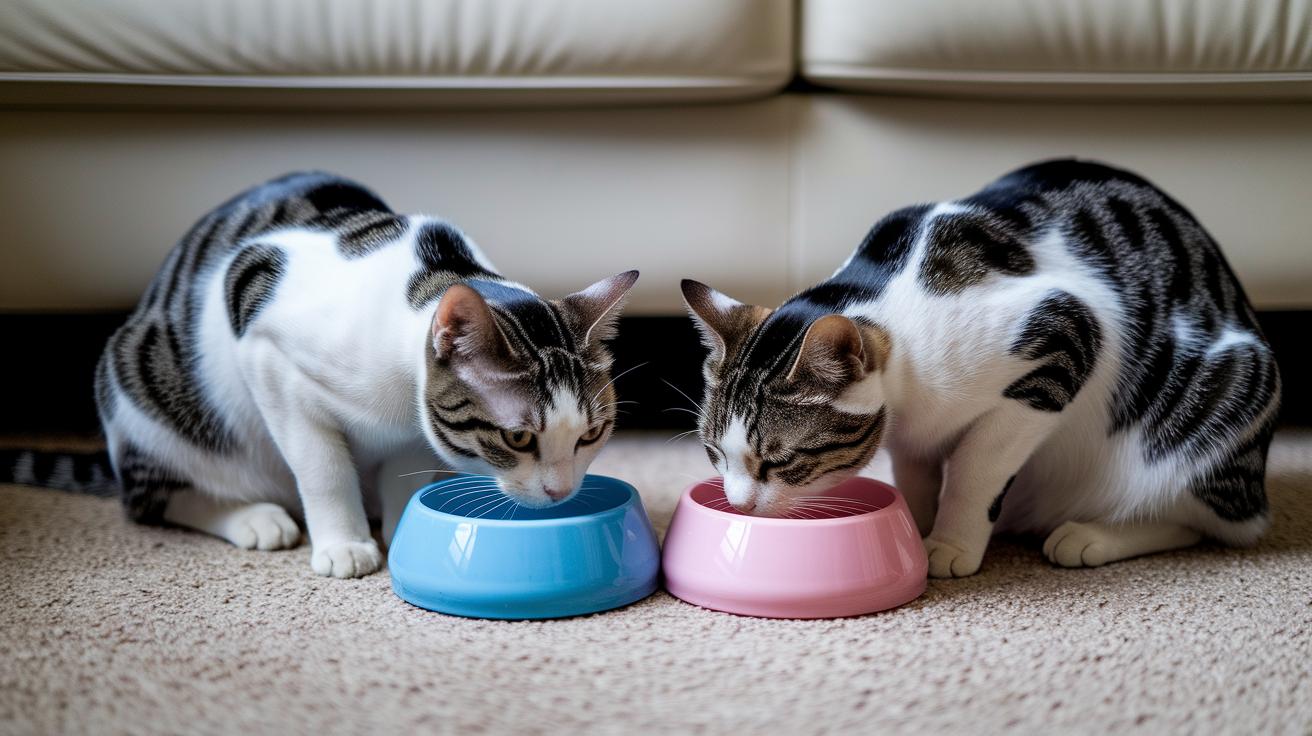
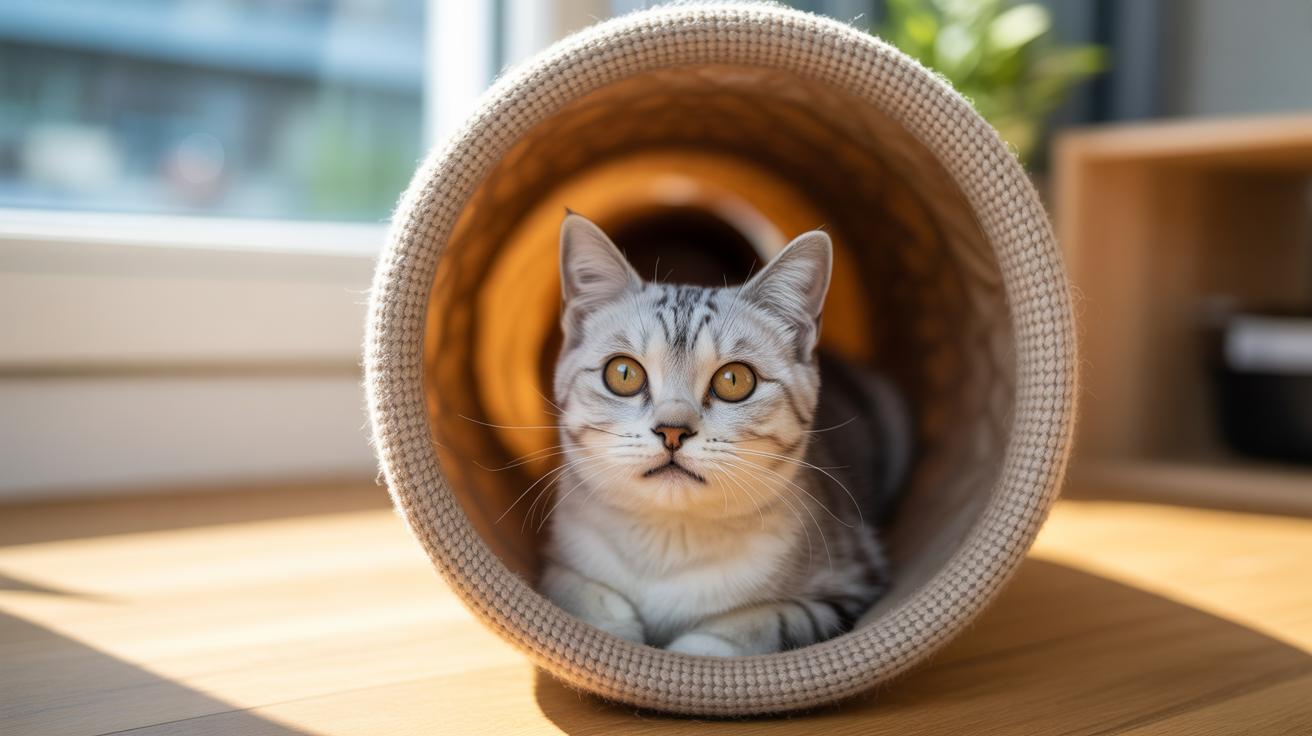
Are cat tunnels a silly gimmick or the best thing you can give an indoor cat? I say they’re often the latter. A good tunnel turns your living room into a safe sprint track, a hideout, and a pouncing arena so bored kitties stop inventing mischief.
Here’s a quick, friendly guide to pick the right tunnel for your cat. Think diameter (width of the opening), length (how long the tunnel is), material (faux fur (like fake sheepskin) or puncture-proof fabric (tough cloth that resists claws)), washability (how you clean it), and multi-cat options (designs made for more than one cat). Match a smaller diameter to kittens and cozy curlers, and a wider one to big cats or breeds that need extra elbow room. If you want a movie-night win, choose something that makes a soft rustle and is machine-washable so cleanup is easy.
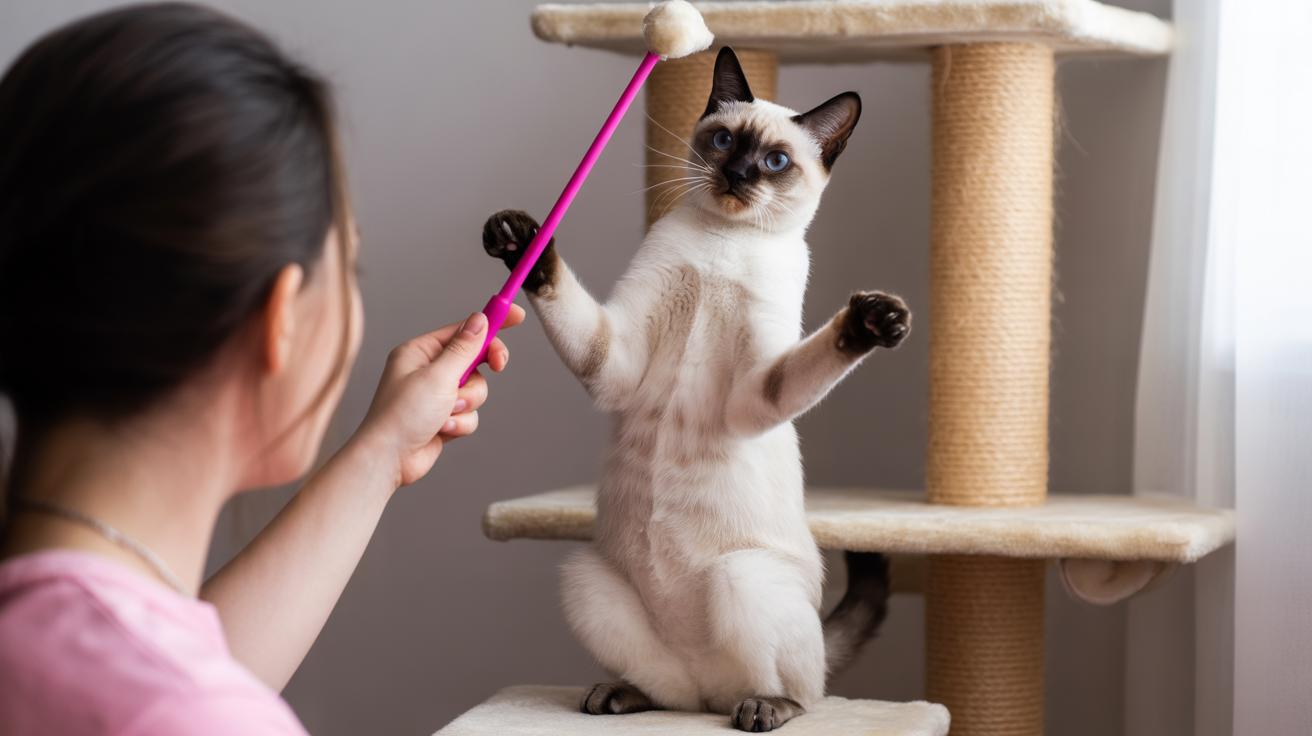
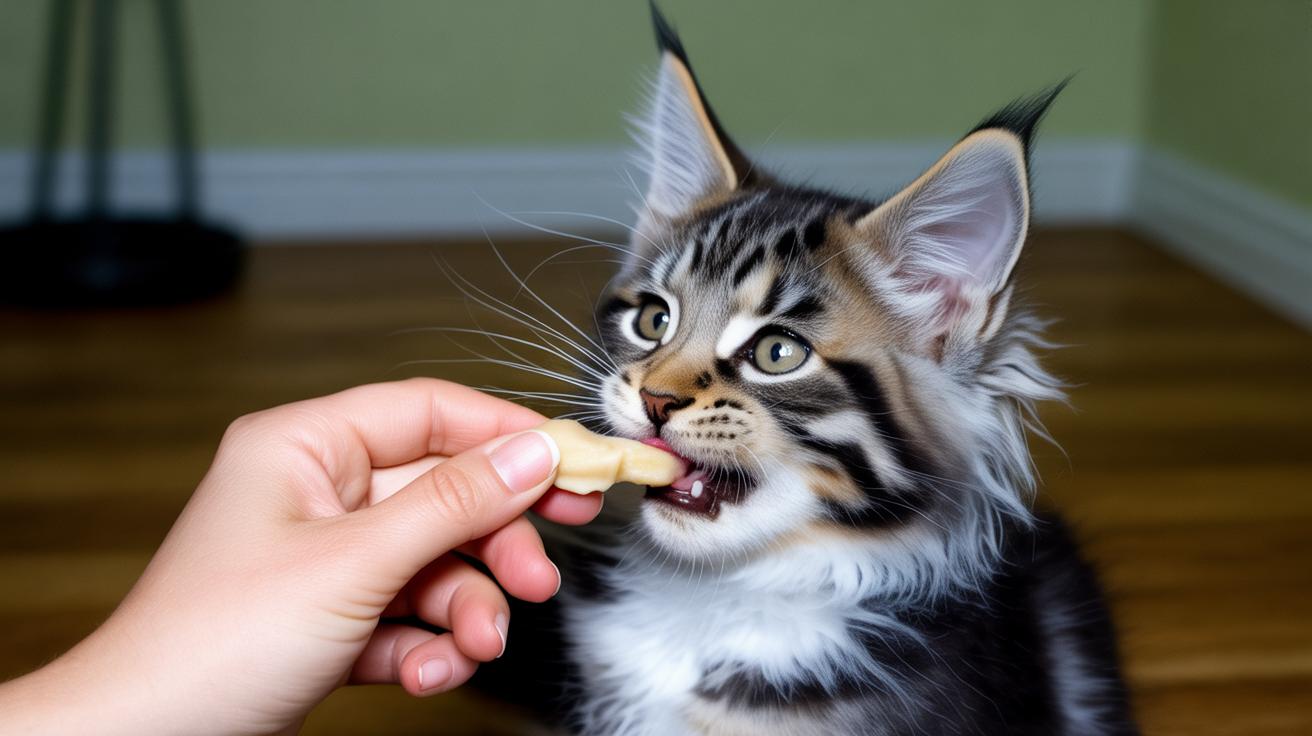
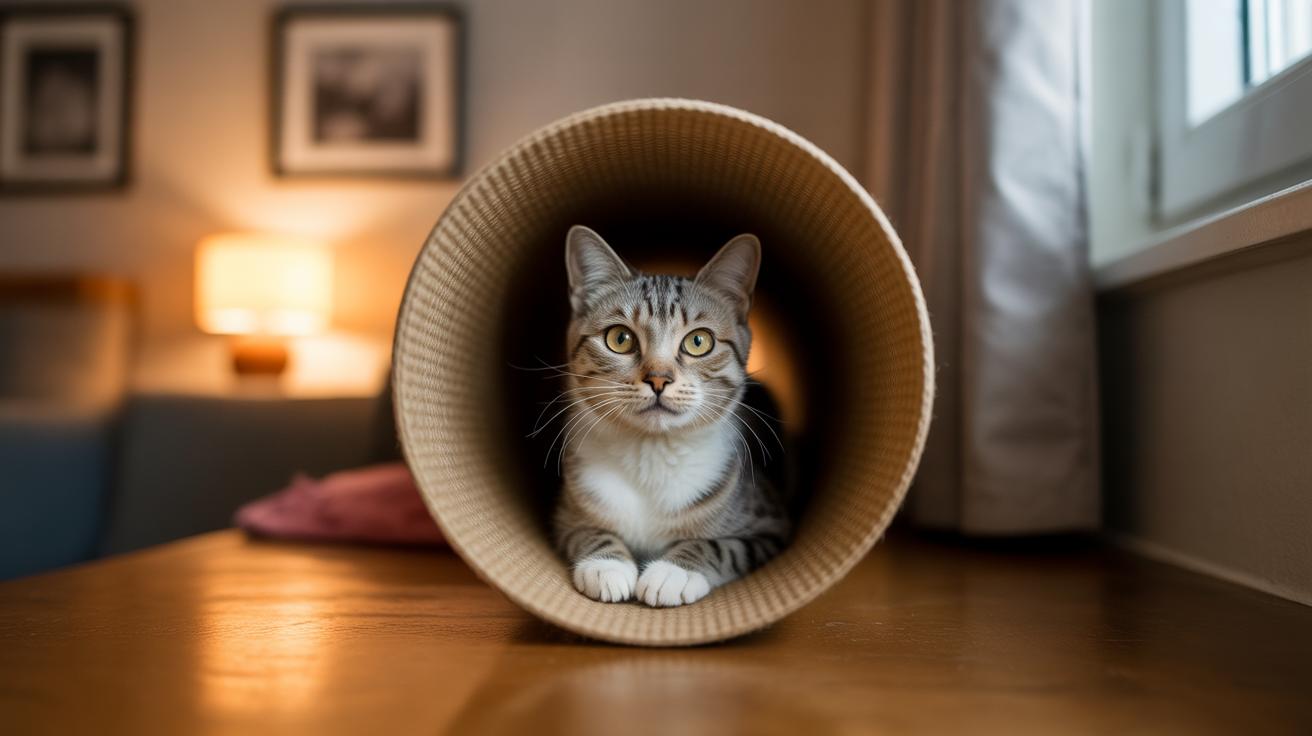
Ever watched your kitty’s whiskers twitch as a toy slips through a tunnel? Toss a teaser or an unbreakable ball in before you head out for ten minutes of safe play, your cat gets exercise, you get peace of mind. I once watched Luna leap six feet for one. Worth every paw-print.
Choosing cat tunnels: a quick buyer checklist
Match the tunnel to your space, your cat’s size, and how easy it is to wash. That’s the fastest way to pick a winner.
| Best For | Model | Key Feature |
|---|---|---|
| Small apartments | Ikea Lurvig | Folds flat, 50.5 in long |
| Multi-cat homes | PAWZ Road Collapsible Tunnel | Modular, connectable shapes |
| Large breeds / seniors | Kong Play Spaces Rave Cave | 11.75 in diameter opening |
Quick checklist for what really matters
- Diameter. Aim for 9 to 12 in for most cats. Use 11 to 12 in if you have a big breed or a senior who likes extra room. Think of diameter like the doorway your cat needs to feel comfy while still being able to run through.
- Length. Single straight tunnels around 32 to 50 in give good run-and-pounce action. Shorter tunnels are fine for quick bursts. Longer runs let them build speed.
- Material type. Look for polyester or plush or faux fur (faux fur is soft, like a fake-sheepskin lining) and check recycled options if that matters to you. Ikea says their Lurvig uses about 90% recycled materials.
- Collapsible and storage. Pop-up frames or fold-flat designs save space. If you live in an apartment, this is a lifesaver for closet real estate.
- Washable parts. Choose tunnels with machine-washable pads or removable covers. Always remove metal frames or electronics before washing.
- Multi-cat compatibility. Y, S, or hub systems let you zip or clip pieces together so cats can take different routes or stage ambushes. Great for roommates with four paws.
- Toy attachments and sensory extras. Dangling balls, catnip pockets, crinkle liners (crinkle liner is a noisy inner layer that makes an exciting rustle), and little glow bits or LEDs can add interest. Glow pieces usually last about 3 to 5 hours after a charge.
- Anti-chew and tear resistance. Look for tear-resistant fabrics and sturdy frames if your cat likes to bite or wrestle. Heads-up: metal bits can sometimes poke through washers if you machine-wash the whole thing.
- Ventilation and peepholes. Mesh ends or peek-holes give airflow and let your cat spy on you while hiding. Your cat’s whiskers will twitch when they spot a move through a tiny window.
- Senior and kitten fit. Kittens like snug, cozy tunnels. Seniors prefer wider, plush, and quieter tunnels that are easy on their joints.
- Price and warranty. Budget tunnels can be under $20, mid-range $25 to $60, and premium $60 plus. Check return policies and warranties so you’re not stuck with a dud.
A few quick scenarios
- Small apartment. Pick a collapsible 32 to 50 in straight tunnel or a fold-flat model to stash under the bed.
- Multi-cat home. Go modular with Y, S, or hub systems that zip or clip together so everyone can play at once.
- Large-breed or senior. Choose an 11 to 12 in diameter tunnel, or wider hubs and longer runs for easier access.
Ever watched your kitty launch from the couch into a tunnel? It’s pure joy. Pick the right size, pick something washable, and you’ll get hours of safe, claw-tastic play.
Best cat tunnels for indoor cats
Think of this quick checklist as your map. The table below lines up with the 10-item checklist , diameter, length or footprint, material, best-for, and price , so you can scan fast and pick what matters most.
Start by choosing the features you need first, like size and washable parts, then use the table to compare price and durability before you buy. Easy.
| Model | Diameter (in) | Length/Footprint | Material | Best for | Price range |
|---|---|---|---|---|---|
| Lesure 2-in-1 Cat Tunnel Bed | Varies (bed / tunnel) | Bed-style footprint (about the size of a standard cat bed) | Plush exterior (soft fabric), crinkly interior (thin crackle film) | Dual-use: nap and play | $60–$120 |
| Kong Play Spaces Rave Cave | 11.75 | 3.25 x 11.75 x 11.75 (overall) | Plastic (rigid molded plastic) with crinkle floor and electronics (battery-powered moving parts) | Large breeds or cats that need high stimulation | $25–$60 |
| PAWZ Road Collapsible 3-Shape | ~10.5 | S ~46 x 10.5 x 10.5 | Faux fur (soft synthetic fur) over steel frame (strong metal core) | Multi-cat modular setups | $25–$60 |
| SmartyKat Crackle Chute | 9.5 | 35 x 9.5 x 9.5 | Polyester (synthetic fabric) with PET (thin crinkle plastic) liner | Budget sensory play and playful kittens | $15–$30 |
| Catit Vesper C-shaped | 11 | 26.8 x 38.2 x 11 | Polyester (soft synthetic fabric) with padded bed insert | Seniors or cats that like a cushioned rest | $60–$120 |
| Pawaboo 5-Way Hub | ~9.9 (hub) | Hub plus arms (~15.7–20.8 inch arms) | 190T polyester taffeta (light, smooth fabric), alloy steel frame (durable metal) | Expansive multi-arm play circuits | $25–$60 |
If you have a solo kitten, compact crinkle-lined tunnels like the SmartyKat or Lesure are a win , they double as cozy snooze spots and noisy, chaseable lanes. Multi-cat homes do best with modular PAWZ or Pawaboo hubs so everyone can race, hide, and peek through little windows.
Living in an apartment? Look for fold-flat or short-footprint tunnels, think Ikea Lurvig-style, so you can stash them when guests come over. Got a senior or a big-breed cat? Pick wider openings like the Catit Vesper or Kong-style caves so entering and exiting is easy and comfy.
Match any table pick back to the 10-item checklist , diameter, washability, material, and so on , before you click buy so your new tunnel is claw-tastic and built to last.
Worth every paw-print.
Materials, features, cleaning & durability
Think about how your cat plays and how much laundry you want to deal with. A soft tunnel becomes a cozy nap spot; a tough one survives chewers and rough tumbles. I’ll walk you through common materials, fun extras that make cats purr, and a plain-language care plan so your tunnel lasts.
Materials
Most tunnels use polyester (a strong synthetic fabric) or polyester blends, like 190T polyester taffeta (a lightweight, tightly woven polyester that feels smooth). Some have faux fur (soft synthetic fur) or plush exteriors for snuggling. Others include PET liners (thin crinkly plastic that makes that irresistible rustle). Frames are usually steel (metal rods that hold the shape) or alloy steel (lighter metal rods). Watch out when washing: frames can poke through fabric if left inside. You’ll also find recycled polyester (made from reused plastic bottles) in eco-friendly models, and some brands offer tear-resistant textiles for heavy chewers.
Trade-offs are simple. Soft fabrics win for naps and coziness. Tighter-weave polyesters win for cleaning and lasting through rough play. Which one you pick depends on whether you want your cat to nap or wrestle.
Sensory & attachments
Crinkle liners, glow-in-the-dark bits, dangling toys, and catnip pockets all add interest, but more parts means more things to remove before washing. Match extras to your cat’s personality and your cleanup patience. Ever watched your kitty freeze, whiskers forward, then pounce the moment a crinkle sound starts? That’s the joy right there.
Some quick use-cases:
- Collapsible storage , saves space, folds flat for small apartments.
- Machine-washable liners , pulls hair and smells out fast; great for messy cats.
- Crinkle/crackle sensory , adds sound and curiosity, perfect for playful kittens.
- Built-in toys and catnip pockets , invites repeat visits from indoor kitties.
- Heavy-duty, anti-chew construction , tougher seams and fabrics for chewers and multi-cat homes.
Washing & safety
Don’t toss a tunnel in the washer with metal frames, batteries, or glued toys still attached. Pop out frames, unzip or unclip padded inserts, and remove battery packs before any machine cycle. Spot-clean spills or drool weekly, and wash removable covers or pads every 4 to 8 weeks depending on use. After a long play session, air the tunnel the same day to cut down on damp smells and mildew.
Safety checklist:
- Remove electronics and batteries before washing.
- Check frame ends for sharp points or broken wire before each use.
- Retire shredded or chewed toys and replace dangling bits.
- Dry fabric completely before storing to prevent mold.
- Supervise rough multi-cat play until you confirm zips, clips, and seams hold up.
Worth every paw-print.
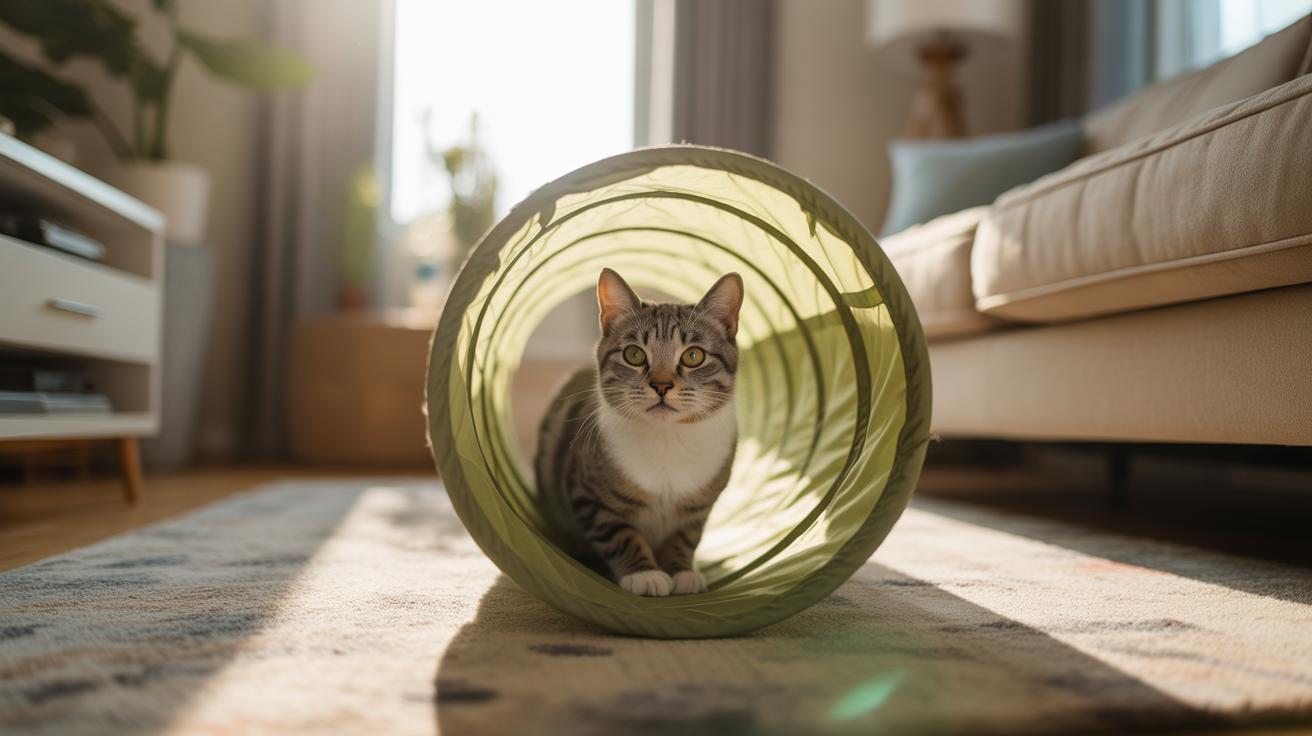
Tunnel sizes: measurement guidance and quick planning table
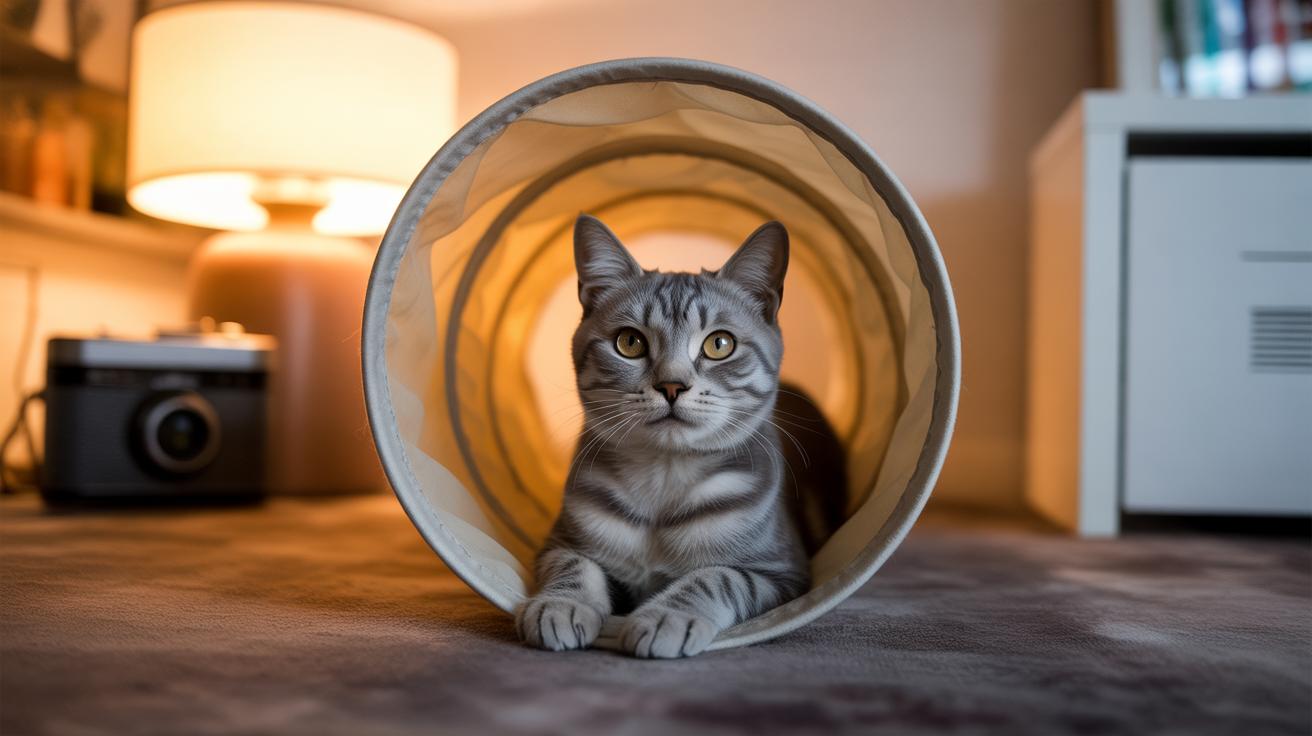
Pick a tunnel size that fits your cat’s shoulders and your floor plan so they can run, hide, and nap without feeling squeezed. Diameter (across the tunnel) and length matter more than you might think , your cat should be able to turn around and lie down comfortably. Ever watched your kitty poke their head out and freeze? That’s the magic moment you want to enable.
Quick reference: Diameter 9–12 in; Length 32–50 in. For large breeds and seniors, aim for 11–12 in diameter or longer runs.
| Cat size / use | Recommended diameter (in) | Recommended length (in) | Notes |
|---|---|---|---|
| Average adult cat | 9–11 | 32–40 | Good for chasing, hiding, and naps |
| Large breeds / seniors | 11–12 | 40–50 | Extra room helps comfort and easy turning |
| Multi-cat play or long runs | 9–12 | 50+ | Connect multiple tunnels for longer routes |
Placement tips: tuck tunnels into corners. Try this: slide the tunnel into a corner and watch your cat set up an ambush. You’ll see whiskers twitch and that tiny crouch before the sprint.
You can thread a tunnel through under-furniture gaps or line it up with a cat tree or bed so your cat has clear routes for stalking and a fast escape. For tight spaces, pick a fold-flat model (collapses flat for storage) with Velcro (hook-and-loop fastener) and arrange U-shapes to save floor area. I once looped a U-shape down a hallway and my cat treated it like a racetrack.
Safety check: make sure the tunnel’s fabric and seams are sturdy, that there are no loose strings, and that entrances stay open so your cat won’t get stuck. It’s worth a quick look every few weeks.
Short tip for busy days: toss a favorite toy into the tunnel before you head out , ten minutes of safe play while you’re gone. Worth every paw-print.
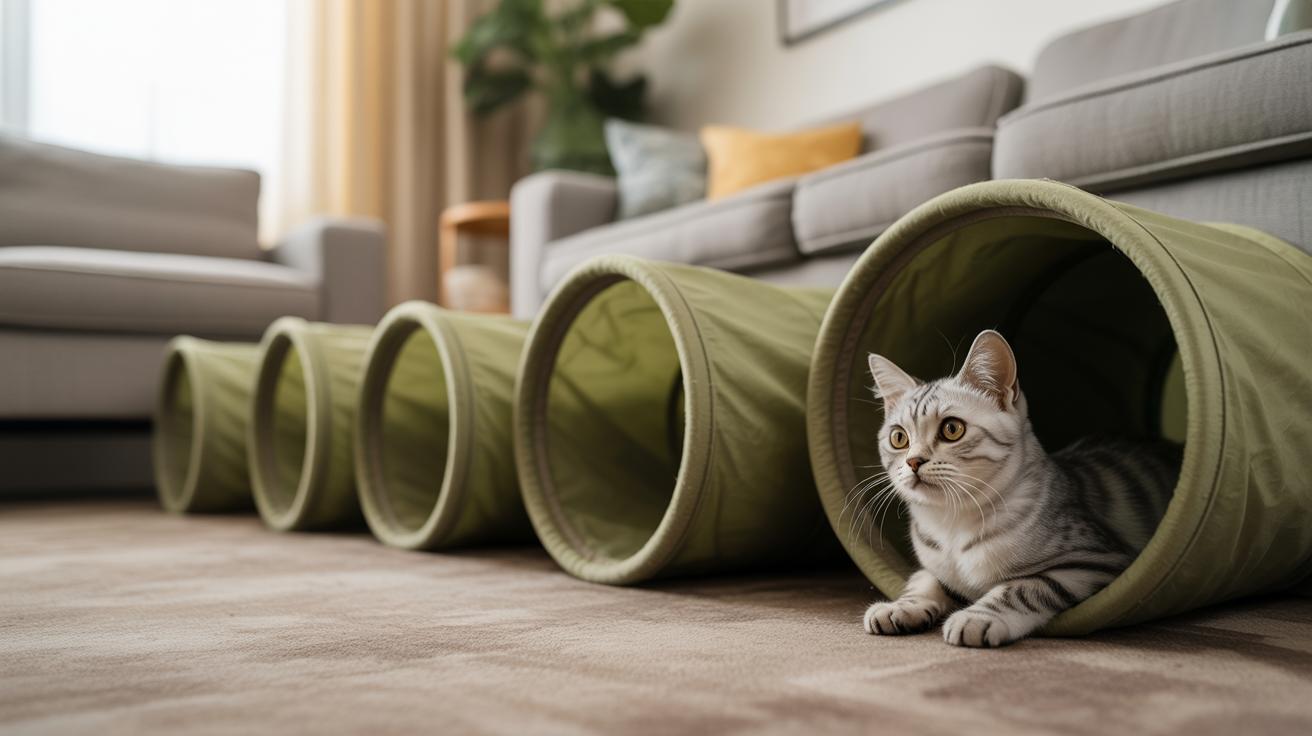
Multi-cat and modular tunnel systems
If you want a racetrack for more than one ambush artist, modular tunnels with Y, S, or hub pieces let kitties split up, chase, and regroup without bumping into each other. It’s like giving them their own tiny highways to zoom and hide on , perfect for multi-cat households who love a good sneak attack.
Setting up a tunnel play circuit
Start by sketching a rough map of the floor and measuring clearances so doors and walkways stay usable. Think about the PAWZ Road S/Y shapes (S is about 46 x 10.5 x 10.5 inches) or the Pawaboo 5‑Way hub (hub is about 9.9 inches across with arms roughly 15.7–20.8 inches) when you plan routes. A hub (the central connector where several tunnel arms meet) helps you create branching paths and hidey-holes.
Connect sections, zip or clip pieces together, and make sure seams line up , misaligned zippers are the most common annoyance. Test the full layout with a short supervised session so you can spot popped clips, dangly toys that snag, or floppy sections that need extra support. Ever watched your cat pounce and a tunnel fold in half? Yep, that’s what you want to catch during setup.
Quick setup checklist:
- Plan the footprint and measure clearances before assembling.
- Connect sections, align zippers or clips, and tuck fabric edges.
- Run a supervised 10–15 minute trial play to watch for weak points.
Anchoring and stability in multi-level homes
If you have stairs or multi-level spaces, tunnels need extra grip so they don’t slide or pull on furniture. Use non-slip rug pads or rubber shelf liner (a grippy mat) under hubs and along long runs to add friction. Velcro strips or furniture clips (hook-and-loop fastener, aka Velcro, or small clamps) can anchor tunnel ends to a sofa leg or the base of a cat tree without drilling holes.
Avoid heavy anchors or screwed brackets that might topple furniture if a curious cat gives a tug. I once had a tunnel scoot across the rug , not dramatic, but annoying , so adding a little grip made a big difference.
Anchoring tips:
- Use non-slip rug pads or rubber shelf liner under hubs and long runs.
- Secure tunnel ends with Velcro/furniture clips to stable furniture.
- Don’t use heavy screws or bolts that could damage furniture or fall.
Retire frayed sections and stagger dangling toys so cats don’t tangle in one hotspot , safer play, more happy pounces.
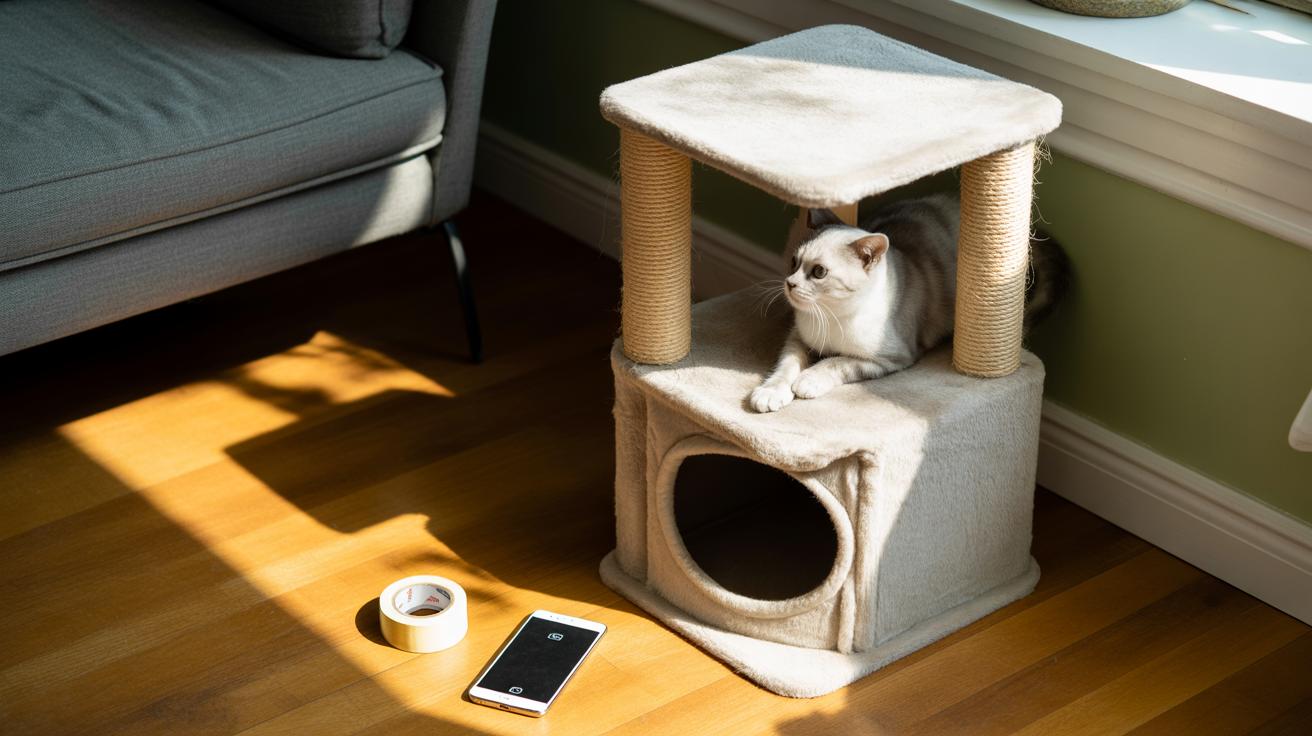
DIY and budget cat tunnel options

Cardboard and recycled bits make amazing, low-cost tunnels your cat will happily patrol. Corrugated cardboard (sturdy paperboard with a wavy middle) crinkles in a way that seems to hypnotize kitties, and that little echo down the tube is oddly satisfying to both of you. Toss in a soft nap spot and you’ve got a hideaway that’s lightweight and replaceable.
If you want the tunnel to hold its shape, use a pop-up hoop or flexible wire (think a floppy hula-hoop for cats) to keep openings from collapsing. For that crinkle-shop feel, line the inside with a thin PET-like sheet (PET: a plastic similar to the film on water bottles) to mimic commercial liners like the SmartyKat Crackle Chute. It adds texture and sound without costing much.
Quick step-by-step plan:
- Measure a run that fits your space, about 32 to 50 inches long if you can, or shorter for tight rooms.
- Cut entry holes wide enough for your cat’s shoulders. Safety first: use a utility knife (sharp blade , cut away from your fingers) and go slow.
- Tape panels together with heavy-duty tape so seams stay put. Use fabric or glued seams where you want a softer interior.
- Line the floor with soft fabric (polyester fleece or plush) for naps, or a crinkle sheet for play. Add a few small peek-holes so your cat can spy out.
- Attach a short, securely fastened plush toy at one entrance to tempt play. Keep any string very short so it can’t tangle.
Materials and tools:
- Corrugated cardboard panels or large boxes (corrugated: strong, layered paperboard)
- Utility knife (sharp blade, cut away from fingers)
- Heavy-duty tape (duct tape or packing tape; sticks well)
- Fabric liner (polyester fleece or soft plush)
- Pop-up hoop or flexible wire (optional, for framed shape)
- Non-toxic glue (pet-safe glue for fabric seams)
- Securely attached dangling plush toy (short string only)
Assembly time is about 30 to 90 minutes for a simple cardboard tunnel. Keep strings short and small parts glued or sewn so nothing can come loose and be swallowed. Worth every paw-print.
Oh, and a tiny confession: my Luna once lunged so hard the tunnel squeaked like a toy and then dozed in it for an hour. Classic.
Special populations: kittens, seniors, and shy/rescue cats

Pick a tunnel that fits your cat’s age and personality so play feels safe, not scary. Size, noise level, and how you introduce the tunnel matter most. Ever watched a cat freeze at a noisy tube? Make it inviting and go slow.
Kittens
Kittens learn social play in short bursts. Aim for 5 to 10 minute supervised sessions using a wand toy (a stick with feathers or a toy on a string) at the entrance to teach stalking and quick exits. Use a soft tunnel with a mild crinkle liner (thin, crackly fabric) or no liner at first so they build confidence. As they get bolder, gently lengthen playtime and let those whiskers twitch.
Seniors
Older cats want roomy, quiet comfort. Choose tunnels with 11 to 12 inch entrances (inches) so turning and stretching is easy. Pick plush-lined tunnels (plush: soft synthetic nap) with low profiles or shallow ramps for gentle access. Add a machine-washable padded insert (removable cushion you can wash) and quiet materials to spare creaky joints. Warm blankets are a nice touch for nap time.
Shy / Rescue Cats
Introduce timid cats in tiny steps. Put the tunnel in a calm spot and leave it empty so they can sniff and explore at their own pace. Remove noisy crinkle liners at first, then place treats just inside the opening and reward short, calm visits of 3 to 5 minutes. When the tube feels safe, slowly add gentle extras like a dangling toy or a faint crinkle sound. Patience wins here. Worth every paw-print.
Where to buy: price ranges, warranties, and return tips

Price map: budget collapsible tunnels (fold-flat play tubes) run under $20. Mid-range multi-function tunnels (tunnels with pockets, peek-holes, or attached toys) usually land between $25 and $60. Premium modular systems (pieces you snap together to build different layouts) and 2-in-1 beds (sleep spot plus play tunnel) sit around $60 to $120. Lower-priced models can wear out sooner, and return policies or warranties vary a lot, so read the fine print. Shopping online gives you a bigger selection and recent customer ratings. Shopping local lets you feel the fabric, check seams, and test collapsibility in person.
Think about how your cat will use it and how you’ll clean it. Washable pads (machine-safe liners) and removable frames (detachable supports) save time. Electronics (battery-operated rattles or lights) and glued toys (toys attached with glue instead of stitching) need extra care and usually can’t be tossed in the washer. For busy days, toss an unbreakable ball before you head out, that’s ten minutes of safe play.
Document everything so a dud doesn’t become a permanent floor ornament. Take close-up photos of defects. Save receipts and packaging when possible. Prefer sellers with clear return windows and warranties so you can swap it out if it falls apart or your cat immediately claims it as a chew toy.
- Inspect frame and fabric in person or via close-up photos , look for poking wires (thin metal supports) or weak seams
- Check washable labels and whether inserts or frames are removable before laundering
- Confirm the return window and warranty terms, and keep packaging and your receipt
- Read recent customer reviews and ratings for durability and real-world wear
If you’re unsure, buy the most returnable option first. Worth every paw-print.
Final Words
In the action, this guide gave you a one-minute checklist to match tunnel size, diameter and washable durability; a compact product comparison, materials and cleaning tips, size planning, modular setup help, DIY options, and quick advice for kittens, seniors, and shy cats.
Pick a tunnel with the right diameter and washable parts, fit it to your floor plan, and follow the short washing and safety checklist.
Happy pouncing. Cat tunnels for indoor cats will keep play lively and furniture safer.
FAQ
Frequently Asked Questions
Are cat tunnels good for cats?
Cat tunnels are great enrichment for cats because they offer hiding, stalking, and solo play, reducing boredom and boosting activity; pick the right diameter and texture for your cat’s size and energy.
What is an alternative to a cat tunnel?
An alternative to a cat tunnel is a cat tree (vertical climbing platform) or a cardboard box maze; wand toys and puzzle feeders also mimic hunting and provide mental and physical play.
Can you turn indoor cats into outdoor cats?
Turning indoor cats into outdoor cats is risky; a safer option is supervised leash walks or a catio (outdoor enclosure) that gives fresh-air time while protecting them from traffic, predators, and disease.
How to make a cat tunnel at home?
To make a cat tunnel at home, join corrugated cardboard panels or large boxes, cut entry holes, reinforce seams with heavy-duty tape, add a fabric liner (polyester, a durable synthetic) and a short sewn-on plush toy.
Where can I buy cat tunnels?
You can buy cat tunnels at major retailers like Walmart and Amazon, pet specialty stores, or local shops; online listings show measurements, washable labels, and customer reviews to help comparison before buying.
Can cat tunnels be used outdoors?
Cat tunnels can be used outdoors when made from weather-resistant fabrics like polyester (a waterproof-friendly synthetic) and anchored; remove battery modules and bring tunnels indoors after rain to prevent mold and wear.