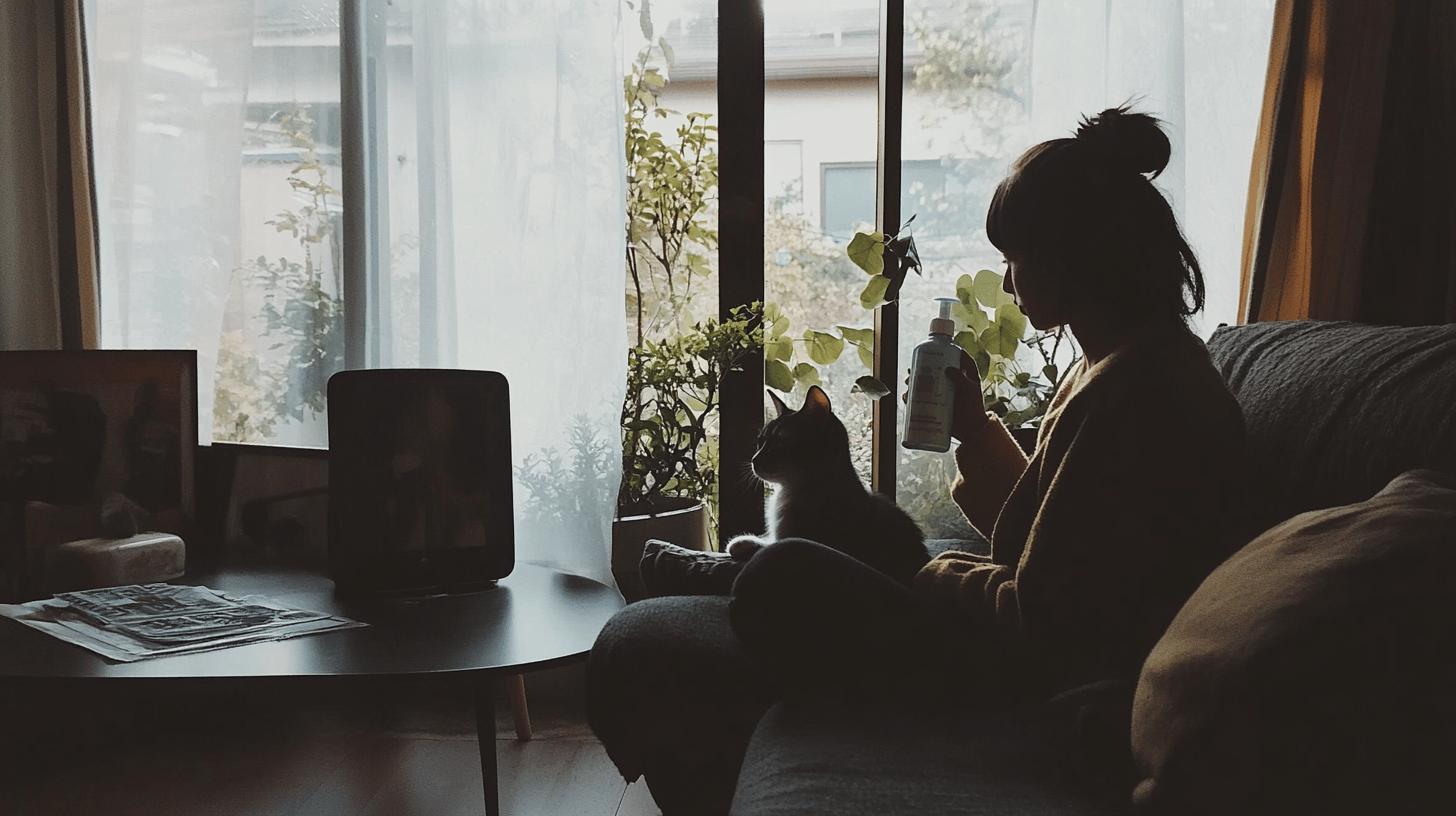
Think one litter box (a shallow tray filled with kitty litter) is enough?
Ever watched your kitty do the sneaky potty dance? I have, and learned the hard way!
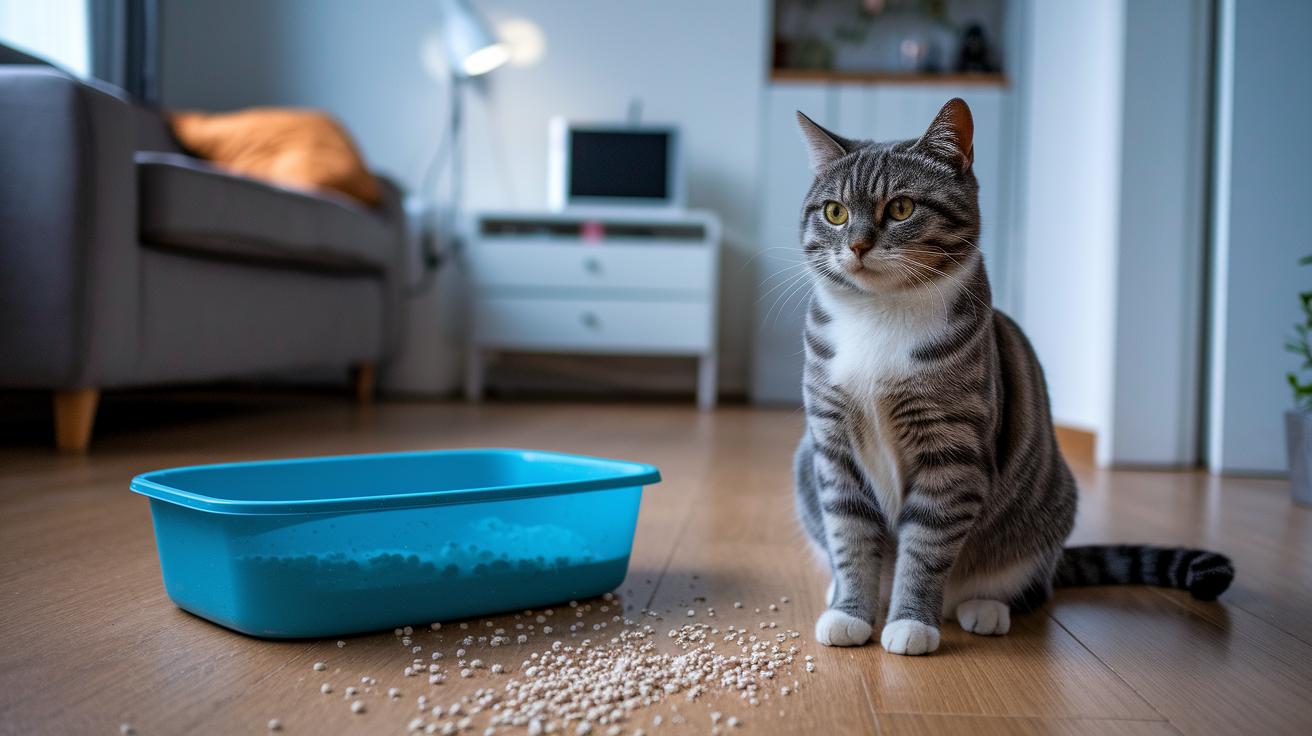
A cramped, smelly box (that ammonia sting!) can turn into a hidden accident spot.
Hello, soggy socks!
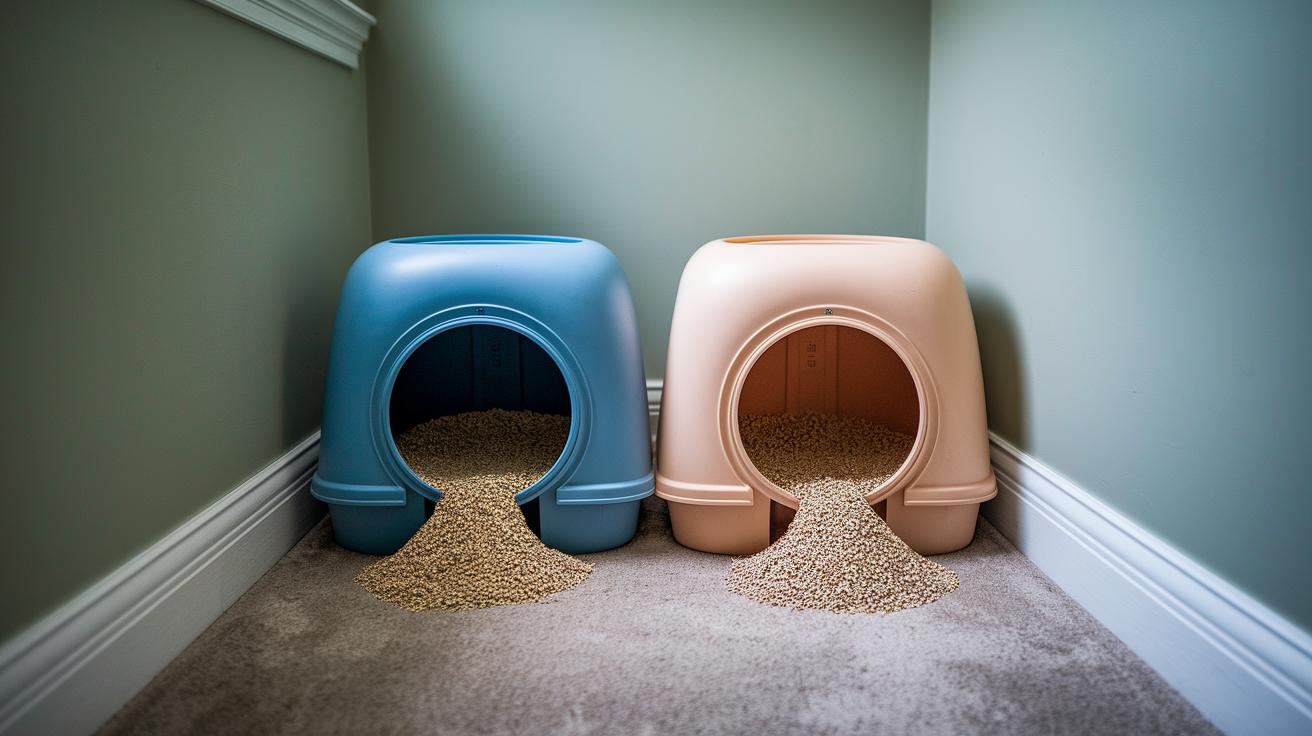
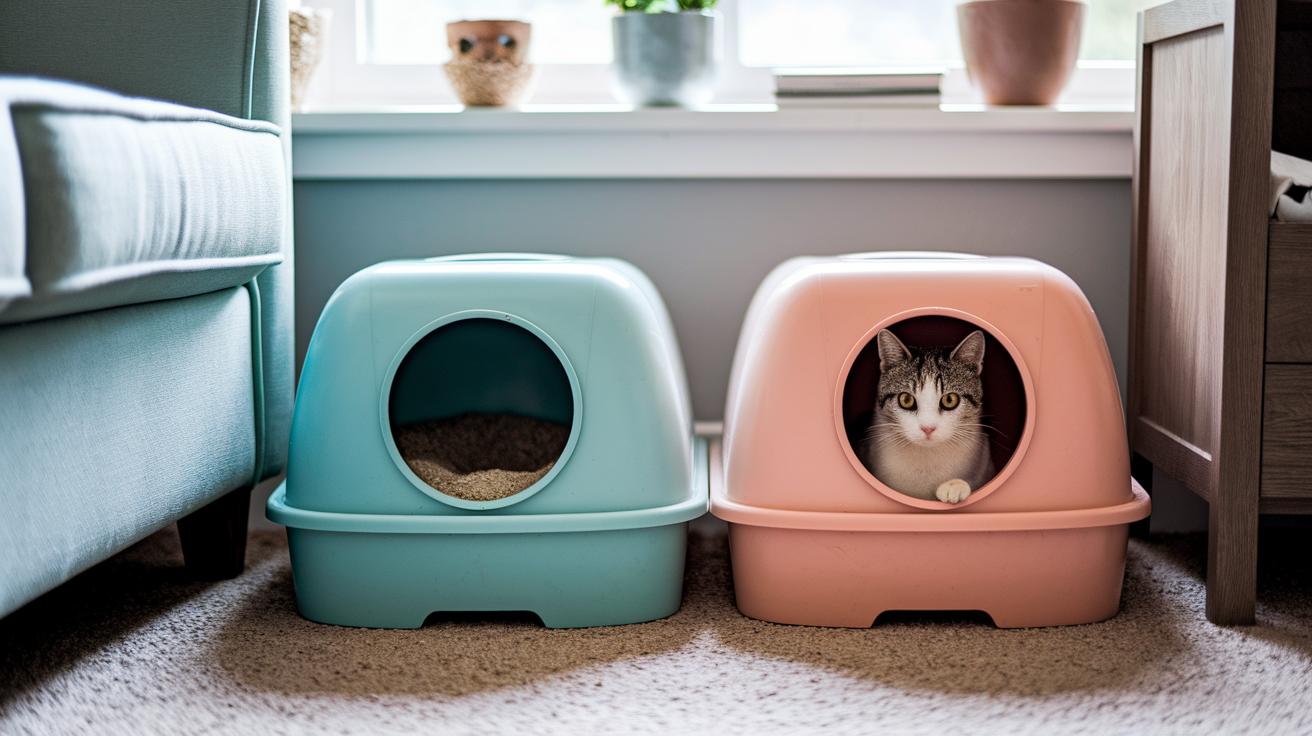
So here’s the claw-some rule: give each cat their own box, then add one extra for backup!
That spare box is your secret weapon on busy days when two kitties can’t wait their turn.
In this guide, you’ll get tips on where to scatter those boxes around your home (and why the spare really saves the day).
Next, we’ll make sure every kitty has a cozy, private spot when nature calls.
No more sock sur-fur-ises.
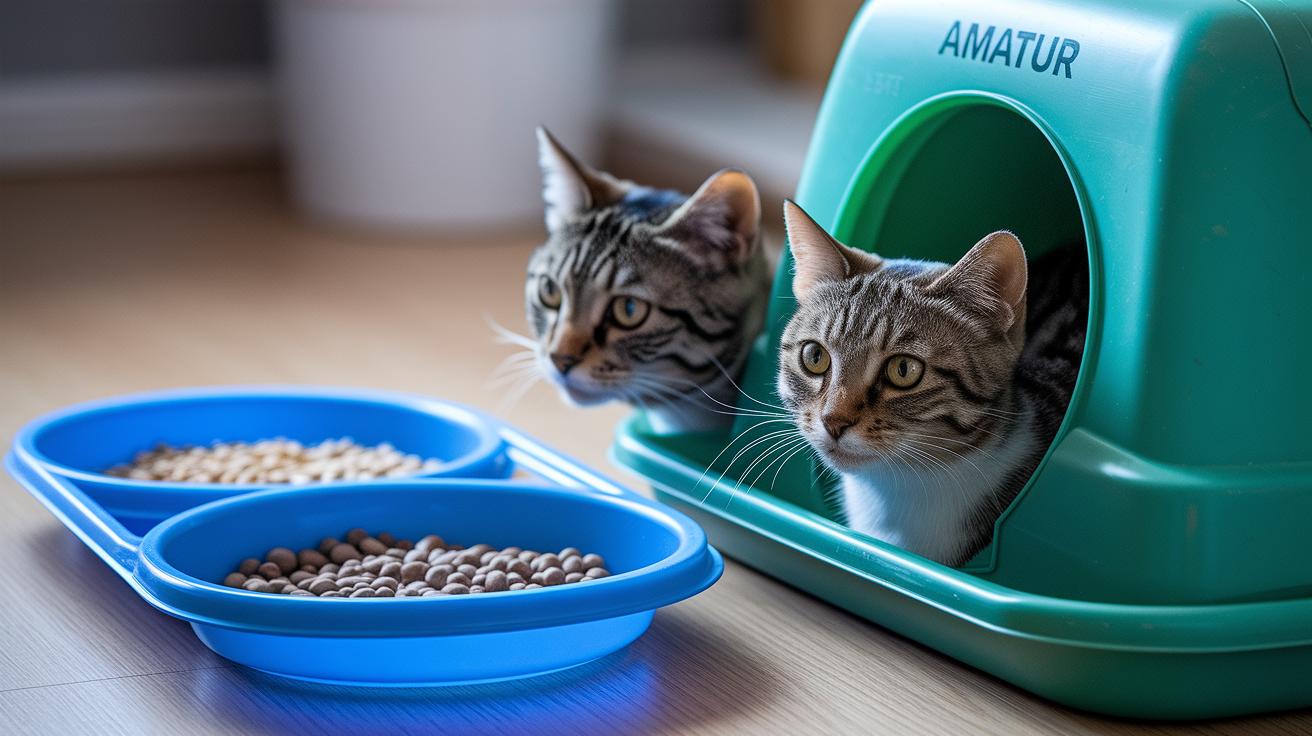
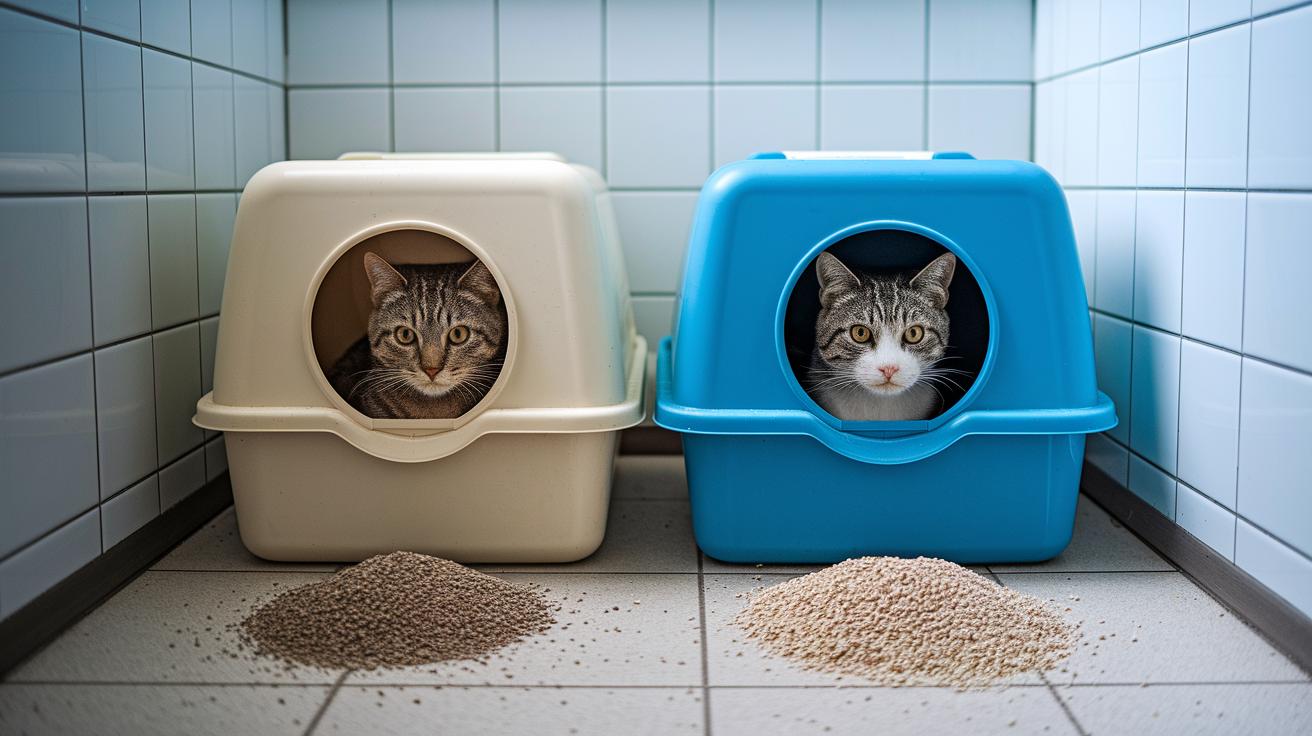
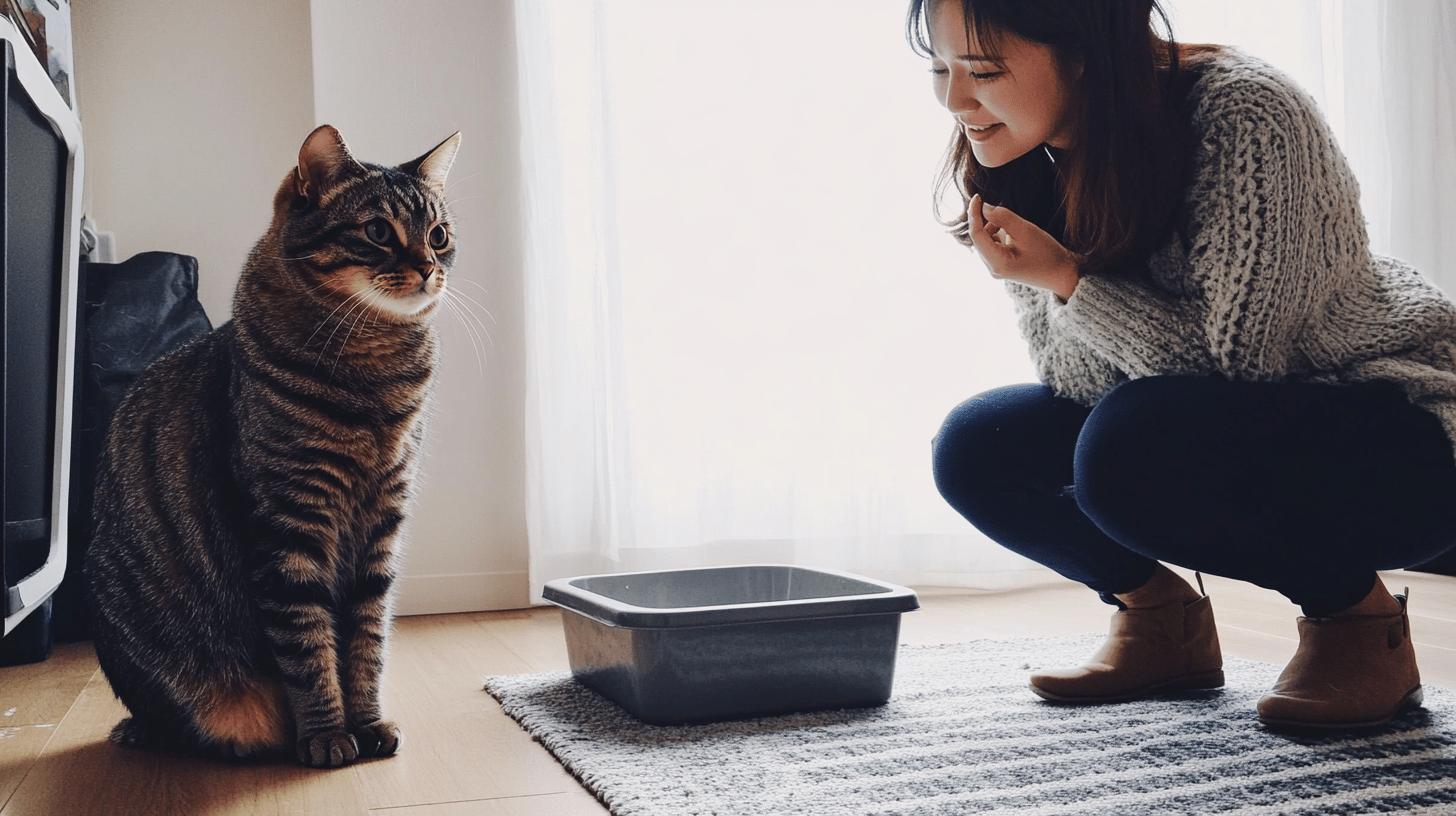
Optimal Litter Box Count: One Per Cat Plus One Extra
Ever watched your kitty circle a dirty tray, claws twitching? Oops – let me rephrase that. Here’s a simple rule to keep all paws happy: one litter box per cat, plus one extra. You’ll hear fewer complaints, and surprise puddles? They can take a hike.
Here’s a quick guide to hang on your fridge:
- One cat: two boxes
- Two cats: three boxes
- Three cats: four boxes
- Six cats: seven boxes
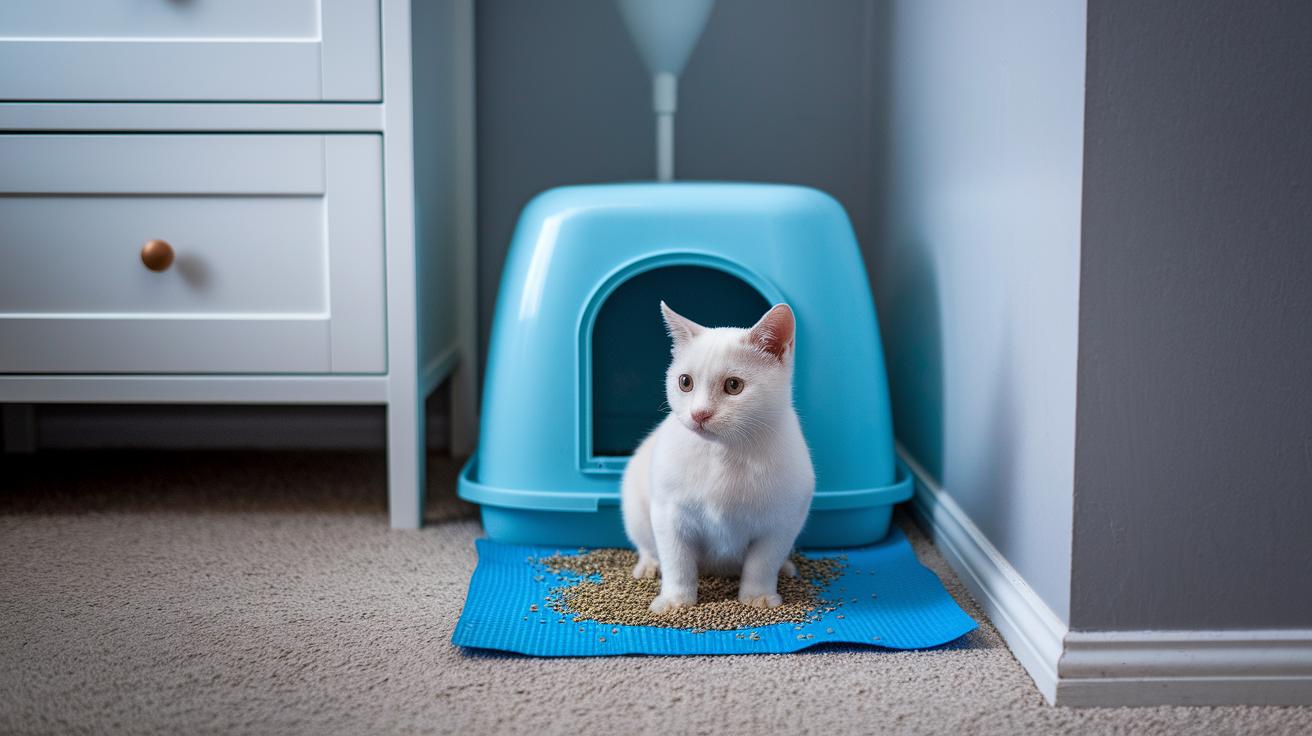
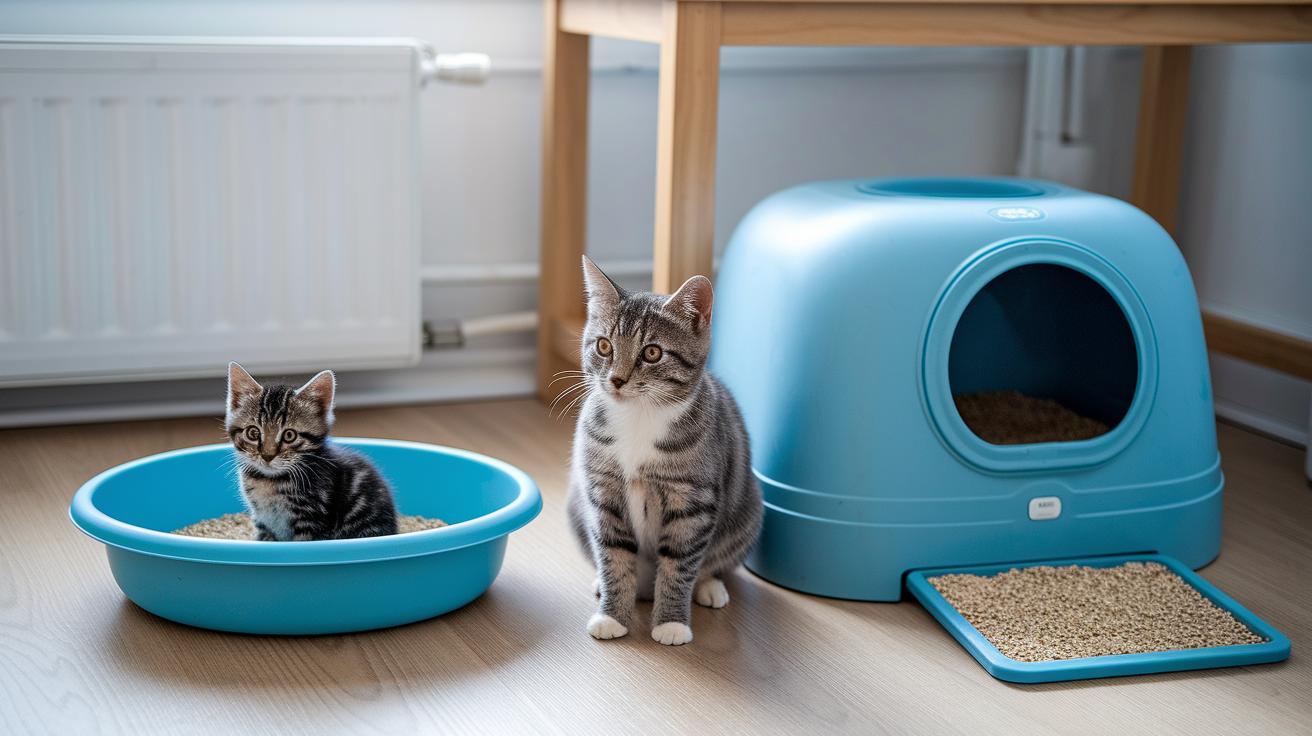
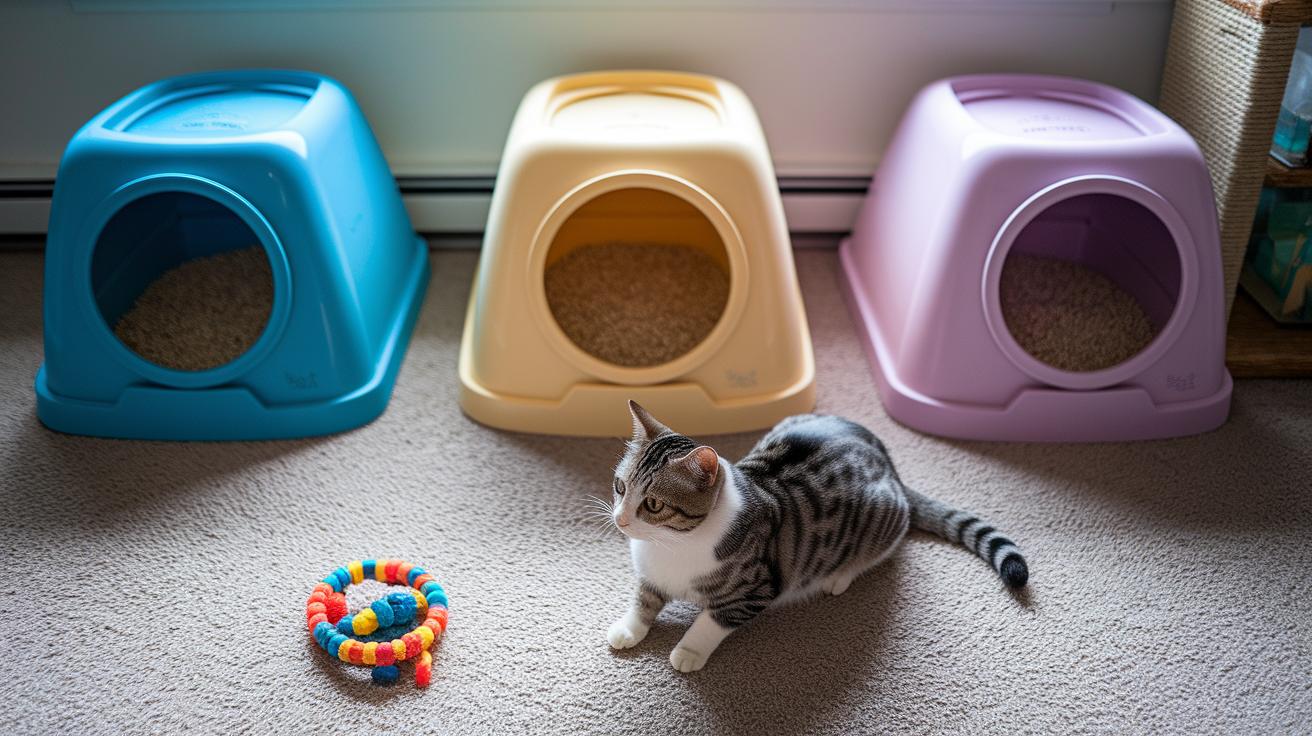
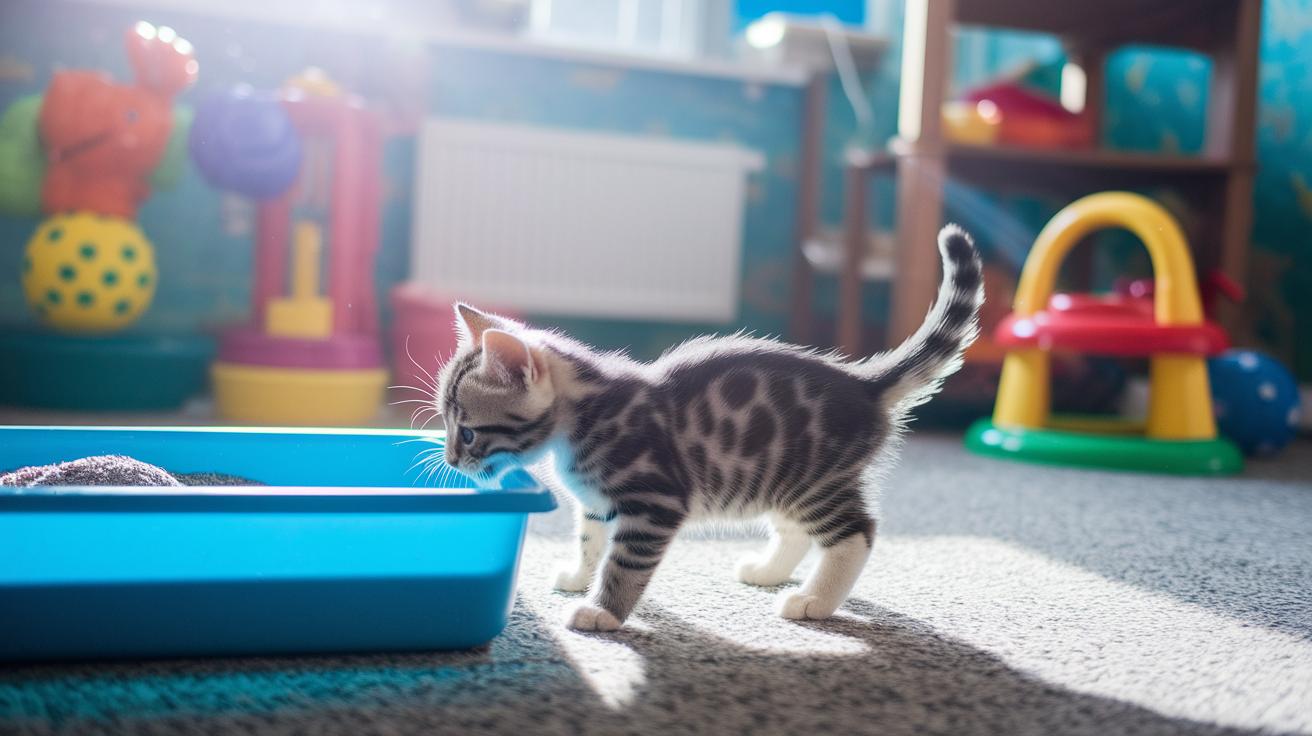
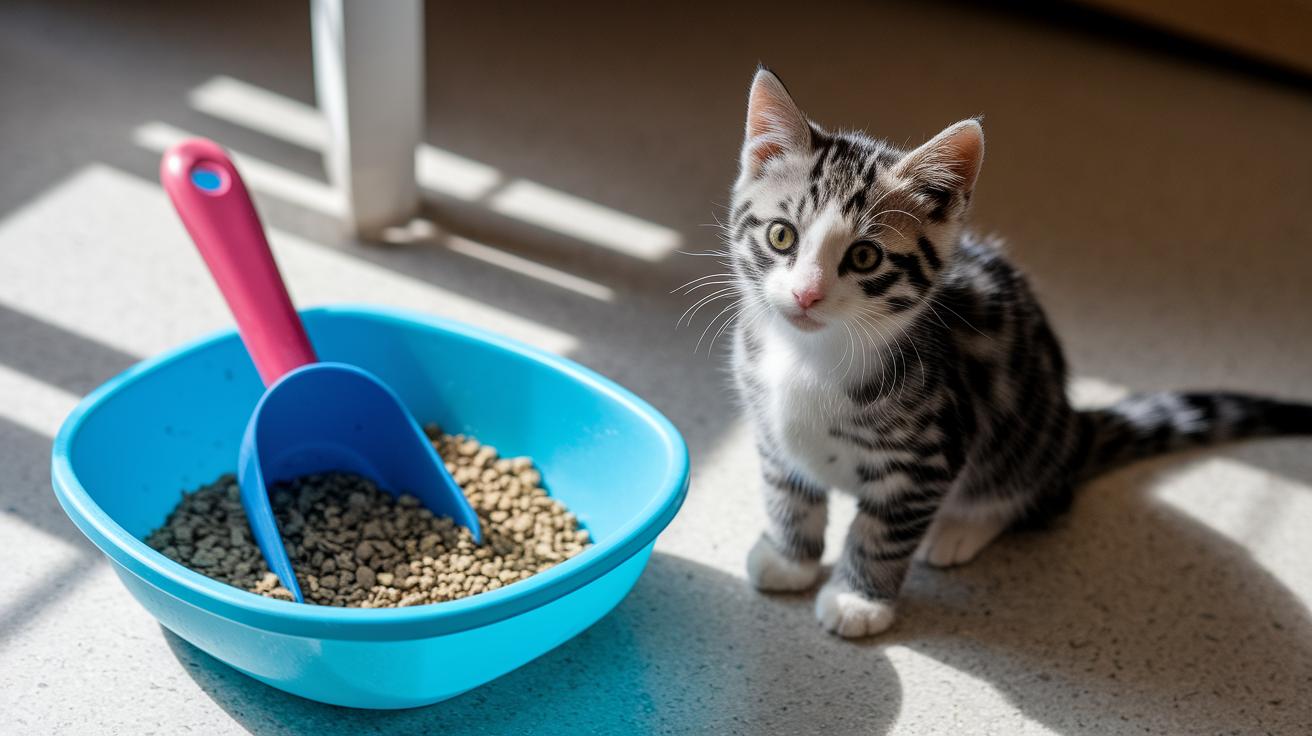
Even for a single kitten, two trays are clutch. Toss one near their favorite snooze spot and another by the food bowl so your little explorer never misses a chance. Spread them out room by room.
If you’ve got the space, aim for two boxes per cat for extra freedom. Speaking of backups, last week Luna, my fluffy torbie, inspected three boxes before picking her spot. A busy house of ten kitties would use eleven trays to spread out.
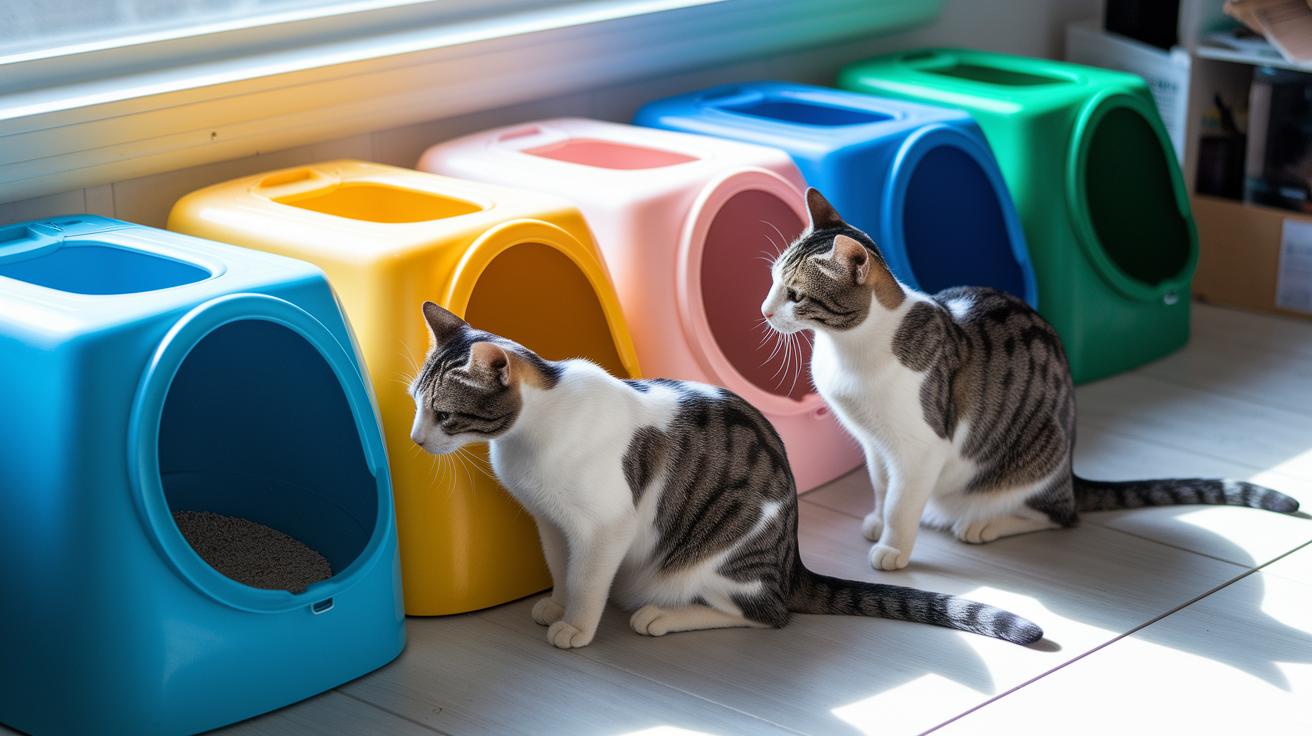
Think of each tray as a private bathroom stall. Jam them side by side and cats treat them like one messy platform. Then one dirty box sends them hunting elsewhere – maybe in your slippers. Spreading boxes around gives quick access to a clean spot, especially when you’re mid-scoop. That extra tray means no one waits – no one holds it in.
Worth every paw-print.
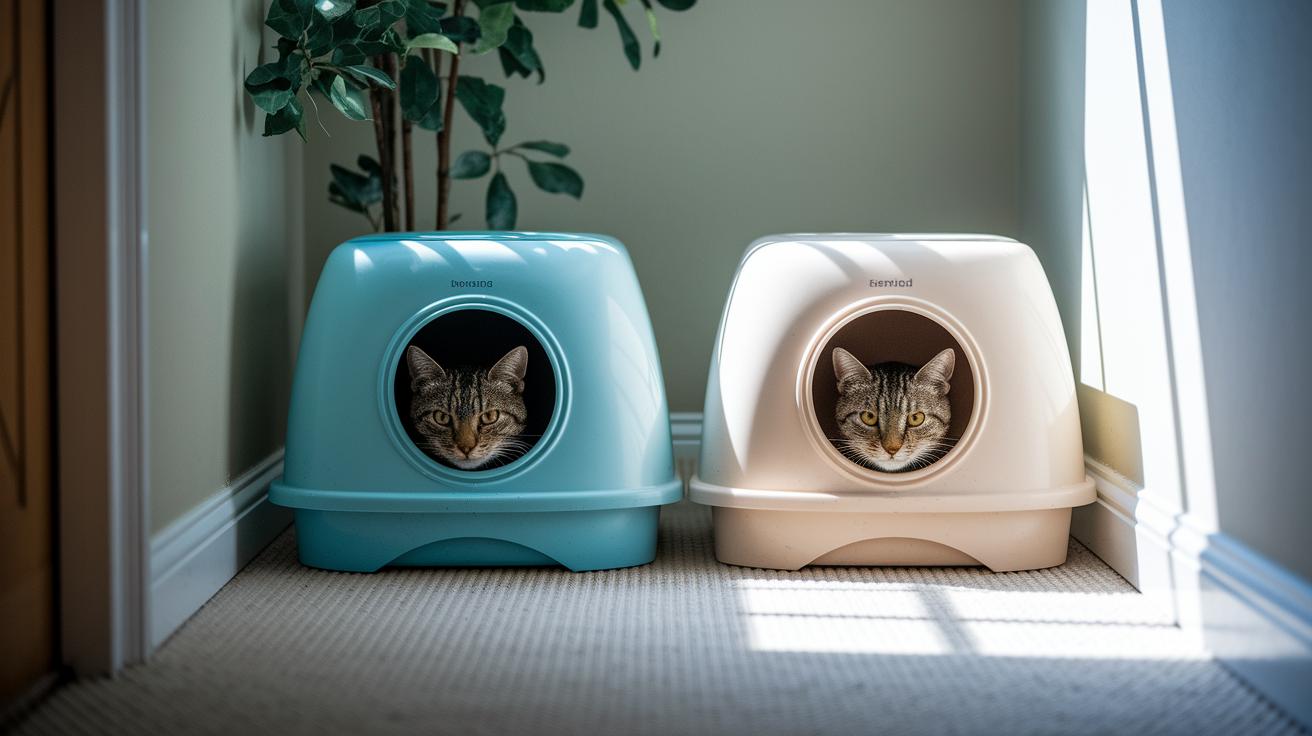
Litter Box Placement Strategies to Reduce Conflict
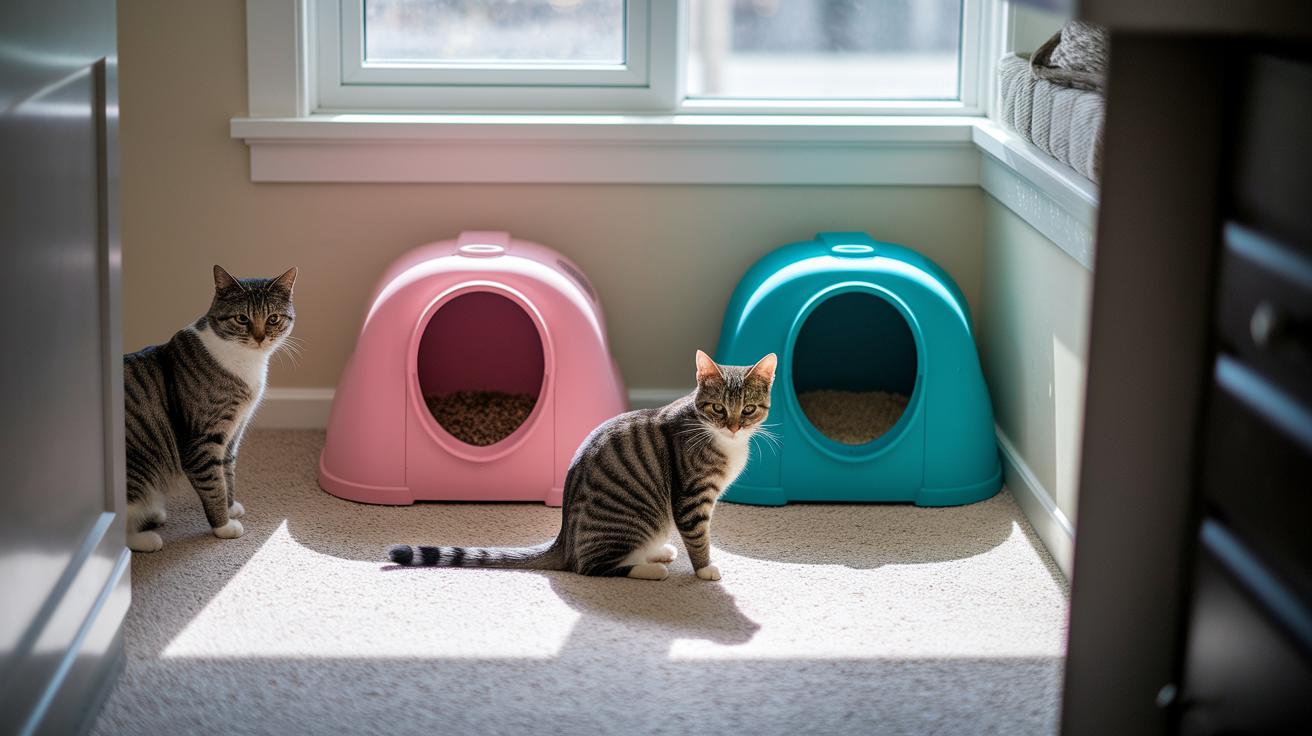
Ever see your kitties jockeying for the prime potty spot? Let’s keep the peace with smart box placement. Give each furry pal a quiet, private zone away from buzzing machines and dinner dishes. Cats love to feel hidden and safe.
In multi-cat homes, put one tray on every floor. That way no one has to sprint up or down stairs when nature calls. In an apartment, tuck a box behind a folding screen or slide it into a bathroom corner far from doors and windows. Ever watched your kitty chase shadows? They’ll appreciate that calm hideaway.
Clustering old trays side by side feels like one giant sandbox (a big kitty play pit) to cats. Spread boxes out instead to create mini “bathroom stations.” Shy kitties can pick the spot that feels right. Just steer clear of busy halls and loud appliances, no one wants to potty next to a roaring dryer.
So, if Fido keeps barging in, try a baby gate or a cat-only door to keep dogs out. Quiet nooks under the stairs or beside a bookshelf make perfect litter hideouts. Before long, you’ll hear fewer territorial meows and more contented purrs.
I once watched Jasper dash past a noisy dryer for his box down the hall. No sweat, our clever setup kept him comfy and conflict-free.
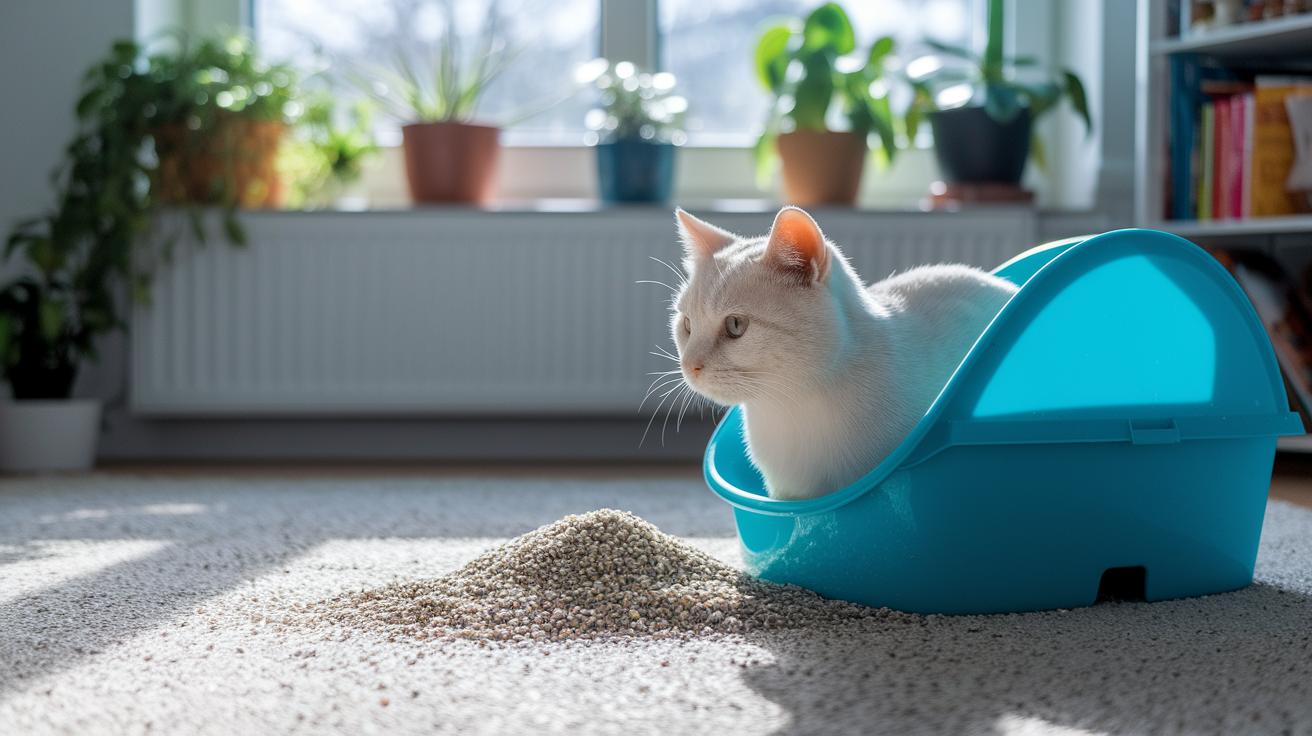
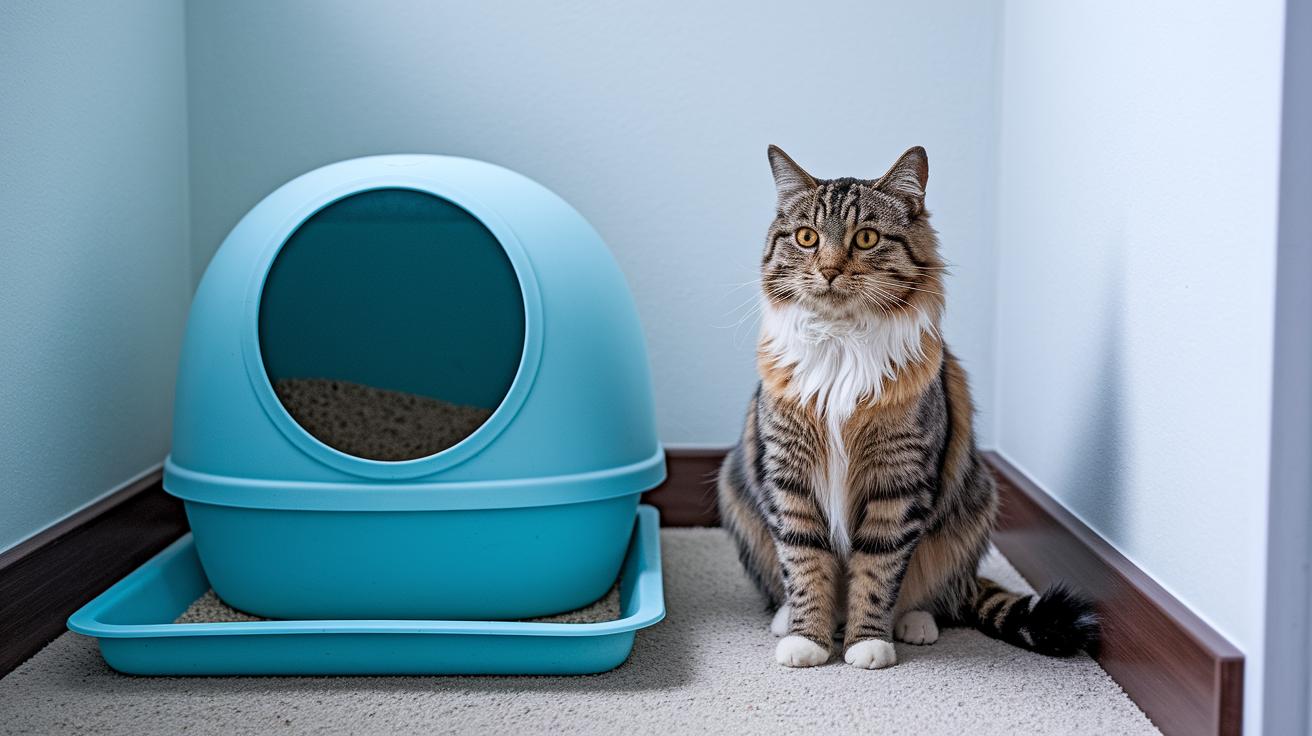
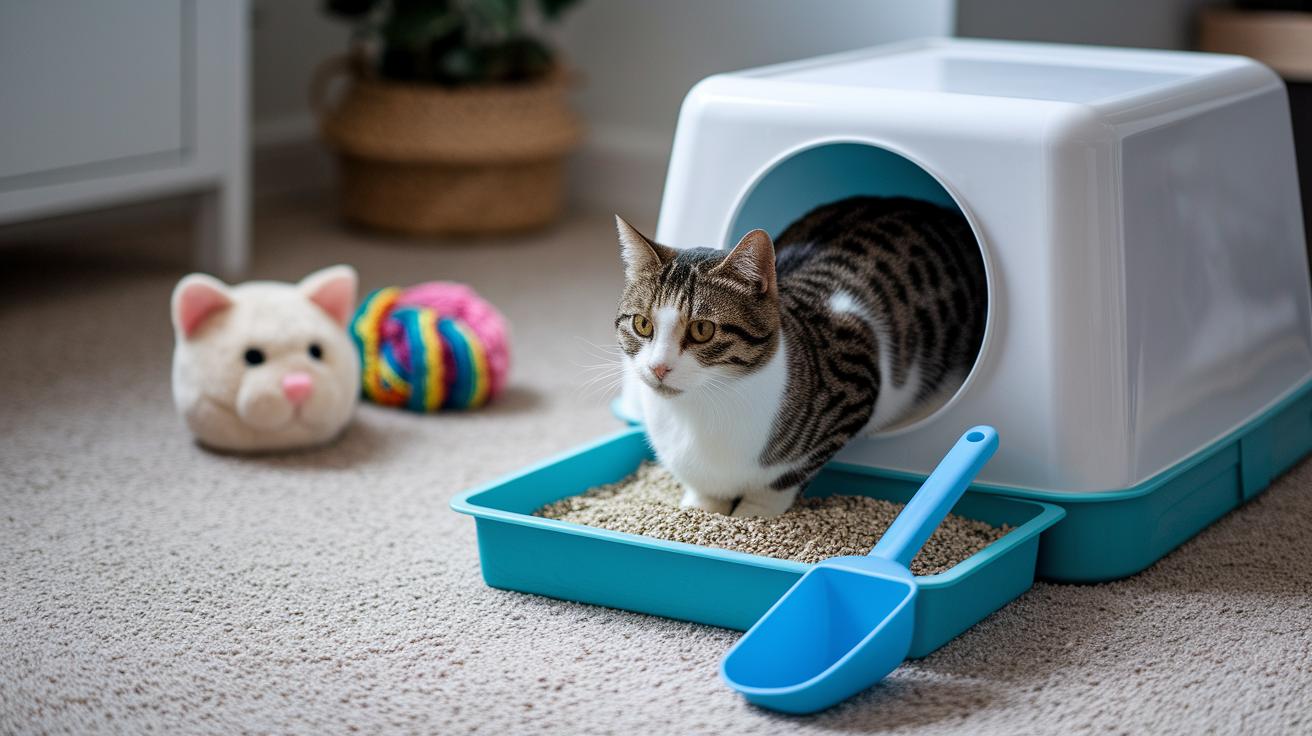
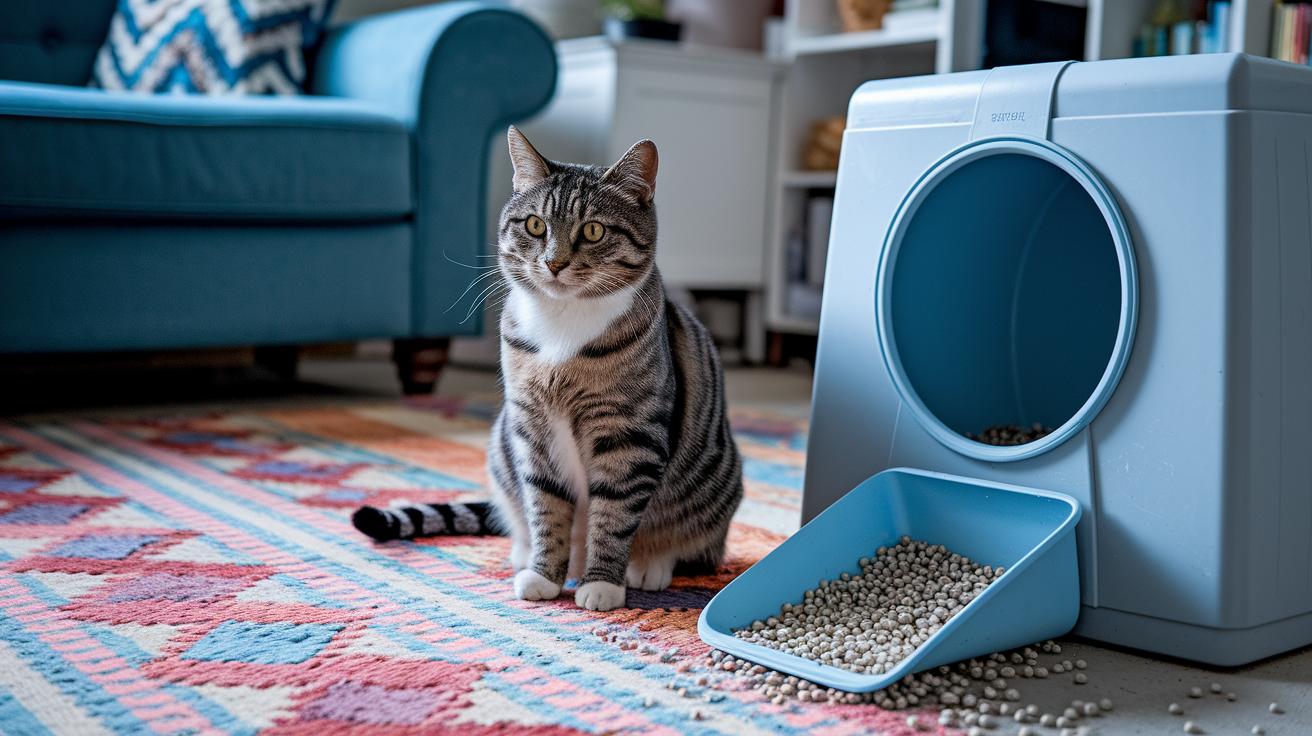
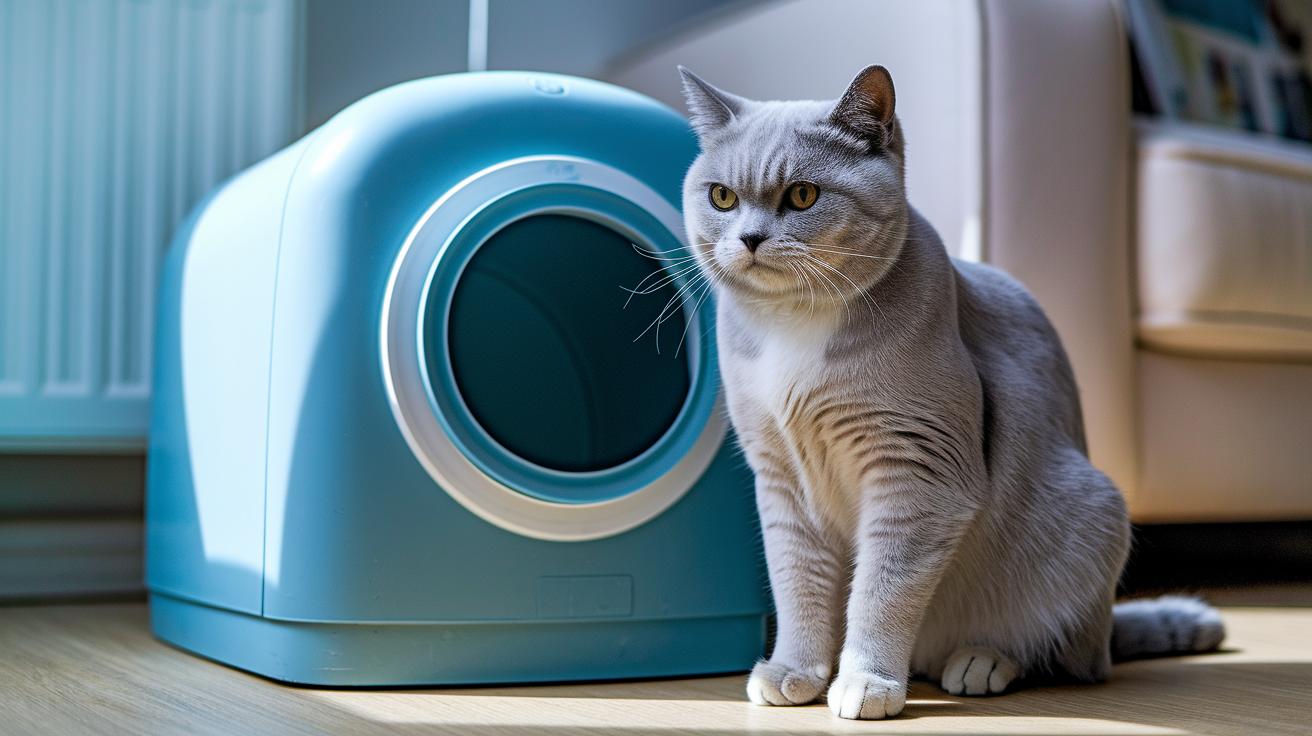
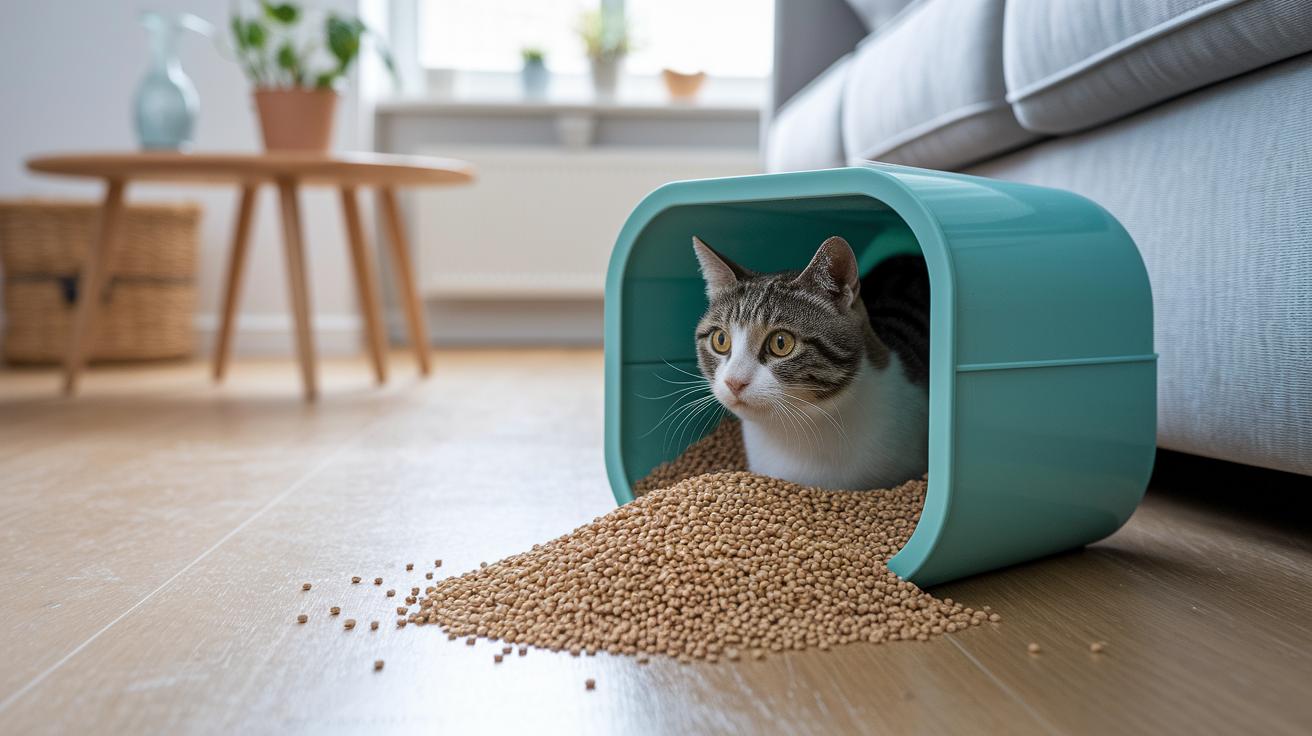
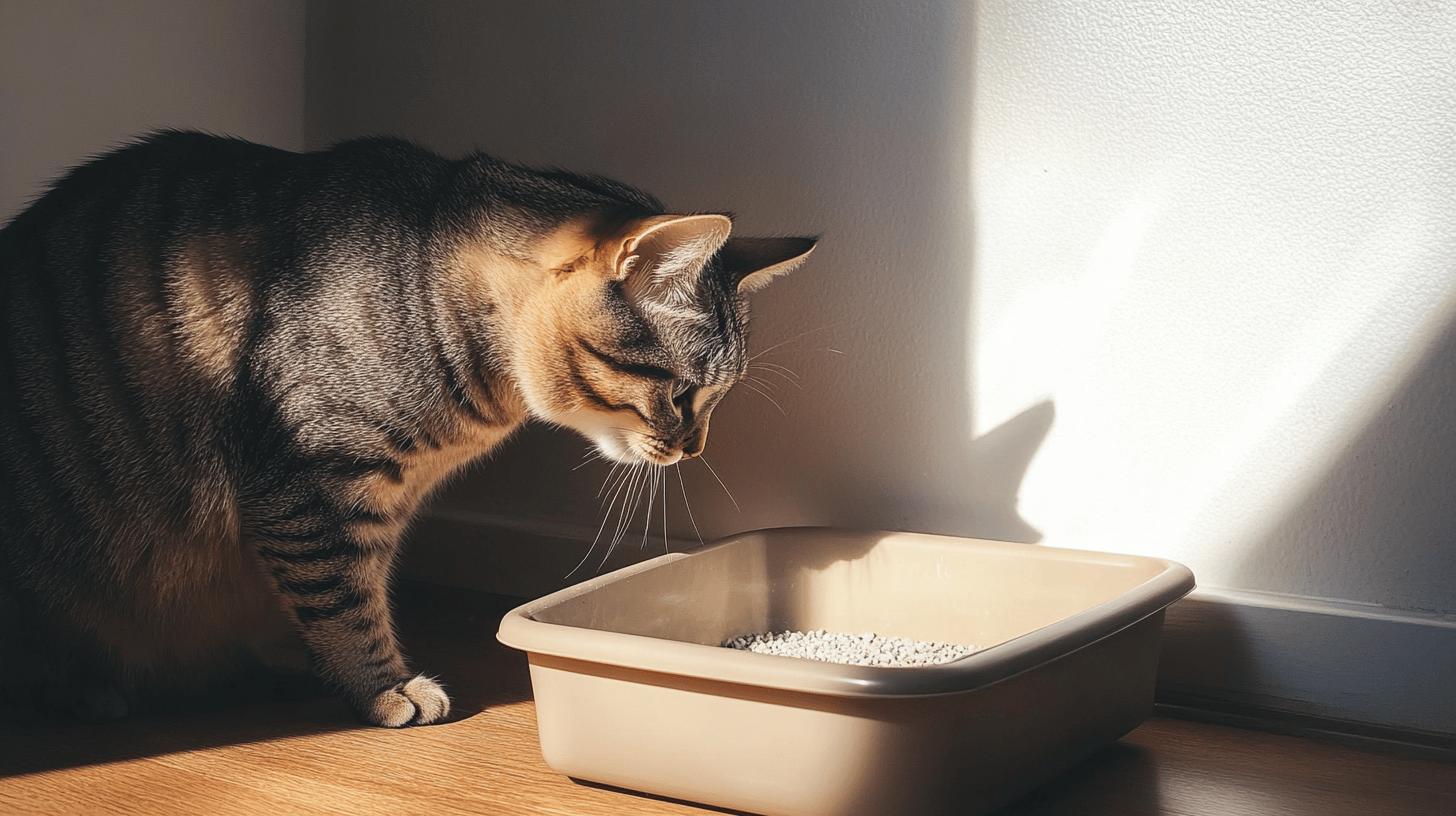
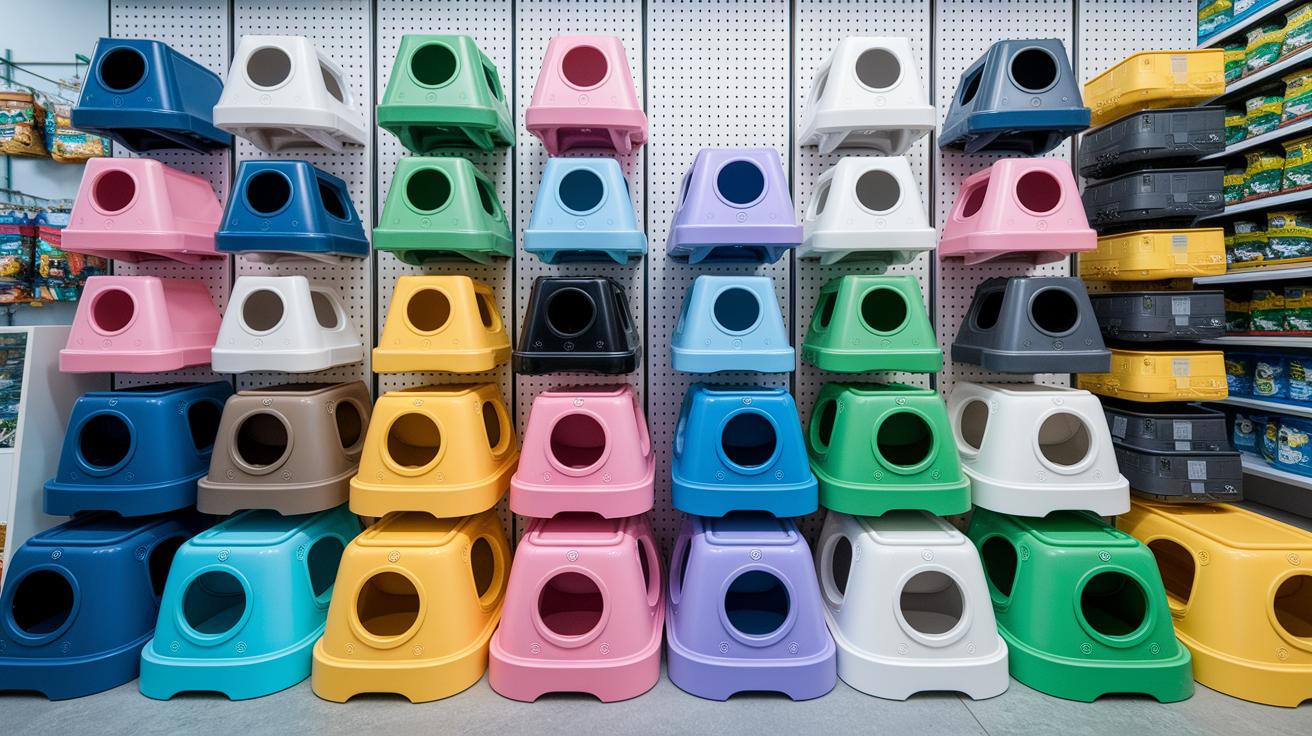
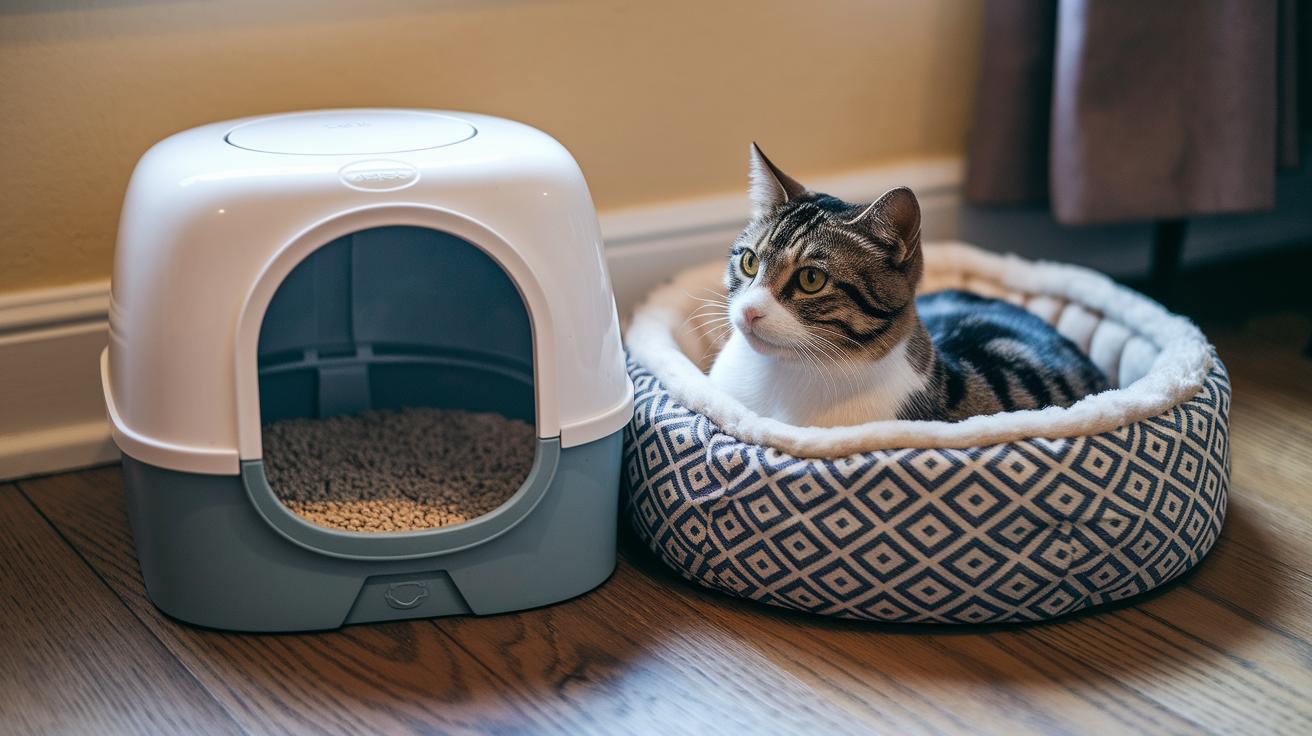
Choosing the Right Litter Box: Size, Style, and Access
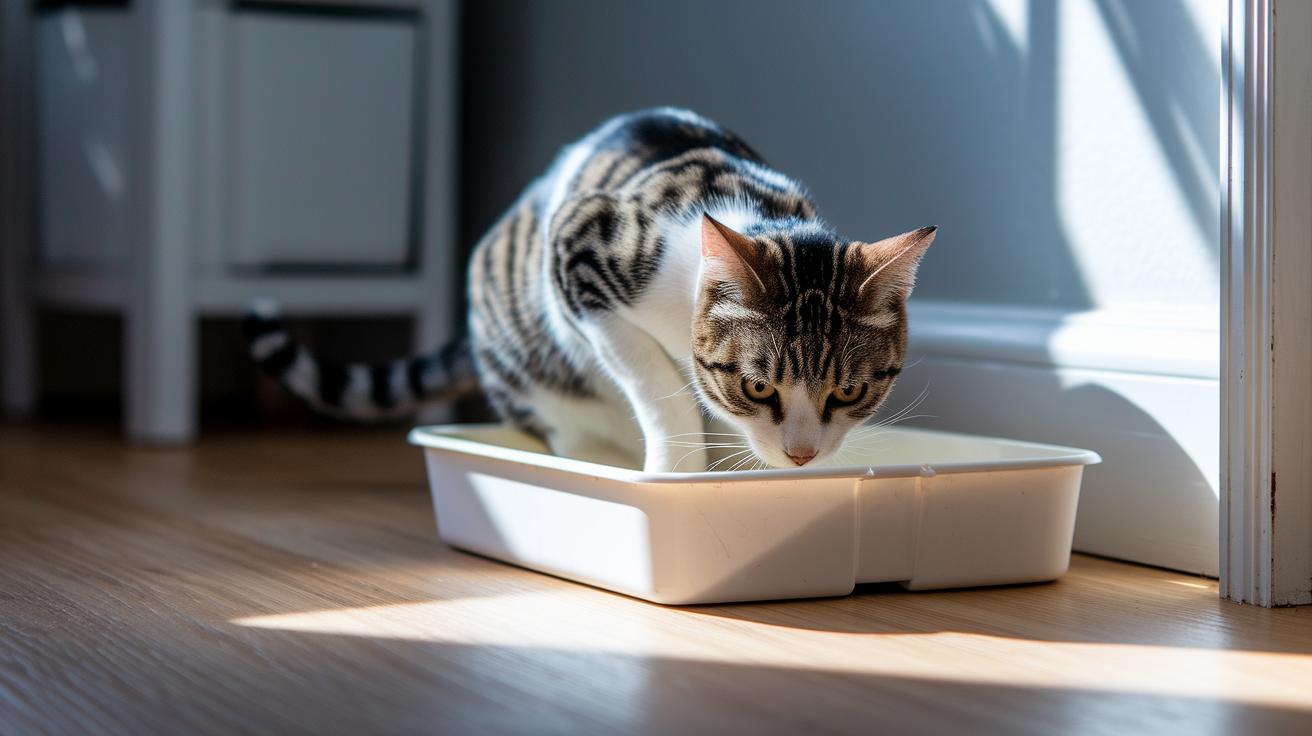
Your litter box needs space. Pick one at least one-and-a-half times your cat’s nose-to-tail length so she can turn, dig, and cover without feeling cramped. Picture whiskers twitching as she does a victory dance on roomy real estate. She’ll be feline fine.
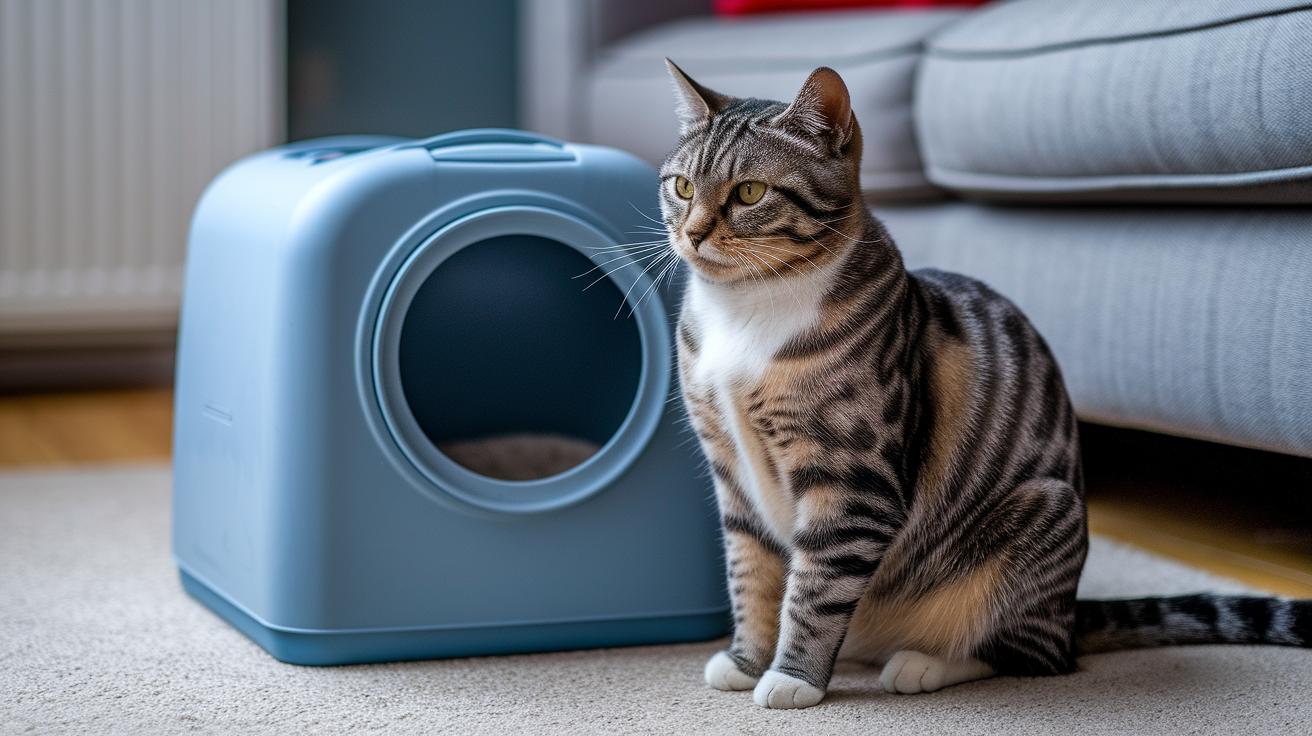
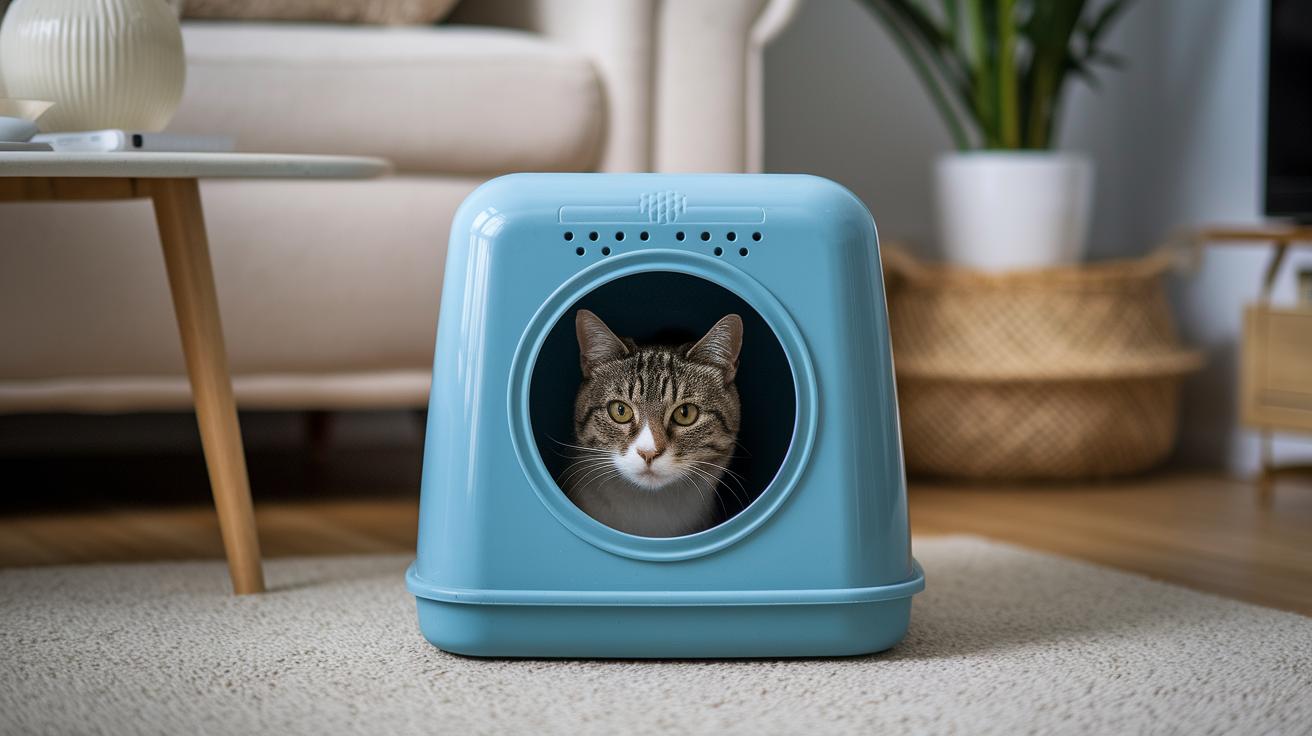
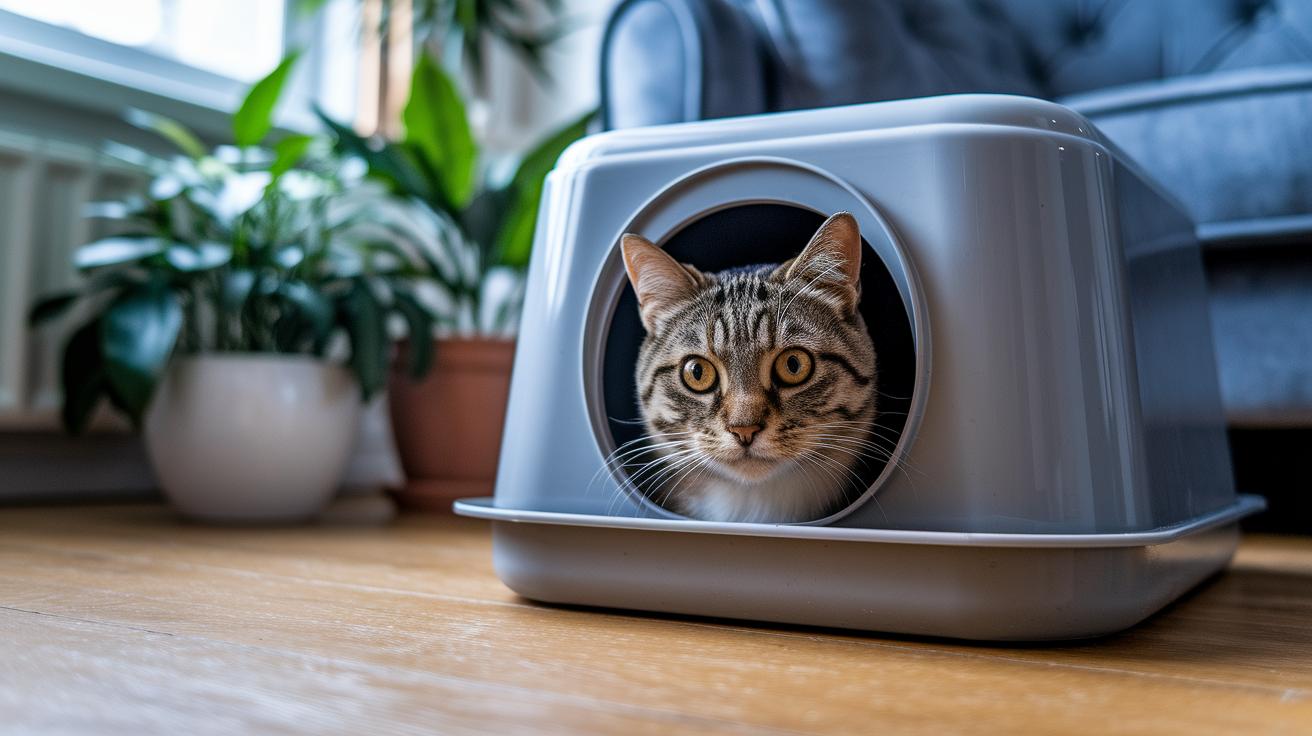
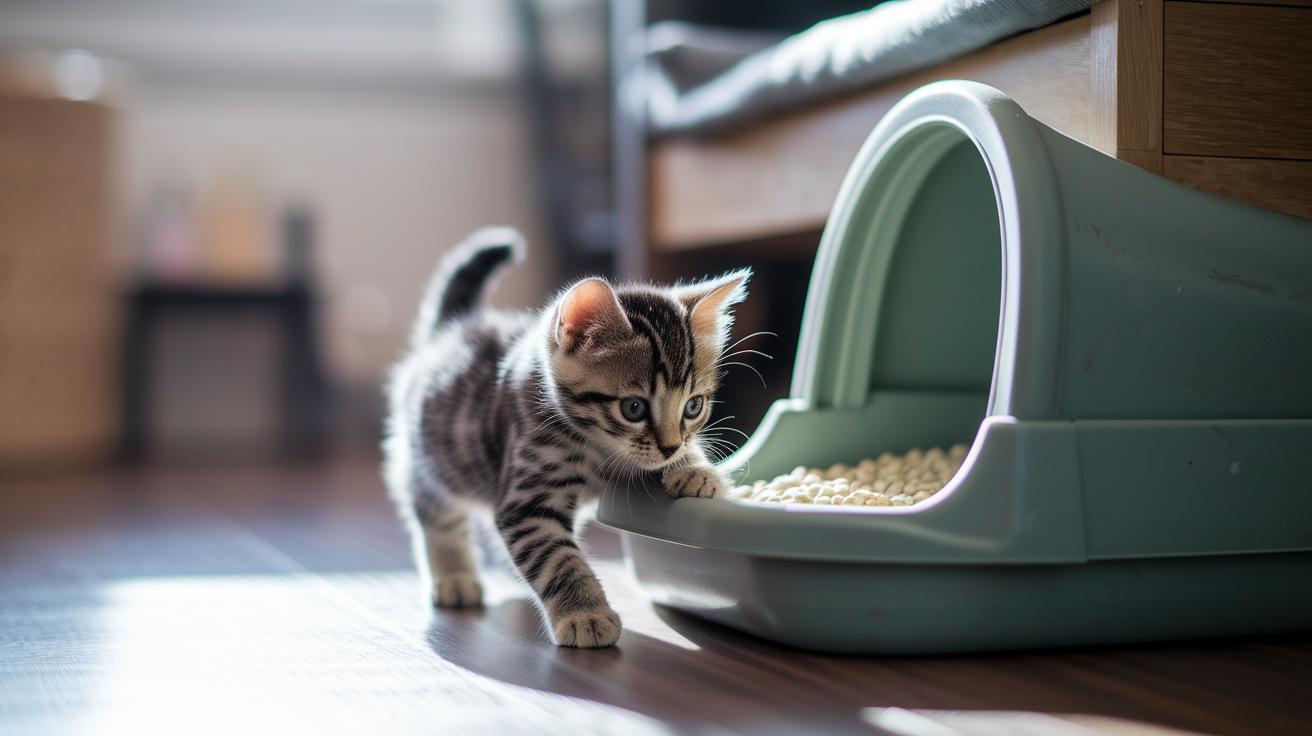
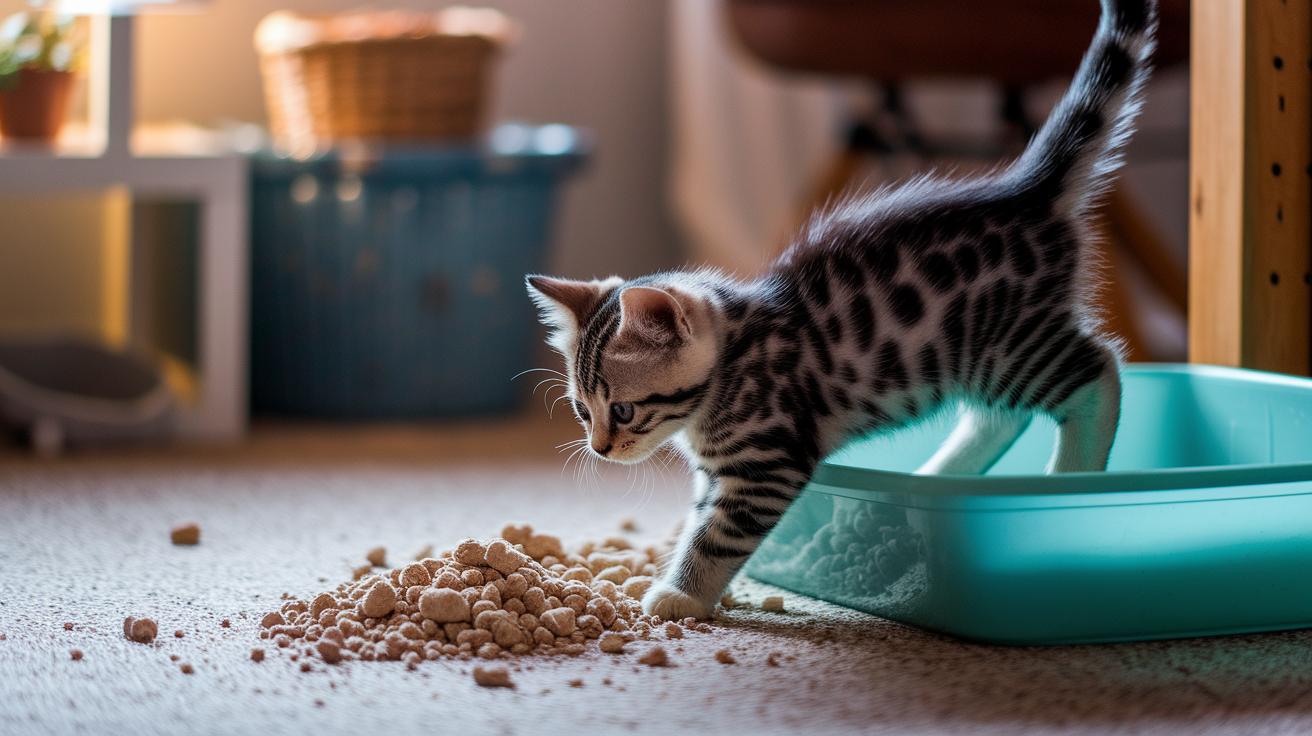
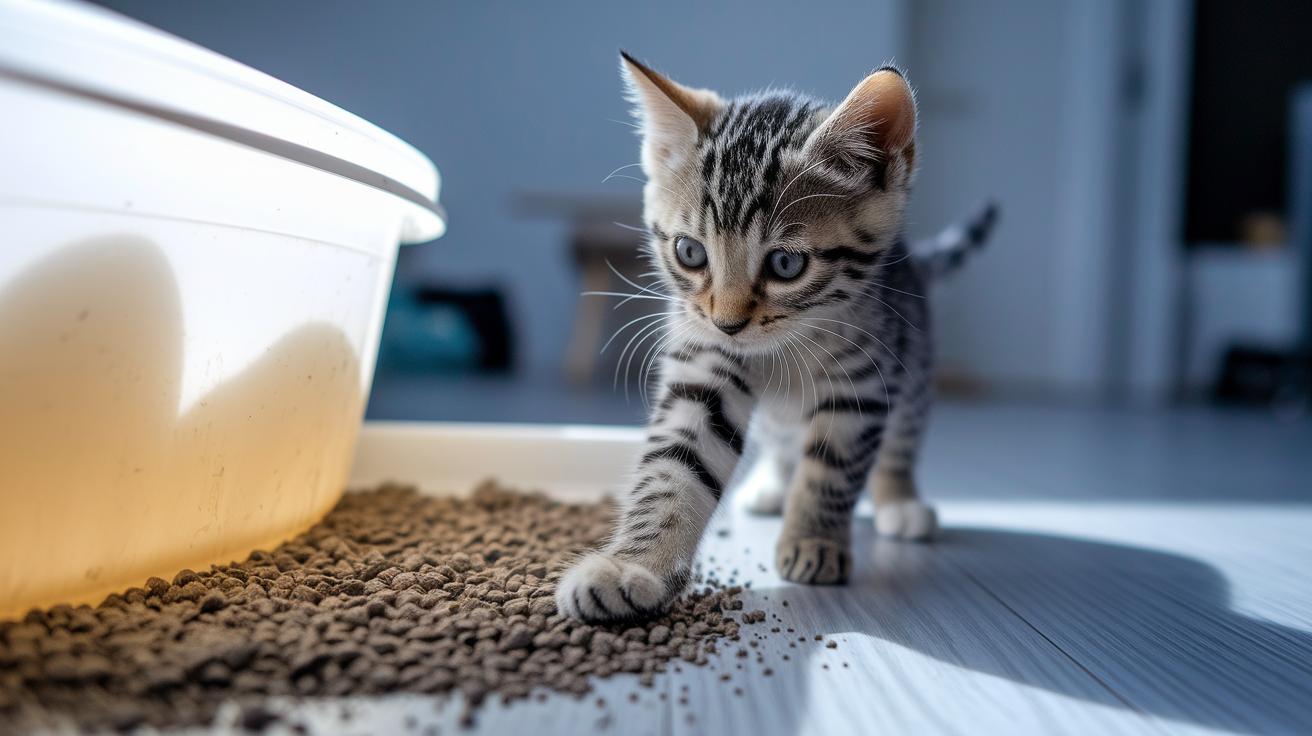
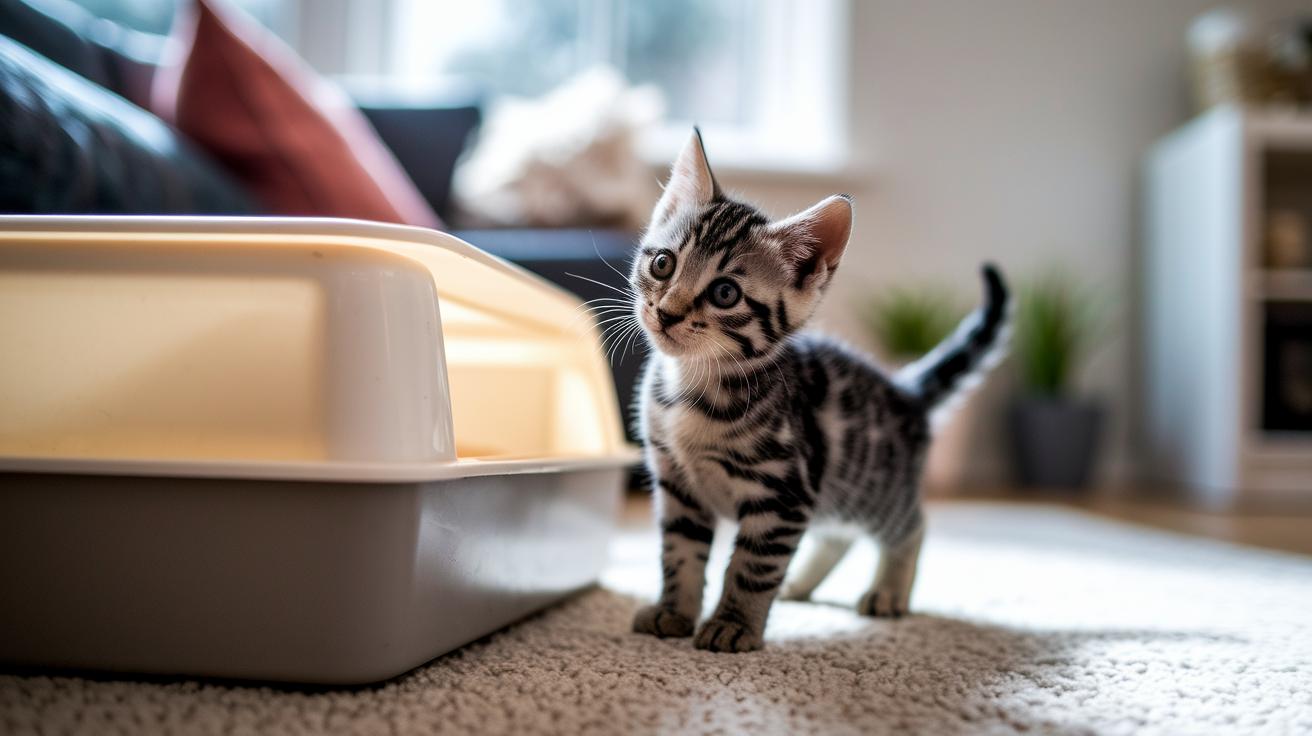
Most cats love open trays with low sides. It’s easy in and easy out. No surprise crashes when they pounce. But if your carpet looks like a beach (you know, sand everywhere), go for a high-sided box (taller walls to catch stray bits) or a hooded litter box (a little cat cubicle that keeps scatter in). Open top boxes? They give privacy but can feel tight for chunkier breeds.
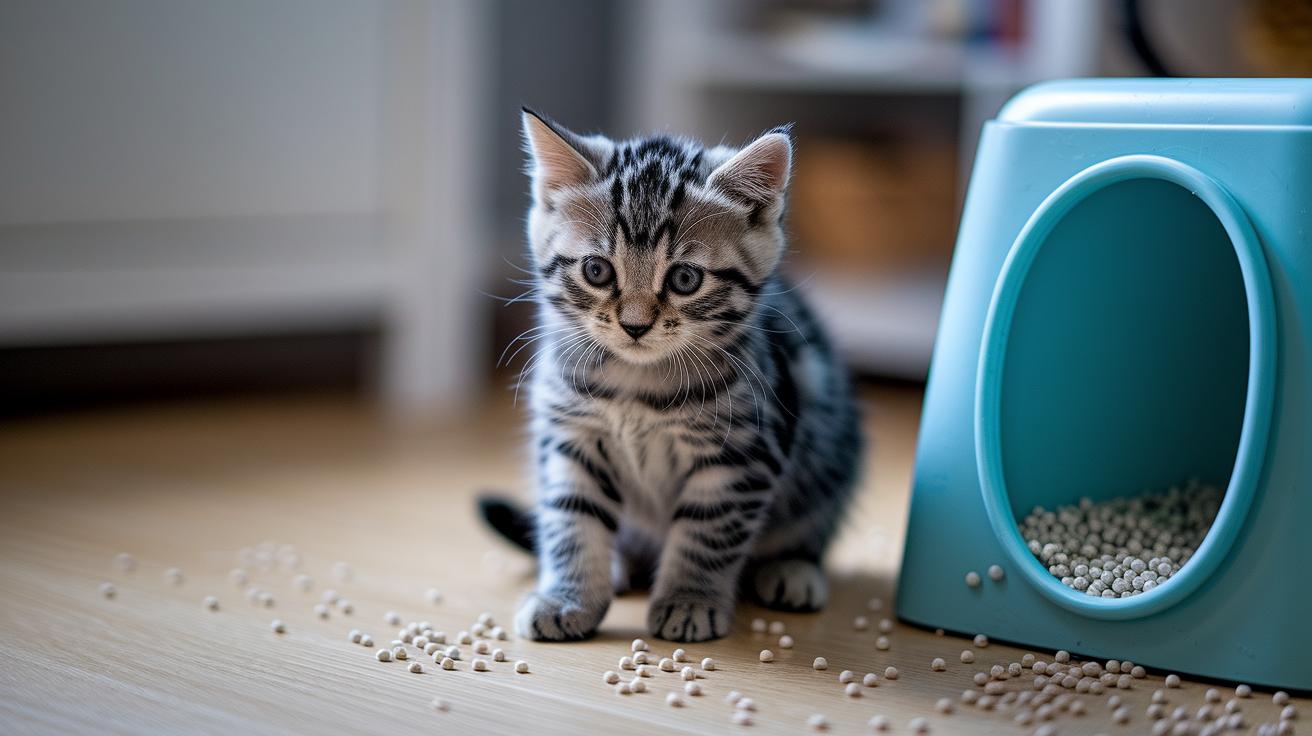
Got a tiny furball or a senior pal? Low-entry boxes (a gentle rim to step over) are claw-mazing for kittens and arthritic cats. Oops, make that three steps. Some pans even come with a slope (gentle ramp that eases entry). My grandma’s tabby, Bertie, chirps when I swap his deep tray for a shallow one. No more hesitation at the rim.
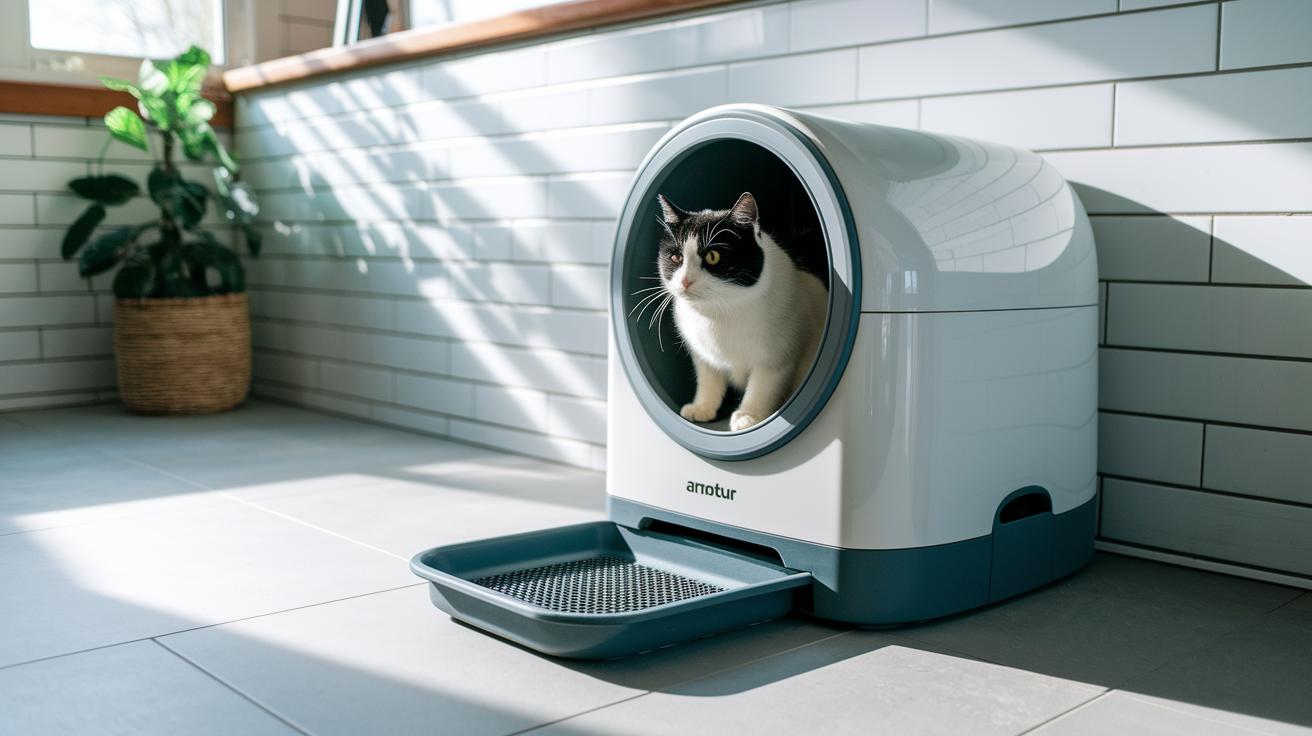
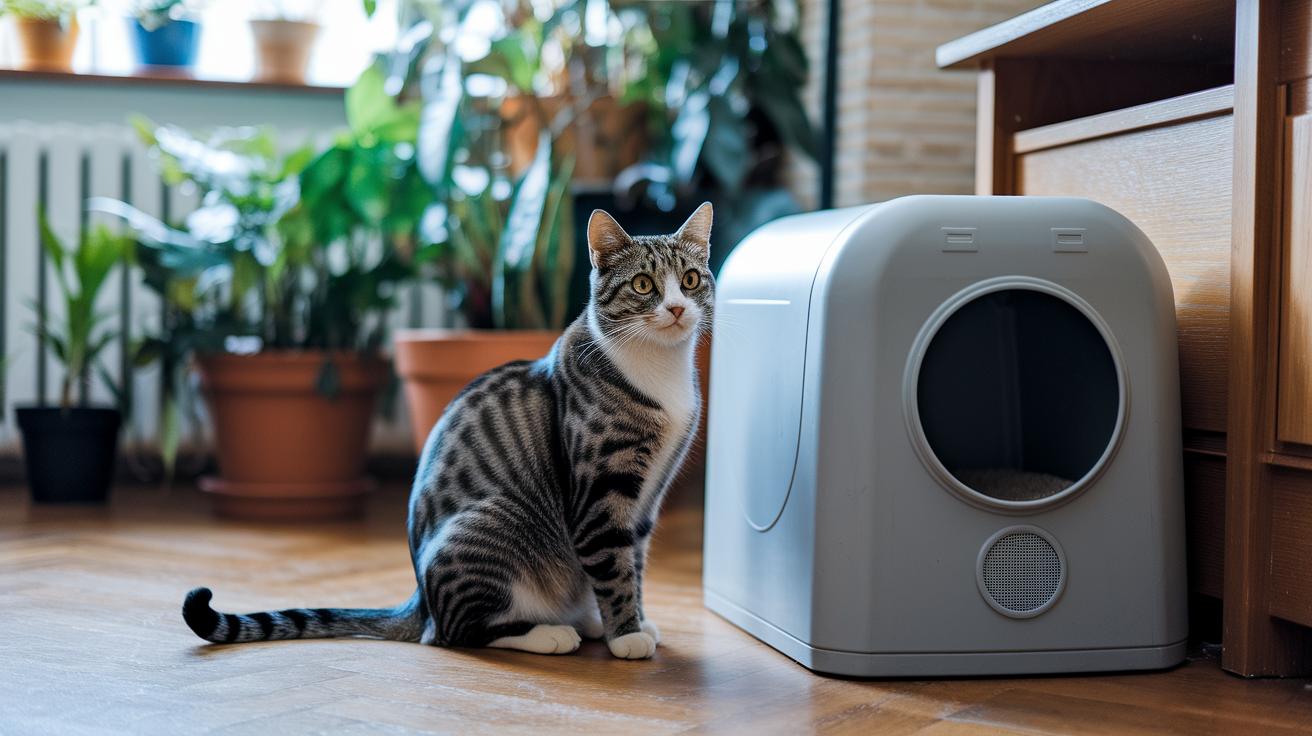
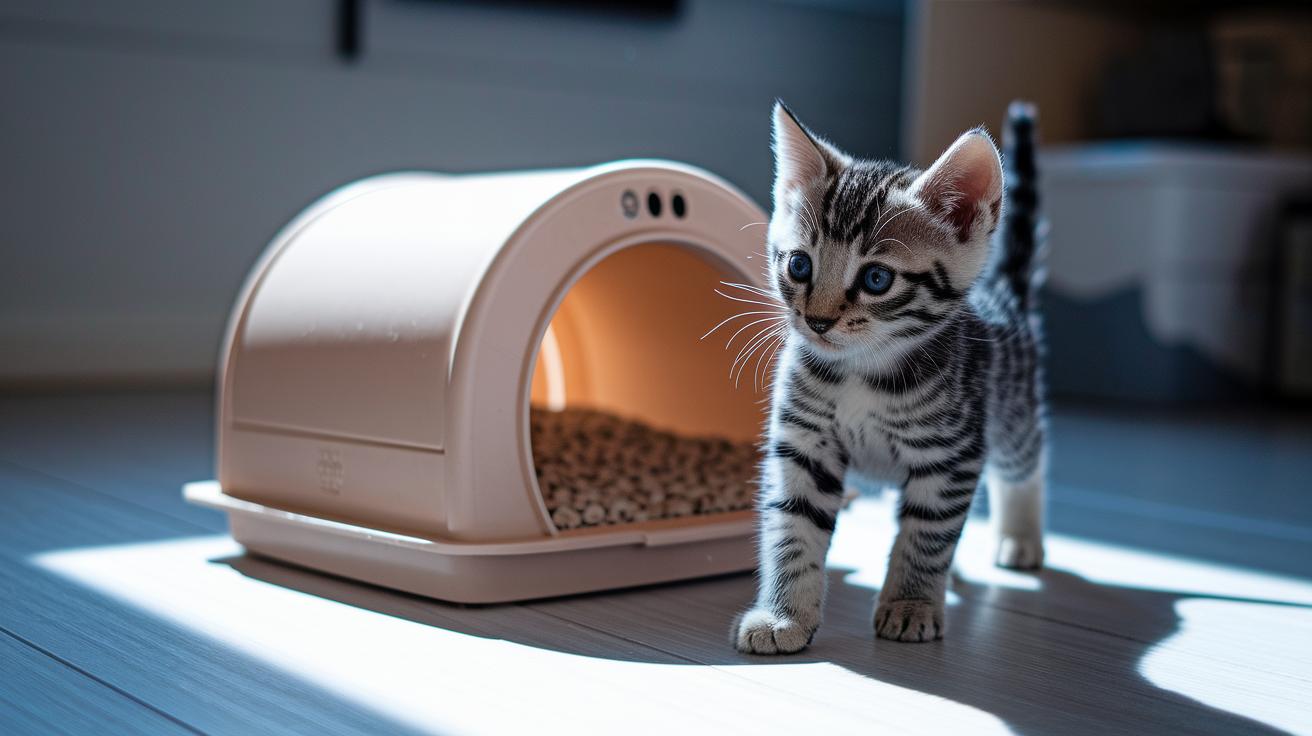
Short on space? Try a corner litter box that tucks into an unused nook or a top-entry style (you pop in through the roof). They hide the mess and keep dogs or curious toddlers from “helping” with the litter. Just watch your cat’s acrobatics. Some need practice for that rooftop leap.
Think about your floor plan, your cat’s body, and her quirks. The right size and style make every visit cozy for her and way less annoying for you. Worth every happy paw-print.
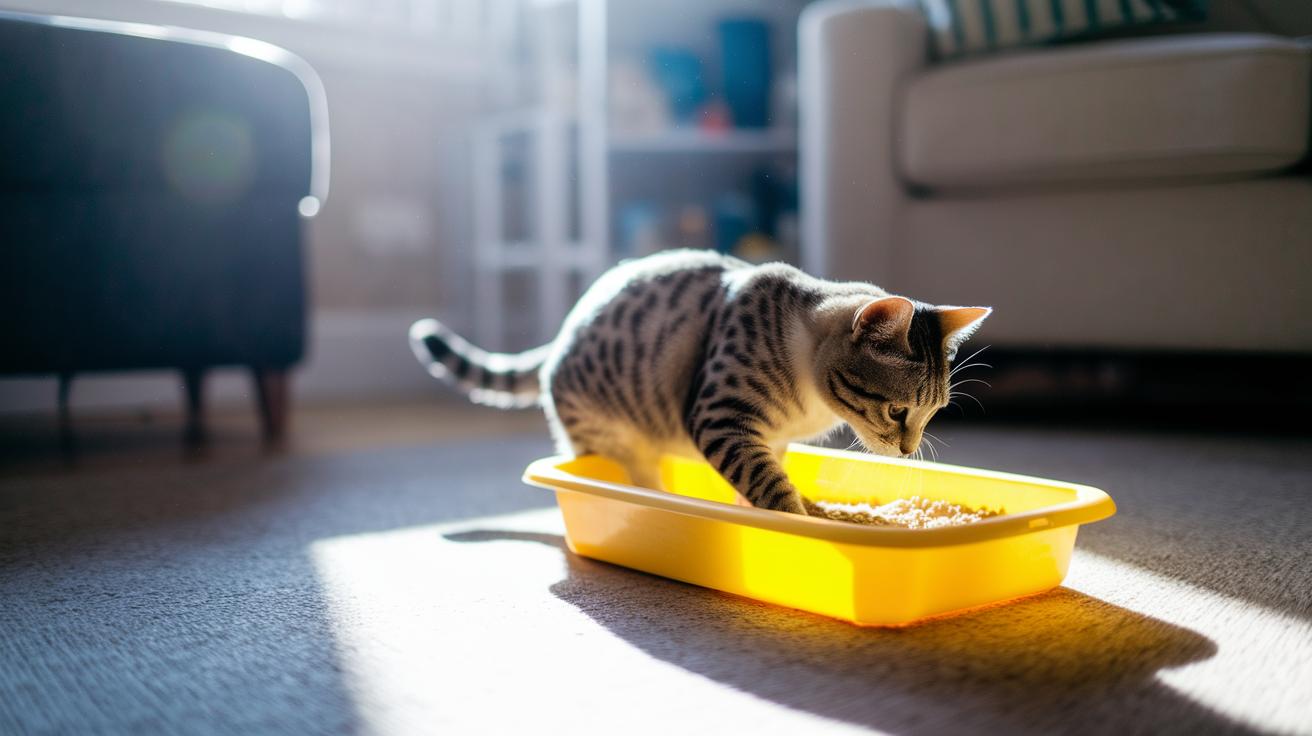
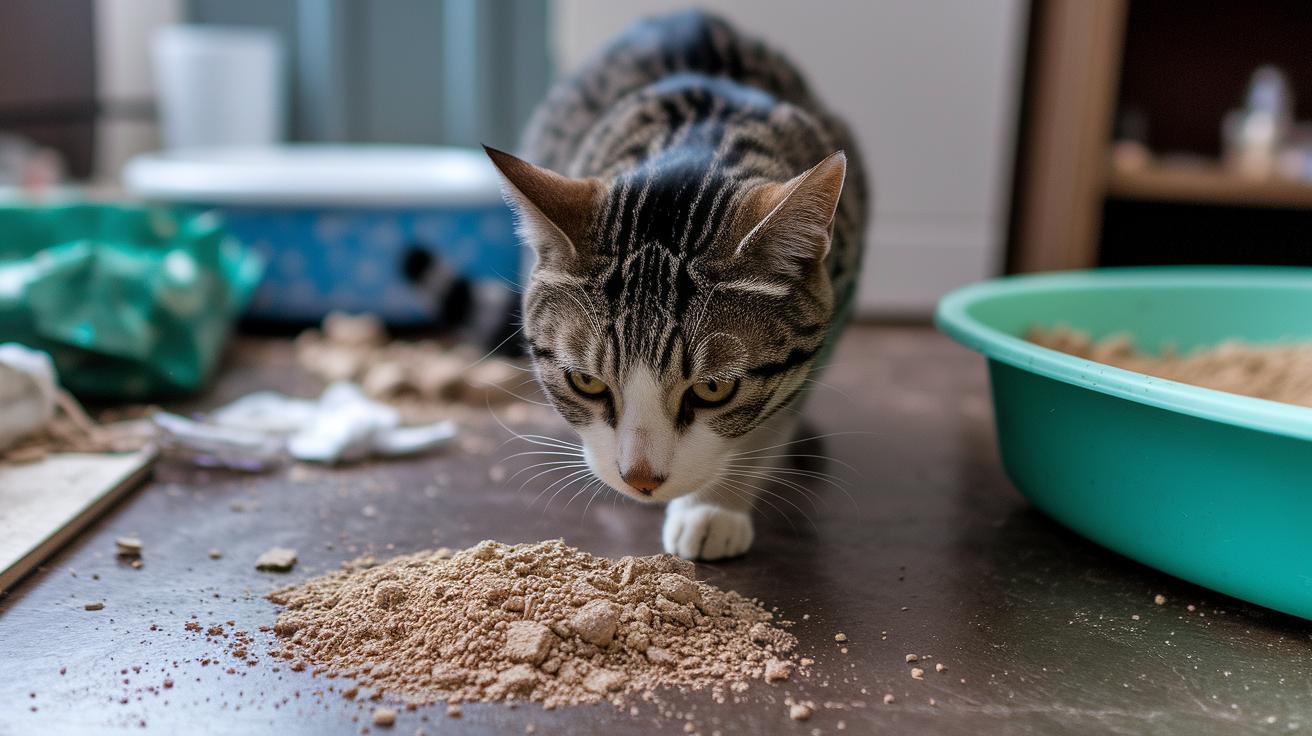
Selecting the Best Litter: Types, Depth, and Transition Tips
Imagine your kitty stepping into a sand-like bed – beach vibes minus the sunburn! Fill the tray with 2 to 3 inches of litter so it’s fine for digging and firm enough to keep its shape. Too shallow and it feels like concrete underfoot. Too deep and you’ll end up scooping a mini dune.
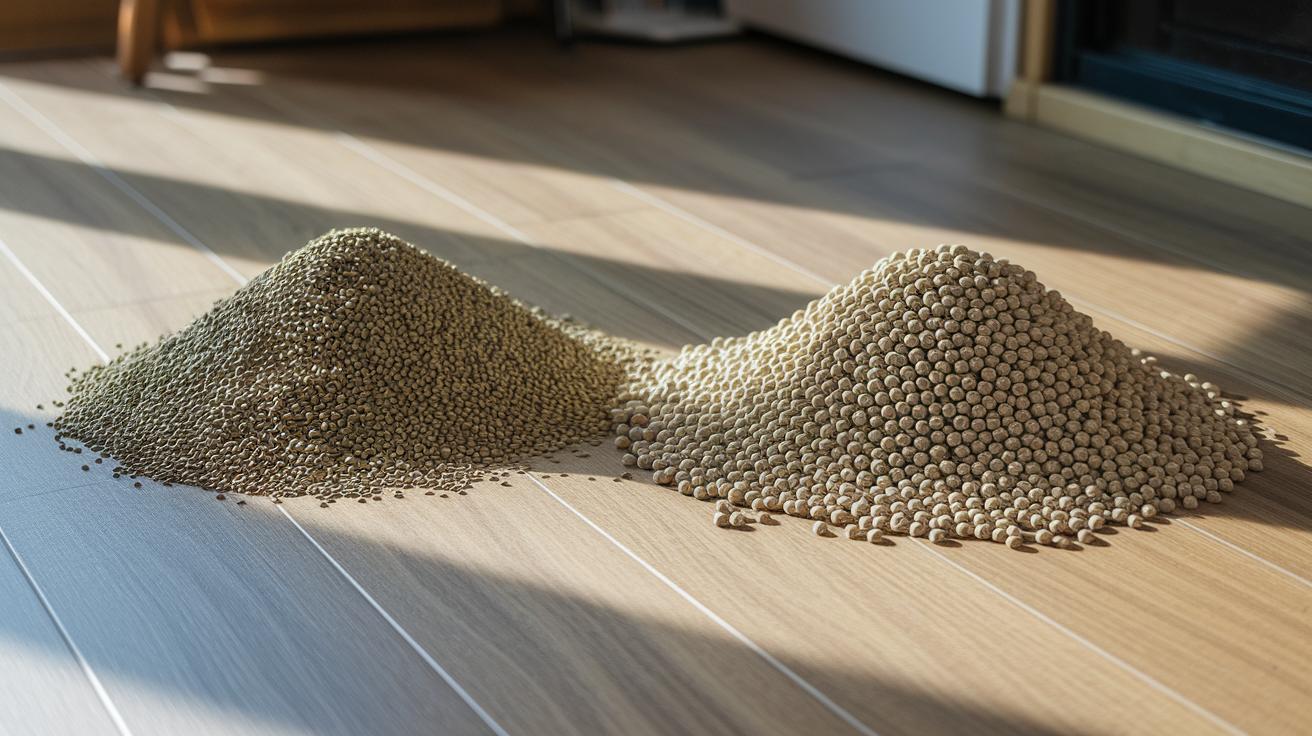
Most cats sniff scented litter and walk away in protest. So grab unscented clay (earthy powder that clumps into tight balls around waste). Clumping litter makes scooping claw-tastic and cuts down on leftover mess. If you want something soft on paws and gentle on the planet, try paper pellets.
Crystal litter uses silica gel beads (tiny moisture magnets) to trap odors. Then there are biodegradable litters made from wood chips or corn that break down naturally. Ever watched your cat sniff and dismiss a fresh box? Set up two small pans with different textures and see which one wins.
When it’s time to switch litters, take it slow. Mix a scoop of the new stuff into the old batch and add more each day. I once got Luna onto a corn-based mix by starting with just a spoonful – she barely noticed. Now she digs dust-free and purrs all the way, worth every paw-print.
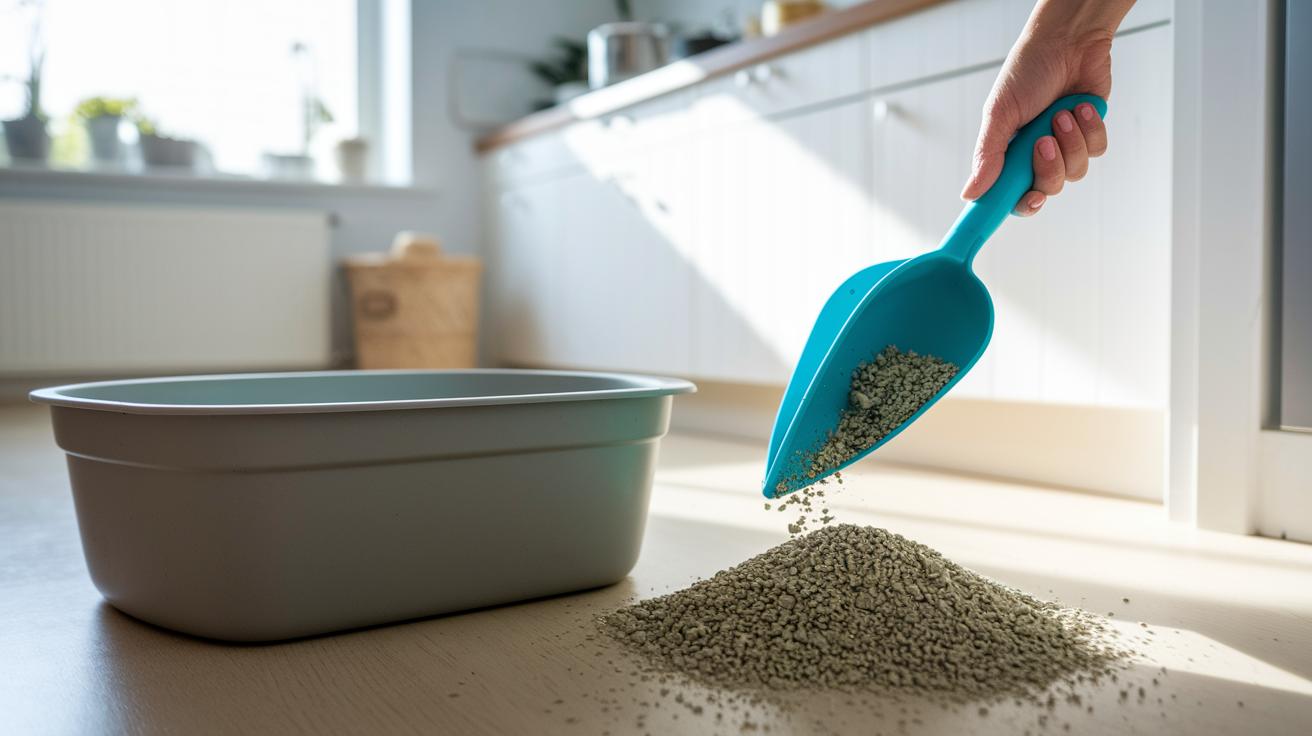
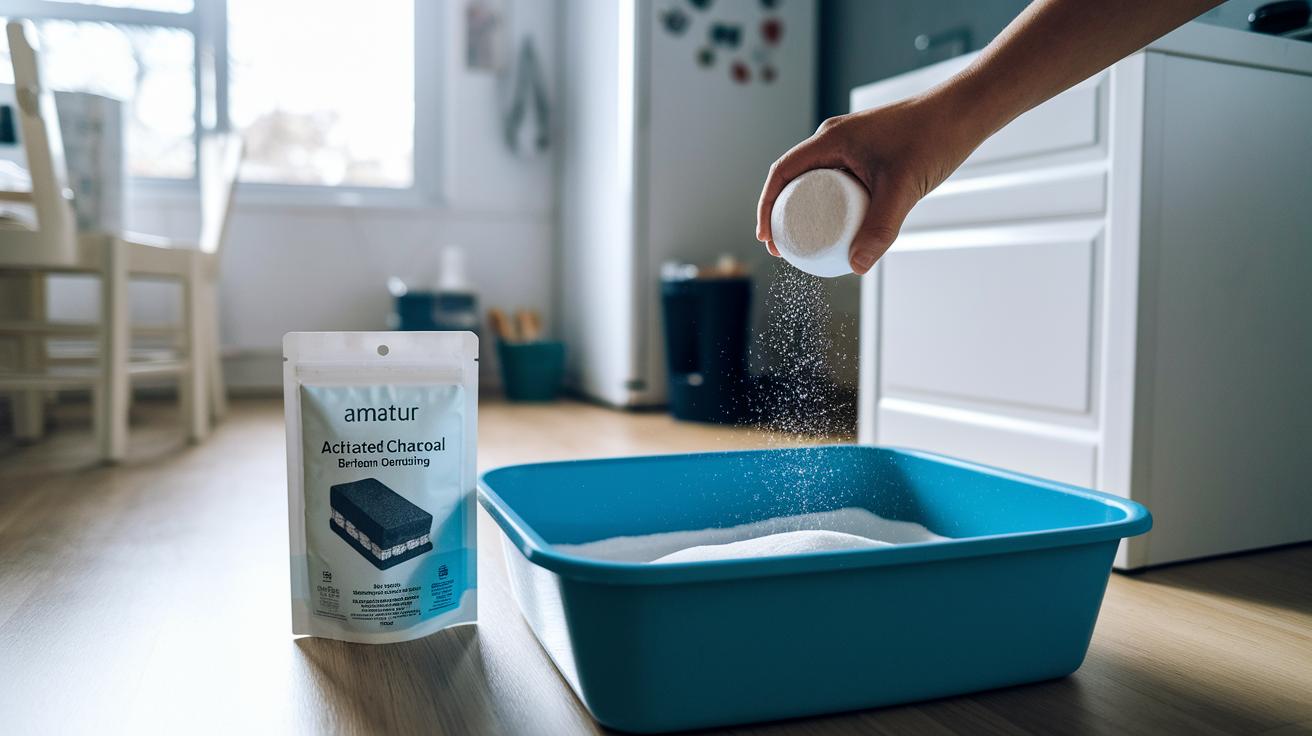
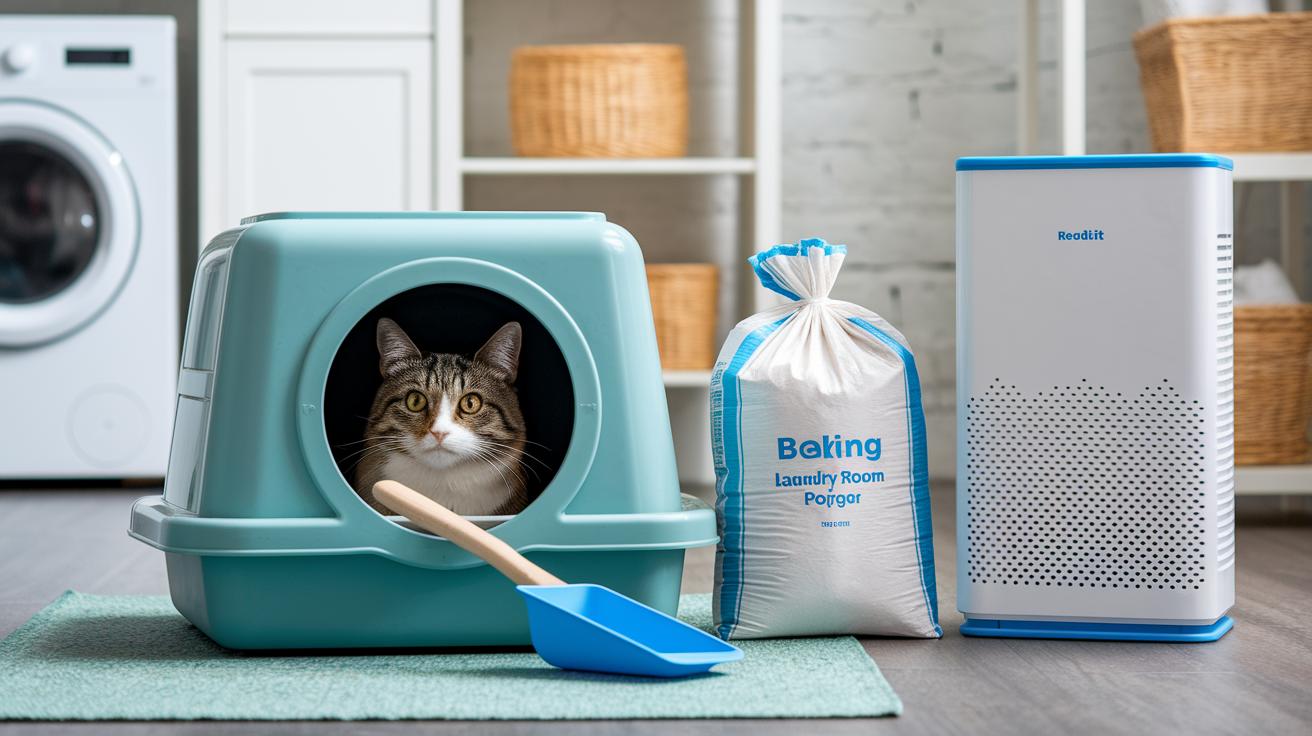
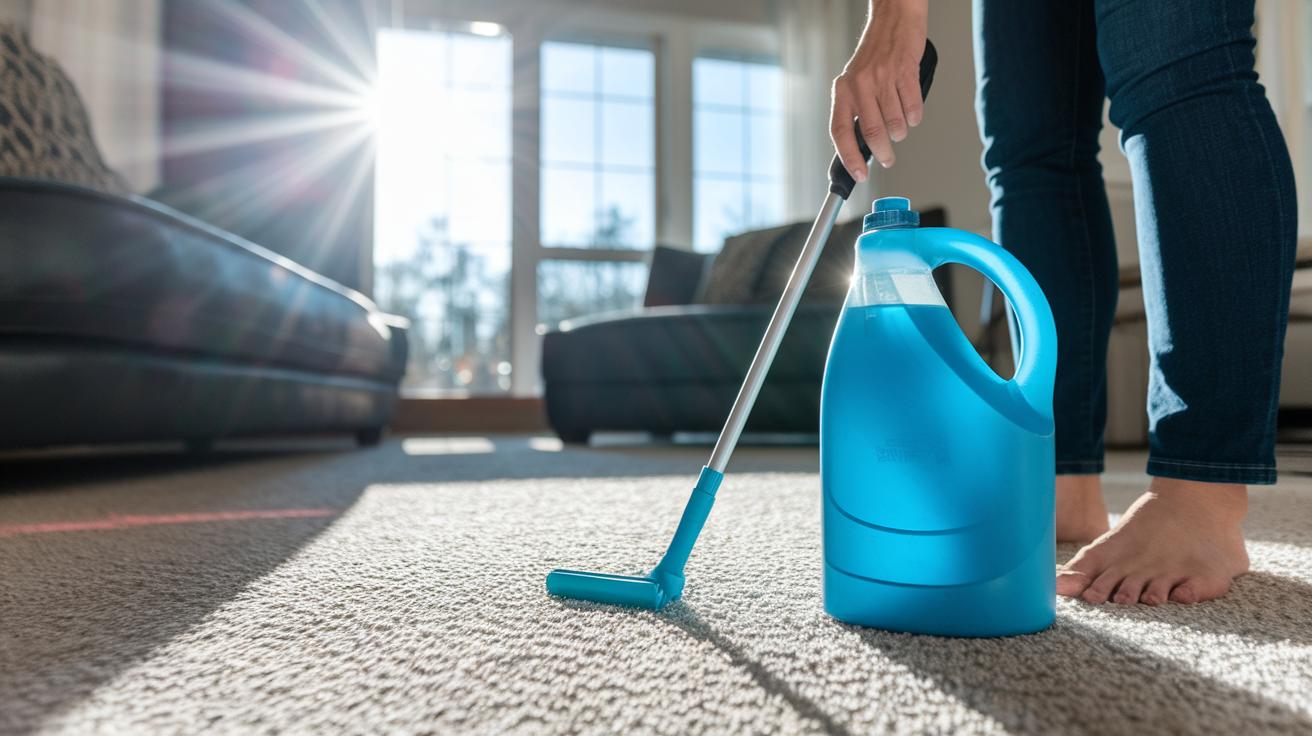
Cleaning and Maintenance: Schedule, Products, and Odor Control
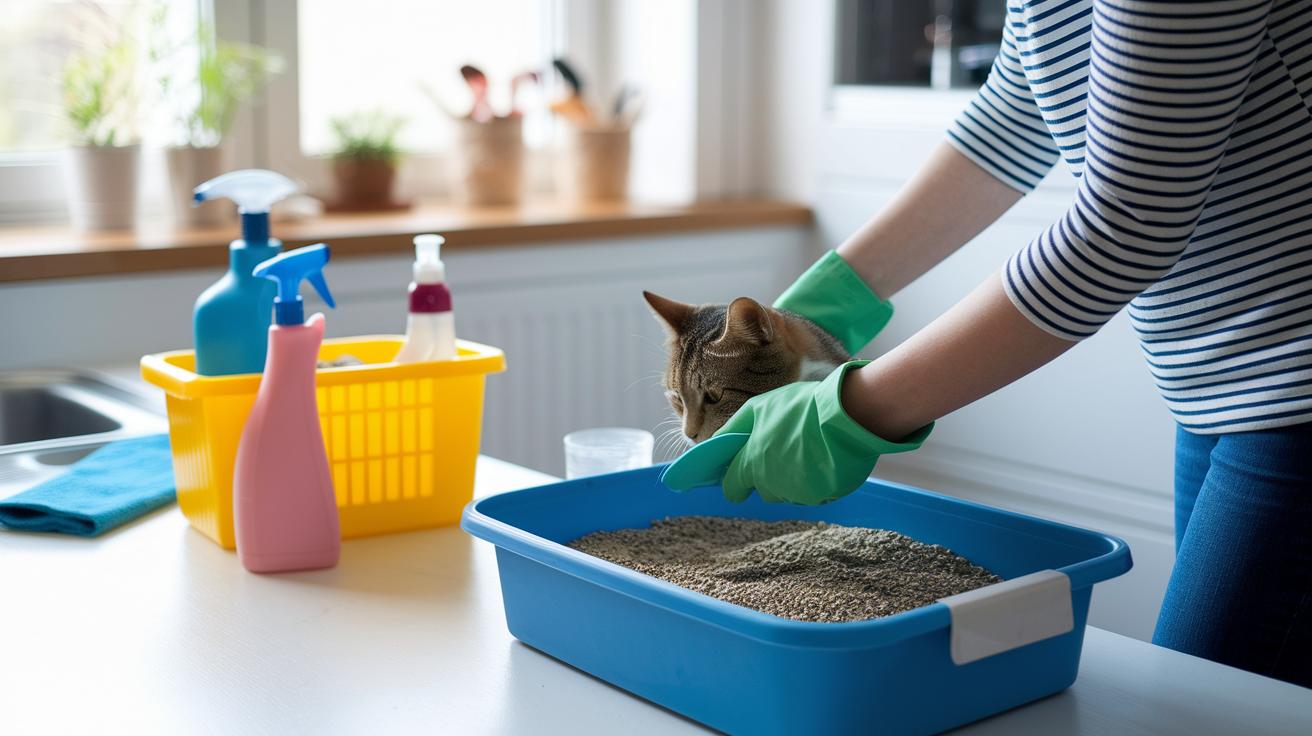
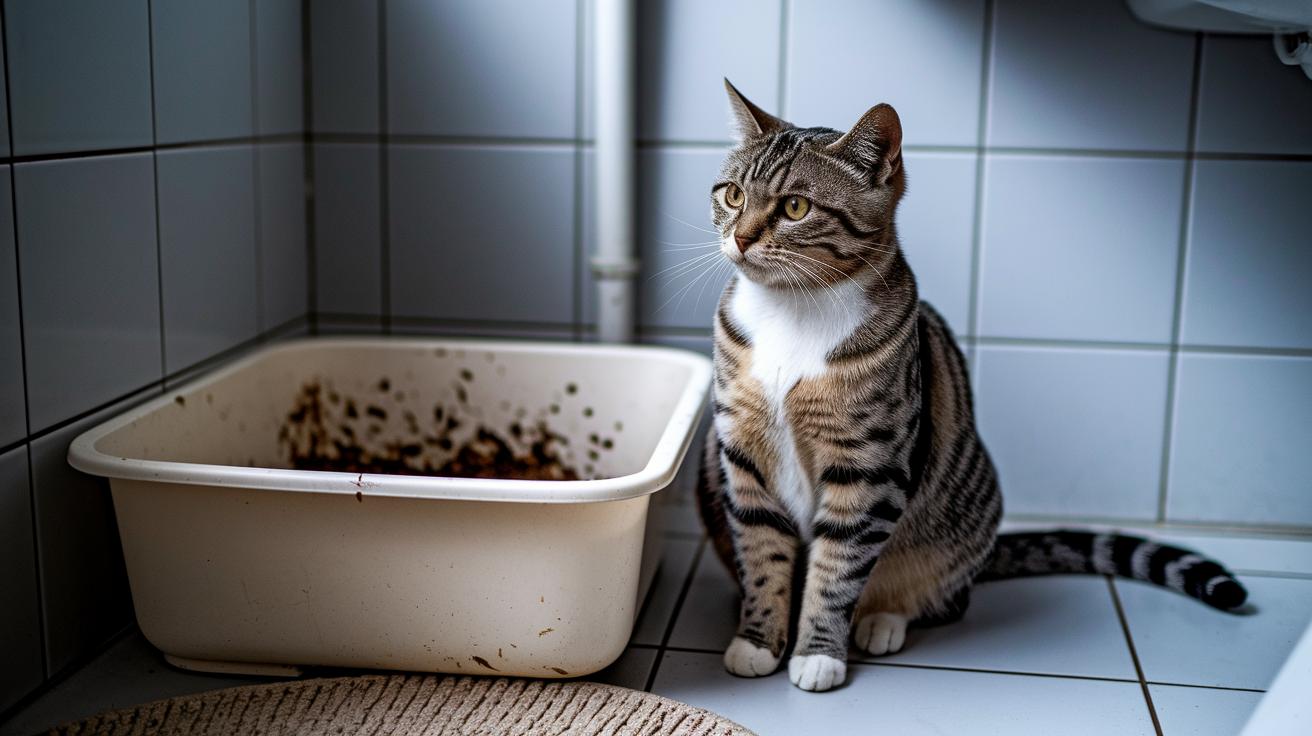
Scoop waste at least once a day. Twice is purrfect if you can swing it. Fresh scooping keeps ammonia (that sharp, nose-twitching stink) from building up. I set alarms for morning and evening so the box always smells inviting.
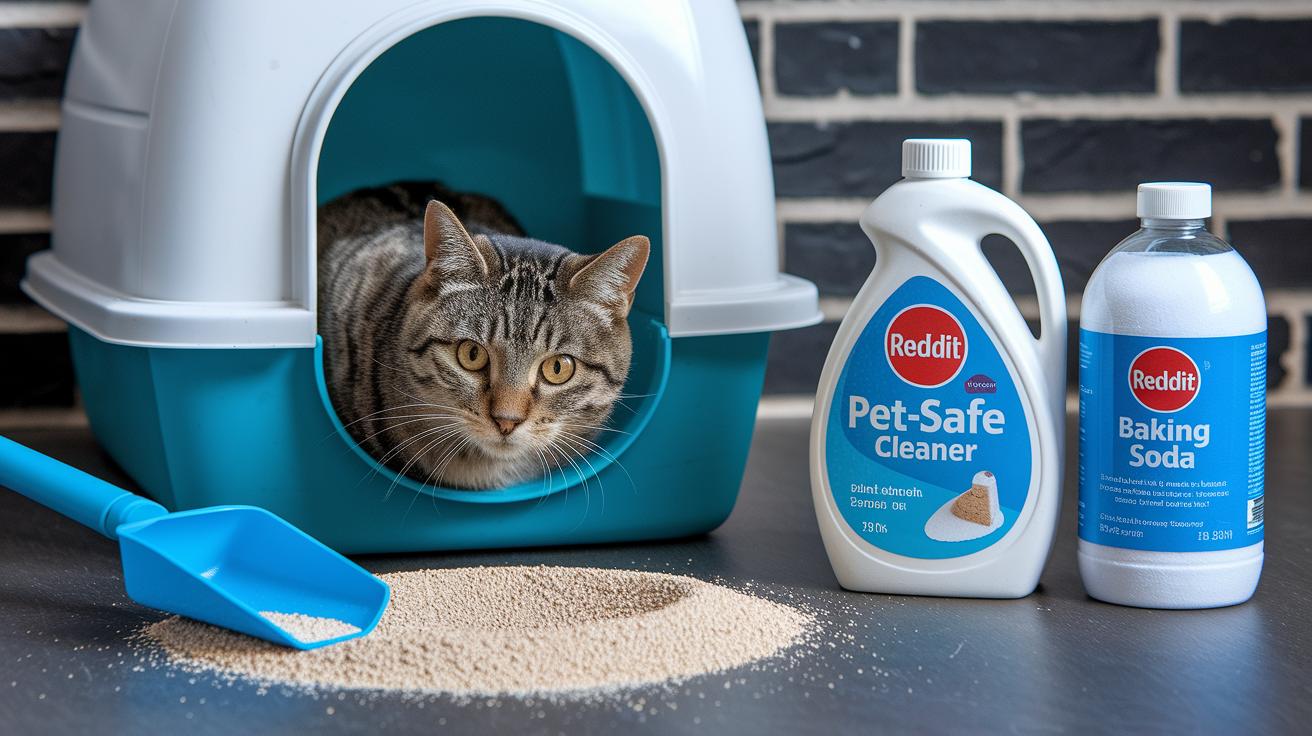
Give each box a deep scrub with mild soap (like dish soap) and warm water every week or sooner if you catch a whiff of trouble. Skip bleach – it’s too harsh and leaves a smell cats hate. One time I tried bleach and Luna gave me the stink-eye for days. Oops, my bad.
Enzyme-based cleaners (they’re like tiny odor-eating helpers) are pure magic for the litter pan. They break down hidden gunk and smells at the source so your home never feels like a litter lounge. Just spray, wait, rinse. Your cat won’t even pause their zoomies to sniff-check.
Every three to four weeks swap out all the old litter for fresh stuff. It’s like giving the box a brand-new sandbox. While you’re at it, wipe the pan edges and corners to catch tiny granules that slip past daily scooping.
Then tuck easy-clean mats under each box to catch stray litter and keep carpets looking fresh. For extra nose-friendly hacks, check out how to make a litter box not smell. Try a sprinkle of baking soda under the mat. Or crack a window for airflow. Your cat will pounce with confidence – and you’ll breathe easier.
Worth every paw-print of effort.
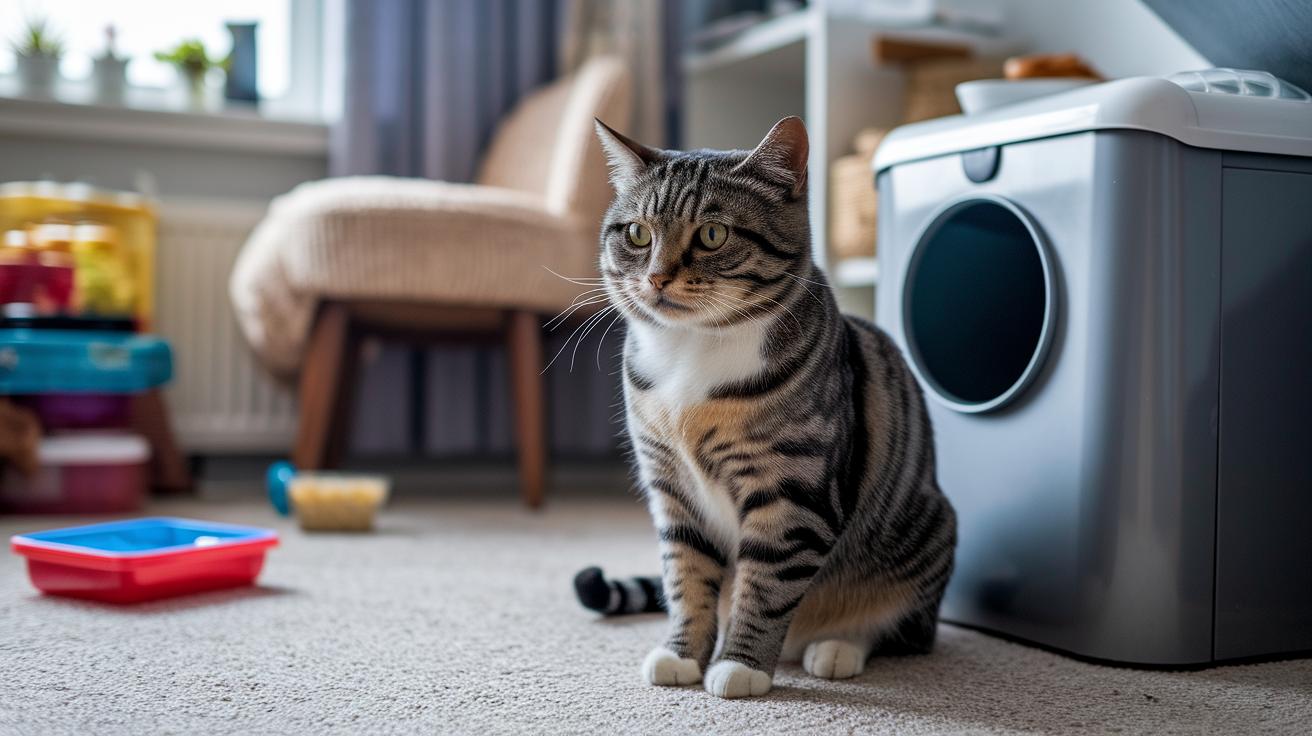
Identifying Litter Box Problems: Health and Behavioral Alerts
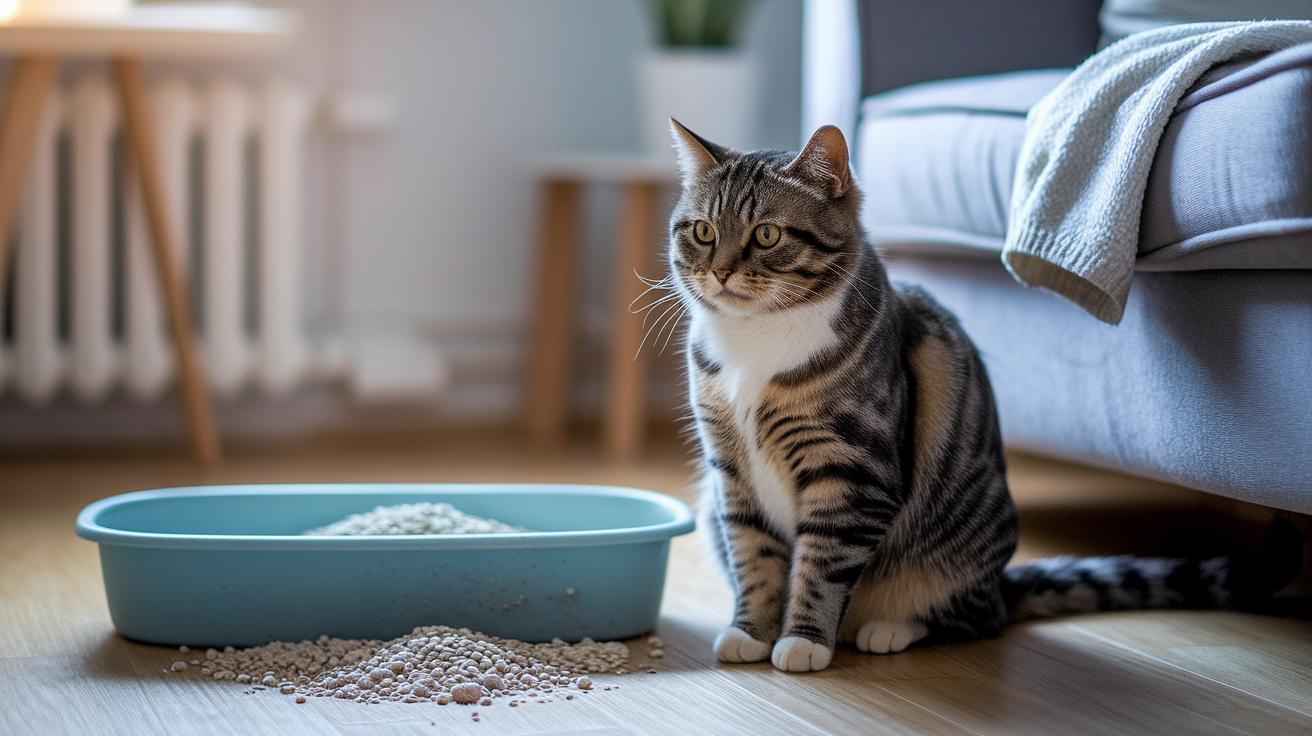
Ever watched your kitty buzz past the litter box like it’s on fire? That swish of tail and quick retreat can mean stress or pain! Here are some red flags to note:
- Pee or poop outside the tray
- Spraying on walls or furniture
- Suddenly eating less or meowing more
- Hiding or skipping meals
- Over-grooming till fur feels sore
Even one skip or frantic dig tells a story. Stressed cats treat the tray like a forbidden zone. Shy kitties might peek in, sniff, then turn away like “no thanks.”
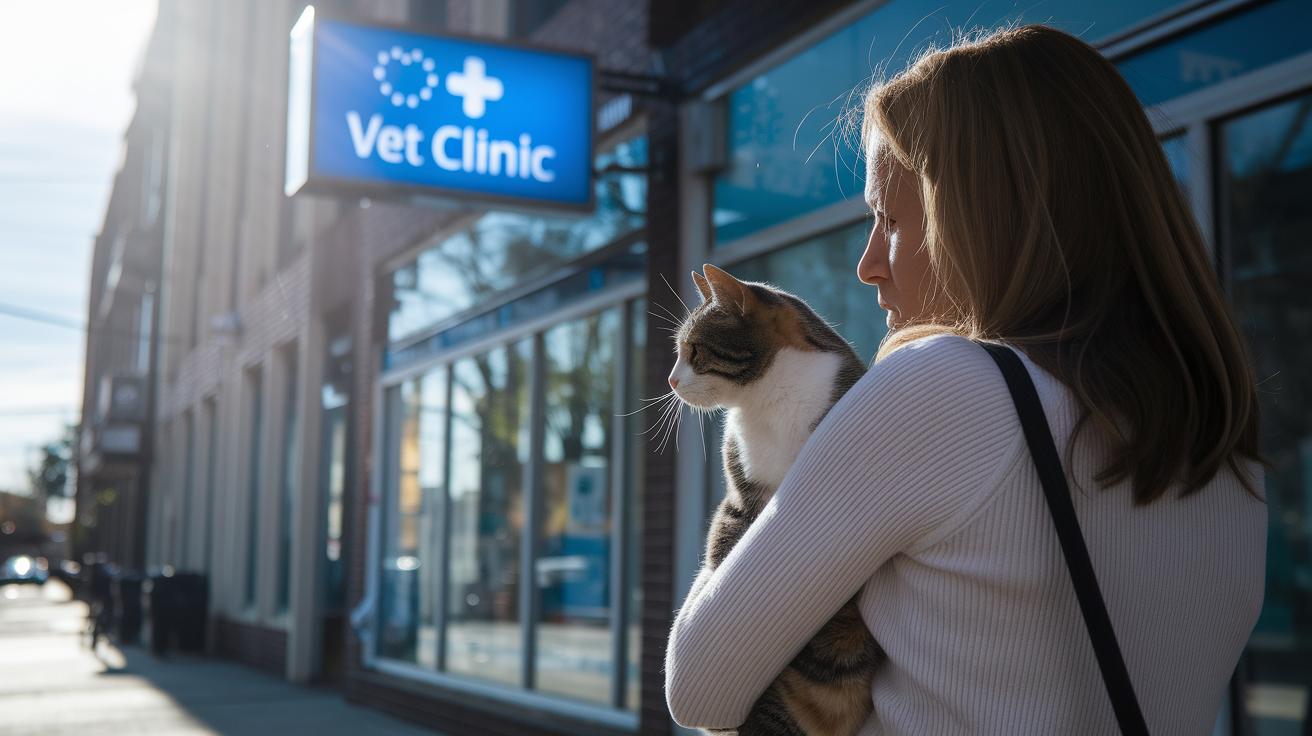
Lots of things can cause this, UTIs (urinary tract infections), kidney trouble, or even tension when a new housemate moves in. Keep a simple litter log each day: note skipped visits, odd clumps, or dribbles. Catching FLUTD (feline lower urinary tract disease) early can save both whiskers and wallet.
If you see blood, dribbles, or strangely wet clumps, jot it down. A quick chat with your vet will rule out medical issues and point you to the right treatment. And hey, if you’re still wondering why won't my cat use the litter box, we’ve got tips on stress relief, moving the tray, and toy upgrades. Um, don’t wait, those investigative paws are worth every print.
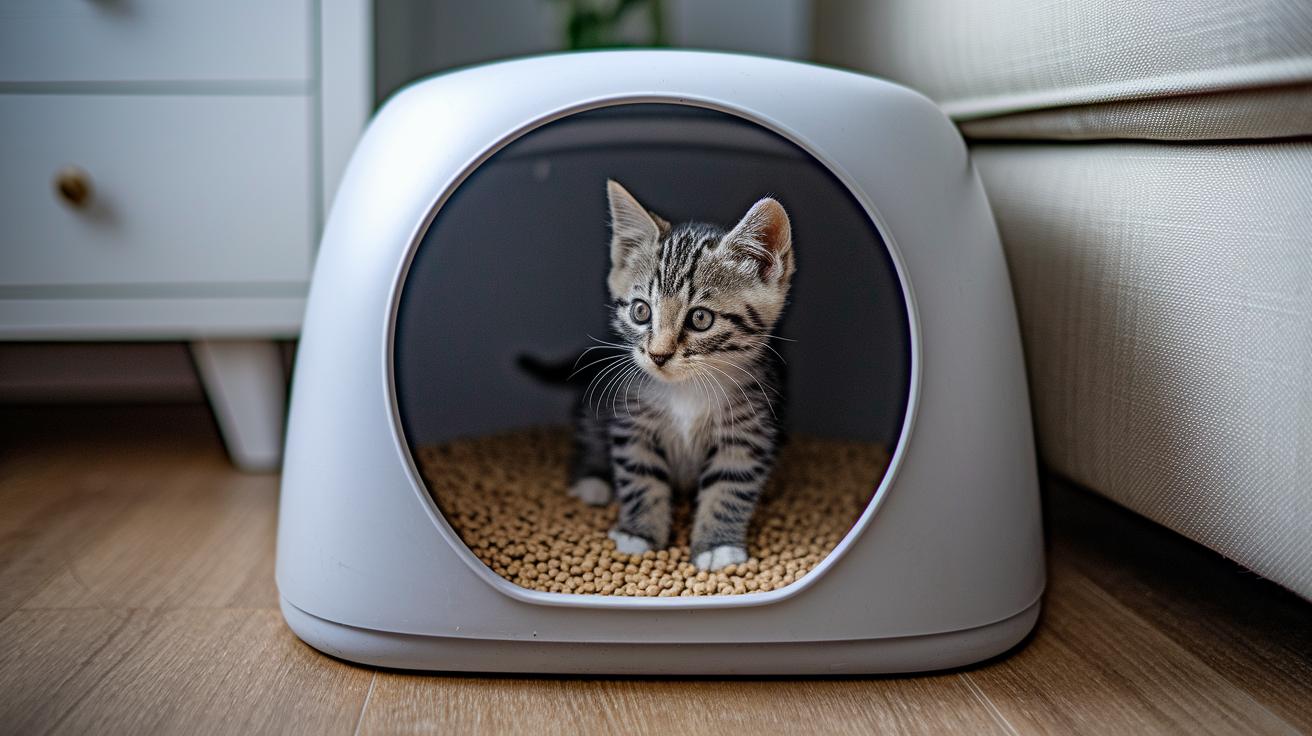
Specialized Litter Box Setups for Kittens and Senior Cats
Using age-specific litter routines gives our tiniest kittens and wise seniors the best potty start.
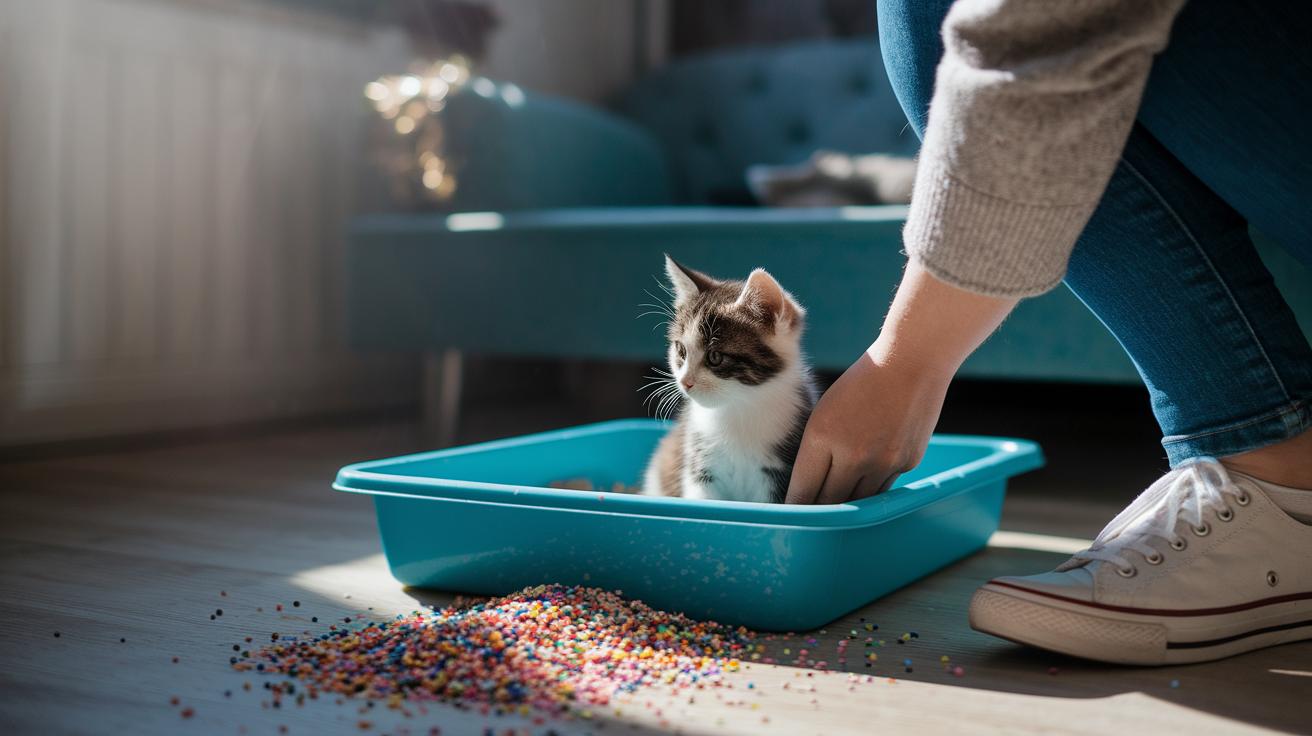
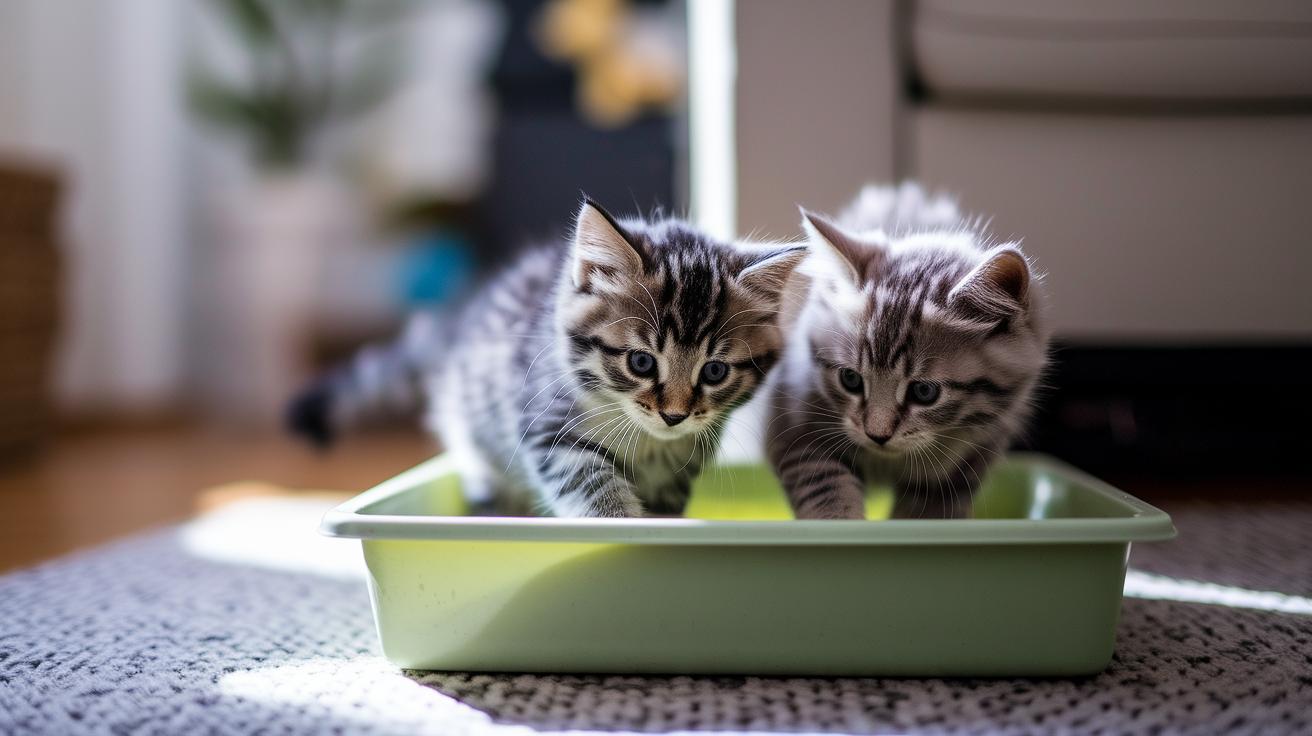
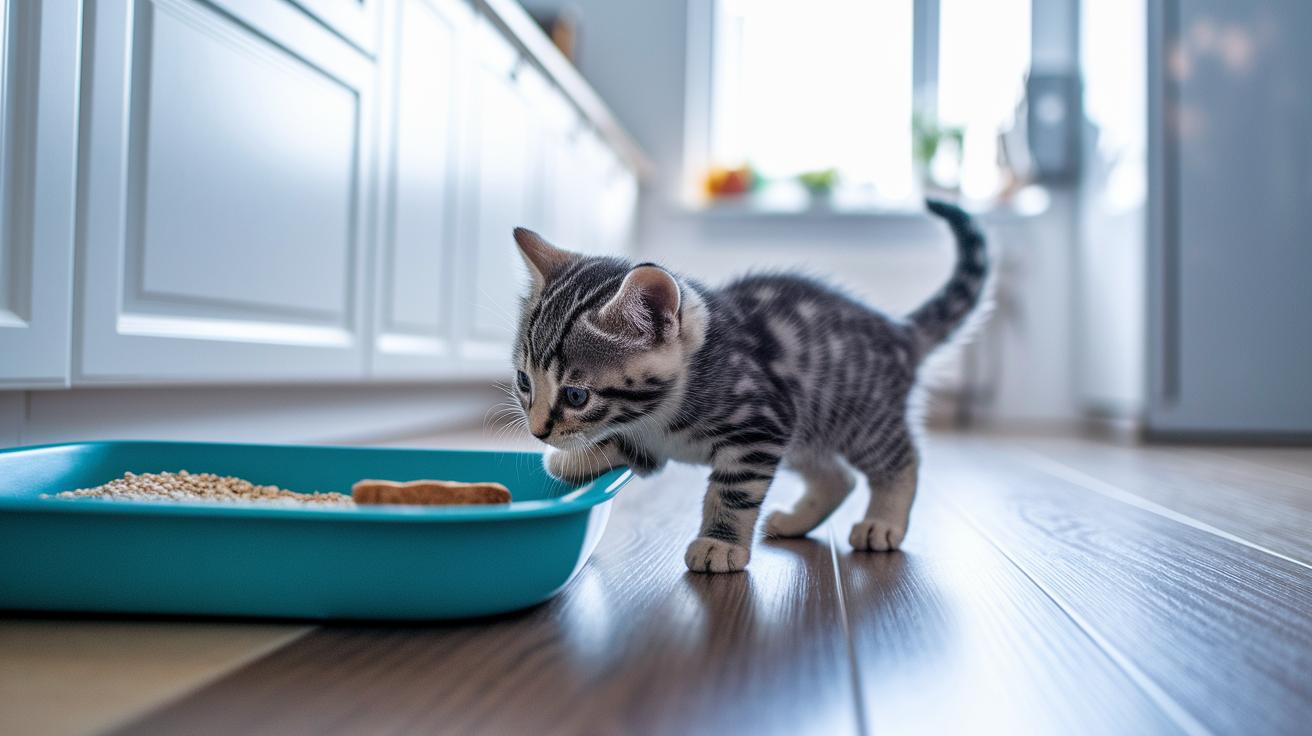
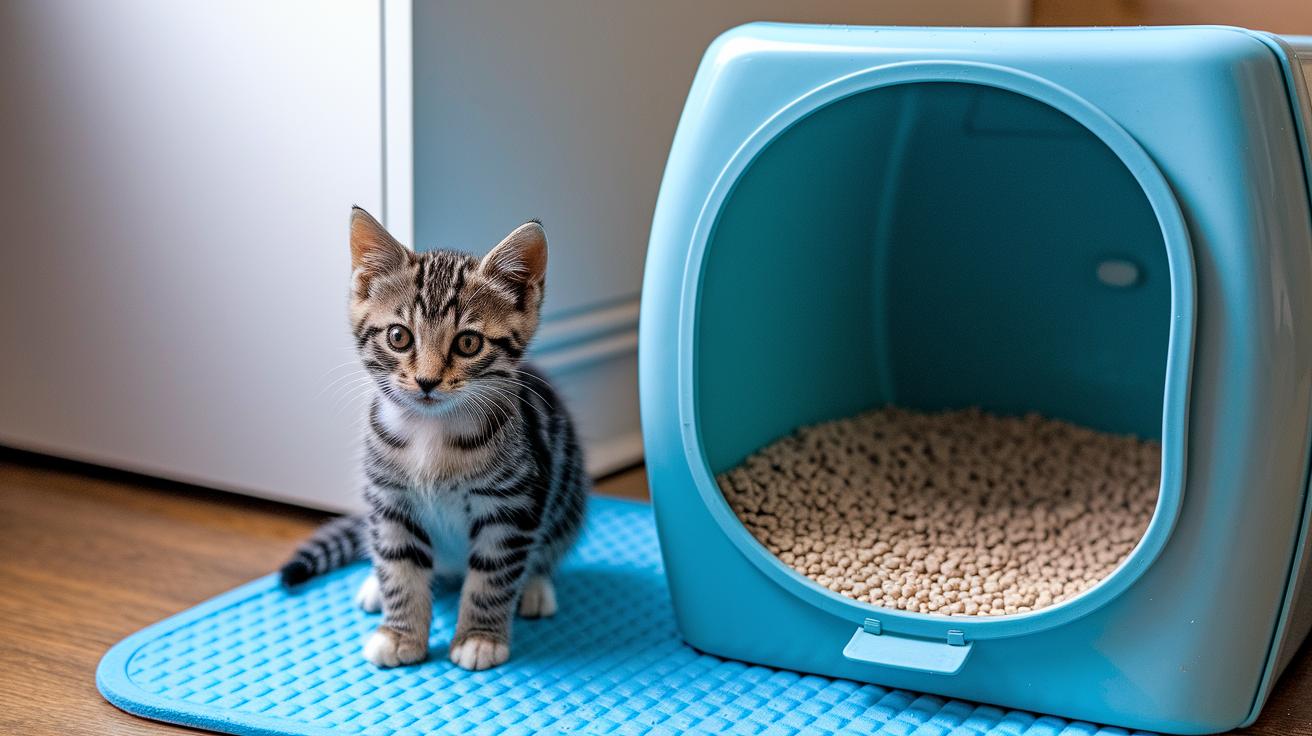
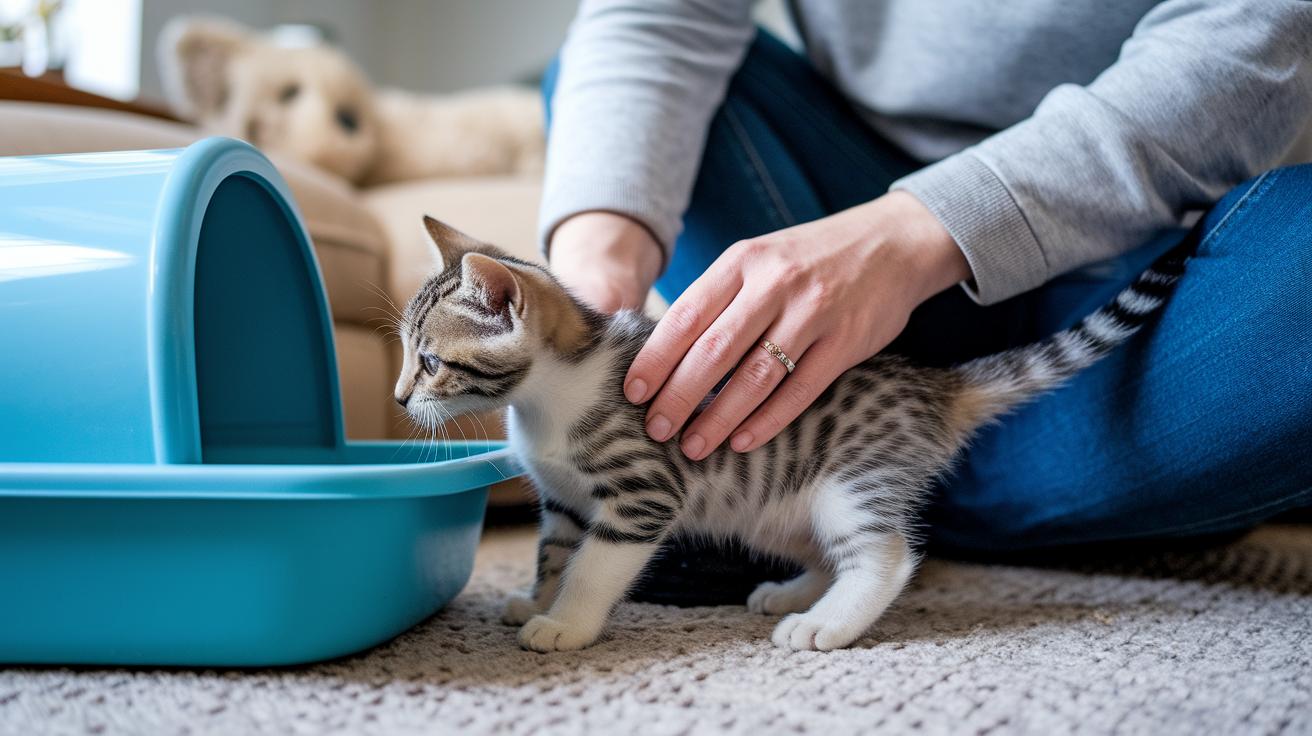
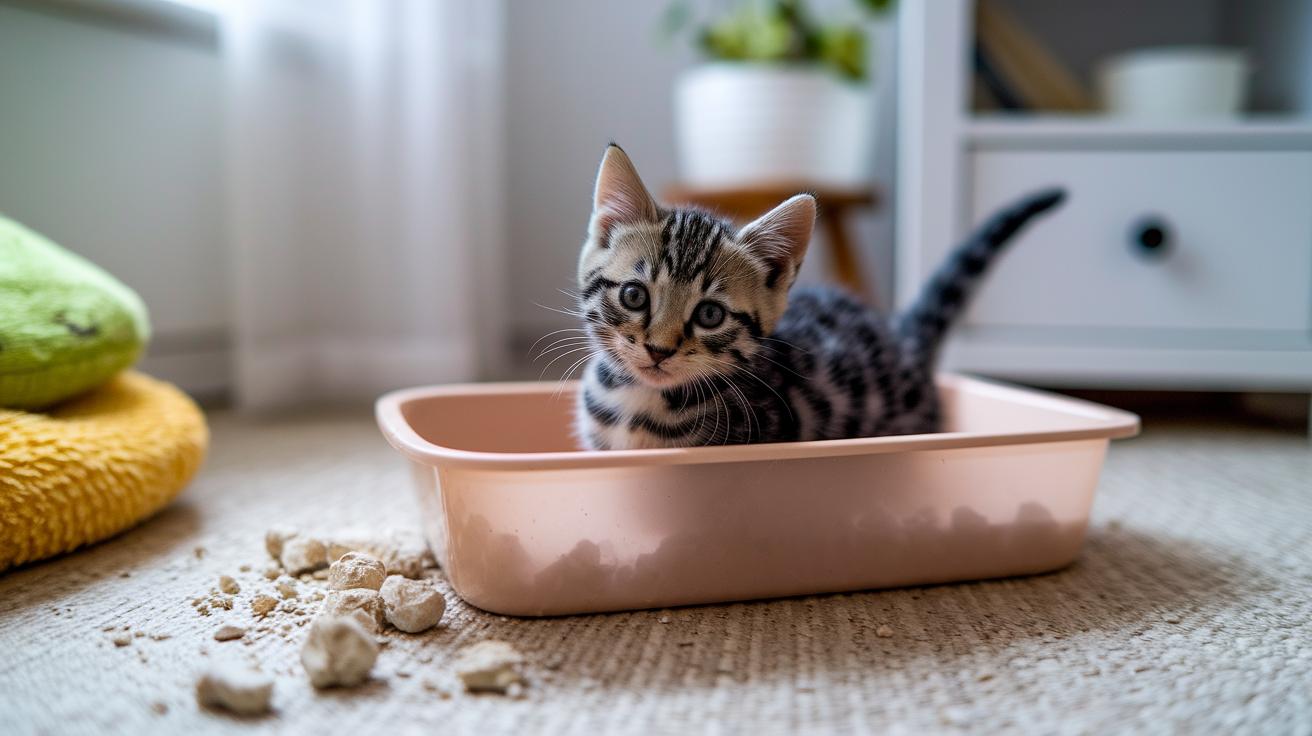
For kittens aged 3–4 weeks, grab a small, shallow tray (think tiny sandbox). After meals, spend 20–30 minutes turning potty practice into playtime. Scoop them in. Let them dig with their paws. When they cover their business, give a gentle pat or a little treat. They learn fast when it’s fun, short, and a bit messy. Sounds messy? Yep. But totally worth it!
Senior cats with stiff joints need extra TLC. Swap to a low-entry pan (just a small rim to step over) and fill it with soft clay litter (fine-grain clay like hand-sifted sand). A gentle slope makes hopping in a breeze. And keep it fresh, nobody likes ouchy litter crumbs under paw. These small tweaks ease aches and get them back to using the box with no fuss.
Want to make potty time purrfect? Oops, make that three fun tweaks:
- Place a textured mat under the box for a gentle foot massage.
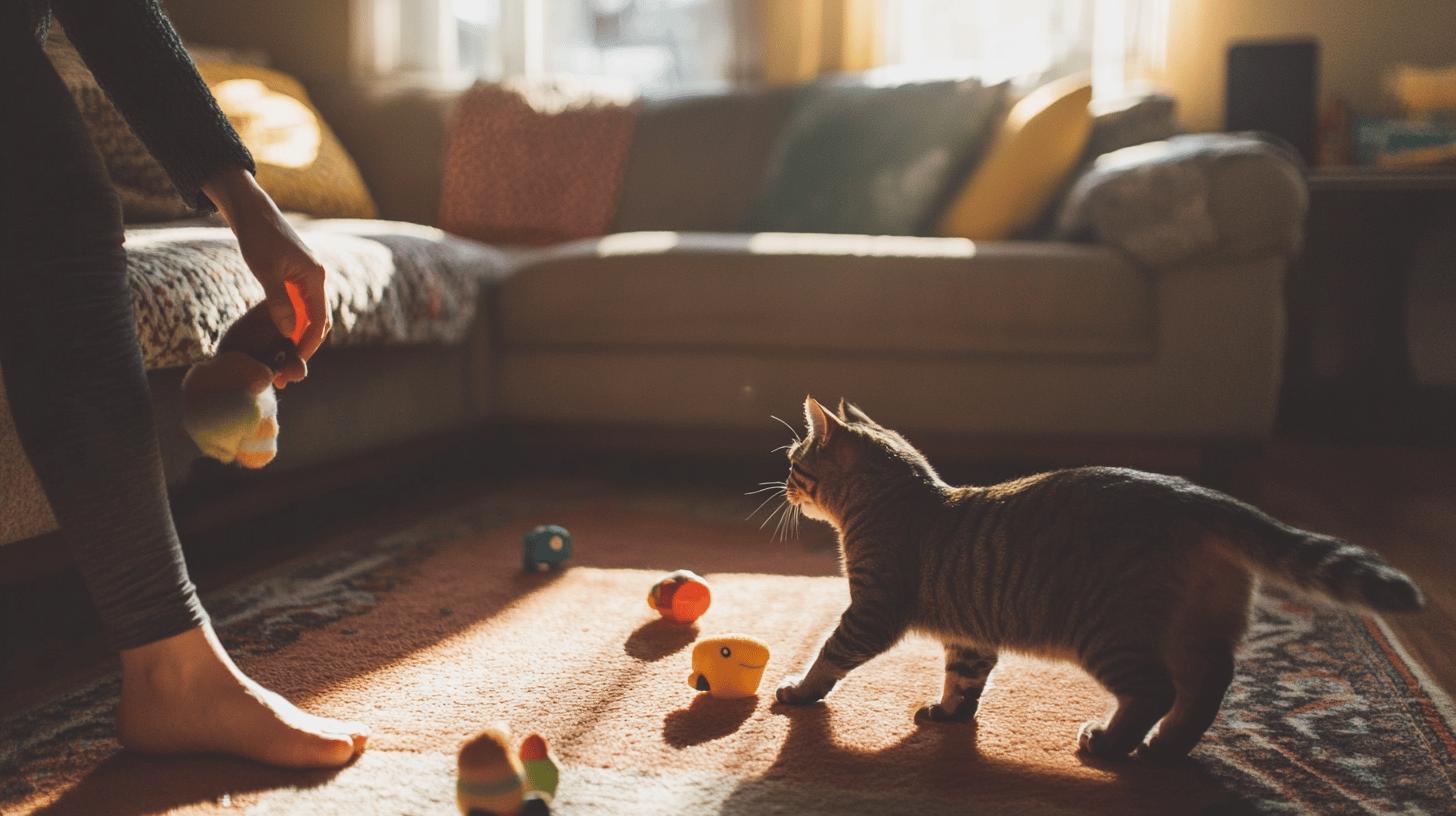
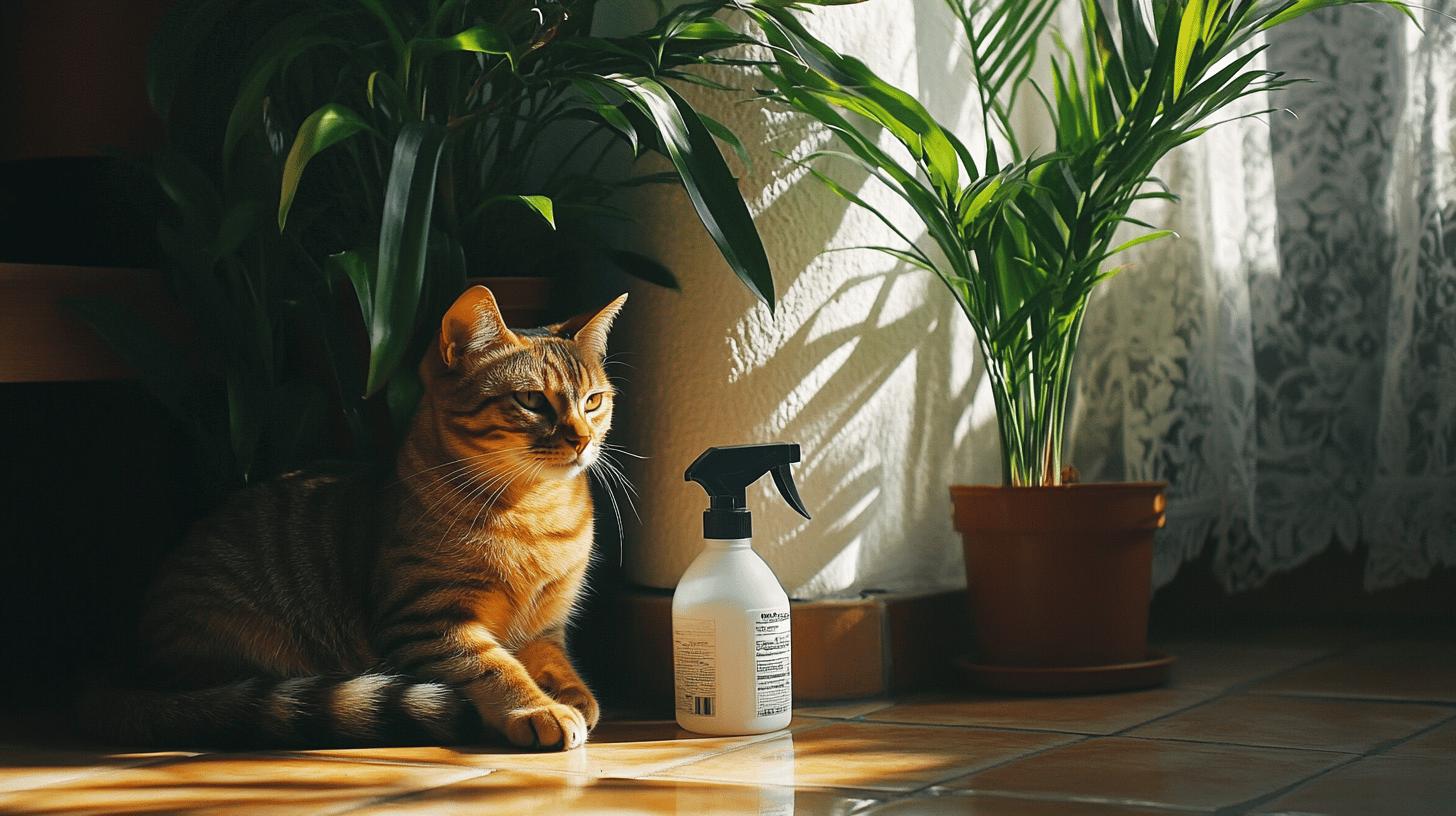
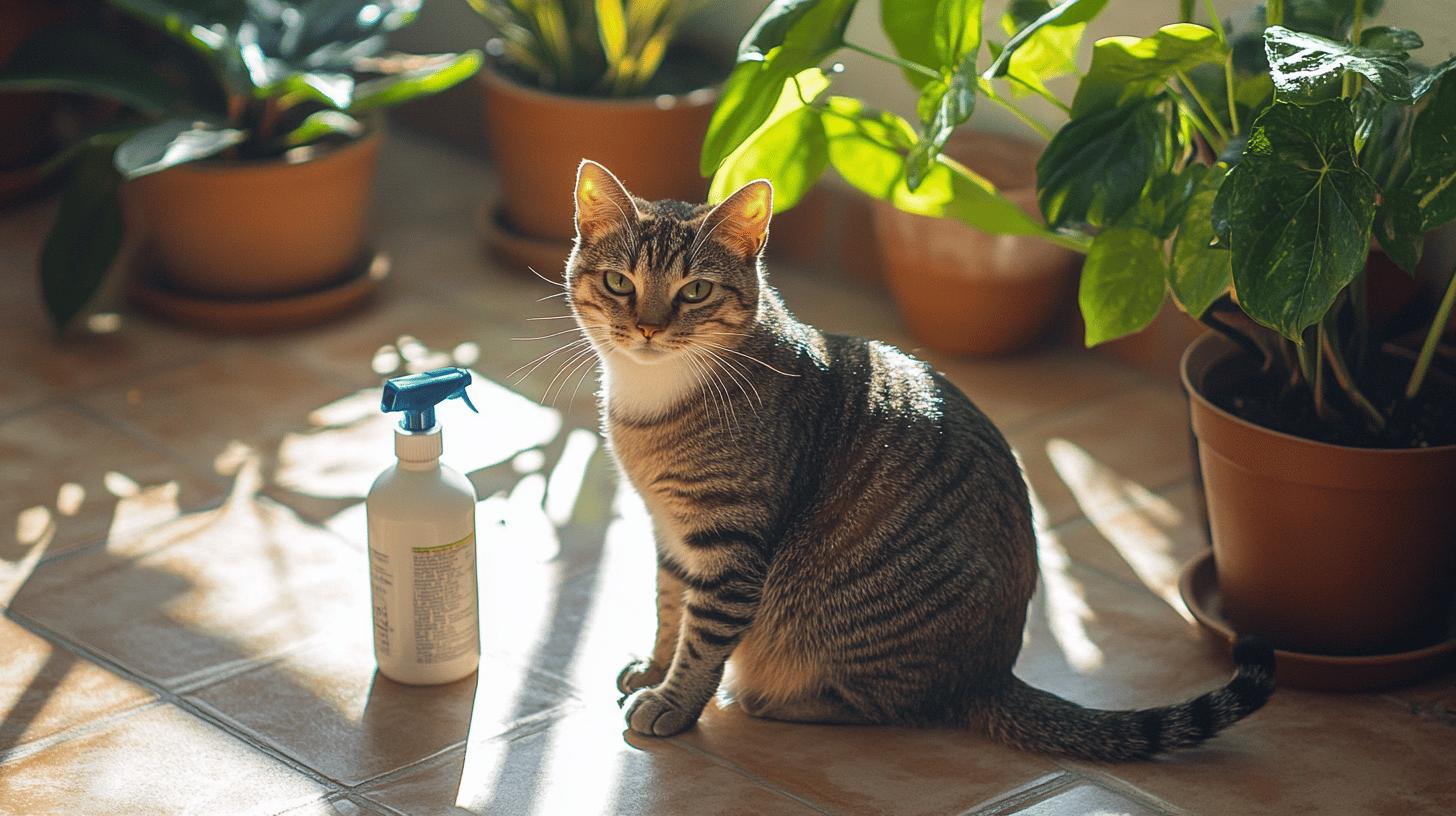
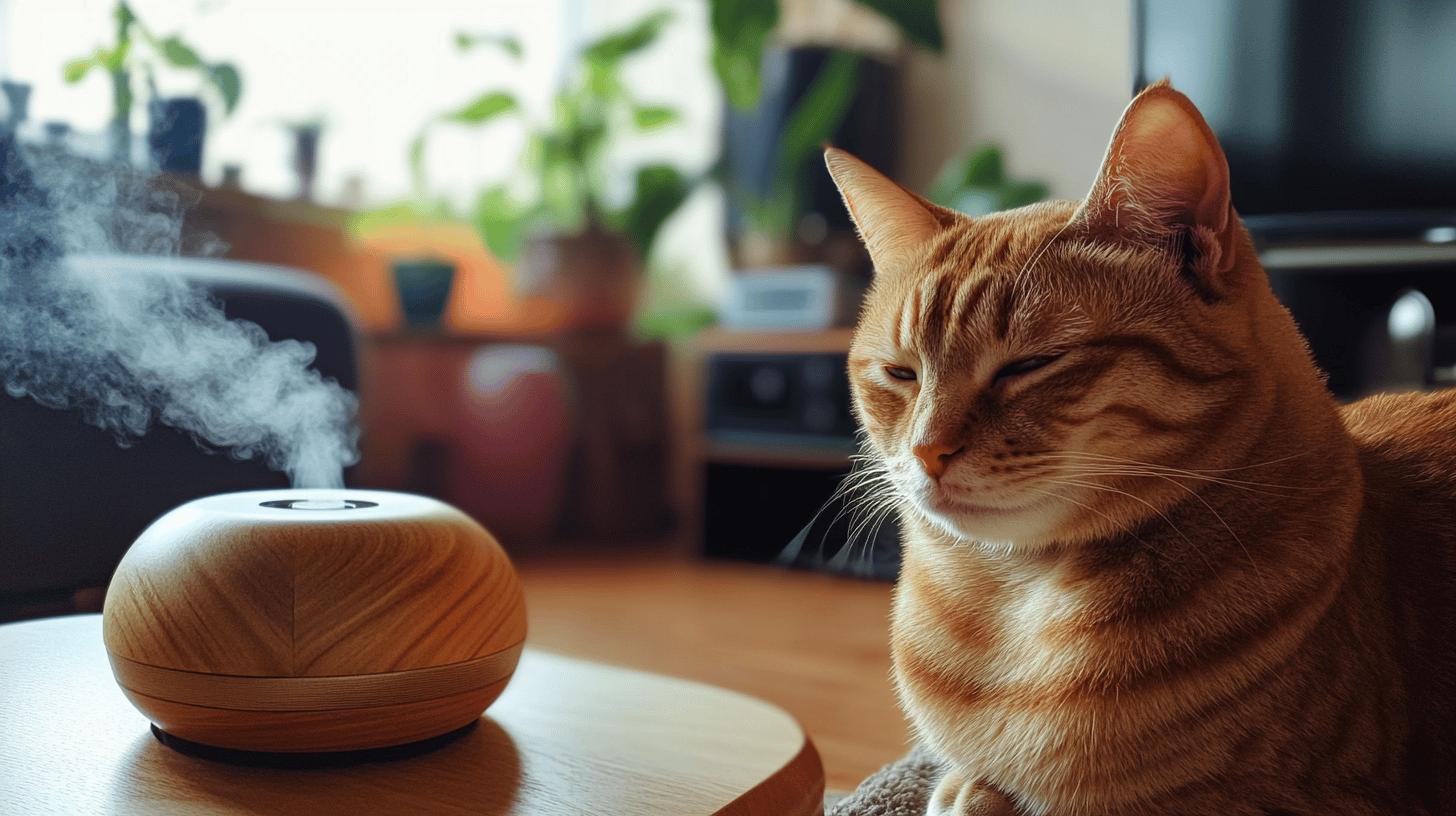
- Plug in a pheromone diffuser nearby to keep calm vibes (like cat relaxing spray).
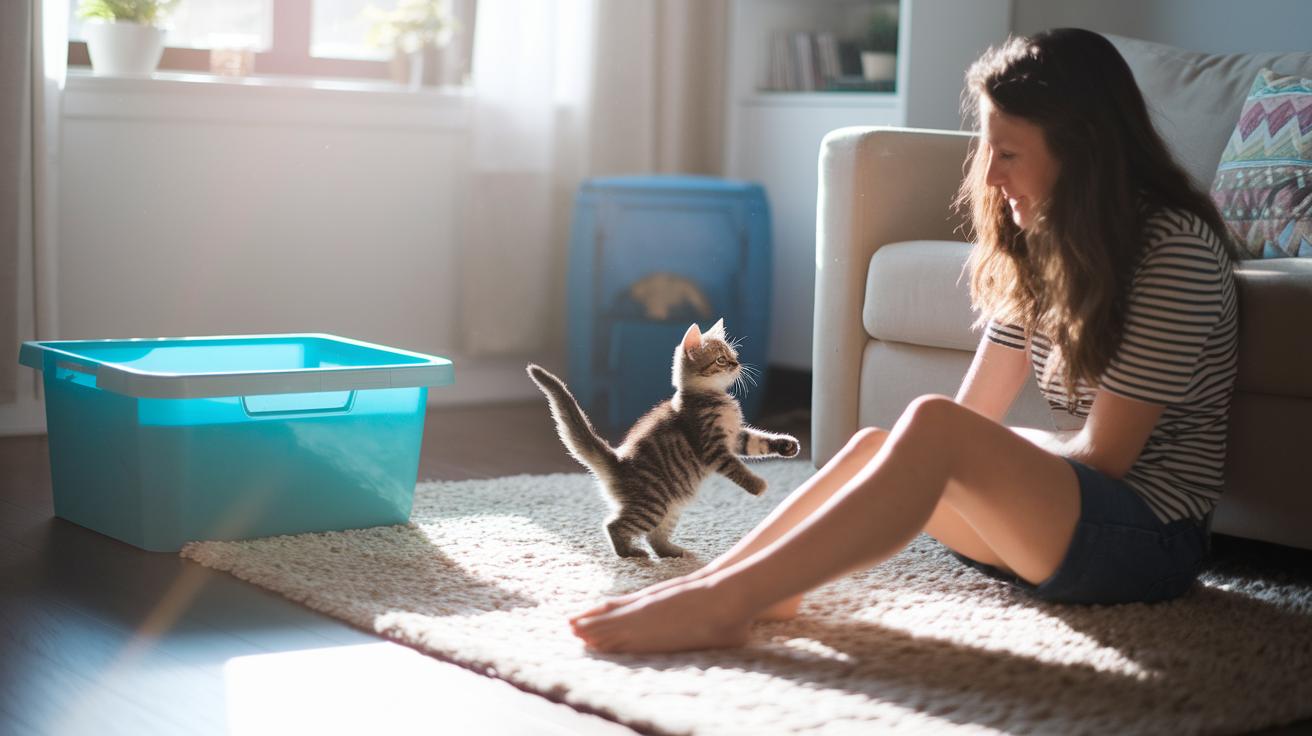
- Um, toss a favorite wand toy just outside so they wiggle in excitement.
These tiny touches turn the litter spot into a cozy corner, so no one’s left holding it in.
Final Words
in the action: consider one box per cat plus one extra, spread out in quiet spots. Pick sizes and styles that suit each cat. Choose clumping, unscented litter at 2–3 inches deep. Scoop daily and watch for warning signs.
This simple setup keeps multi-cat homes running smoothly. By following these tips, you’ll nail down how many litter boxes do I need for cats without guesswork. Your crew stays happy, stress-free, and your home stays fresh. Happy scooping!