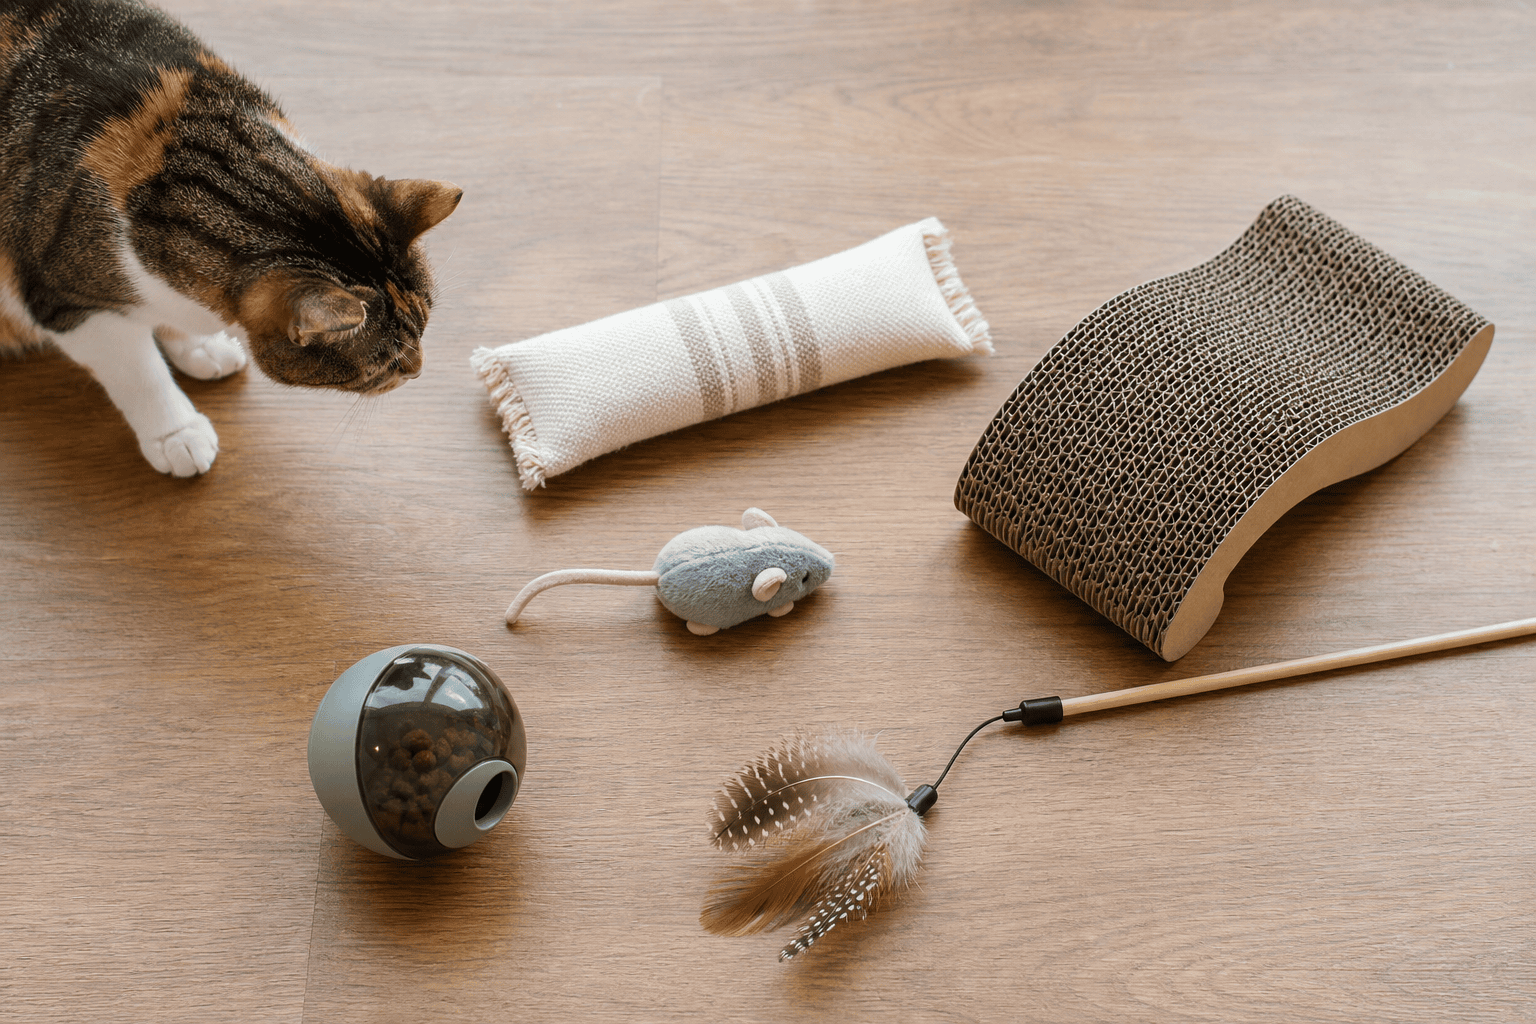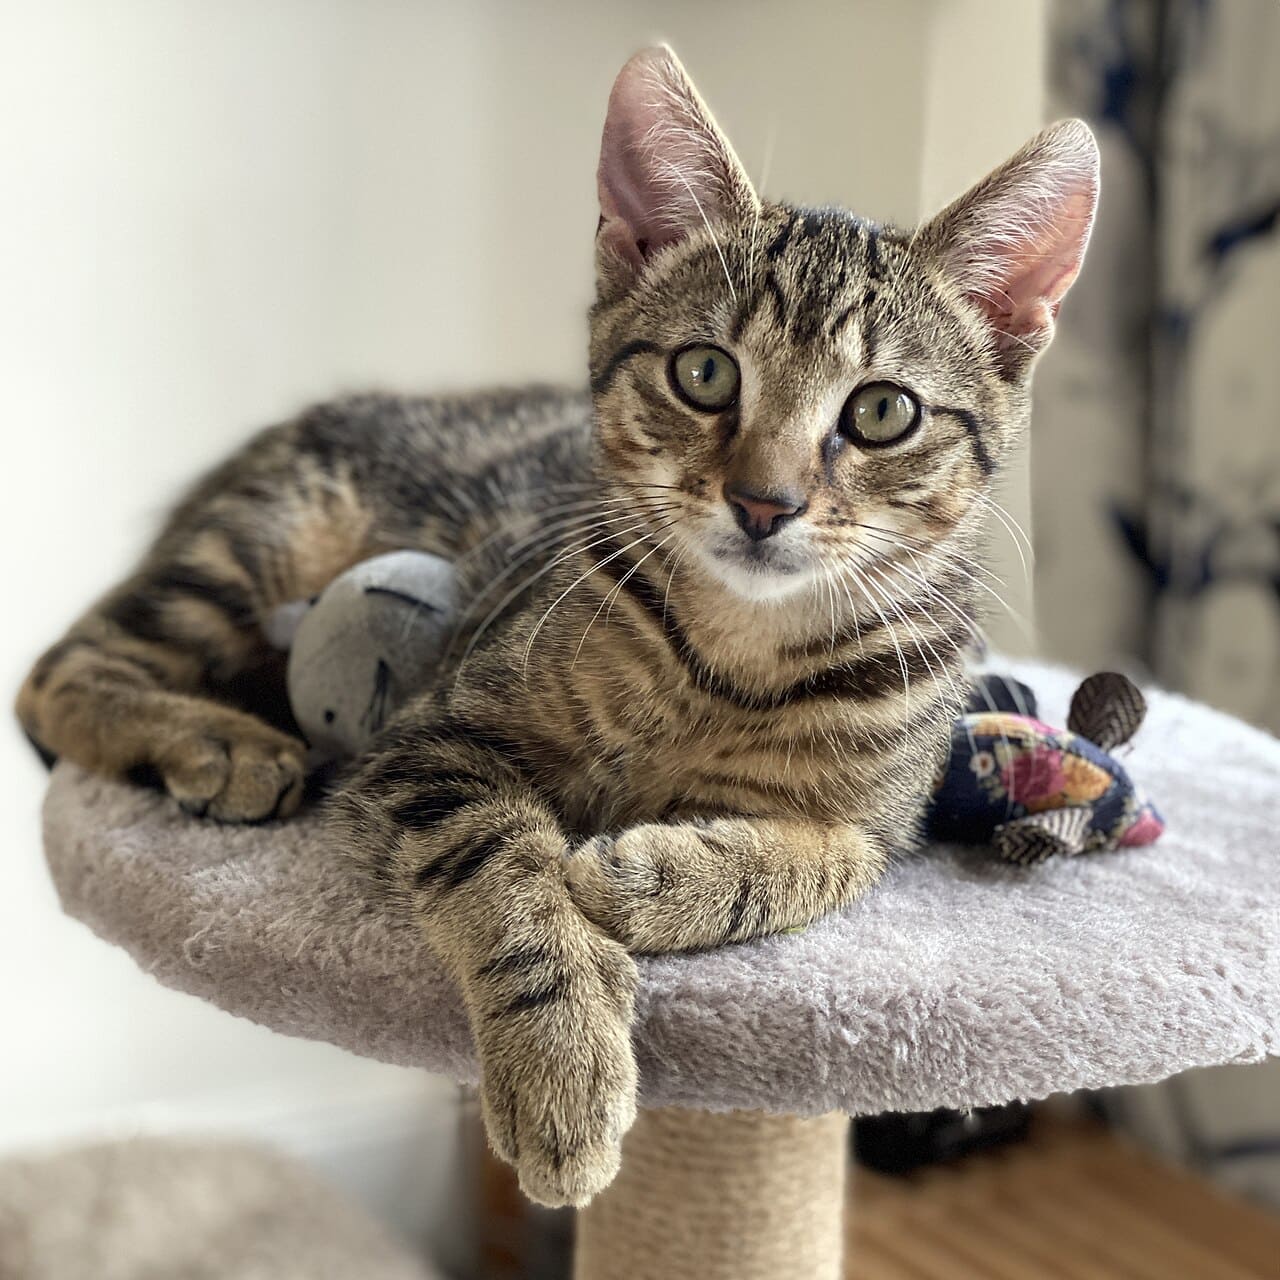
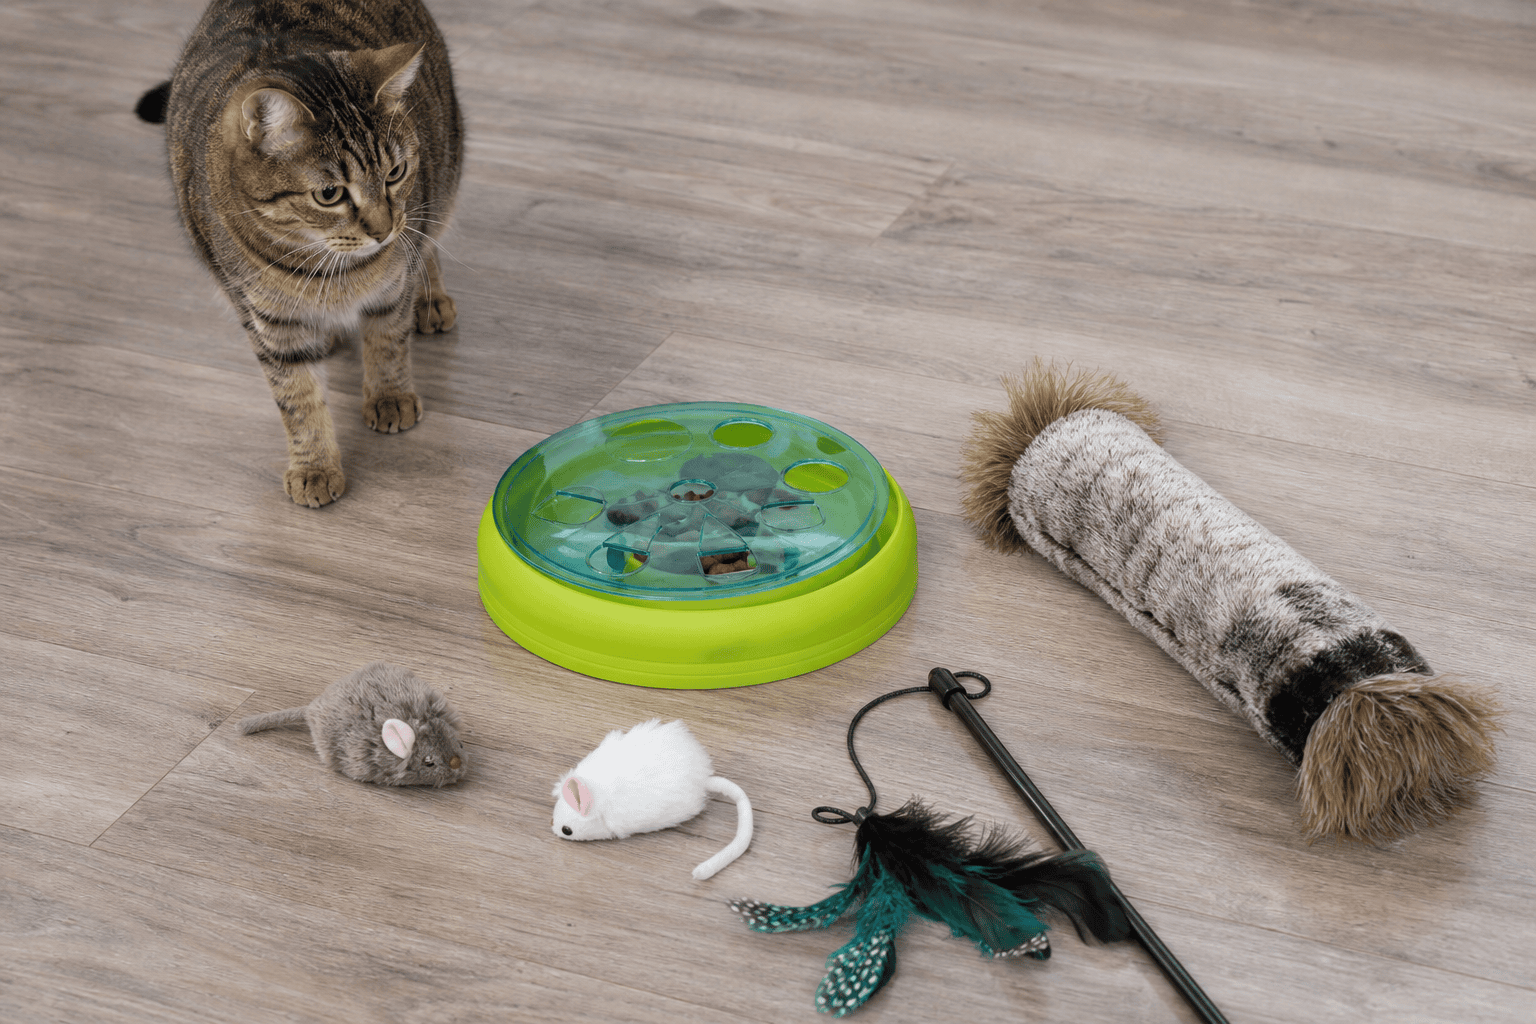
Good cat toys for hunting are not just toys that move. They help an indoor cat run through a safer version of the prey sequence: watch, stalk, chase, pounce, grab, bite, kick, and sometimes eat a treat afterward. The best setup usually combines a wand or teaser for active chase, a kicker or plush prey toy for the catch, and a puzzle or food toy for the final reward.
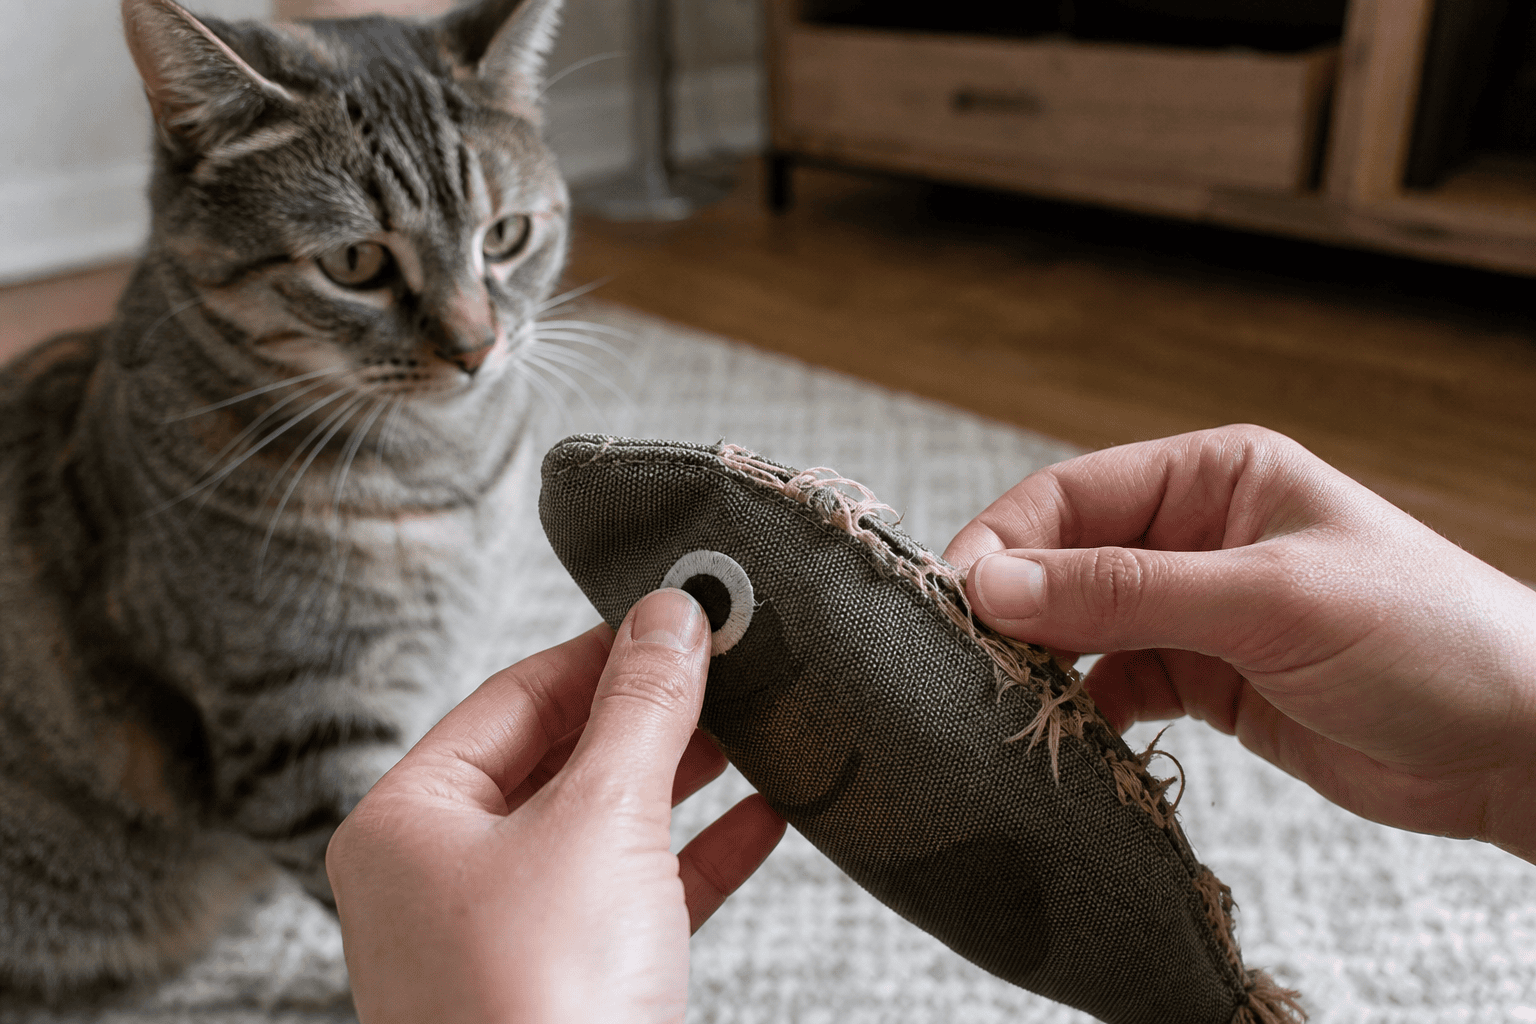
For Titan Claws readers, the durability question matters too. A cat with a strong hunting drive may hit toys with full claws, teeth, and bunny kicks. That does not mean you need to chase an impossible “indestructible” label. It means choosing toys that match the way your cat attacks, supervising higher-risk play, and replacing toys before seams, strings, bells, or stuffing become hazards.
What hunting-style play should actually do
A hunting toy should give your cat a job. It should move away from the cat like prey, pause long enough for stalking, then offer a clean capture. That capture matters. VCA Animal Hospitals notes that predatory games should use toys the cat can eventually catch and “kill,” not human hands or feet. The AAFP and ISFM environmental needs guidelines also recommend play that mimics flying or ground prey, lets the cat capture the toy, and uses toy rotation to prevent boredom.
That is where many generic toy lists fall short. They name feather wands, toy mice, lasers, and electronic toys, but they rarely explain how to combine them into a routine that satisfies a cat instead of winding the cat up. A laser that never turns into a physical catch can frustrate some cats. A wand toy left on the floor can become a string-ingestion risk. A plush mouse may be perfect for one cat and too small for another cat that swallows loose parts.
The best cat toys for hunting by prey style
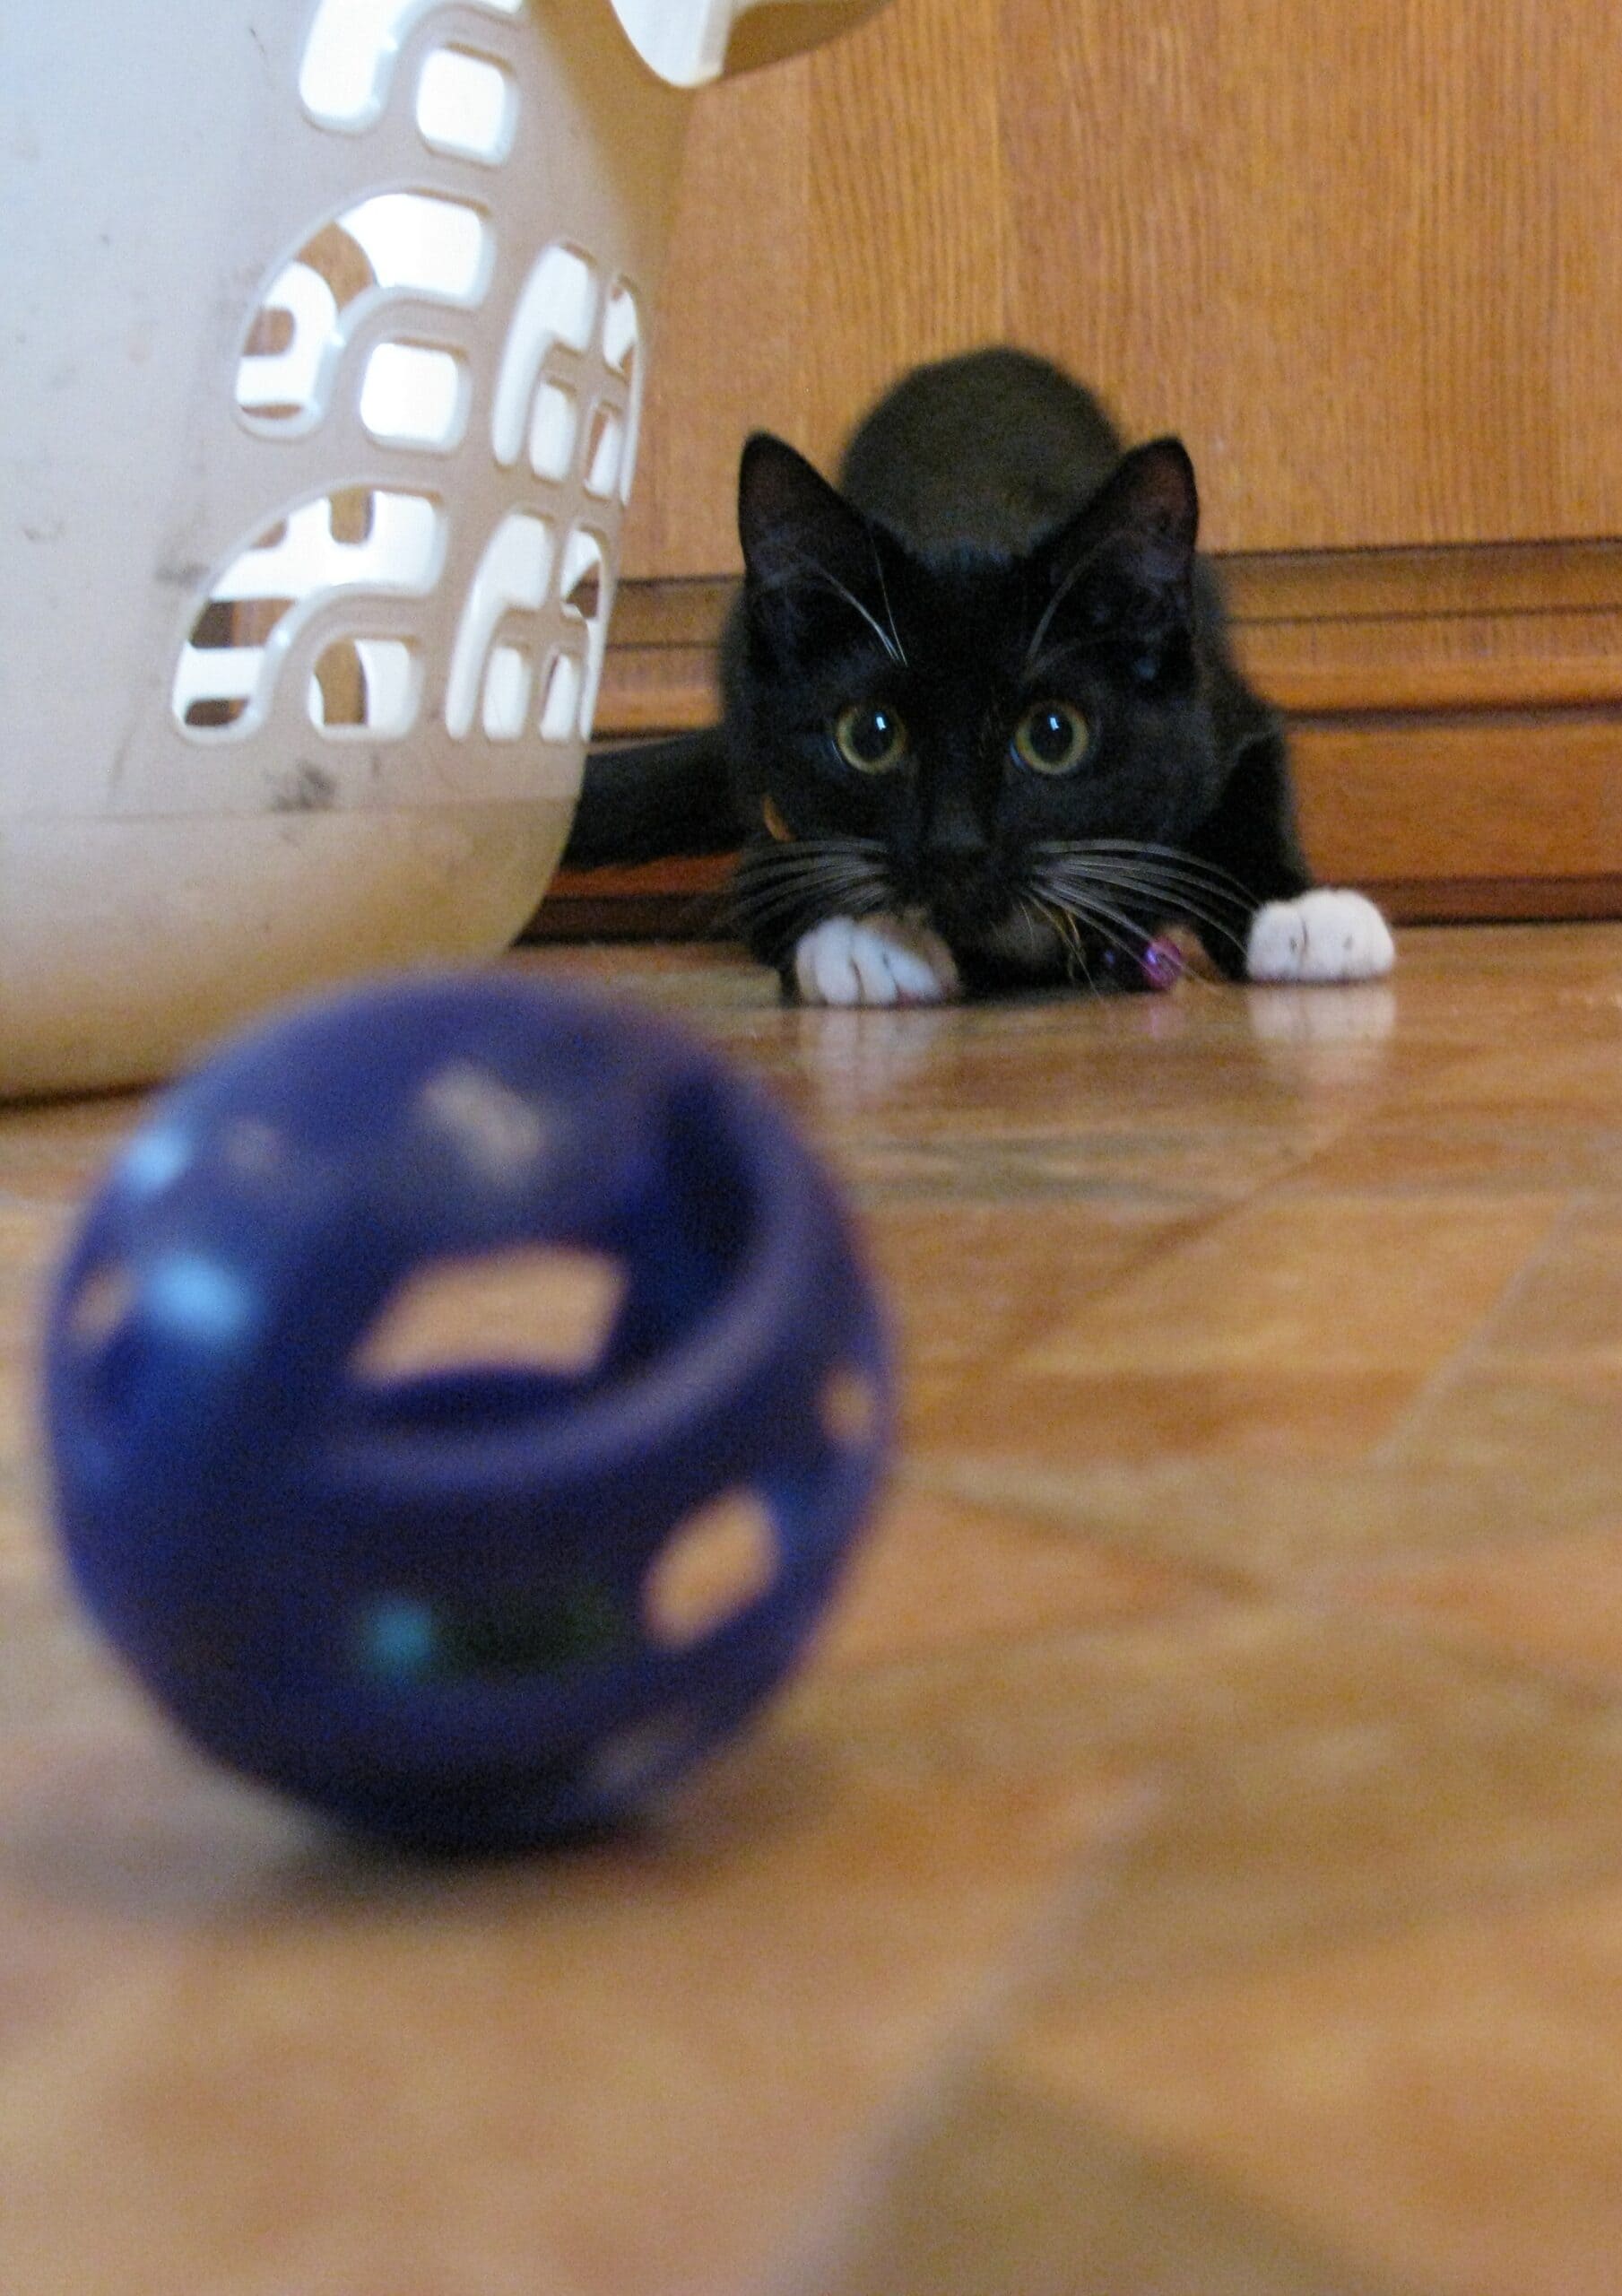
Start by watching what your cat naturally targets. A cat that launches upward at feathers wants different play than a cat that crouches behind furniture and ambushes ground movement.
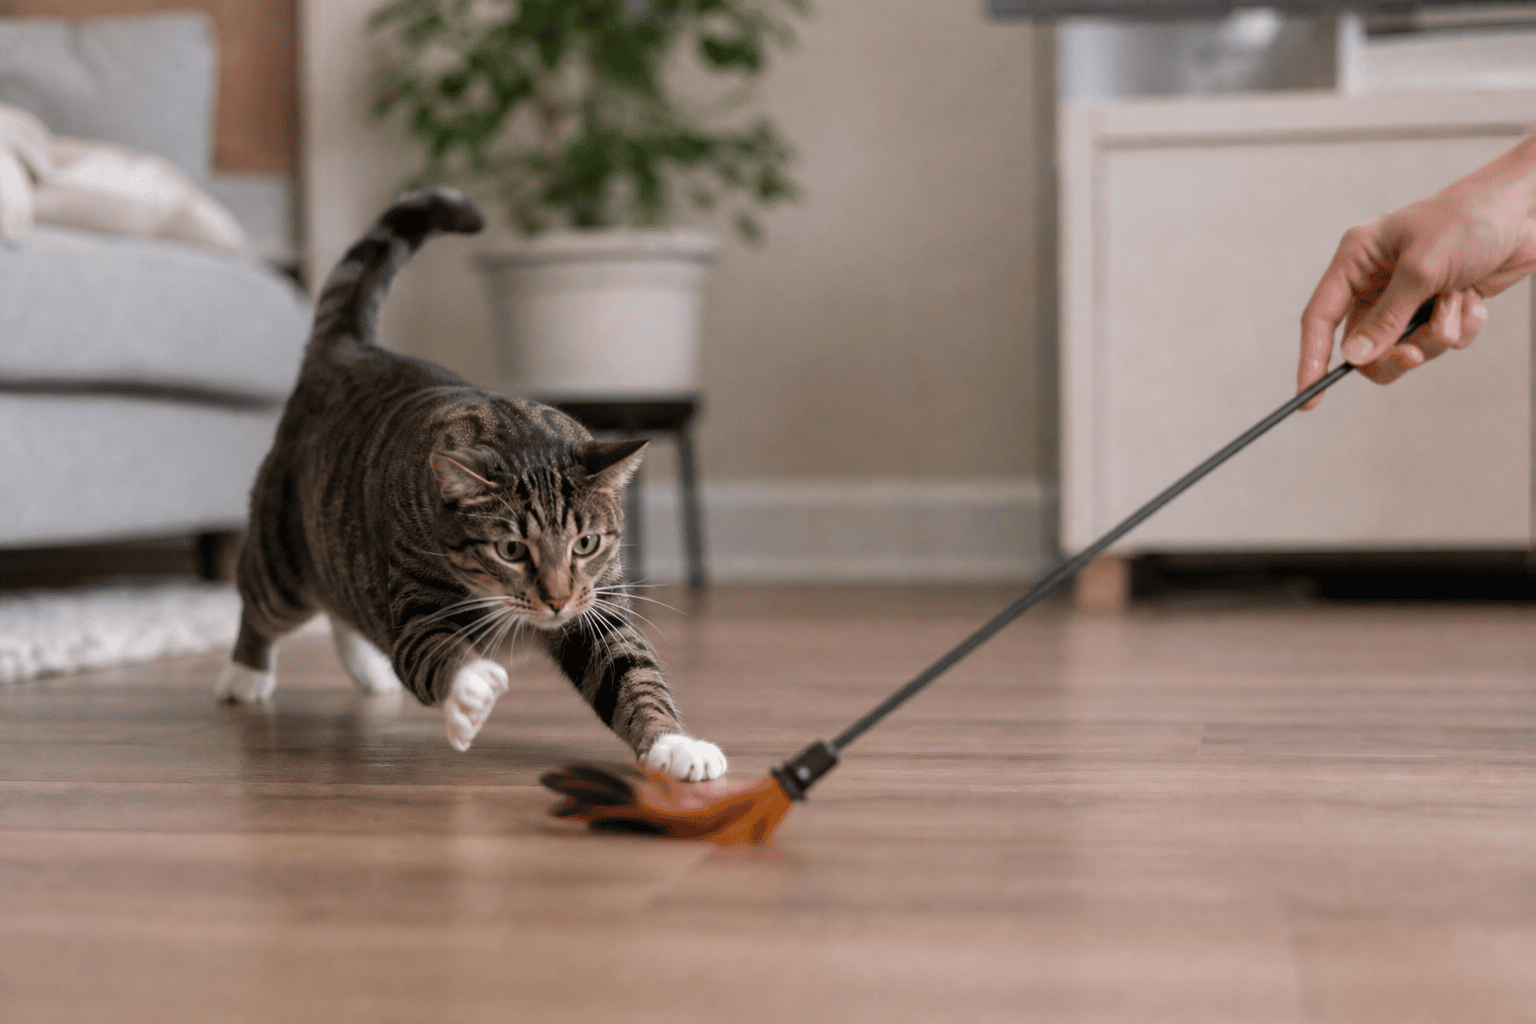
- Bird-style hunters: Use a supervised wand cat toy with controlled swoops, short flights, and landings. Avoid endless overhead circles that make the cat jump awkwardly or miss every time.
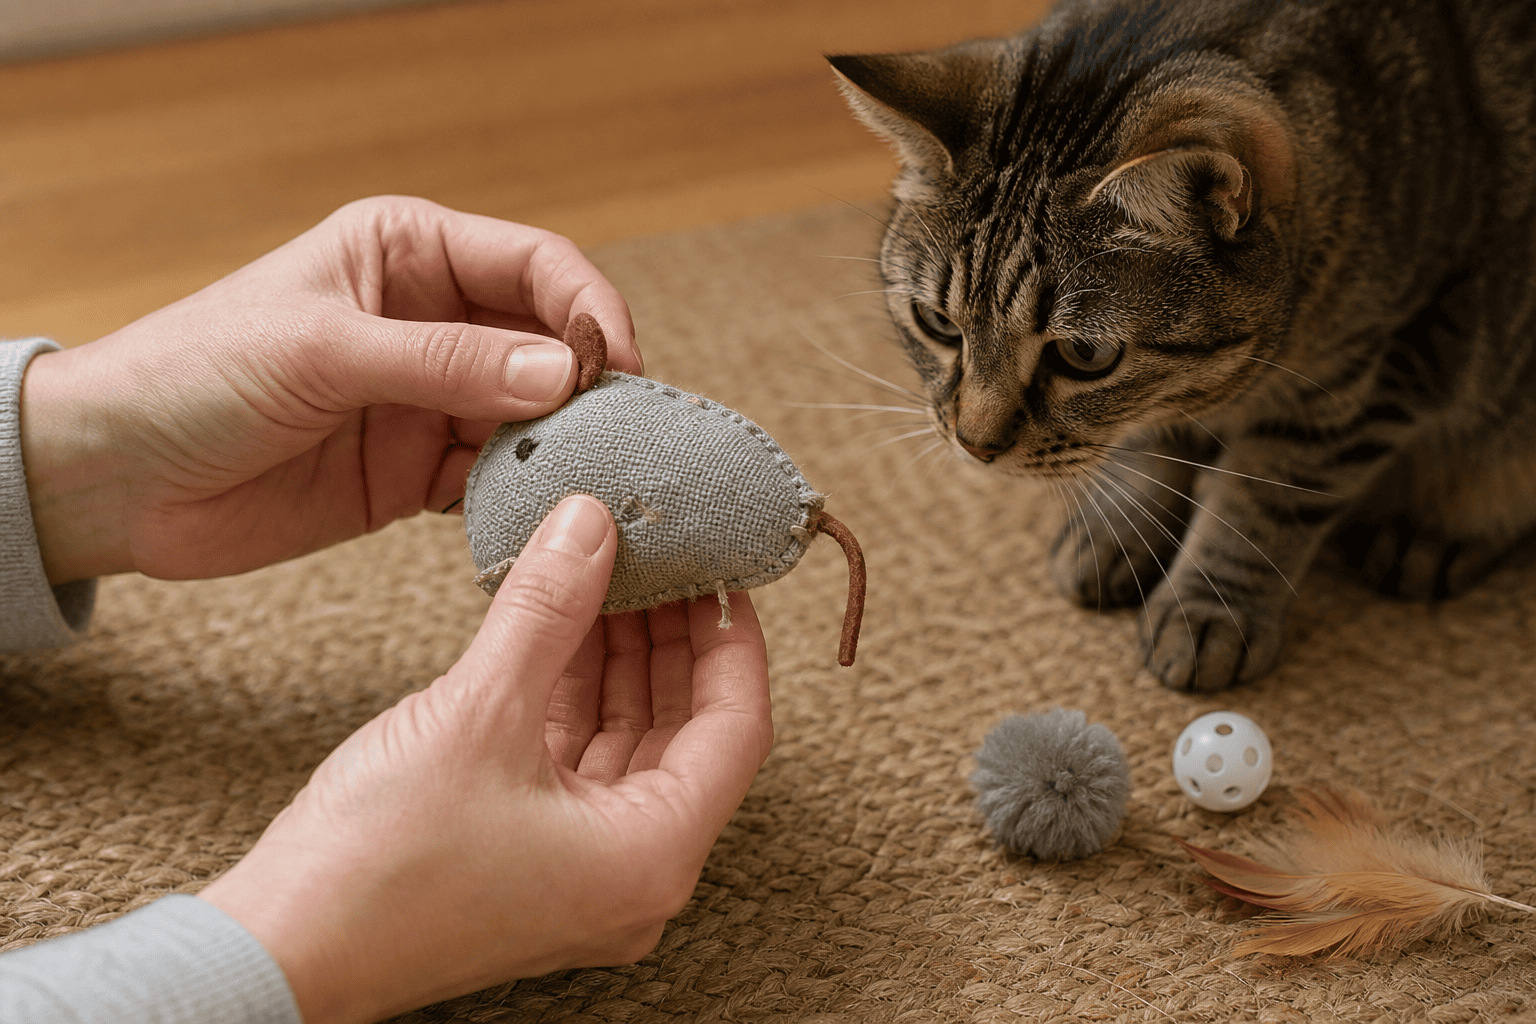
- Mouse-style hunters: Drag a lure along baseboards, around chair legs, or under the edge of a blanket. Let it freeze, twitch, and escape in short bursts.
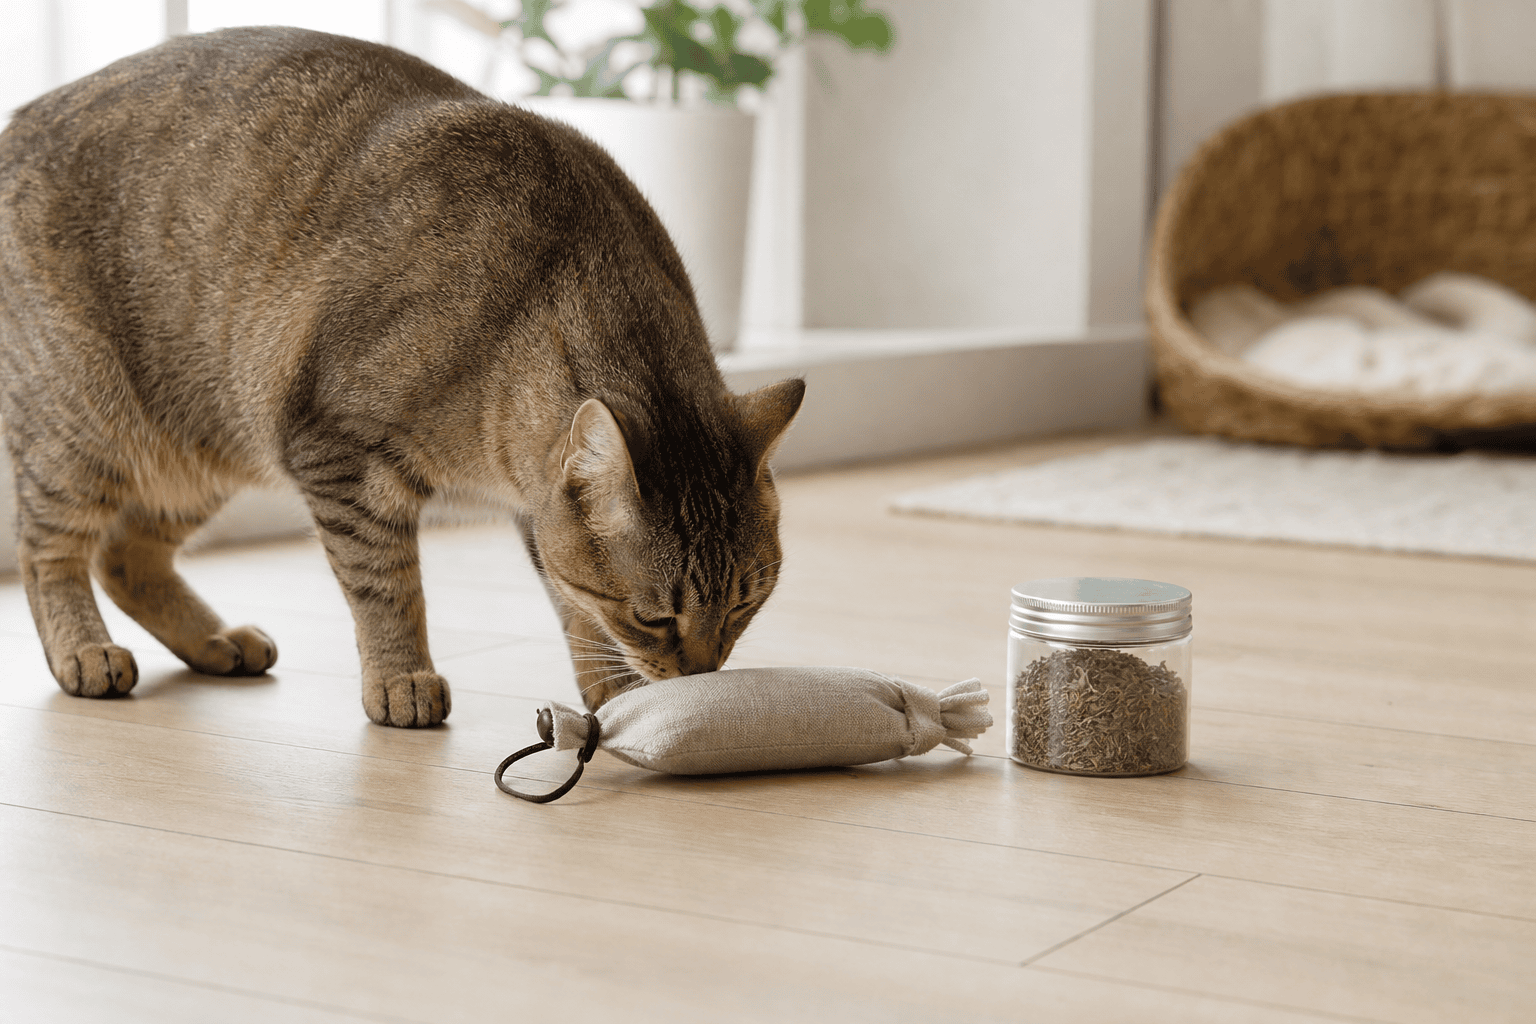
- Insect-style hunters: Try springy wire toys, small crinkle balls, or quick skittering movements. Our Cat Dancer toy guide covers that style in more detail.
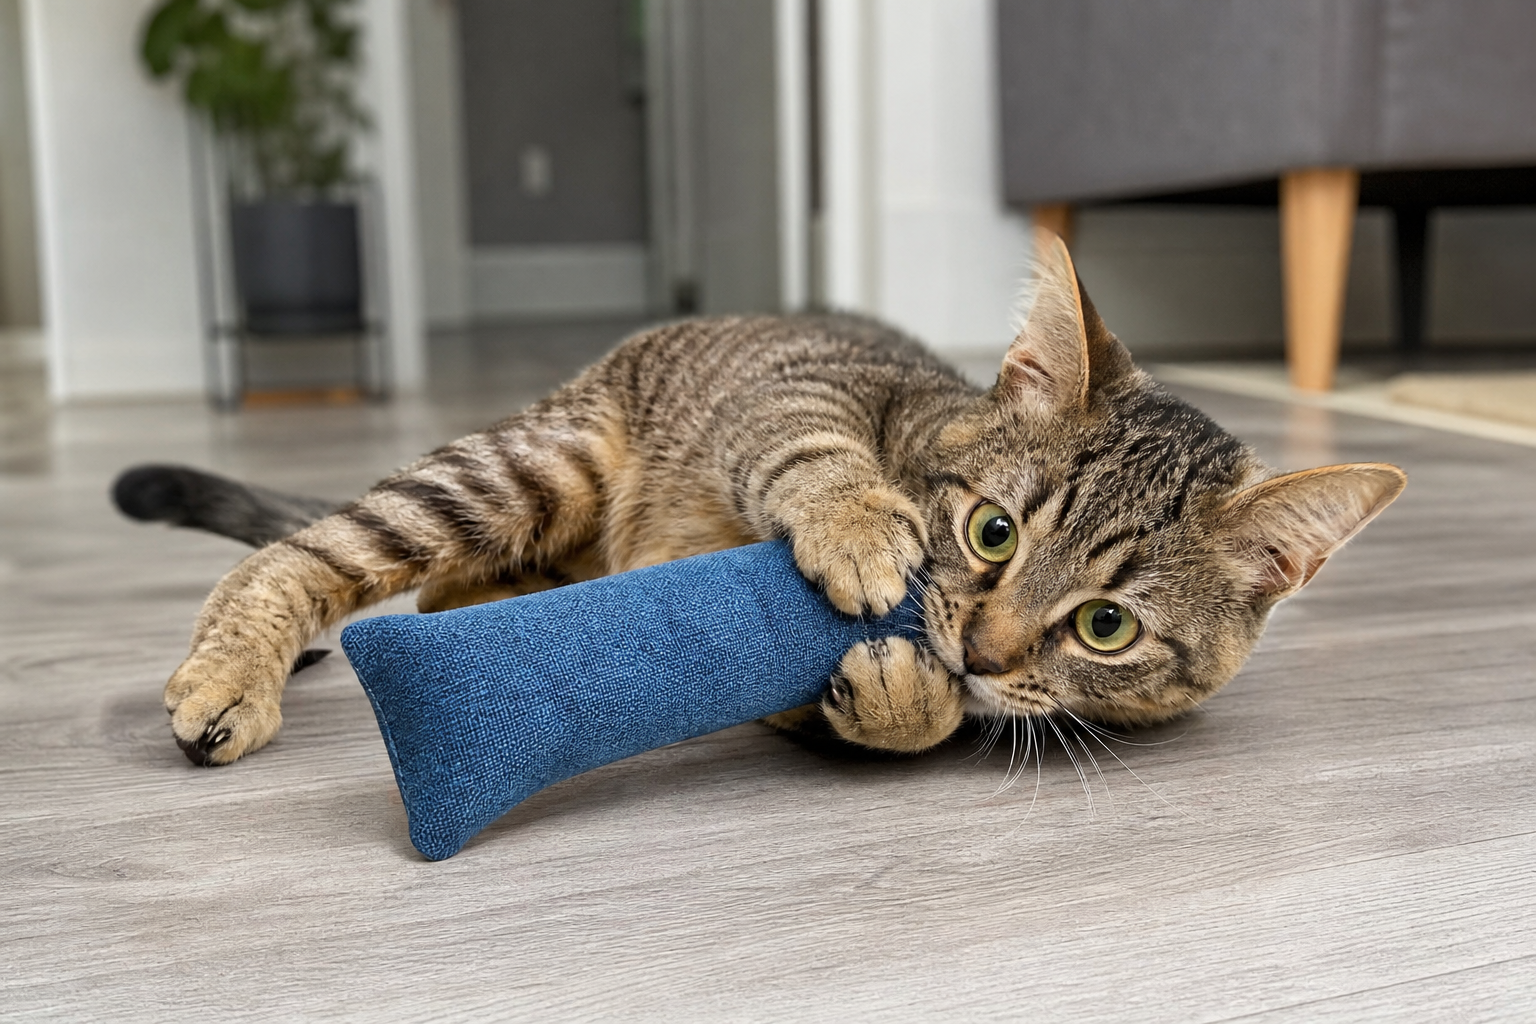
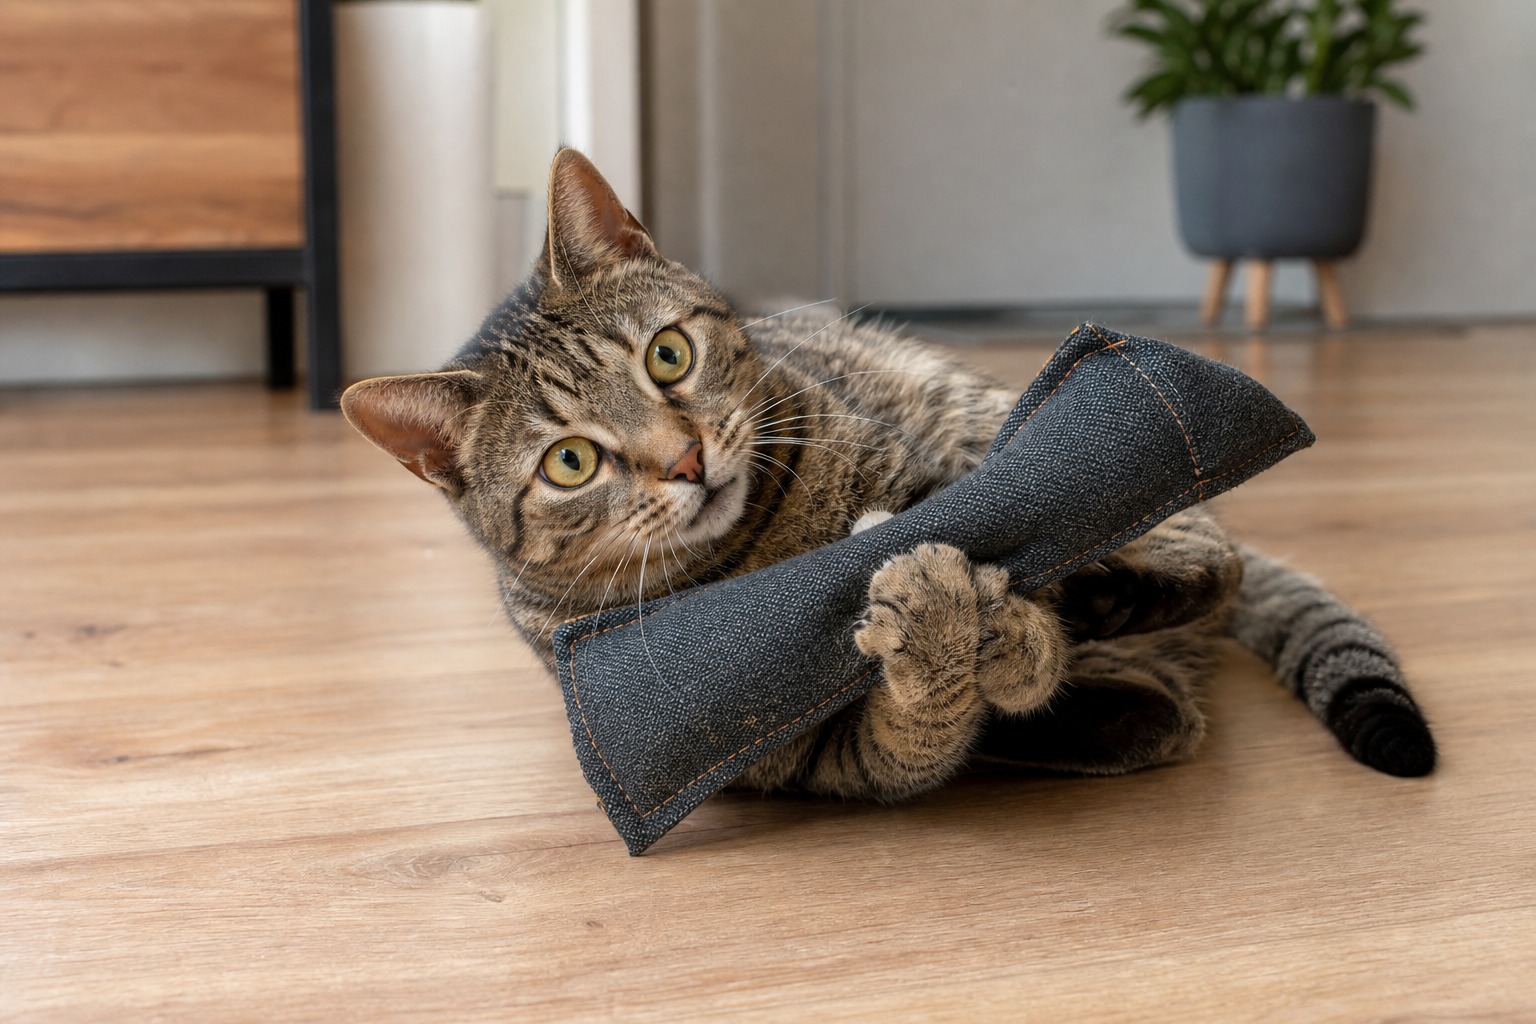
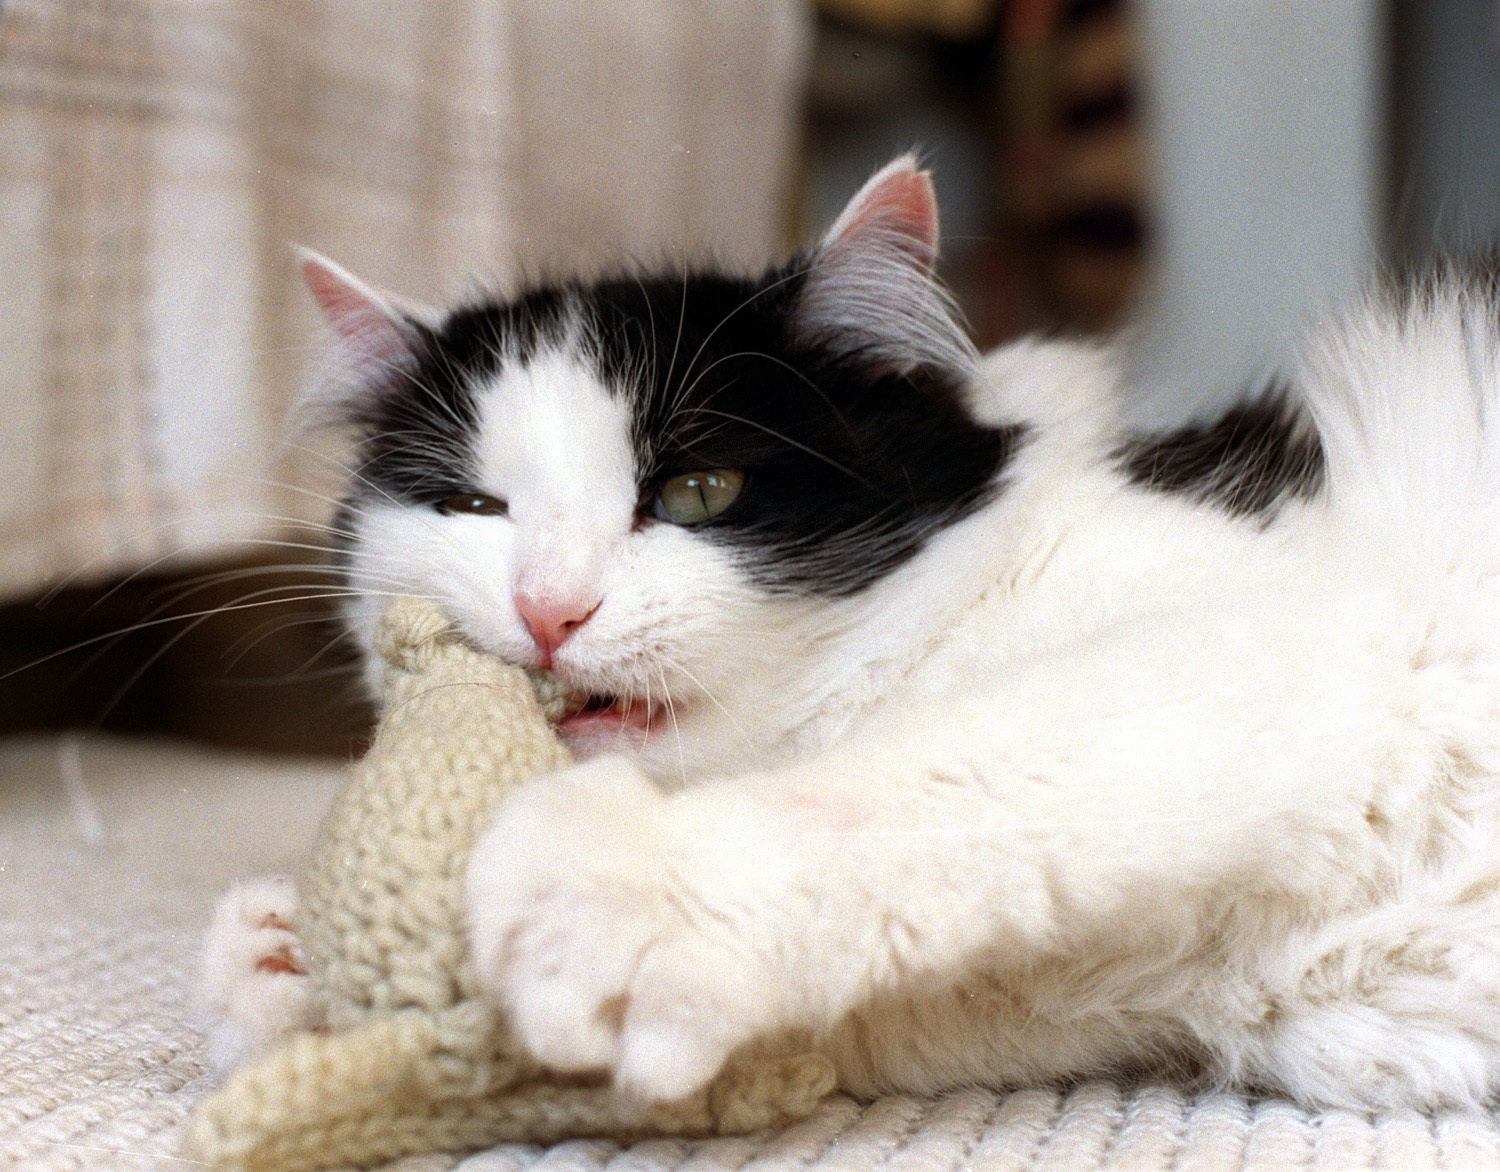
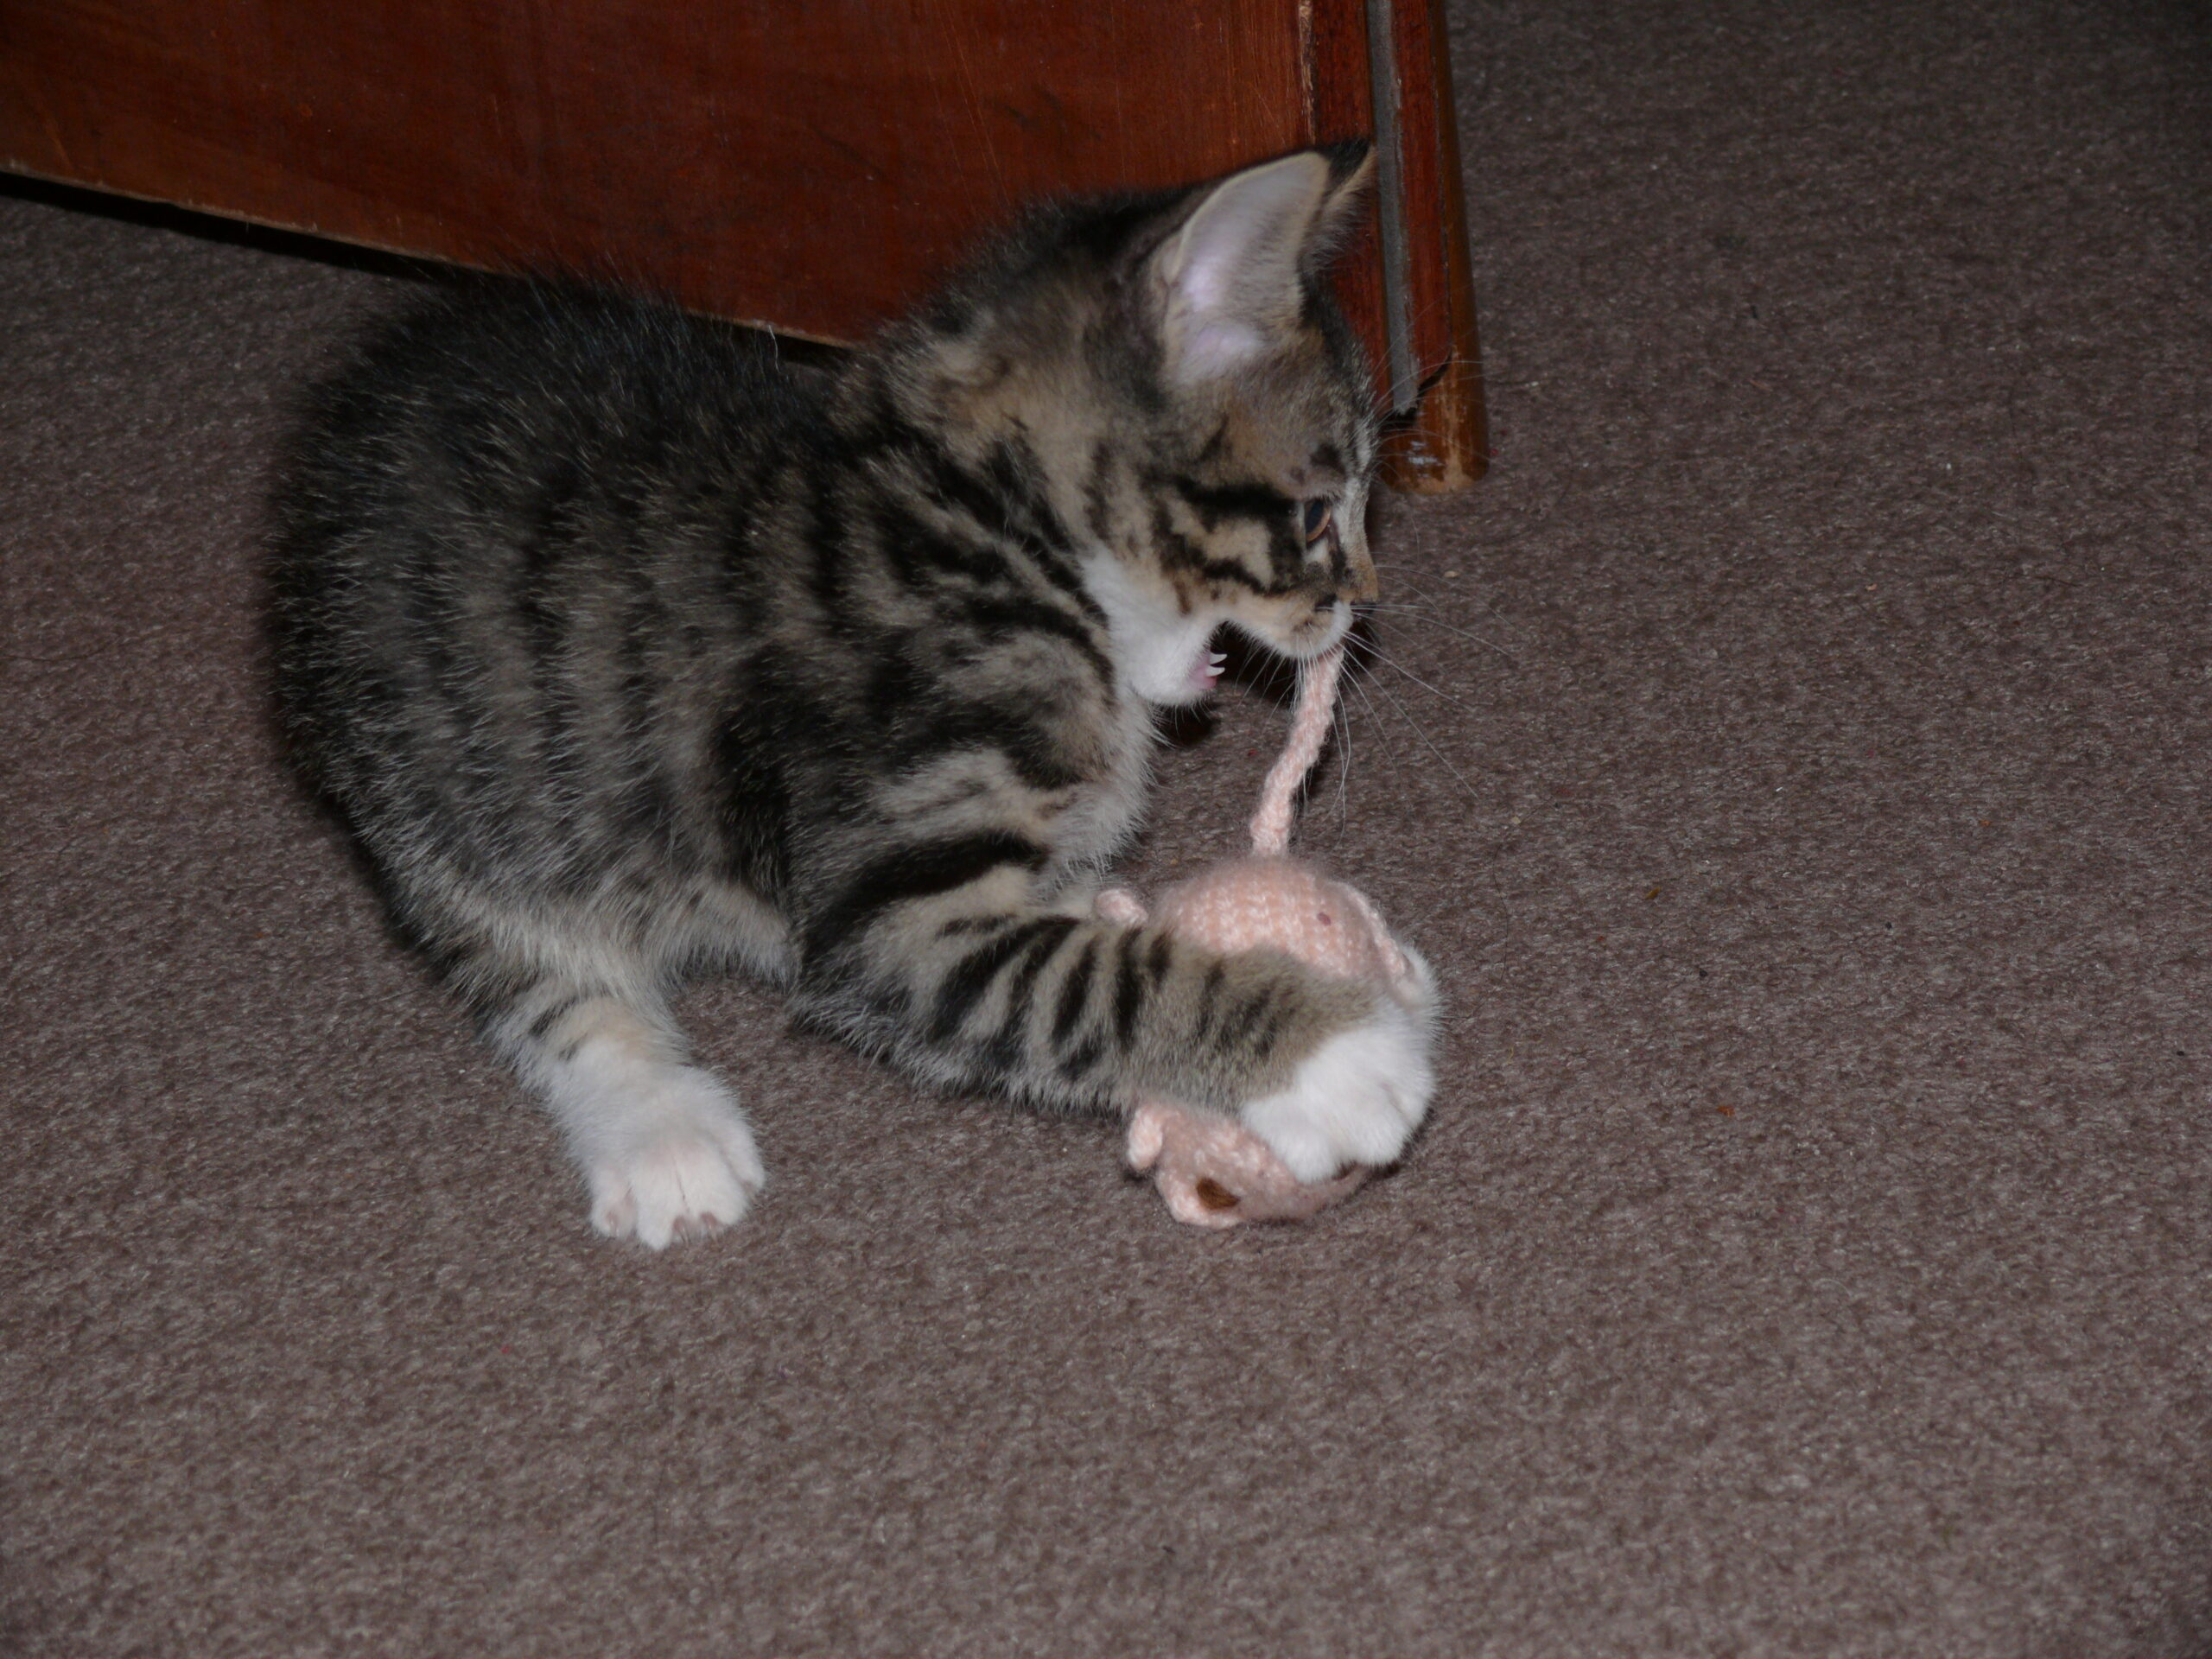
- Wrestlers and biters: Add a larger cat kicker toy so the cat has something long enough to grab with the front paws and kick with the back legs.
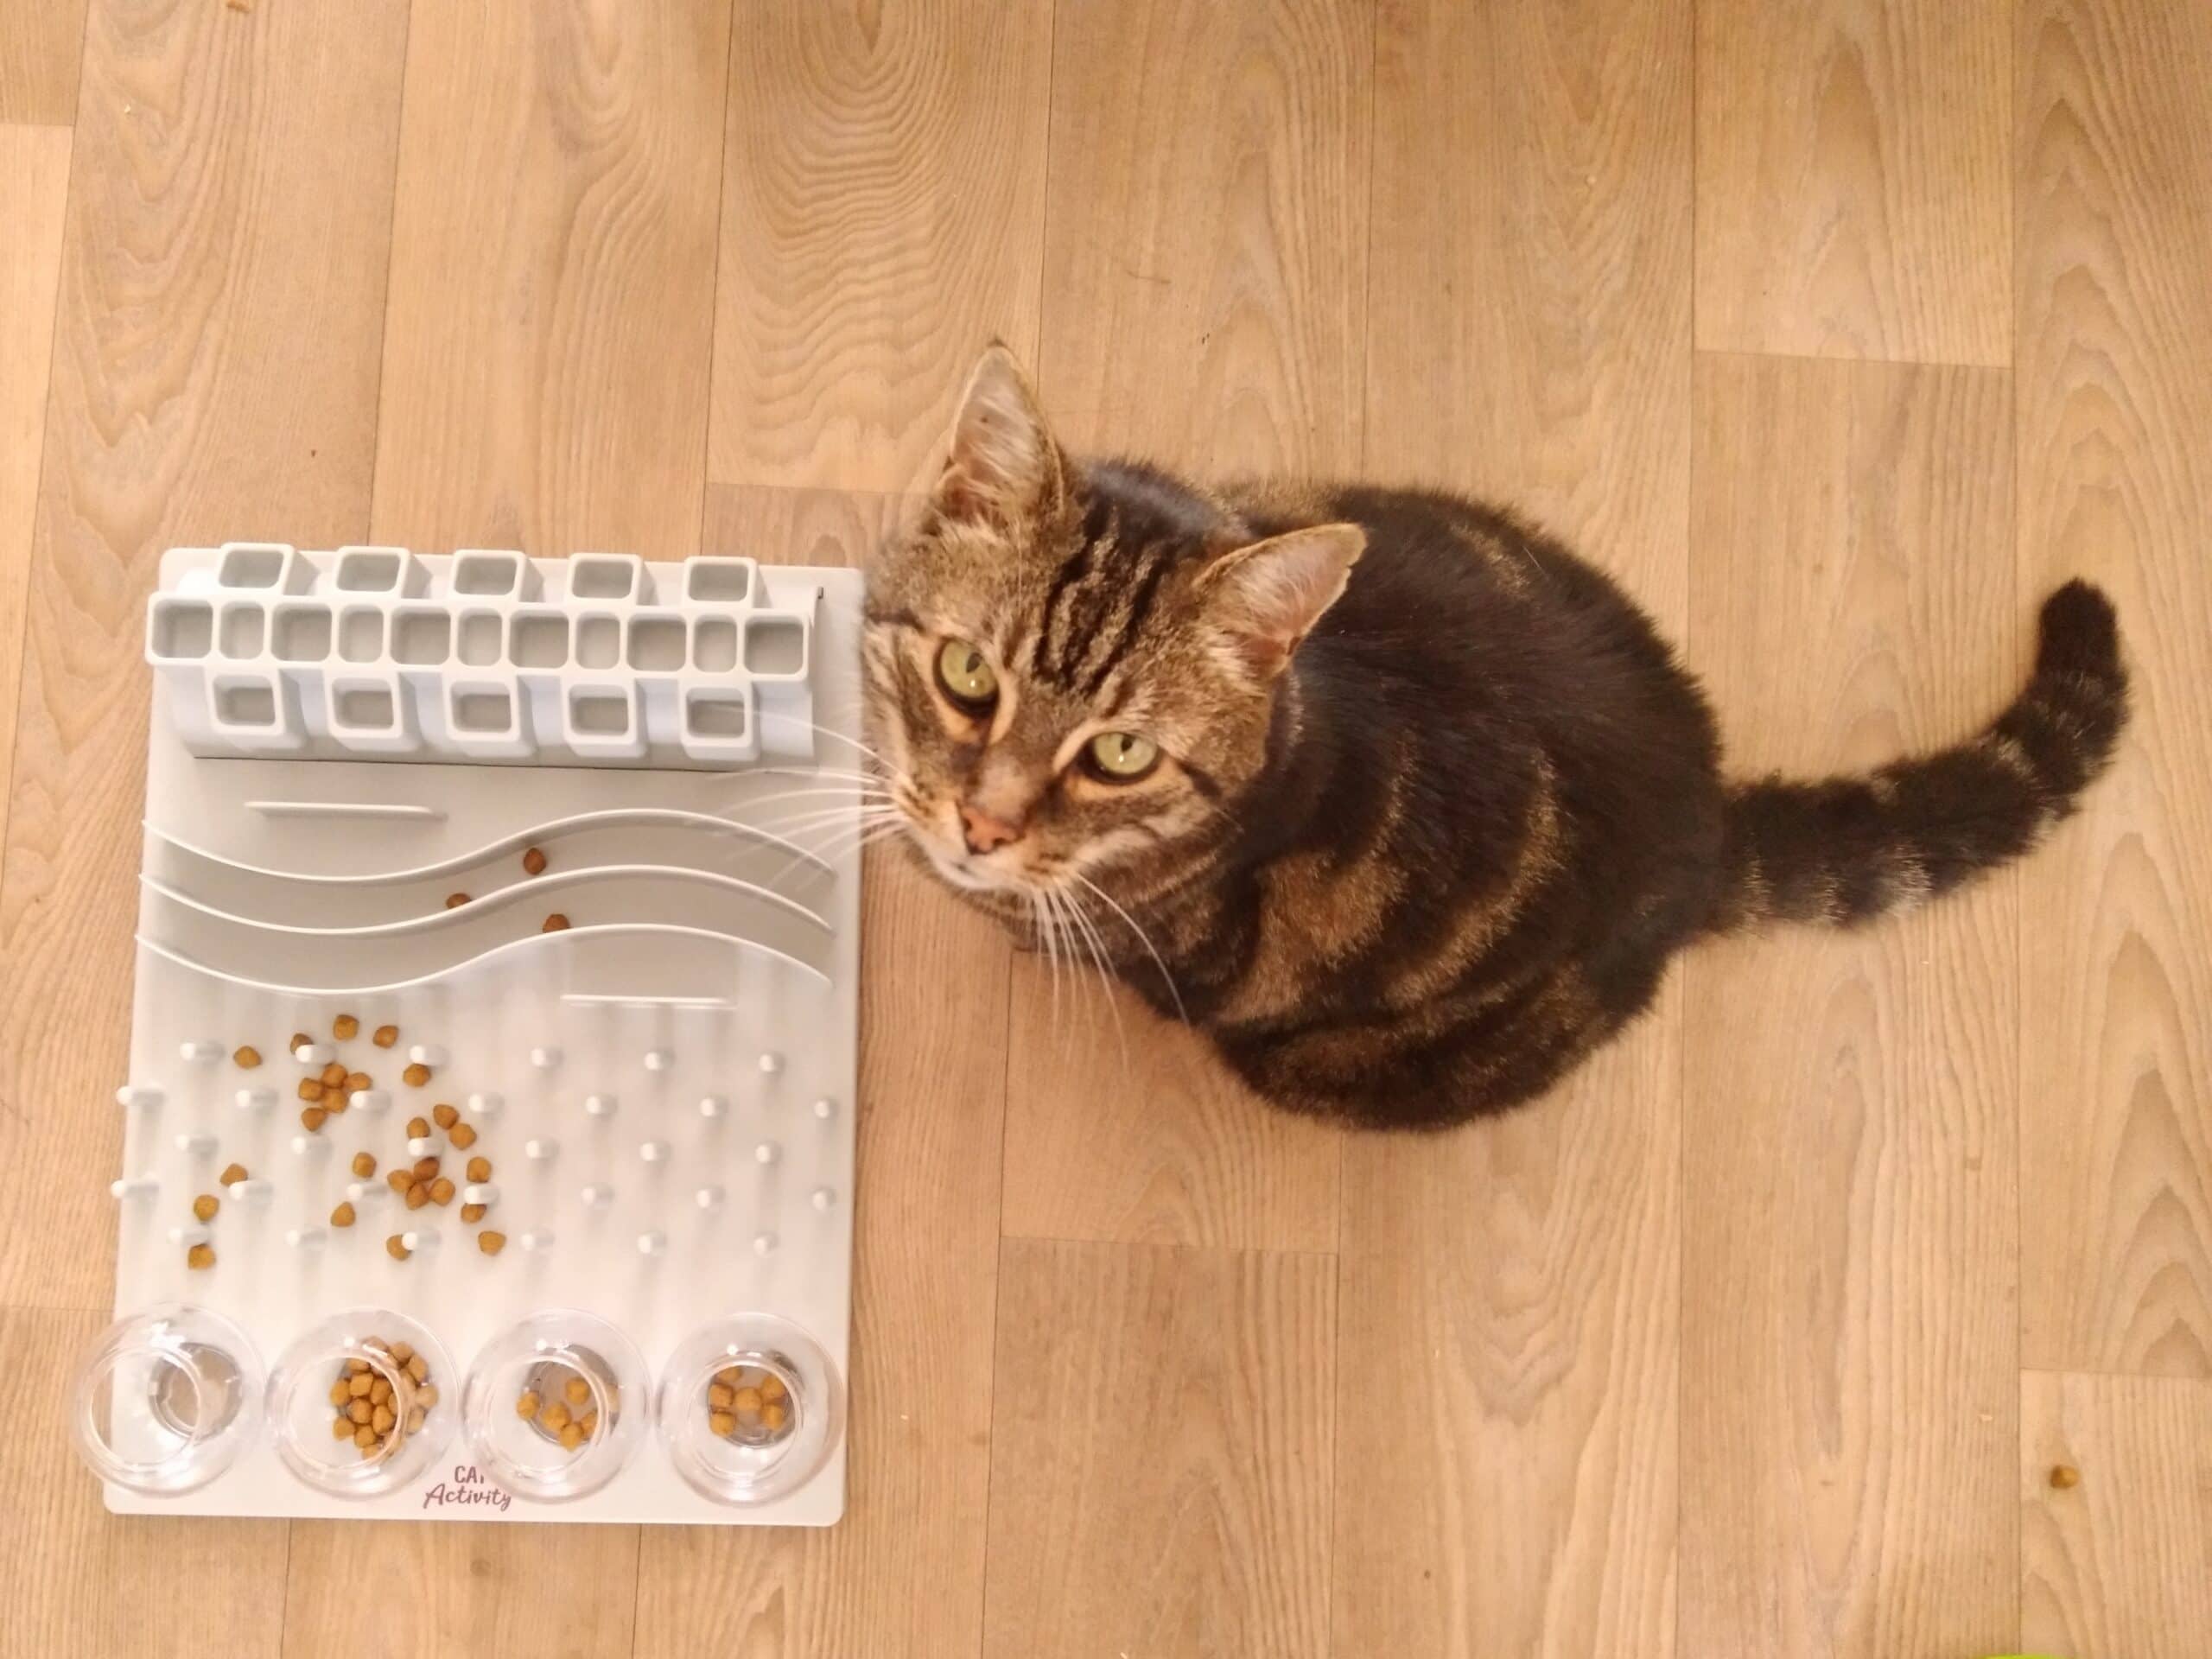
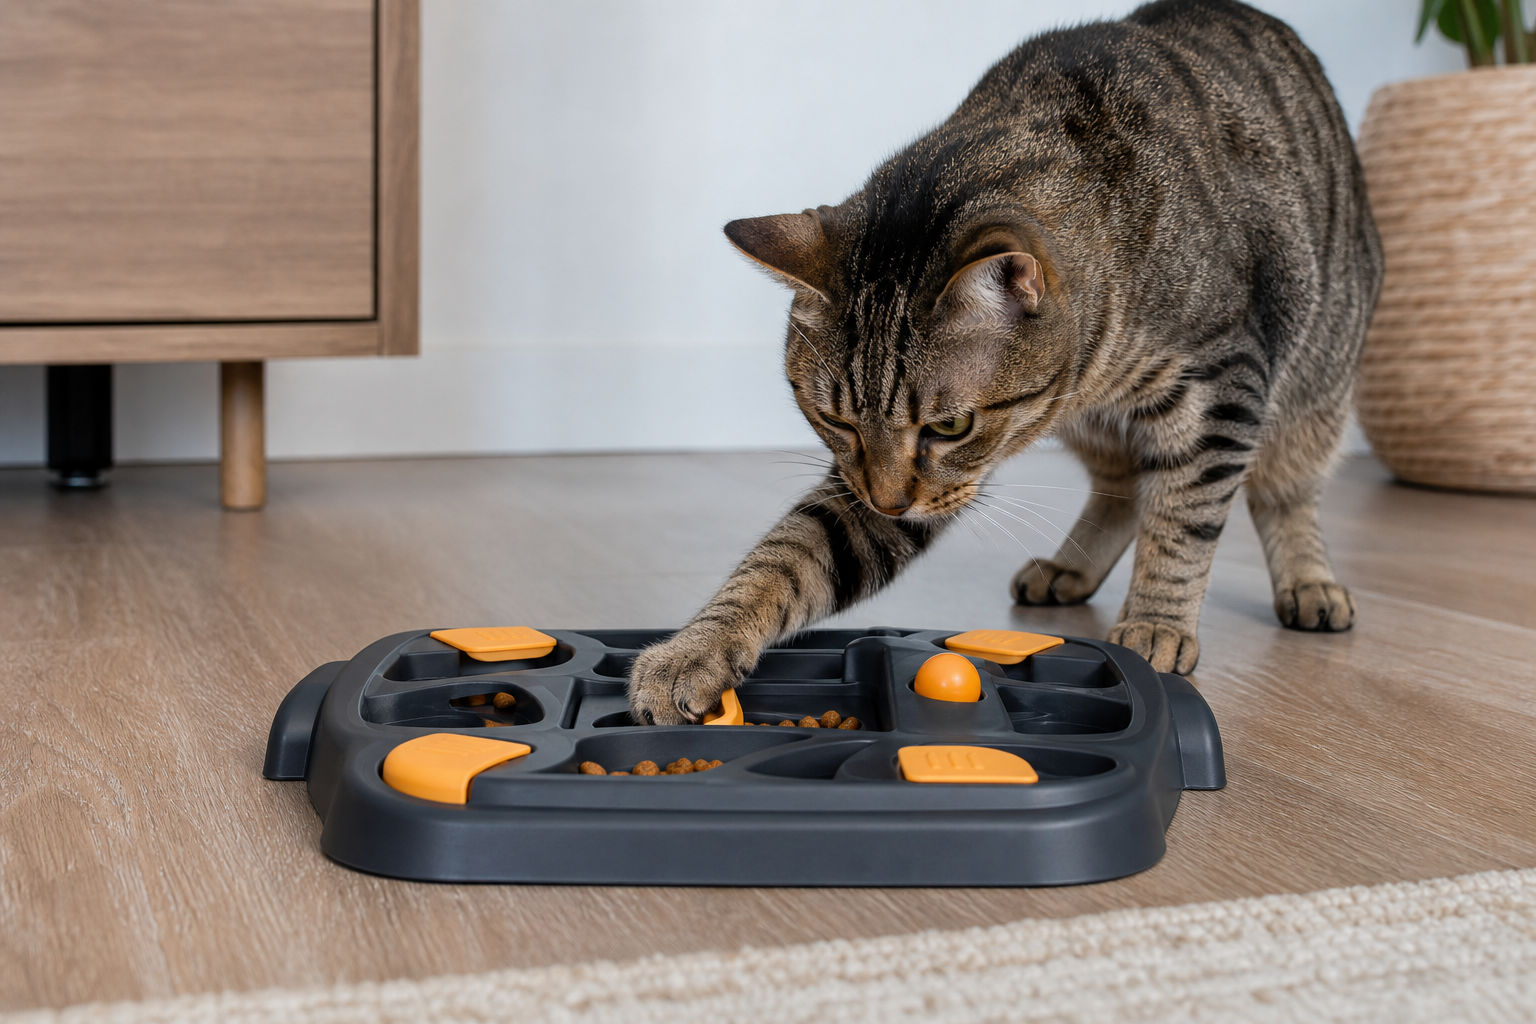
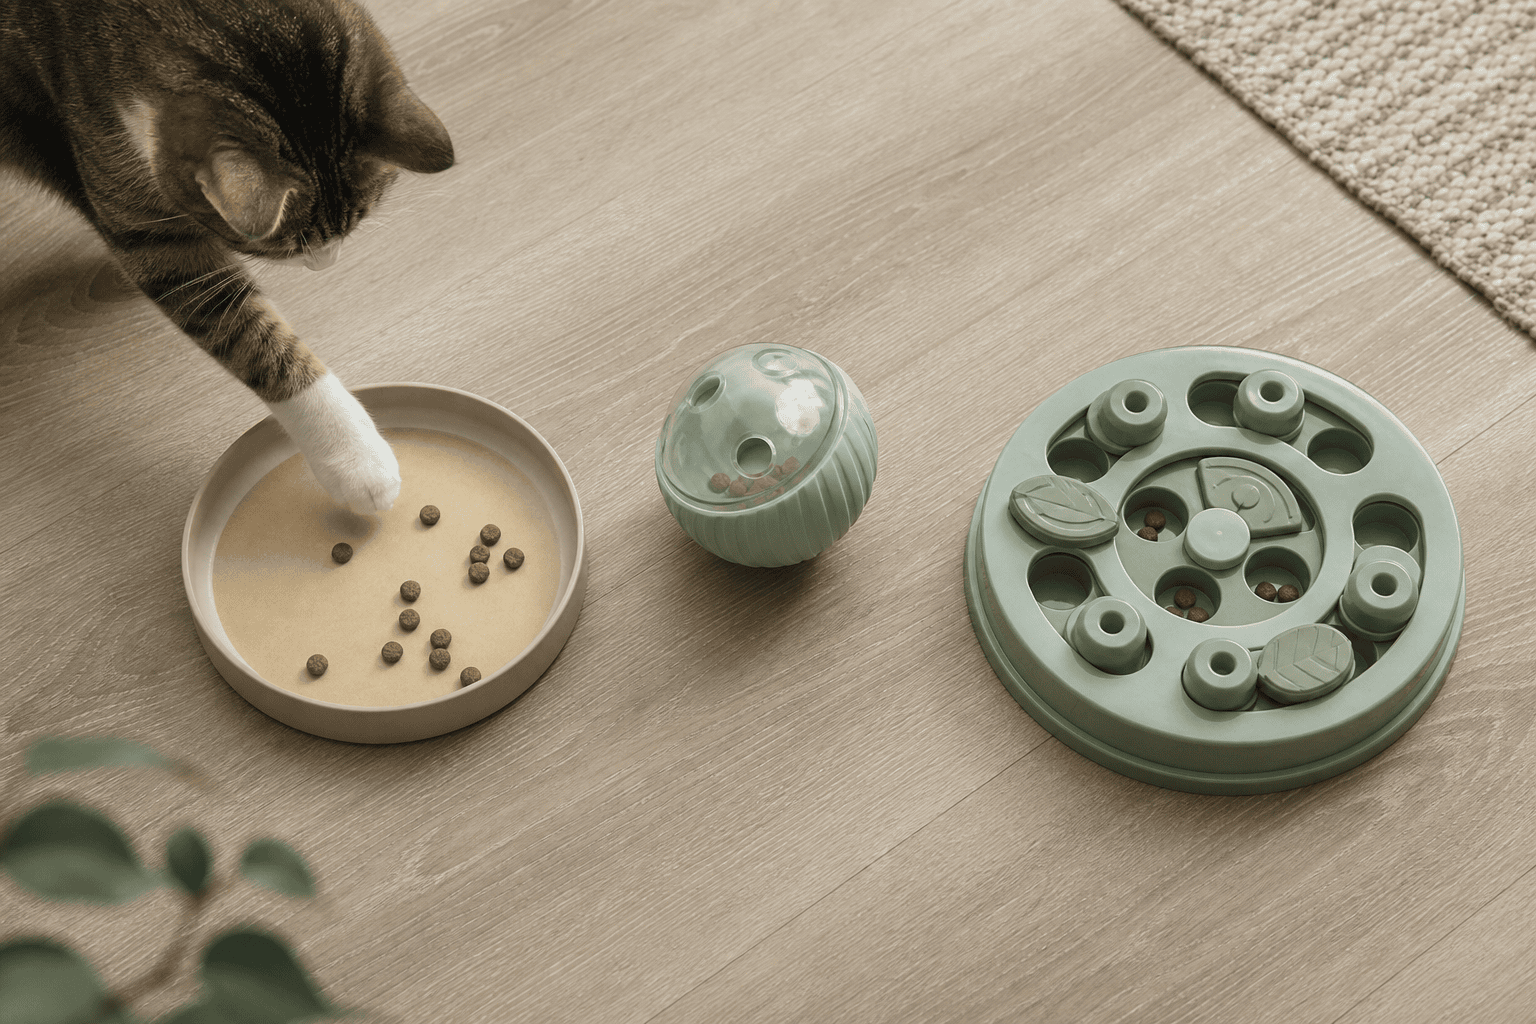
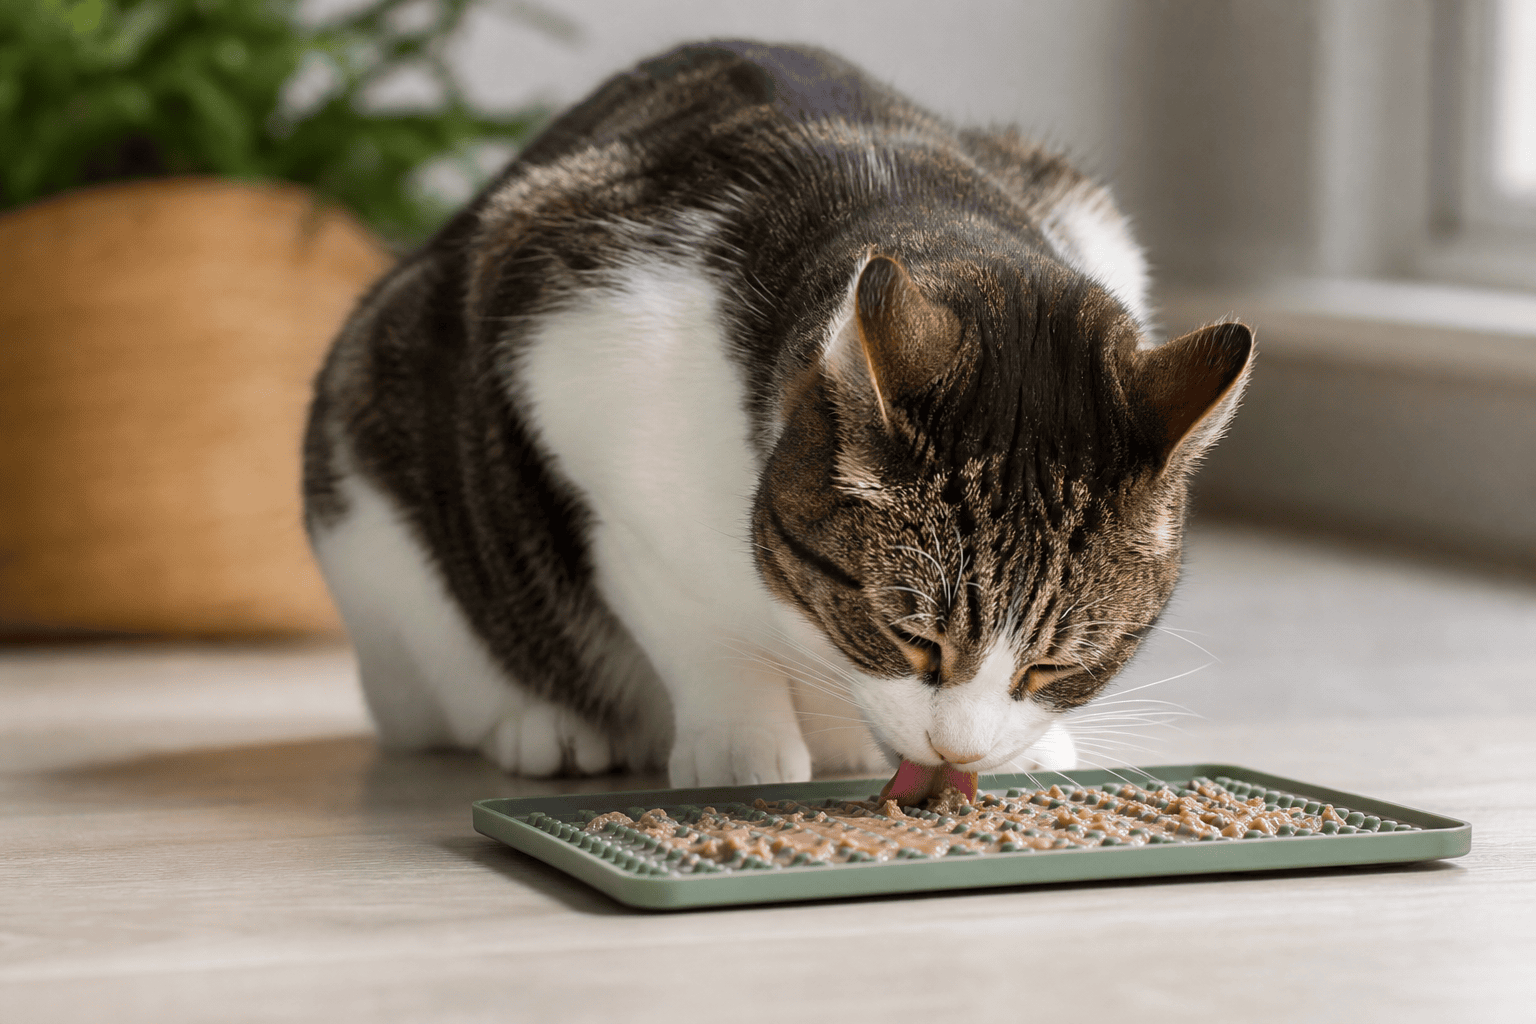
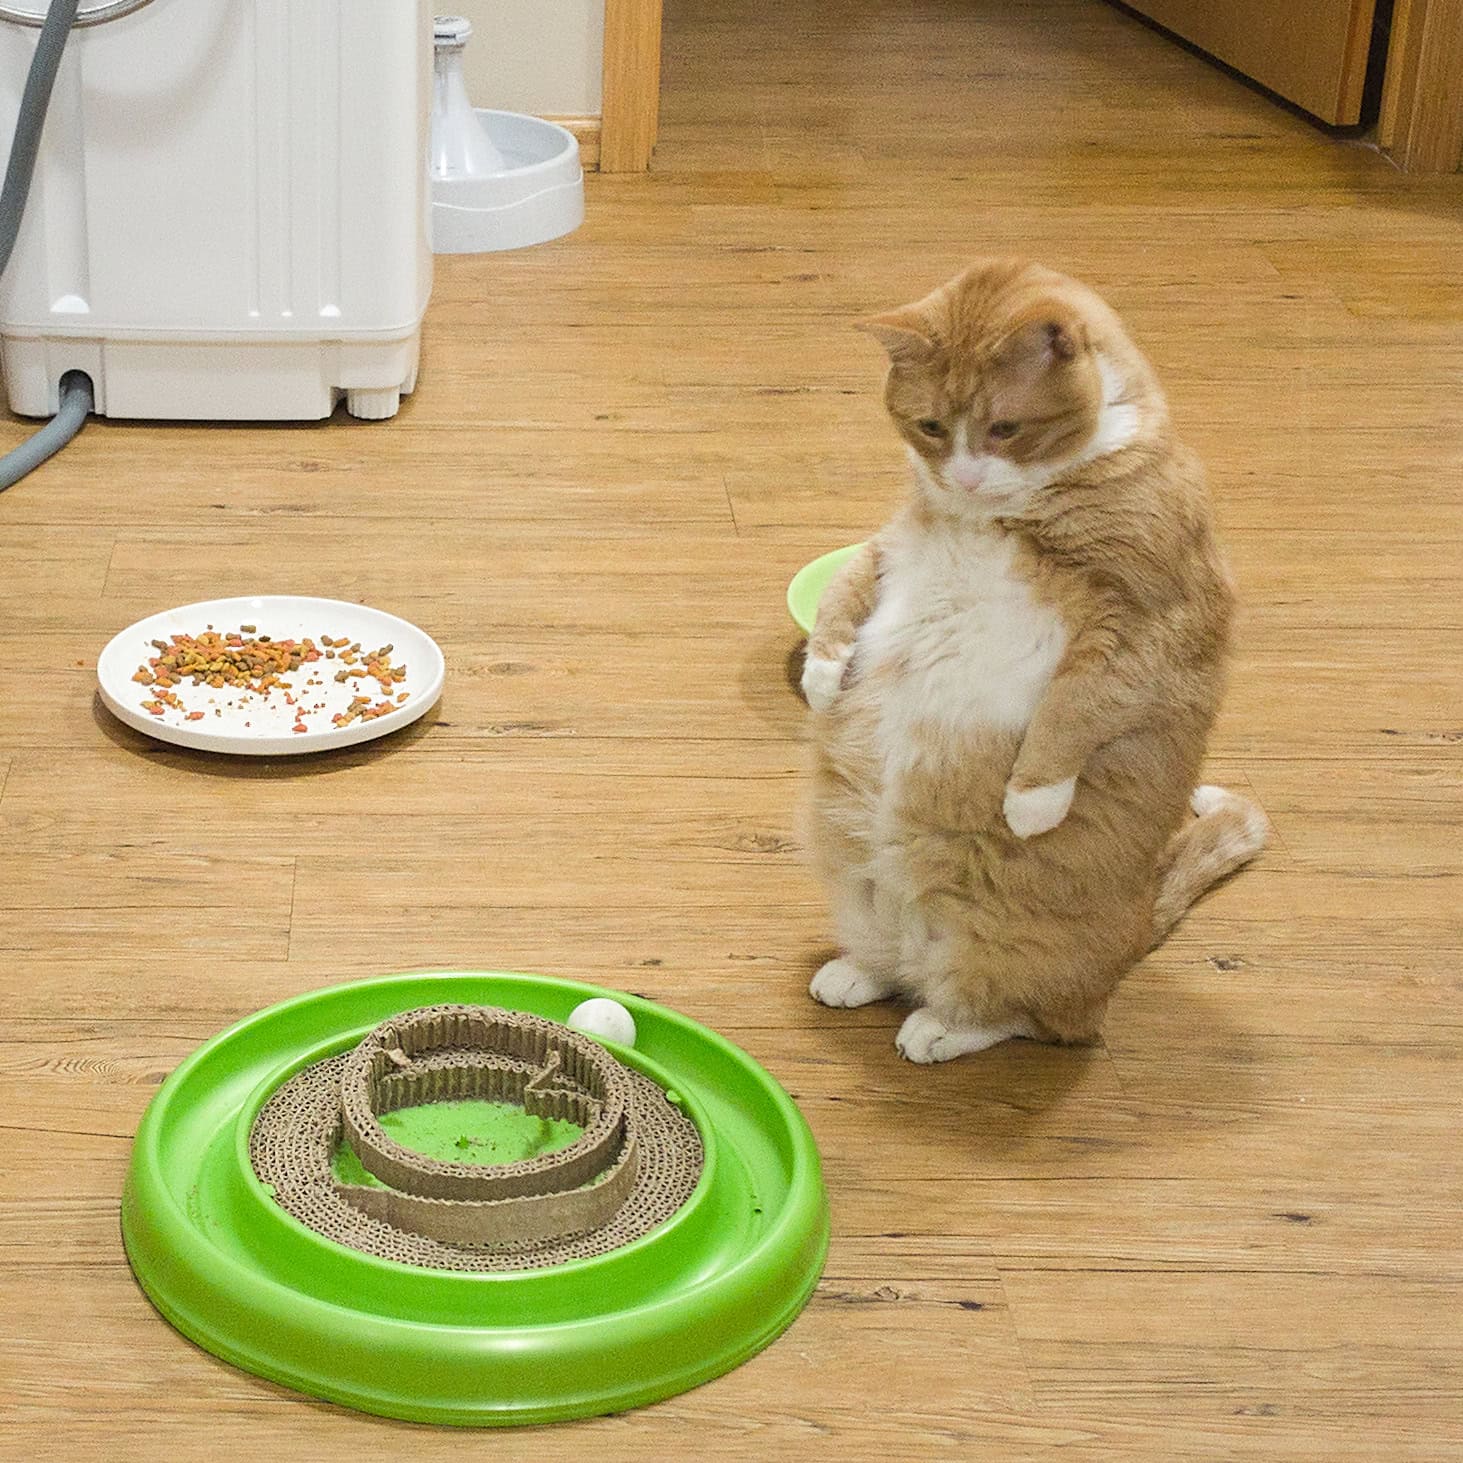
- Food-motivated hunters: Use puzzle cat toys, treat balls, or scattered kibble games so the cat has to search, paw, and work for part of the meal.
A simple hunting routine for indoor cats
You do not need a complicated training plan. Use a short, repeatable routine that lets the cat succeed.
- Warm up with stalking. Move the toy slowly at the edge of your cat’s attention. Let your cat watch and plan before you ask for speed.
- Create one clean chase. Move the lure away from the cat, not into the cat’s face. Prey generally flees; it does not attack head-on.
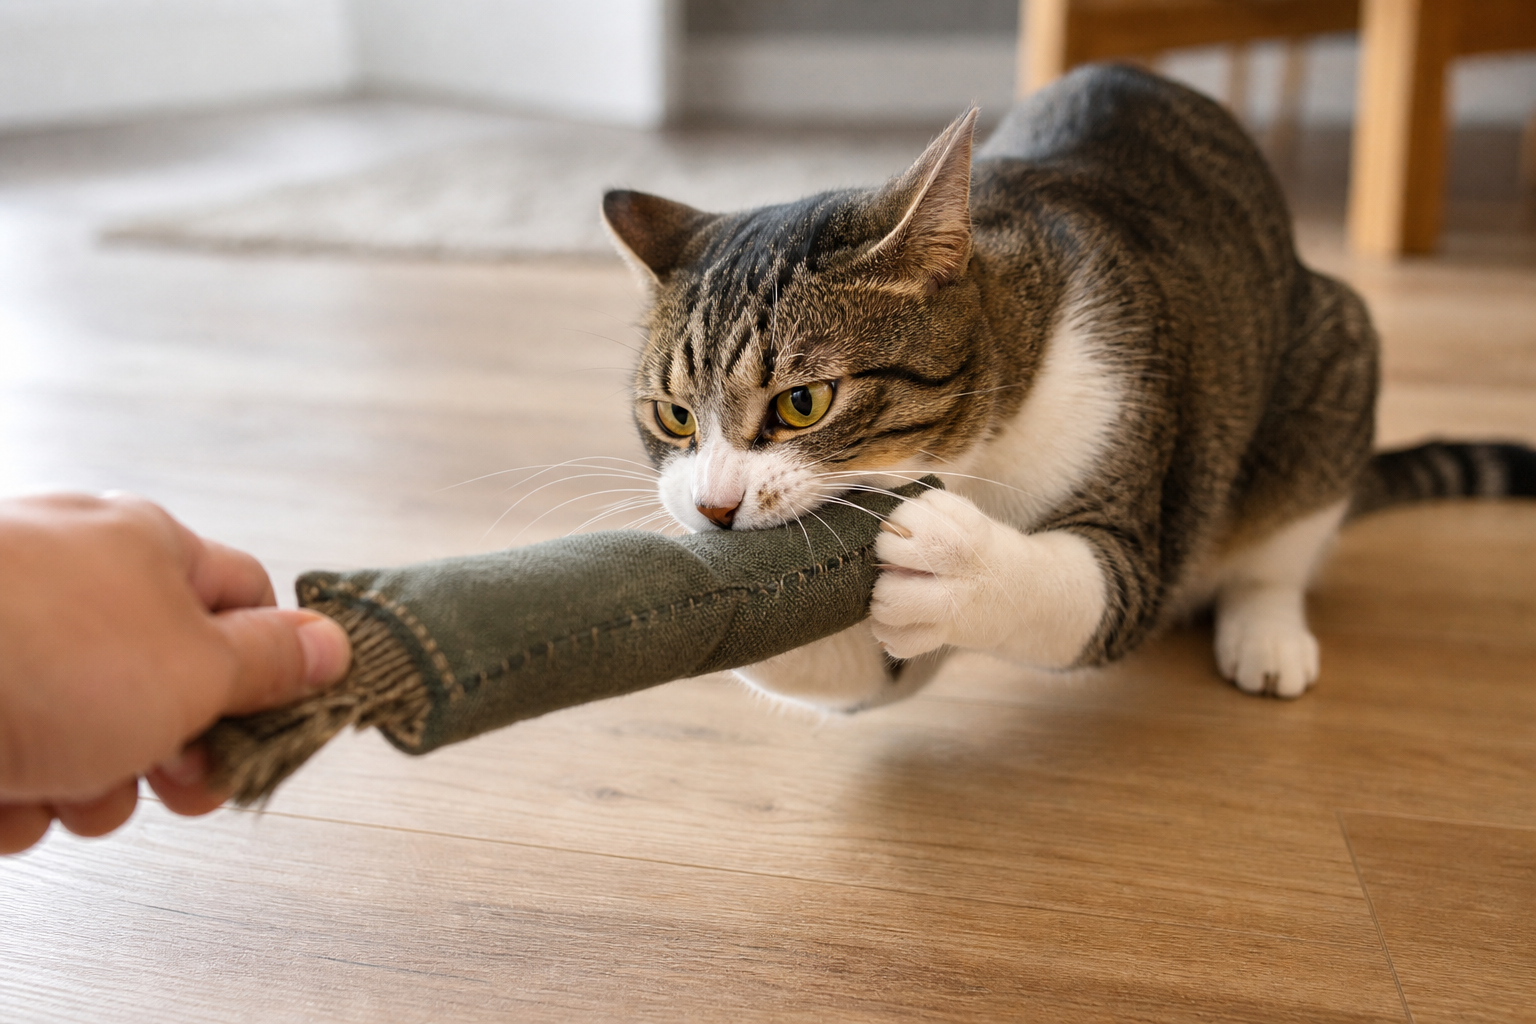
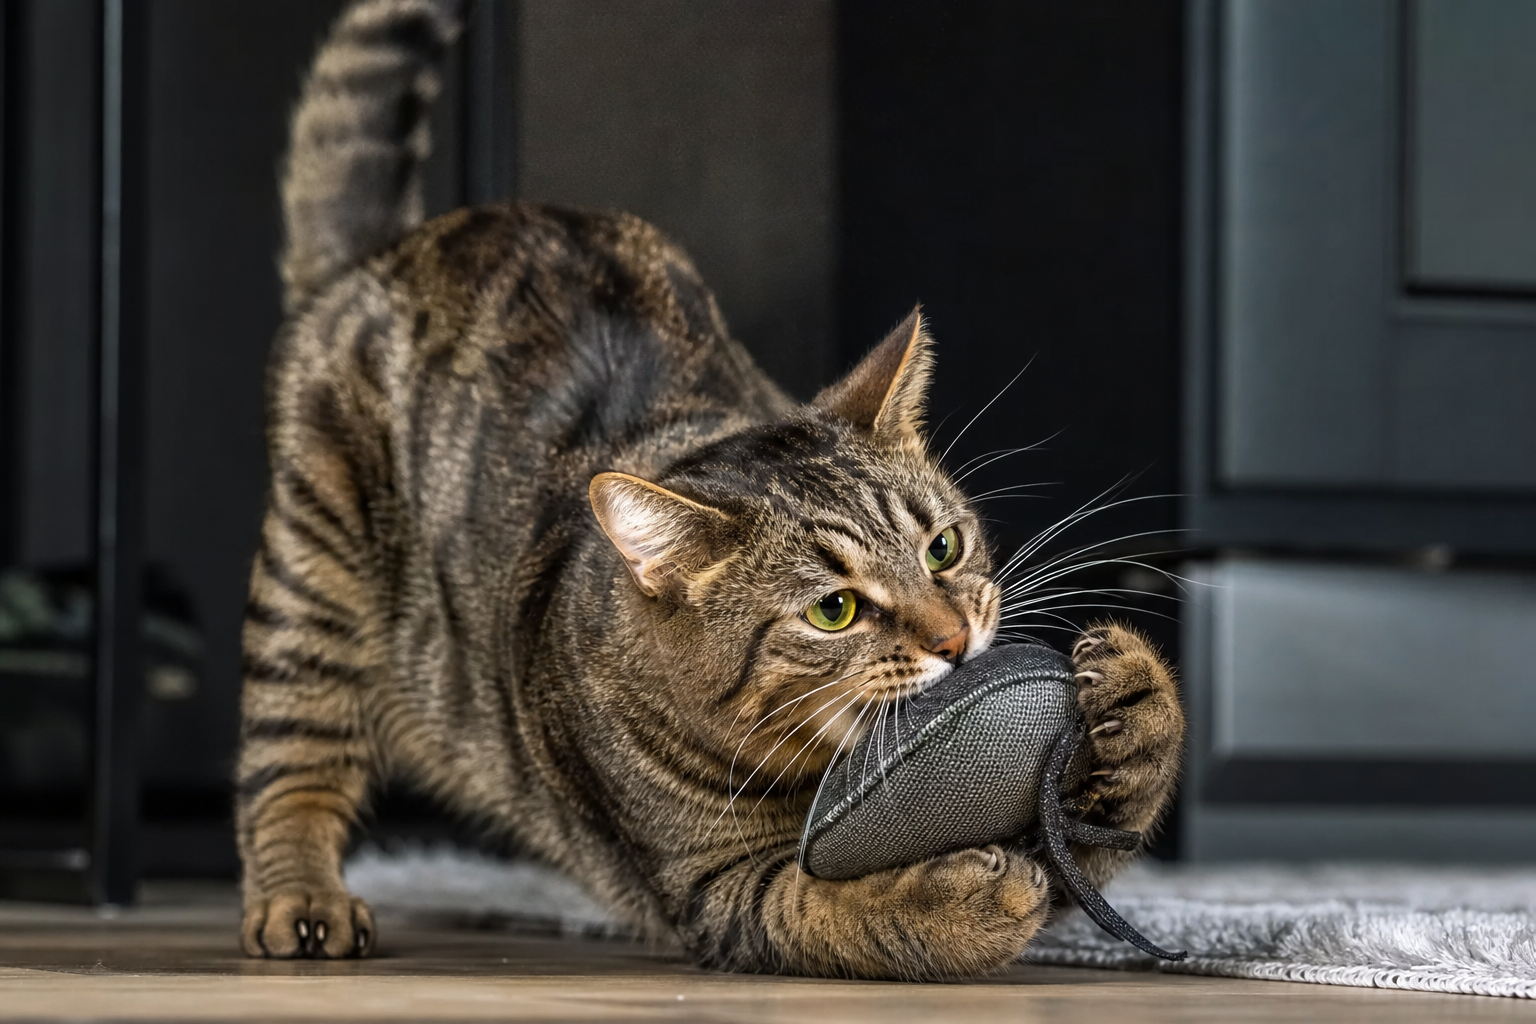
- Let the cat catch it. Every few passes, make the toy available. Let your cat pin it, bite it, or kick it.
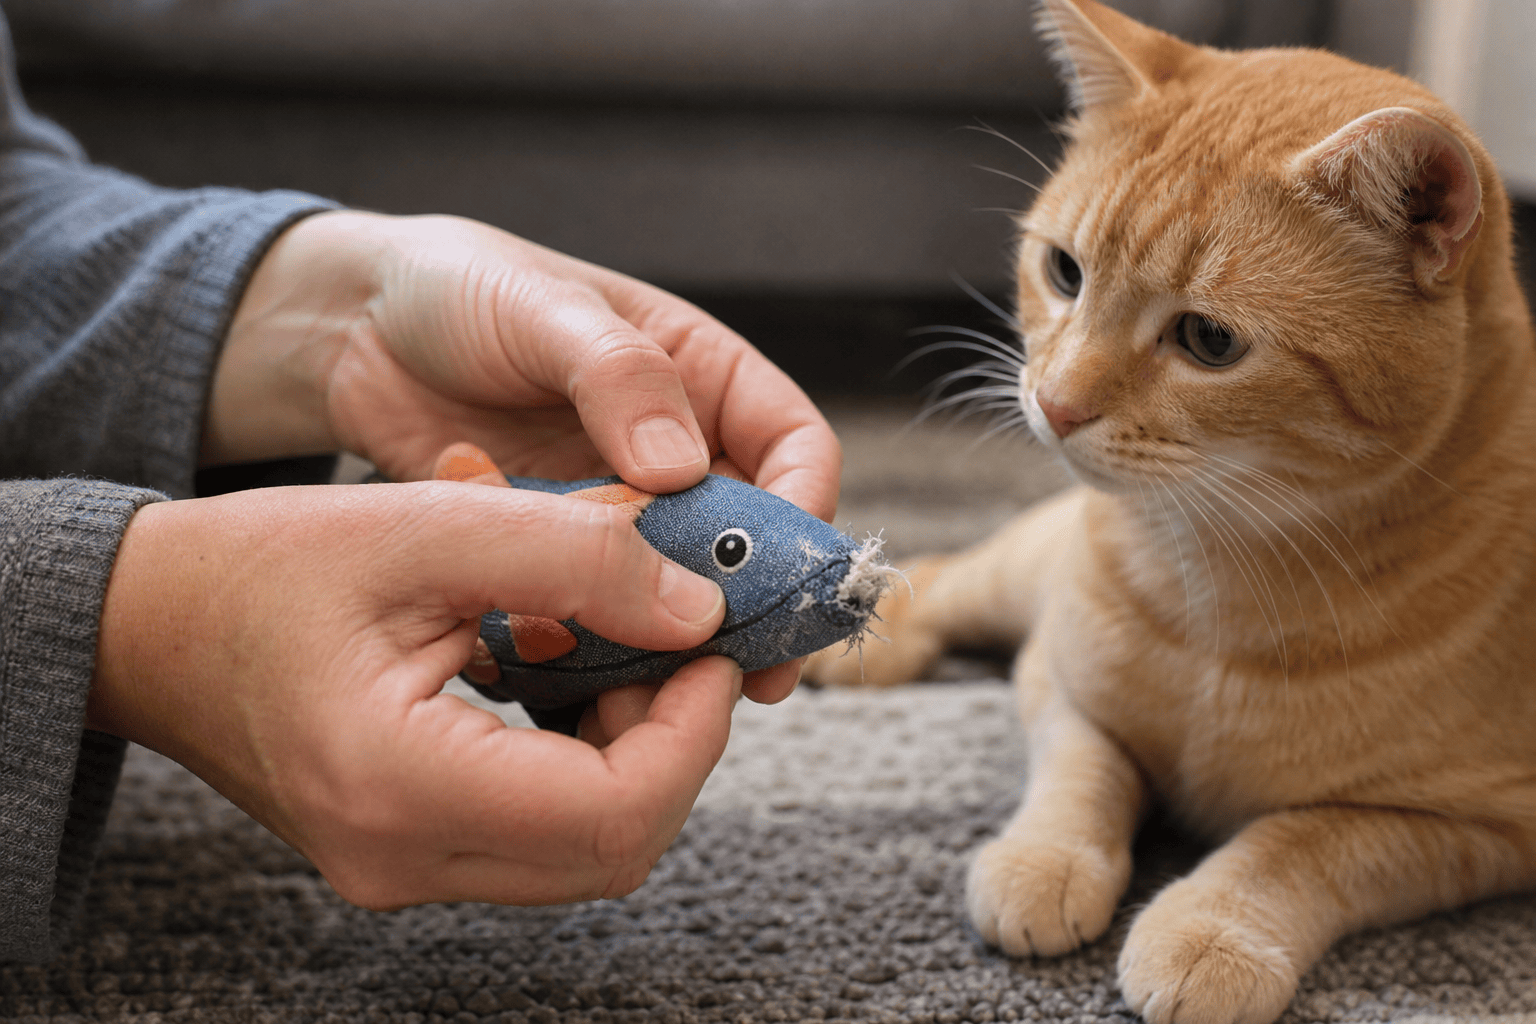
- Switch to a bite-safe object. If the cat grabs the wand lure hard, trade to a kicker or plush prey toy before teeth reach string, wire, or feathers.
- End with food or calm. A small treat, part of dinner in a puzzle feeder, or a quiet grooming session can help finish the hunt instead of stopping at peak arousal.
Many cats do well with several short play sessions instead of one long marathon. VCA notes that cats often have short bursts of play followed by rest, and that morning and evening often match natural active periods. If your cat only plays hard for five minutes, that can still be a real session.
What to avoid with rough hunting cats
Rough players need more structure, not fewer toys. The risk is not that hunting play is bad. The risk is leaving the wrong object available at the wrong time.
- Do not use hands or feet as prey. It teaches the cat that skin is part of the game and can make adult bites and scratches harder to manage.
- Do not leave wand toys out unsupervised. Strings, ribbons, feathers, and flexible wires belong in put-away storage after play.
- Be careful with tiny parts. Cornell Feline Health Center warns against toys with small pieces or strand-like parts that may separate and be swallowed.
- Do not rely on lasers alone. If you use a laser, transition to a physical toy or treat the cat can actually capture.
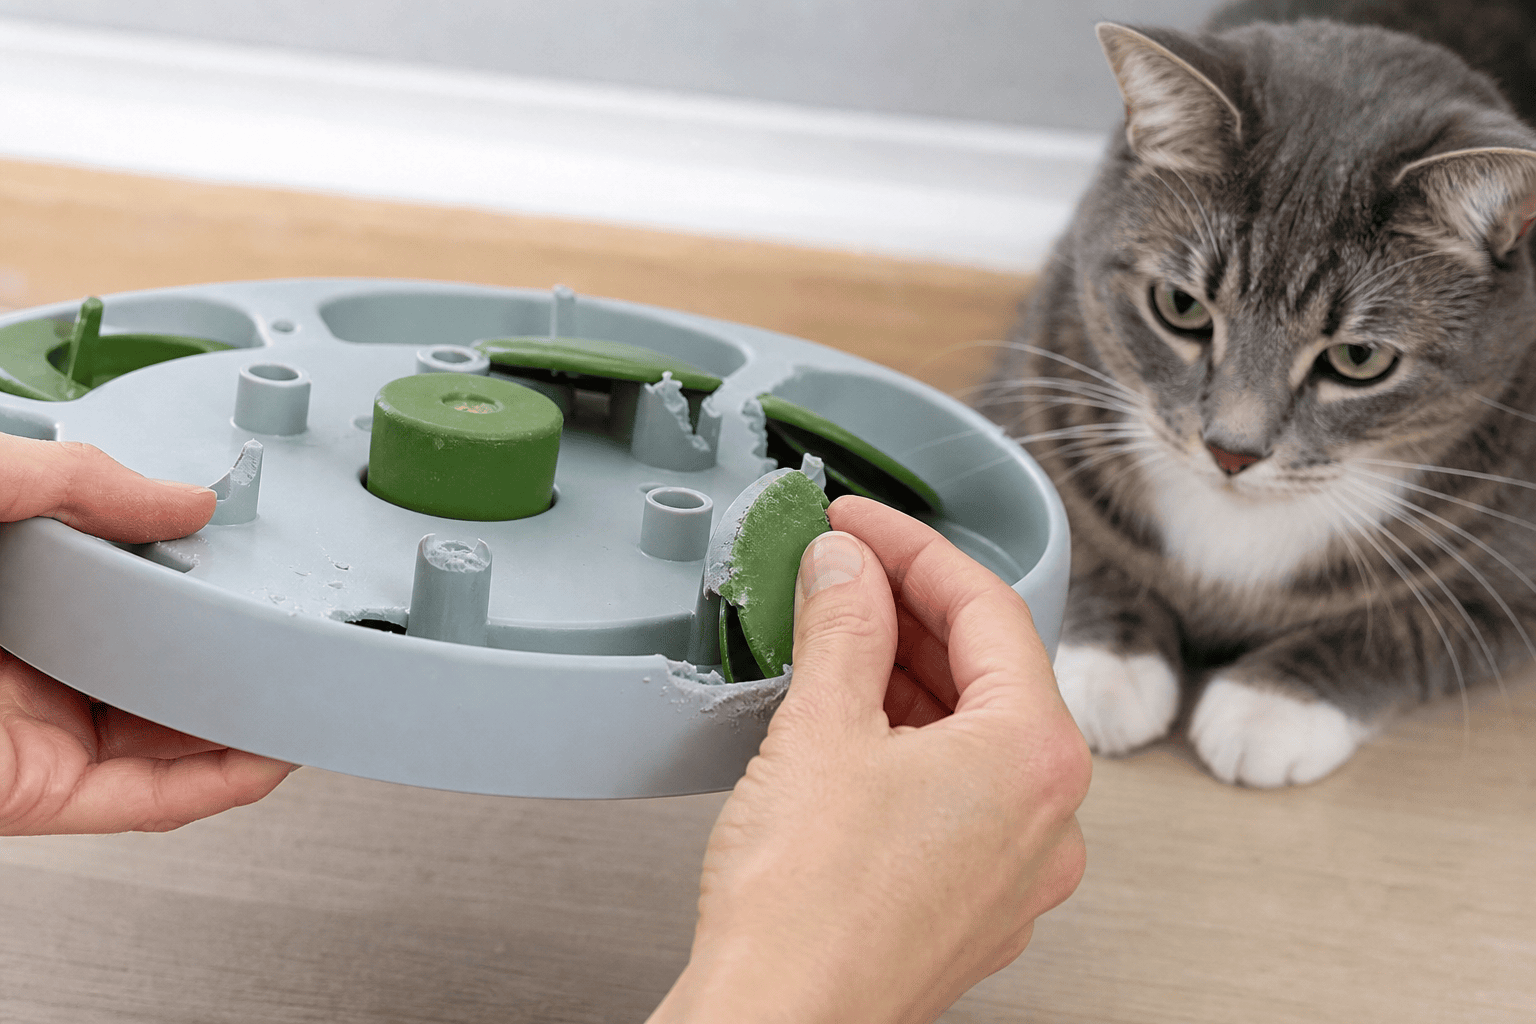
- Retire toys before they fail. Loose seams, exposed stuffing, cracked plastic, detached bells, and chewed cords are stop signs.
If your cat chews through fabric, rubber, or feathers quickly, read our guide to safe cat chew toys before leaving any toy available for solo play.
How to choose tougher hunting toys without overclaiming safety
Durability is a design choice, but no cat toy is safe in every mouth forever. For hunting cats, look for construction that buys you more supervised play time and clearer failure signs.
- For kickers: choose a body long enough to keep teeth and back claws on the toy instead of your arm, with dense fabric and reinforced seams.
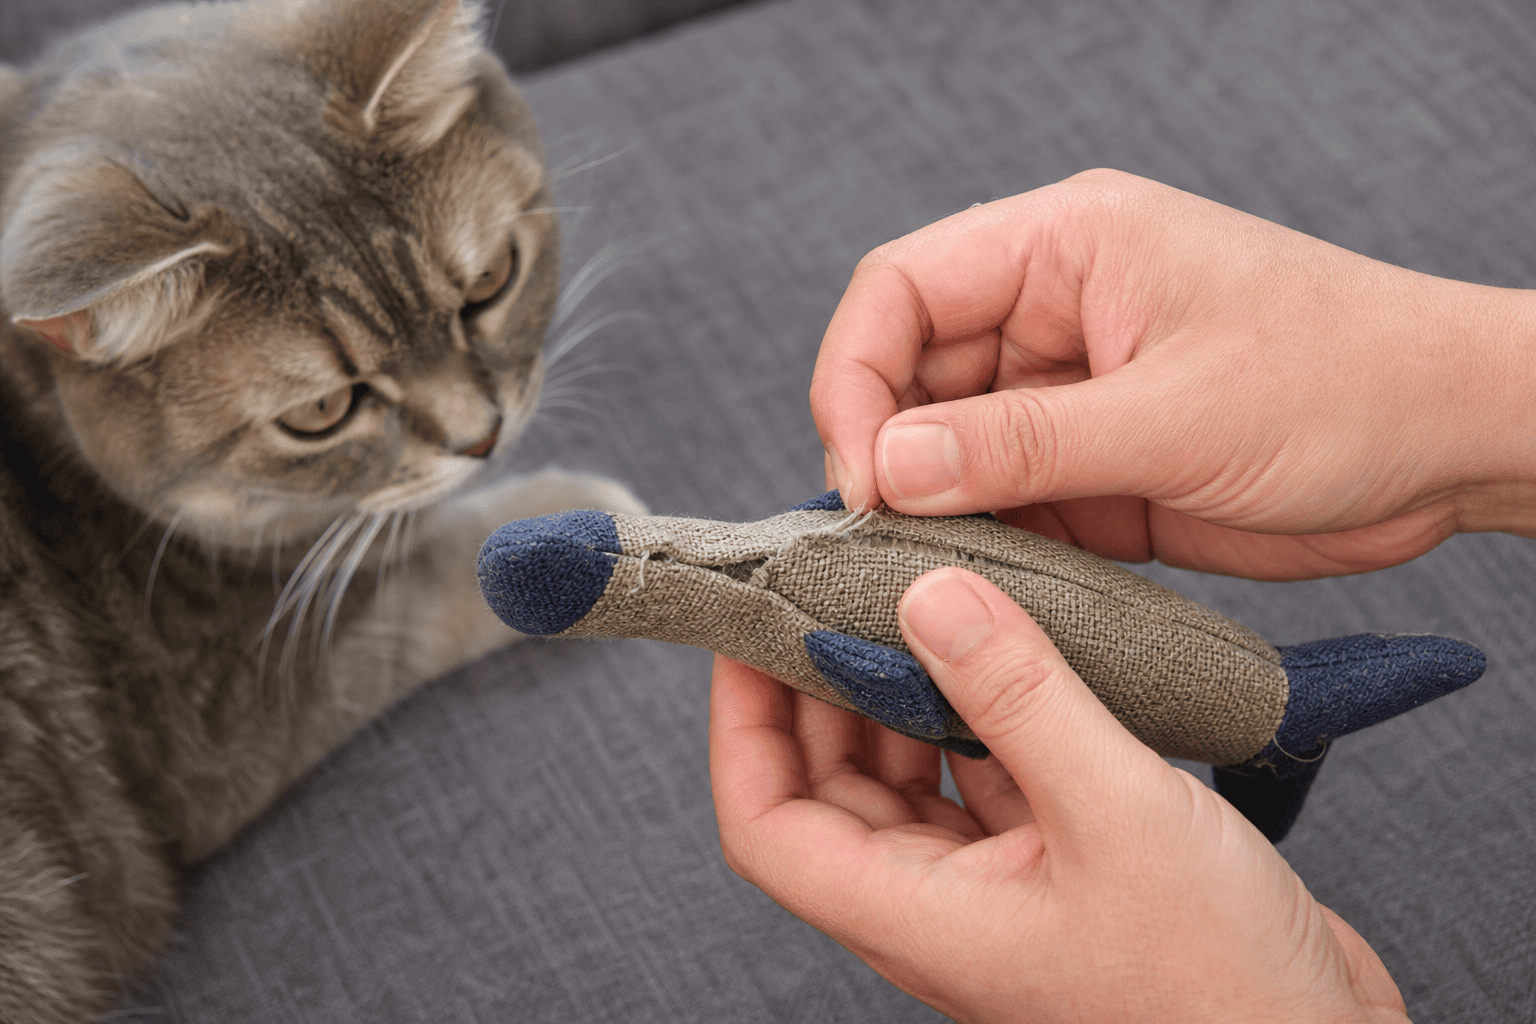
- For plush prey toys: avoid hard eyes, loose bells, and decorative bits that can come off during chewing.
- For wand attachments: check the connection point, string, feathers, and wire before each session.
- For electronic toys: inspect battery compartments, wheels, fabric covers, and cords. Our automatic cat toys guide covers those tradeoffs.
- For food toys: make sure holes and edges are smooth, the toy can be cleaned, and the food used fits your cat’s diet.
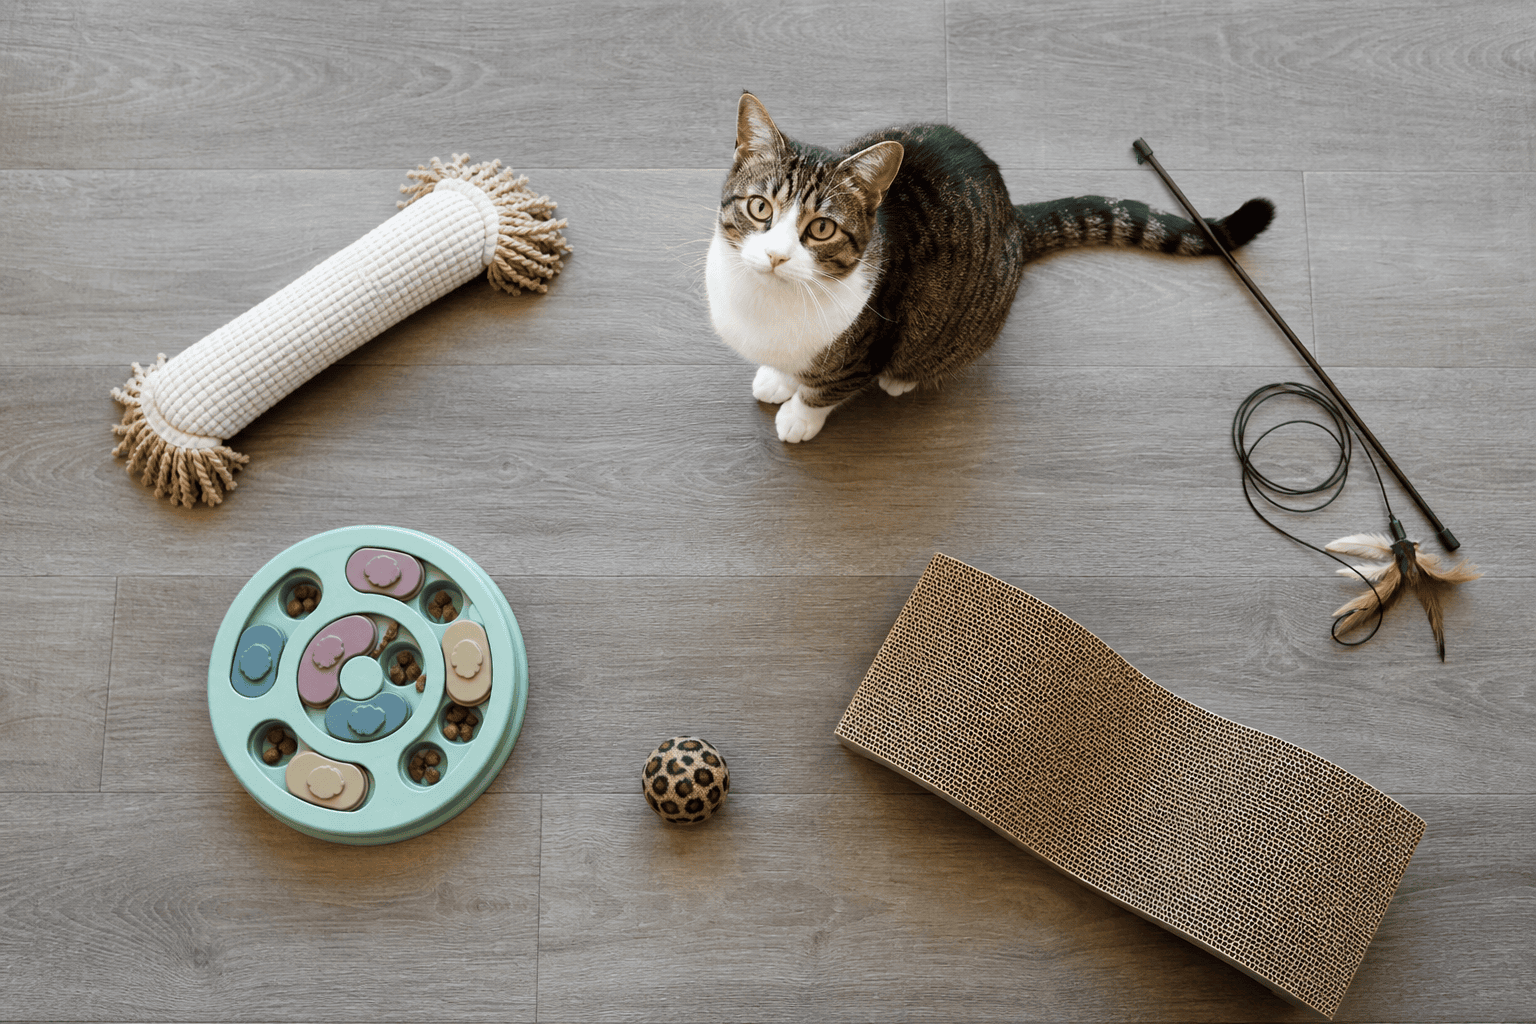
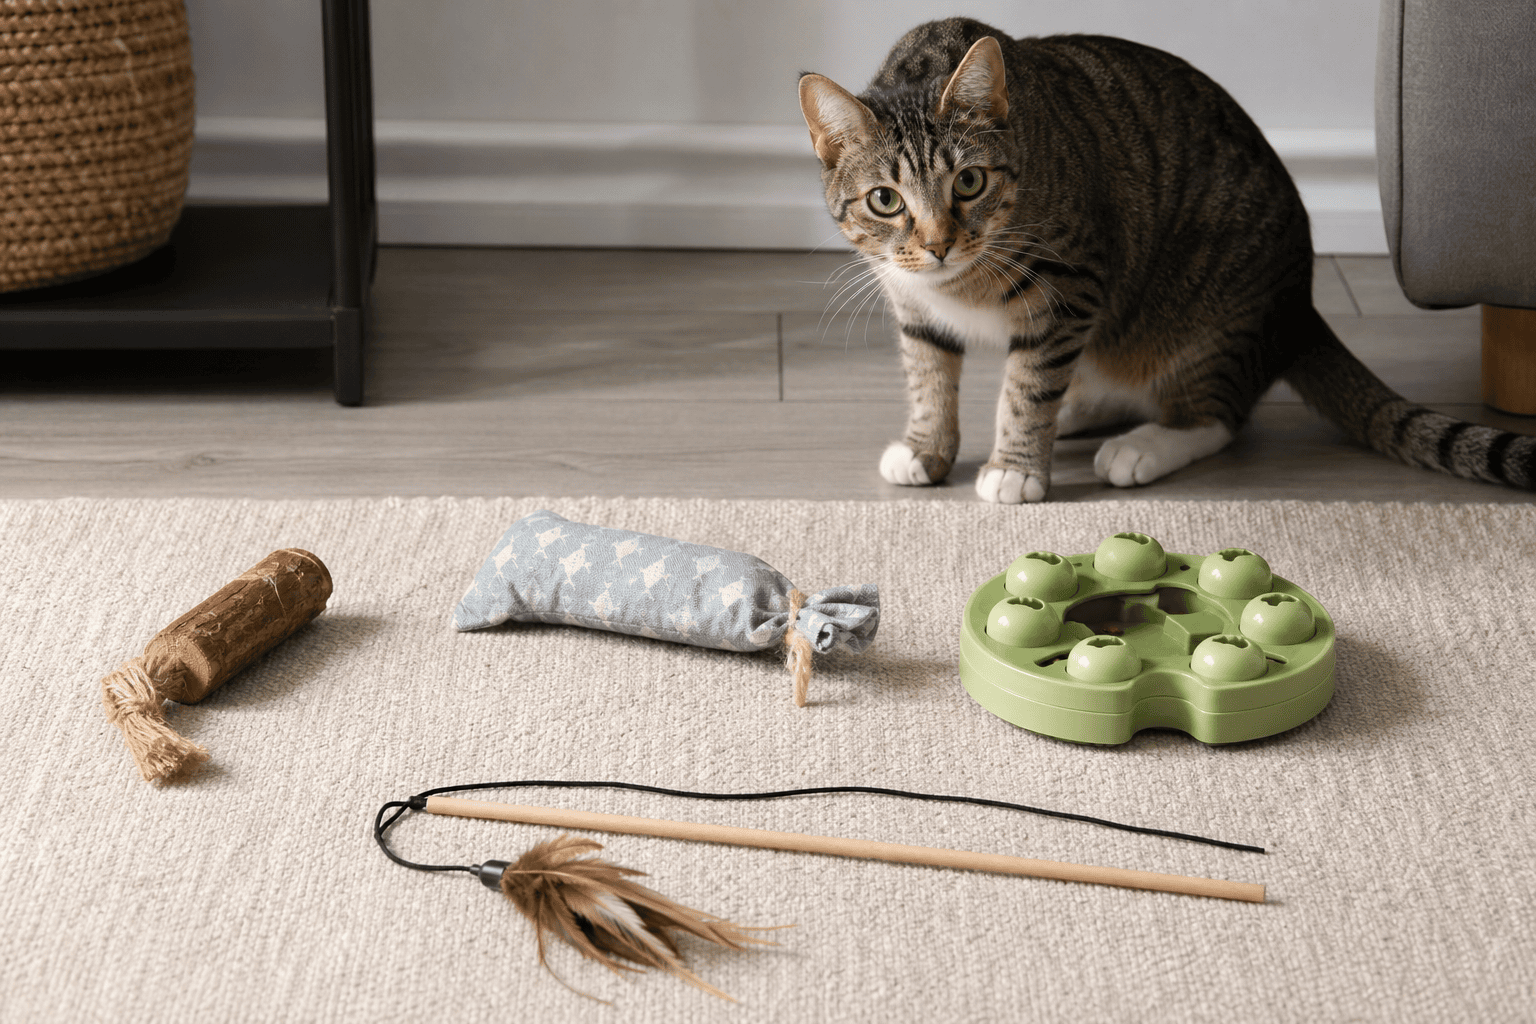
Build a weekly toy rotation
Rotation keeps familiar toys interesting and helps you notice damage. Keep a small active set available and store the rest. Cornell also recommends toy rotation as a way to prevent boredom.
A practical hunting rotation might look like this:
- Daily supervised toy: wand, teaser, or spring-style toy for chase and pounce.
- Daily capture toy: kicker, plush mouse, or bite-safe prey toy used after the chase.
- Solo-safe option: sturdy ball, larger soft toy, or simple object your cat does not chew apart.
- Food-search option: puzzle feeder, treat ball, snuffle-style mat, or hidden kibble trail.
- Rest day swap: cardboard box, paper bag with handles removed, or a tunnel for ambush play.
For a broader enrichment plan, pair this routine with our cat toys for enrichment guide.
When hunting play needs a different plan
Ask your veterinarian or a qualified behavior professional for help if your cat redirects hard bites onto people, guards toys, swallows non-food items, pants heavily during play, limps after jumping, or seems unable to settle after chase games. Those signs may point to pain, stress, compulsive behavior, unsafe toy choice, or a routine that is too intense.
Also adjust for age and health. Kittens often need frequent short play and firm rules against hand-chasing. Seniors may still want the hunt, but with lower jumps, slower movement, and softer landings. Cats with mobility issues can still stalk, paw, forage, and catch toys without high-impact leaps.
Quick checklist
- Choose the toy by prey style: bird, mouse, insect, wrestler, or food-search hunter.
- Move the toy like prey that escapes, hides, pauses, and gets caught.
- Give the cat a physical capture instead of endless chasing.
- Store wand toys, strings, ribbons, and feather attachments after supervised play.
- Inspect seams, stuffing, small parts, wires, and cords before repeat use.
- Rotate toys weekly and retire damaged toys early.
- Use food puzzles or a small treat to finish some sessions with a satisfying reward.
The best cat toys for hunting are the toys your cat can stalk, chase, catch, and safely attack under the right level of supervision. Build the routine first, then buy or rotate toys to fill each role. That approach gives high-drive indoor cats a better outlet than another random toy tossed on the floor.