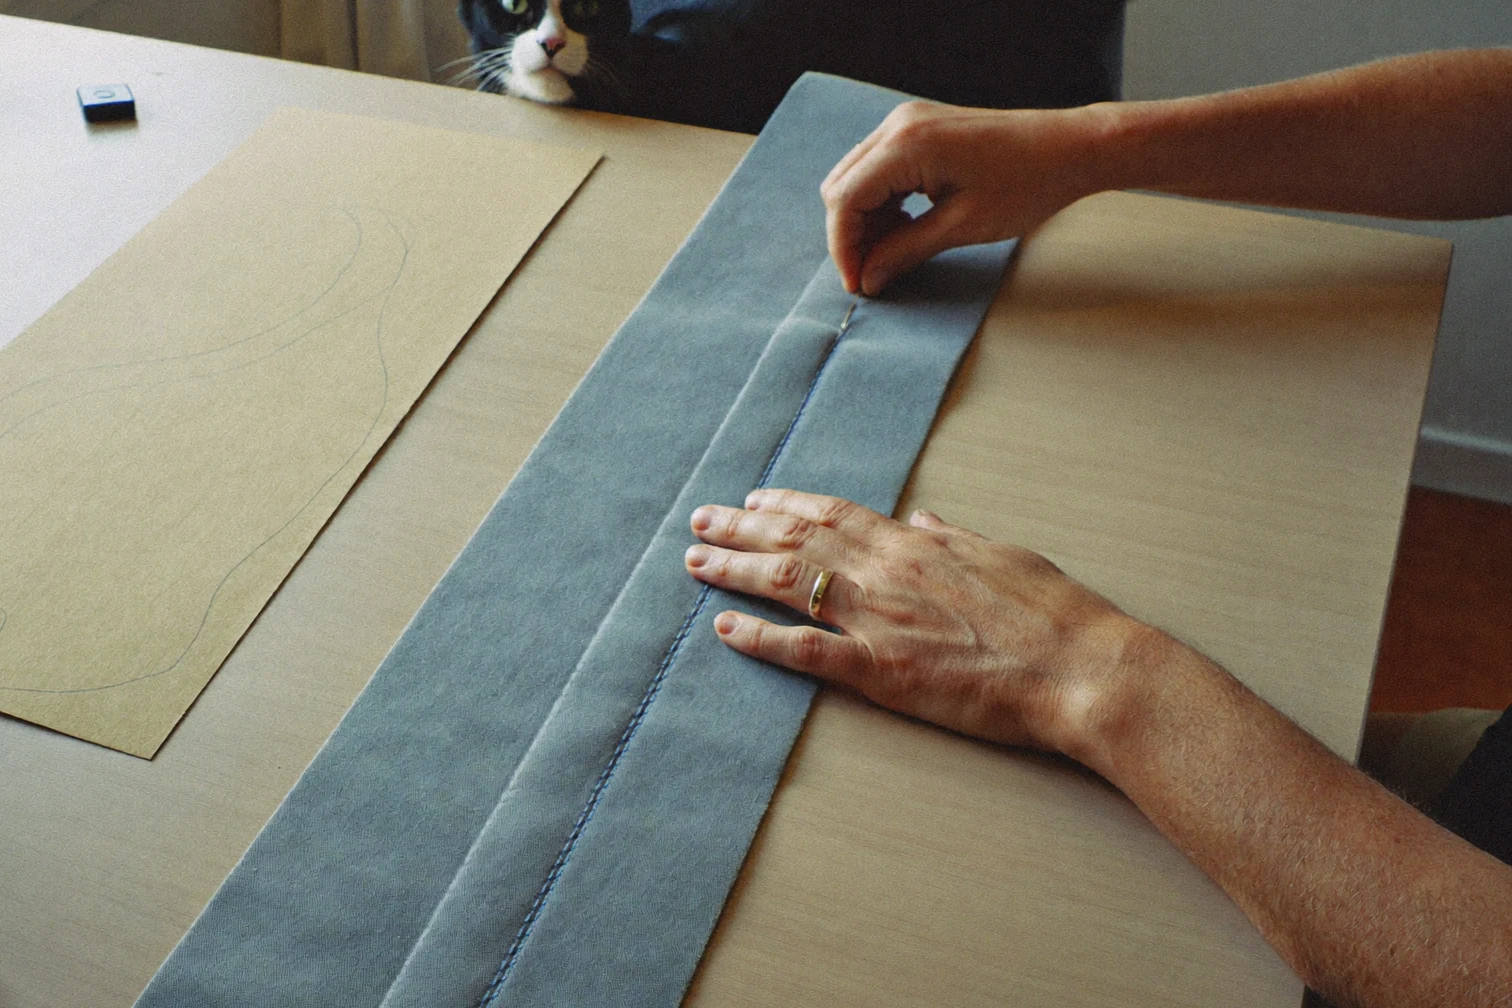
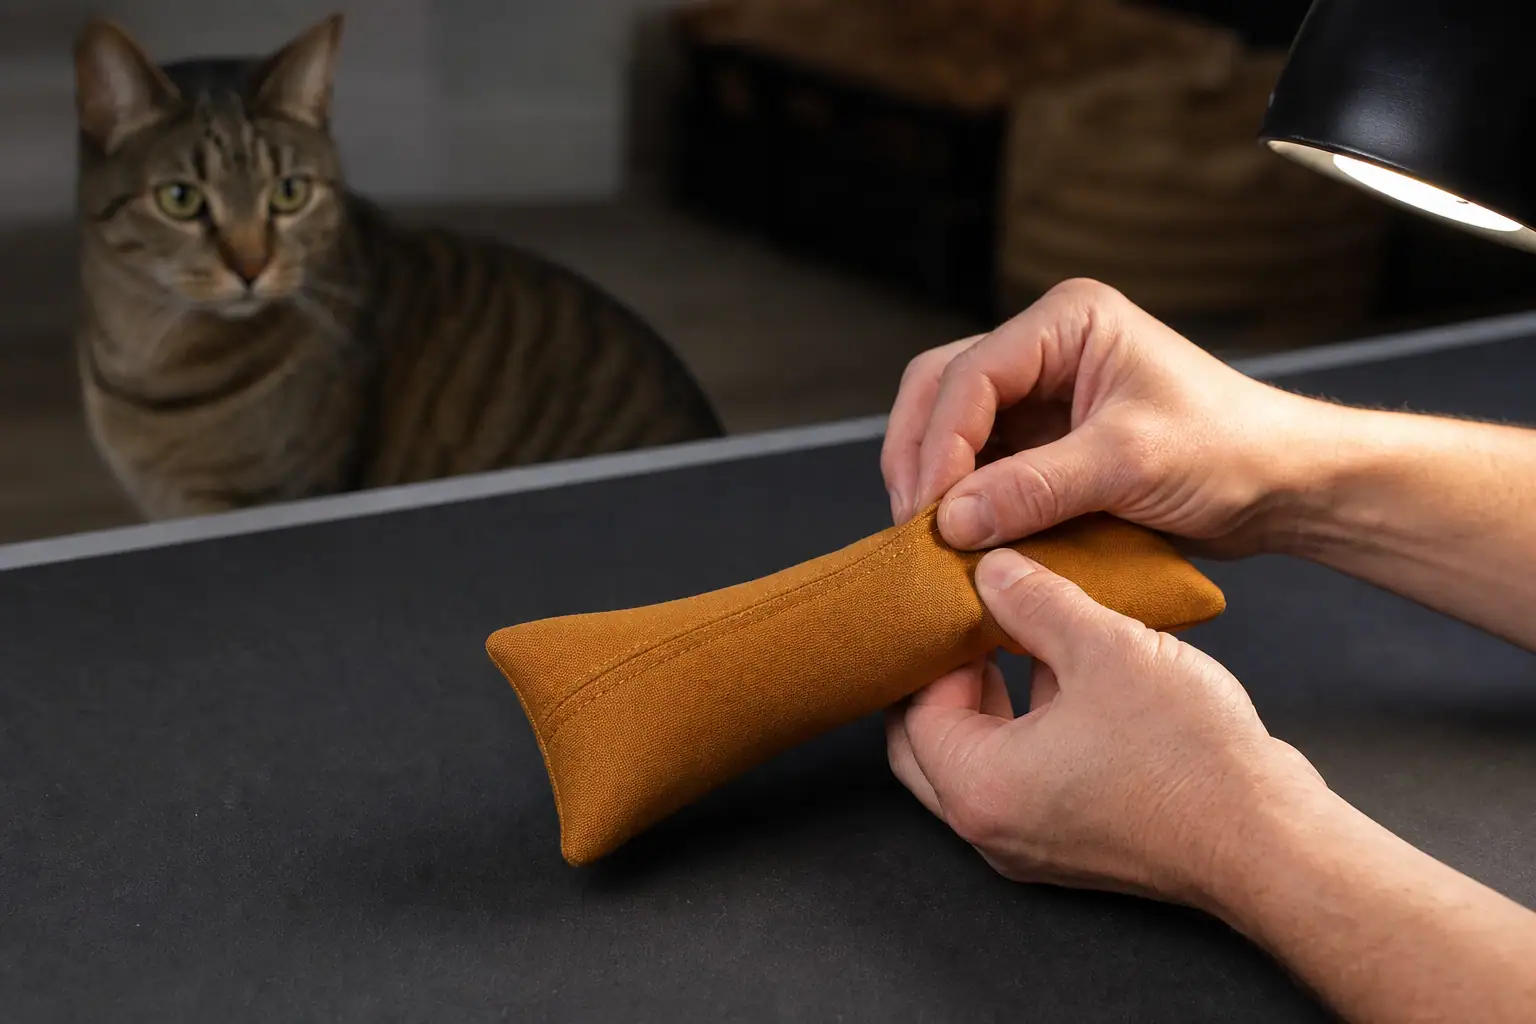
You can make a DIY cat kicker toy from one 13-by-10-inch rectangle of sturdy fabric, polyester thread, and washable stuffing. Fold the fabric into a long tube, sew two reinforced seams, fill it so it is firm but still bendable, and close the opening with two rows of stitching. The finished toy is about 12 inches long and 4 inches wide—large enough for many adult cats to hug with the front legs and kick with the back feet.
This version is deliberately plain. A cat does not need ribbon tails, plastic eyes, bells, glued trim, or a zipper to enjoy a kicker. Those details create extra places for a rough player to pull, chew, or expose the filling. No homemade toy is risk-free or indestructible, so supervise the first sessions and inspect the toy after hard play.
What a Cat Kicker Toy Is—and Why the Shape Matters
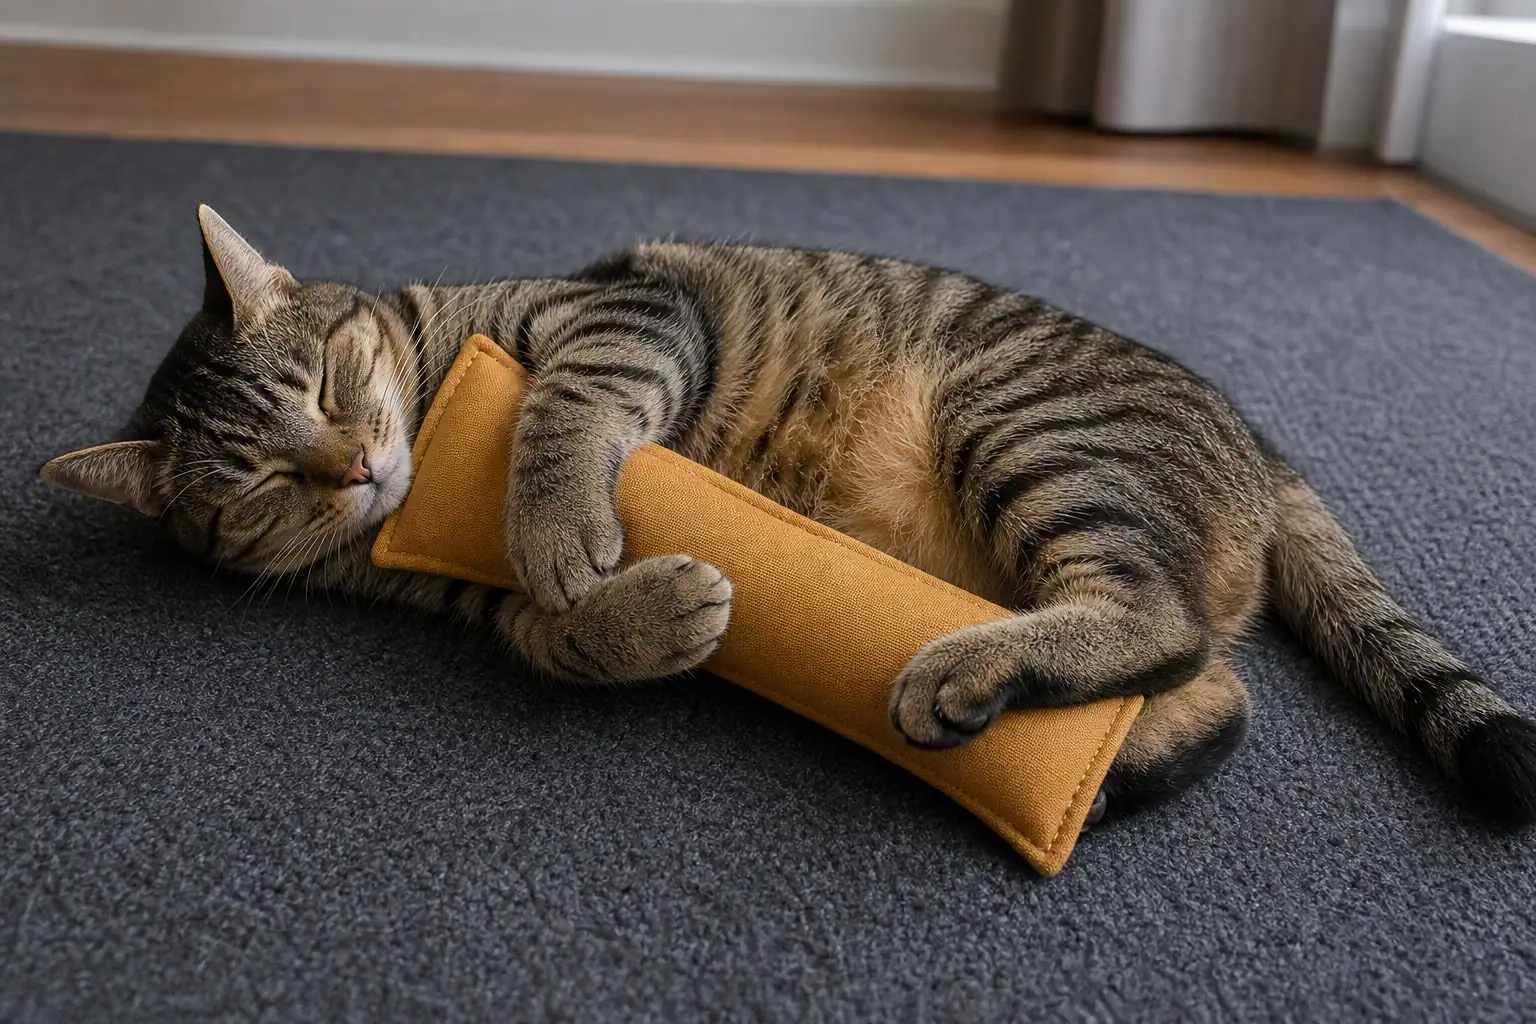
A kicker is a long, soft capture toy. A cat can wrap the front legs around it, bite or mouth the upper section, and strike the lower section with rapid alternating back-foot kicks. That sequence gives the cat an appropriate target for the grab-and-kick part of play while keeping your forearm out of the job.
The best size is based on the cat, not a magic measurement. The toy should span much of the distance from the cat’s chest toward the hips when held lengthwise. It must be wide enough to stay outside the mouth rather than behave like a small prey item, yet soft enough for the front paws to compress and hold. For an average adult, a finished 10-to-12-inch length and 3½-to-4½-inch width is a useful starting range.
| Cat and play style | Suggested cut rectangle | Approximate finished size |
|---|---|---|
| Kitten or small adult | 11 × 8 in | 10 × 3 in |
| Average adult | 13 × 10 in | 12 × 4 in |
| Large adult or long-bodied rough player | 15 × 11 in | 14 × 4½ in |
These are practical starting dimensions, not safety guarantees. Watch the first play session. If the cat cannot hold the toy while the back feet reach it, adjust the length. If the whole toy can be shoved far into the mouth, make the next one wider. If you have a very small kitten, a cat who eats fabric, or a cat with dental or mobility problems, ask your veterinarian about an appropriate play setup.
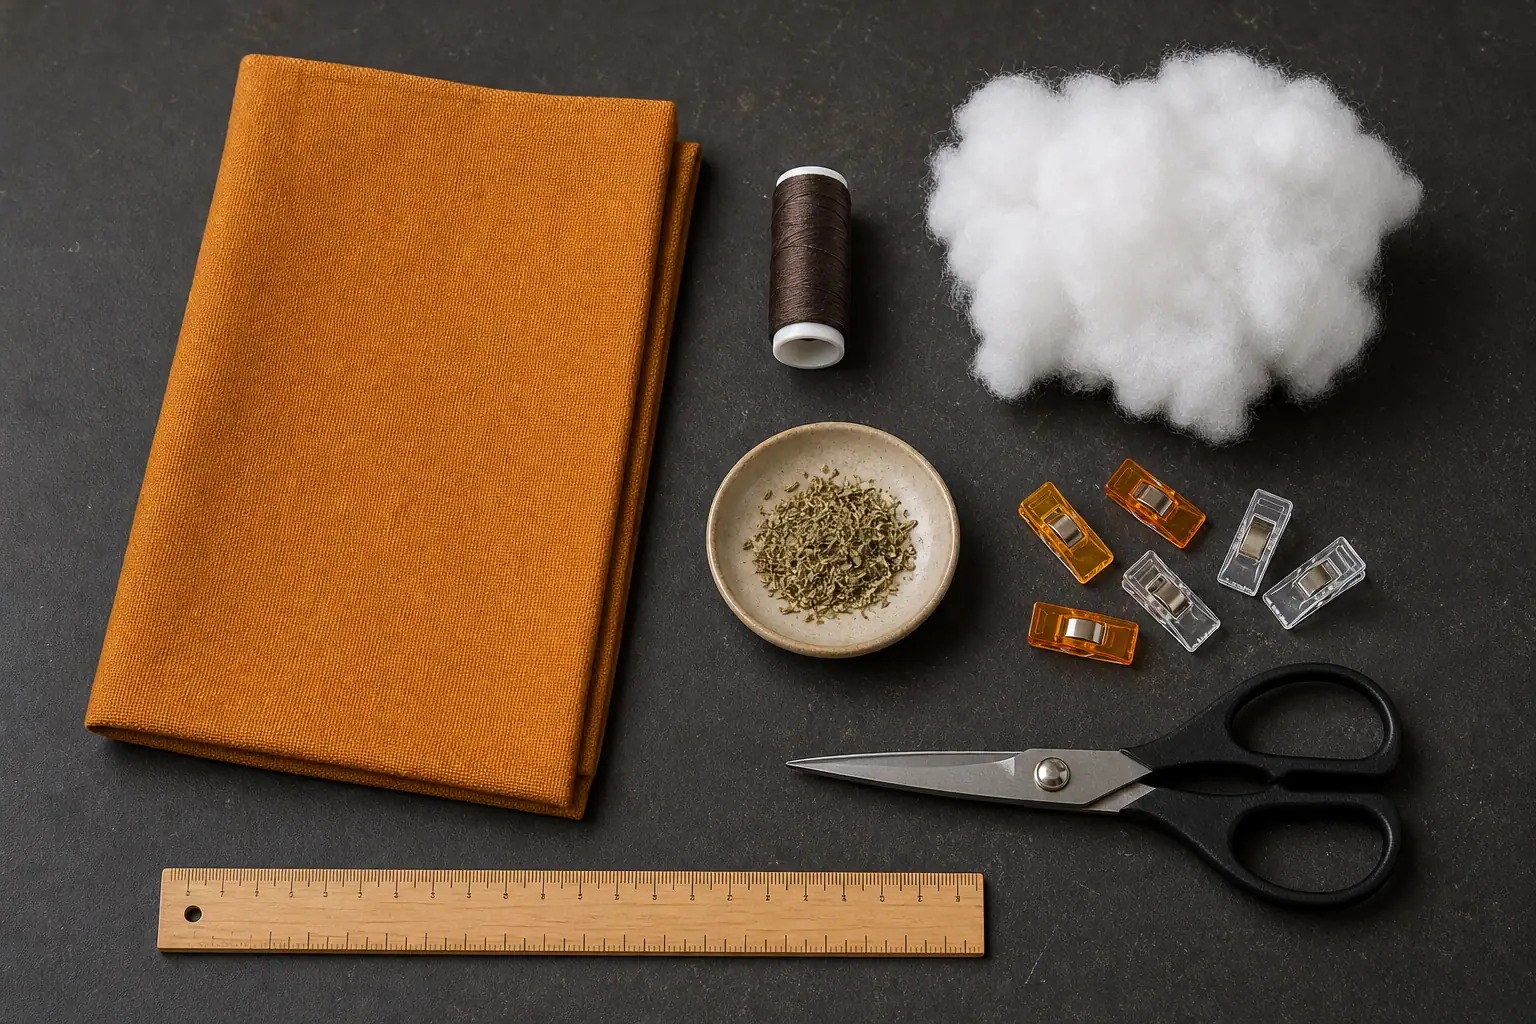
Materials for a Tougher DIY Cat Kicker Toy
Choose simple, known materials that remain easy to inspect. Upcycling is useful only when you know what the fabric is, can wash it first, and can remove every fastener and decoration.
- Outer fabric: one rectangle of tightly woven cotton canvas, midweight denim, or sturdy cotton twill. Avoid loose knits, stretchy fabric, lace, faux fur that sheds, and fabric already weakened by holes or worn patches.
- Thread: all-purpose polyester thread. It tolerates repeated flexing better than old, brittle thread from an unknown sewing kit.
- Filling: new polyester fiberfill or clean strips of tightly woven fabric. Use pieces large enough to retrieve if a seam opens; do not use foam beads, plastic pellets, dried beans, rice, loose cotton wool, or shredded plastic.
- Optional scent: one or two teaspoons of dried catnip as a modest starting amount. Skip it for cats who become agitated around catnip or who try to eat the fabric.
- Tools: ruler, fabric scissors, clips or pins, and either a sewing machine or a sturdy hand-sewing needle.
Do not add yarn, tassels, ribbon, elastic, feathers, buttons, beads, bells, safety eyes, wire, pipe cleaners, hook-and-loop tape, or a zipper. Even a cute attachment is a new failure point. Veterinary guidance on foreign-body ingestion in cats identifies thread, string, wool, rubber bands, and small toys among objects cats may swallow; string-like material can be especially dangerous.
If you want more detail on fabric strength, seam placement, and inspectable construction, see the Titan Claws guide to materials for durable cat toys. “Durable” still means maintained and replaced when damaged—not indestructible.
DIY Cat Kicker Toy Pattern: Step by Step
The directions below make the average-adult size. Use a ½-inch seam allowance throughout. Read all seven steps before cutting, and keep pins, needles, thread clippings, and the unfinished toy away from your cat.
- Prepare and inspect the fabric. Wash and dry it with an unscented routine, press it flat, and hold it up to light. Reject pieces with thin spots, snags, glued decoration, metallic print, or holes. Cut one 13-by-10-inch rectangle on the straight grain.
- Fold the tube. Fold the rectangle lengthwise with the right sides together so the two 13-inch raw edges meet. The folded piece will measure 13 by 5 inches. Clip or pin the open long edge and one short end.
- Sew the main seam. Starting at the folded corner, sew across the clipped short end and then down the open long edge with a ½-inch seam allowance. Backstitch at both ends. Leave the other short end fully open for turning and filling.
- Add a backup seam. Sew a second straight line ⅛ inch inside the first line, toward the body of the toy. Finish the raw edges together with a compact zigzag if your fabric frays. Clip the two sewn corners without cutting either stitch line.
- Turn and check. Turn the tube right-side out and push the corners out with a blunt tool. Do not use open scissors. Run a finger along both sewn seams, tug gently in several places, and restitch any spot that spreads.
- Fill without overpacking. Add small handfuls of fiberfill, distributing them from the closed end toward the opening. The tube should feel evenly full but still bend into a shallow curve. If using catnip, scatter a small amount between layers of filling rather than leaving one dense pocket.
- Close the high-stress end. Turn the open raw edges ½ inch to the inside. Machine-stitch across the opening, then sew a second parallel row ⅛ inch behind it. For a neater finish, first hand-close with a small ladder stitch and then add a second secured line. Backstitch or knot securely and trim every thread tail flush.
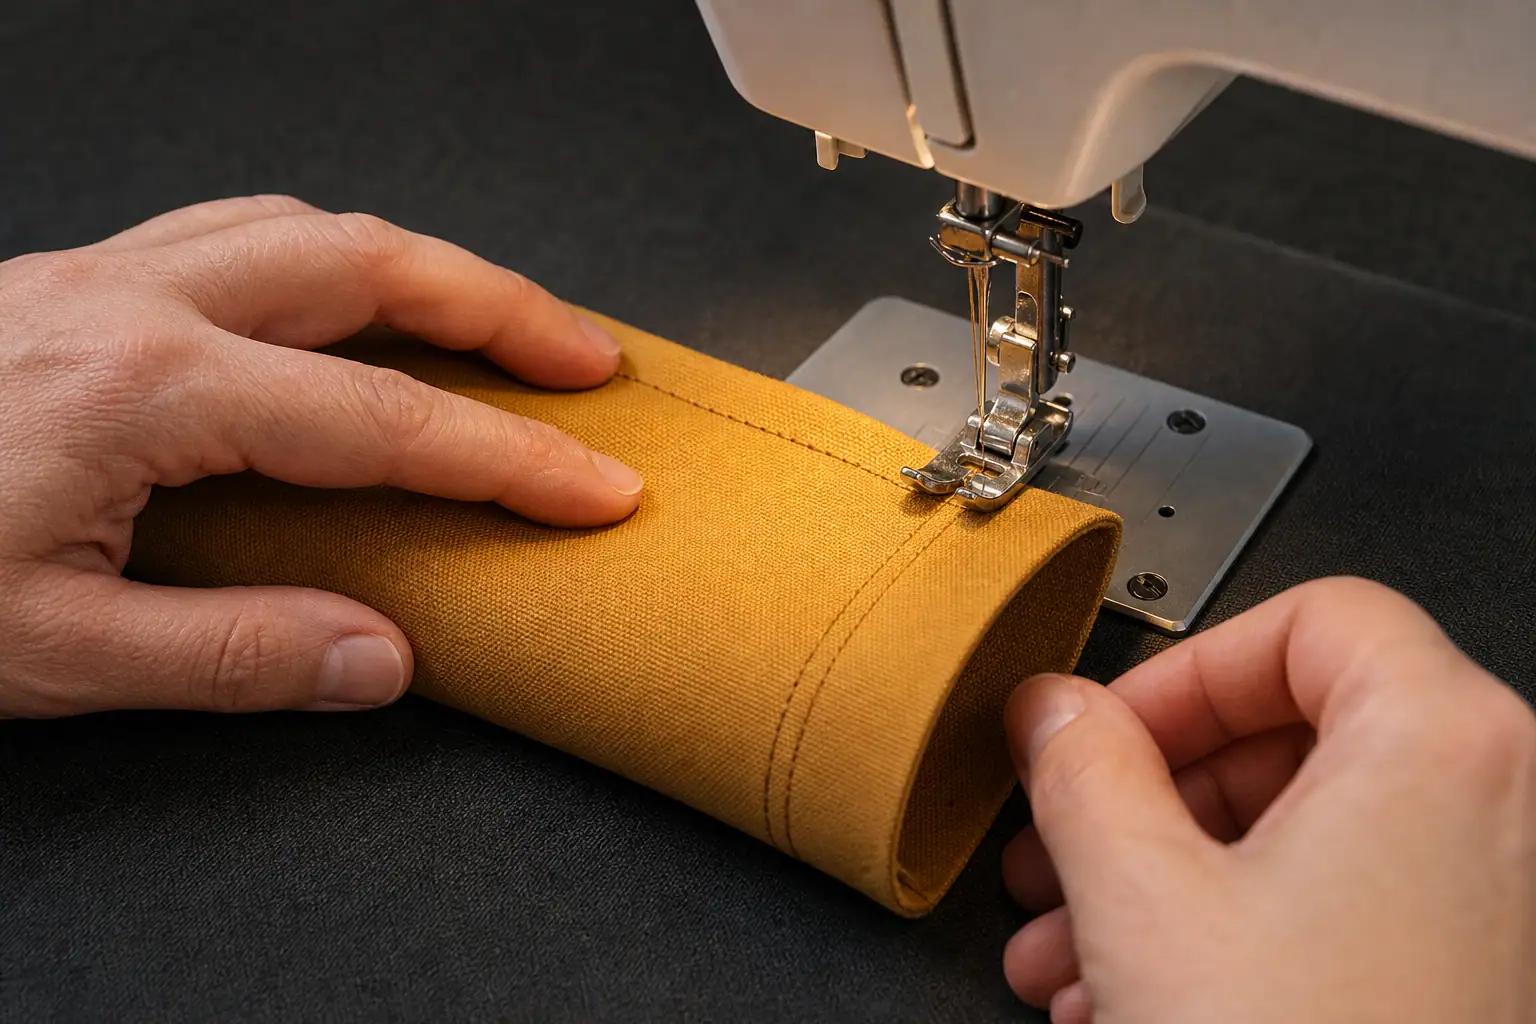
Hand-sewing option: use the same pattern and a short backstitch rather than a loose running stitch. Backstitch forms a more continuous seam because each new stitch overlaps the previous one. Sew the second line as described above, make small knots buried inside the seam allowance, and account for the needle and every pin before the toy reaches the cat.
The two-minute post-build test
- Squeeze the entire toy and listen or feel for hidden hard or sharp objects.
- Bend it several times; the seams should remain flat without gaps.
- Pull firmly—but not violently—across each seam and at both corners.
- Rub the surface with a dry white cloth; stop if color or surface coating transfers.
- Check that no thread tail, pin, needle, decoration, or loose filling remains.
- Count and put away all sewing tools before inviting the cat into the room.
If the toy fails your hands, it is not ready for teeth and claws. Open the closure, correct the problem, and repeat the test.
Catnip, No Catnip, and a Washable Version
Catnip is optional. Some cats ignore it, and a cat’s response can range from relaxation to intense excitement. VCA’s kitten behavior guidance notes that sensitivity varies and young kittens may not respond yet. If catnip makes your cat frantic, defensive, or more likely to rip at the toy, make the kicker without it.
For a frequently washed kicker, leave herbs out and use washable fiberfill. Wash the finished toy separately on a gentle cycle only if the fabric and filling are washable, then air-dry it completely. Damp stuffing can stay wet long after the surface feels dry. Check for shrinkage, twisted filling, and opened stitches before reuse. Our cat-toy cleaning guide explains when spot cleaning, hand washing, machine washing, or replacement makes more sense.
A refillable pocket sounds convenient, but zippers and exposed hook-and-loop closures give a determined chewer more edges to work on. A safer refresh is to rub a little dried catnip on the intact outside immediately before supervised play, shake off the excess, and store the toy dry afterward.
How to Introduce the Kicker Without Teaching Hand Biting
- Place the toy on the floor and let the cat investigate. Do not press it into the cat’s face.
- Use a separate wand or toss toy to begin a stalk-and-chase sequence while keeping hands at a distance.
- After a few successful catches, slide or gently toss the kicker away from your body as the final capture target.
- Let the cat grip, bite, and kick the toy. Do not hold the other end during biting; your moving fingers can become part of the target.
- End while the cat is still controlled, then offer a small food reward or calm foraging activity if it fits the cat’s diet.
This is a capture toy, not a complete play routine. Cats benefit from opportunities to stalk, chase, pounce, catch, and disengage. The Titan Claws hunt-catch-cool-down routine shows how to combine a moving lure with a satisfying finish. For more low-cost projects, compare the material and supervision levels in our guide to homemade cat toys.
Cats Protection advises checking toys regularly, replacing worn ones, and not leaving cats alone with toys that could be shredded, eaten, or cause entanglement. Treat your first few sessions as a field test: stay close enough to stop play, but keep your hands out of the kicking zone.
Inspect, Repair, or Retire? Use This Decision Guide
Inspect the kicker before and after every rough session. Roll it between both hands, flex the ends, and spread each seam slightly under good light. A quick glance from across the room will miss small tooth holes and broken stitches.
| What you find | What to do |
|---|---|
| Light surface fuzz, no thinning, all seams closed | Trim fuzz flush, recheck, and keep for supervised play. |
| One loose exterior stitch, fabric around it fully intact | Remove the toy. Reinforce both seam lines before the next use. |
| Small puncture or worn/thin fabric | Retire it. A patch adds edges and may hide spreading damage. |
| Open seam or visible filling | Stop play immediately, collect loose material, and retire the toy. |
| Missing fabric, thread, or filling | Confine the remains, check the play area, and contact your veterinarian for advice. |
| Wetness, odor, or filling that will not dry fully | Retire it rather than sealing moisture inside. |
Vomiting, reduced appetite, abdominal pain, lethargy, straining to defecate, or pawing at the mouth after suspected ingestion needs prompt veterinary attention. Do not pull visible string from a cat’s mouth or anus; call a veterinarian or emergency clinic because anchored string can injure internal tissue.
DIY Cat Kicker Toy Quick Checklist
- Size the toy so the cat can hug it and reach it with the back feet.
- Use intact, tightly woven canvas, denim, or twill with known contents.
- Use simple fiberfill or large fabric strips—not beads, pellets, rice, beans, or loose cotton.
- Sew two lines along structural seams and across the closure.
- Trim all thread tails and account for every pin and needle.
- Skip ribbons, yarn, tassels, elastic, bells, plastic eyes, zippers, and glued trim.
- Keep filling firm enough to hold shape but soft enough to grip.
- Introduce the kicker on the floor, away from hands and feet.
- Supervise early and rough sessions.
- Inspect before and after play; retire punctured, opened, thinning, or incomplete toys.
Bottom line: the safest useful DIY cat kicker toy is not the fanciest one. Make it large enough for the cat, simple enough to inspect, and strong enough to pass a firm seam test. Then supervise, maintain it, and retire it before a small defect becomes an exposed-filling problem.
Leave a Reply